

 - Part 1 of 6 - Introduction")
Table of Contents
Owning a “coin-op”, or to better say an arcade gaming cabinet, has always been one of my biggest dreams since I was a kid. Unfortunately, they take up a lot of space in a typical house and they’re also rather expensive: on top of that, they are usually limited to a single game (or a given set of games), which is far from ideal for a home-entertainment scenario.
Starting from the late ’90s, the MAME project (Multiple-Arcade-Machine-Emulator) and the subsequent release of small single-board computers such as the NUC and the Raspberry PI paved the way to fix most of these issues – yet only for the few heroes brave (and capable) enough to build their own Arcade Cabinet and equip it with the required amount of hardware, software and ROMs to make everything work: those who couldn’t do that had to lower their standards down to a standard PC with a couple of joysticks/joypads. They could still feel the joy of playing countless retro-games on a single machine, yet they won’t have the chance to revive the cabinet look & feel like the former ones.
For countless years I was one of them – until the day I decided I would also try to design and build my own Arcade Bartop! This post is the first part of an extensive tutorial containing all the required instructions on how to do that – together with a lot of pictures, graphics and photos explaining and documenting the task. I would have liked to condense everything into a single article, but considering the huge amount of info and photos I had to put up to decently explain all the required steps I eventually had to split the tutorial into six parts.
- Part 1 of 6: Introduction & Raw Materials
- Part 2 of 6: Tools, Design & Prototype
- Part 3 of 6: Building the Cabinet
- Part 4 of 6: Painting & T-Molding
- Part 5 of 6: Installing the Hardware
- Part 6 of 6: Configuring the Software (Raspberry PI & Retropie)
Check out all the pictures of the Arcade Bartop (all those used in this tutorial + more) on my Arcade Bartop album on Flickr.com.
Introduction: Full-Size Cabinet vs Bartop Cabinet
As soon as I chose to build a gaming cabinet by myself, I was forced to choose between doing a Full-Size (aka Upright) or a Bartop (aka Countertop) cabinet. As clearly explained in this awesome Wikipedia page, the former are what we’re used to see in a typical Arcade Gaming Hall: over 6 feet (1.8 / 2 meters) tall, with the control panel set perpendicular to the monitor at slightly above waist level and the monitor itself at eye level, with the marquee above it – either matching the player’s head level or encompassing it. Conversely, Countertop or Bartop cabinets are usually only large enough to house their monitors and control panels: they’re called that way because they can be usually found on bars or tables in pubs and restaurants.
Long story short, I went with the Bartop cabinet – I’ll just call it Arcade Bartop from now on – for three main reasons:
- It’s way cheaper in terms of required raw materials and tools.
- It’s way easier to build, as you won’t have to do complex wood cuts.
- It’s more practical, expecially if you want to make it fit into an average apartment: the full-size cabinet requires a fixed place and a certain amount of space, while the bartop can be easily moved, placed upon a table/desk/shelf and so on.
For the above reasons, the guide you’re about to read will explain how to build an Arcade Bartop. In case you want to build a full-size cabinet, you can check out this exceptional tutorial from ILikeToMakeStuff.com.
Why Do it Yourself?
In case you’re asking why DIY in 2018 when you can just purchase a pre-made cabinet from a dedicated store such as GameRoomSolutions, ArcadeWorld or even eBay or Amazon, well… That’s not as simple as you might initially think. First of all, you have to accept that given layout – which is a relevant aspect of the whole thing; you’ll probably also have to bear with a sub-optimal software setup, since these pre-made cabinets are rarely equipped with a NUC or a Raspberry PI with an updated RetroPie – which is the only solution that gives you the chance to play virtually any retro-game ever made: MAME, NES, SNES, Genesis, PC Engine, NEO-GEO, Amiga, Laser Games such as Dragon’s Lair and so on; last but not least… you’ll definitely miss a lot of fun!
And also the immeasurable gratification of looking something like this…
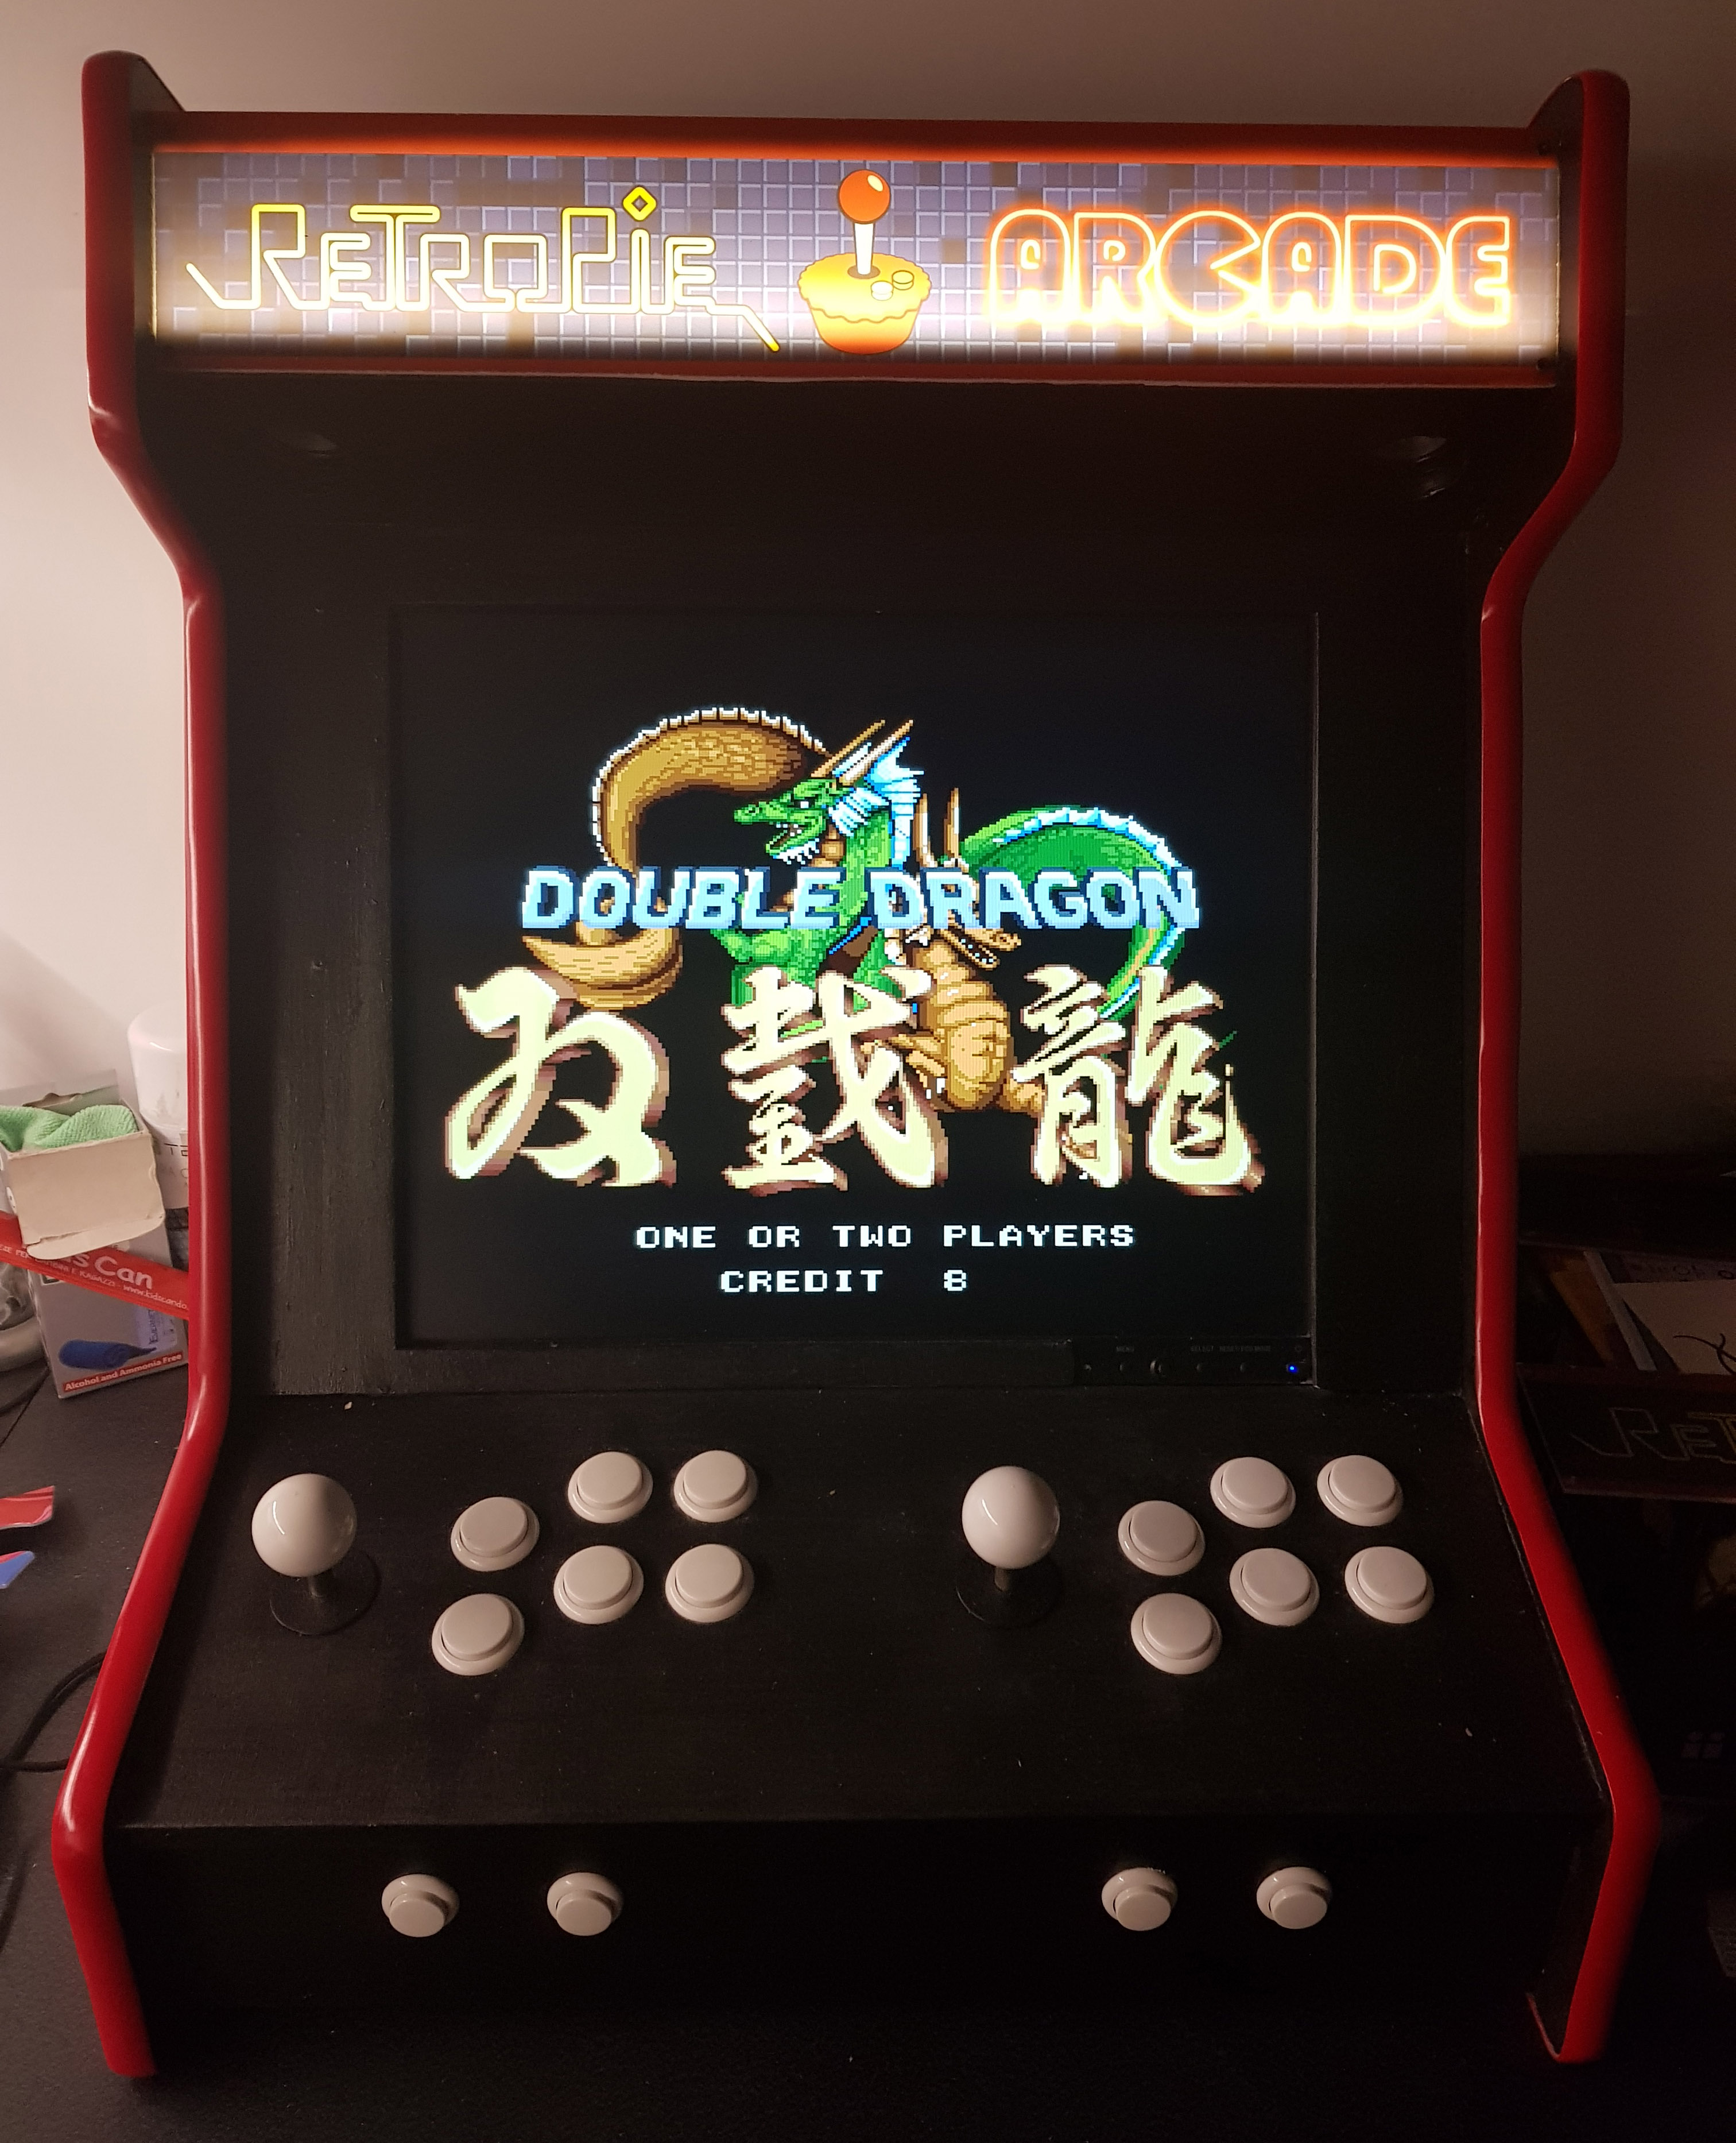
… knowing that you actually put that beast into life with your own hands.
Needless to say, if you don’t think that such feeling is not worth the hassle of having to draw, saw, cut, screw, sand, polish, paint (and many other heroic acts) for A LOT of hard-working hours, just spare yourself from the trouble and buy a pre-made, ready-to-play cabinet or bartop from one of the resellers above. I can personally guarrantee that you won’t lose much in doing that: although it’s true that doing it by yourself will cost a lot less in terms of raw materials, the required amount of work you’ll need to invest will definitely square up. Which lead us to the following question…
How much it will cost?
The whole project will cost you about 230€ (approx. 265$) of raw materials and will give you a machine that can be compared to the GameRoomSolutions’ Plug & Play Deluxe, which is currently being sold for 1099$ (approx. 945€): this basically mean that the DIY will cost roughly four times less (!) than going for the hassle-free purchase – as long as you’ll have the required tools (see Part 2). That’s not bad, as long as you’re willing (and capable) to deal with it.
If you’re still reading I guess you are up for the task, hence… Enough with the talking and let’s do this!
Raw Materials
Let’s start with a comprehensive list of what you’ll need in terms of raw materials (and the approximate price) to build the Arcade Bartop shown above. I also put some advices and considerations on the various pieces and a descriptive photo with some other comments that you could find useful to better understand the role of each one of them.
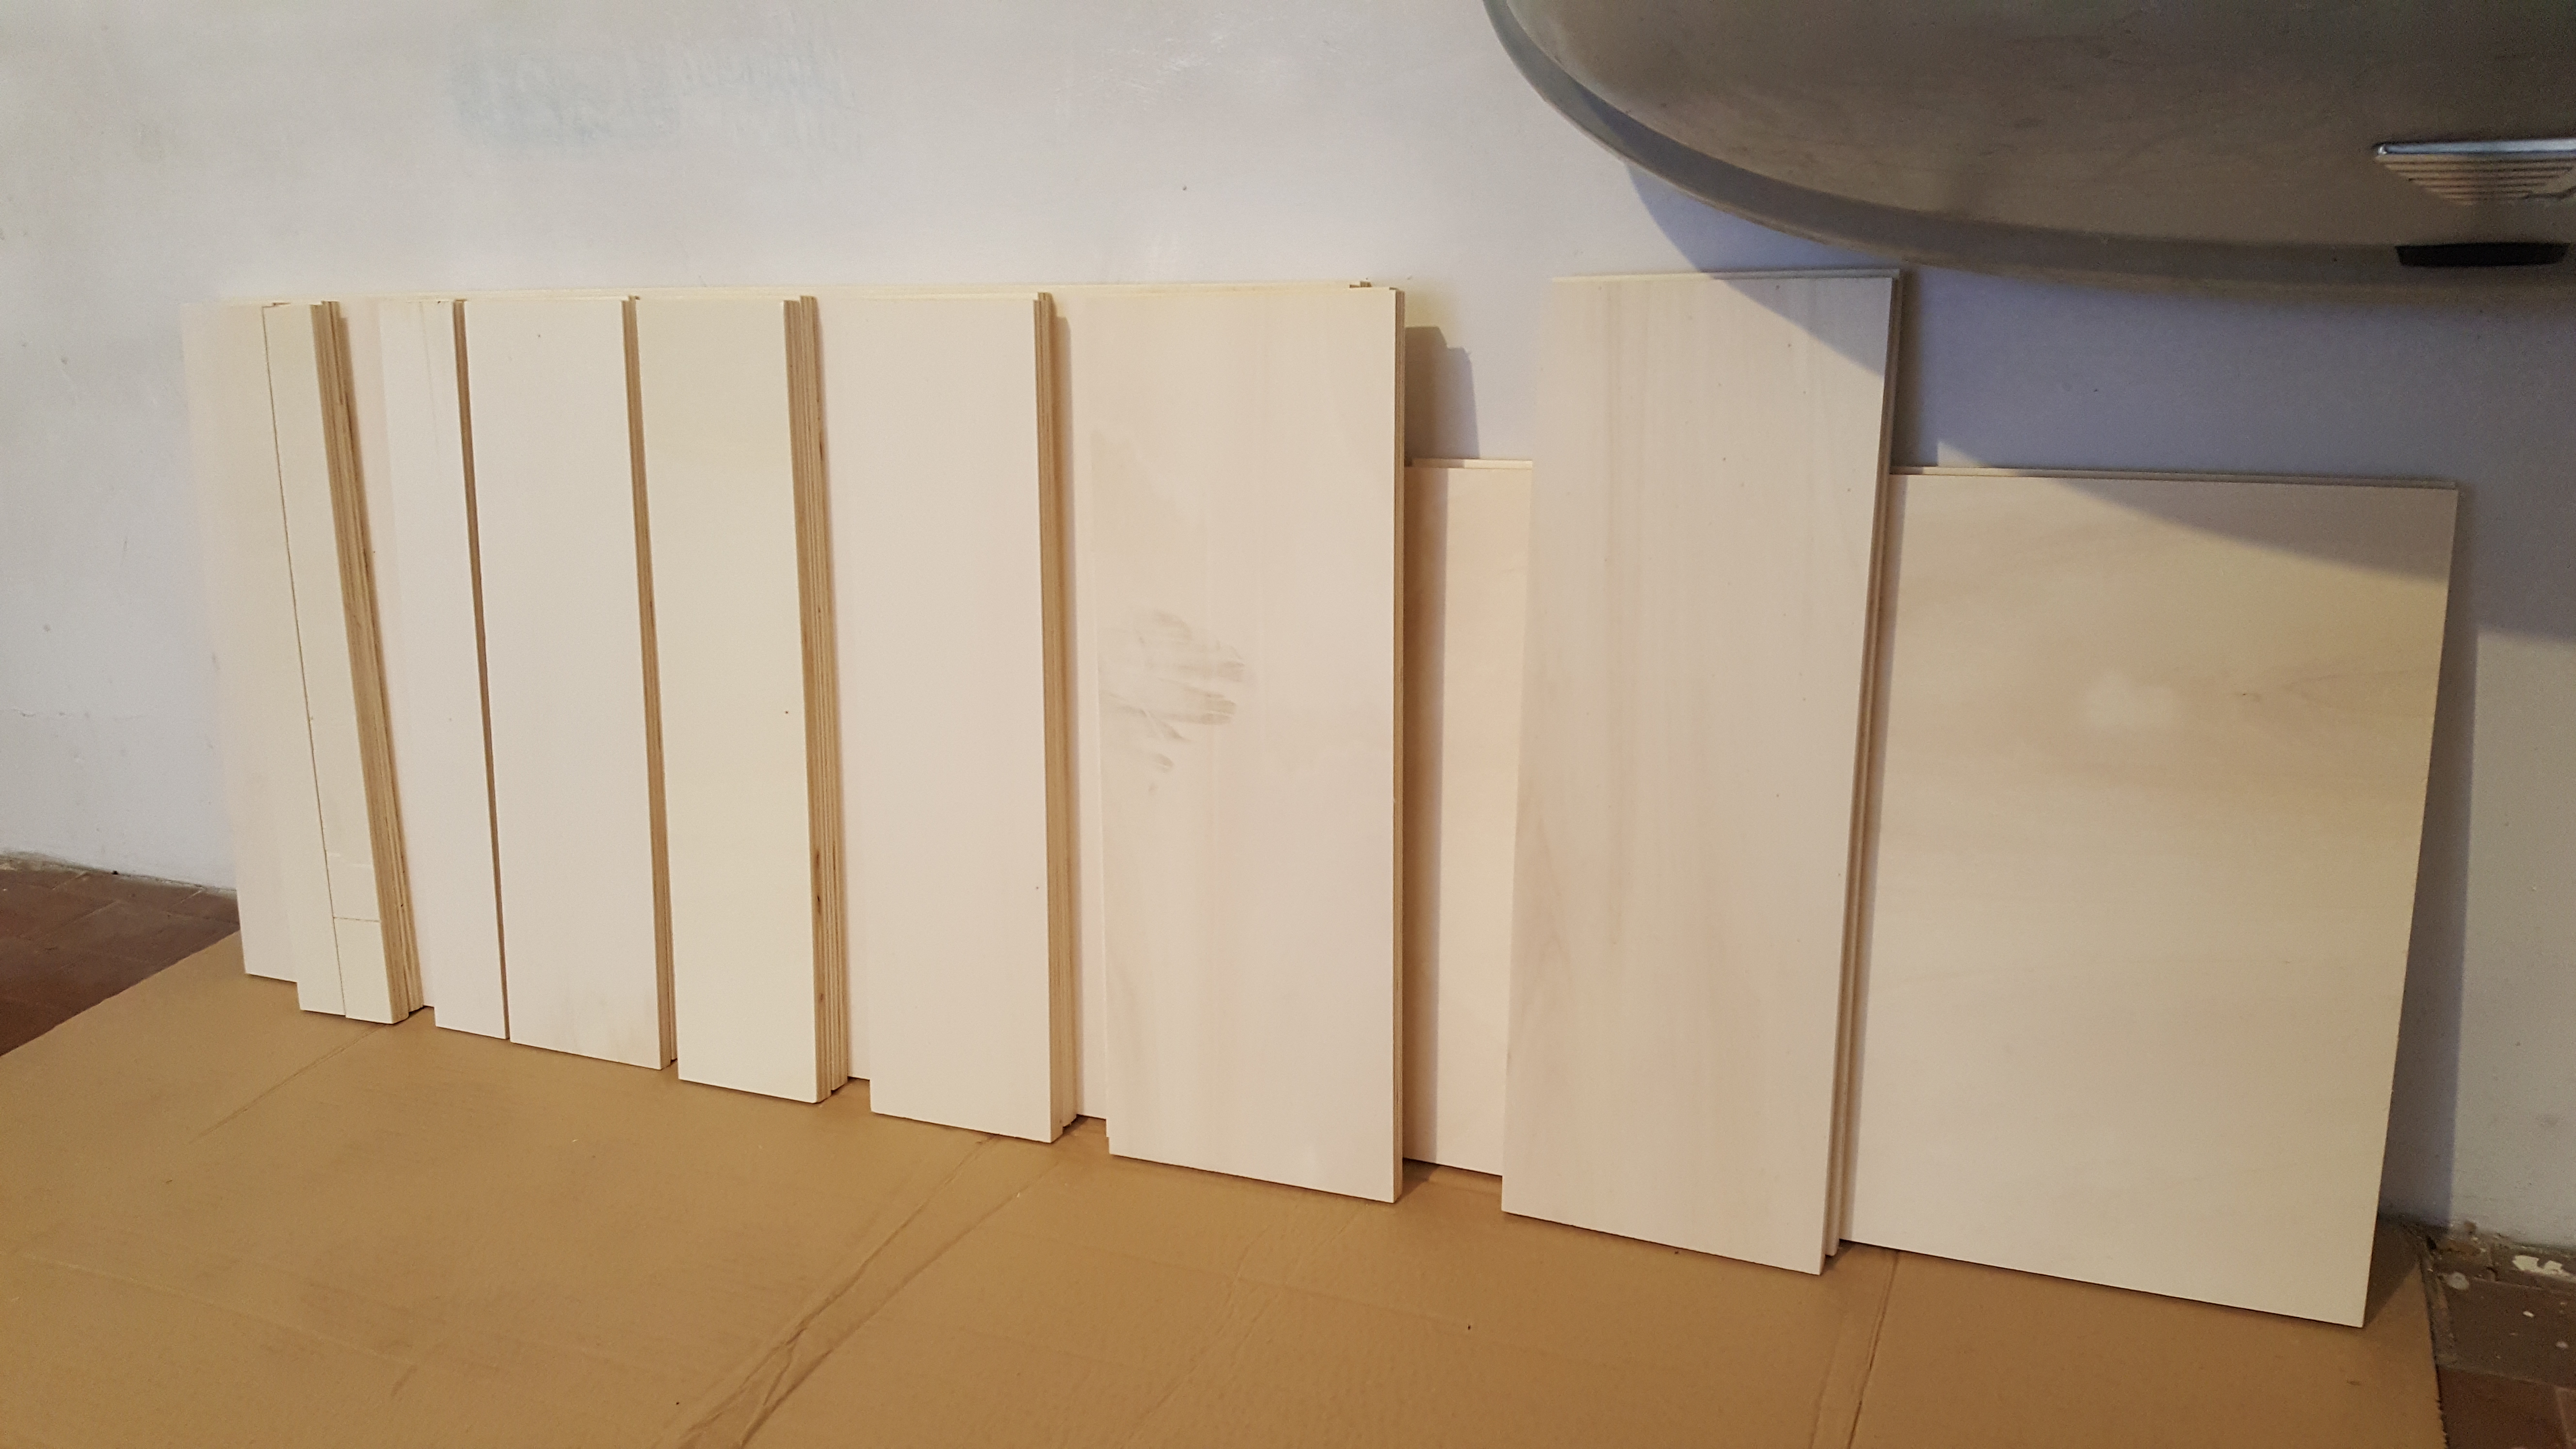
- Multi-layered Wood – 2 square meters (50€ / 60$). You could also use Chipboard Wood instead for half the price, which is the wood type used by to build most pre-made cabinets… However, I strongly advise to go with the multi-layered, as it’s stronger, lighter and won’t have moistness issues.
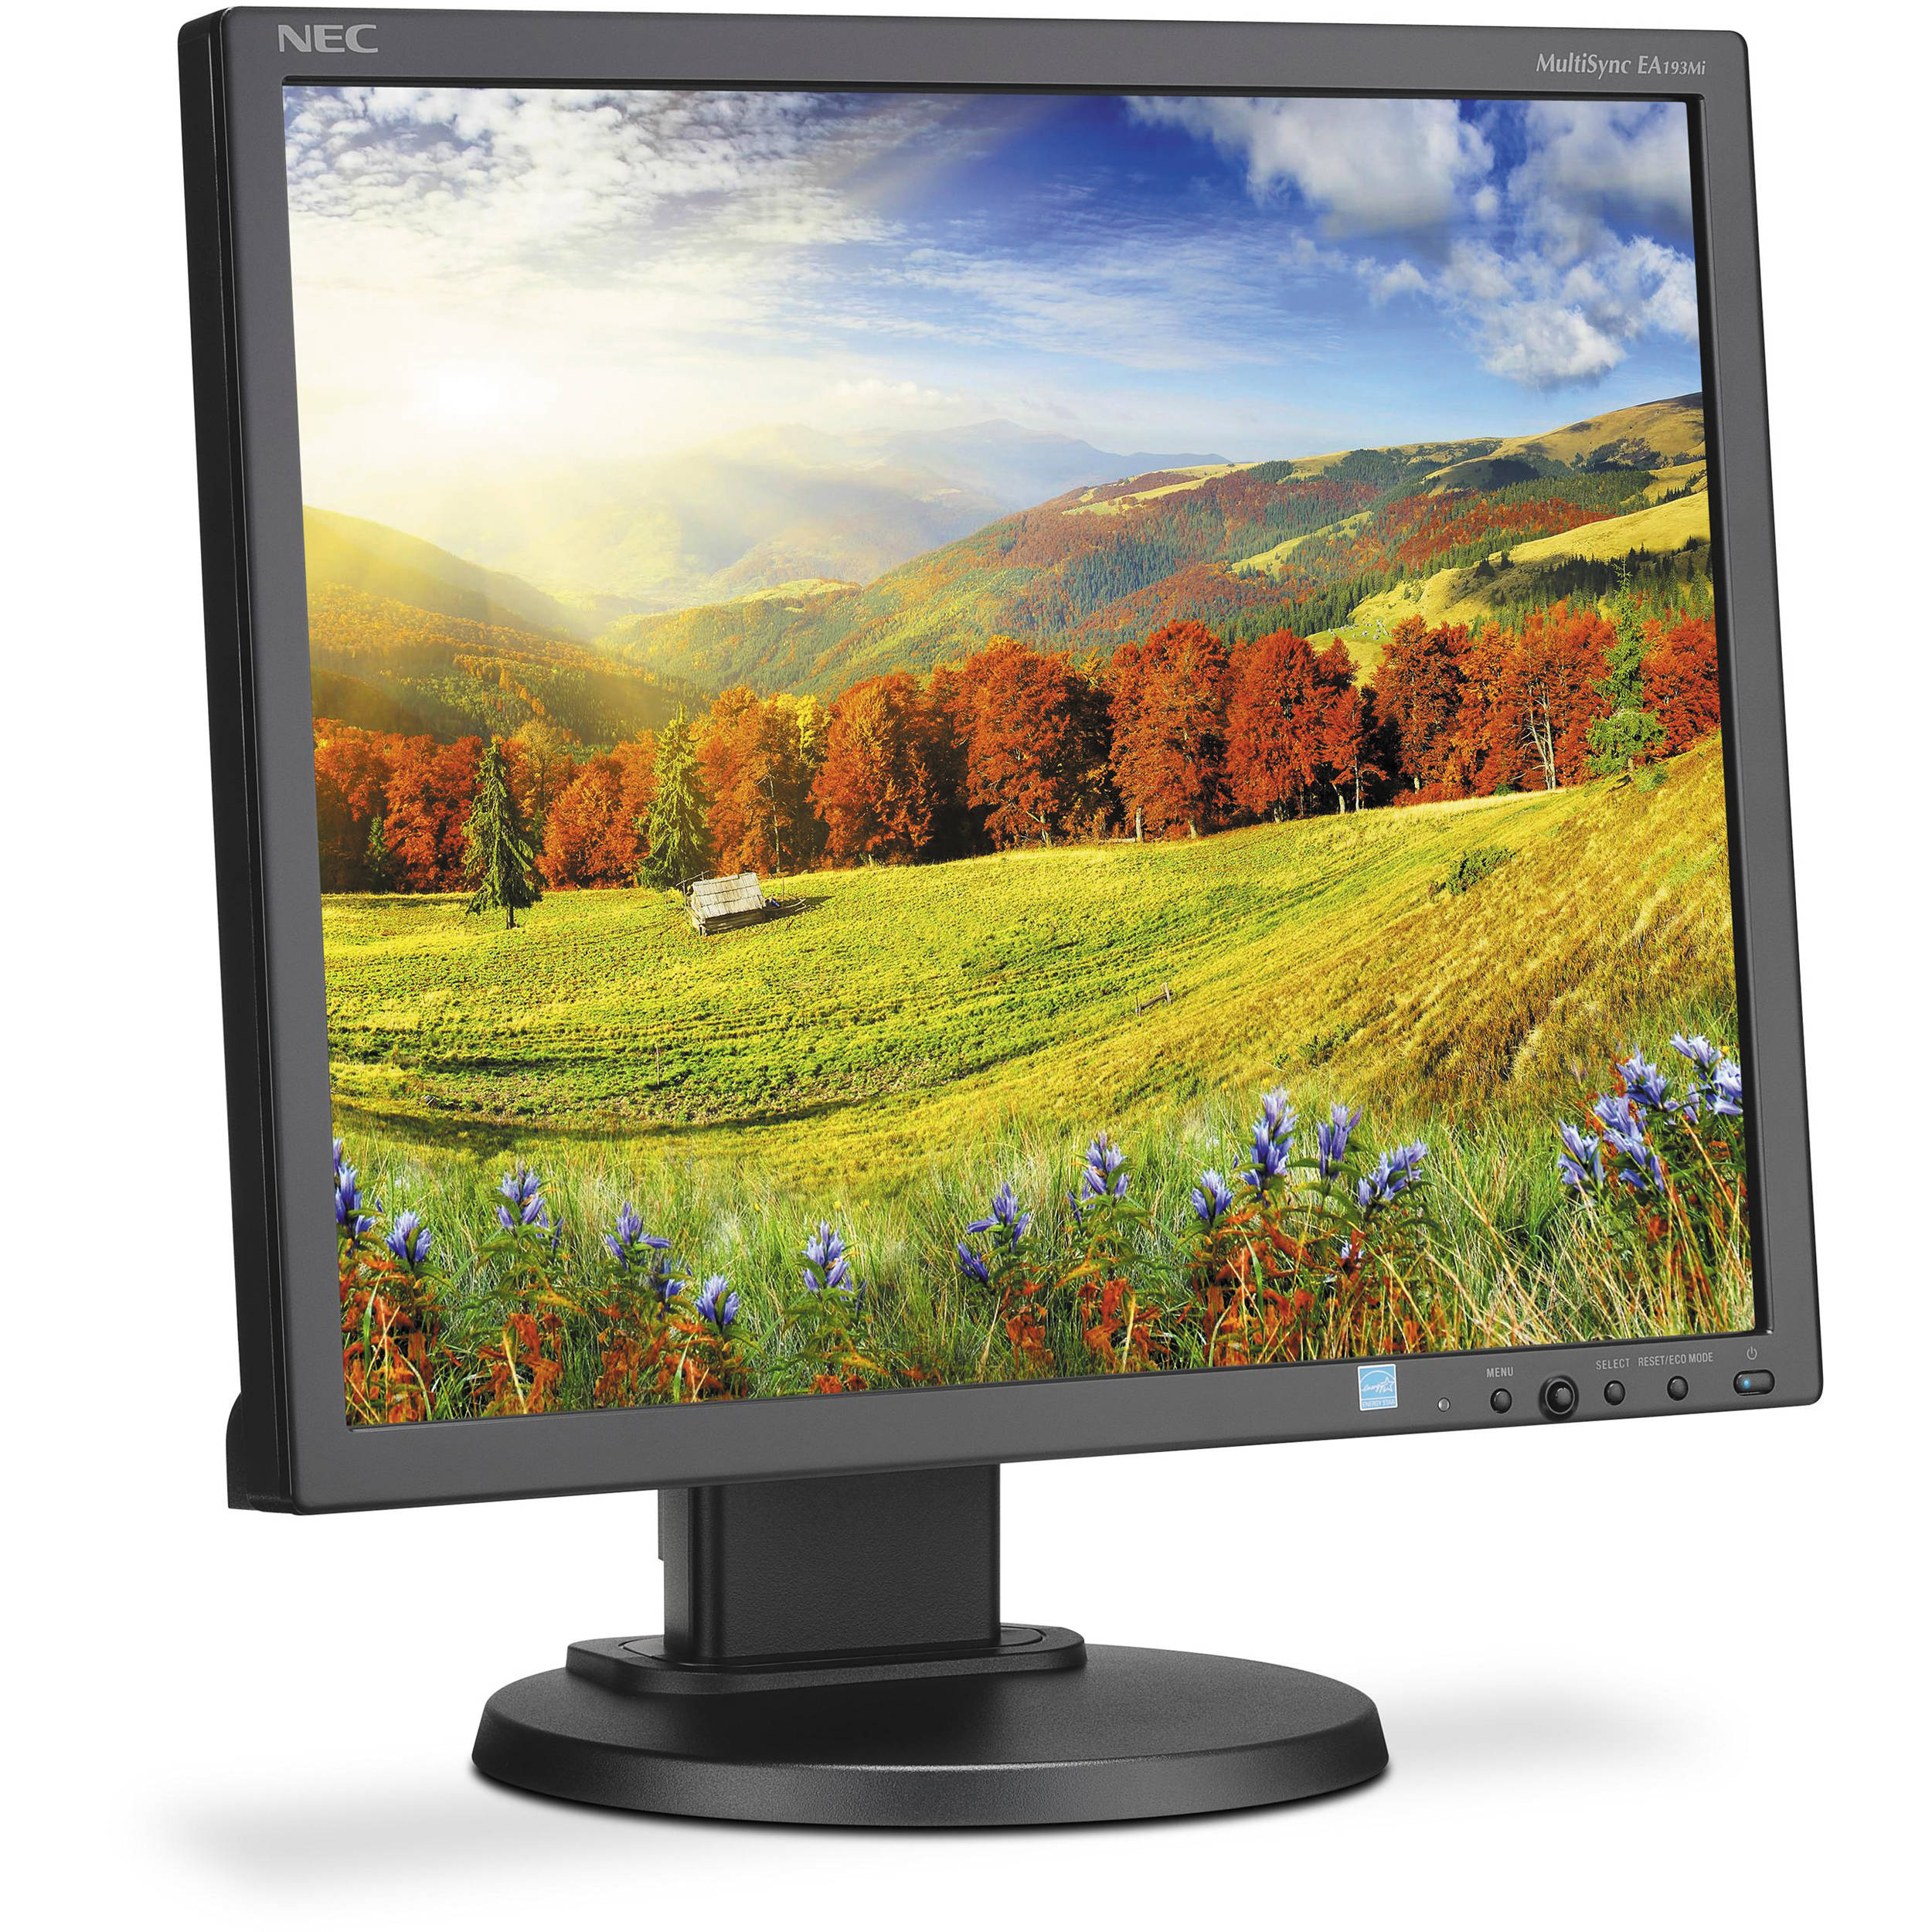
- 19″ TFT monitor (40€ / 50$). Don’t spend much money on this… a used or refurbished one from eBay or Amazon Marketplace will be more than enough – as long as it works! You need to be sure that it will fit in the Bartop cabinet case, hence get one with a 420 mm max width and 340 mm max height rame (or less). Also, ensure that it supports a HDMI and/or DVI connector, otherwise you’ll be forced to also buy a HDMI-to-VGA adapter (6€ / 8$) to make it work with the Raspberry PI output. I was lucky enough to find a refurbished NEC 19″ EA193MI for 40€ on eBay, which has the perfect size (408 x 338 x 65 mm) and a DVI-in.
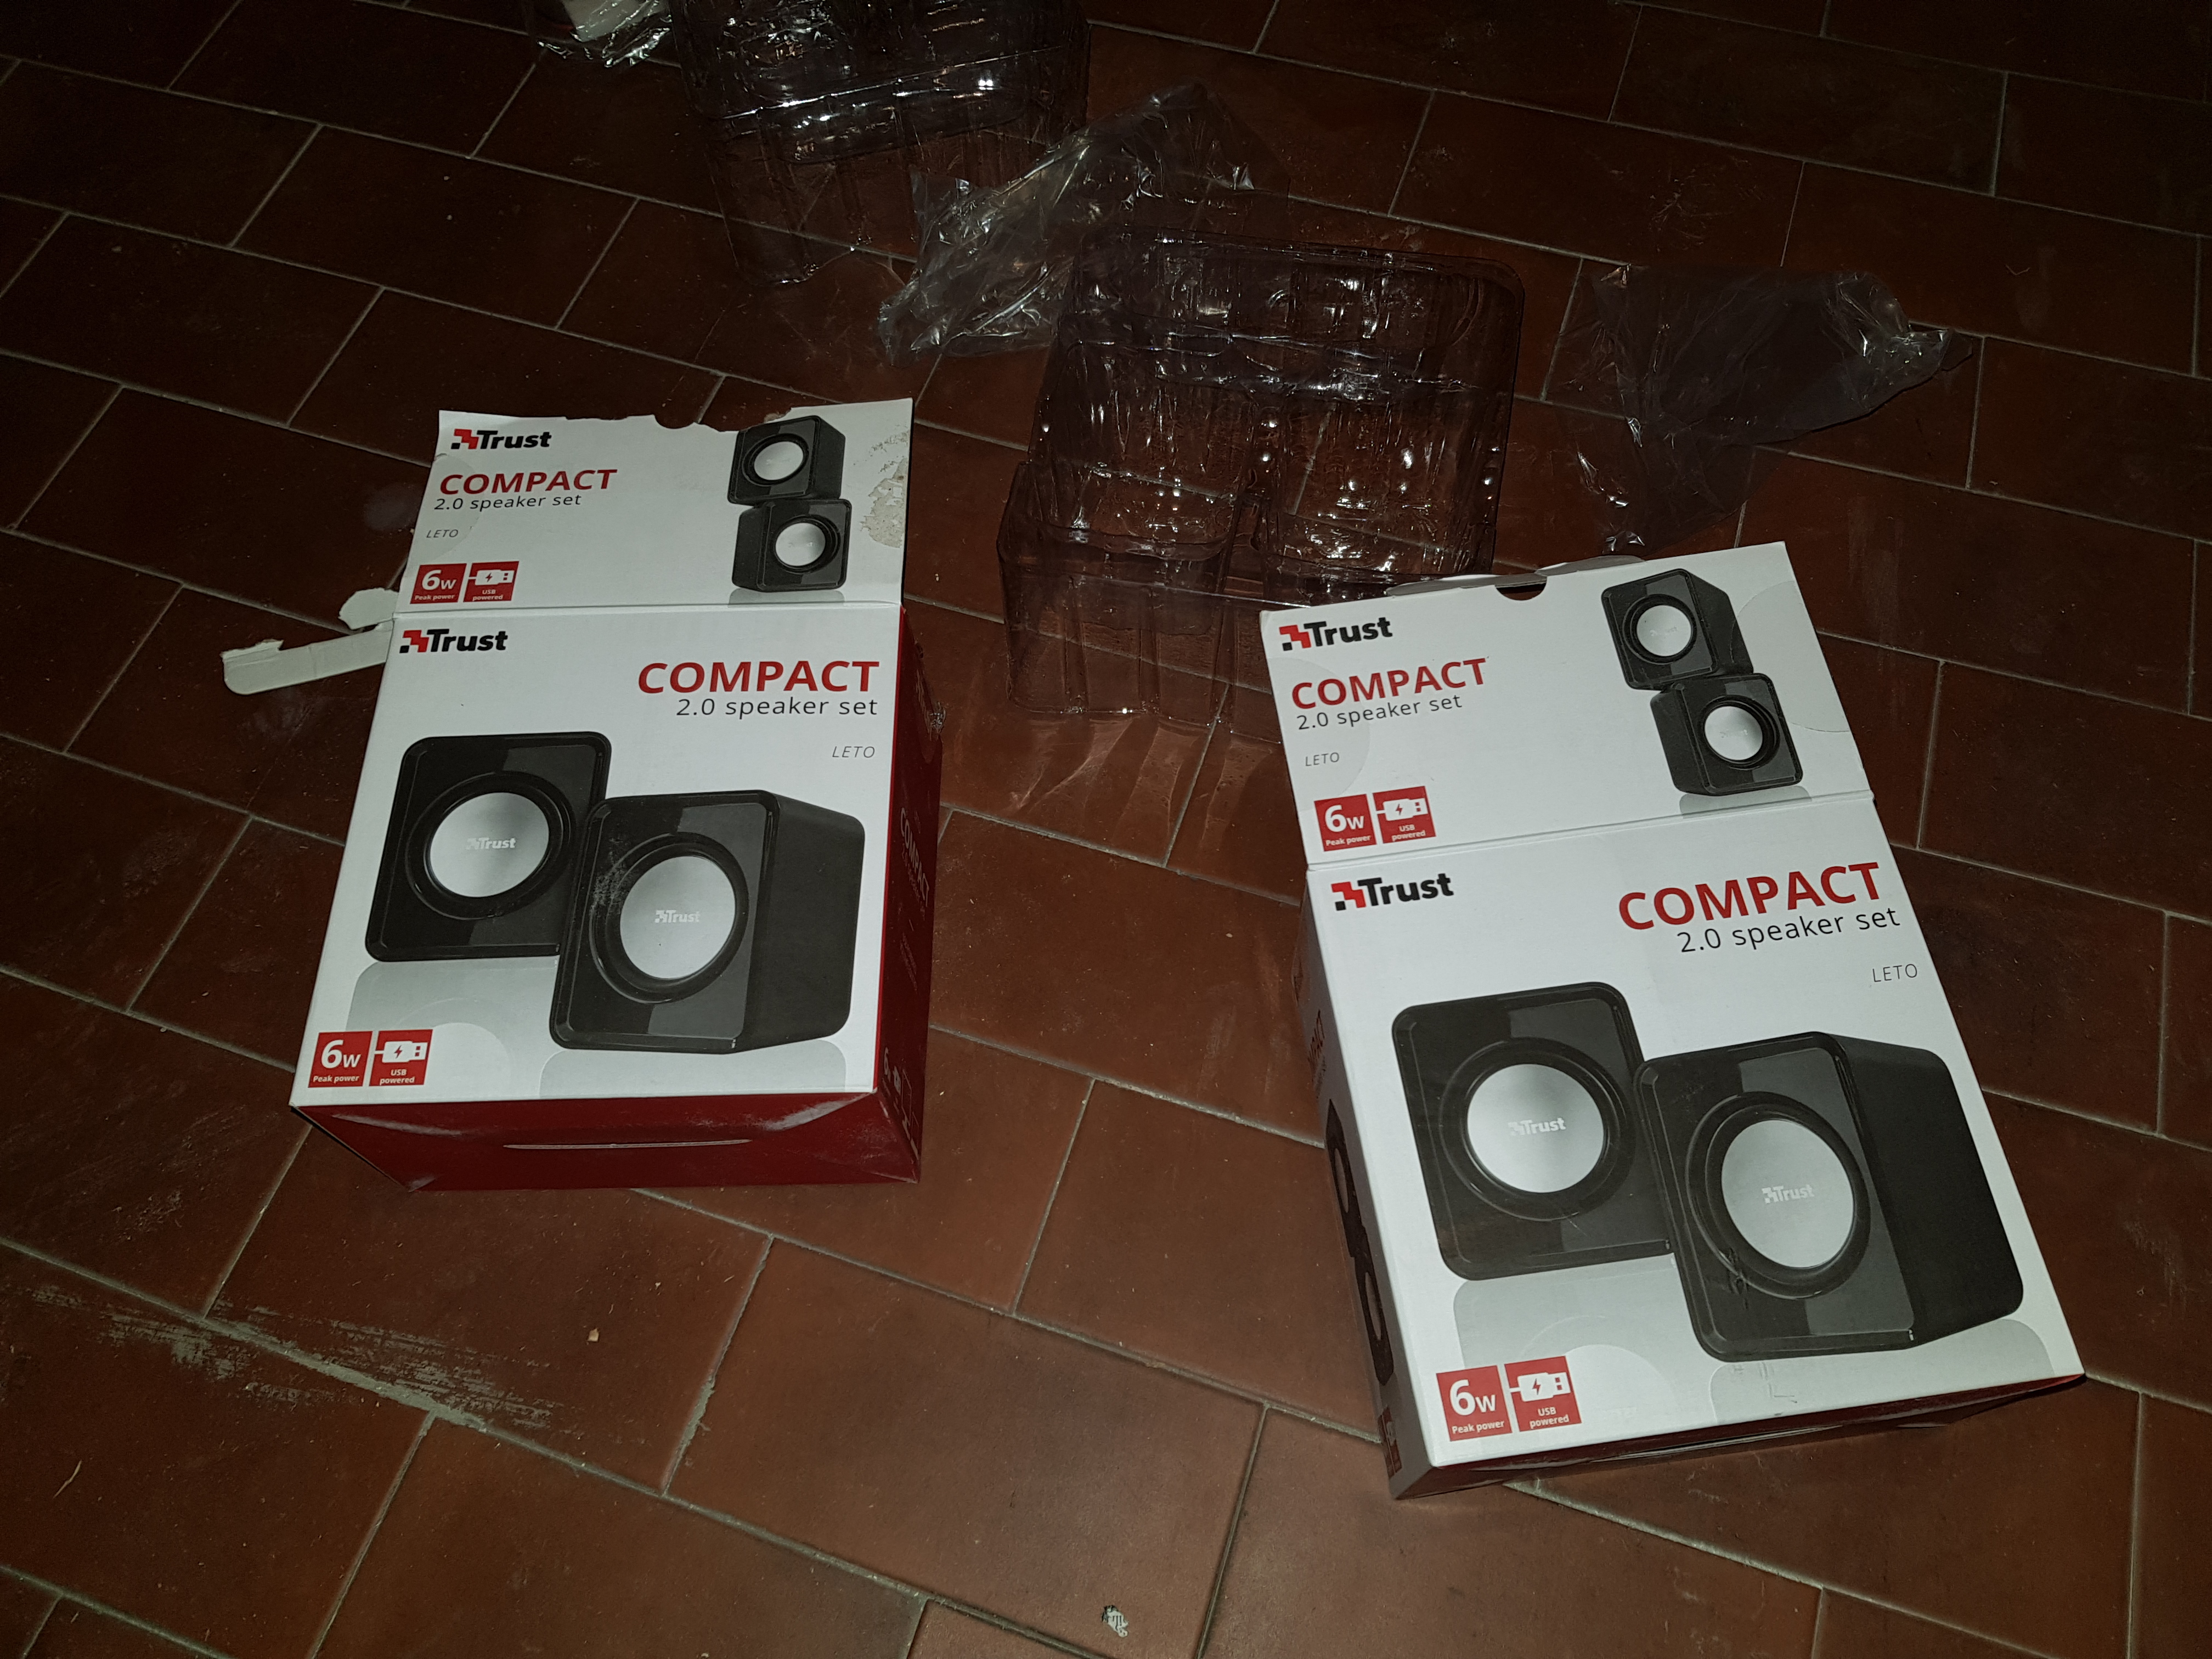
- USB Stereo Speakers (10€ / 12$) for the audio part. For this project I picked the Trust Leto, but any other Speaker set will do as long as the speakers have a width, height and length size of 8 centimeters max: the Arvicka Speakers, the Myguru Stereo and many others around that size would also work.
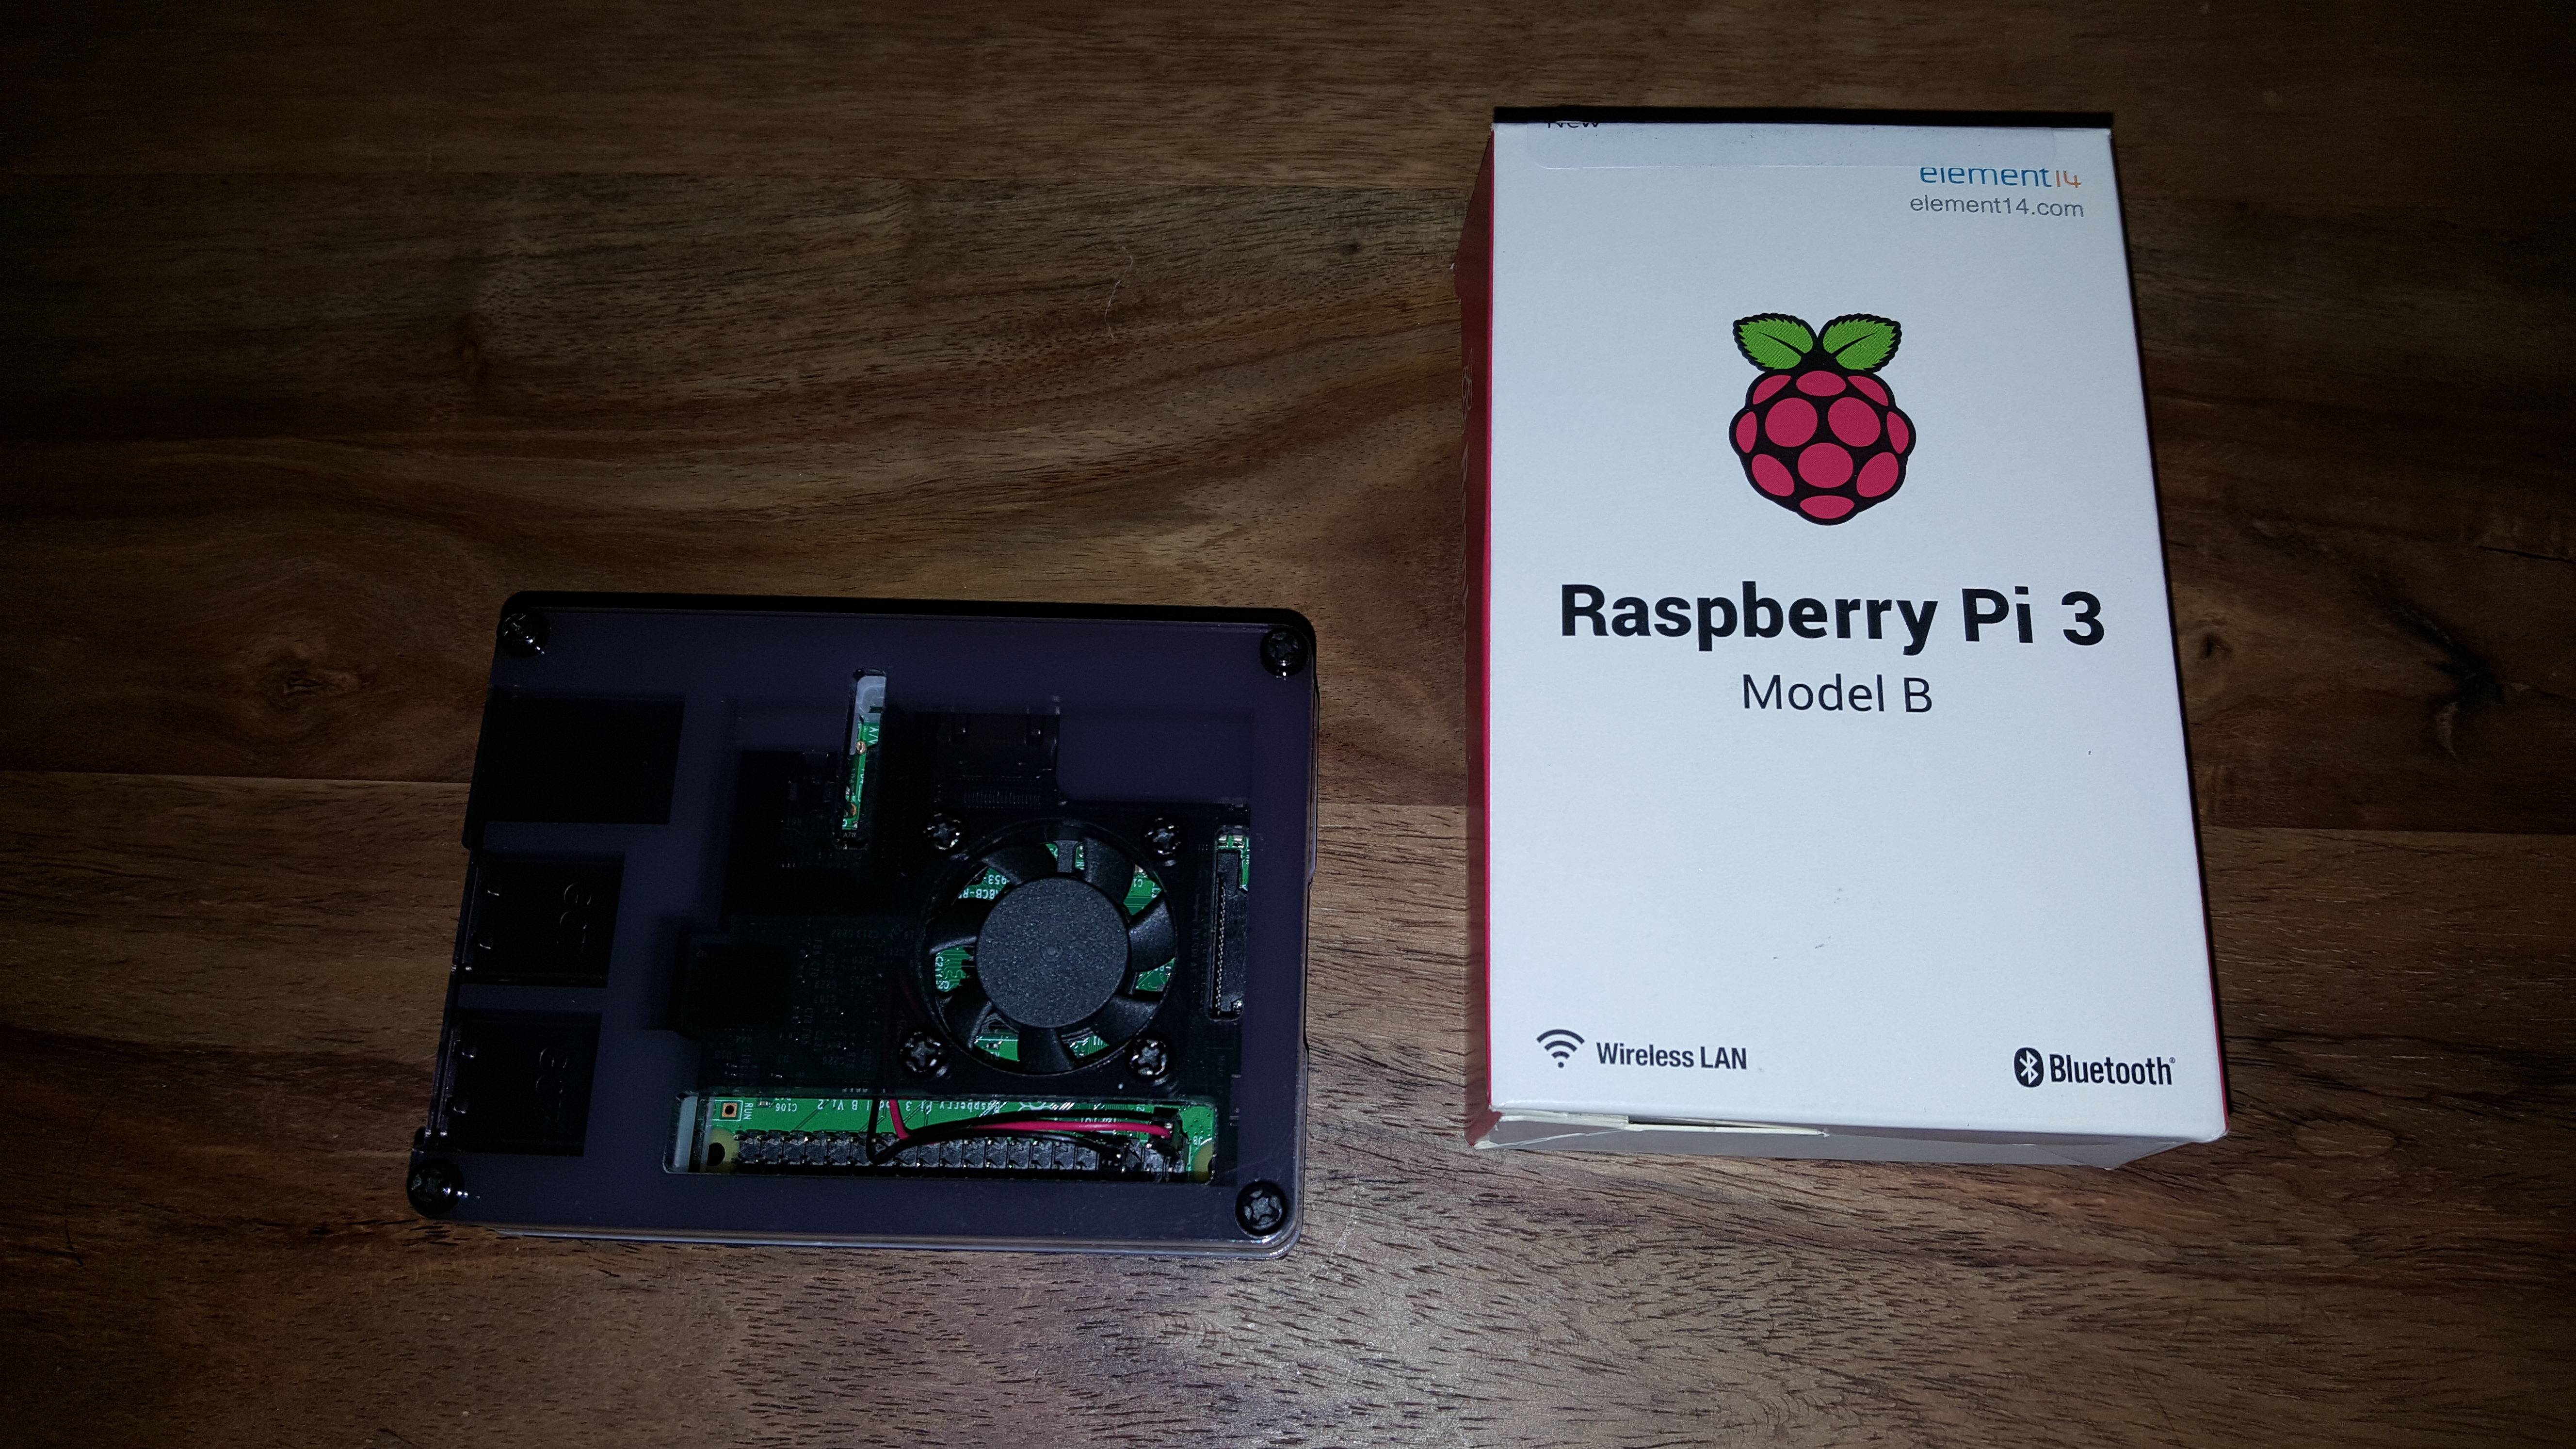
- Raspberry PI 3 B (or B+) kit (40€ / 50$). Be sure to get a kit which includes the board together with a case, the heat sinks and a power supply: there’s a lot of them on Amazon and eBay. The one I used here isn’t available anymore, but this one from CanaKit is almost identical and has the same set of features.
- MicroSD Card – 64GB (15€ / 20$). I got this one for my setup, but the Raspberry PI will accept anything else. You could also go for a 32GB and save some bucks here – it will still contain thousands of ROMs.

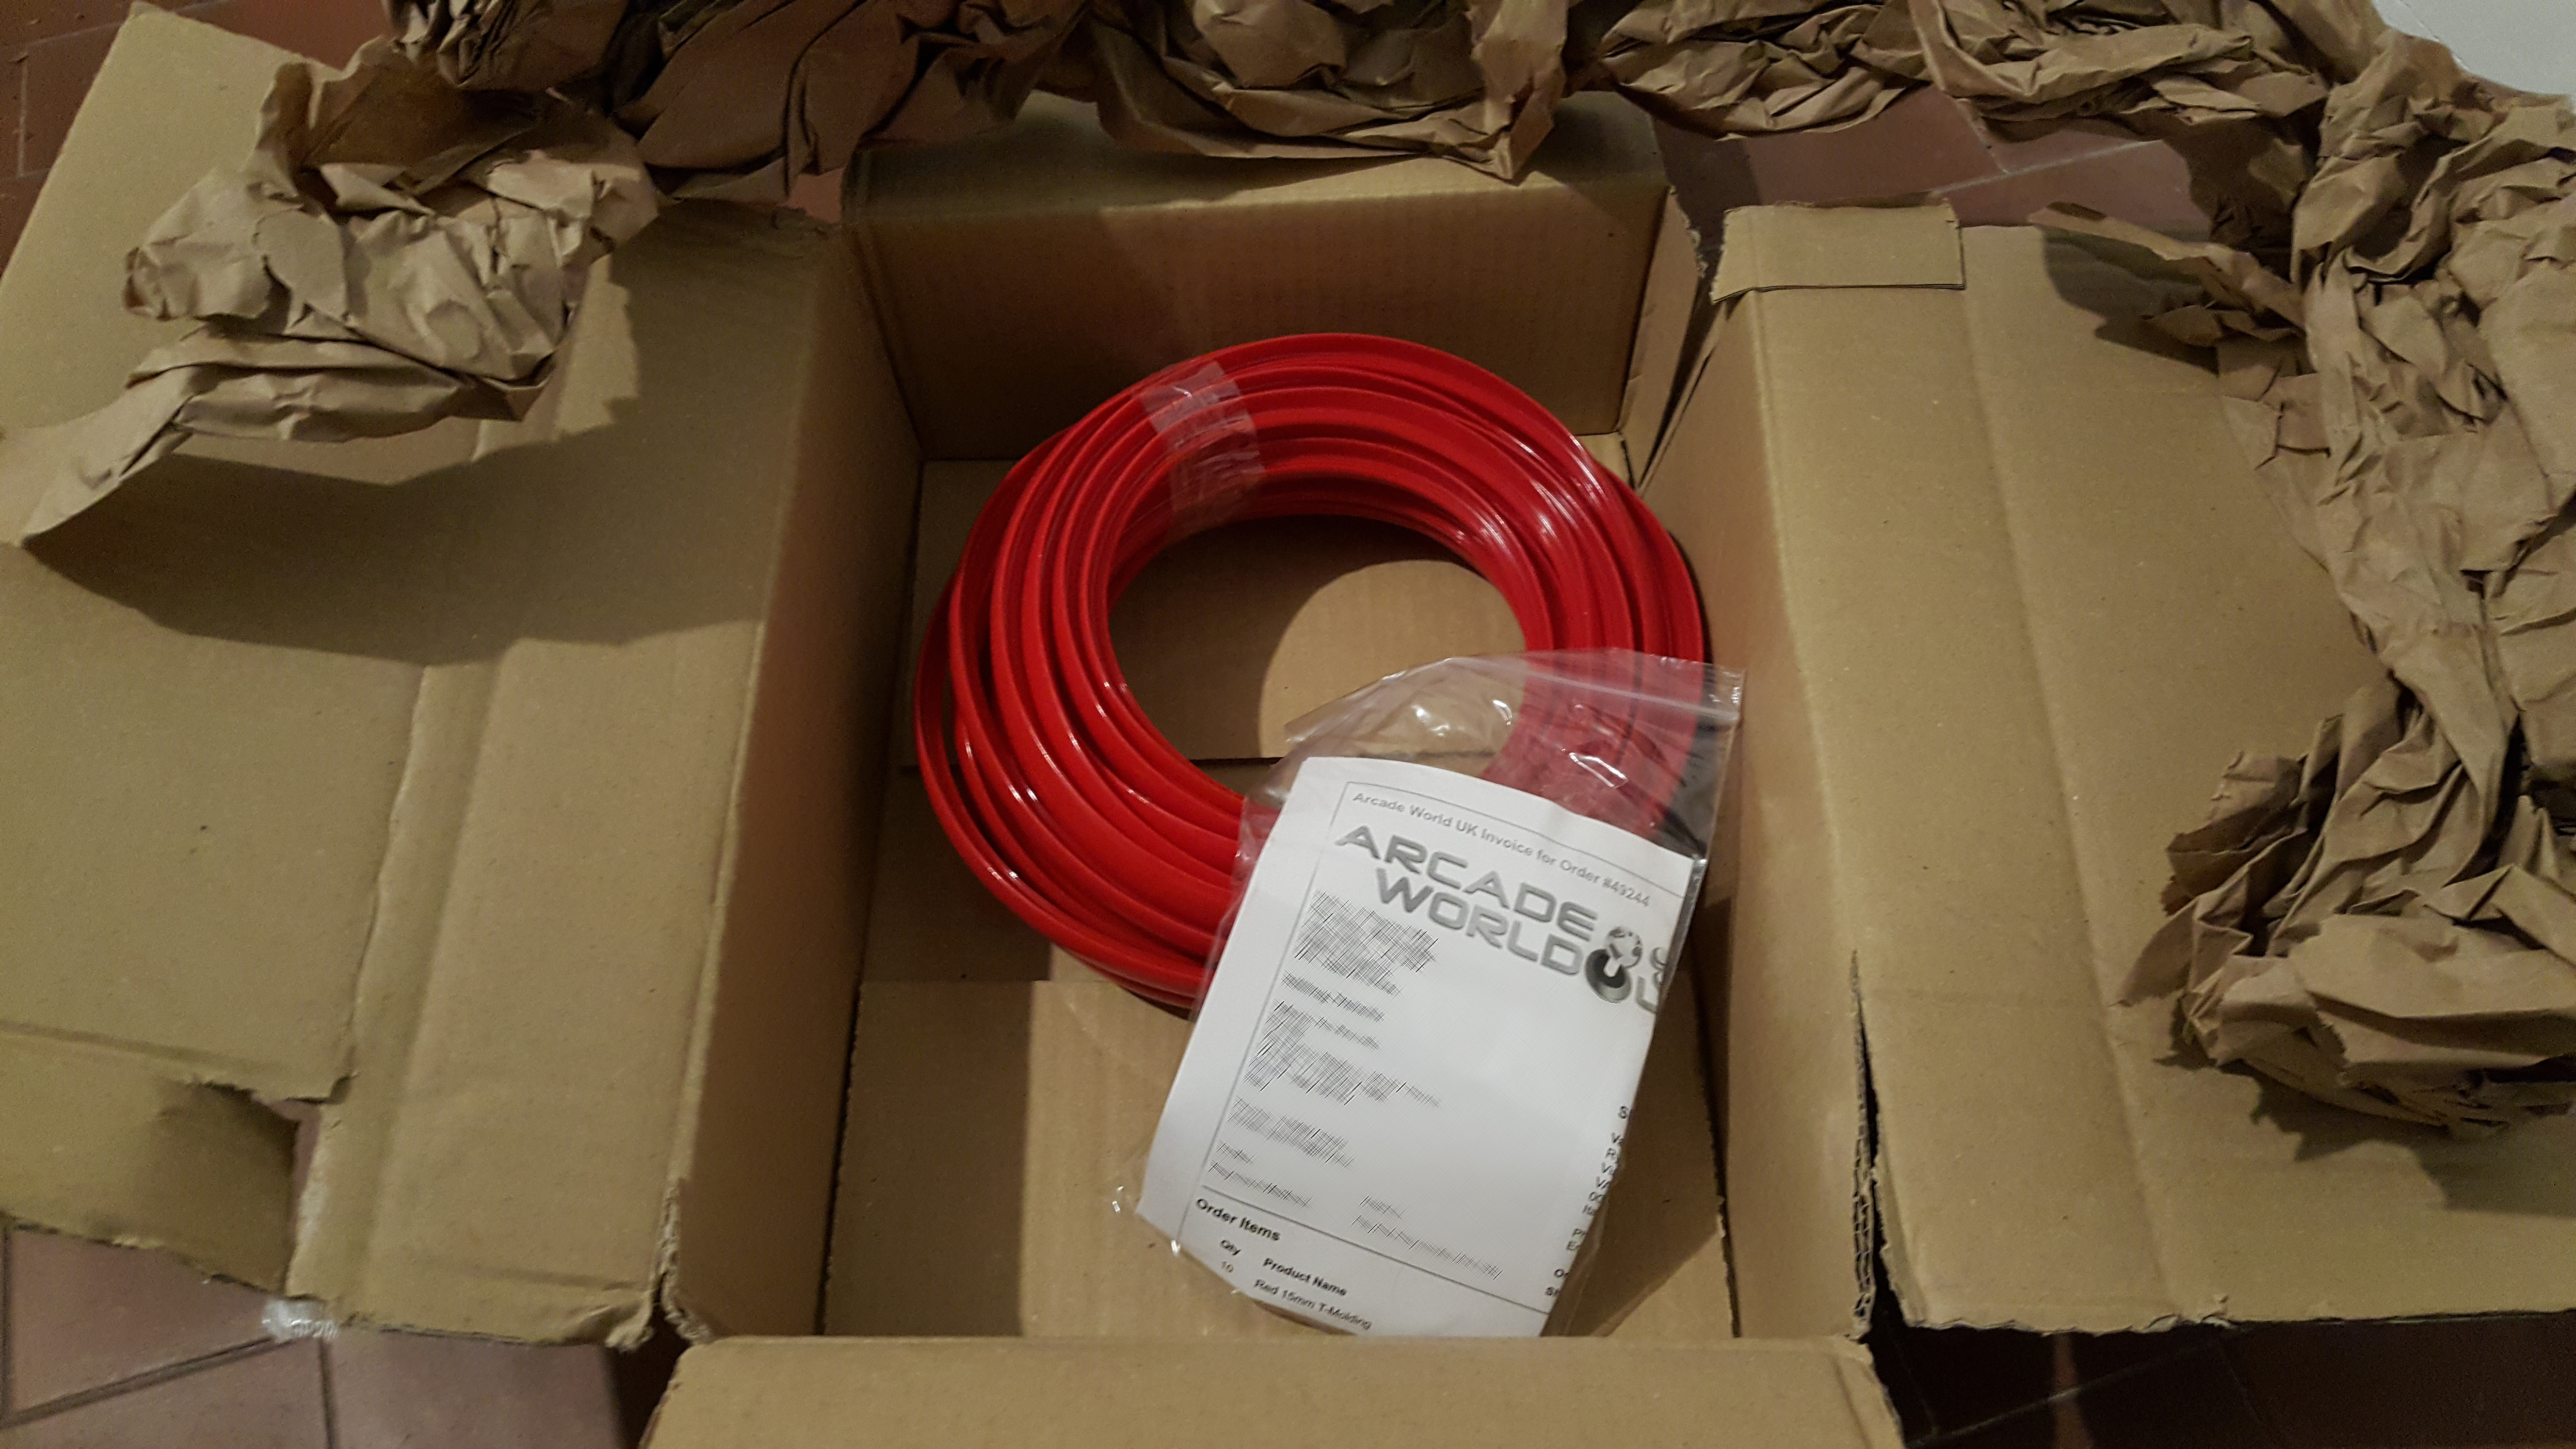
- T-Molding (15mm) – 5 meters (3€ / 3.5$ plus shipping). You’ll probably have to buy this online, as few stores have it available. I got mine from arcadeworlduk.com and I’m very happy with the results, although it was quite difficult to put it on… as you’ll see later on.
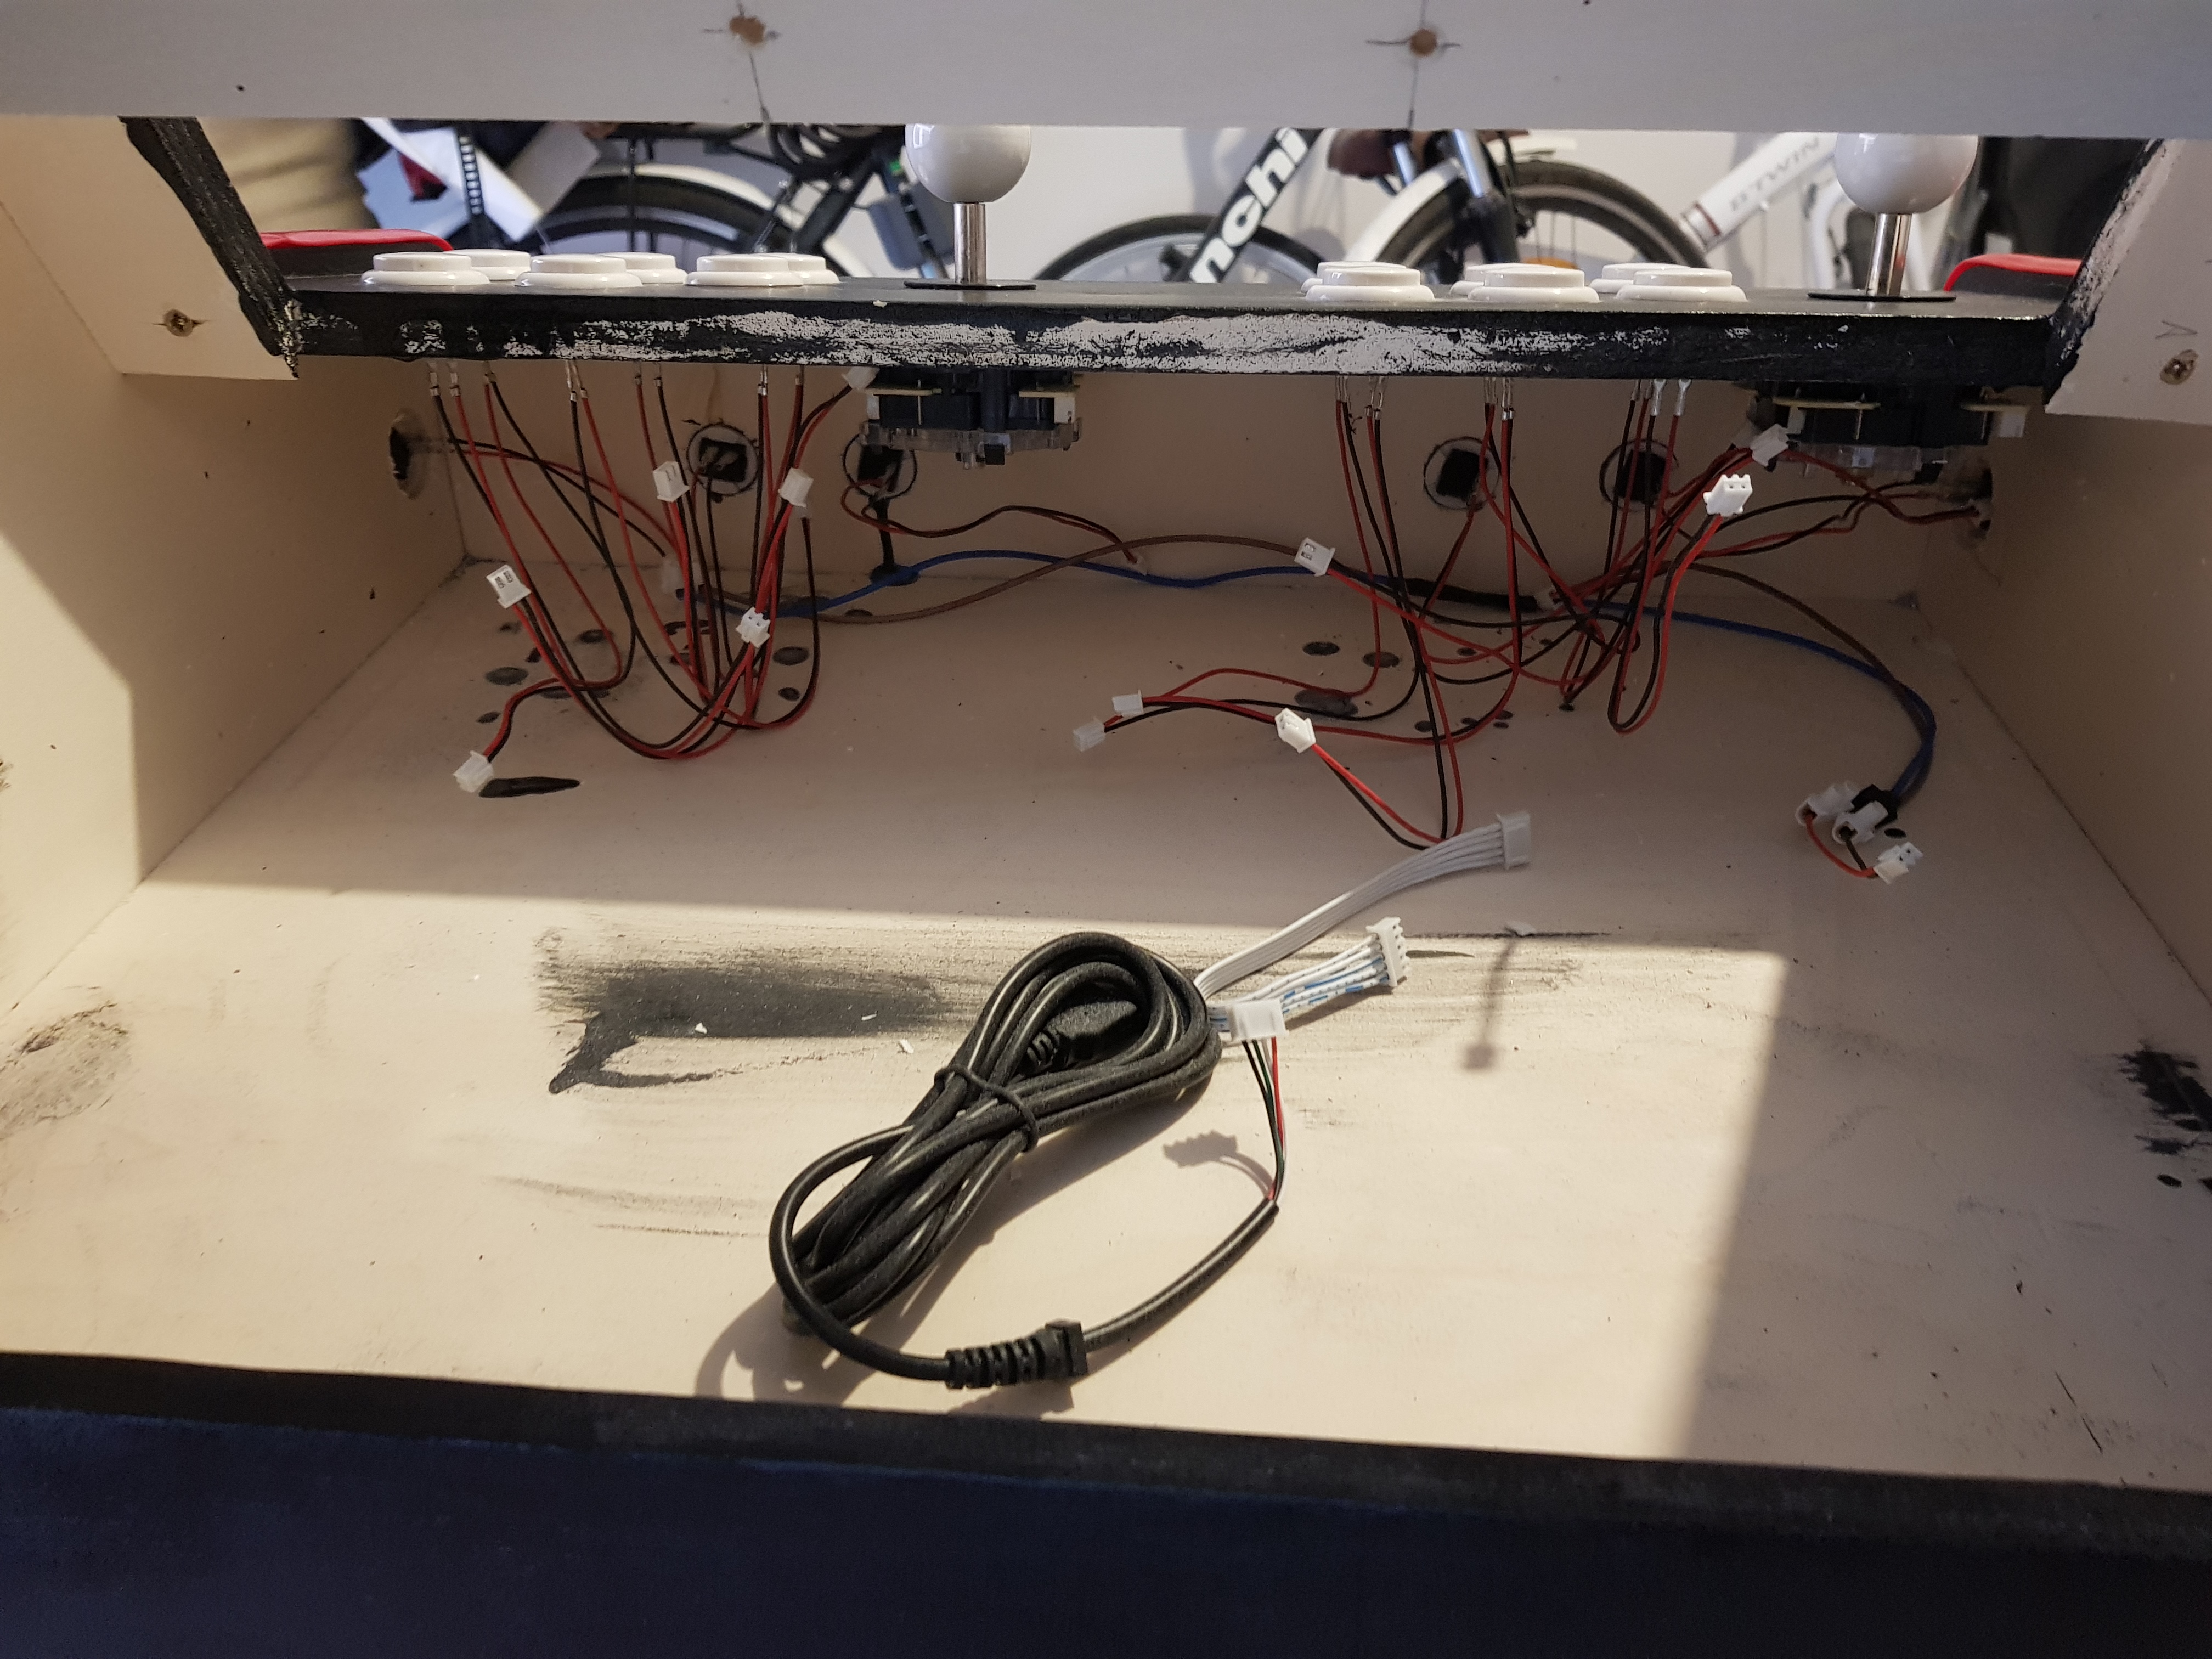
- A couple Raspberry PI Arcade Joystick Kits (35€ / 40$). For this project I bought two of these kits from Quimat which are a perfect fit, but any other kit will do – for example, this Gamelec kit will also work: just remember that the Raspberry PI will need two driver kits (the green circuit board), one for each joystick, hence you need to avoid the 2-kits that come with a single driver board (such as this one – just like the item description says).
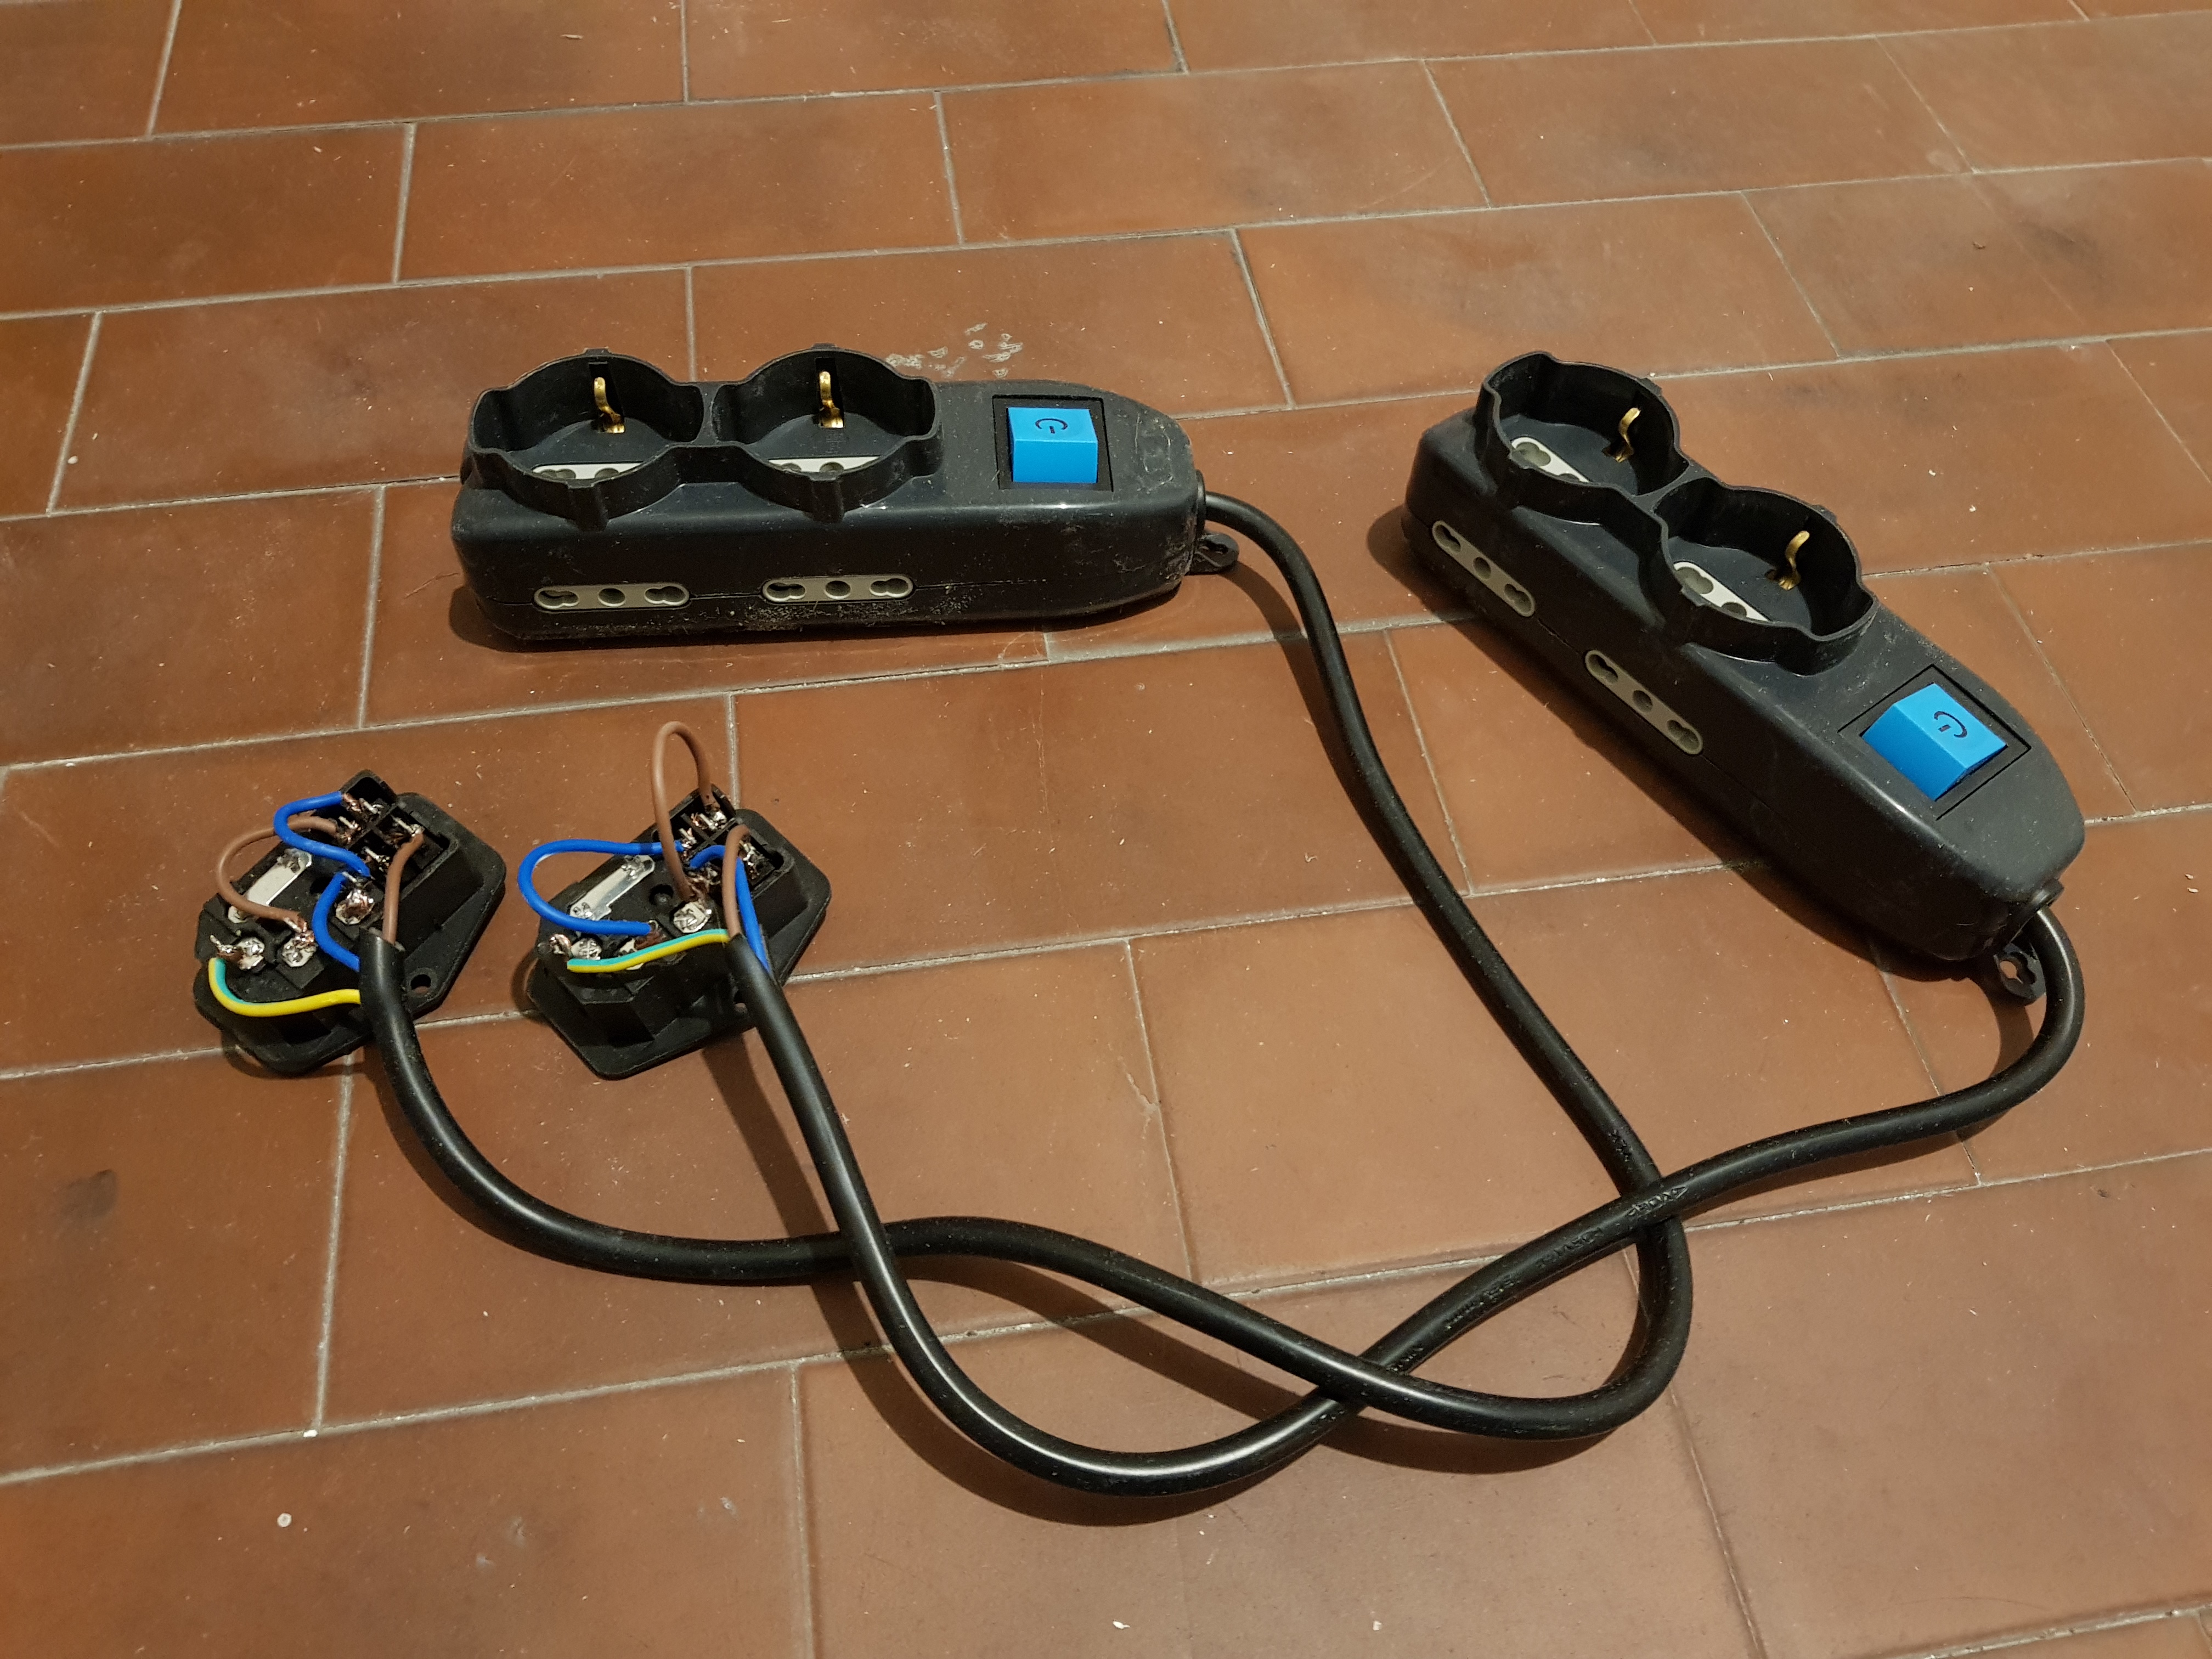
- A power strip (5€ / 7$) and a IEC320 C14 power socket connector (5€ / 7$ including the 10A fuse) for the power part. Just get these stuff on Amazon without worrying too much for the size, as the cabinet will have enough space to host it. If you can, try to get both of them with an ON/OFF switch for increased security and versatility: I did that to be able to turn the Bartop ON and OFF from the inside and/or from the outside.
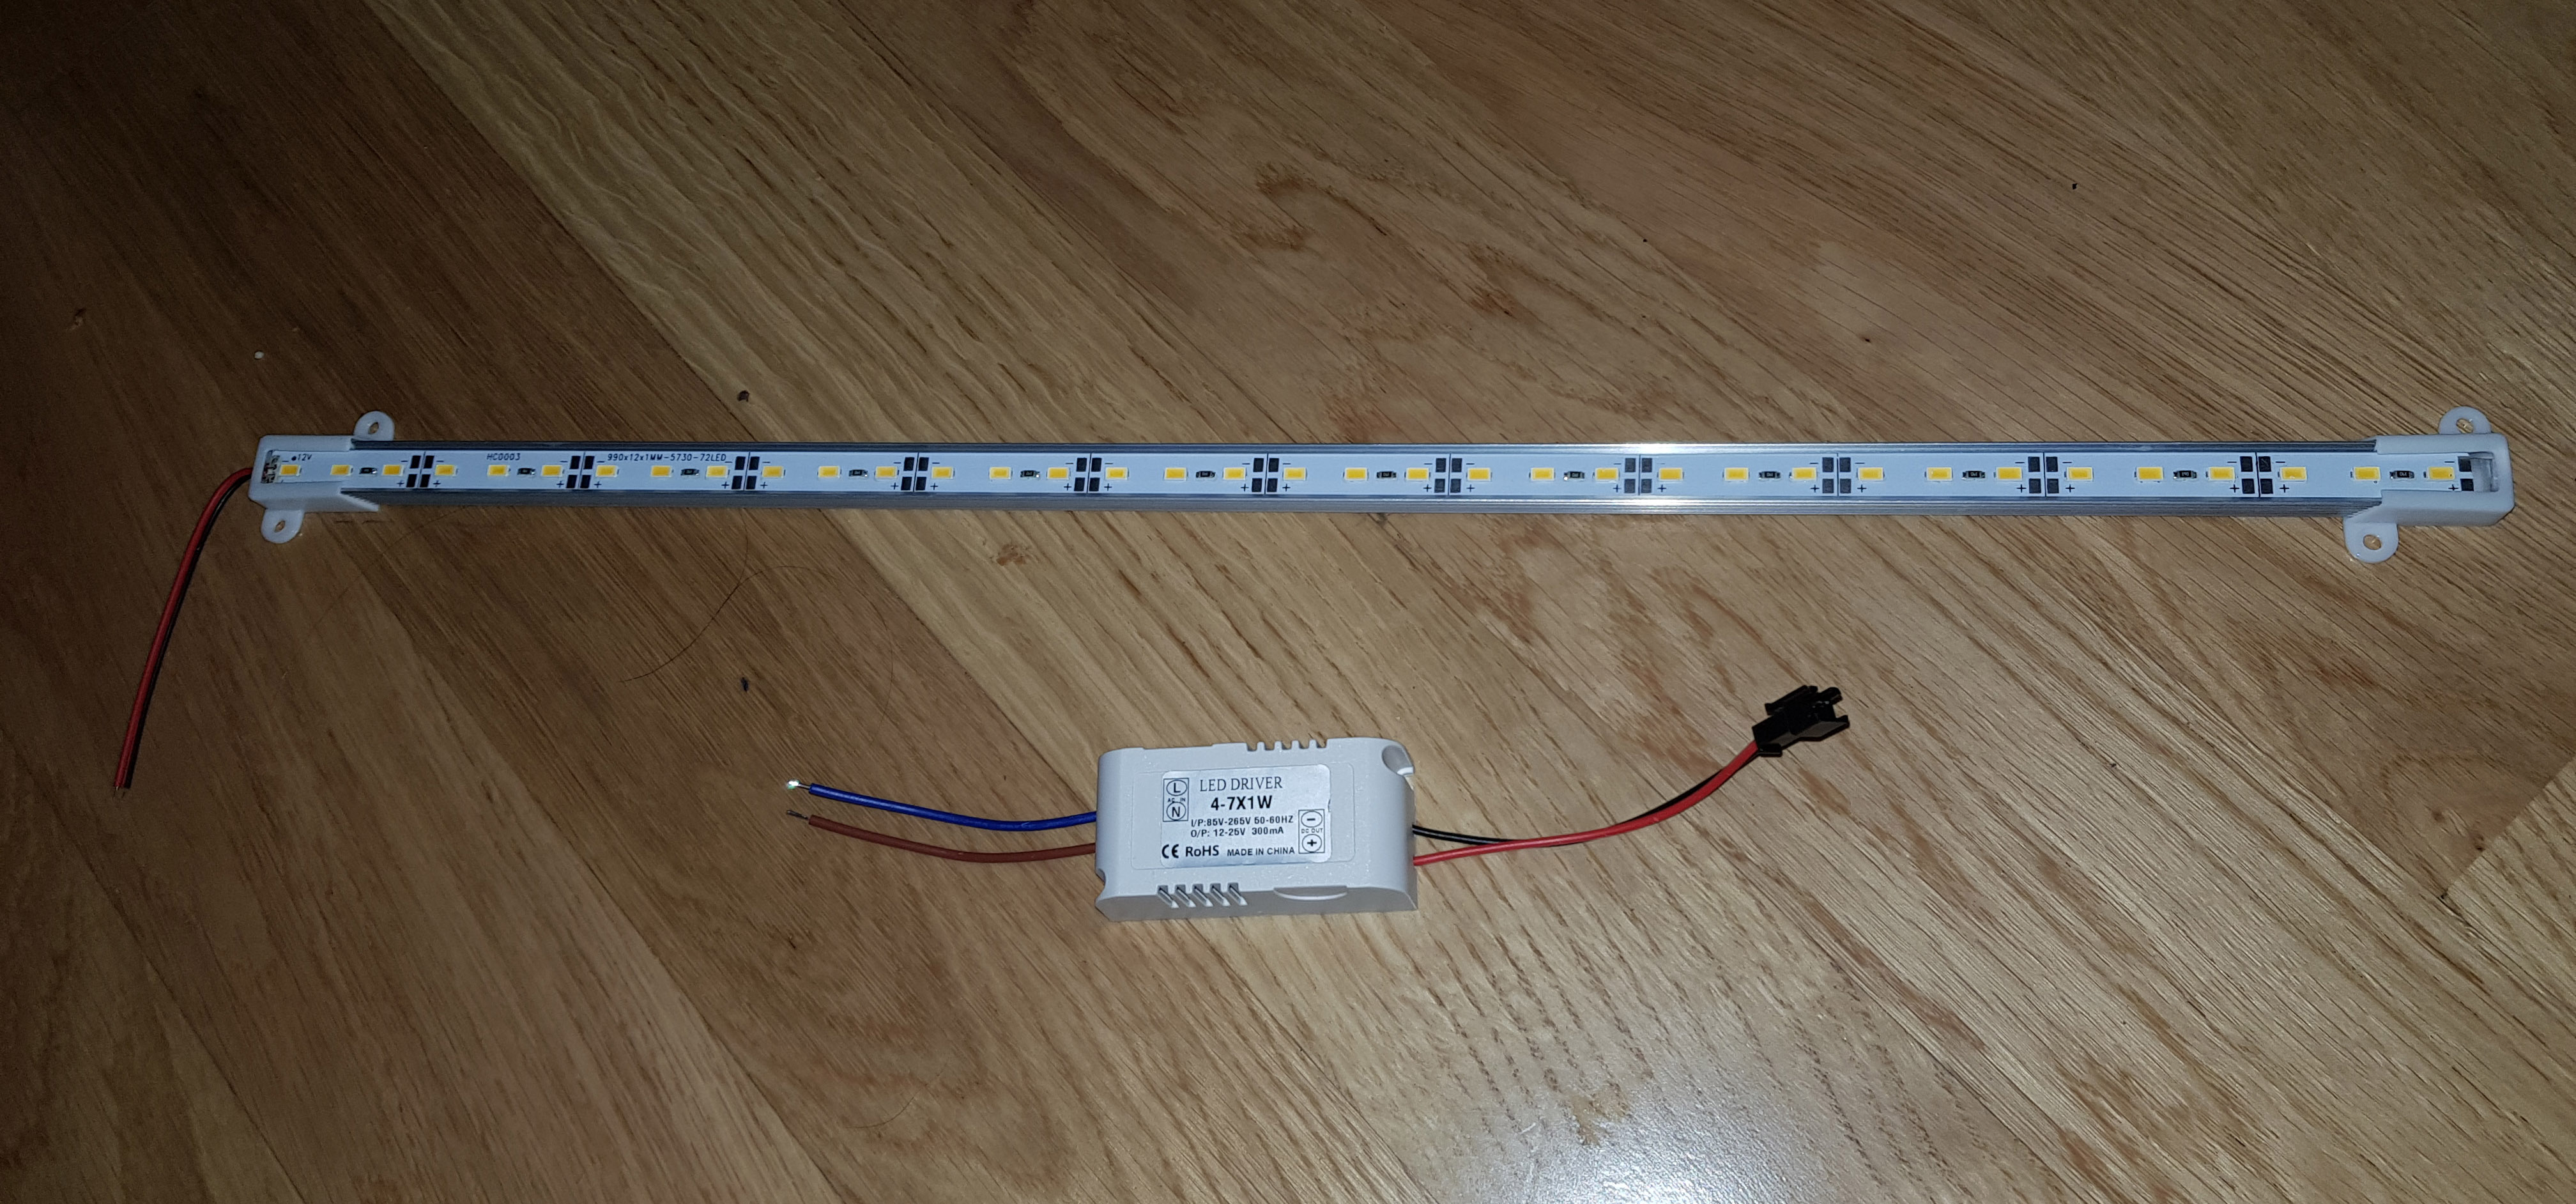
- A (optional) 50cm LED bar (3€ / 5$) and a AC/DC driver to power it (5€ / 7$ including the power plug). You’ll only need these if you want to retro-illuminate the Bartop Marquee through a simple (and energy efficient) LED-based back-light mechanism. Once again I got everything from Amazon: the SODIAL led bar was ridiculously cheap, as well as the Liqoo 12W Led Driver that I used to power it: both of them performed greatly.
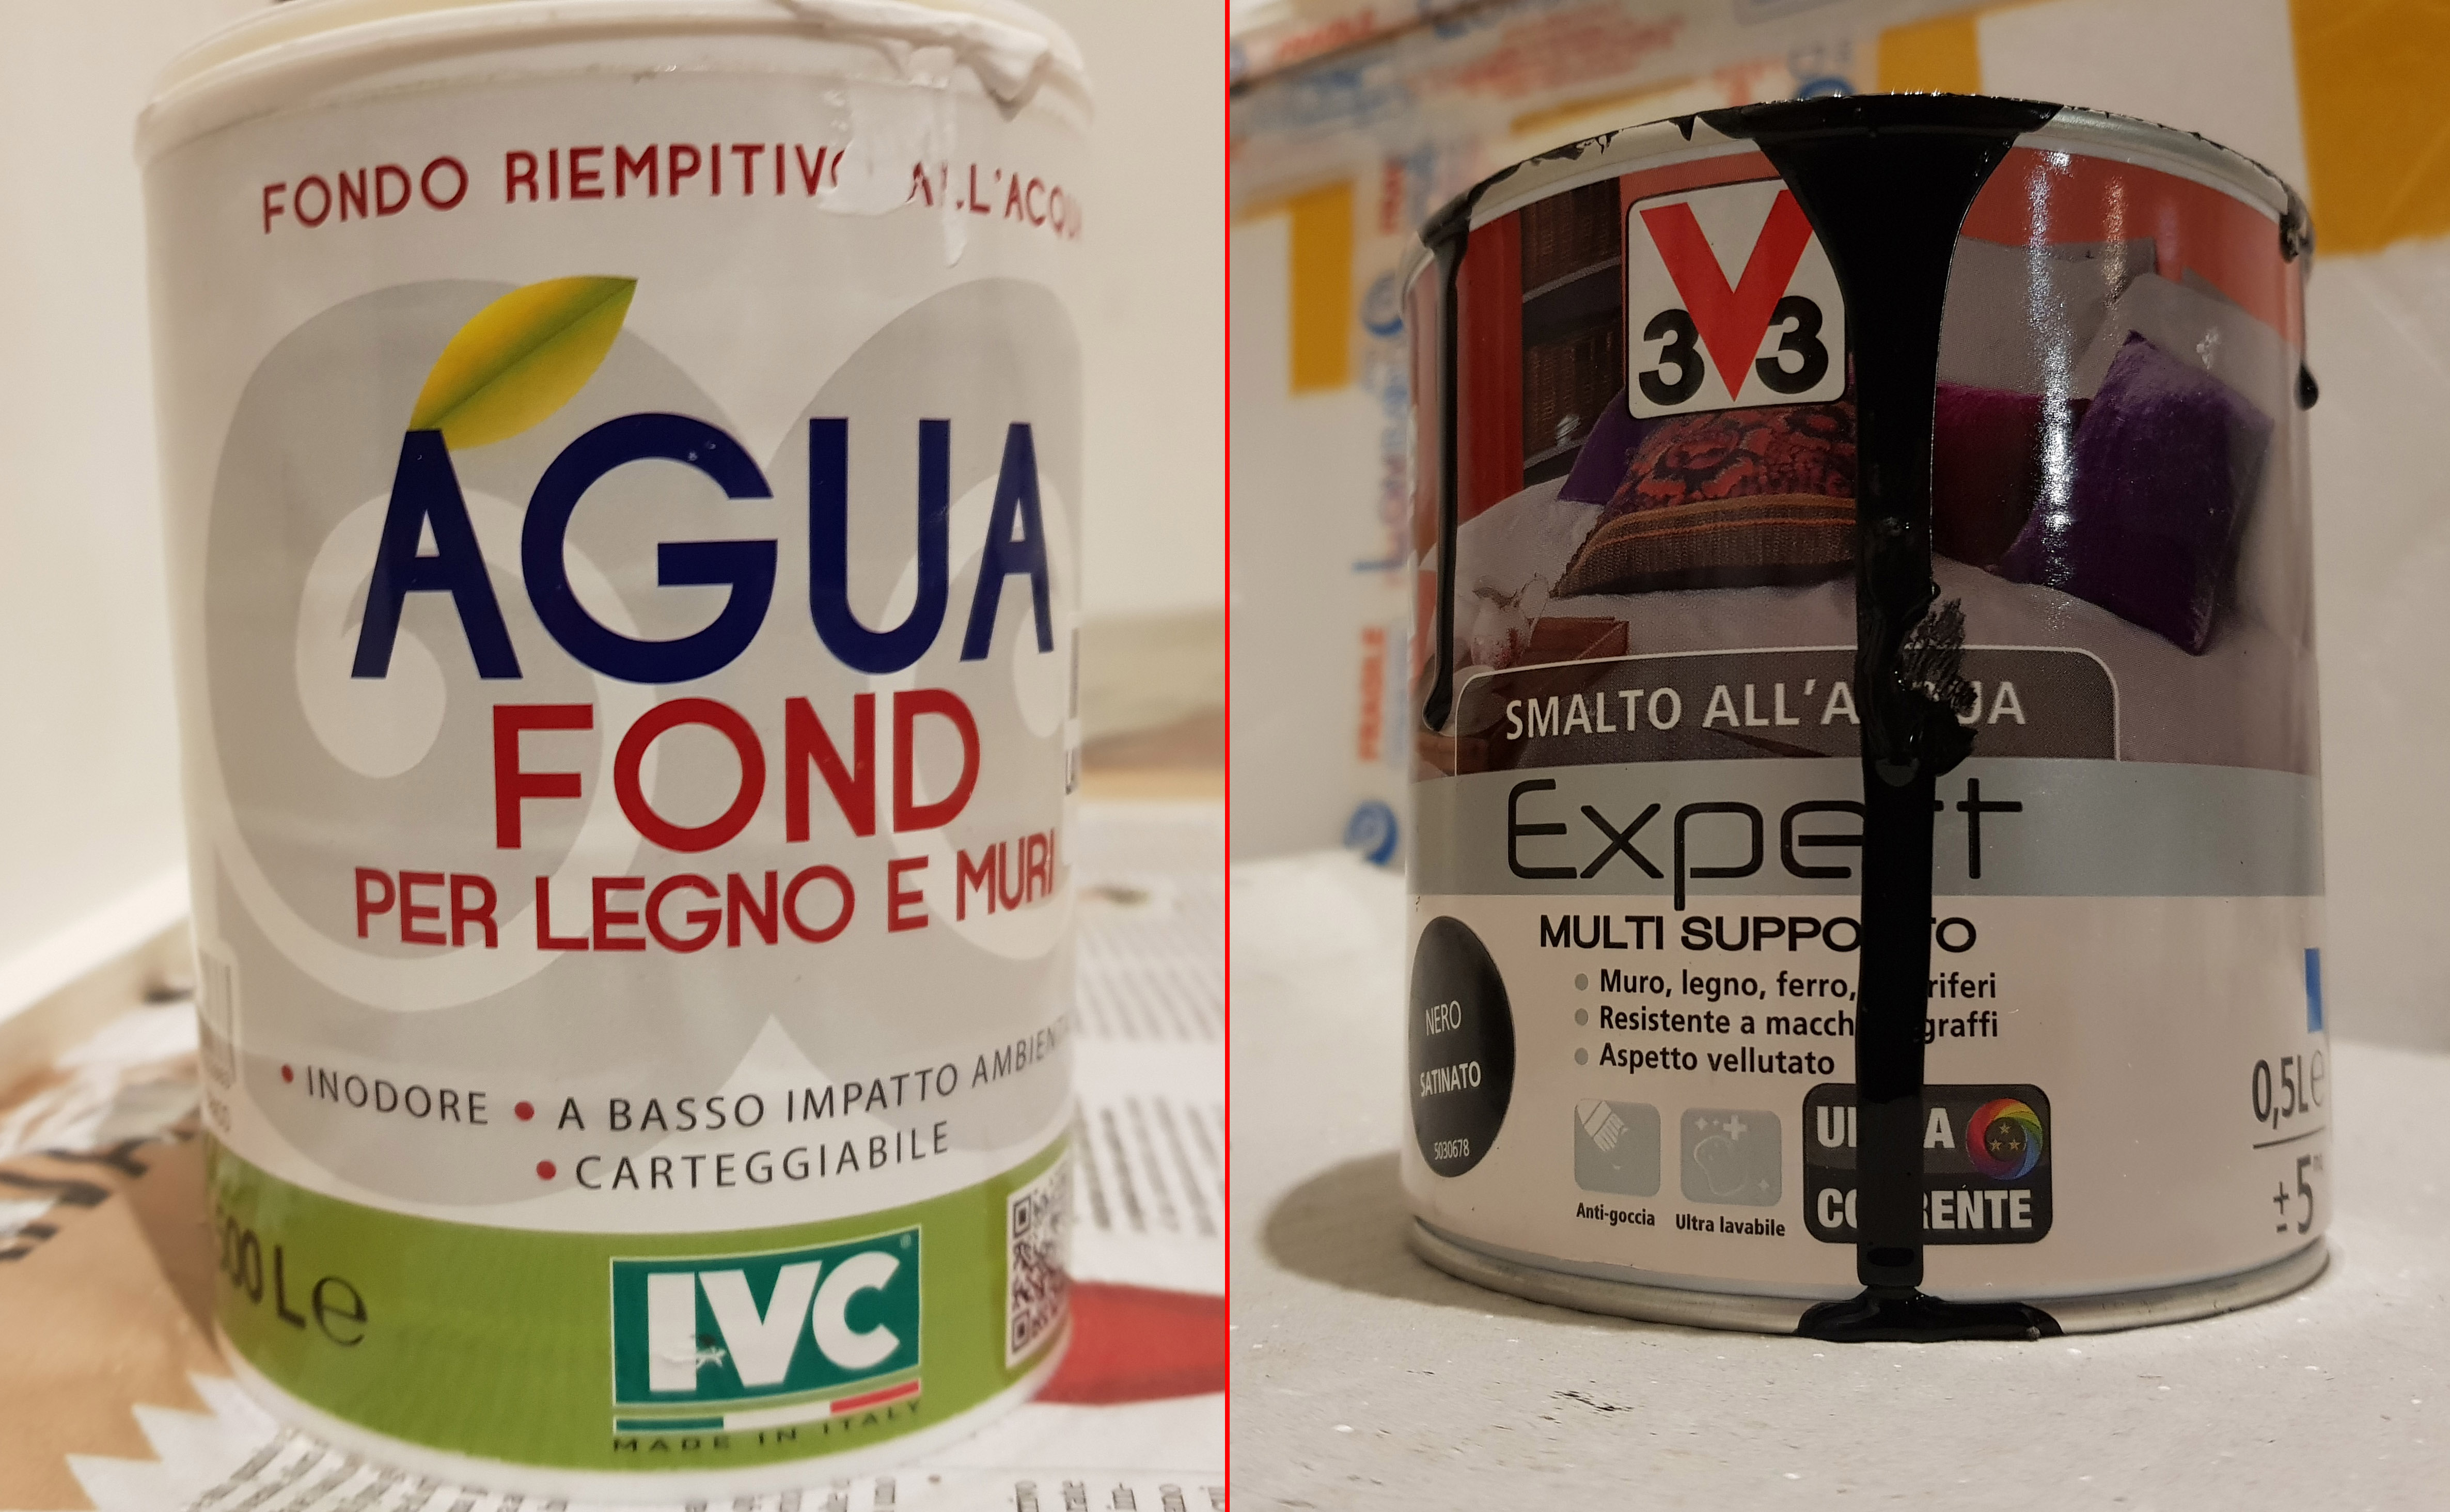
- Water-based enamel (8€ / 10$ for a 5L can) and Primer for wood (8€ / 10$ for a 5L can). Within this project I went for a total-white cabinet and a black/white one: I managed to do both with a single Primer 5L can and two 5L enamel cans (one black and one white).
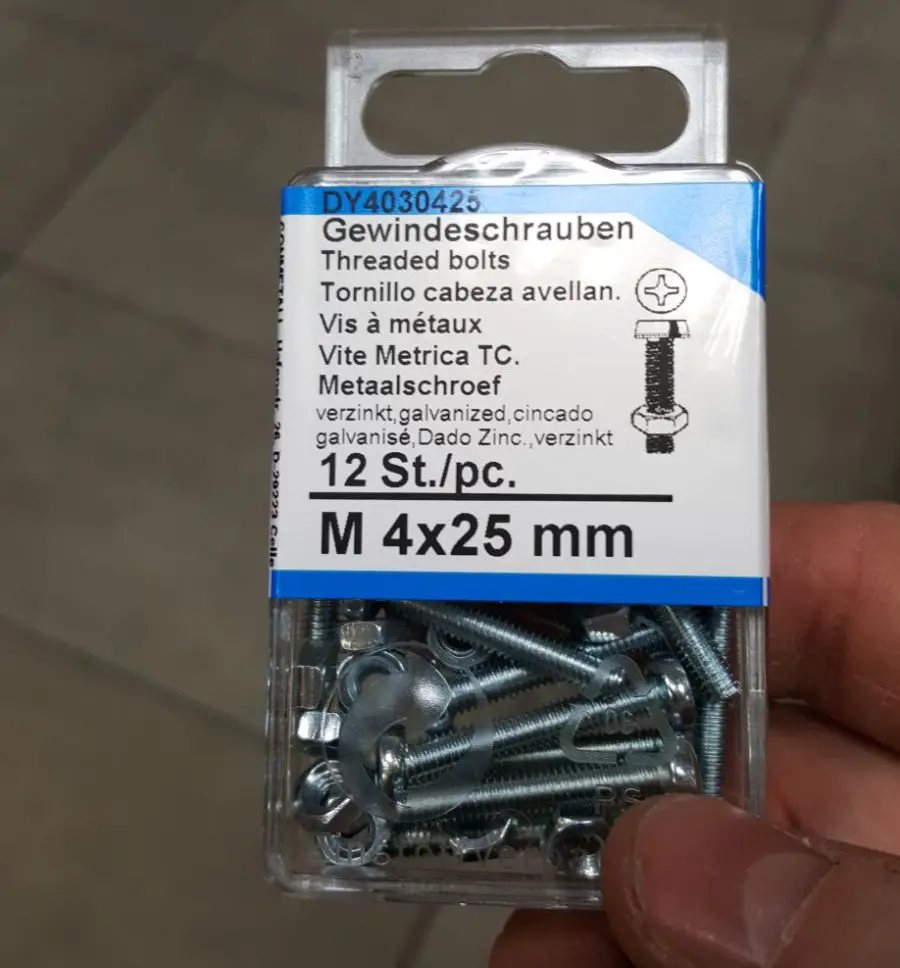
- A pack of (at least) 100 screws (6€ / 8$ for a 250-pack of 3.5x40mm size) to assemble the cabinet, plus 10-20 mini-screws (3€ / 4$) for the small parts – if you don’t want to use the glue, see below – and also 4 VESA mount screws/bolts (M4) for the monitor (1.5€ / 2$). As for the VESA screws, they’ll be most likely included in the monitor itself, yet you’ll probably need them to be longer since you’ll have to mount the monitor in a non-standard way: I used four M4x25mm for such task, as you’ll see later on. I got the screws from Amazon and the rest from a local hardware store for few bucks.
- A couple of hinges and magnet lockers for the openin/closing mechanism of the cabinet back-side opening (5-10$ total).
If you sum all the listed prices, you’ll end up with 230€ / 265$ – which is precisely what we said earlier.
Conclusion
That’s about it for Part 1: throughout this post we got a good understanding of what an Arcade Bartop actually is and we went through the pros and cons of building it by ourselves: right after that, we put together a list of the required raw materials & components together with their price and some useful insights on how to properly choose and buy them.
Let’s now jump to the Part 2 of this tutorial, where we’ll take a look of the required Tools, learn how to Design our project and build a full-scale, cardboard-based Prototype to check up the sizings & measurements before cutting the wood.
If you have any question or want to leave your feedback, you’re more than welcome to do that using the comment section below!
Here are the links to the next parts of this guide:
- Part 1 of 6: Introduction & Raw Materials
- Part 2 of 6: Tools, Design & Prototype
- Part 3 of 6: Building the Cabinet
- Part 4 of 6: Painting & T-Molding
- Part 5 of 6: Installing the Hardware
- Part 6 of 6: Configuring the Software (Raspberry PI & Retropie)
Check out all the pictures of the Arcade Bartop (all those used in this tutorial + more) on my Arcade Bartop album on Flickr.com.