 - Part 1 of 6 - Introduction")
Welcome to part two of my six-post long Arcade Bartop DIY tutorial. In case you’ve missed the previous post, here are the links to the whole guide:
- Part 1 of 6: Introduction & Raw Materials
- Part 2 of 6: Tools, Design & Prototype
- Part 3 of 6: Building the Cabinet
- Part 4 of 6: Painting & T-Molding
- Part 5 of 6: Installing the Hardware
- Part 6 of 6: Configuring the Software (Raspberry PI & Retropie)
In the first part of this post we’ll enumerate all the required tools we need to fullfill our task: once done, we’ll dive into designing and prototyping our cabinet.
Required Tools
To build the Bartop you’ll need a fair amount of DIY tools: in the first part of this post we’ll briefly introduce the most important of them, leaving aside the obvious stuff – such as screwdrivers, hammers, sandpaper, brushes and so on. Before starting with the list, it’s important to understand the main difference between Raw Materials and Tools: to put it in short words, we’ll call raw materials the building parts what will become part of the cabinet, and tools the equipment that we’ll use to craft it – and that we’ll be able to use for other projects later on (unless we break them). The screws are materials, while the screwdriver is a tool; the wood is material, the jigsaw is a tool; the paint and primer are materials, while the brushes are tools; and so on.
That said, here’s the list of the required tools for putting our project into life:
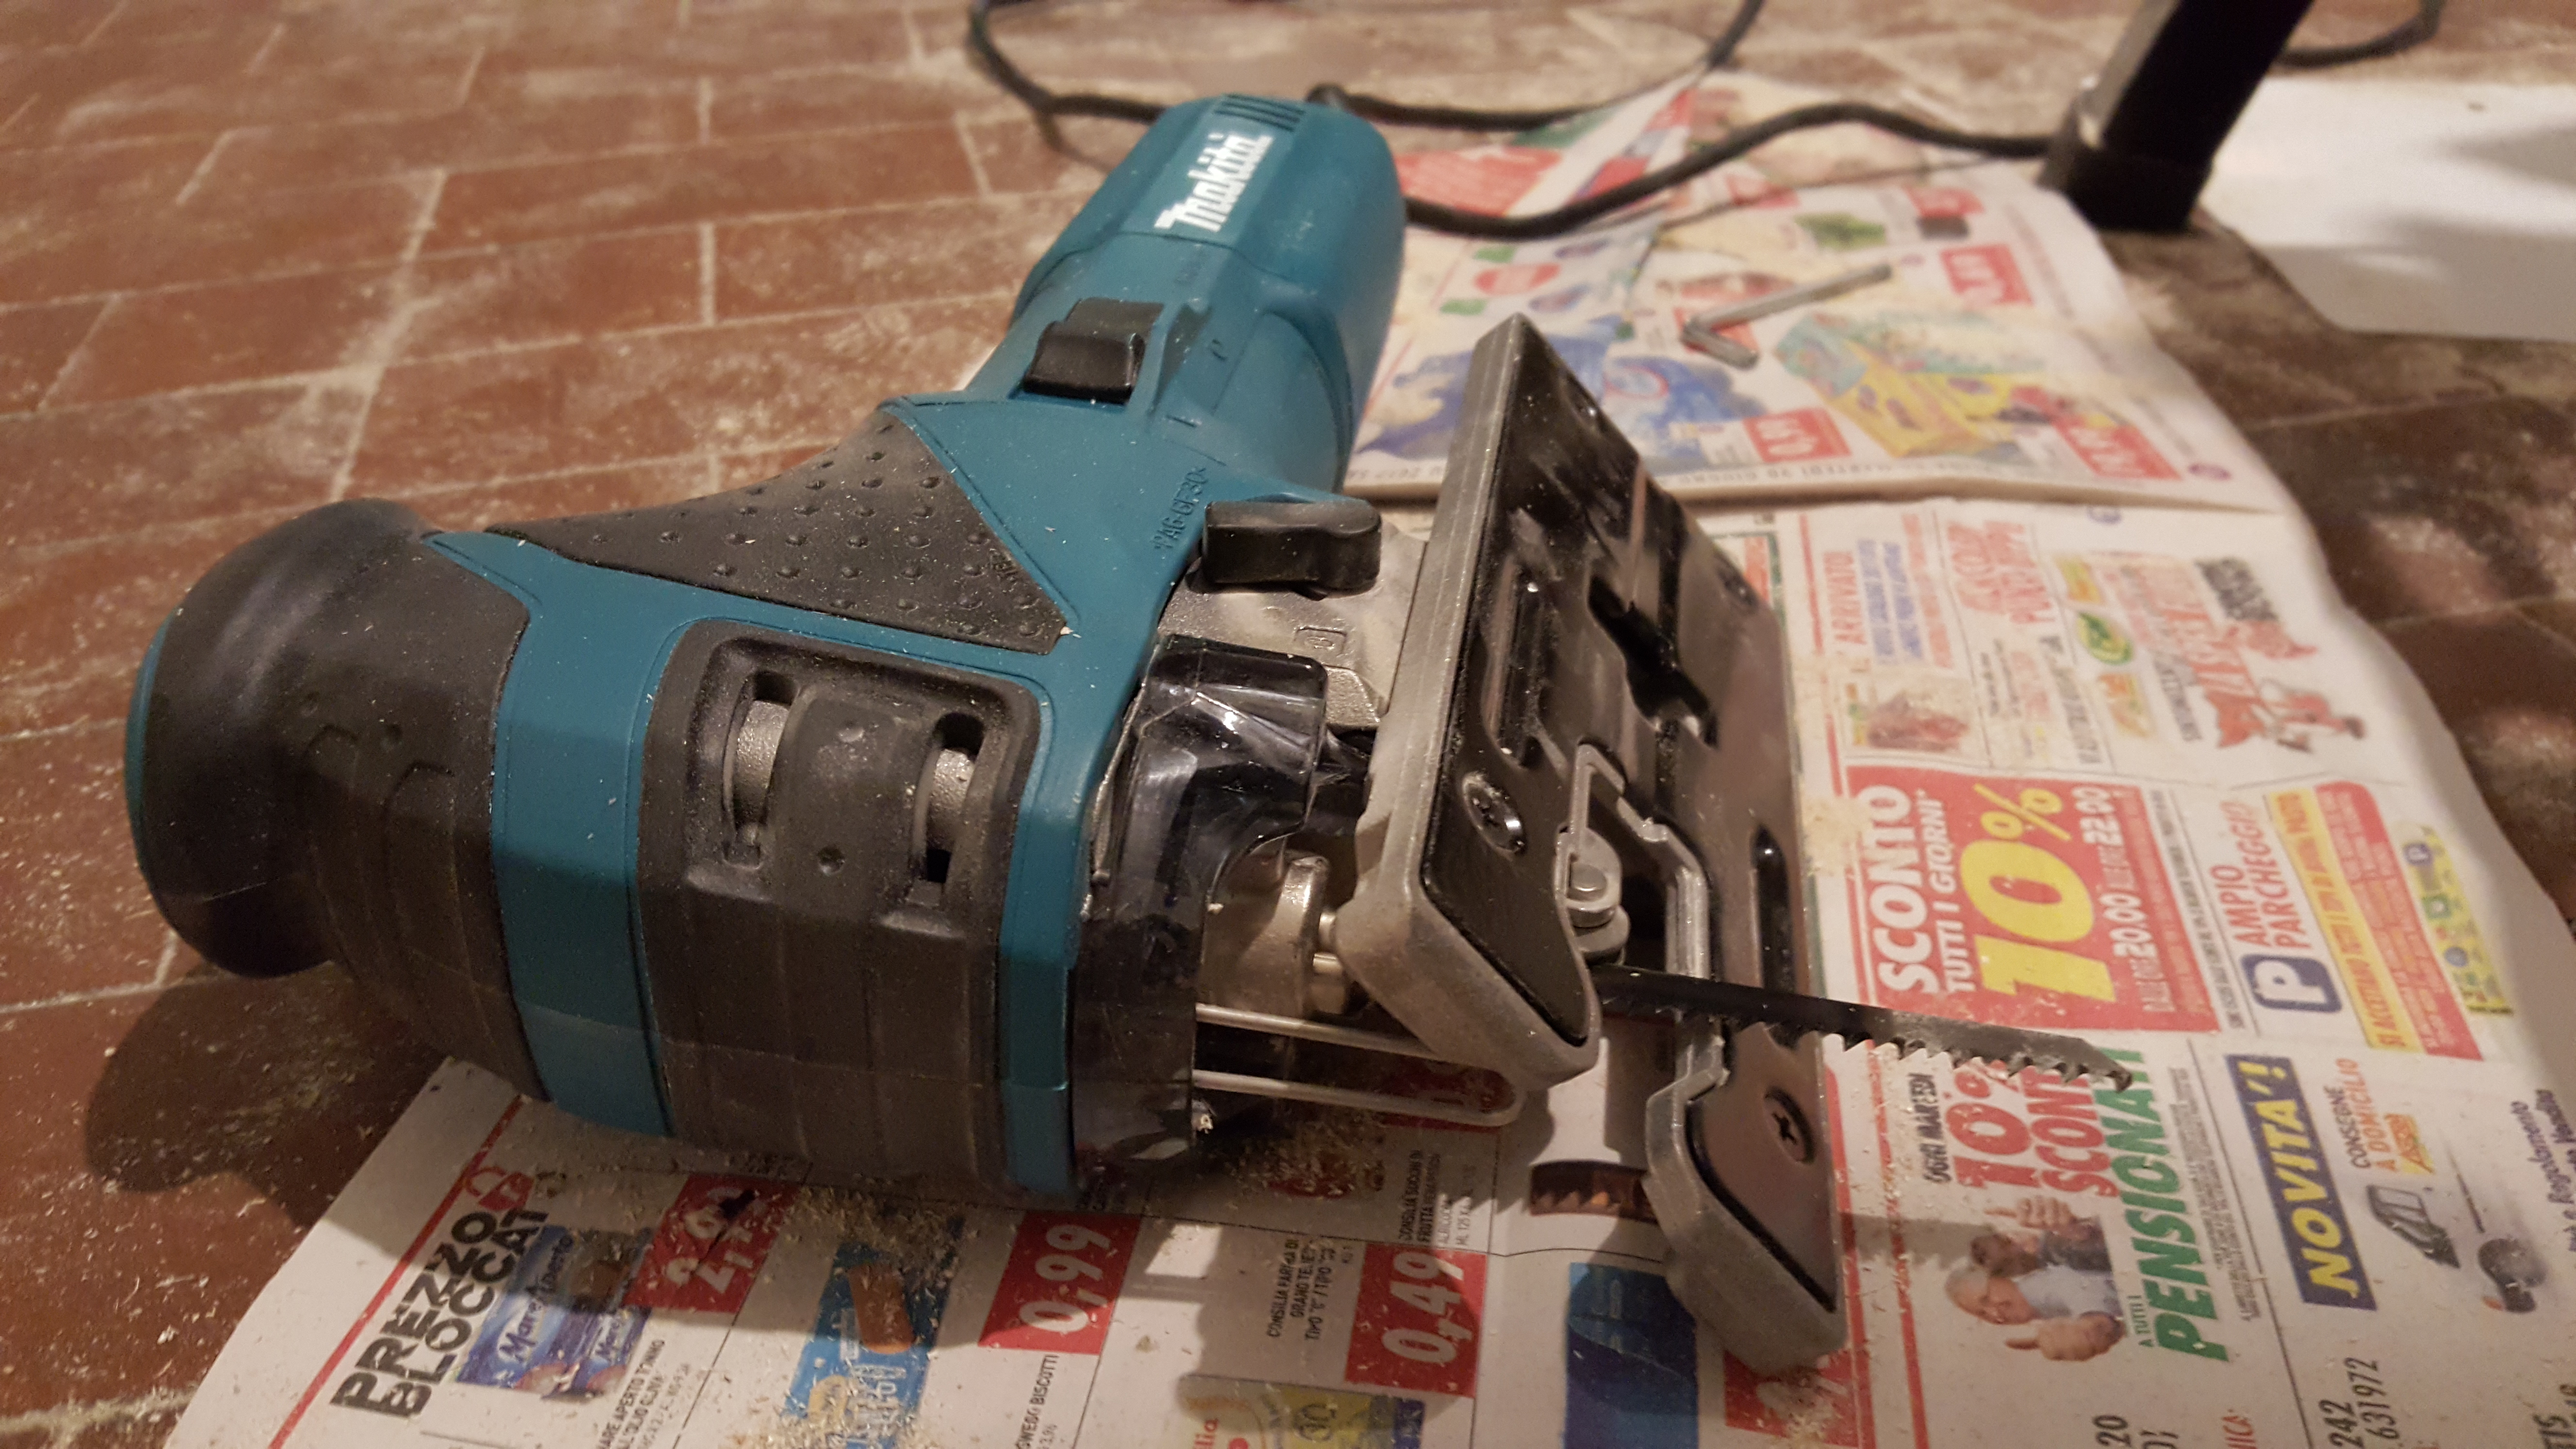
- Jigsaw. I used a Makita 4351FCT, which is arguably the best semi-professional jigsaw you can get for under 200$, but almost any jigsaw will be able to do the job, as long as it can do 45-55 degrees cuts. Also, make sure to get at least one 1mm saw blade for wood as well (preferably two).
- Drill. Nothing fancy here, you’ll just have to do some guiding holes for the screws and the hole saws.
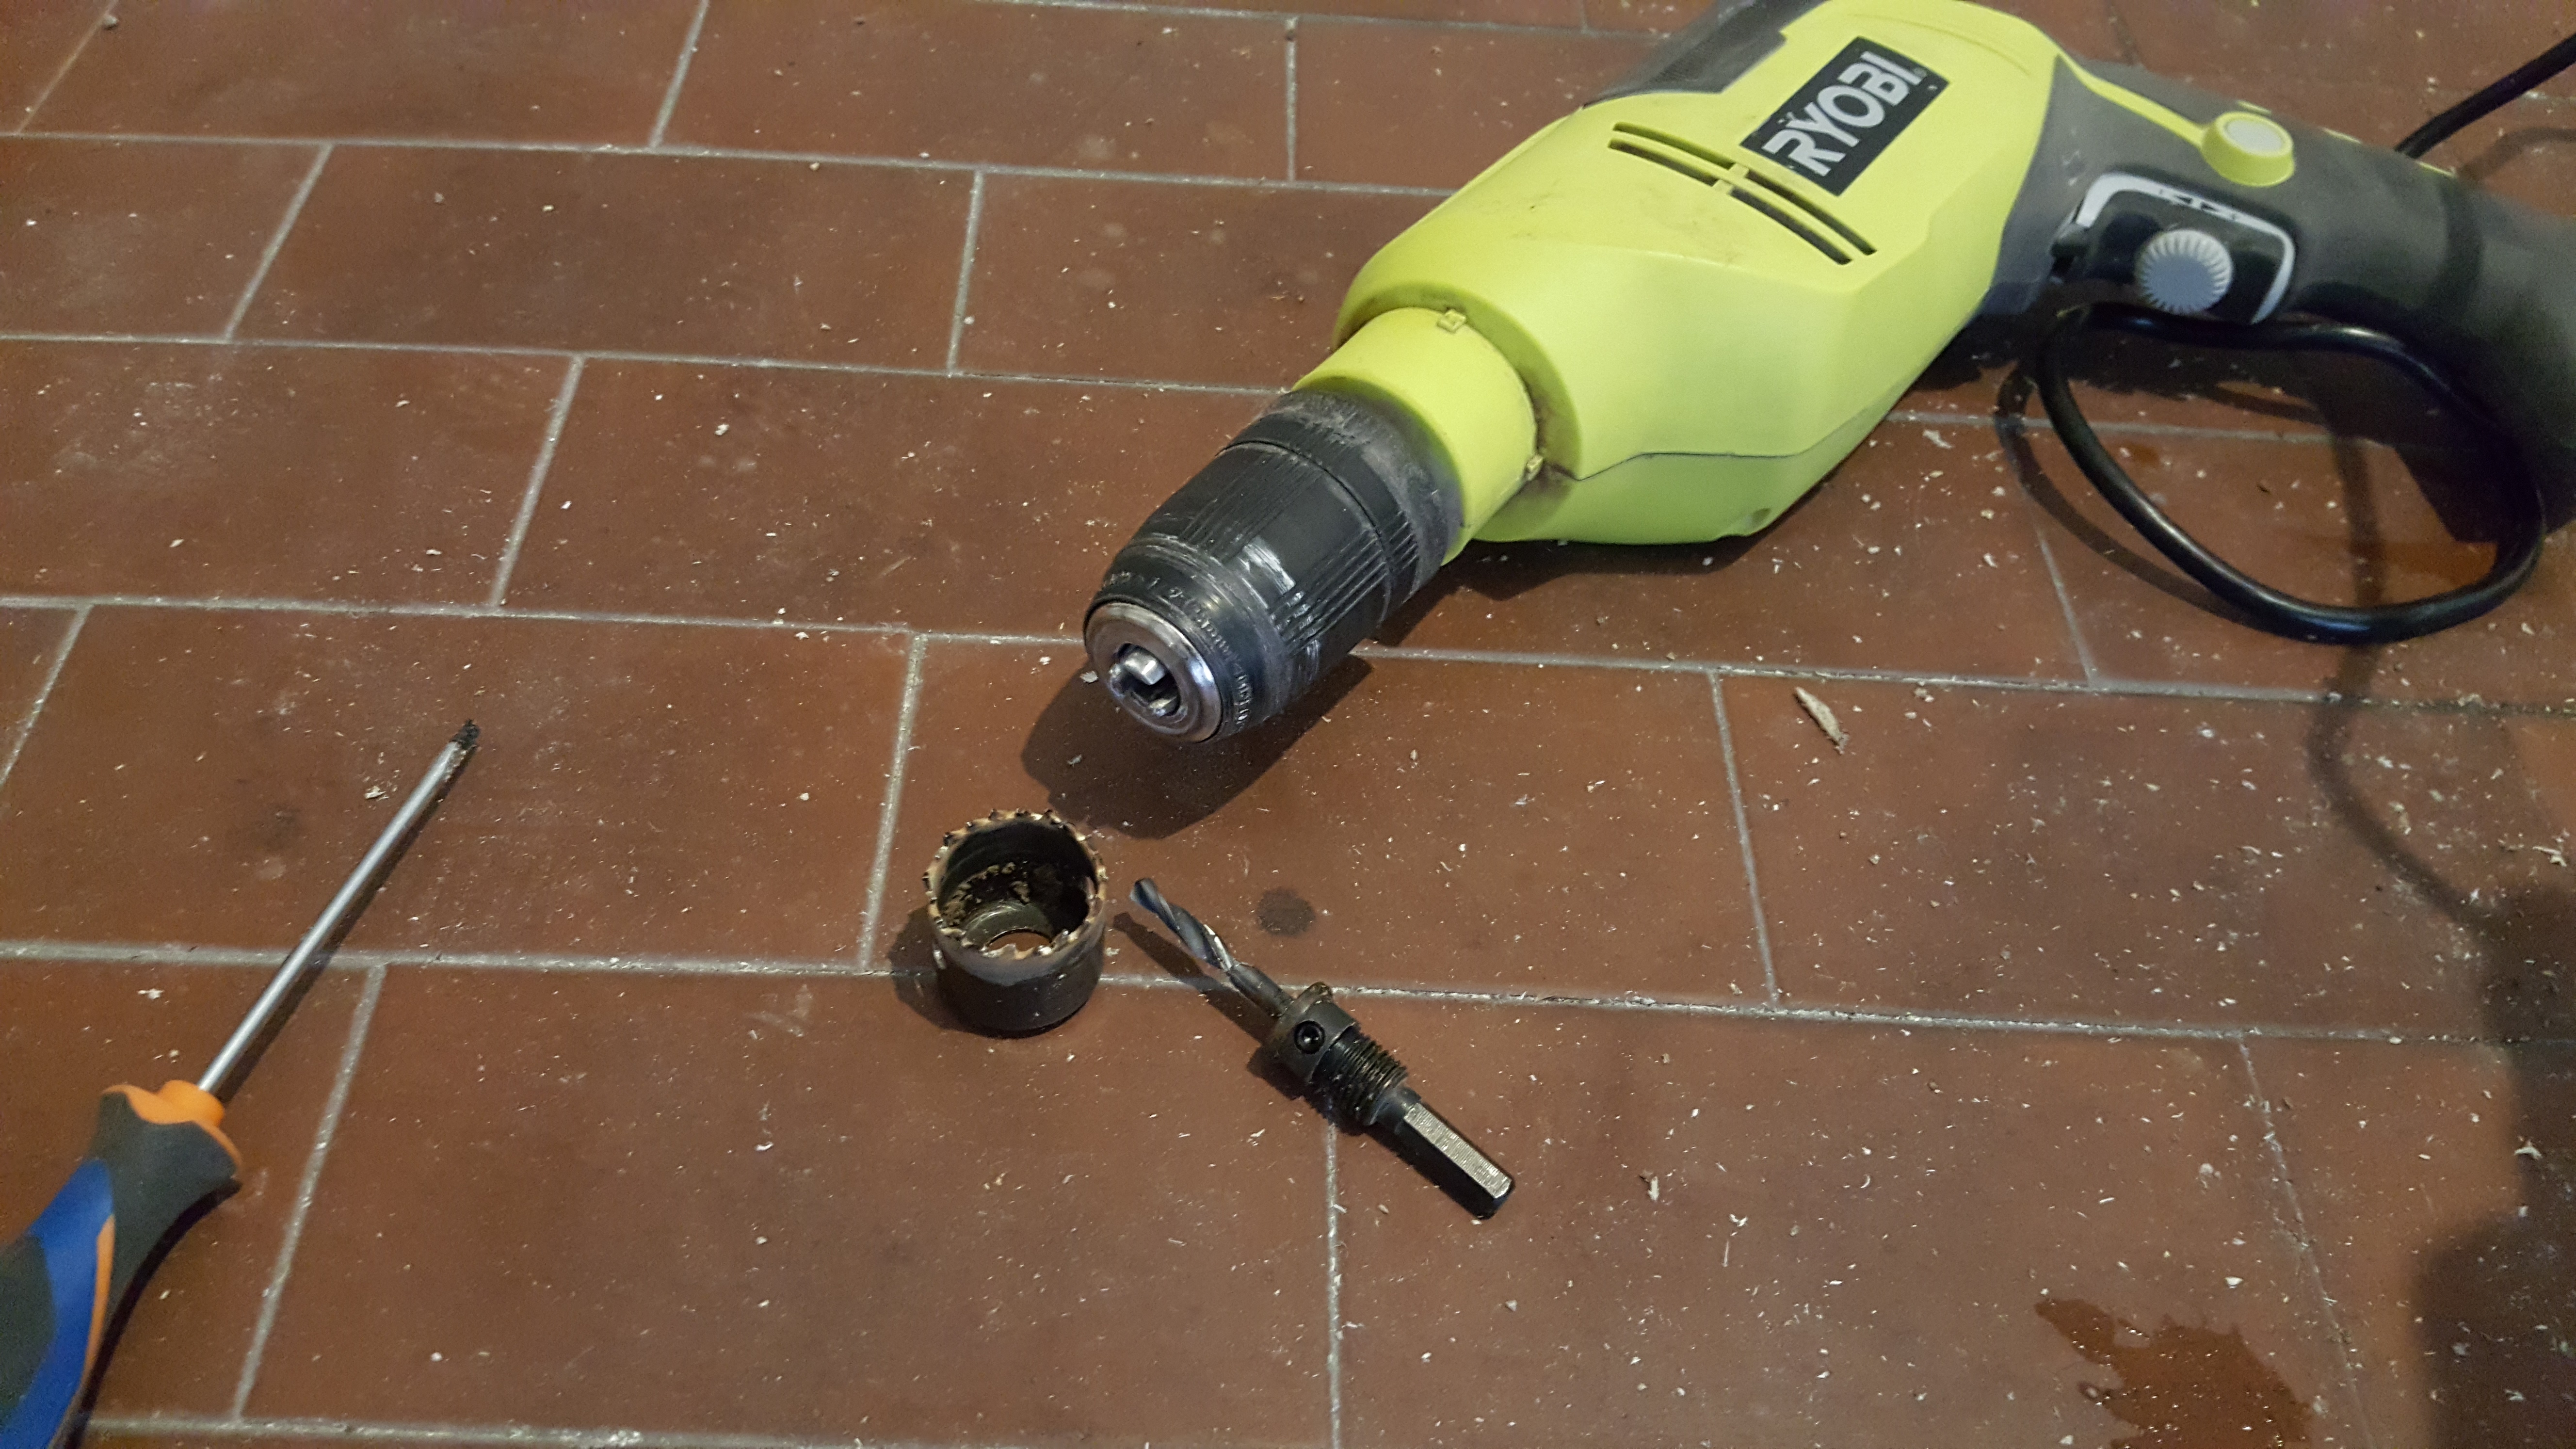
- Hole Saw kit. You’ll need these (or something like that) to make the holes for the joystick controller (19mm), buttons (25 & 29mm, depending on the joystick set you picked), for the stereo speakers (44mm) and for the back-side door (51mm). I got this set from Bosch which had all the required sizes and performed quite well. If you don’t like the hole saws you can also use a Forstner Drill set, but they’re way more expensive and they also produce an insane amount of sawdust.

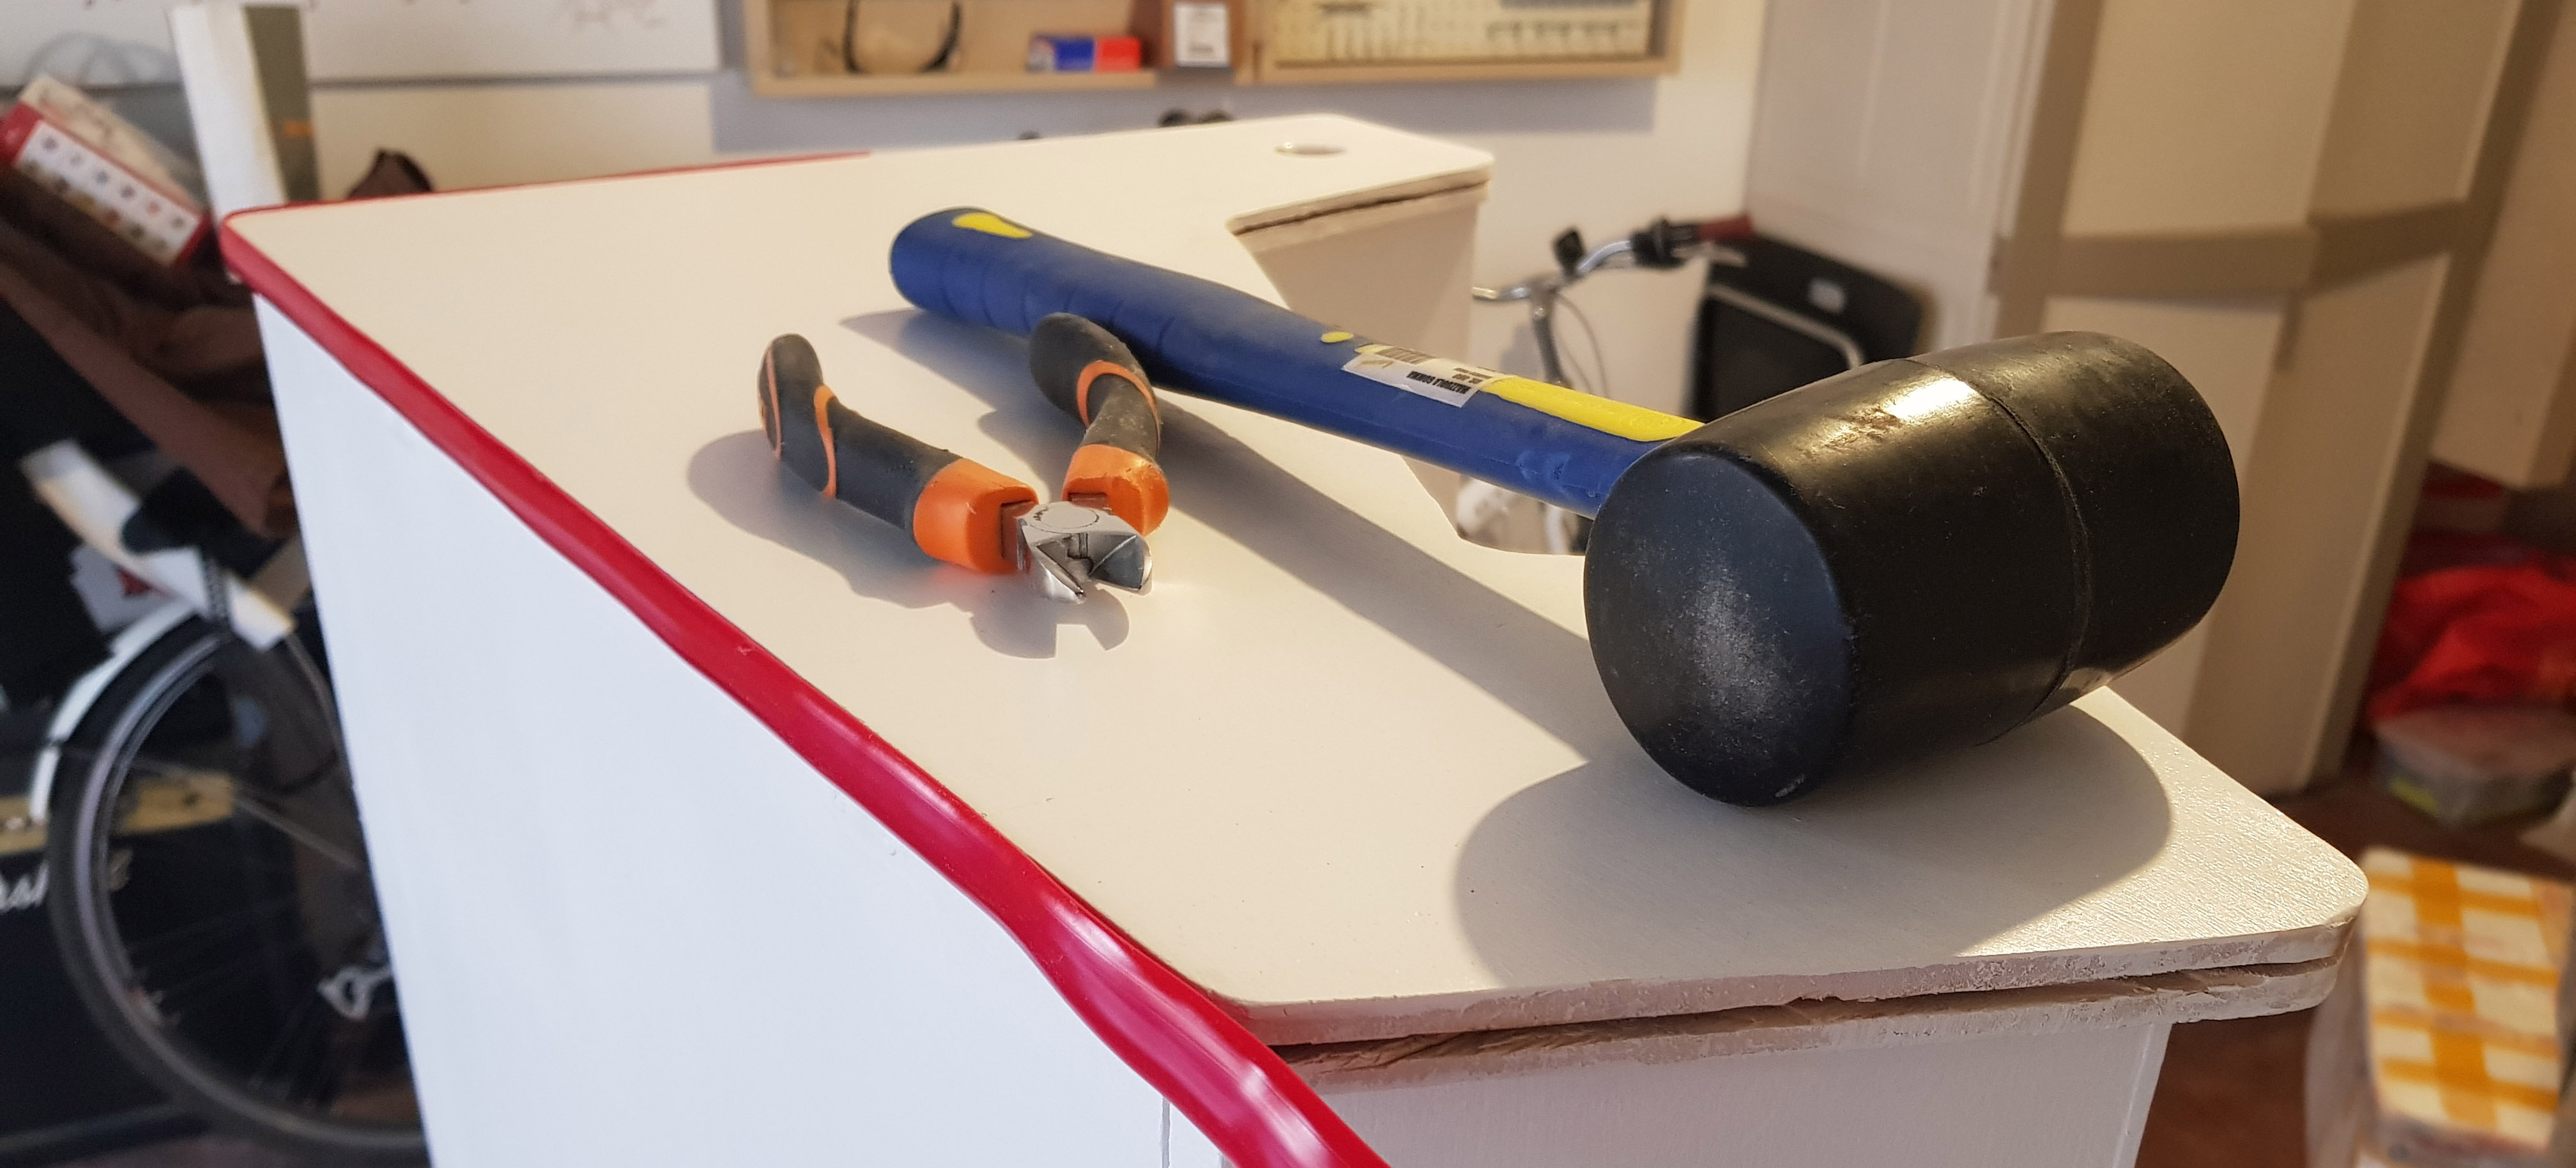
- A pair of Clamps (or more) to block the wood parts during the wood cutting phase – and also later on. I strongly suggest the Wolfcraft EHZ series or any similar clamps that can be used with a single hand.

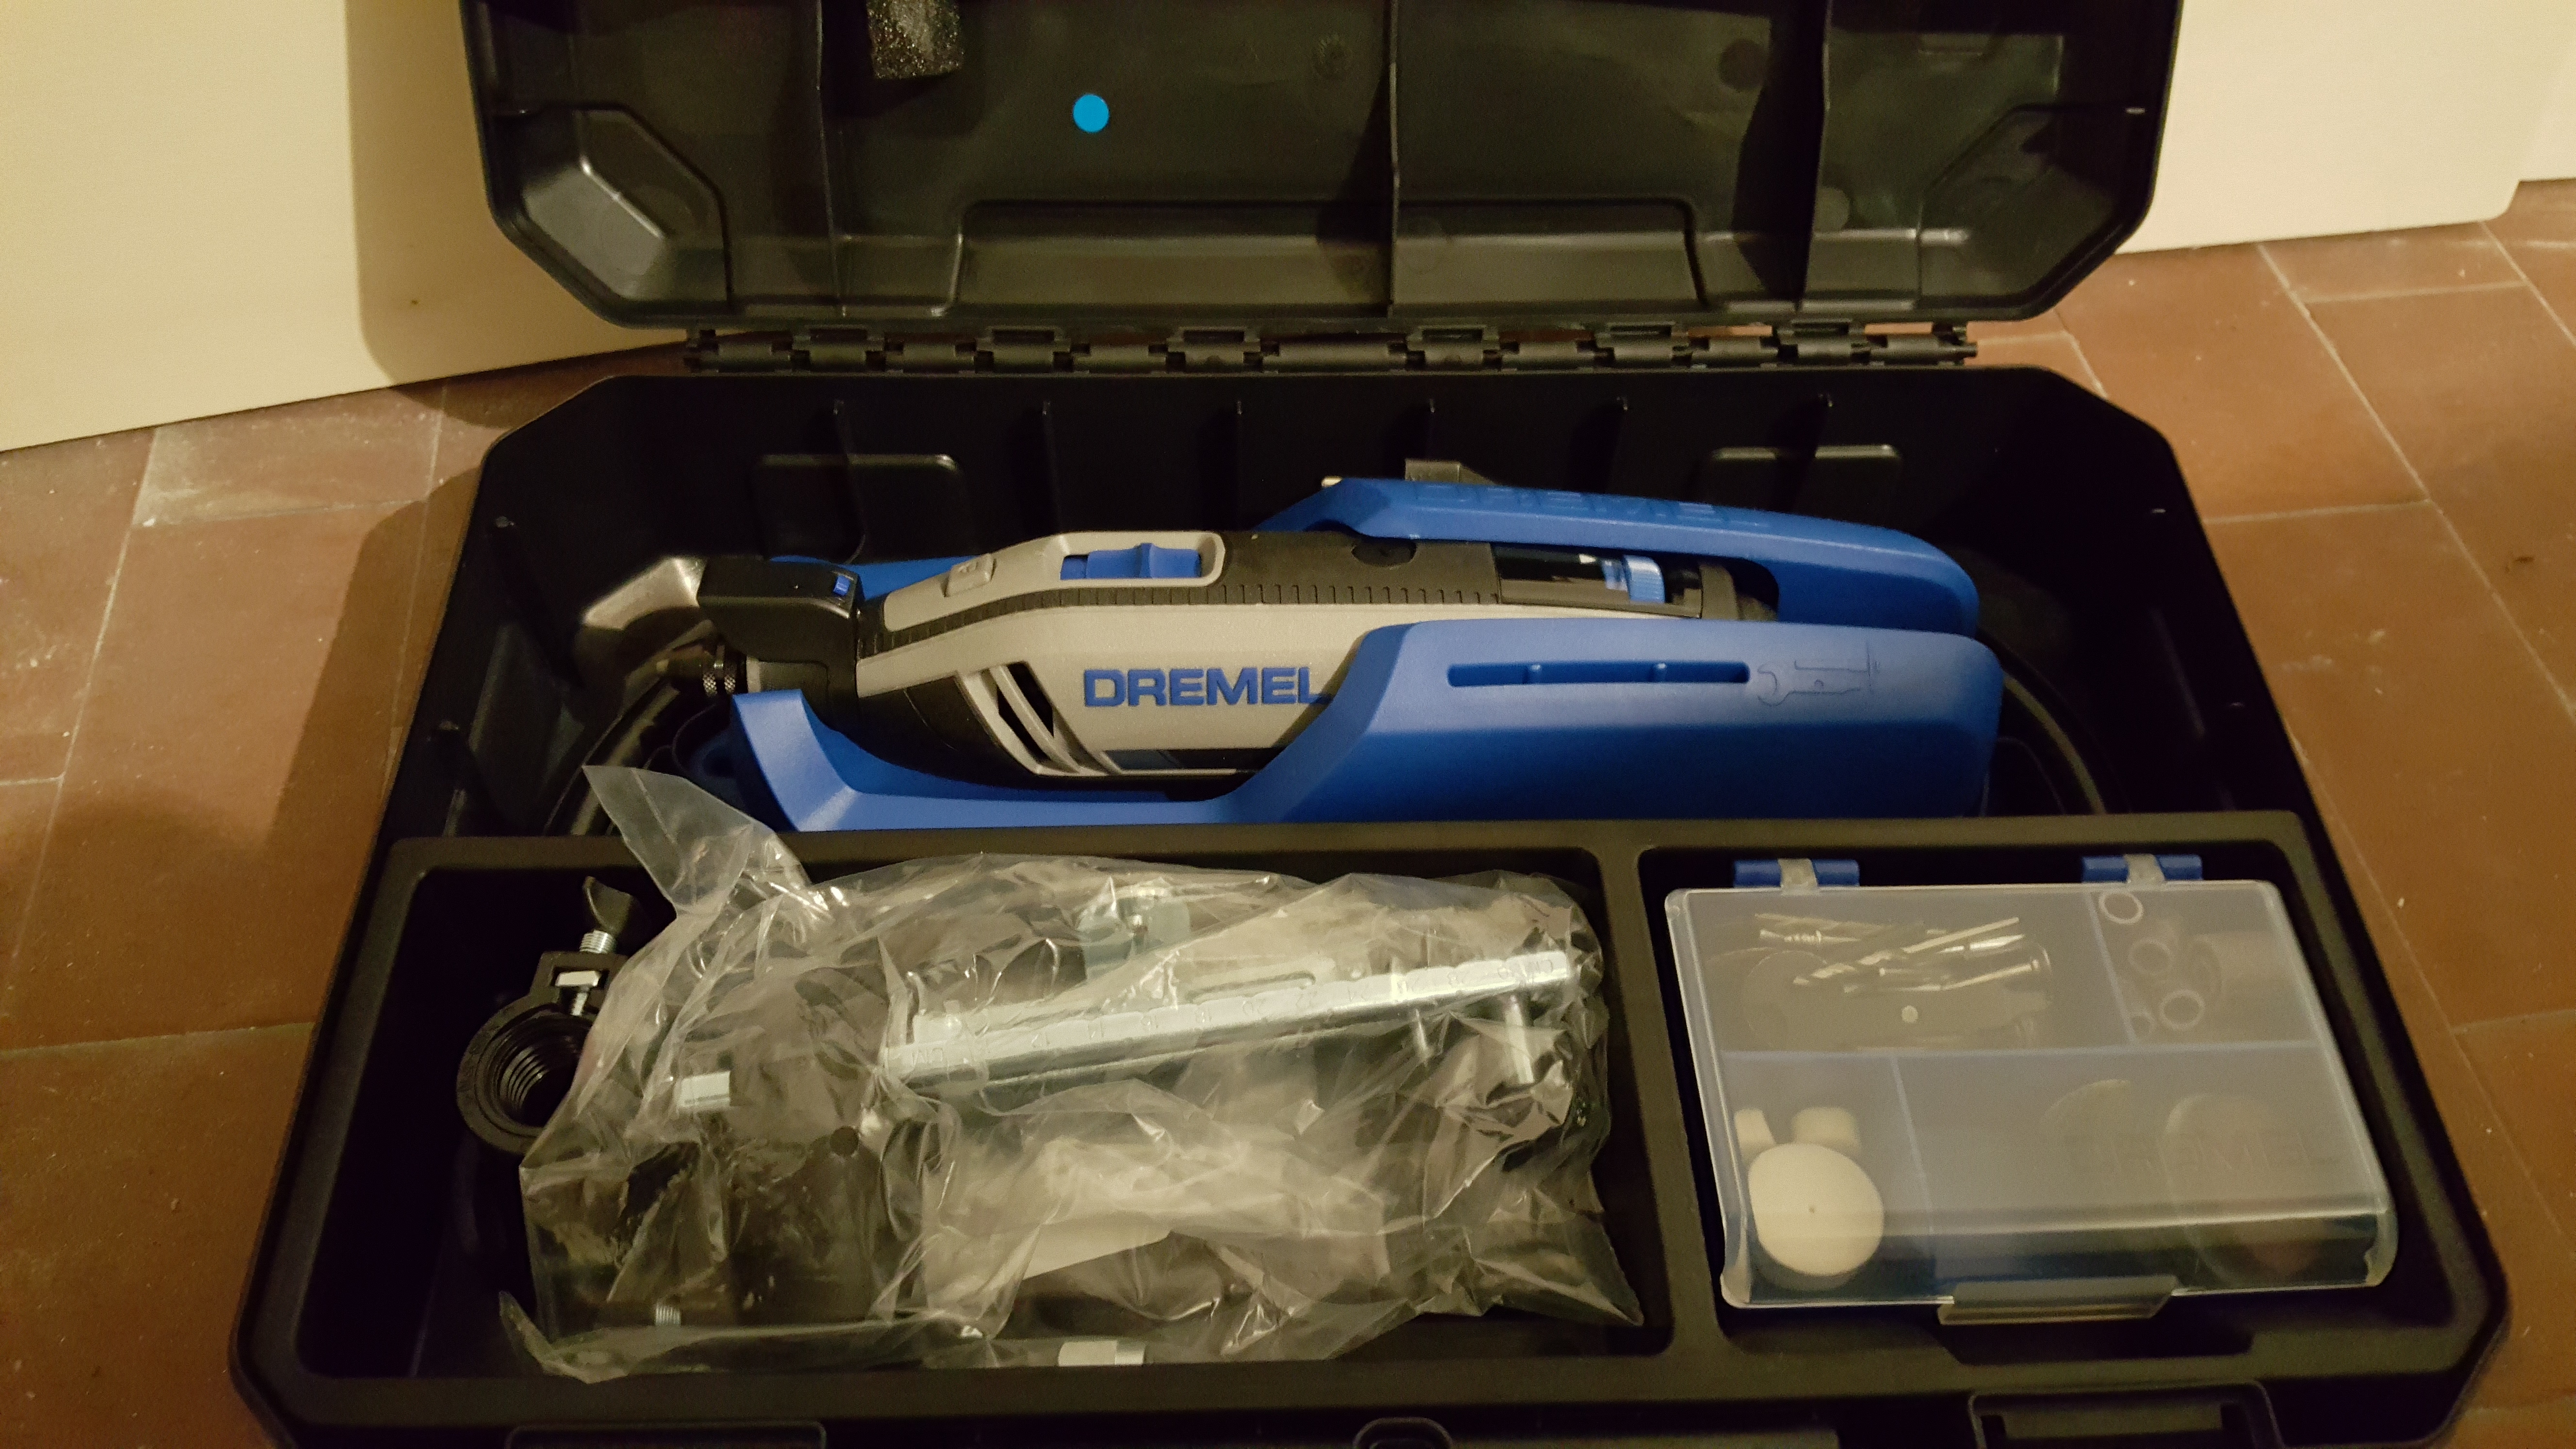
- Dremel (or another similar rotary tool) with a saw blade for wood: this will also massively help you to polish and refine your wood cuts whenever rasps and sandpaper won’t be able to. The Dremel is an awesome modding tool and will definitely save you a lot of time, other than improving the overall quality of your work – go get it in case you don’t have one already: you’ll hardly regret that.
- Rubber Hammer to put the T-Molding on its track.
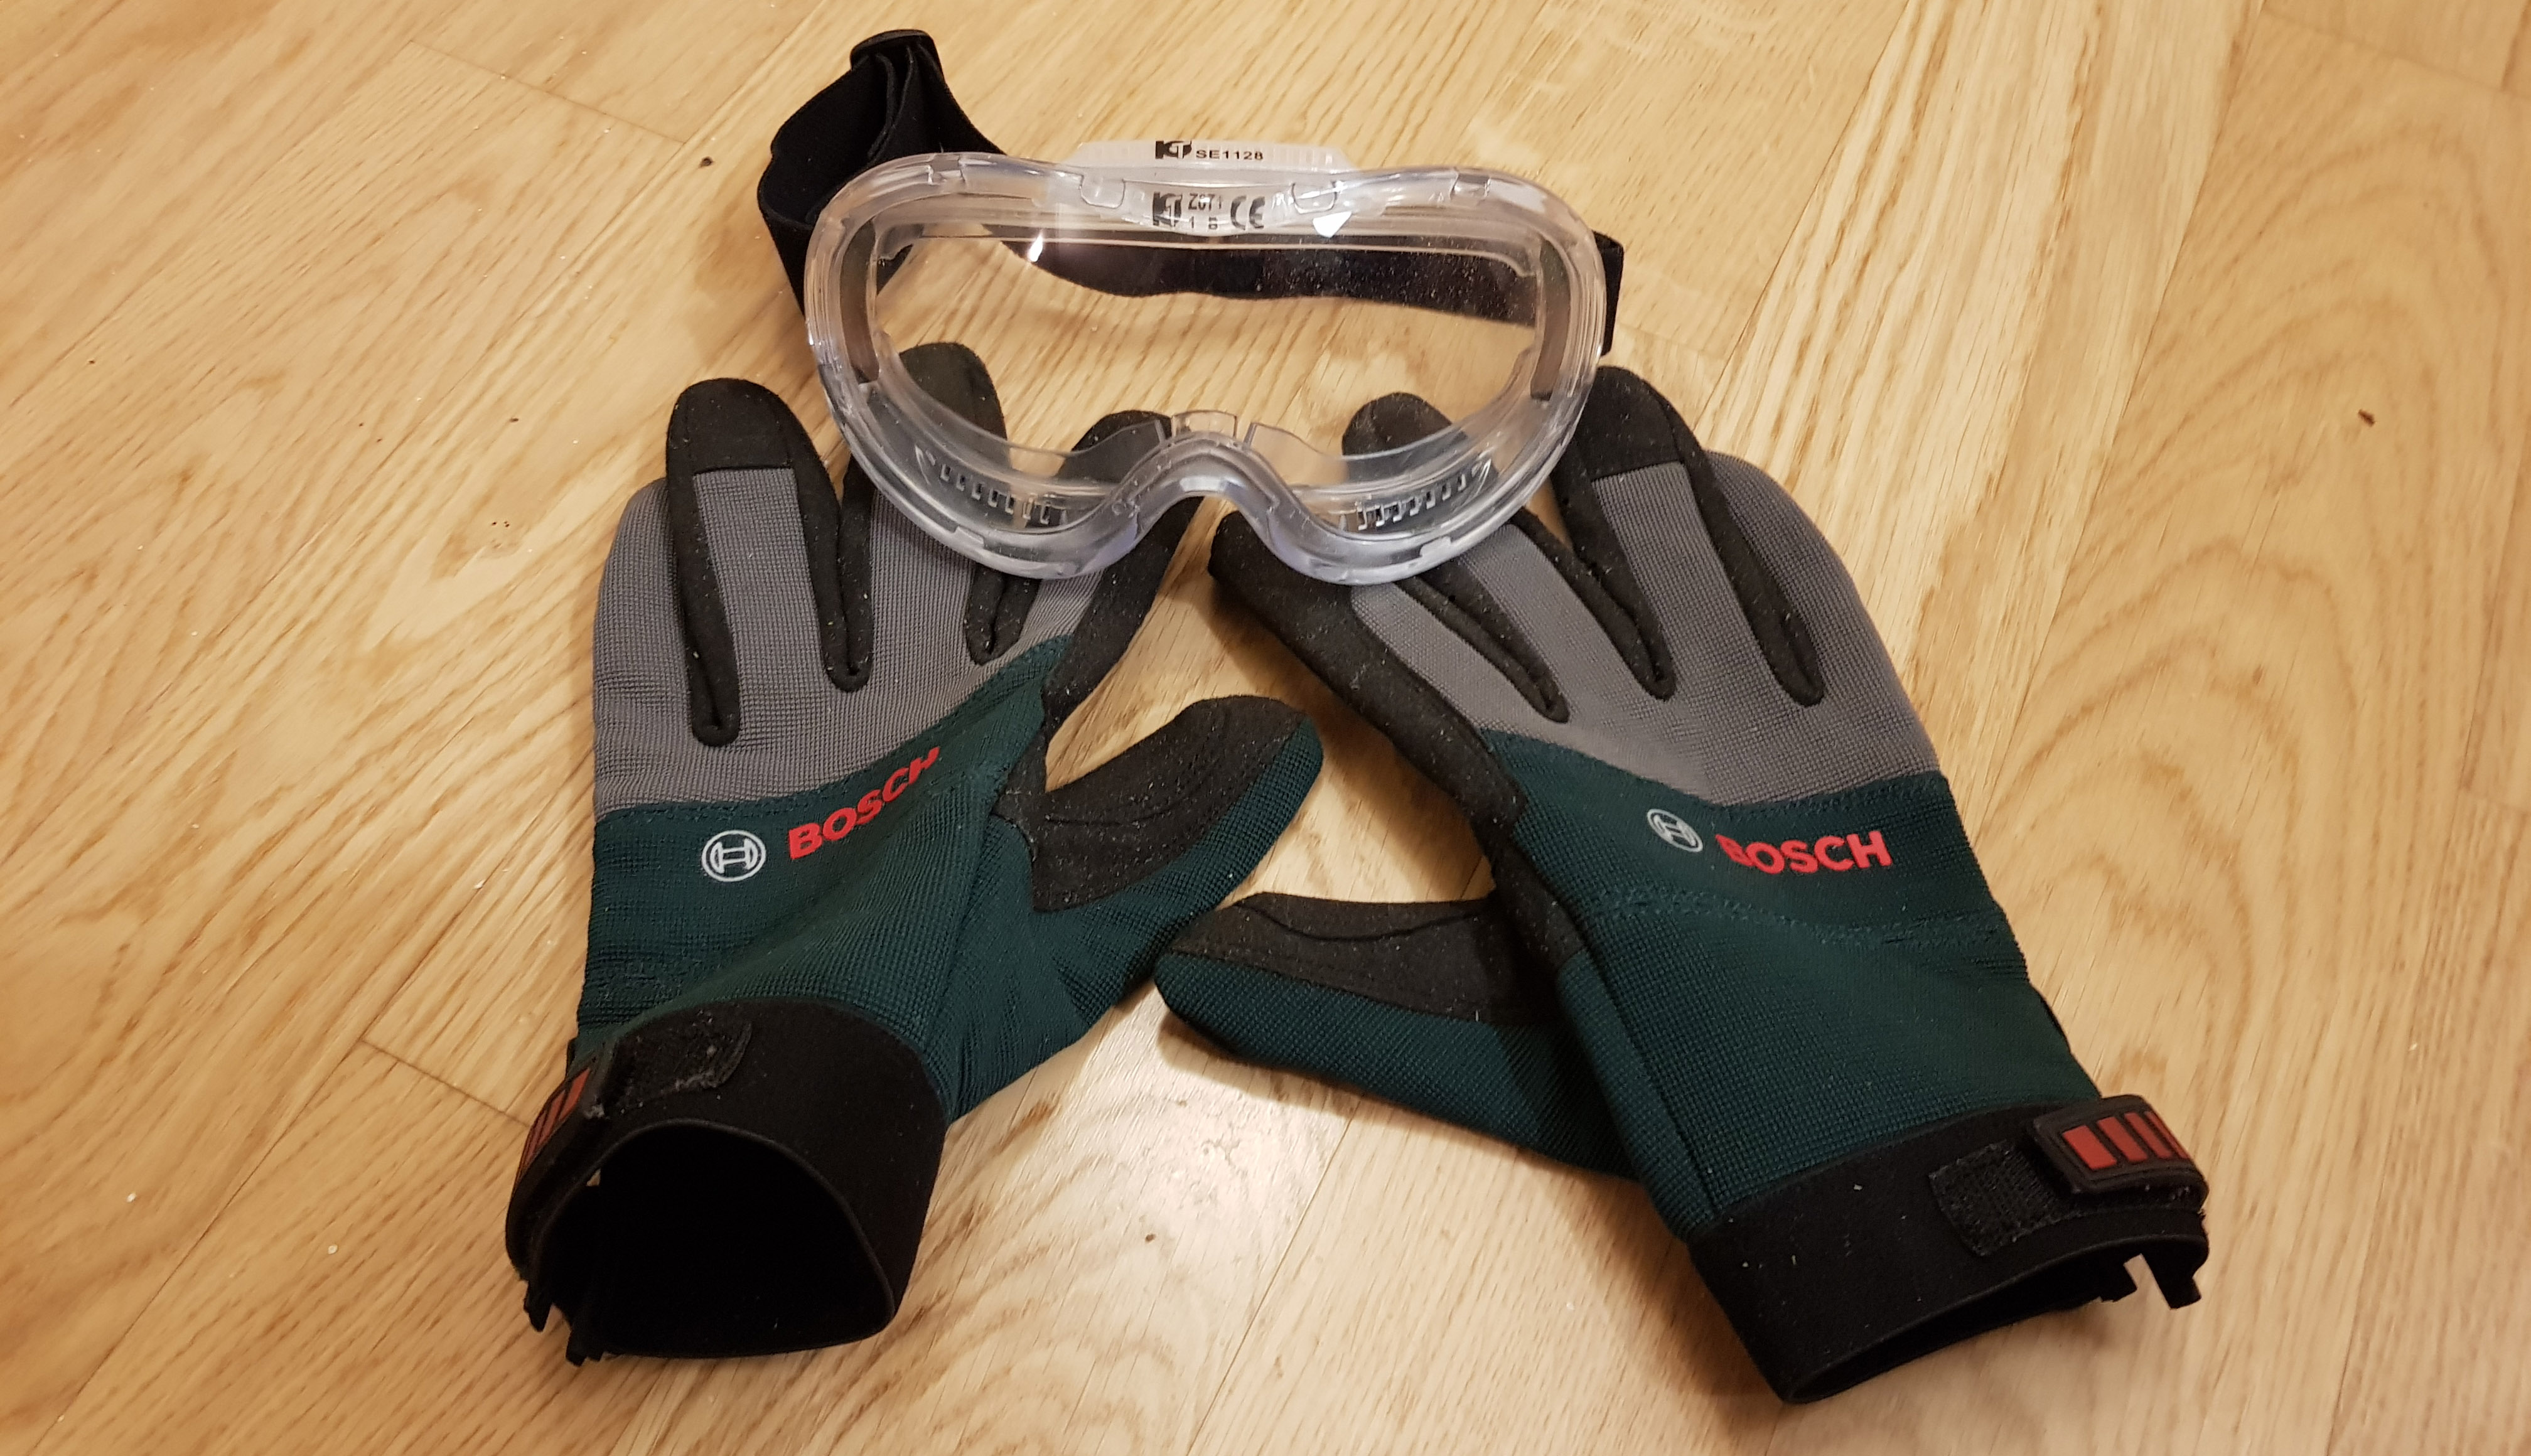
- Safety Glasses and Protection Gloves to reduce the risk of hurting yourself: do you a favor and do not underestimate your safety – you’ll have a lot of work to do, and they will greatly help during many risky tasks – especially the wood-cutting part.
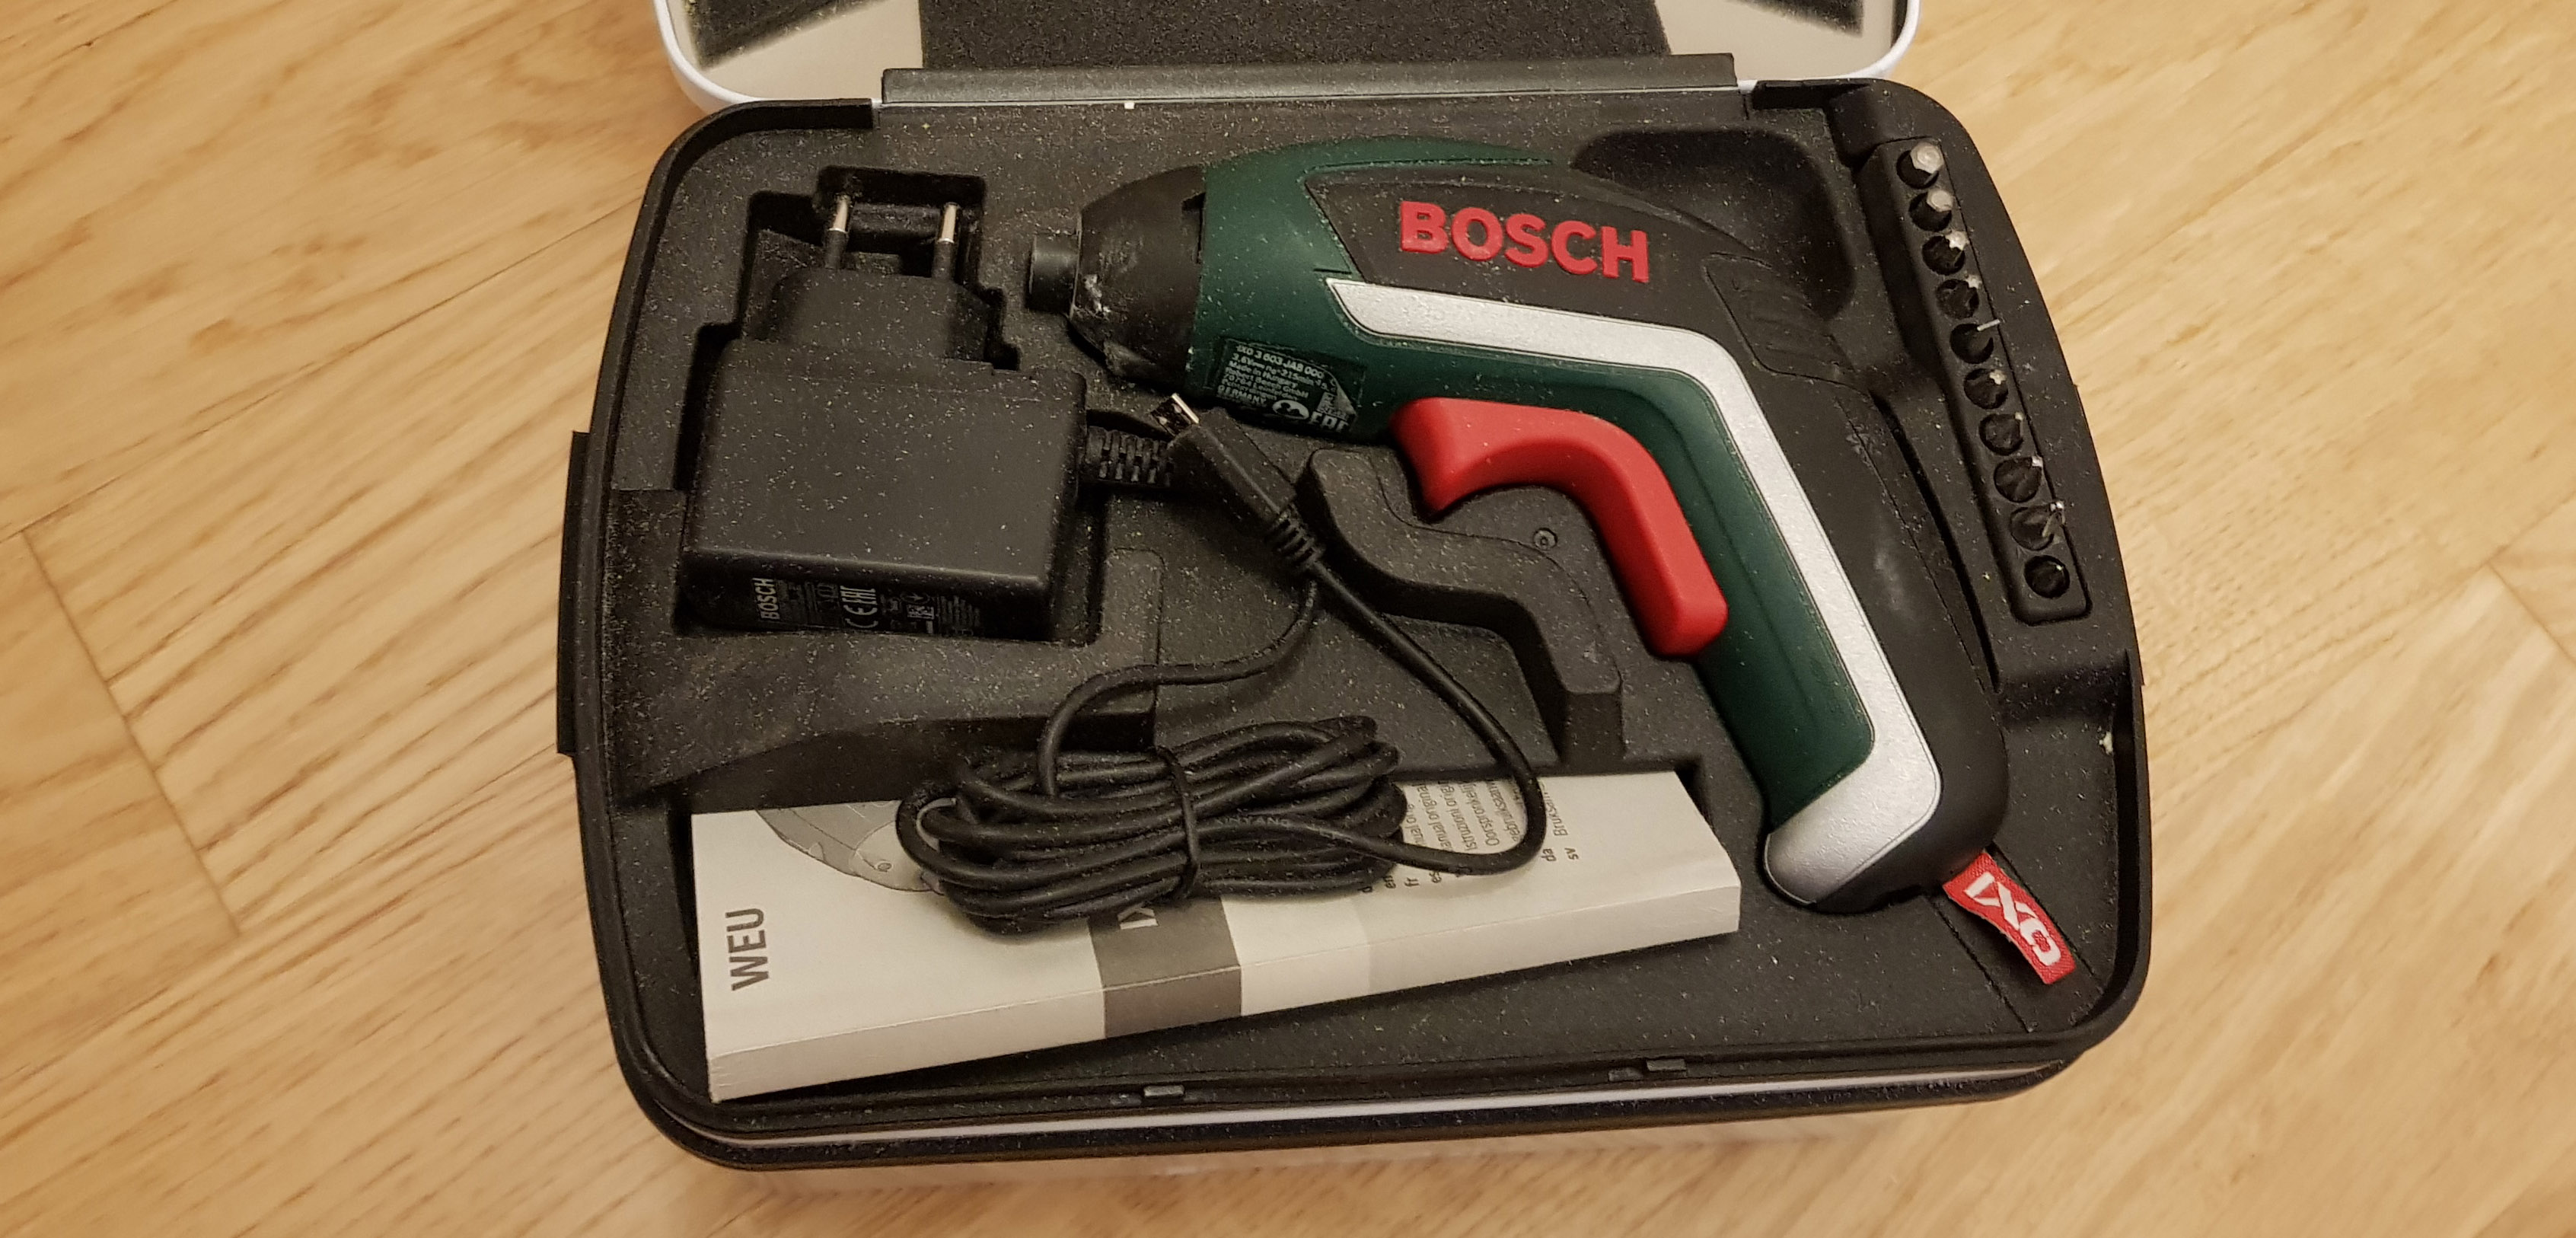
- Electric Screwdriver. Although not required, it will be very useful when you’ll have to put the (50+) screws on: get one.
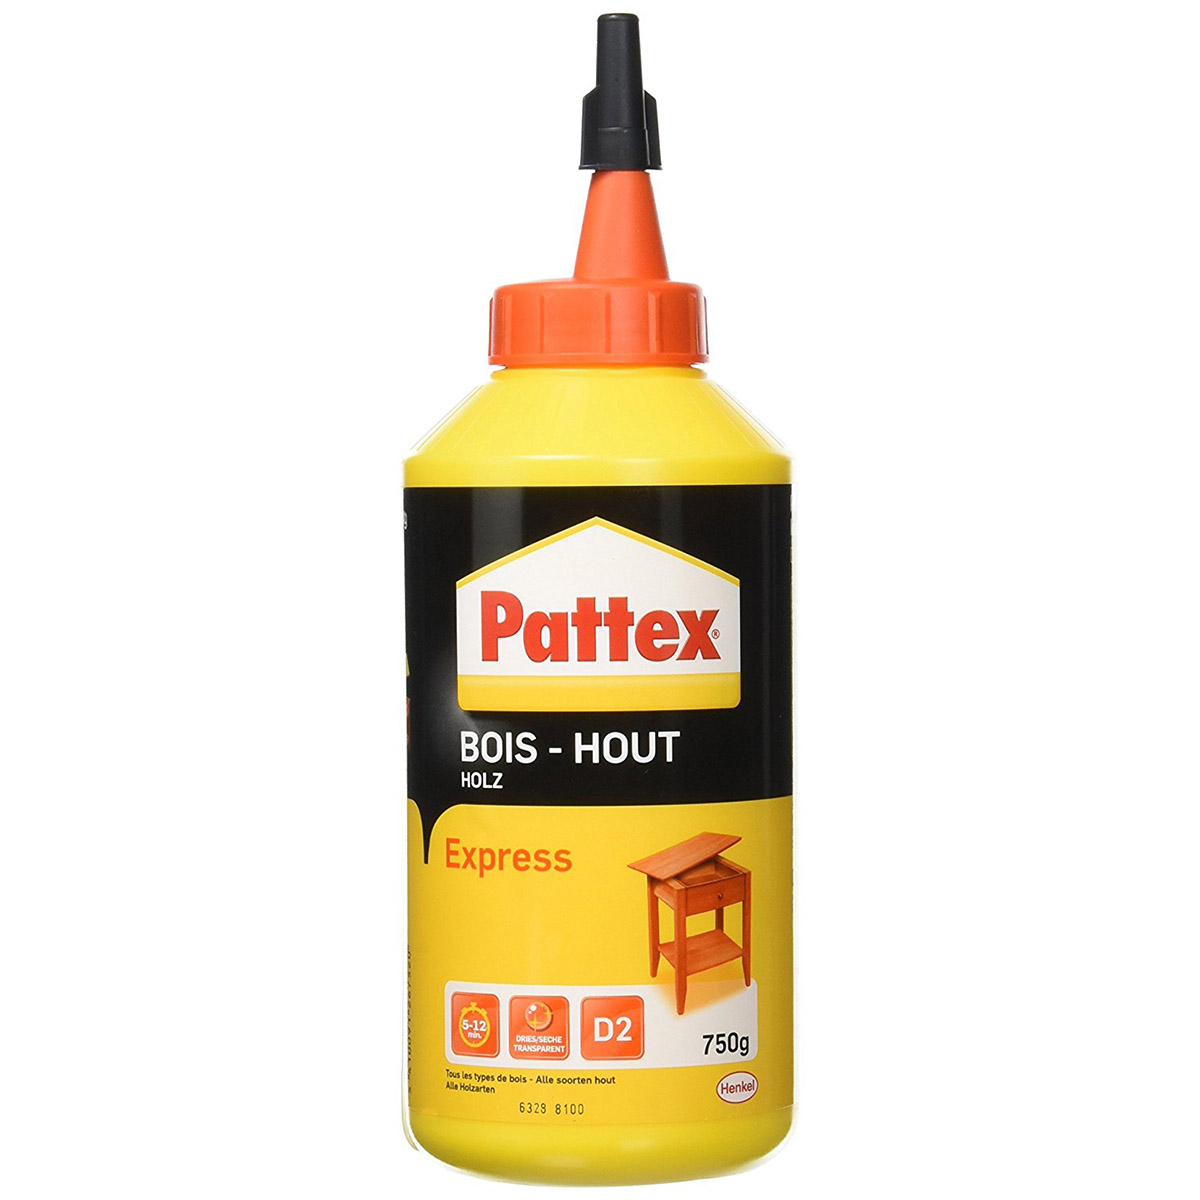
- Gorilla Wood Glue or other similar wood-specific quick-setting glue. I couldn’t find the Gorilla glue this time, so I ended up using a 750ml bottle of Pattex Express D2, which basically is a Vinavil on steroids… It performed fairly well, although the Gorilla is way better.
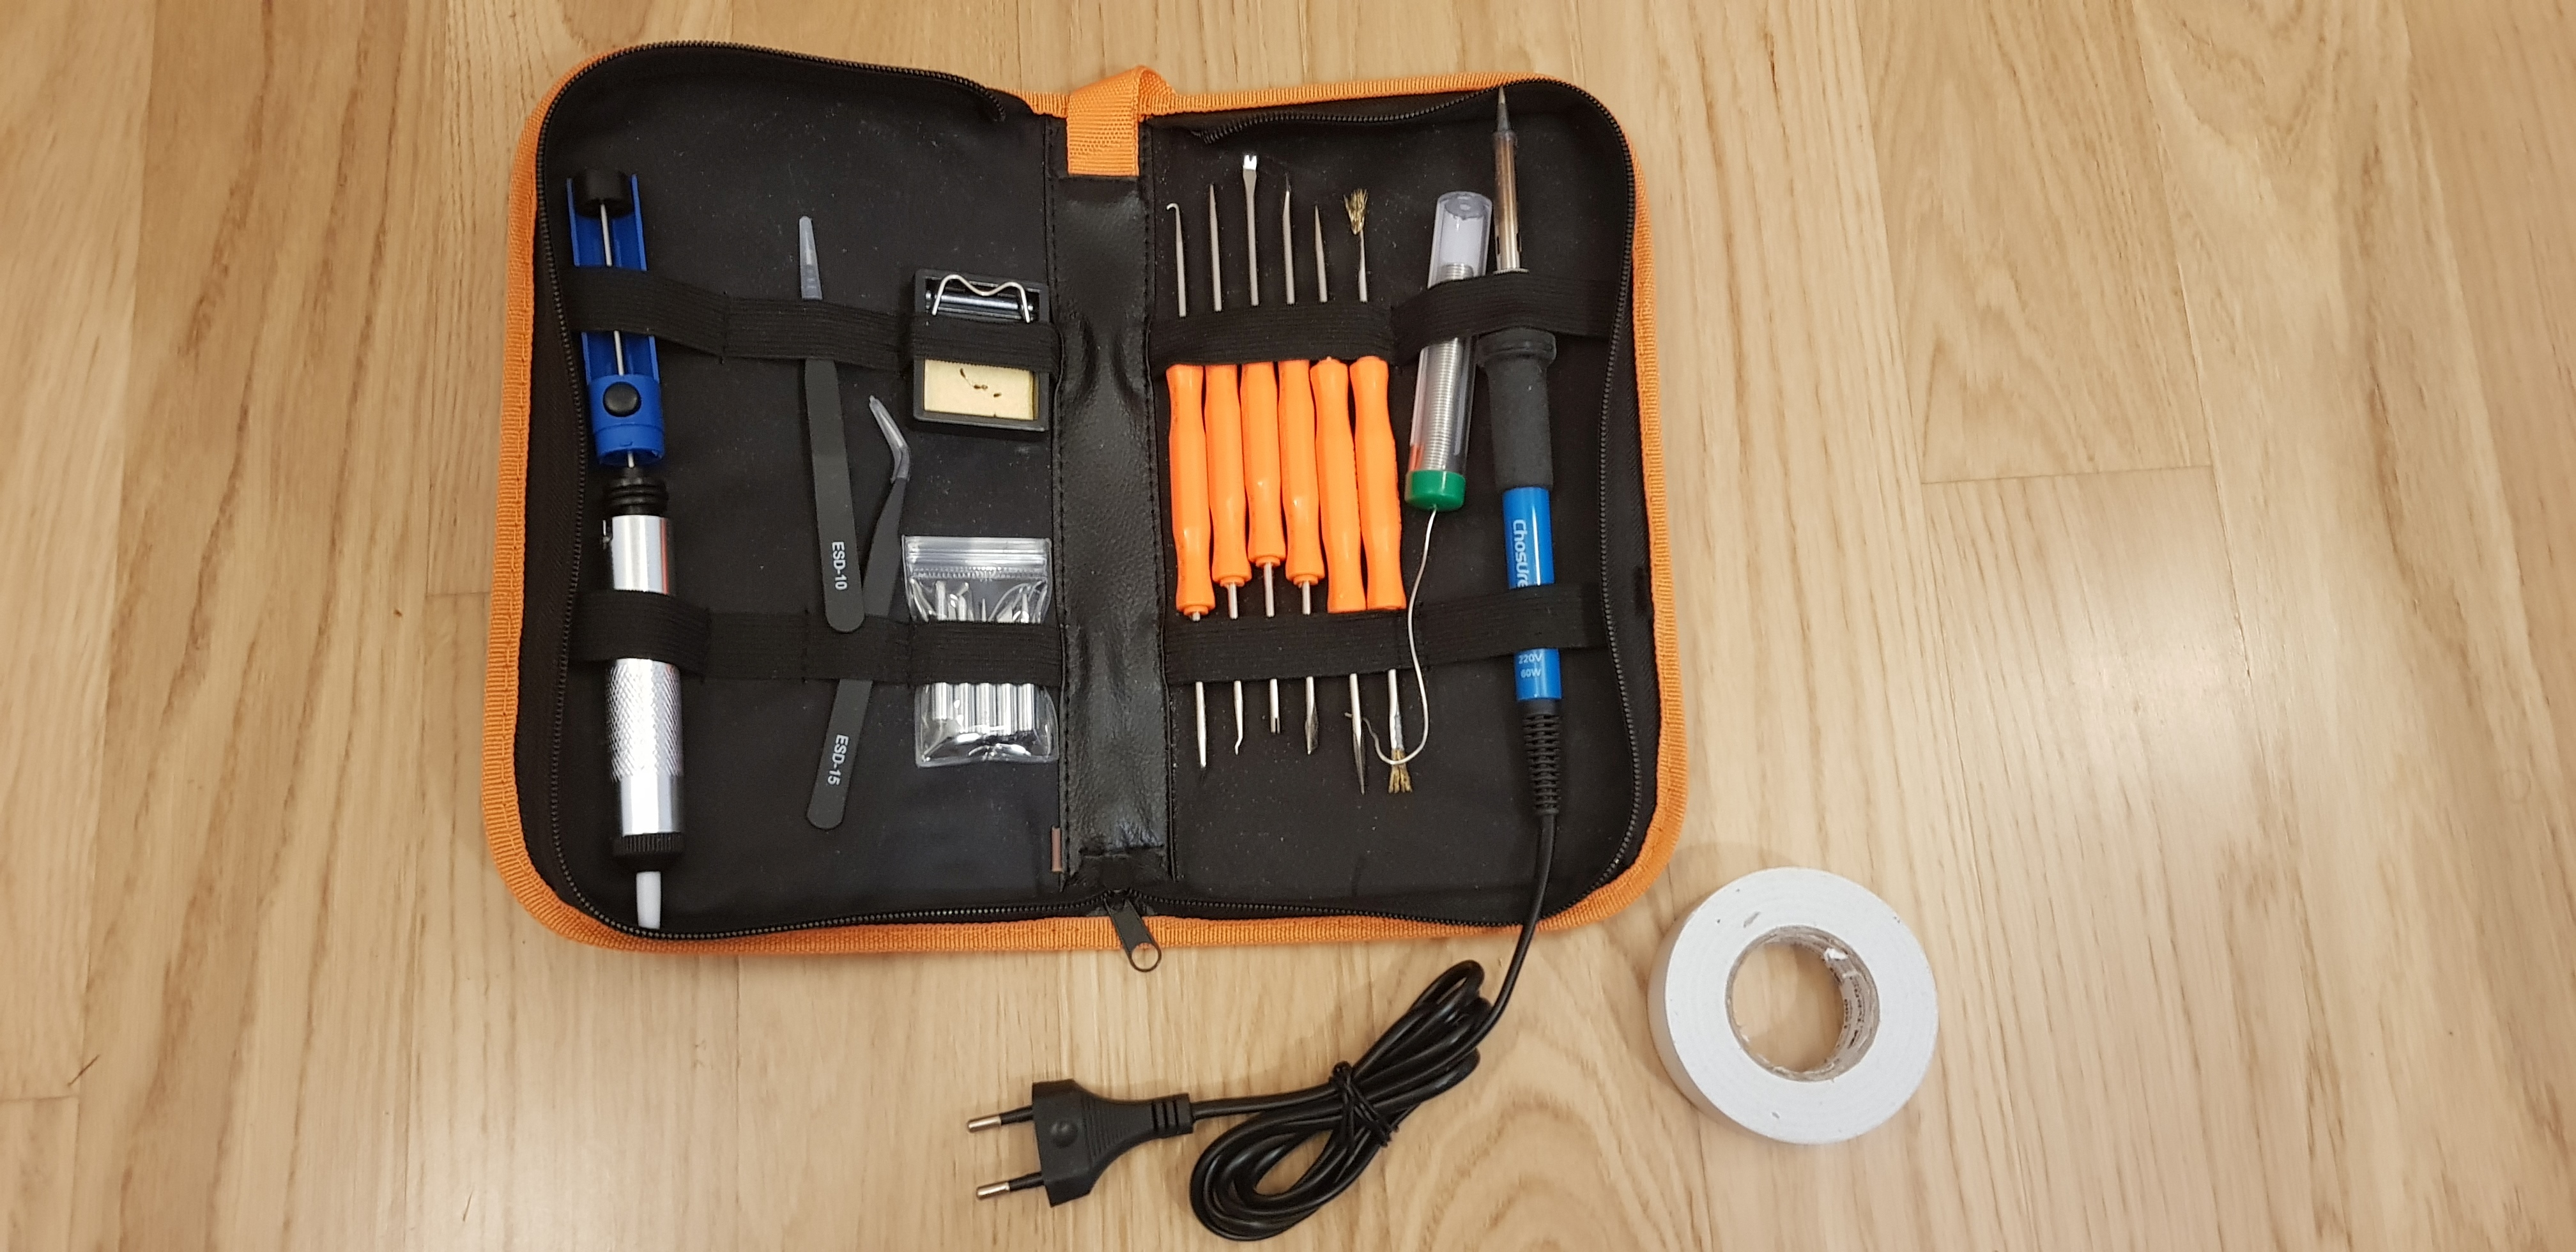
- Wire Stripper, Welder and Insulating Tape for the electric / power setup.
- Screwdrivers, brushes, sandpaper and so on. Wait a minute, didn’t I say I would take them for granted?
That’s about it with the tool: if you’re at least a bit into DIY, you’ll most likely have most of them in your arsenal already. In case you don’t, you can buy the whole package for less than 300$ on Amazon, eBay or from any decent hardware store; don’t forget that you could borrow the most expensive ones (Jigsaw, Drill and Dremel) from a friend or relative – doing that would arguably be a better move than buying something you’ll never use after this project.
Designing the Cabinet
I did a lot of research before choosing the cabinet(s) shape: the first thing I did was to use Google and look at what other people did before me. There are a lot of great templates available for Arcade Bartops, but none of them had that mid-70’s look I wanted. If you remember the Centipede cabinet (recently saw on Halt & Catch Fire and Stranger Things 2), you already know what I mean:


To be completely honest, Stranger Things 2 wasn’t out yet on Netflix when I worked on these cabinets, so you can imagine my surprise when I saw it….
Anyway, the Centipede cabinet is a full-size cabinet and I wanted to build a Bartop: since I couldn’t find a pre-made Bartop design set that could give that ’70s look & feel, I had to create an original shape to make something that could be somewhat vaguely similar. Therefore, I took an existing design found with Google, launched Inkscape and came up with this:
Not bad, right? It’s a rather simple design, yet somewhat reminiscent of the original Centipede inspiration… On top of that, it was completely original: I would build a cabinet (well, actually two cabinets) with an unique shape!
Specs & Measures
When I worked on the above design I was thinking about a two-player cabinet, hence I knew that I needed at least 50 centimeters width to accomodate two joystick & button sets. With that in mind, I went for a chassis of 530mm width and 640mm height.
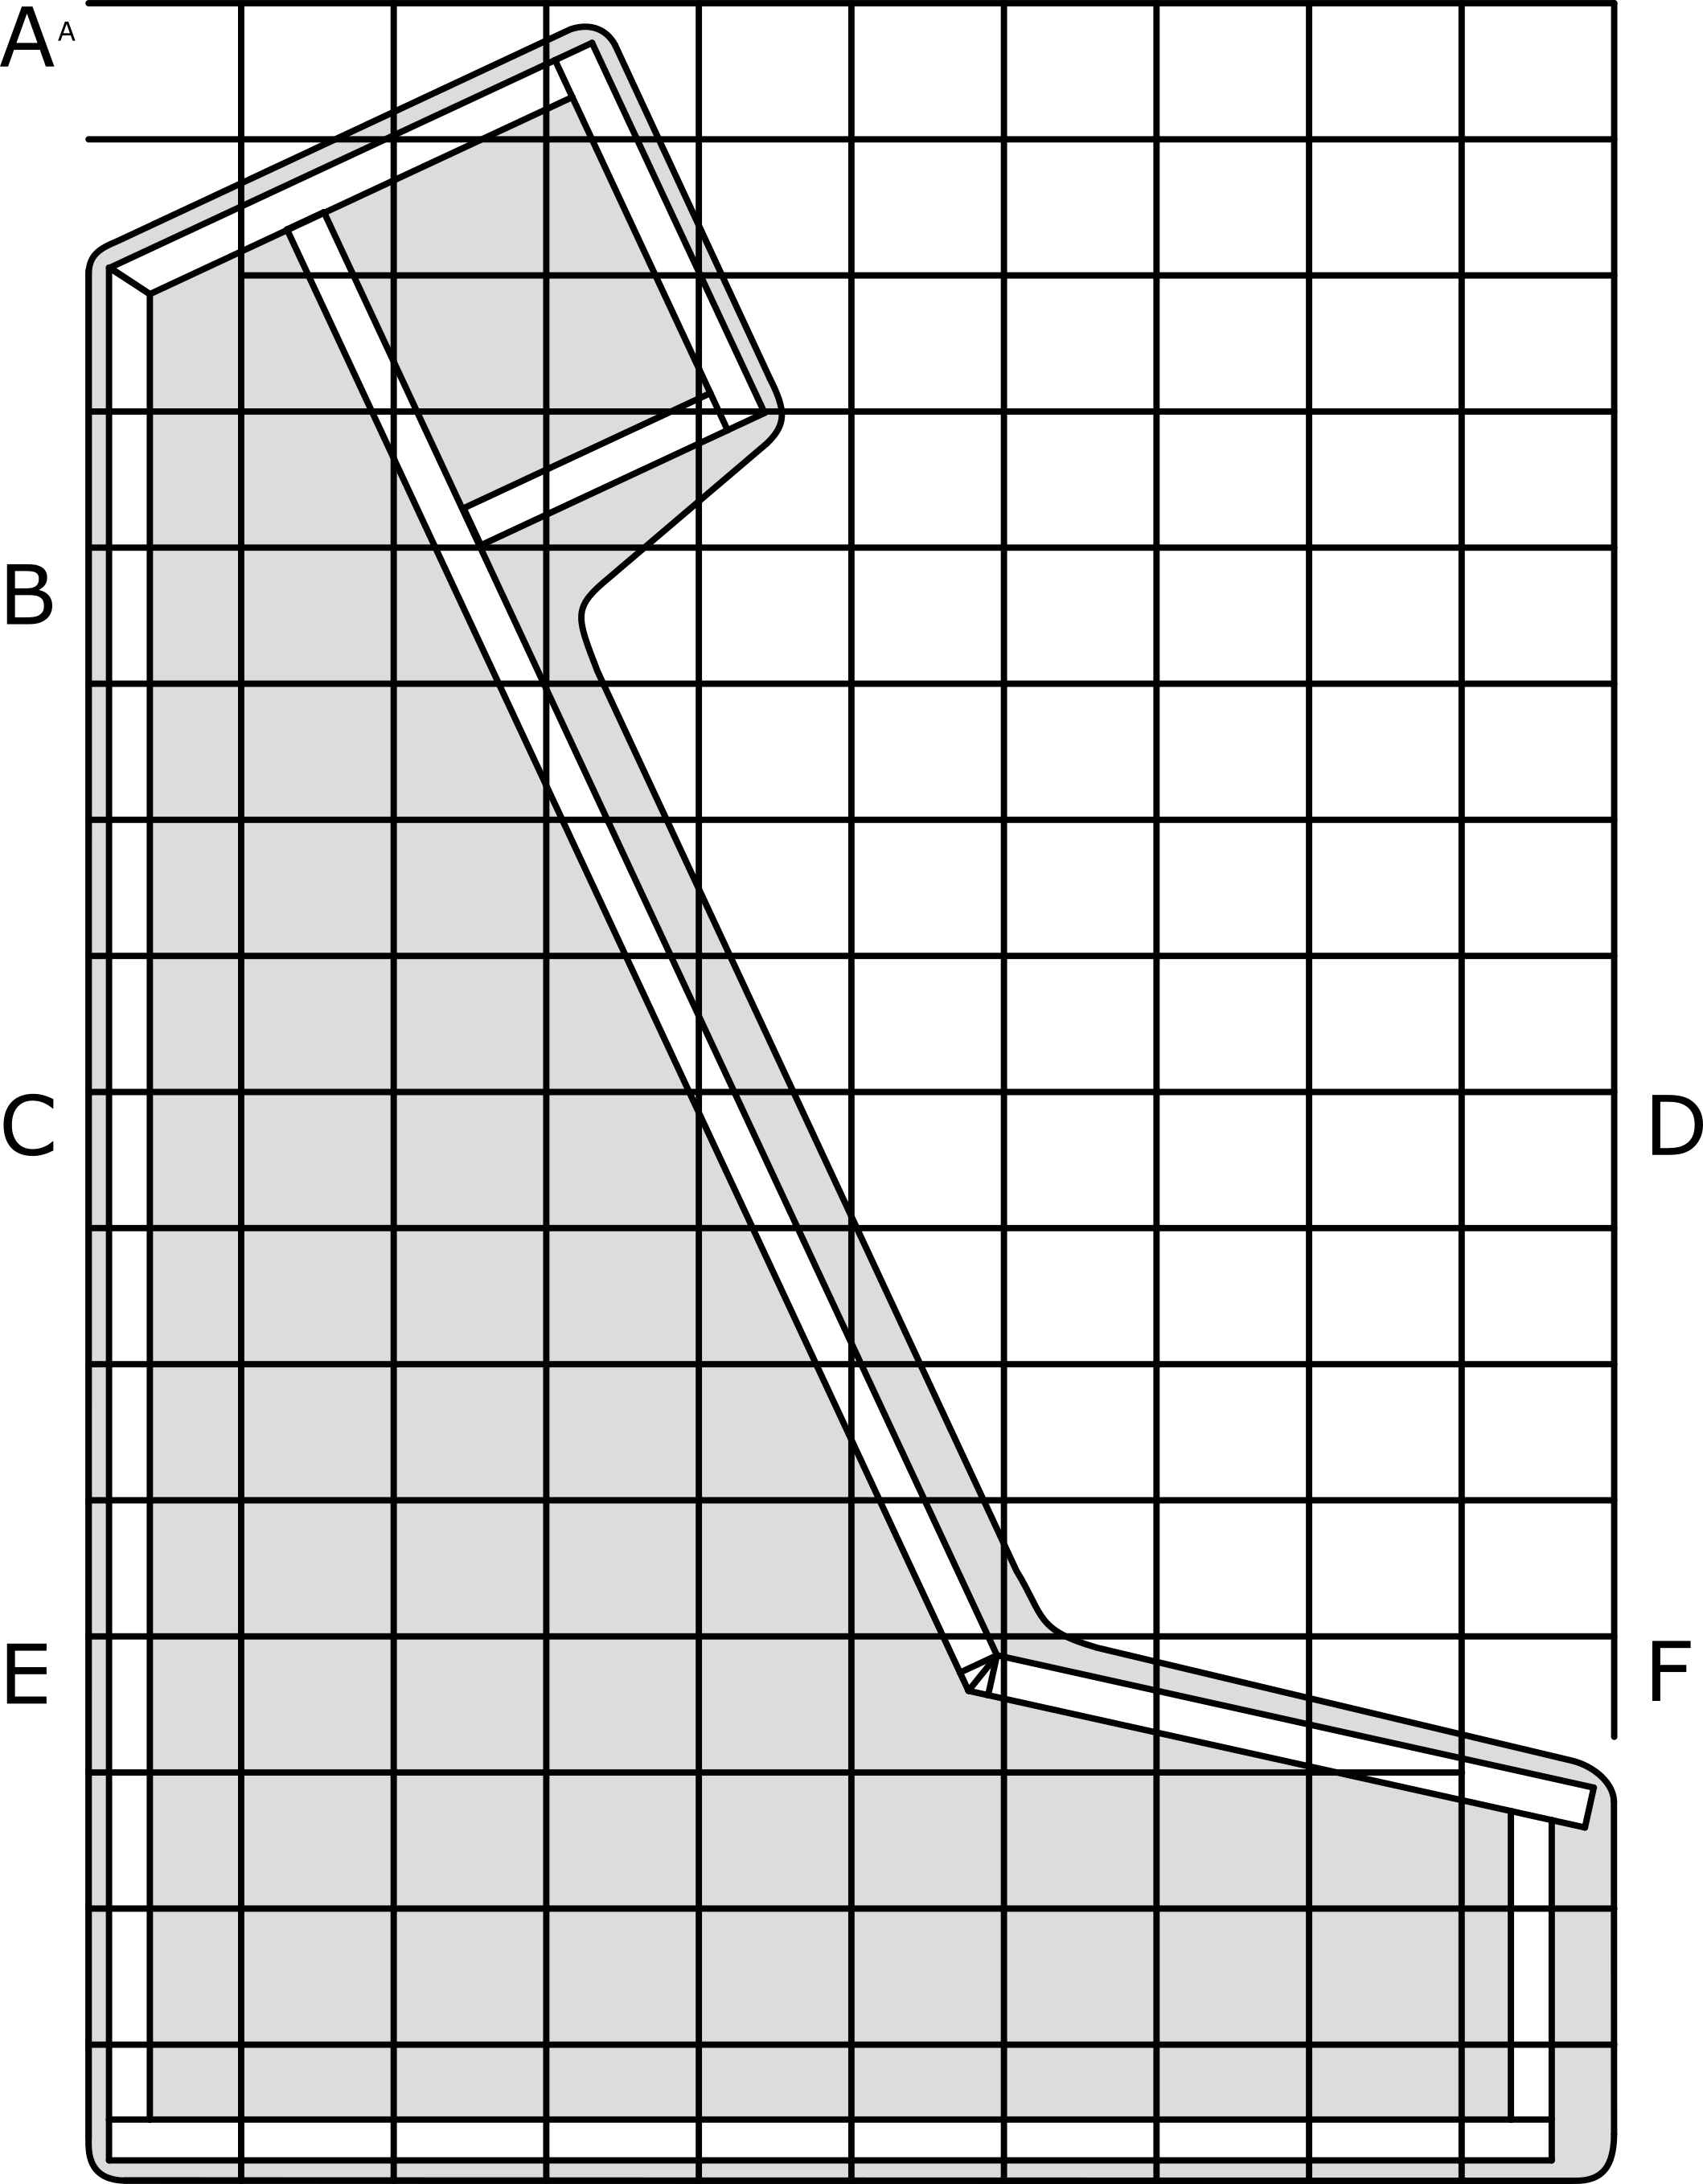
Here are the precise measures of all the single wood-cuts:
This document can be downloaded in PDF format by clicking here. It can also be printed (1:1 scale) to use it as a cutting guide for the side panels.
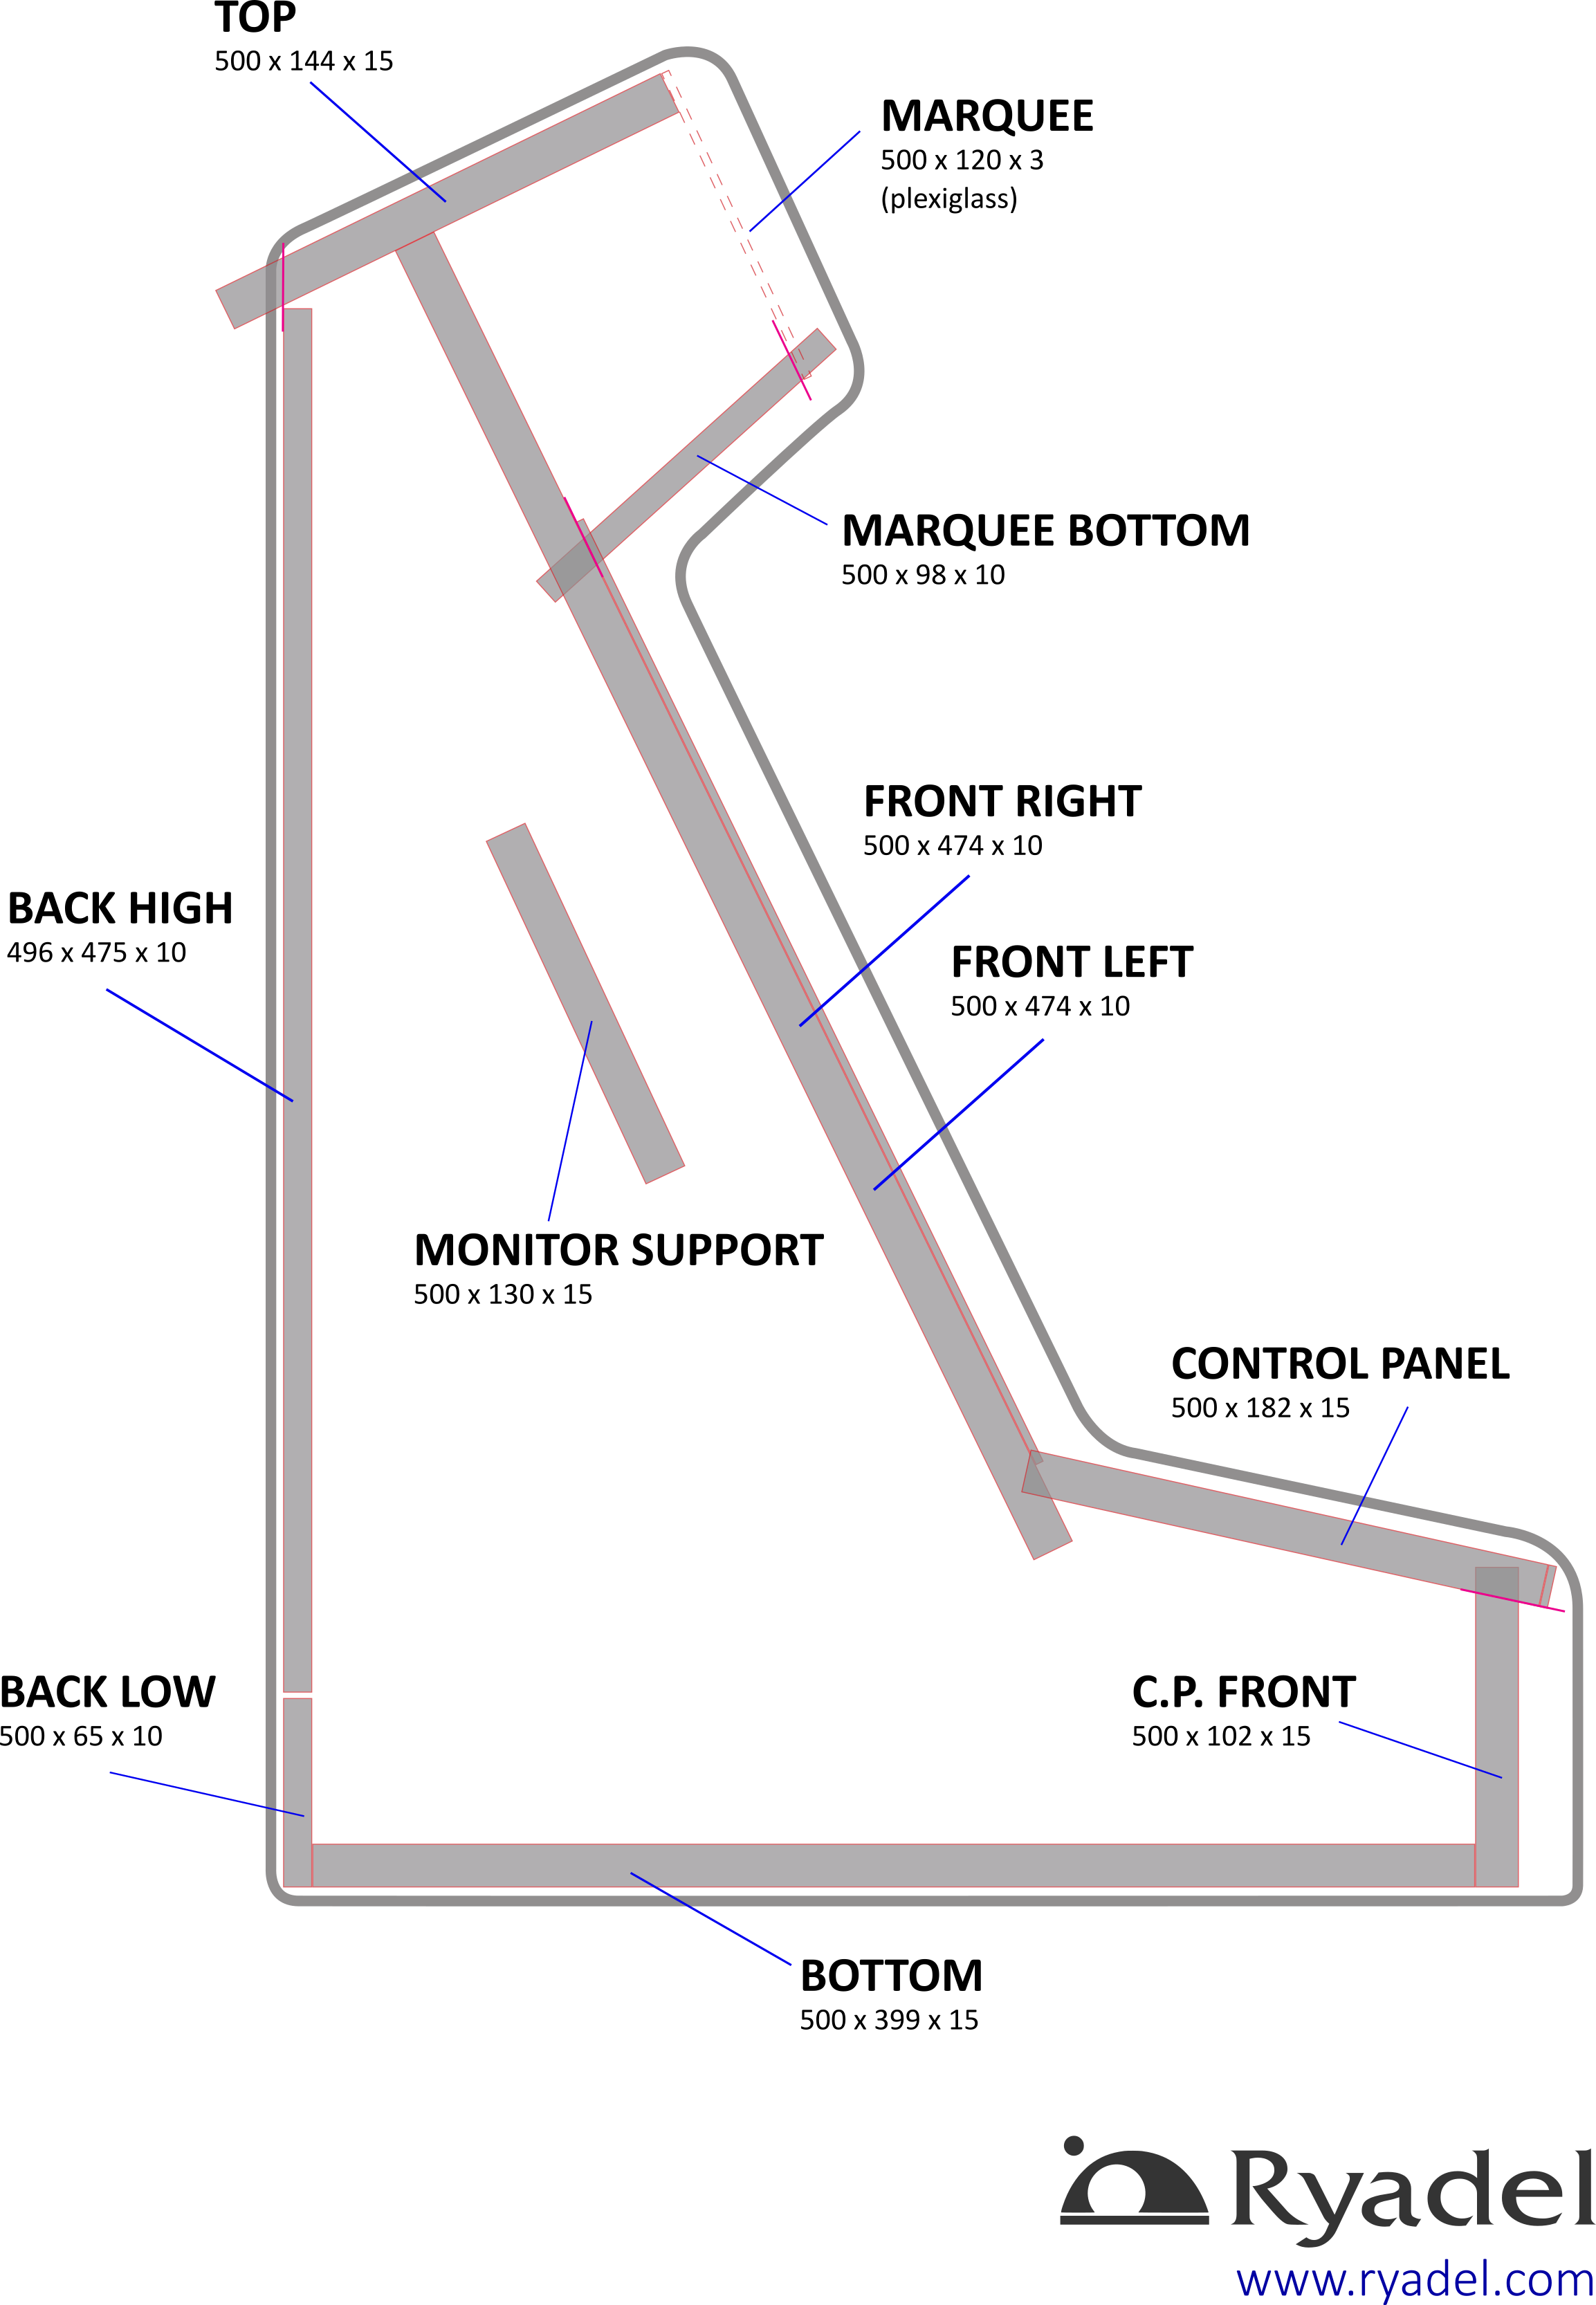
As we can see the layout is composed of a number of different pieces with variable thickness, each one serving a specific purpose. There are four pieces that need an explanation to better understand their role.
- FRONT LEFT and FRONT RIGHT: these two pieces will be used to accomodate the monitor, which will be put within them.
- BACK LOW: this piece will have a hole for the power plug.
- BACK HIGH: this piece will have the two hinges and the magnet lock mentioned in part 1, that will allow it to act as a “back-side door” which will be used to operate within the cabinet We’ll call it Back-side Door from now on.
The variable thickness is mostly a matter of choices: I made these choices because I wanted the cabinet to be as robust as possible, without being too heavy: with this goal in mind I did chose a 15mm thickness wood for the heavy-duty structural parts (top, bottom, front, sides, monitor support) and a 10mm thickness for the remaining pieces. You’re free to change this, as long as you know what you’re doing – and re-calculate the sized accordingly.
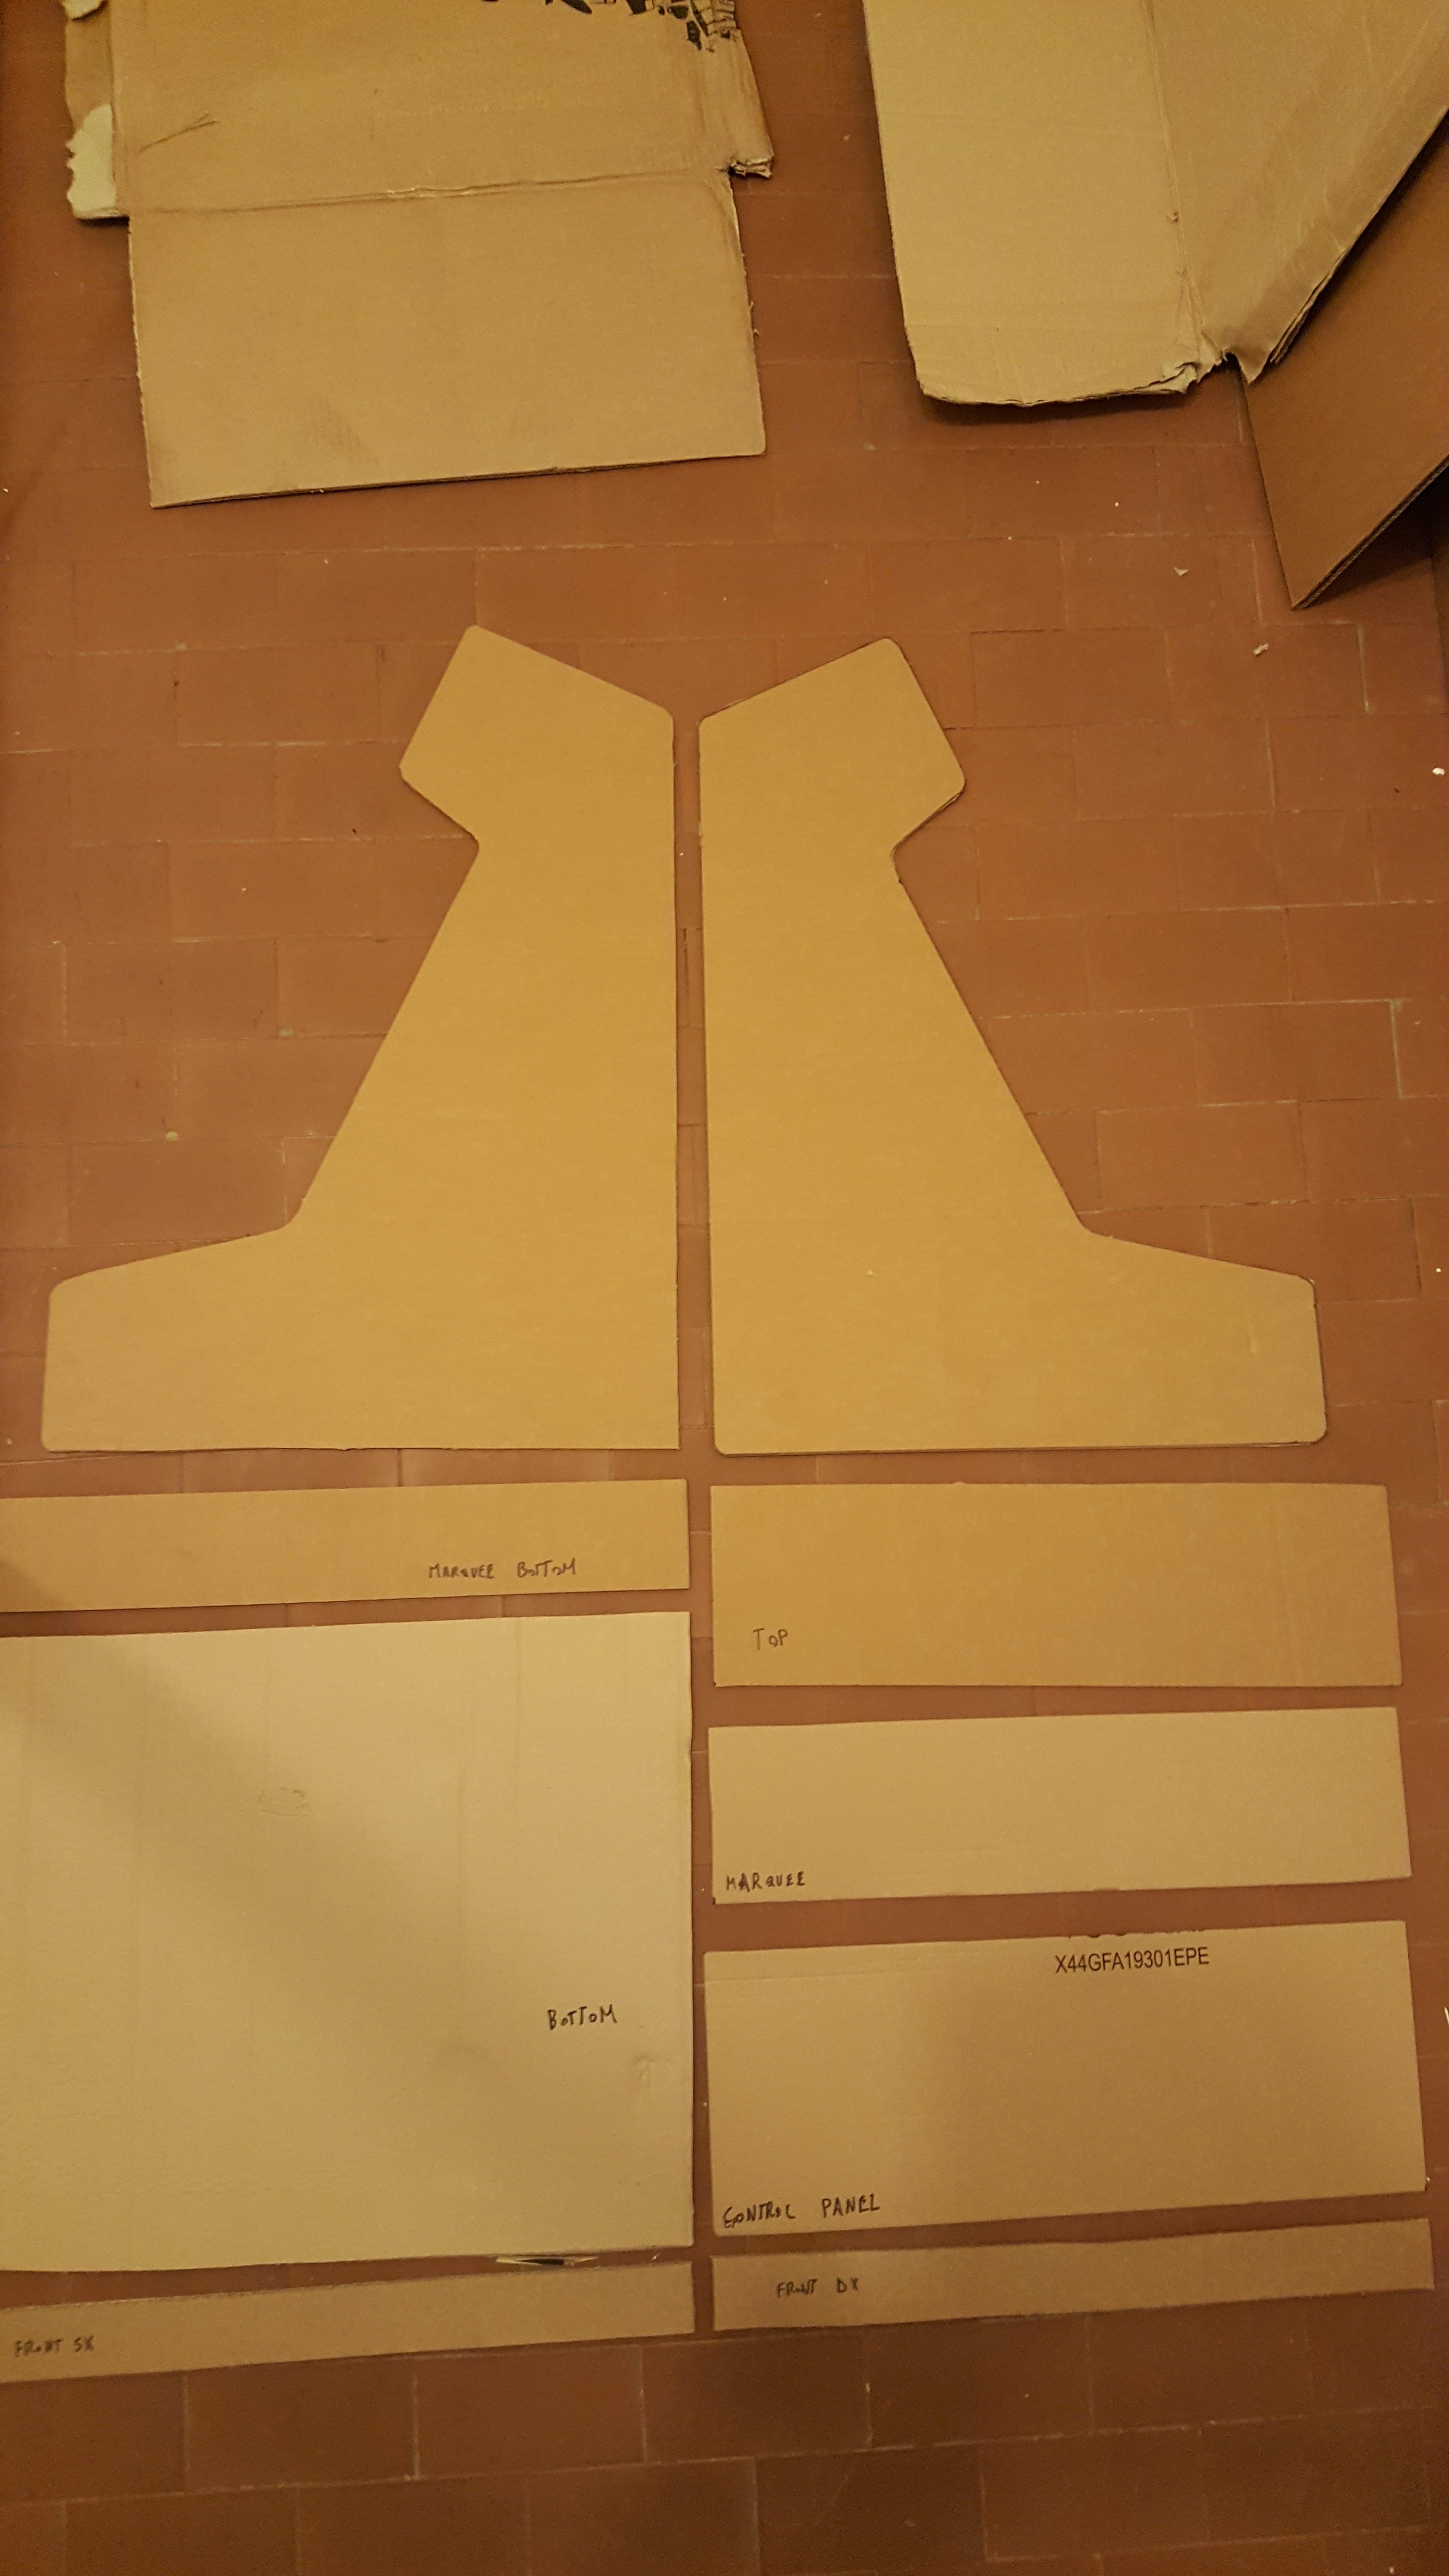
Cut List
Here’s the cut list of all the required wood pieces, including the two side parts which will give the case the 70’s shape.
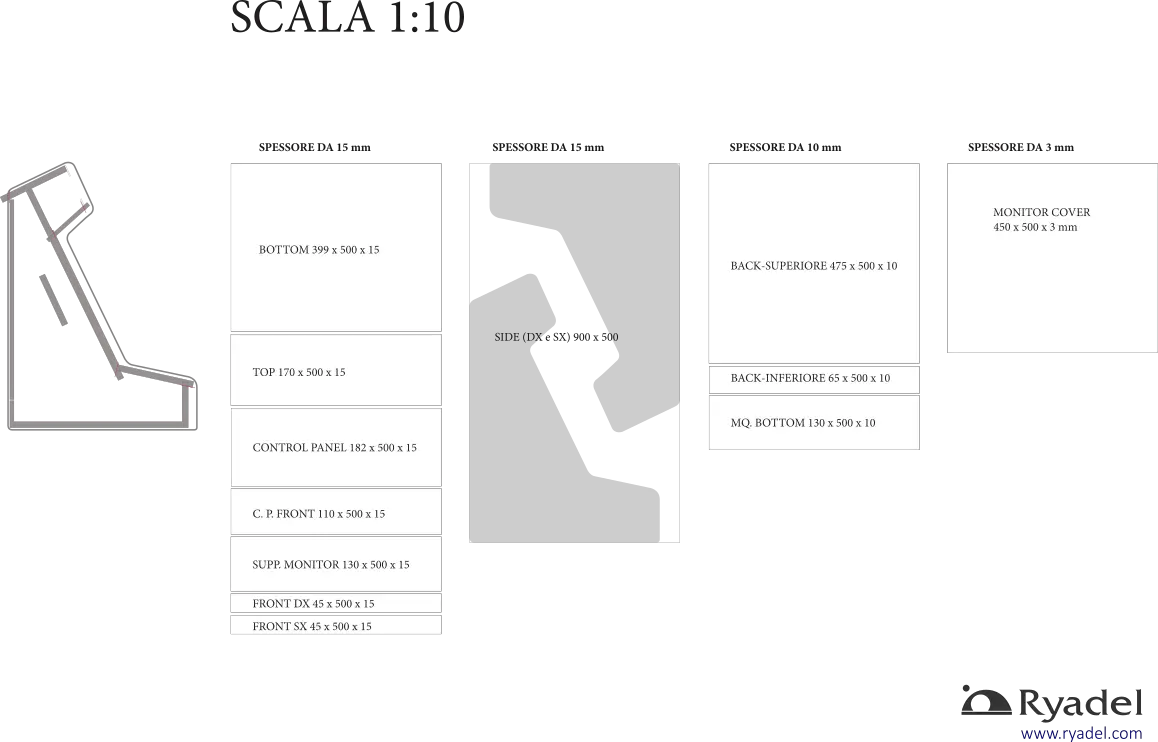
This document can be downloaded in PDF format by clicking here: if you want to print it, remember that it comes with a 1:10 scale.
As you can see, the list includes a 450x500x3mm wood piece called Monitor Cover: we’ll use this to create the wooden frame to put around the monitor, hiding its non-screen parts.
Building a Full-Scale Prototype
Before cutting the actual wood, it would be highly advisable to build a full-scale, 1:1 cardboard prototype to be sure that the size and the shape of the cabinet are really accurate. I highly suggest to do that, even if you’re planning to use the above designs without any significative change, to avoid potential mistakes and to build the required experience before building the real deal: that said, if you’re confident enough in your modeling, cutting and measurement skills, you’re free to skip that part and proceed to the Part 3.
The first thing to consider when building a cardboard prototype is that the cardboard thickness (2-3mm or so) will be much smaller than the wood thickness you’ll have to deal with when building the real deal: you can either ignore the difference or act accordingly by using two pieces of cardboard layered together for each piece, in order to emulate the wood thickness. I personally didn’t do that, because I didn’t find that thickness difference relevant enough for the prototype – I just took it into account.
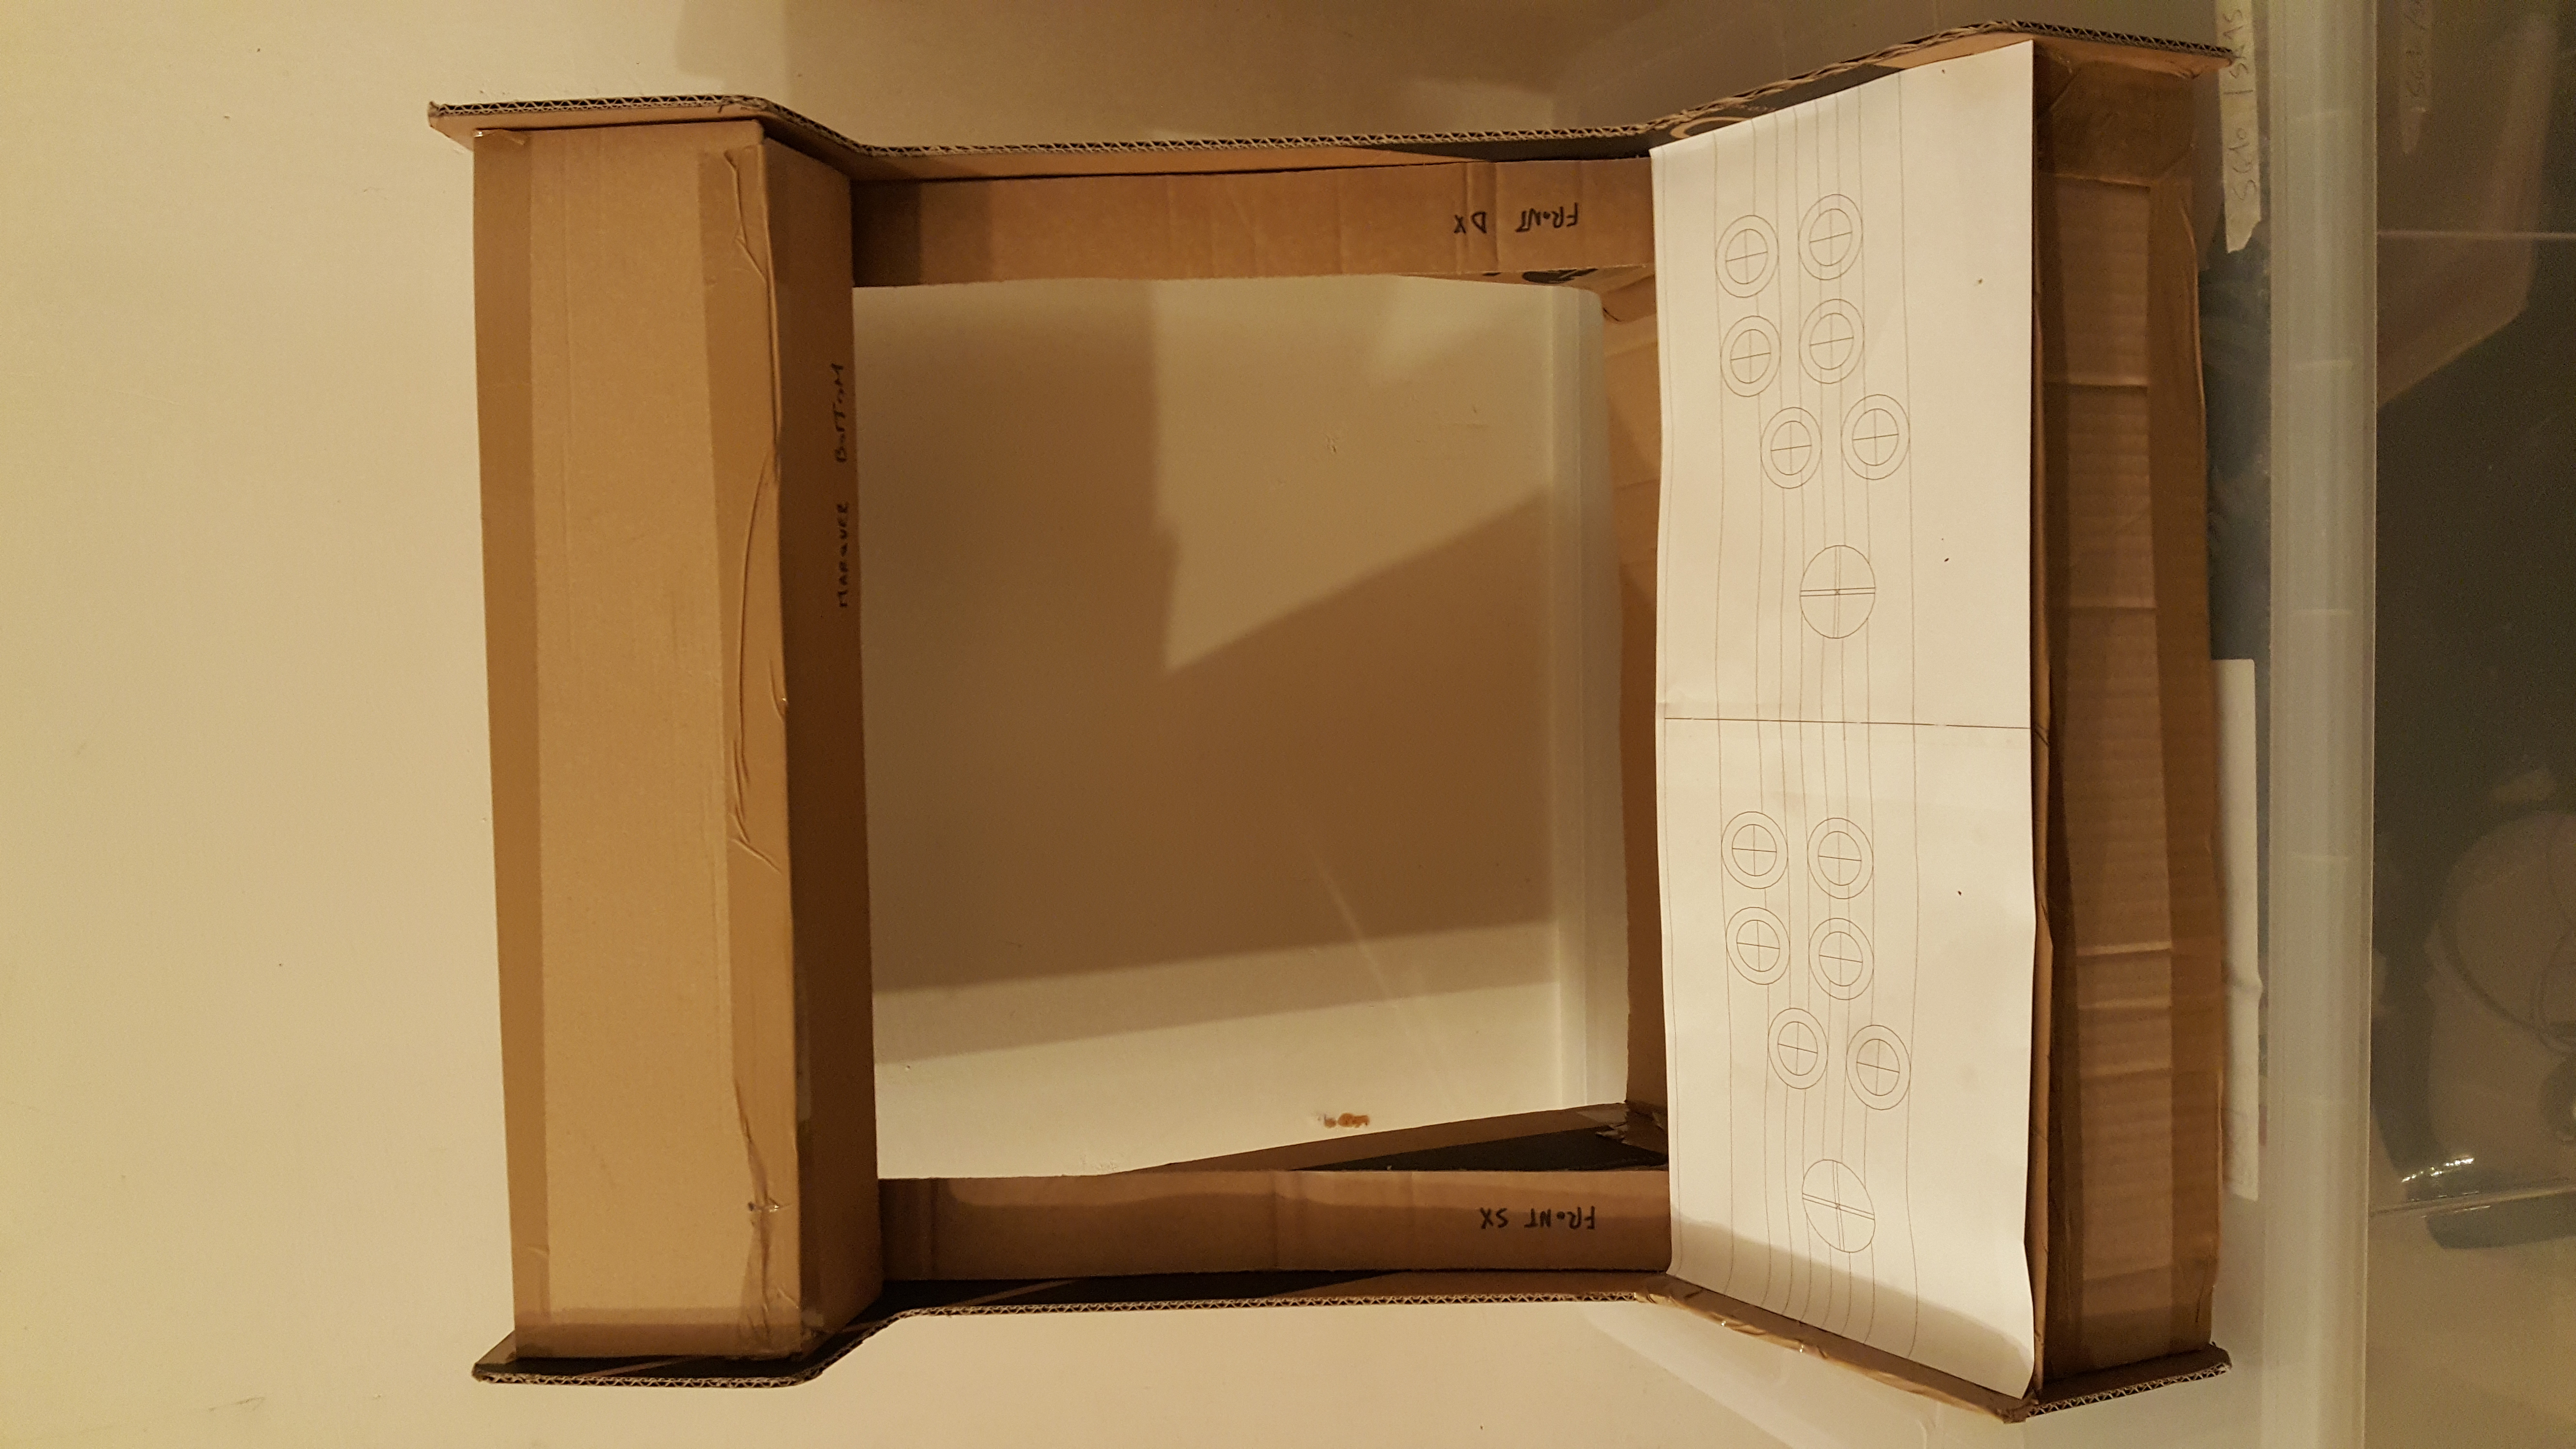
Here’s the prototype I built with a ruler, a cutter, a pair of scissors, some spare cardboard from a 60″ LED TV and a decent amount of parcel tape:
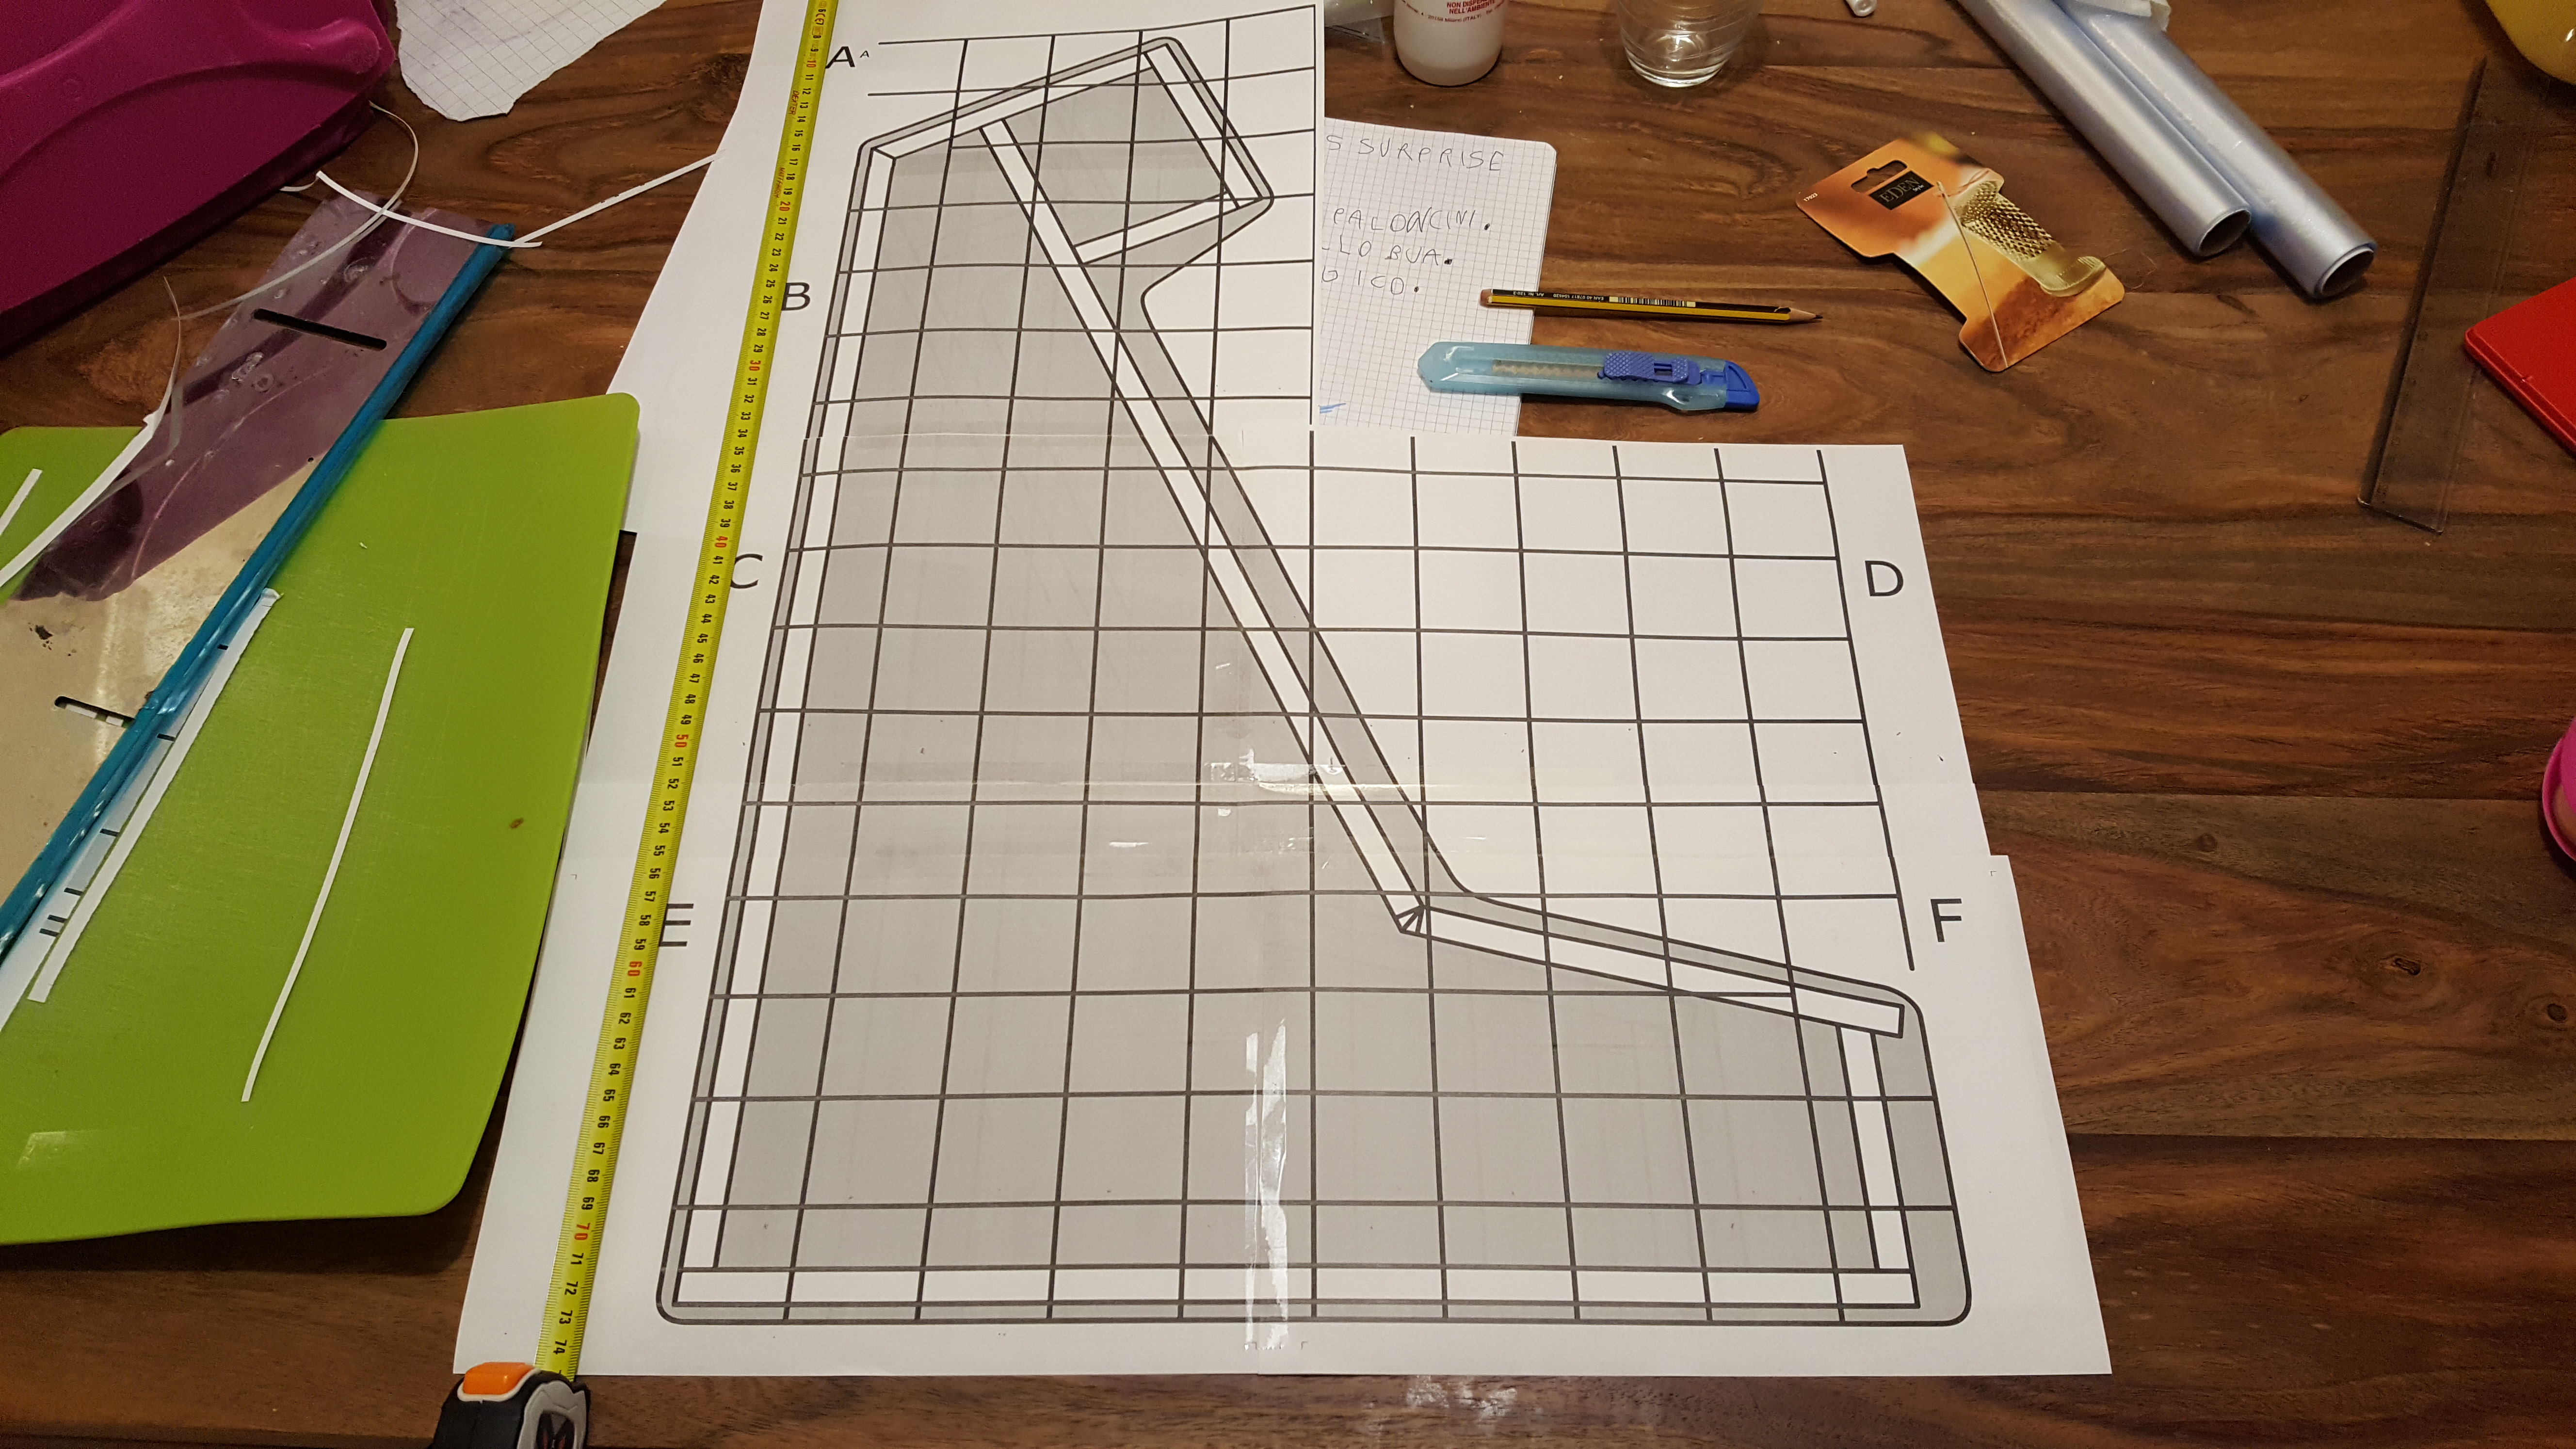
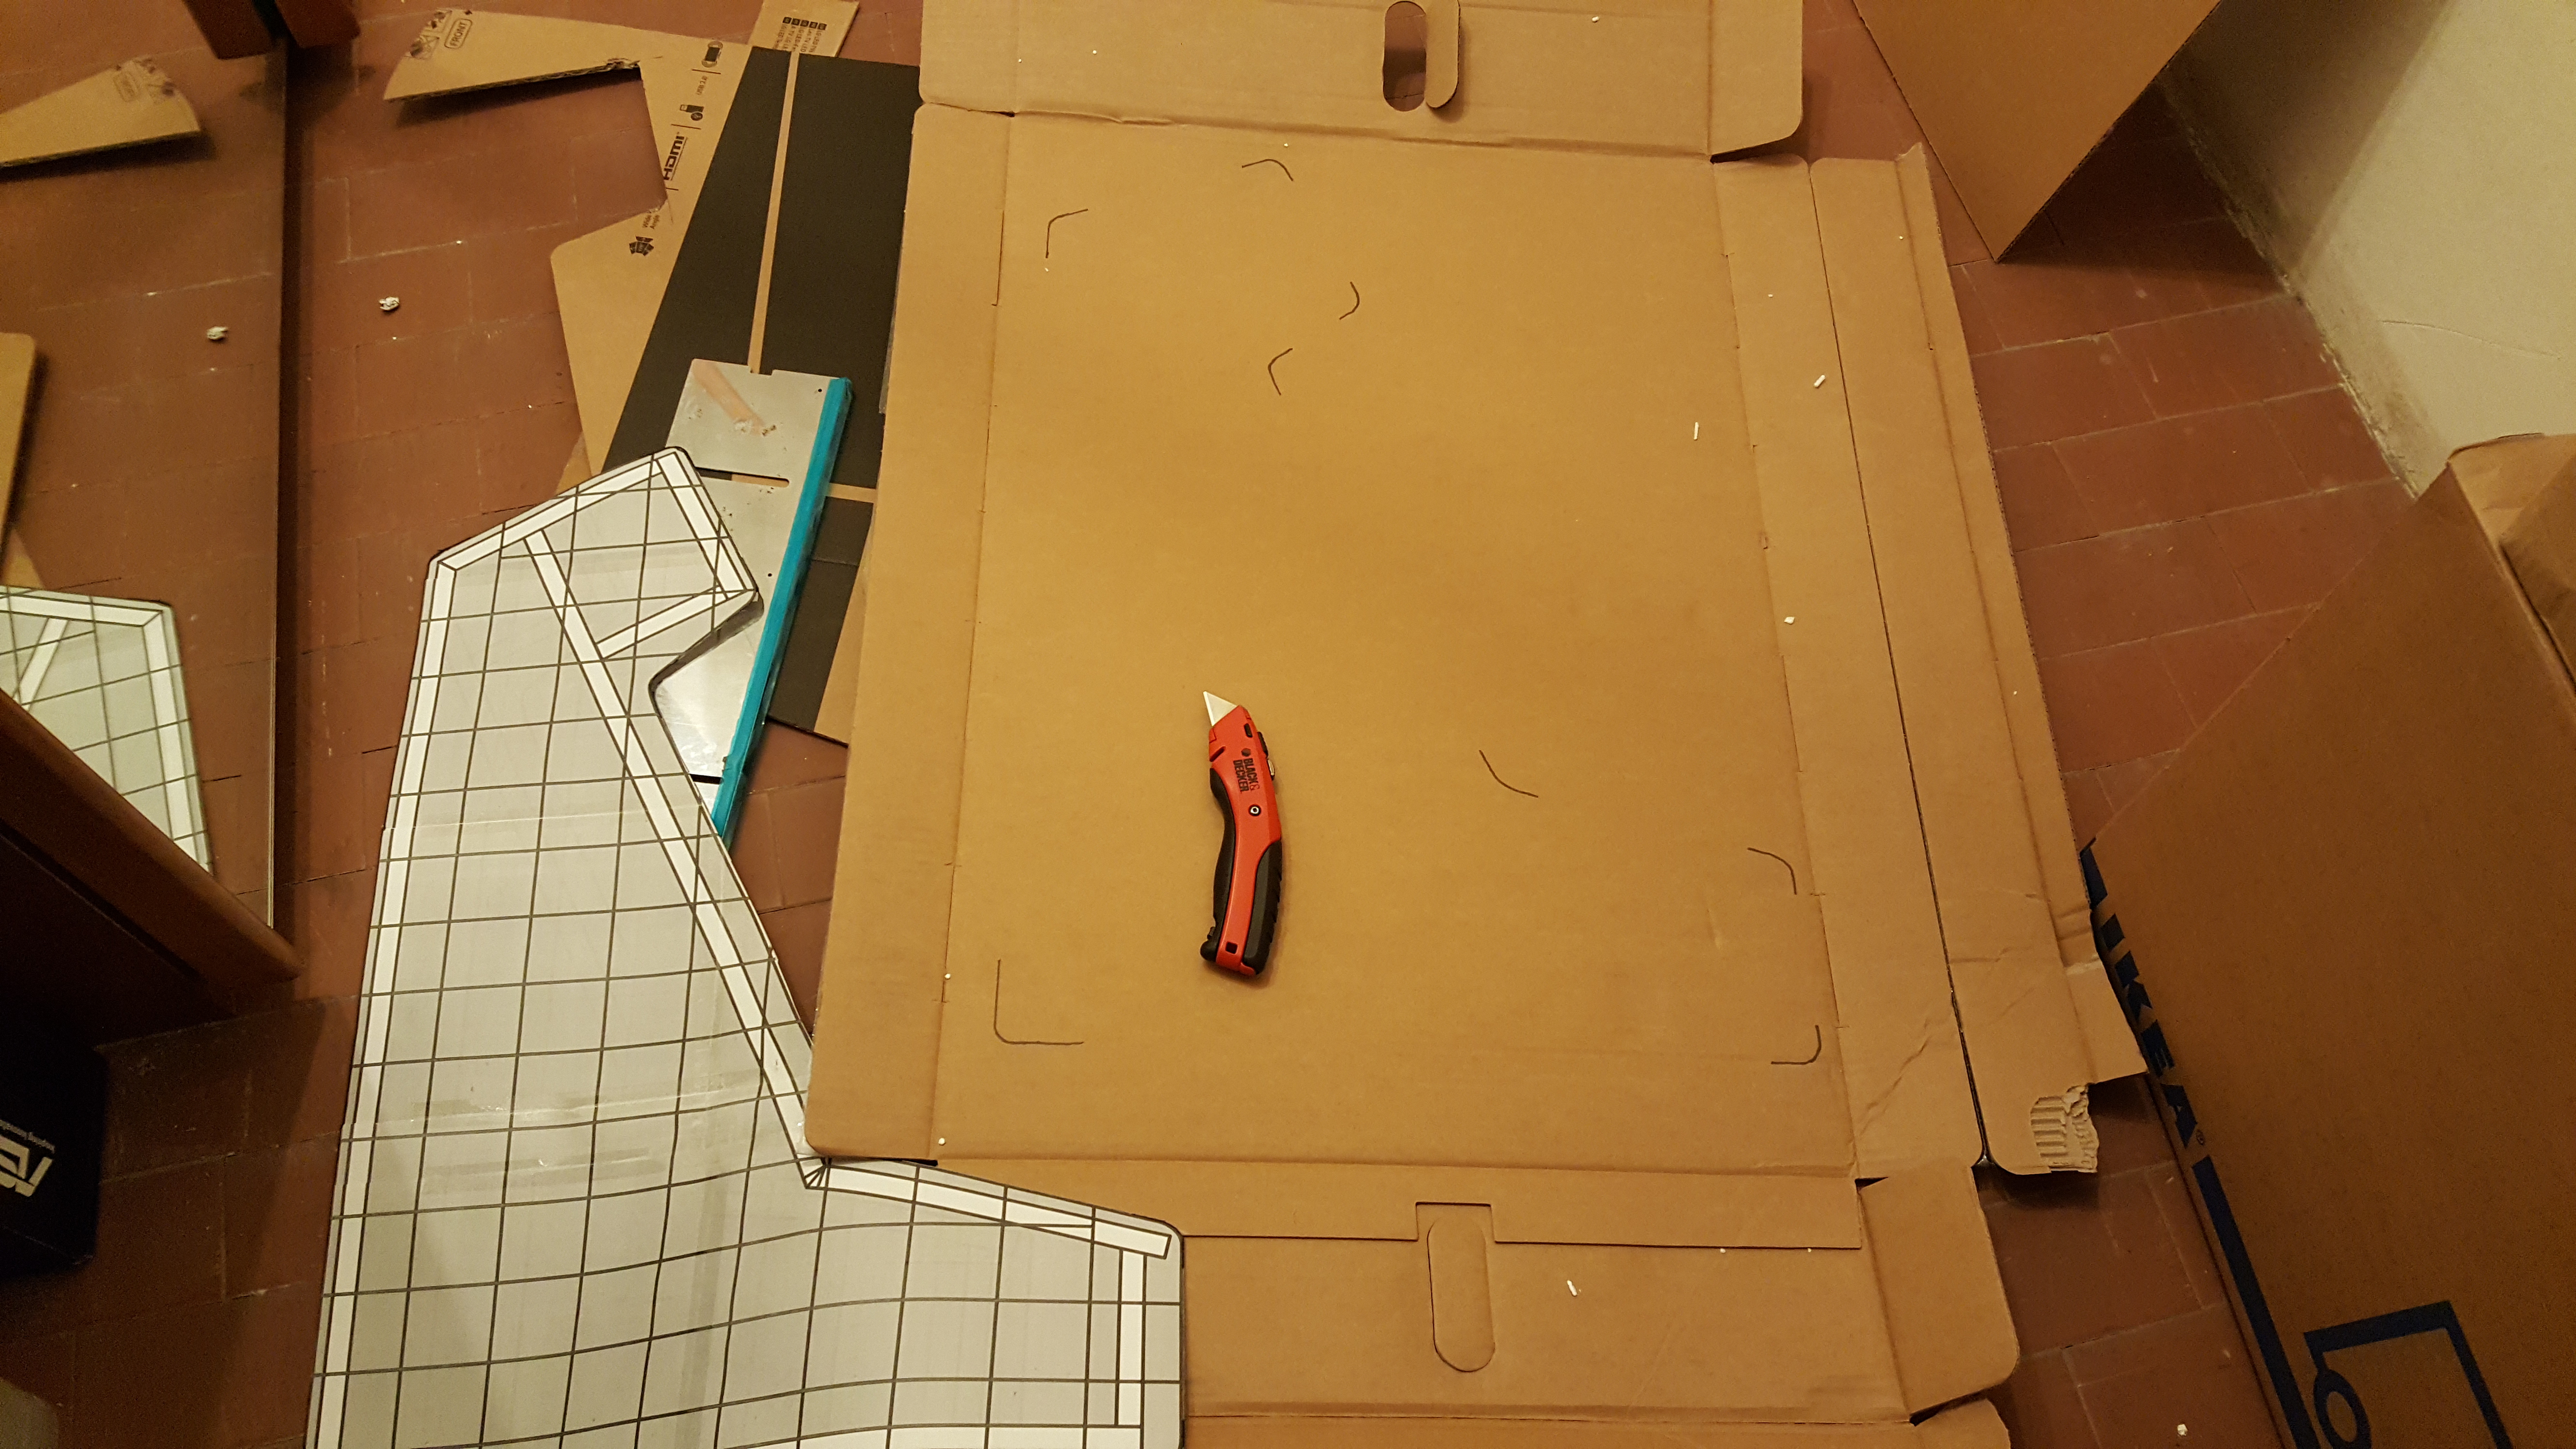
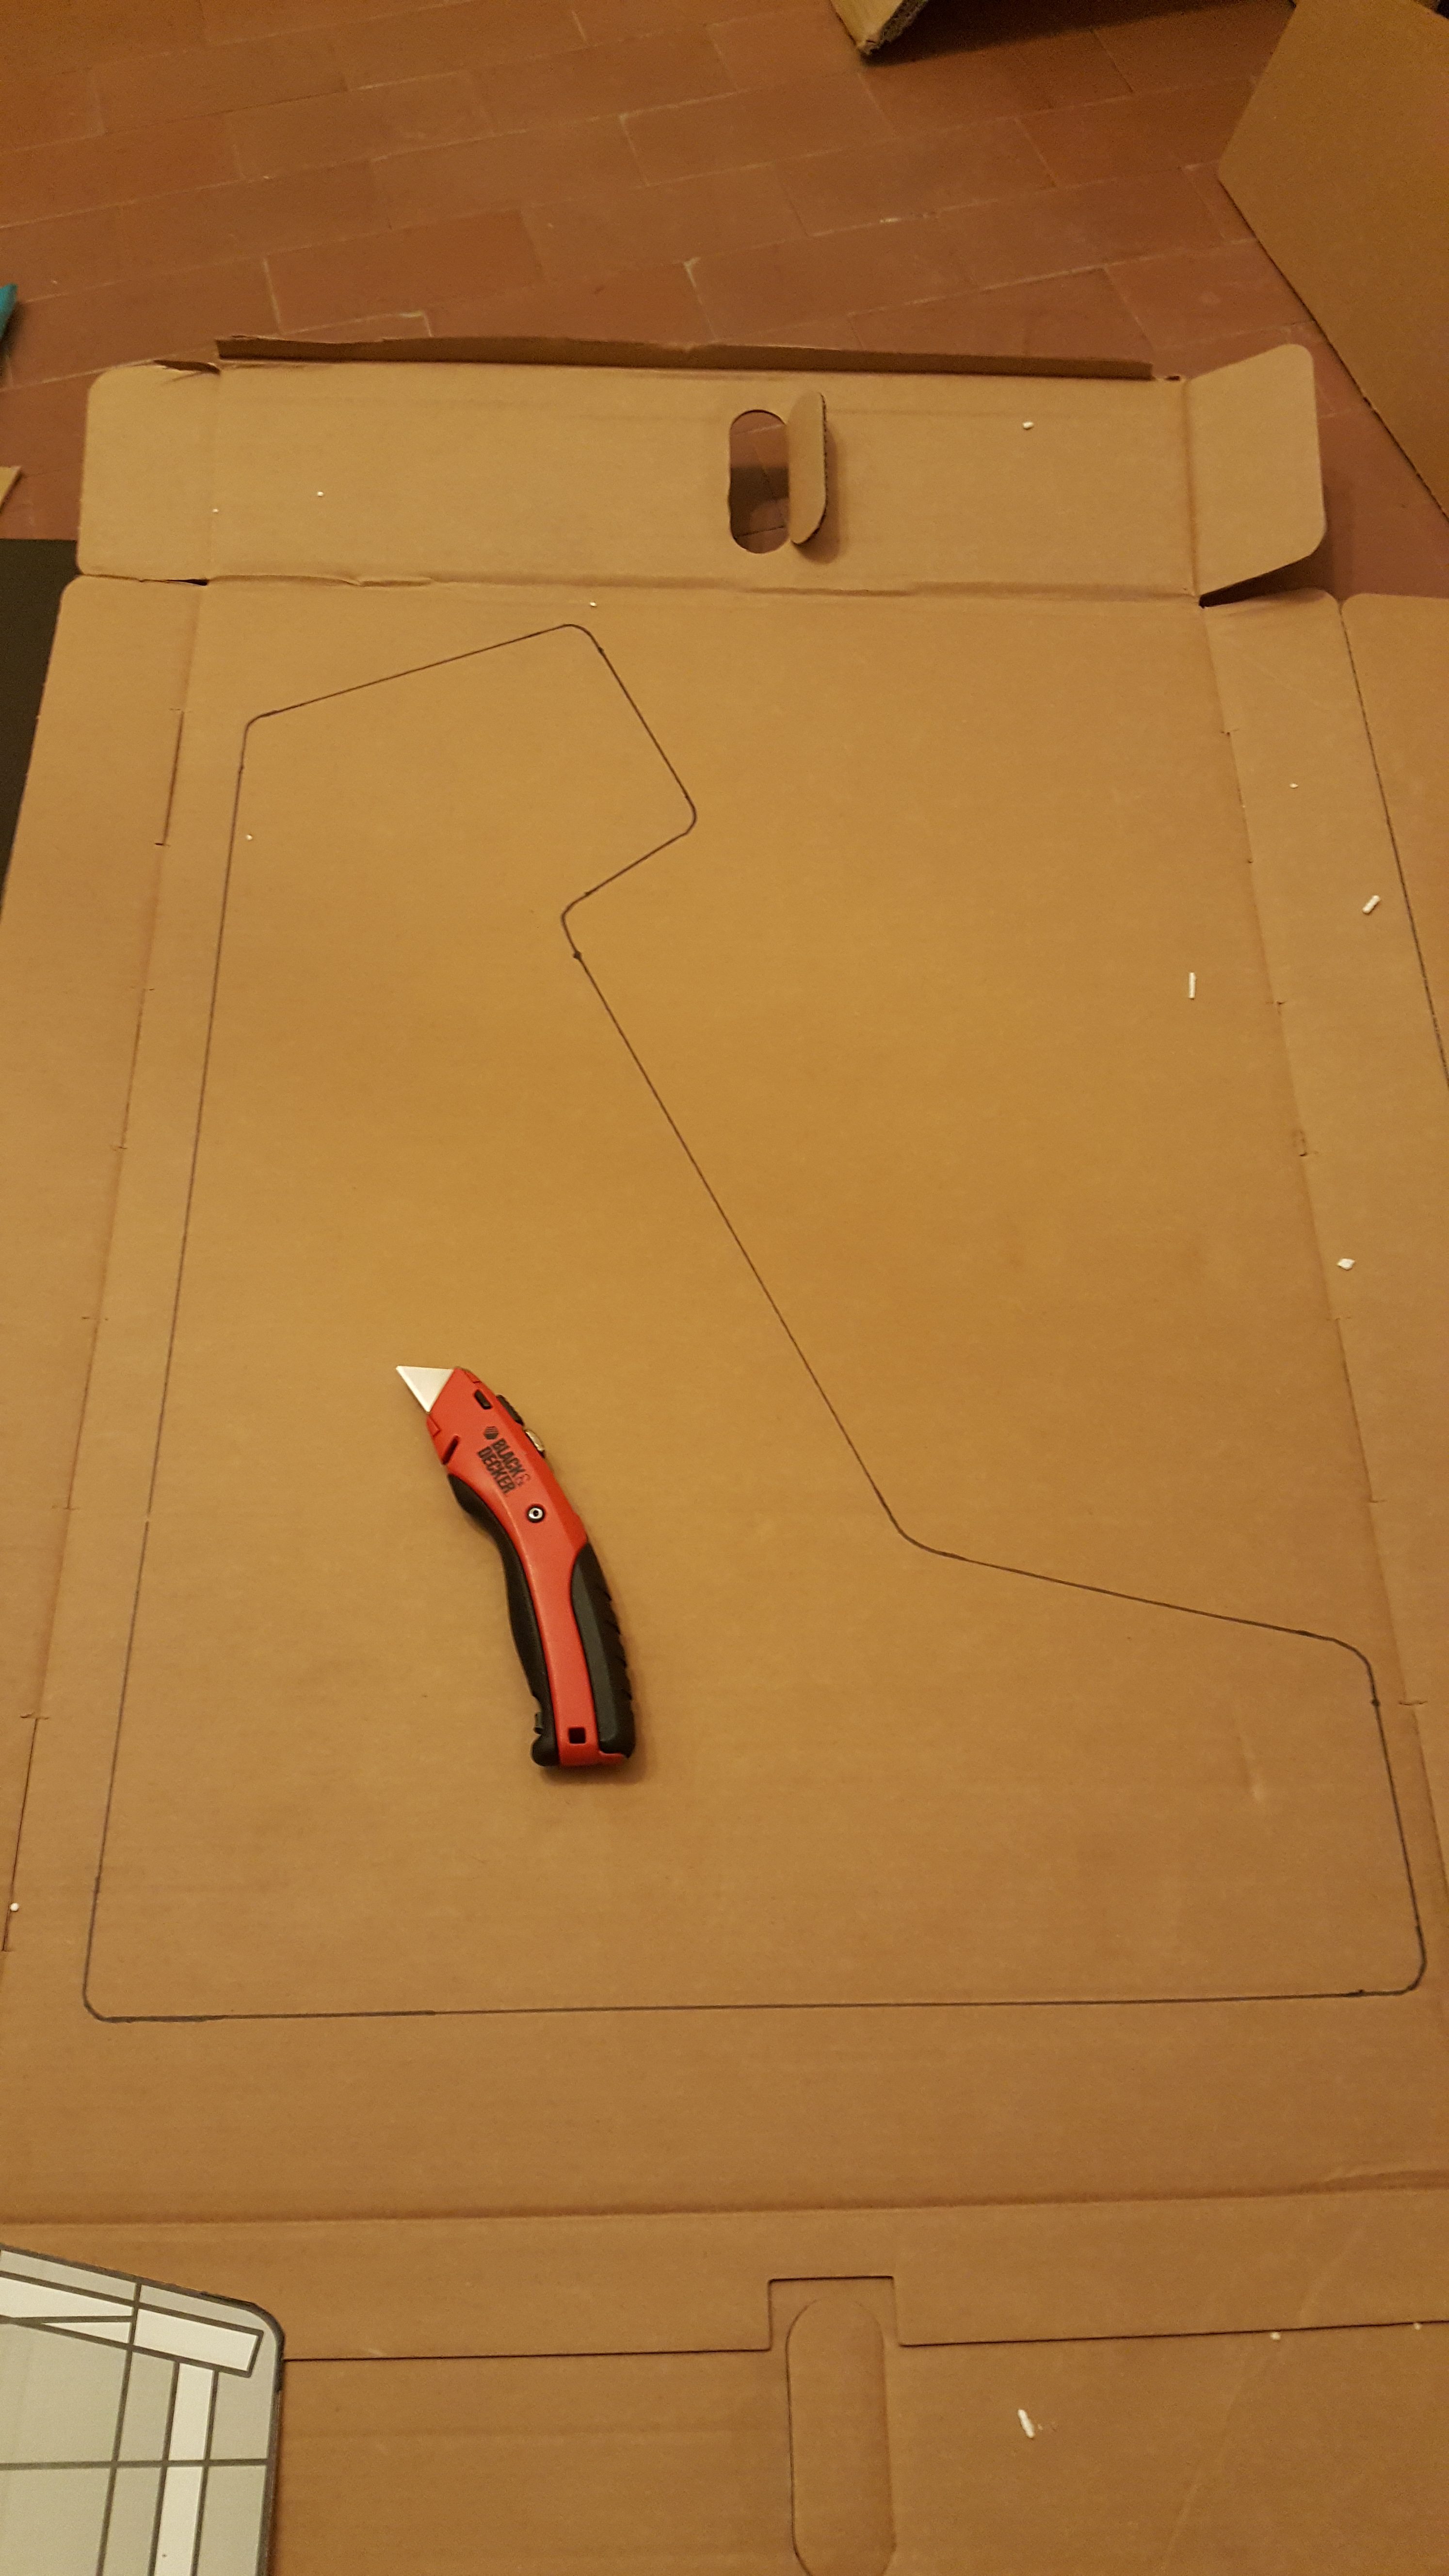
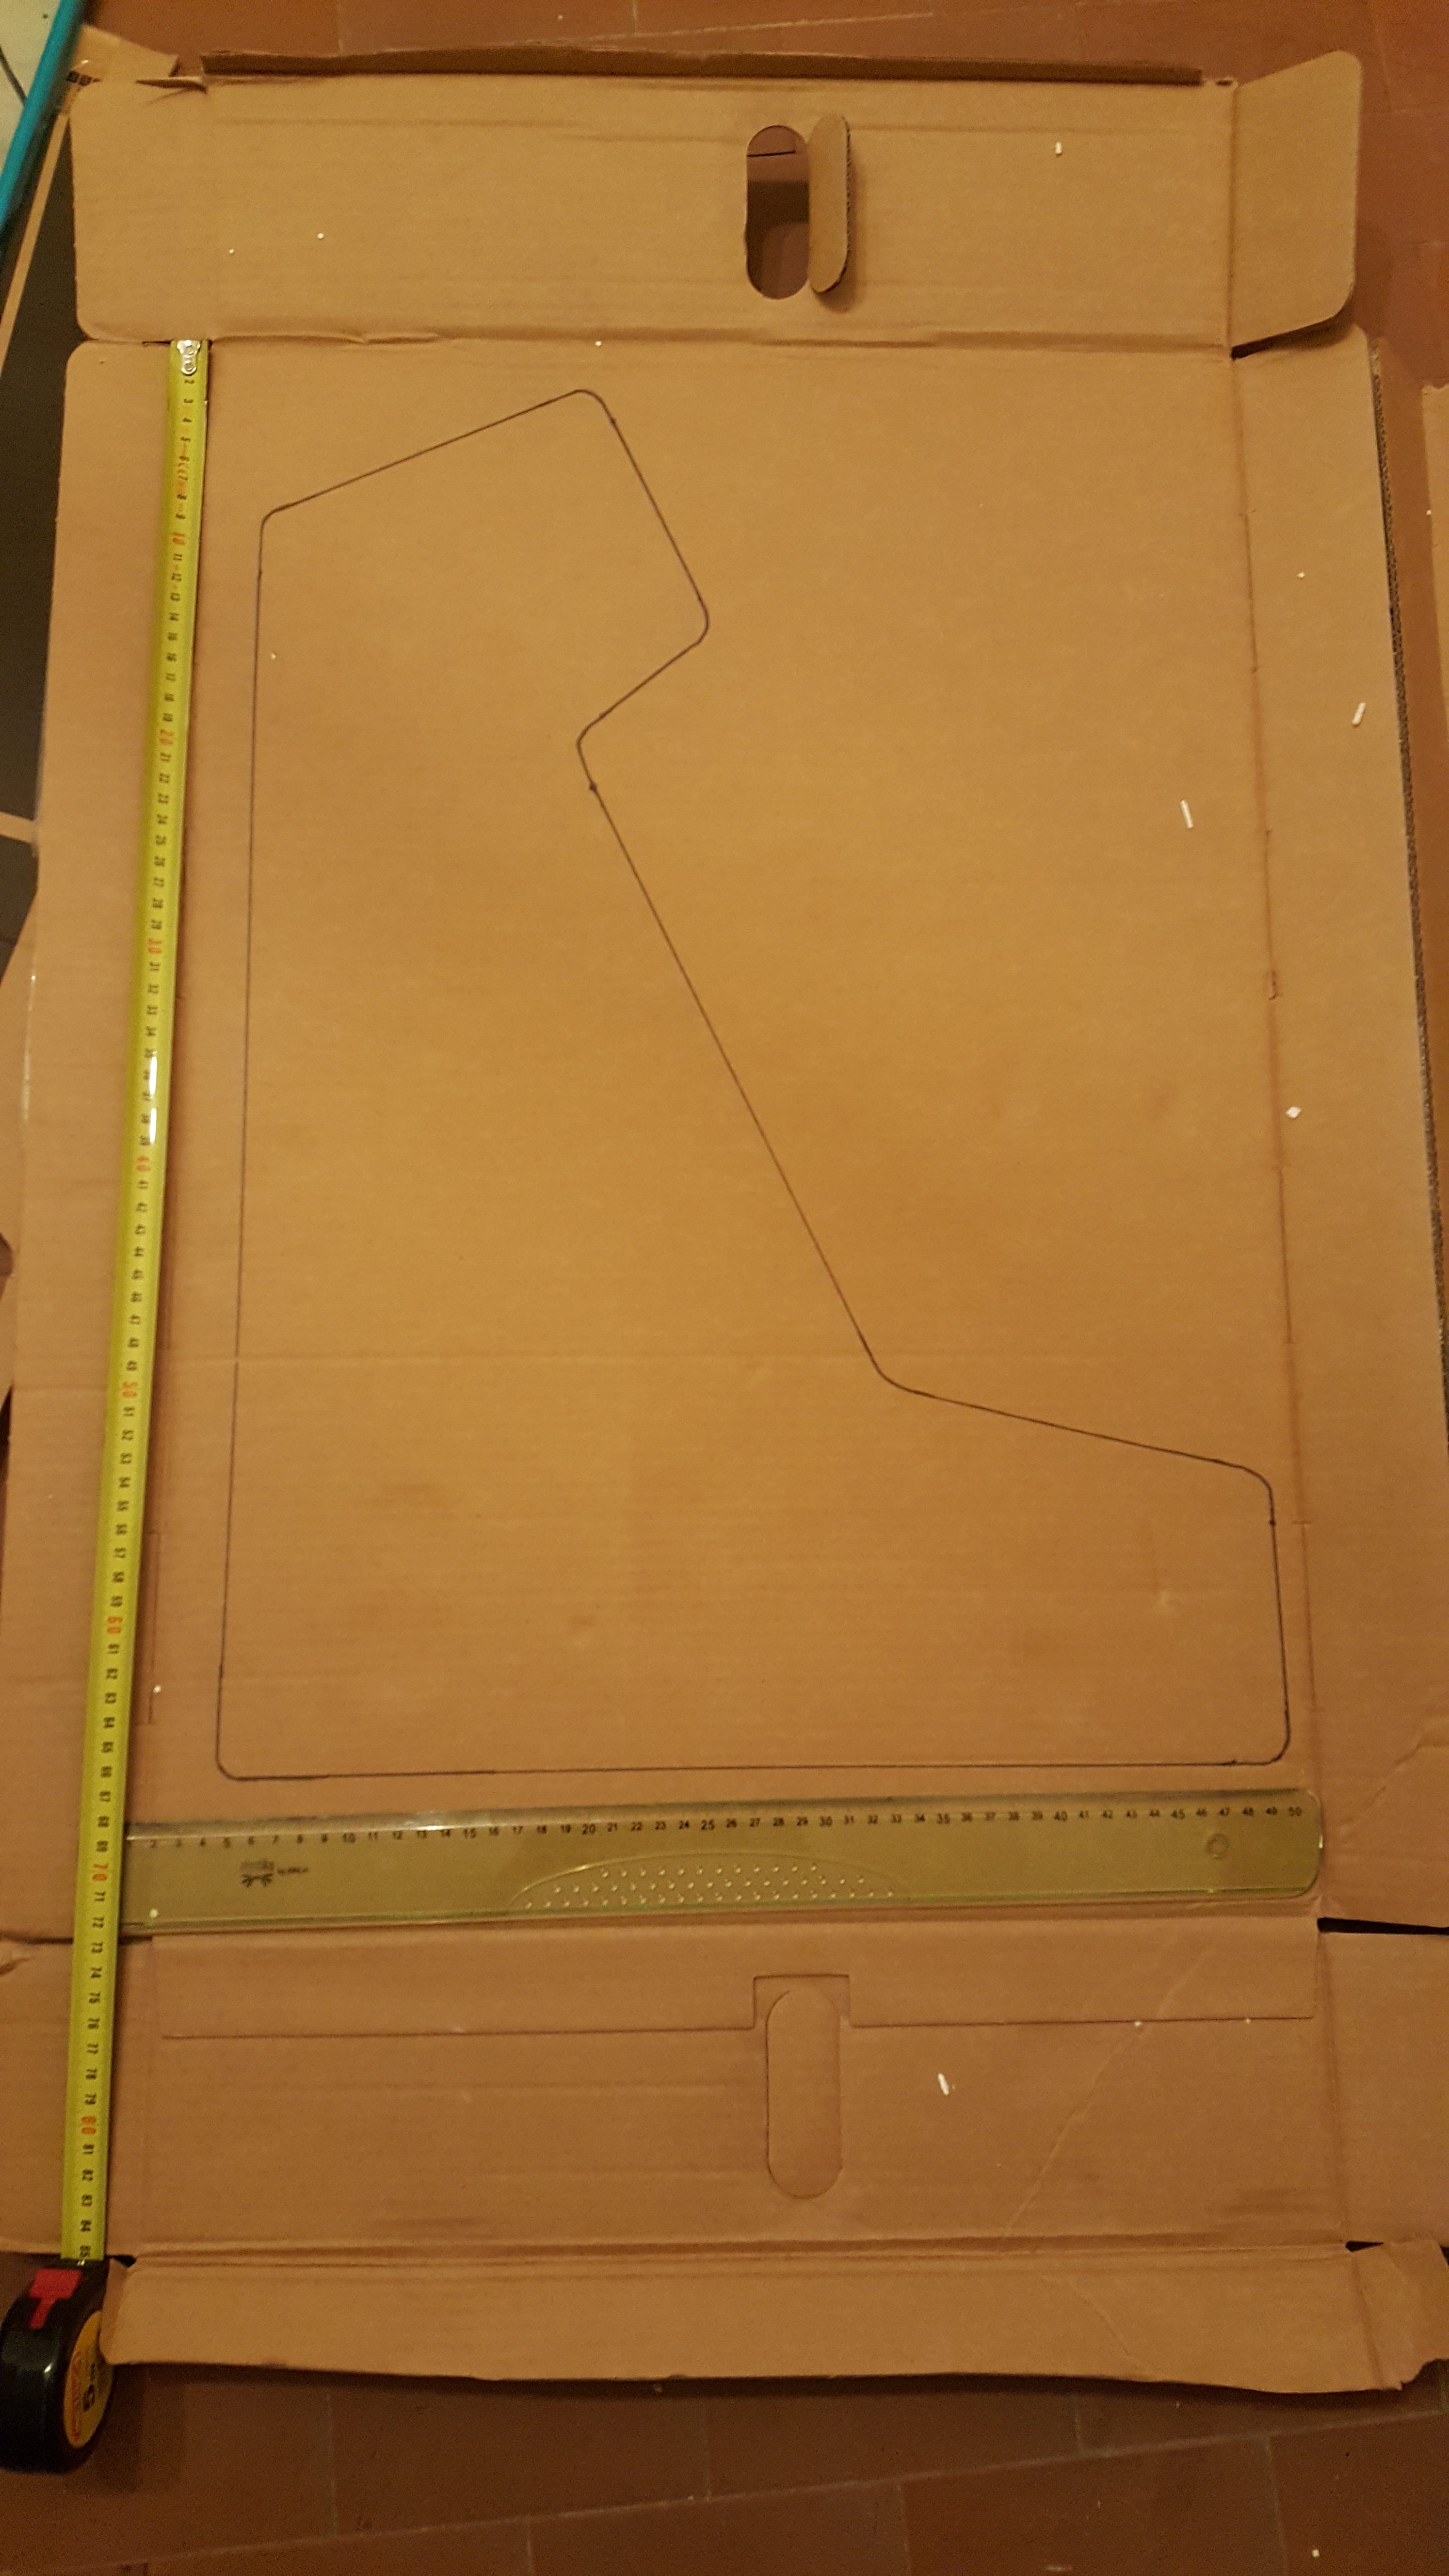
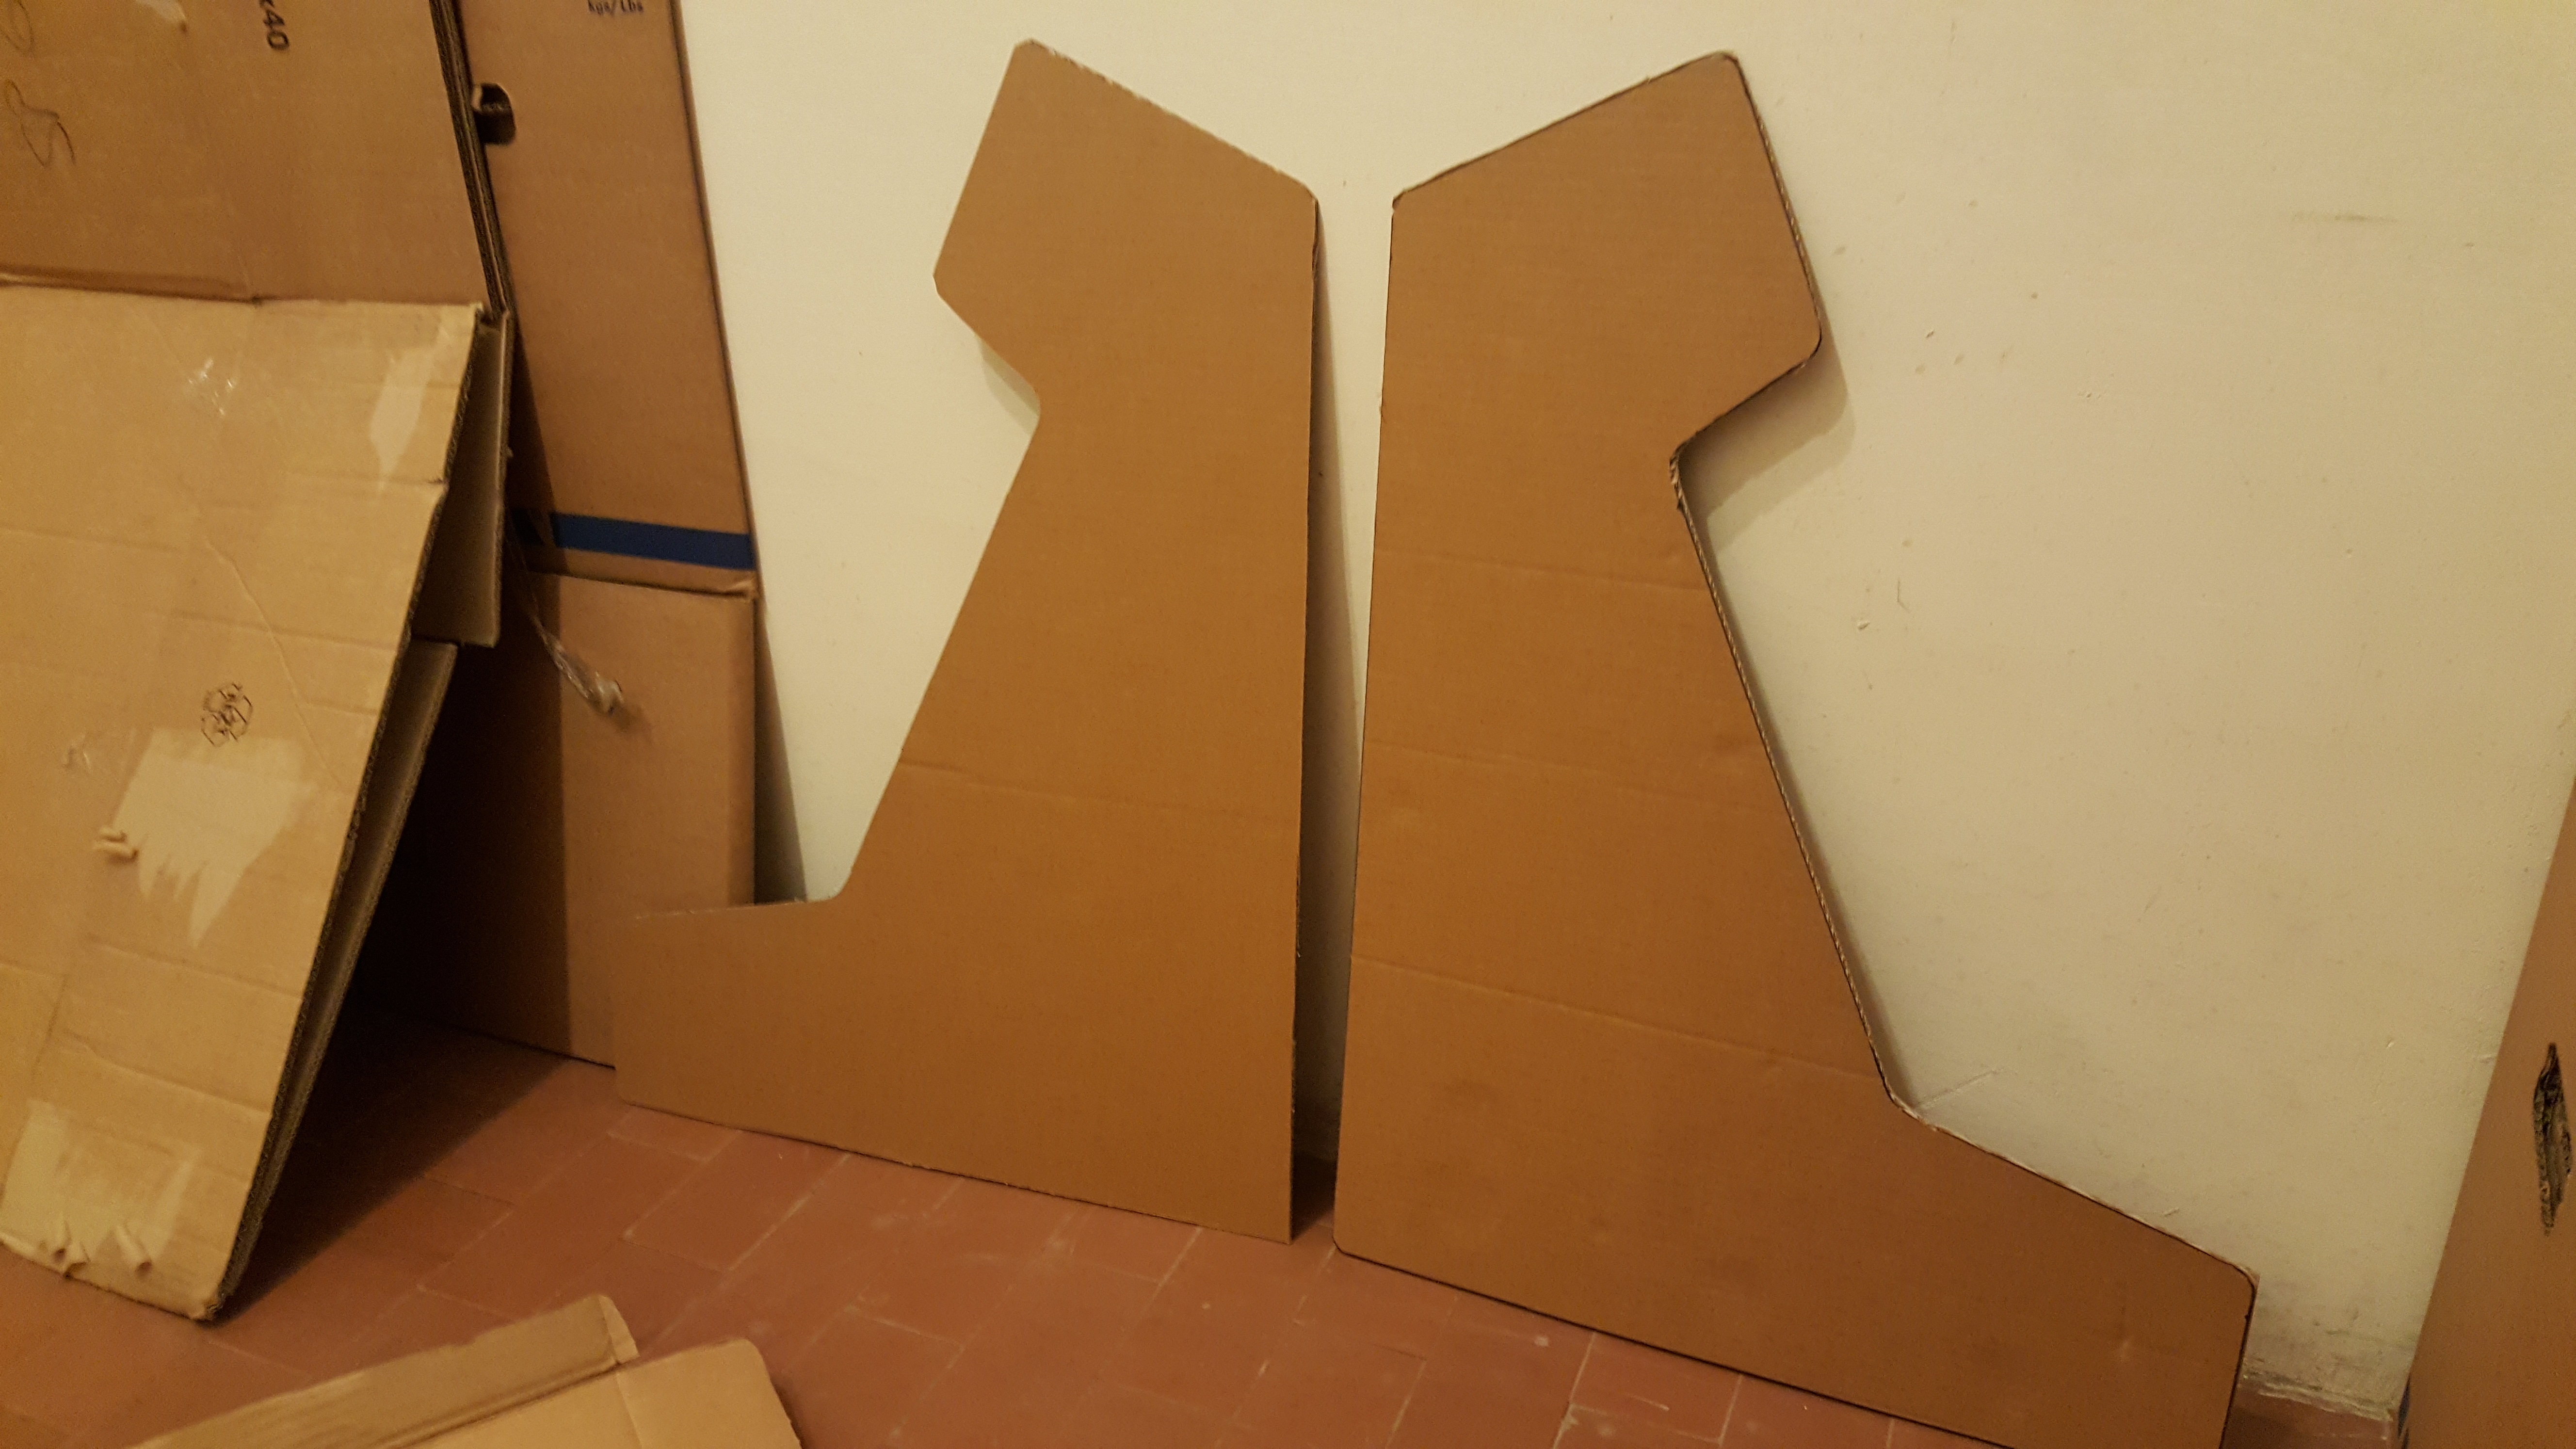
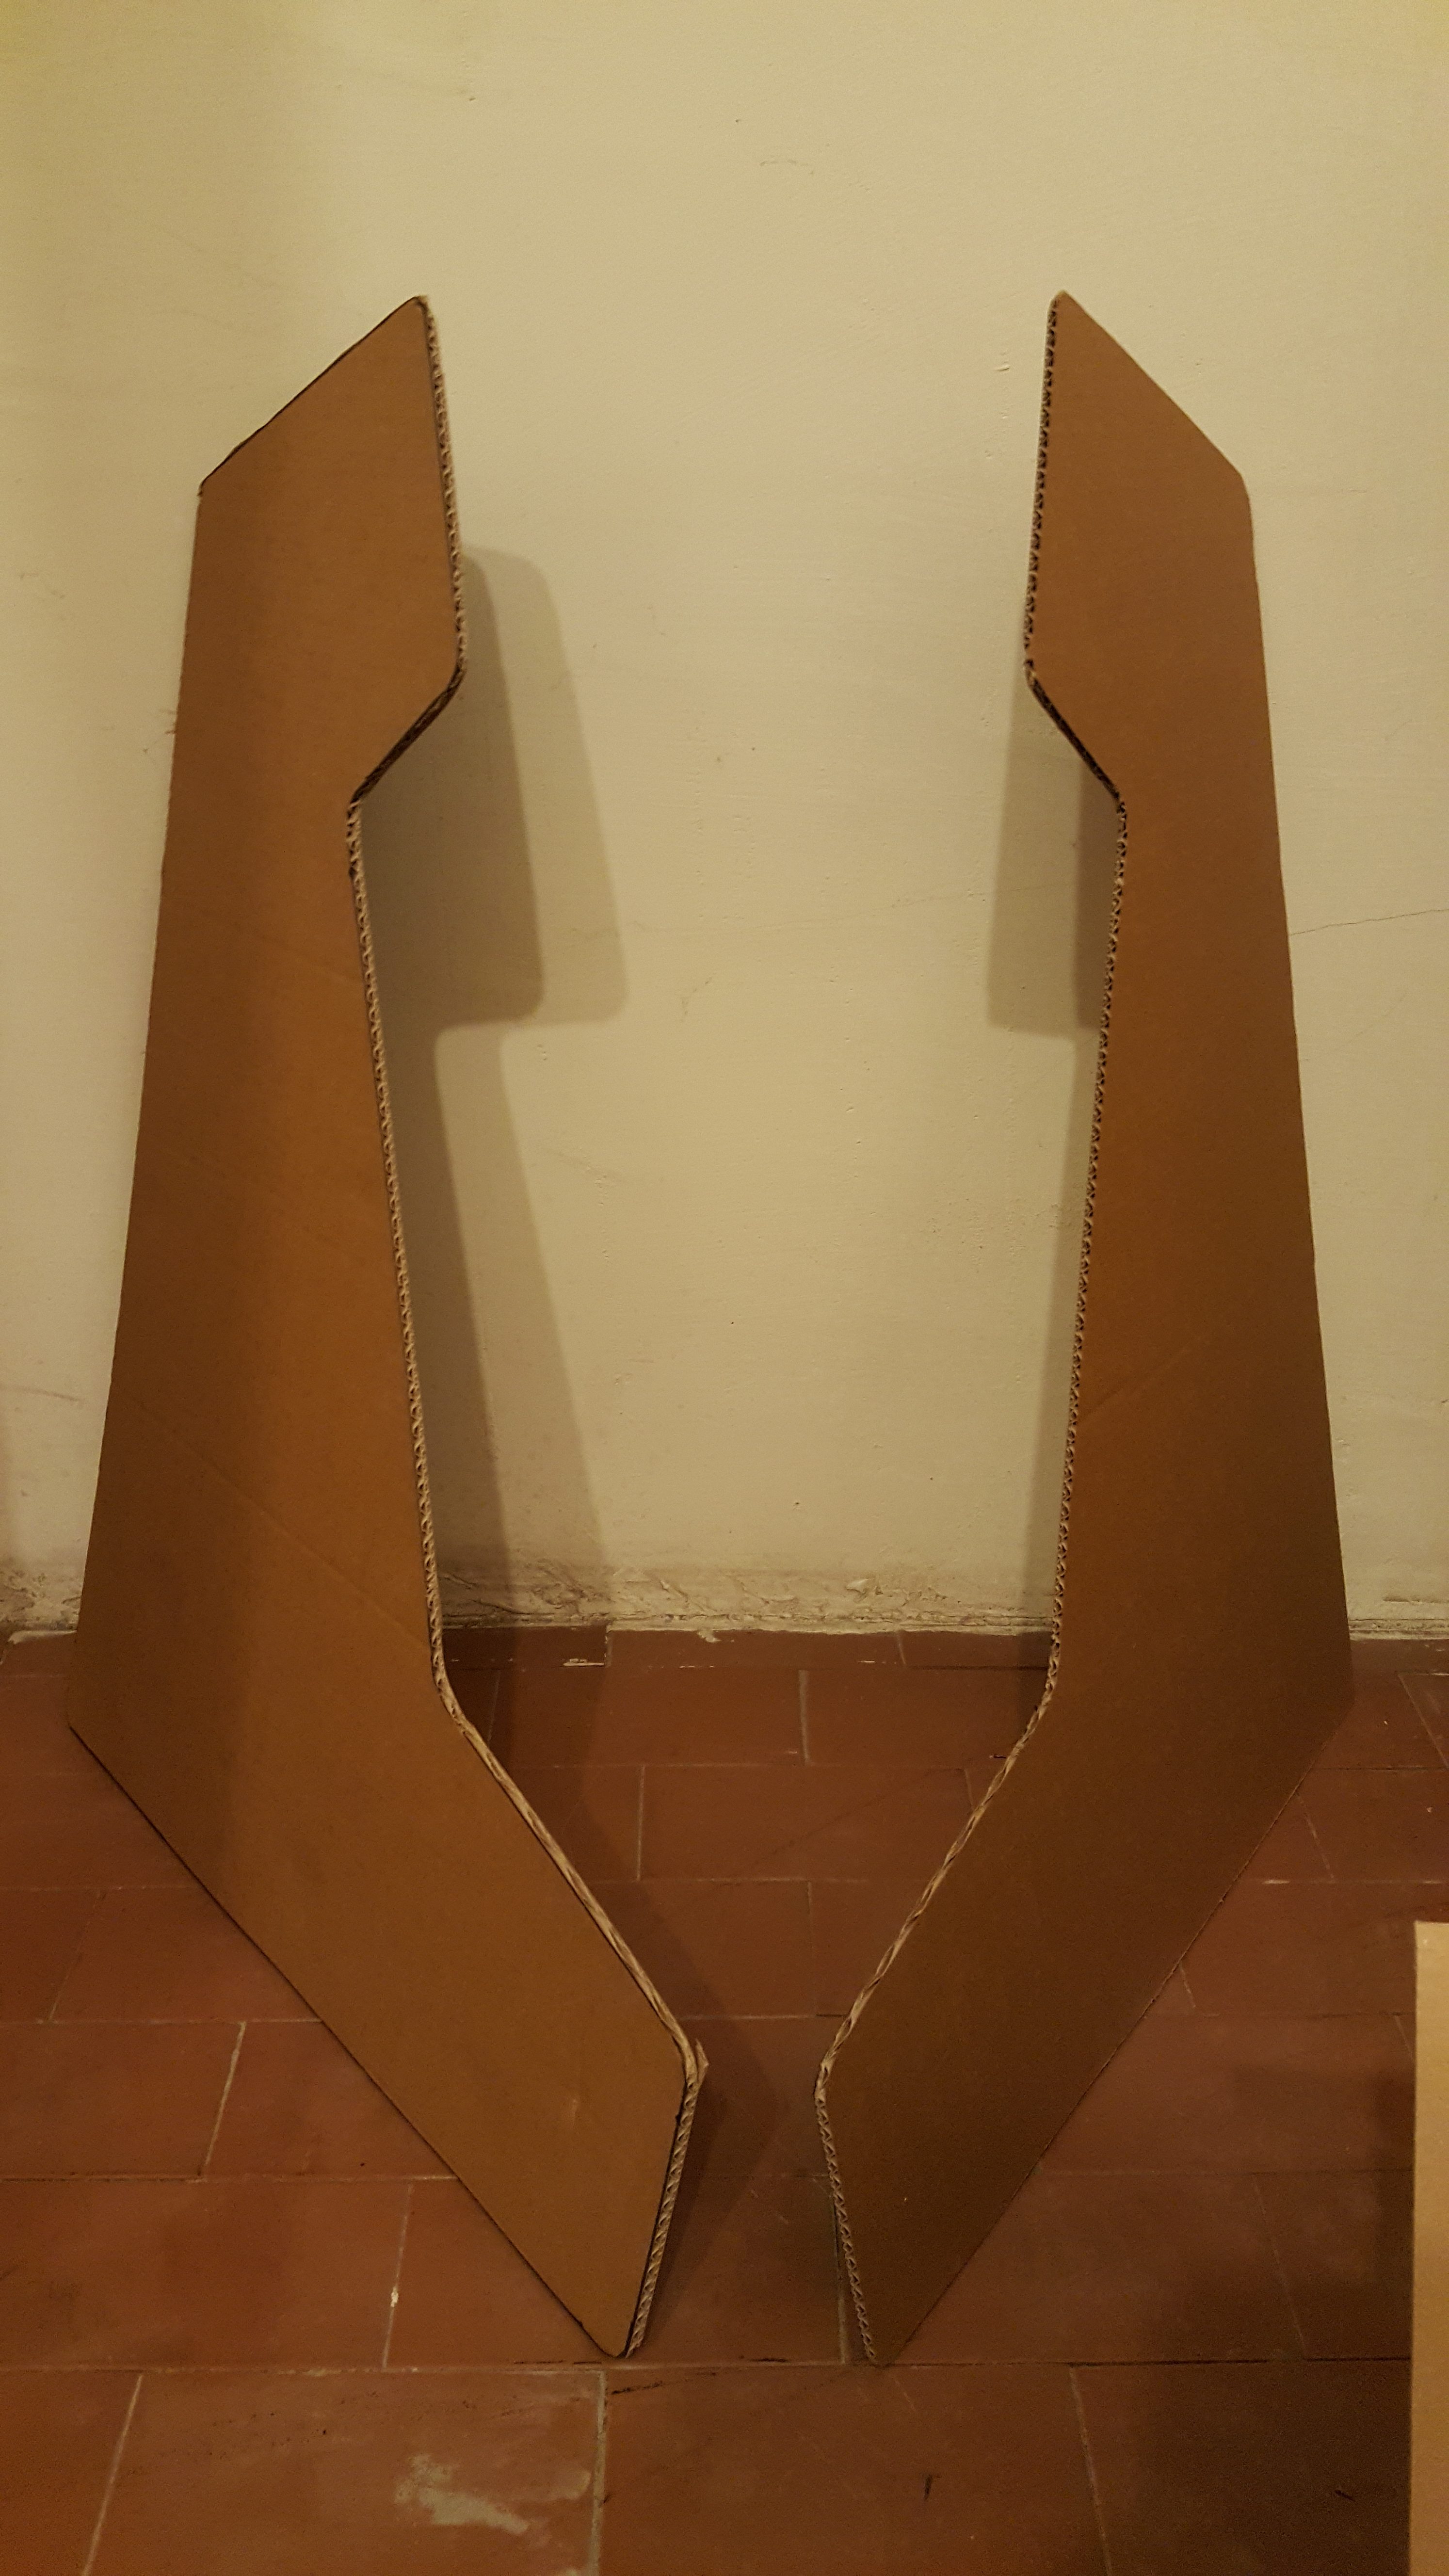
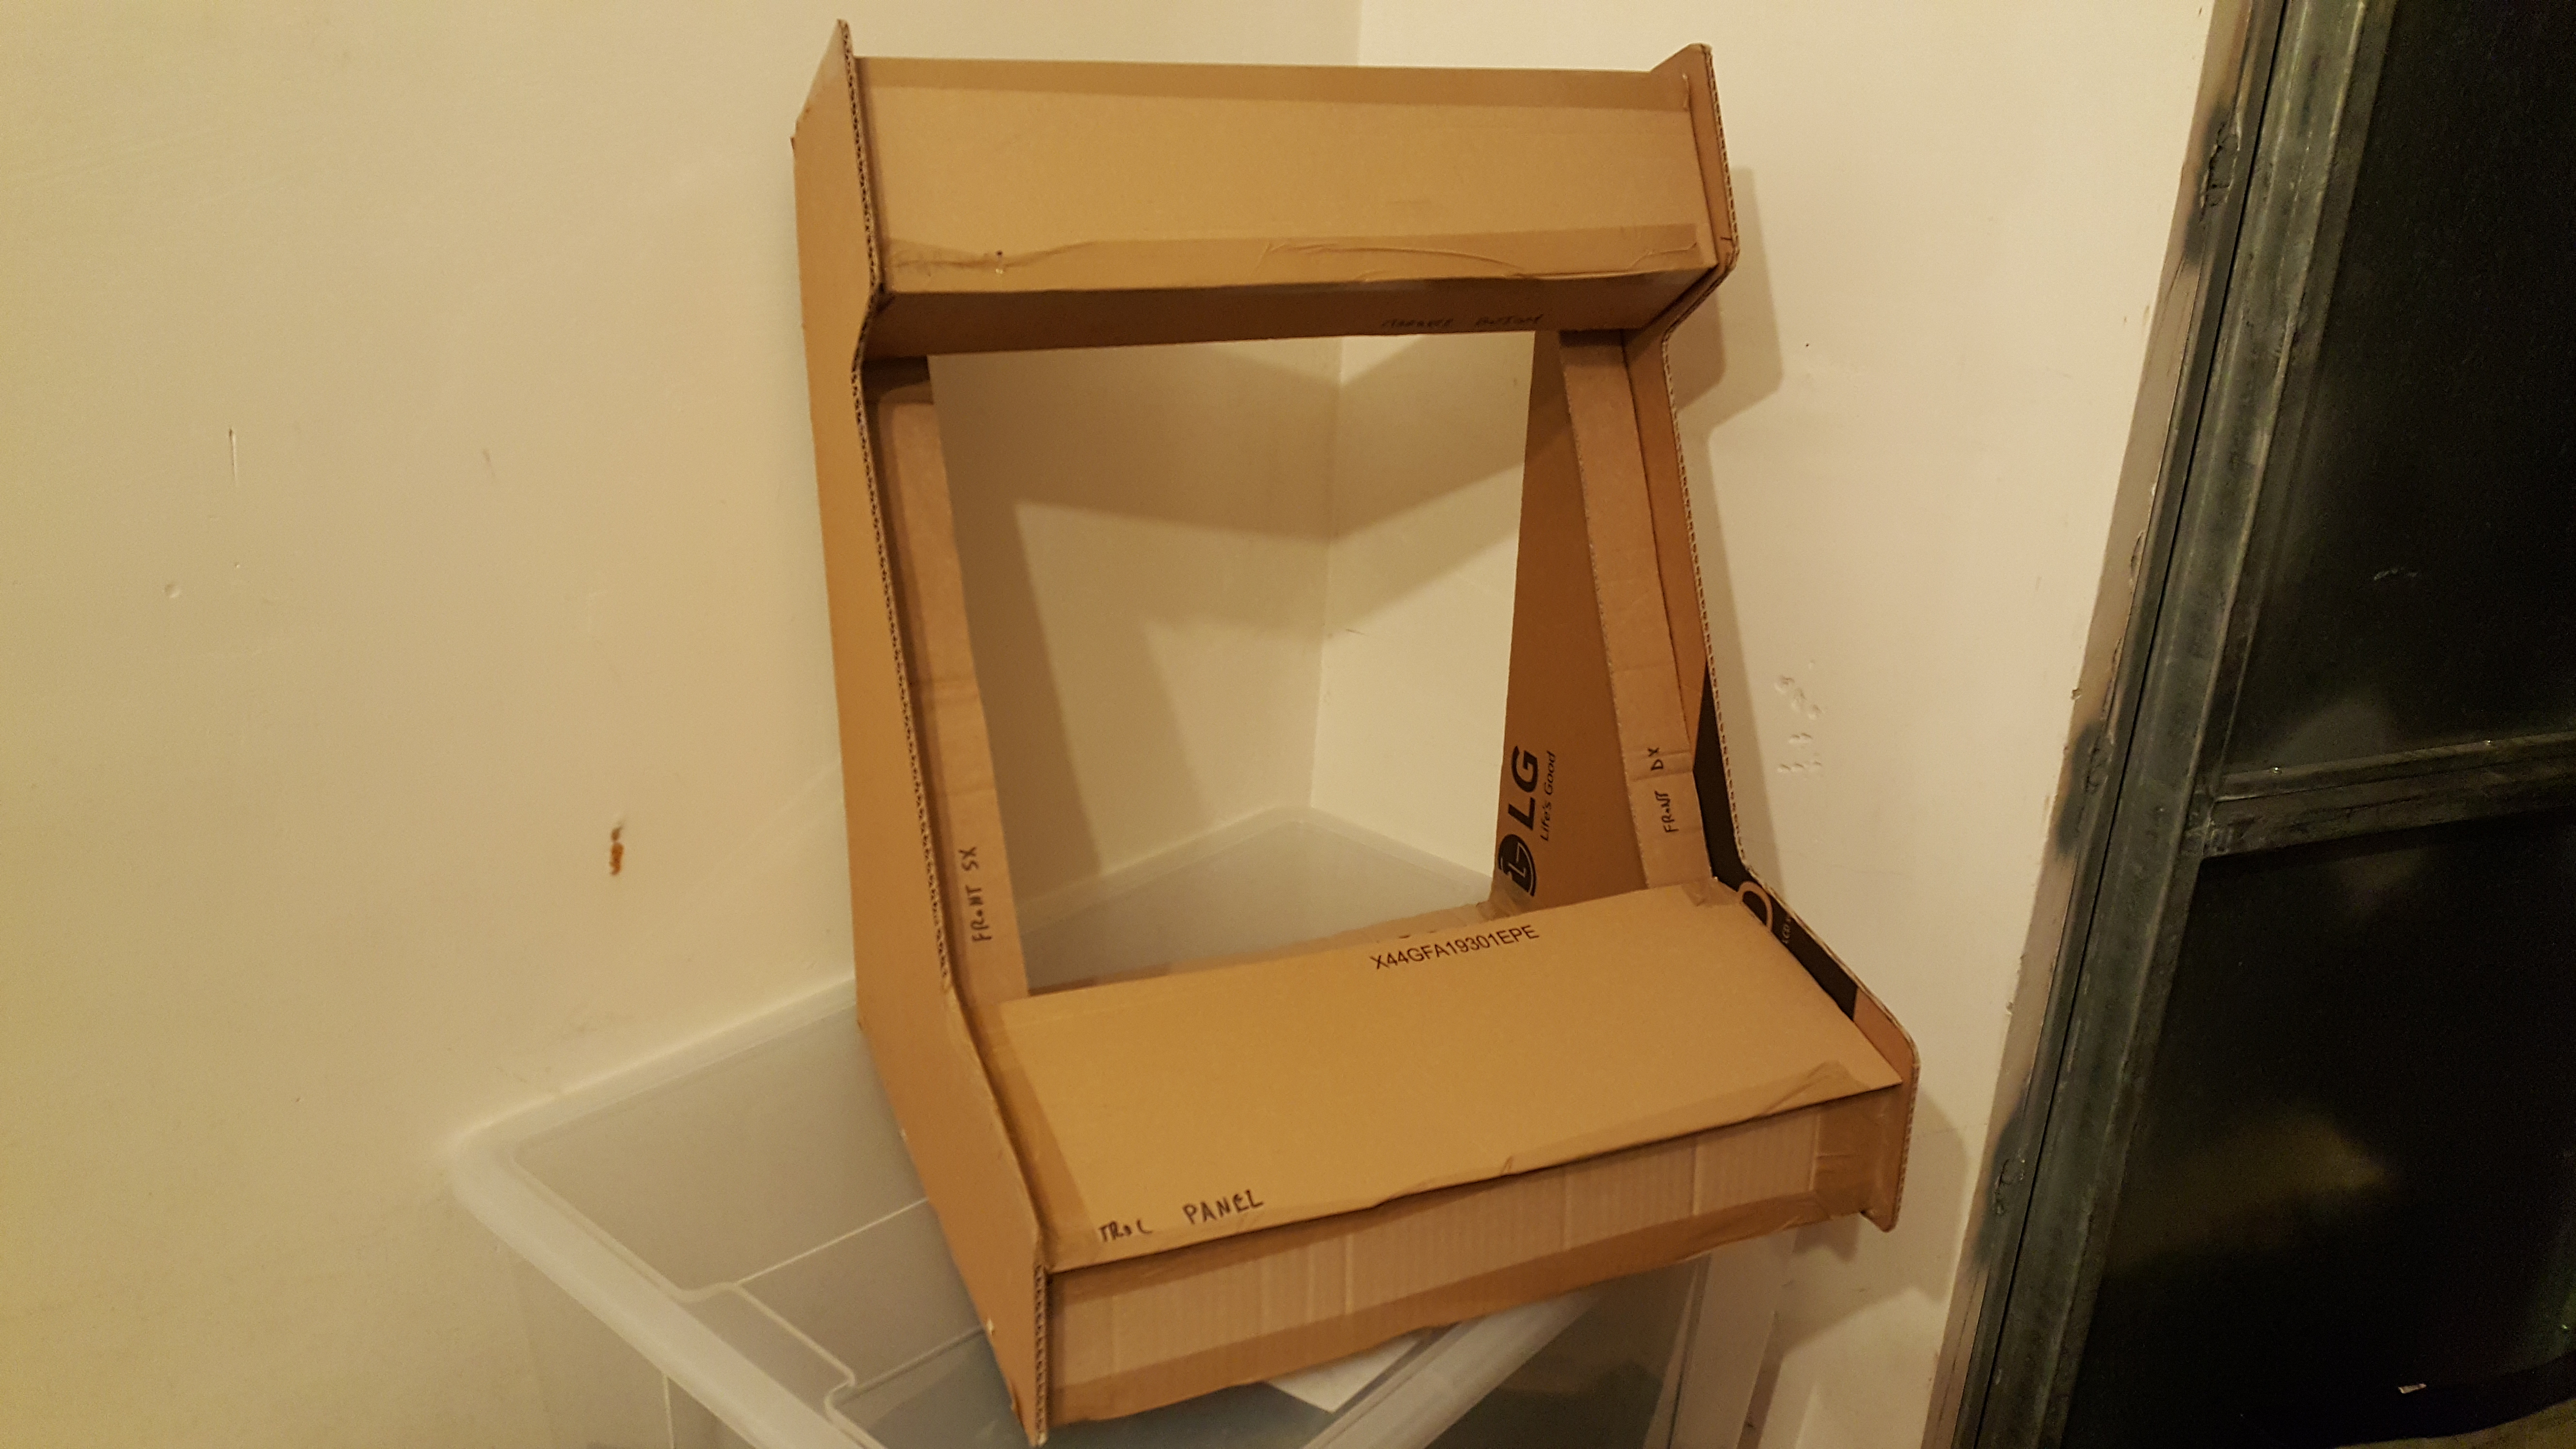
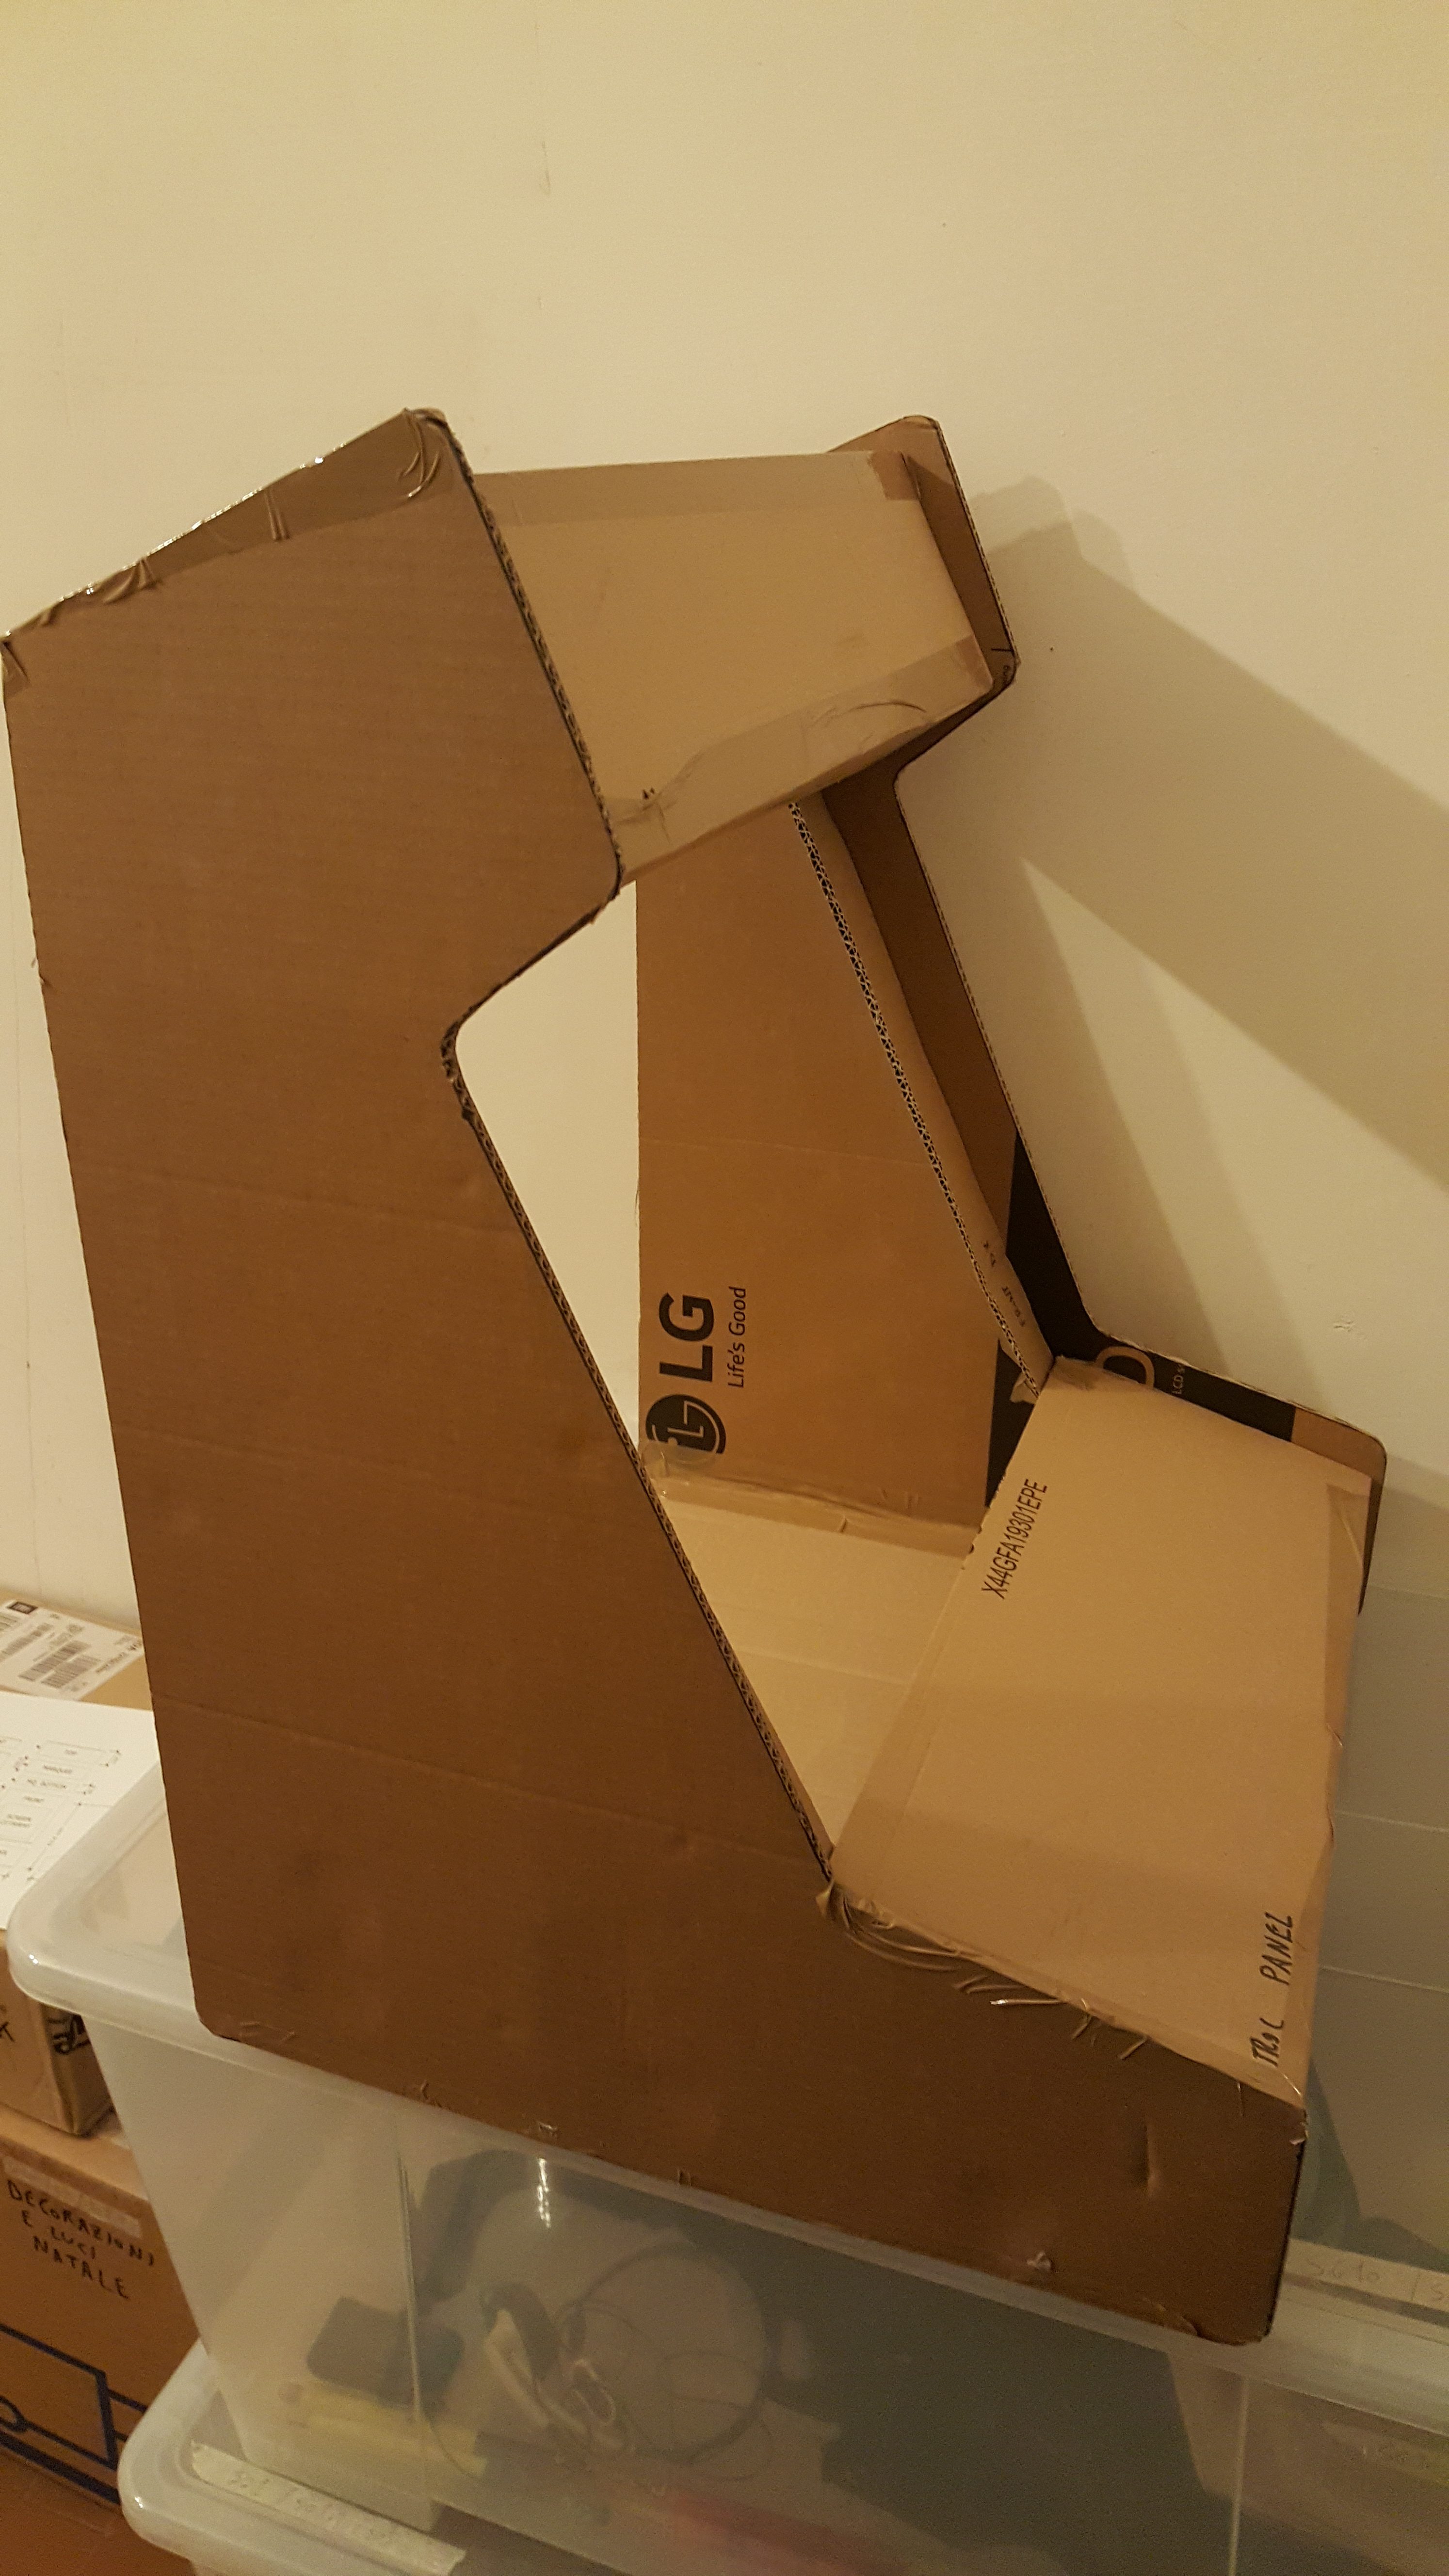
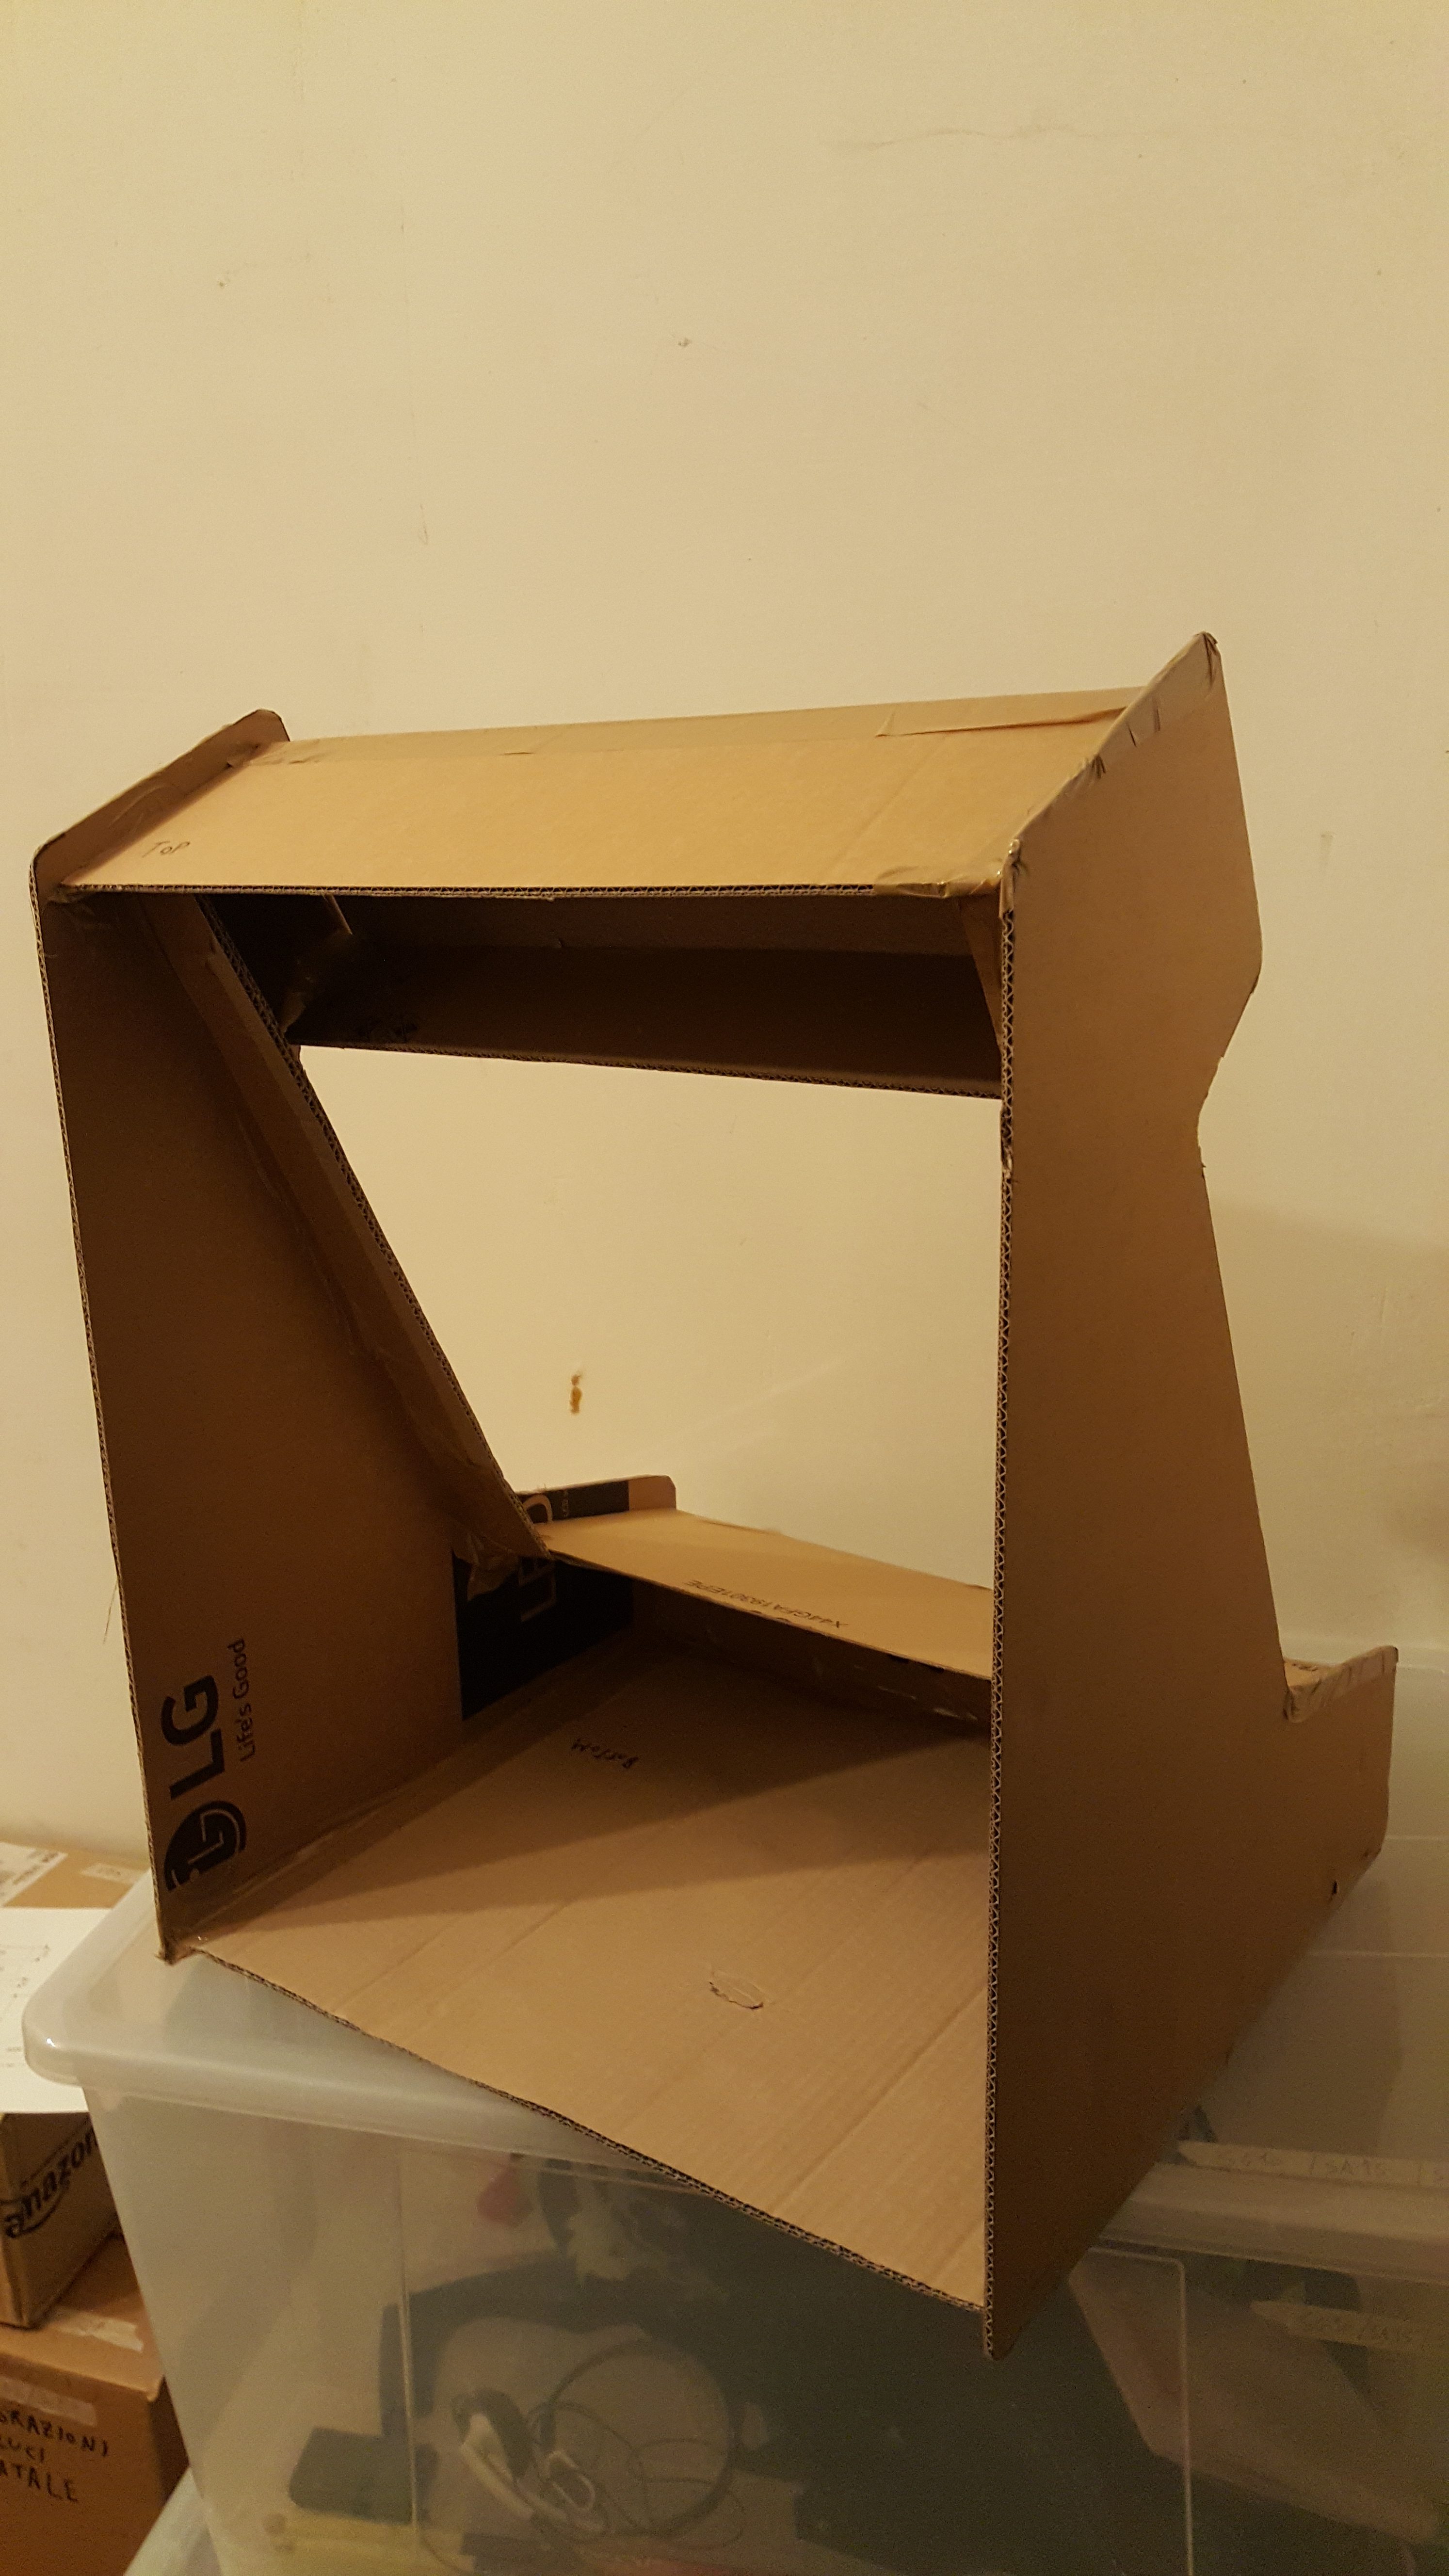

Pretty decent, isn’t it? It took me roughly 30 minutes to build it up from scratch. This prototype helped me a lot to understand how the cabinet would look, feel and perform in real life: its actual size, if it could accomodate enough space for two people to play side by side, and even if the playing/viewing angles was right for the screen I did have in mind or not.
Do not underestimate this prototype! no matter how much you’ll picture it in your mind and/or design it with a 2d or 3d digital imaging software, there will always be a HUGE difference from the “ideal” world and the “real” world… And it’s way better to acknowledge such difference before spending time and money by cutting the wood: you need to be 100% sure that this is what you want to build.
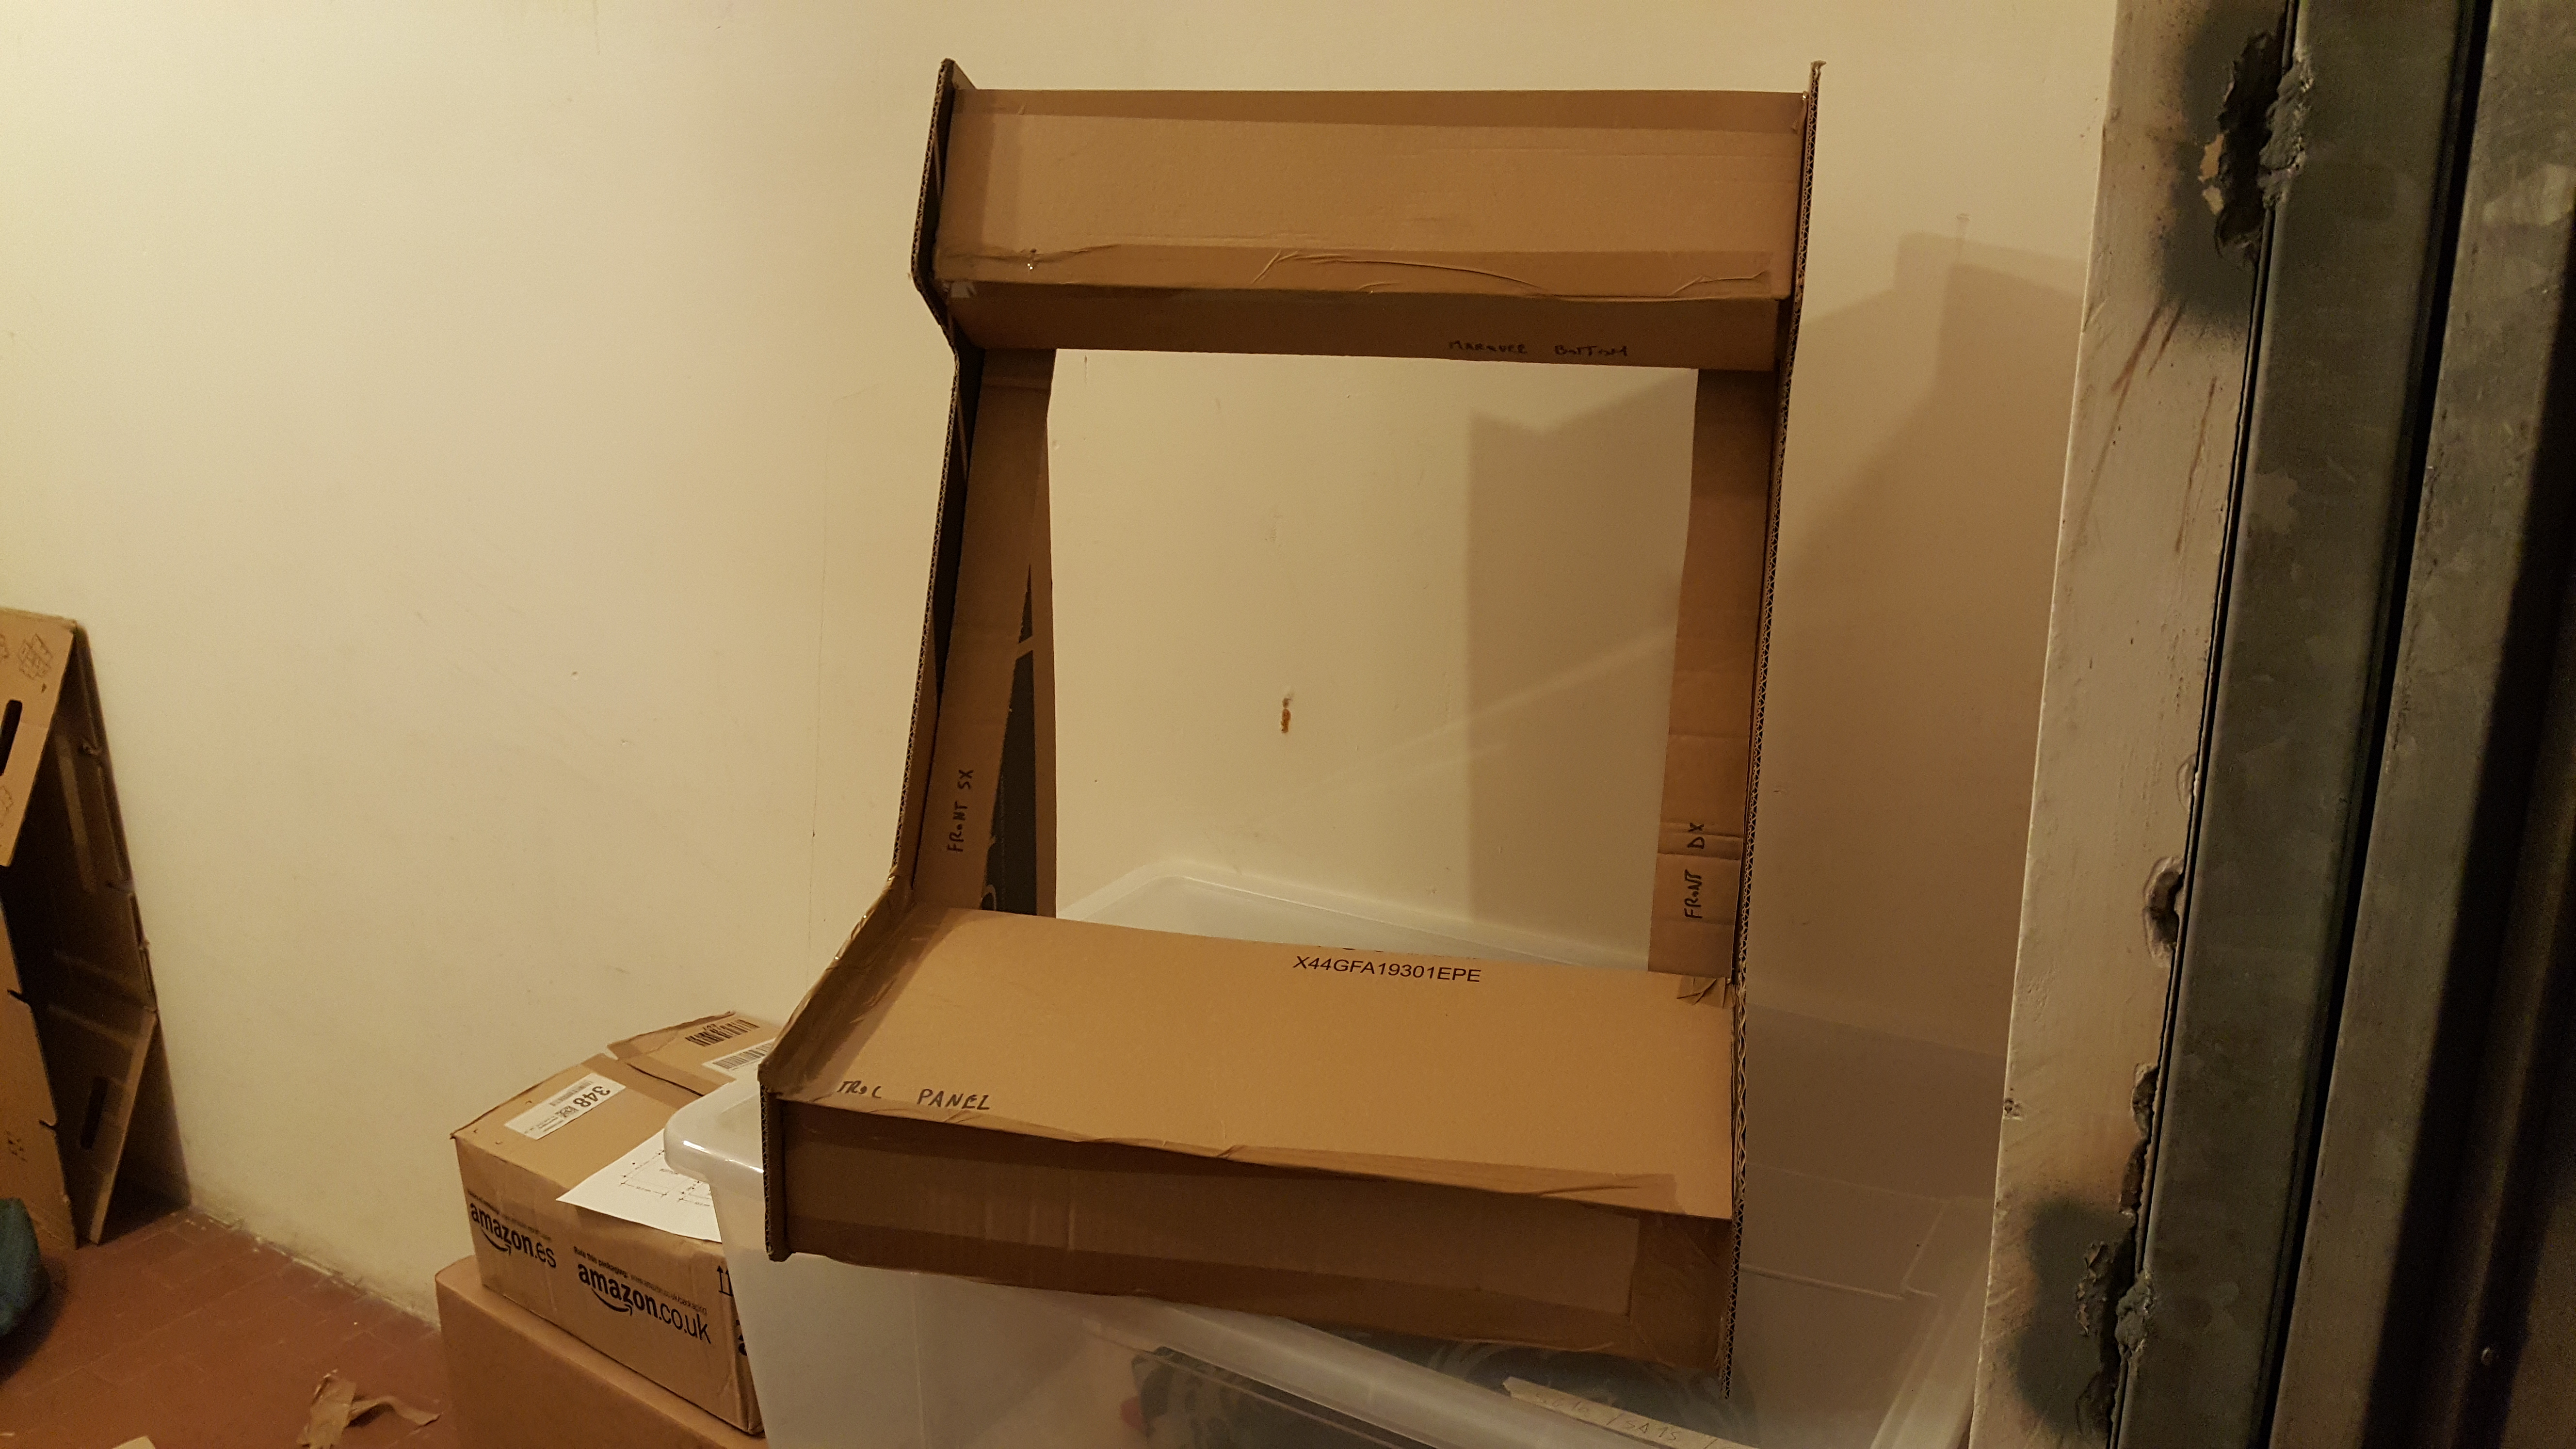
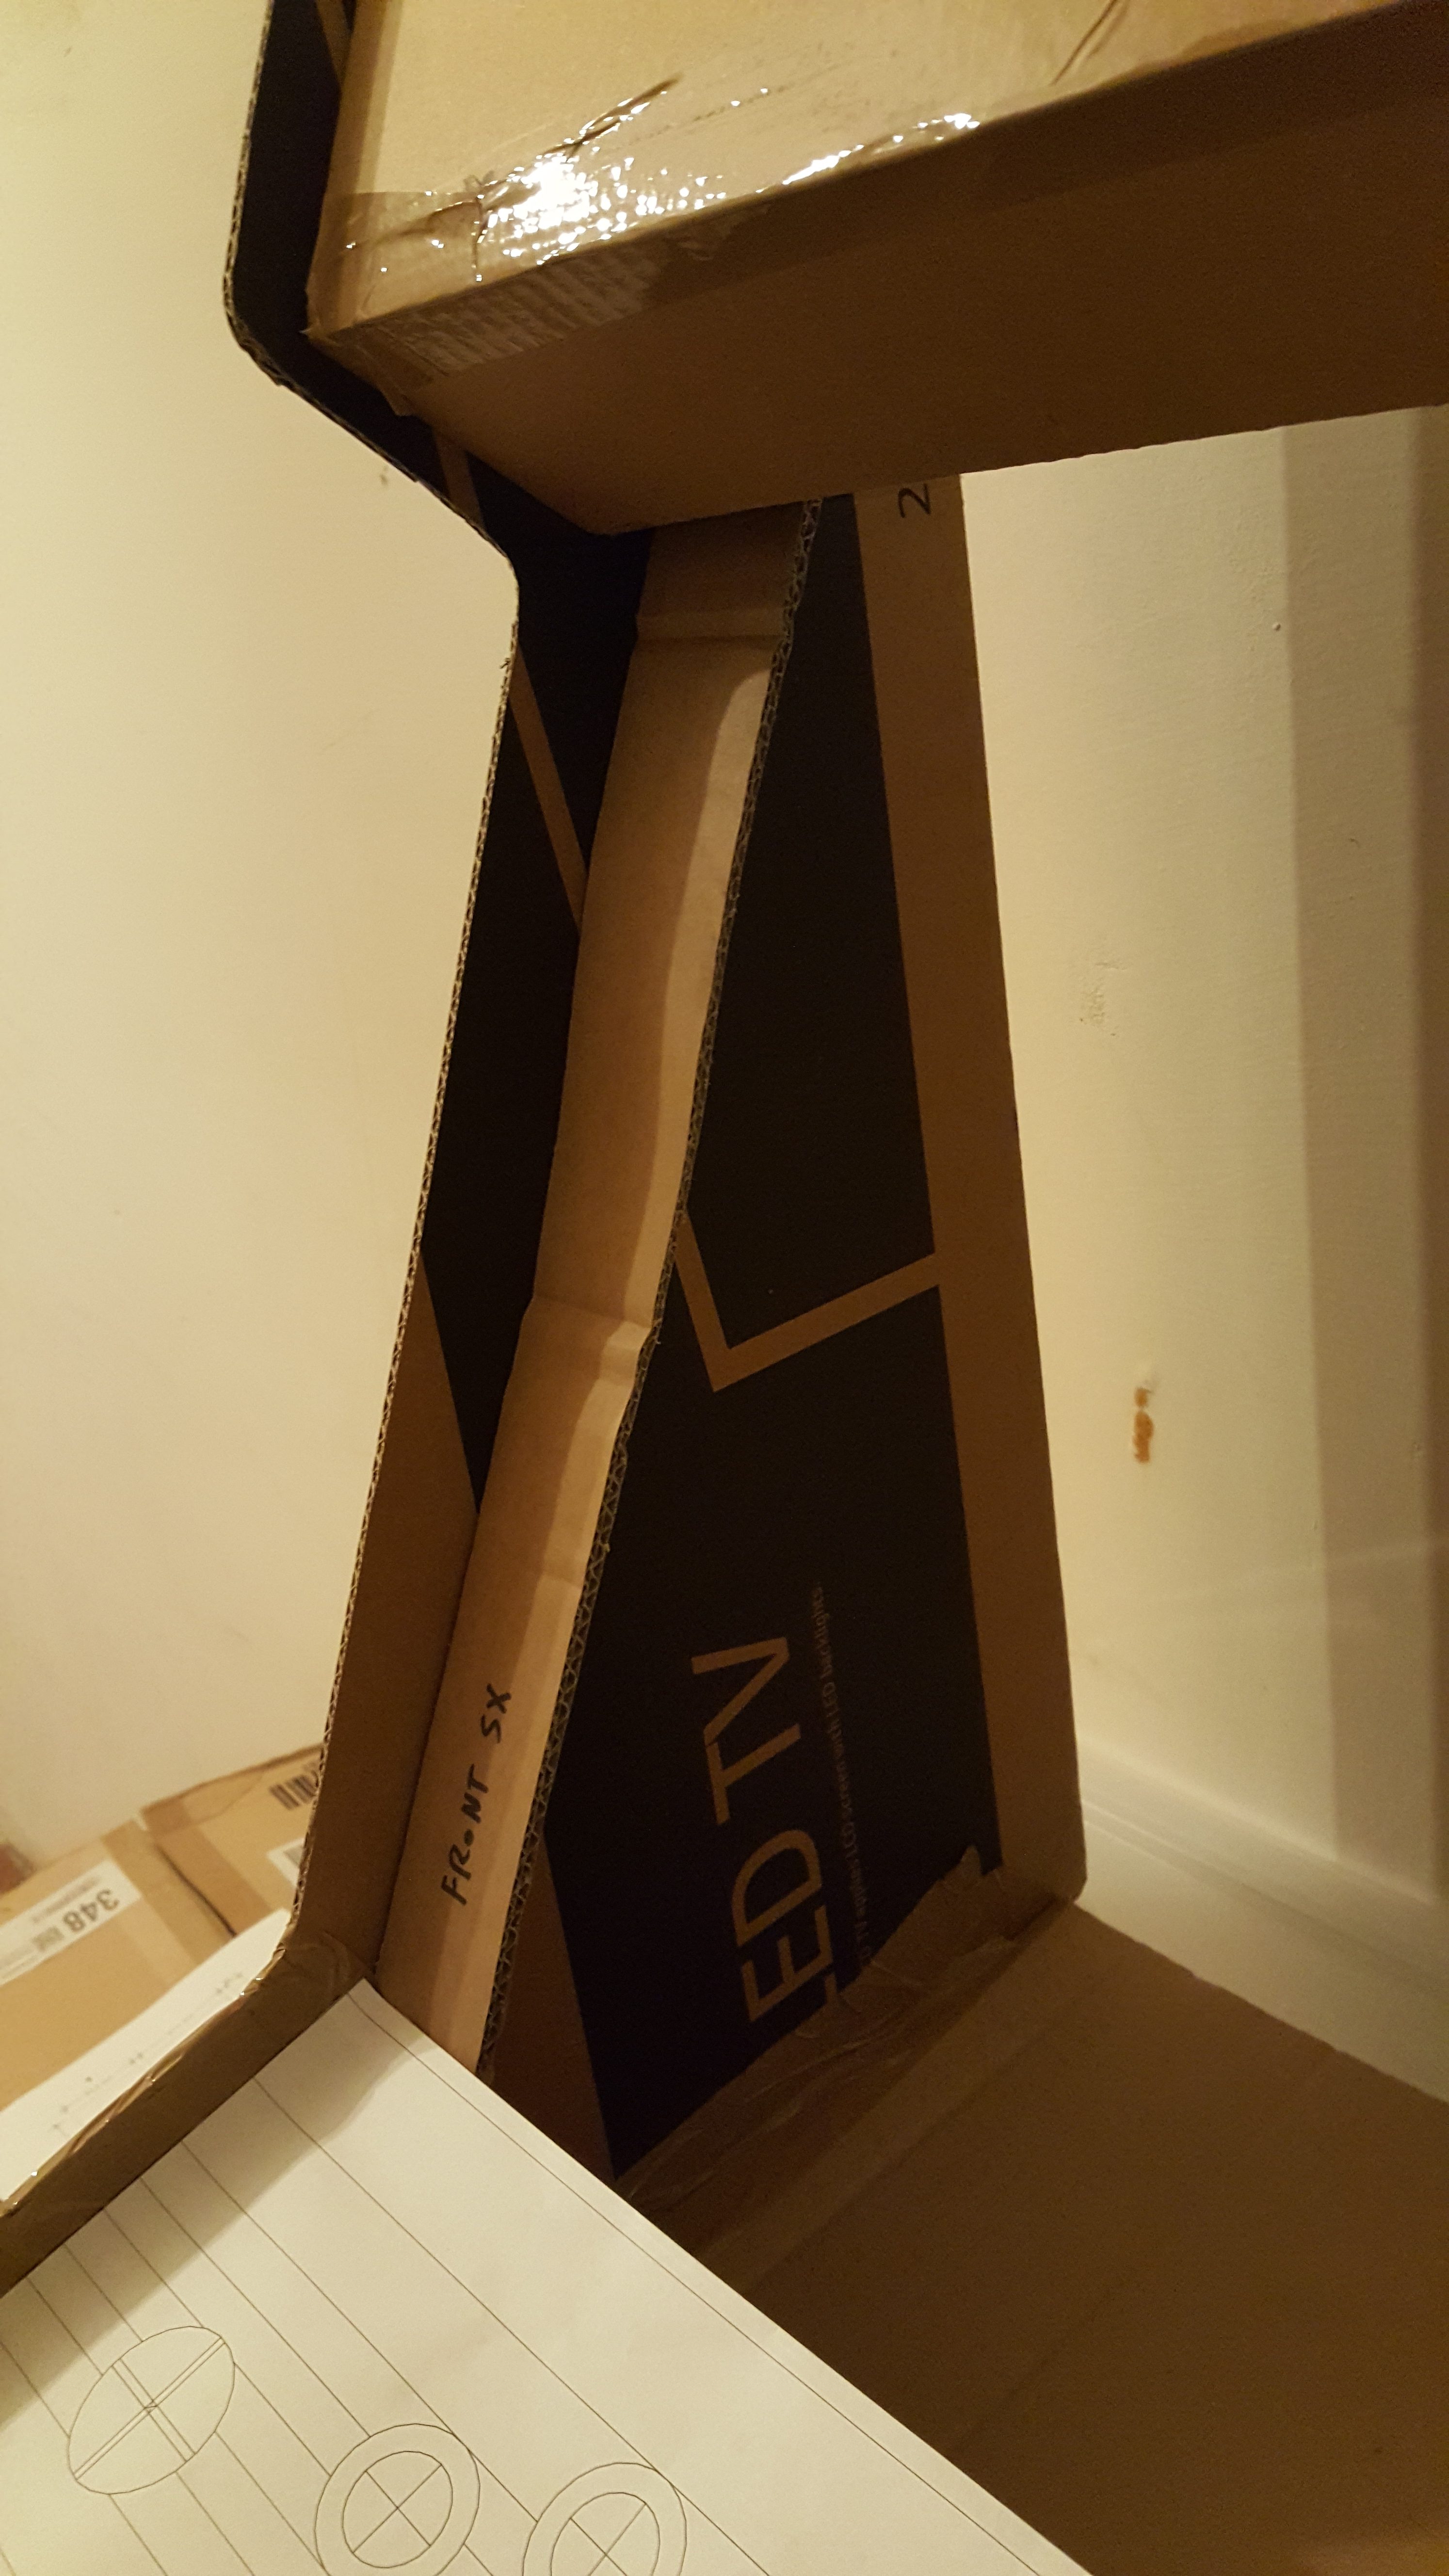
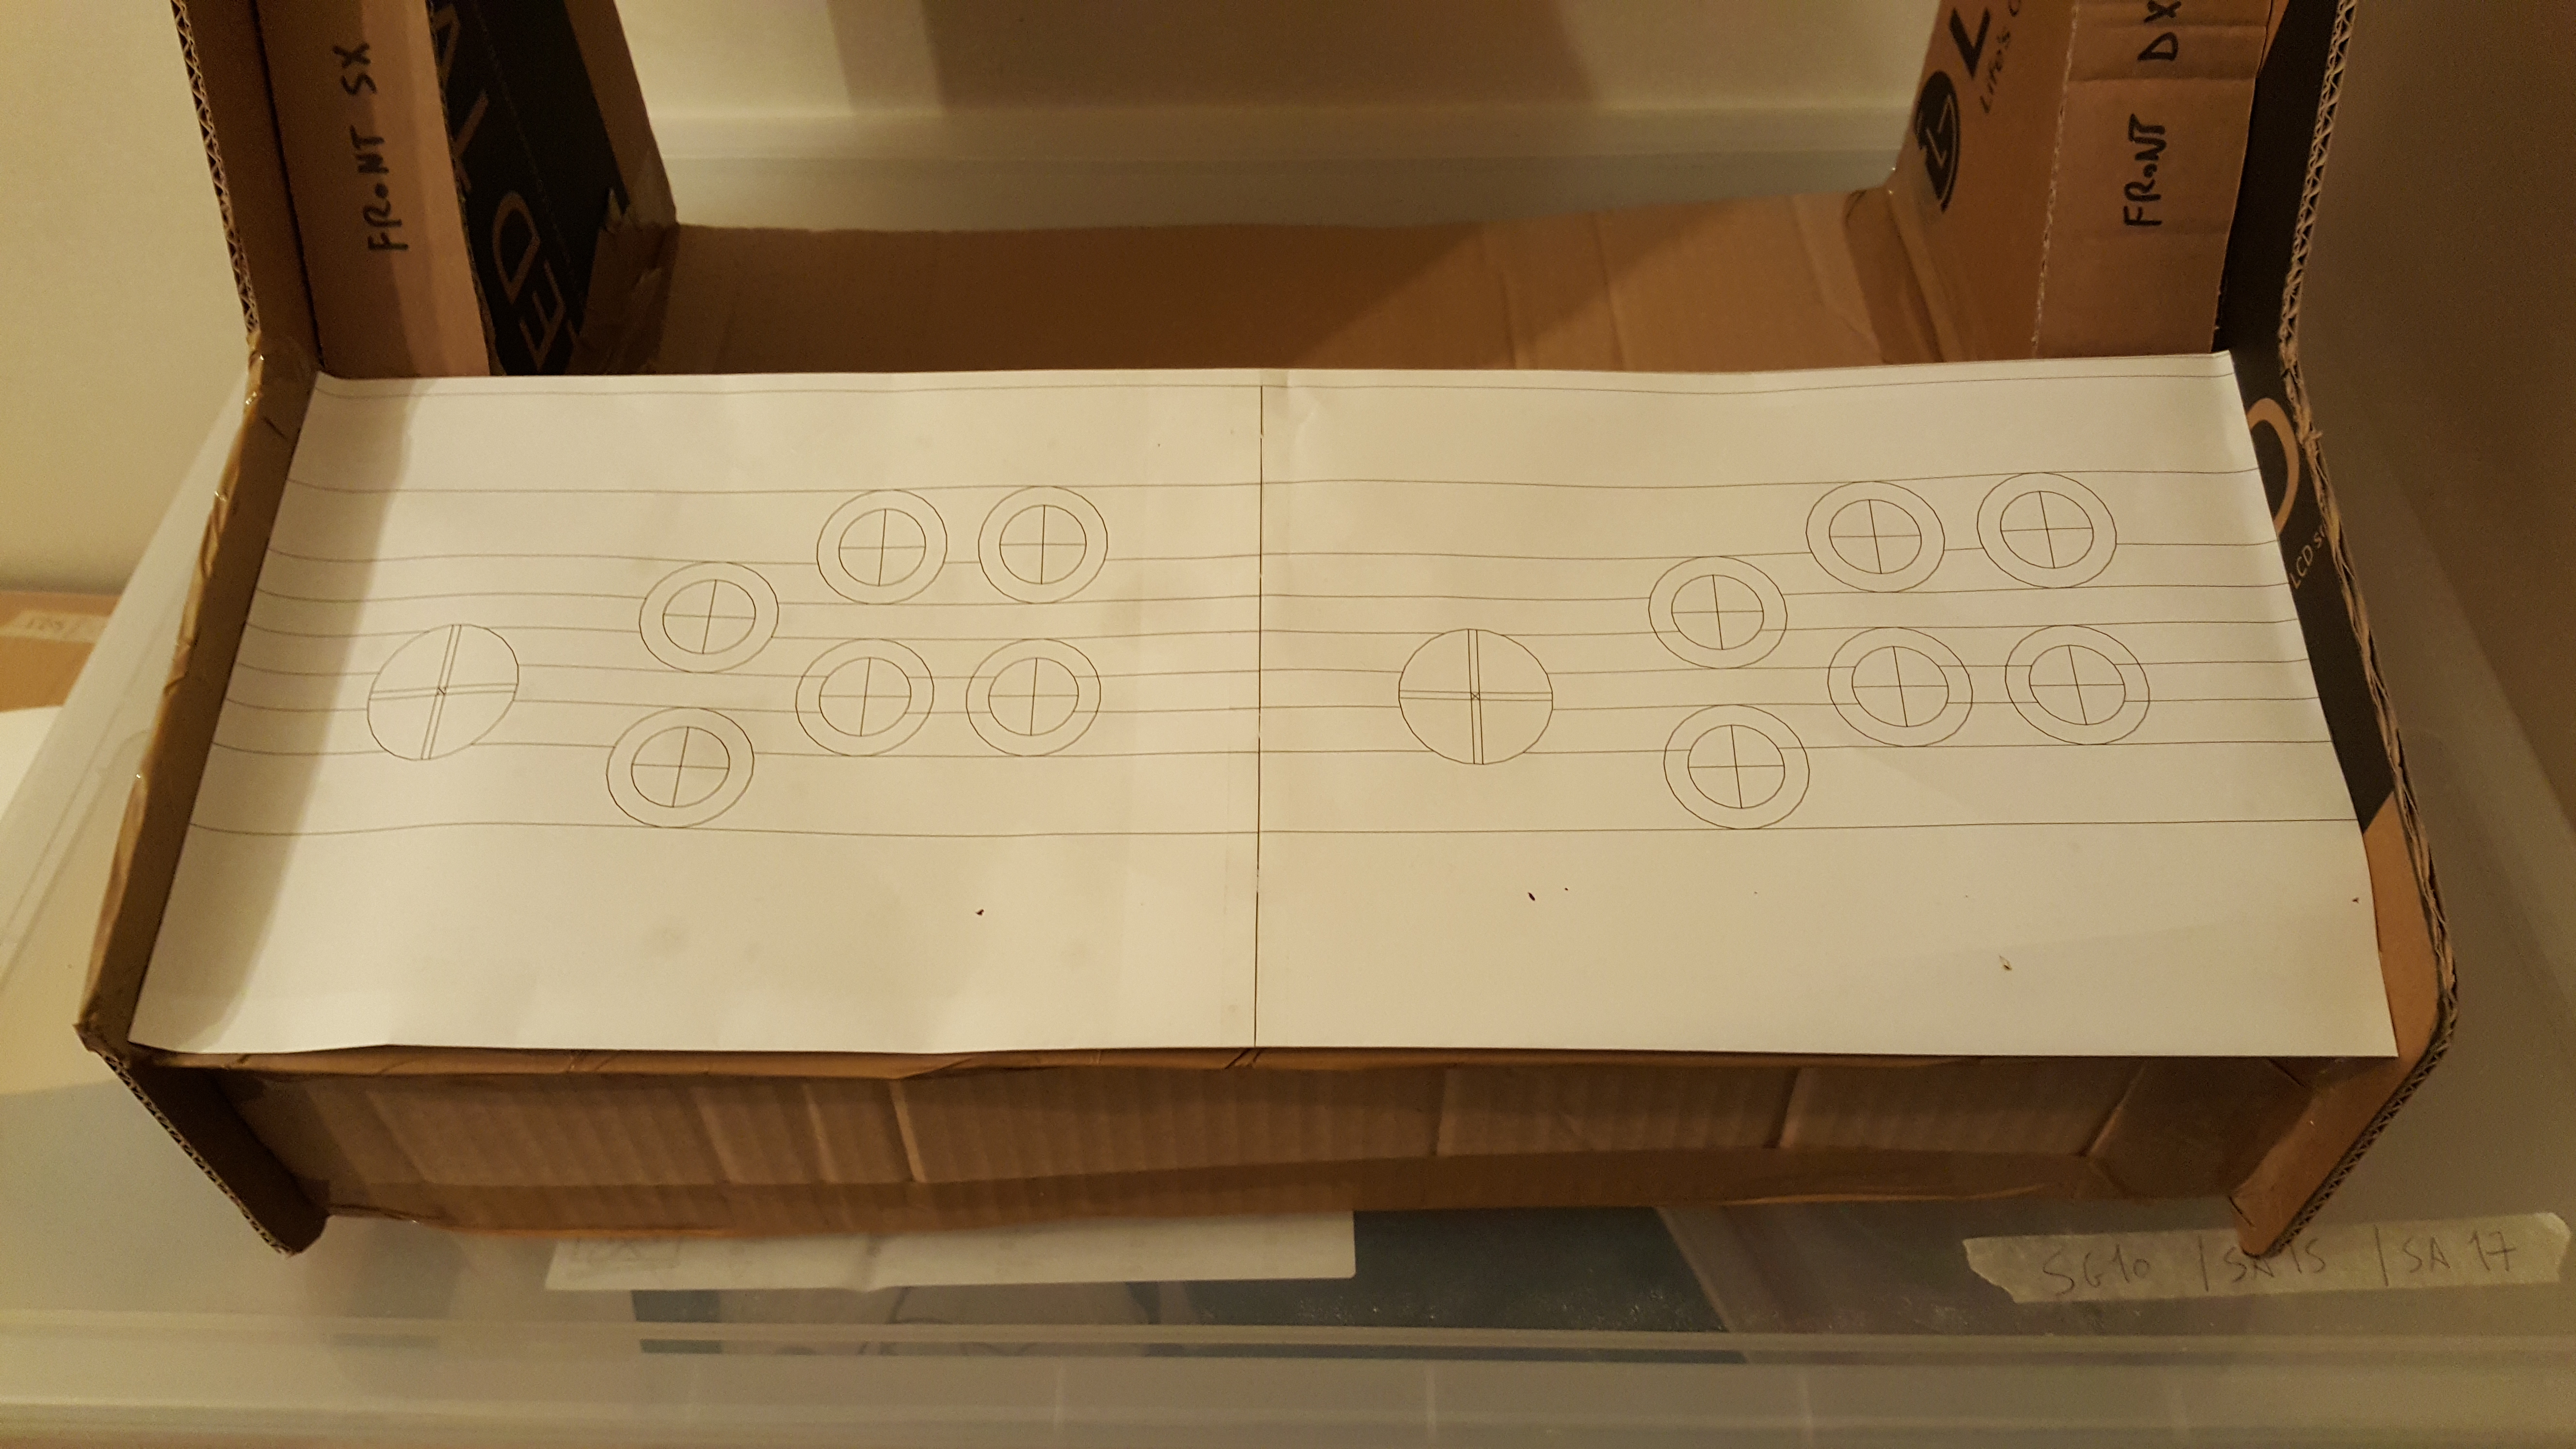
As you can see in a couple images I also took the chances to cut and apply the following Control Panel blueprint:

This document can also be downloaded in PDF format by clicking here: you can print it in 1:1 scale using two A4 sheets, then cut / patch them and use the resulting blueprint as a guideline for the drill holes (see Part 3 & Part 4).
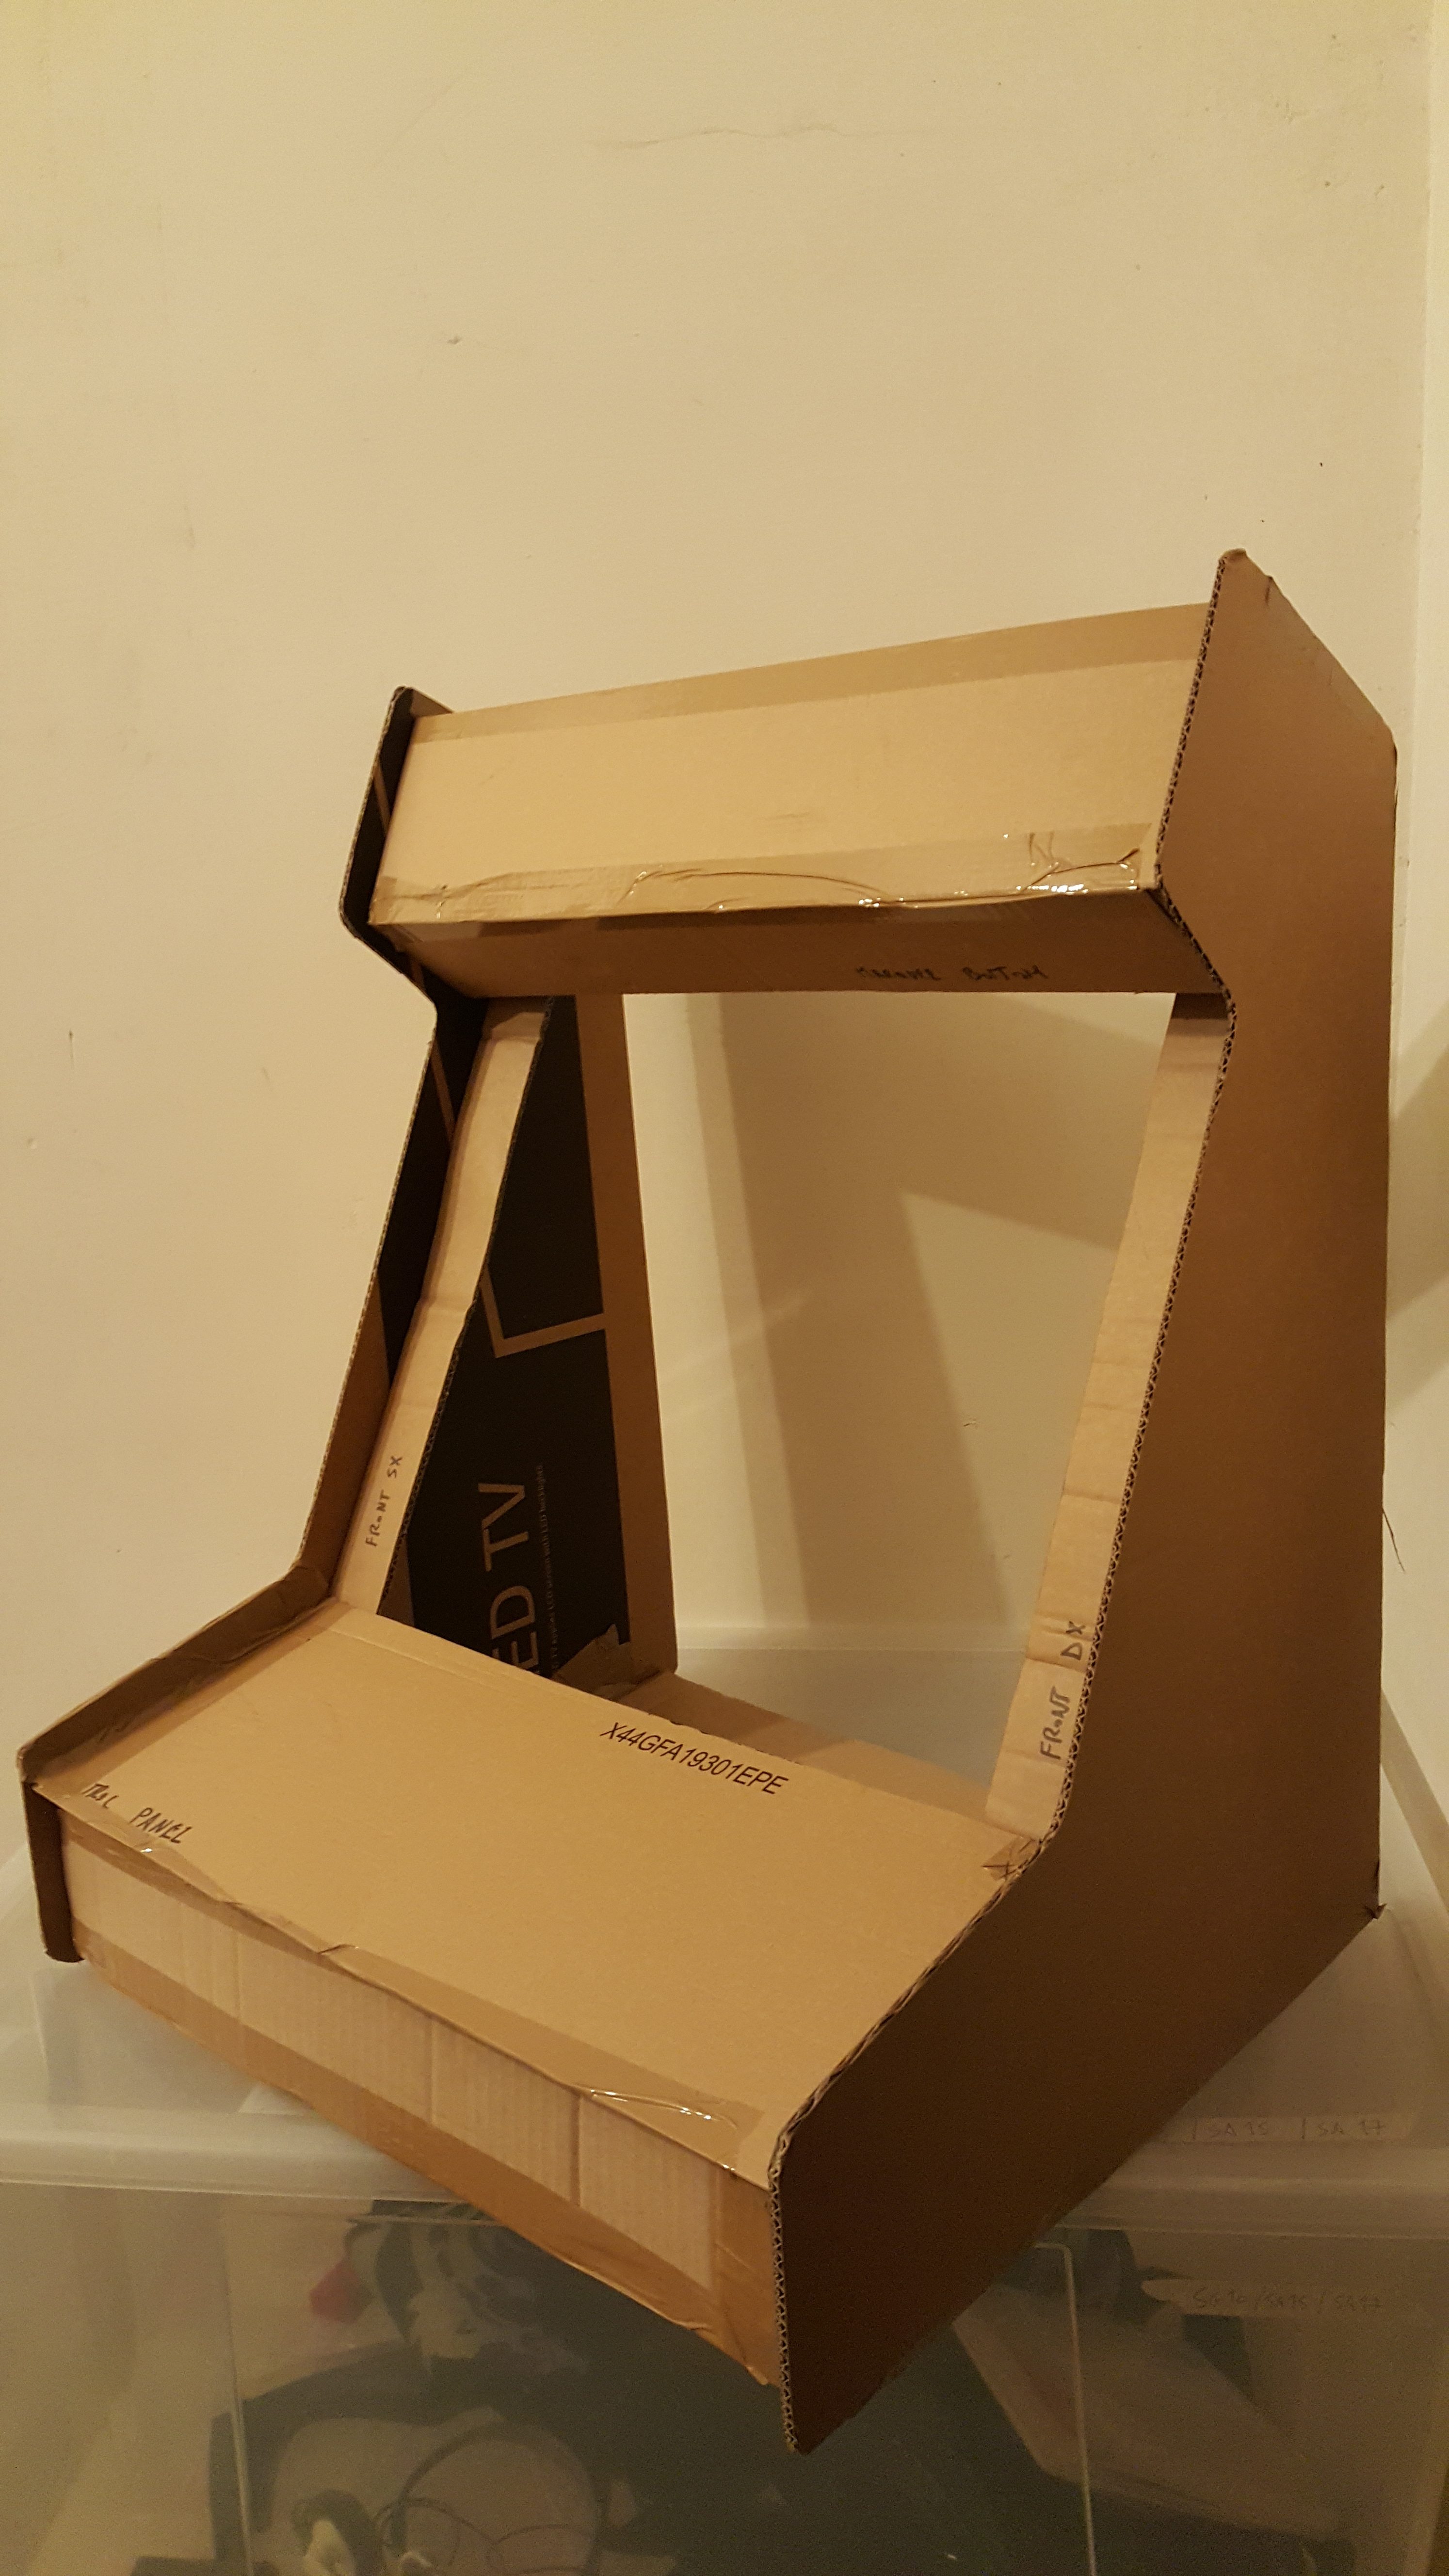
Here are some better pictures showing the Control Panel printed blueprint applied to the prototype:
Conclusion
This is the end of Part 2: throughout this post we listed out the tools that we need to build the cabinet: we also spent some time to build a full-scale cardboard prototype, which could be very useful to properly assess some key factors (size, orientation, viewing angle, encumbrance & more) before building the real thing. The post comes with three important PDF (layout, wood parts and control panel blueprint) which can be very useful in the next part of the tutorial: it’s strongly recommended that you print them in advance.
In the next part of the tutorial we’ll cut the wood pieces and build the actual cabinet.
As always, if you have any question or want to leave your feedback, you’re more than welcome to do that using the comment section below!
In case you’ve missed the previous post, here are the links to the whole guide:
- Part 1 of 6: Introduction & Raw Materials
- Part 2 of 6: Tools, Design & Prototype
- Part 3 of 6: Building the Cabinet
- Part 4 of 6: Painting & T-Molding
- Part 5 of 6: Installing the Hardware
- Part 6 of 6: Configuring the Software (Raspberry PI & Retropie)
Check out all the pictures of the Arcade Bartop (all those used in this tutorial + more) on my Arcade Bartop album on Flickr.com.
