 - Part 1 of 6 - Introduction")
Welcome to part four of my six-post long Arcade Bartop DIY tutorial. In case you’ve missed the previous posts, here are the links to the whole guide:
- Part 1 of 6: Introduction & Raw Materials
- Part 2 of 6: Tools, Design & Prototype
- Part 3 of 6: Building the Cabinet
- Part 4 of 6: Painting & T-Molding
- Part 5 of 6: Installing the Hardware
- Part 6 of 6: Configuring the Software (Raspberry PI & Retropie)
In this part I had to deal with any aspect of the wood: from spackling to sanding, from fonding to painting, and – most importantly – hammering.
Preparing the Wood
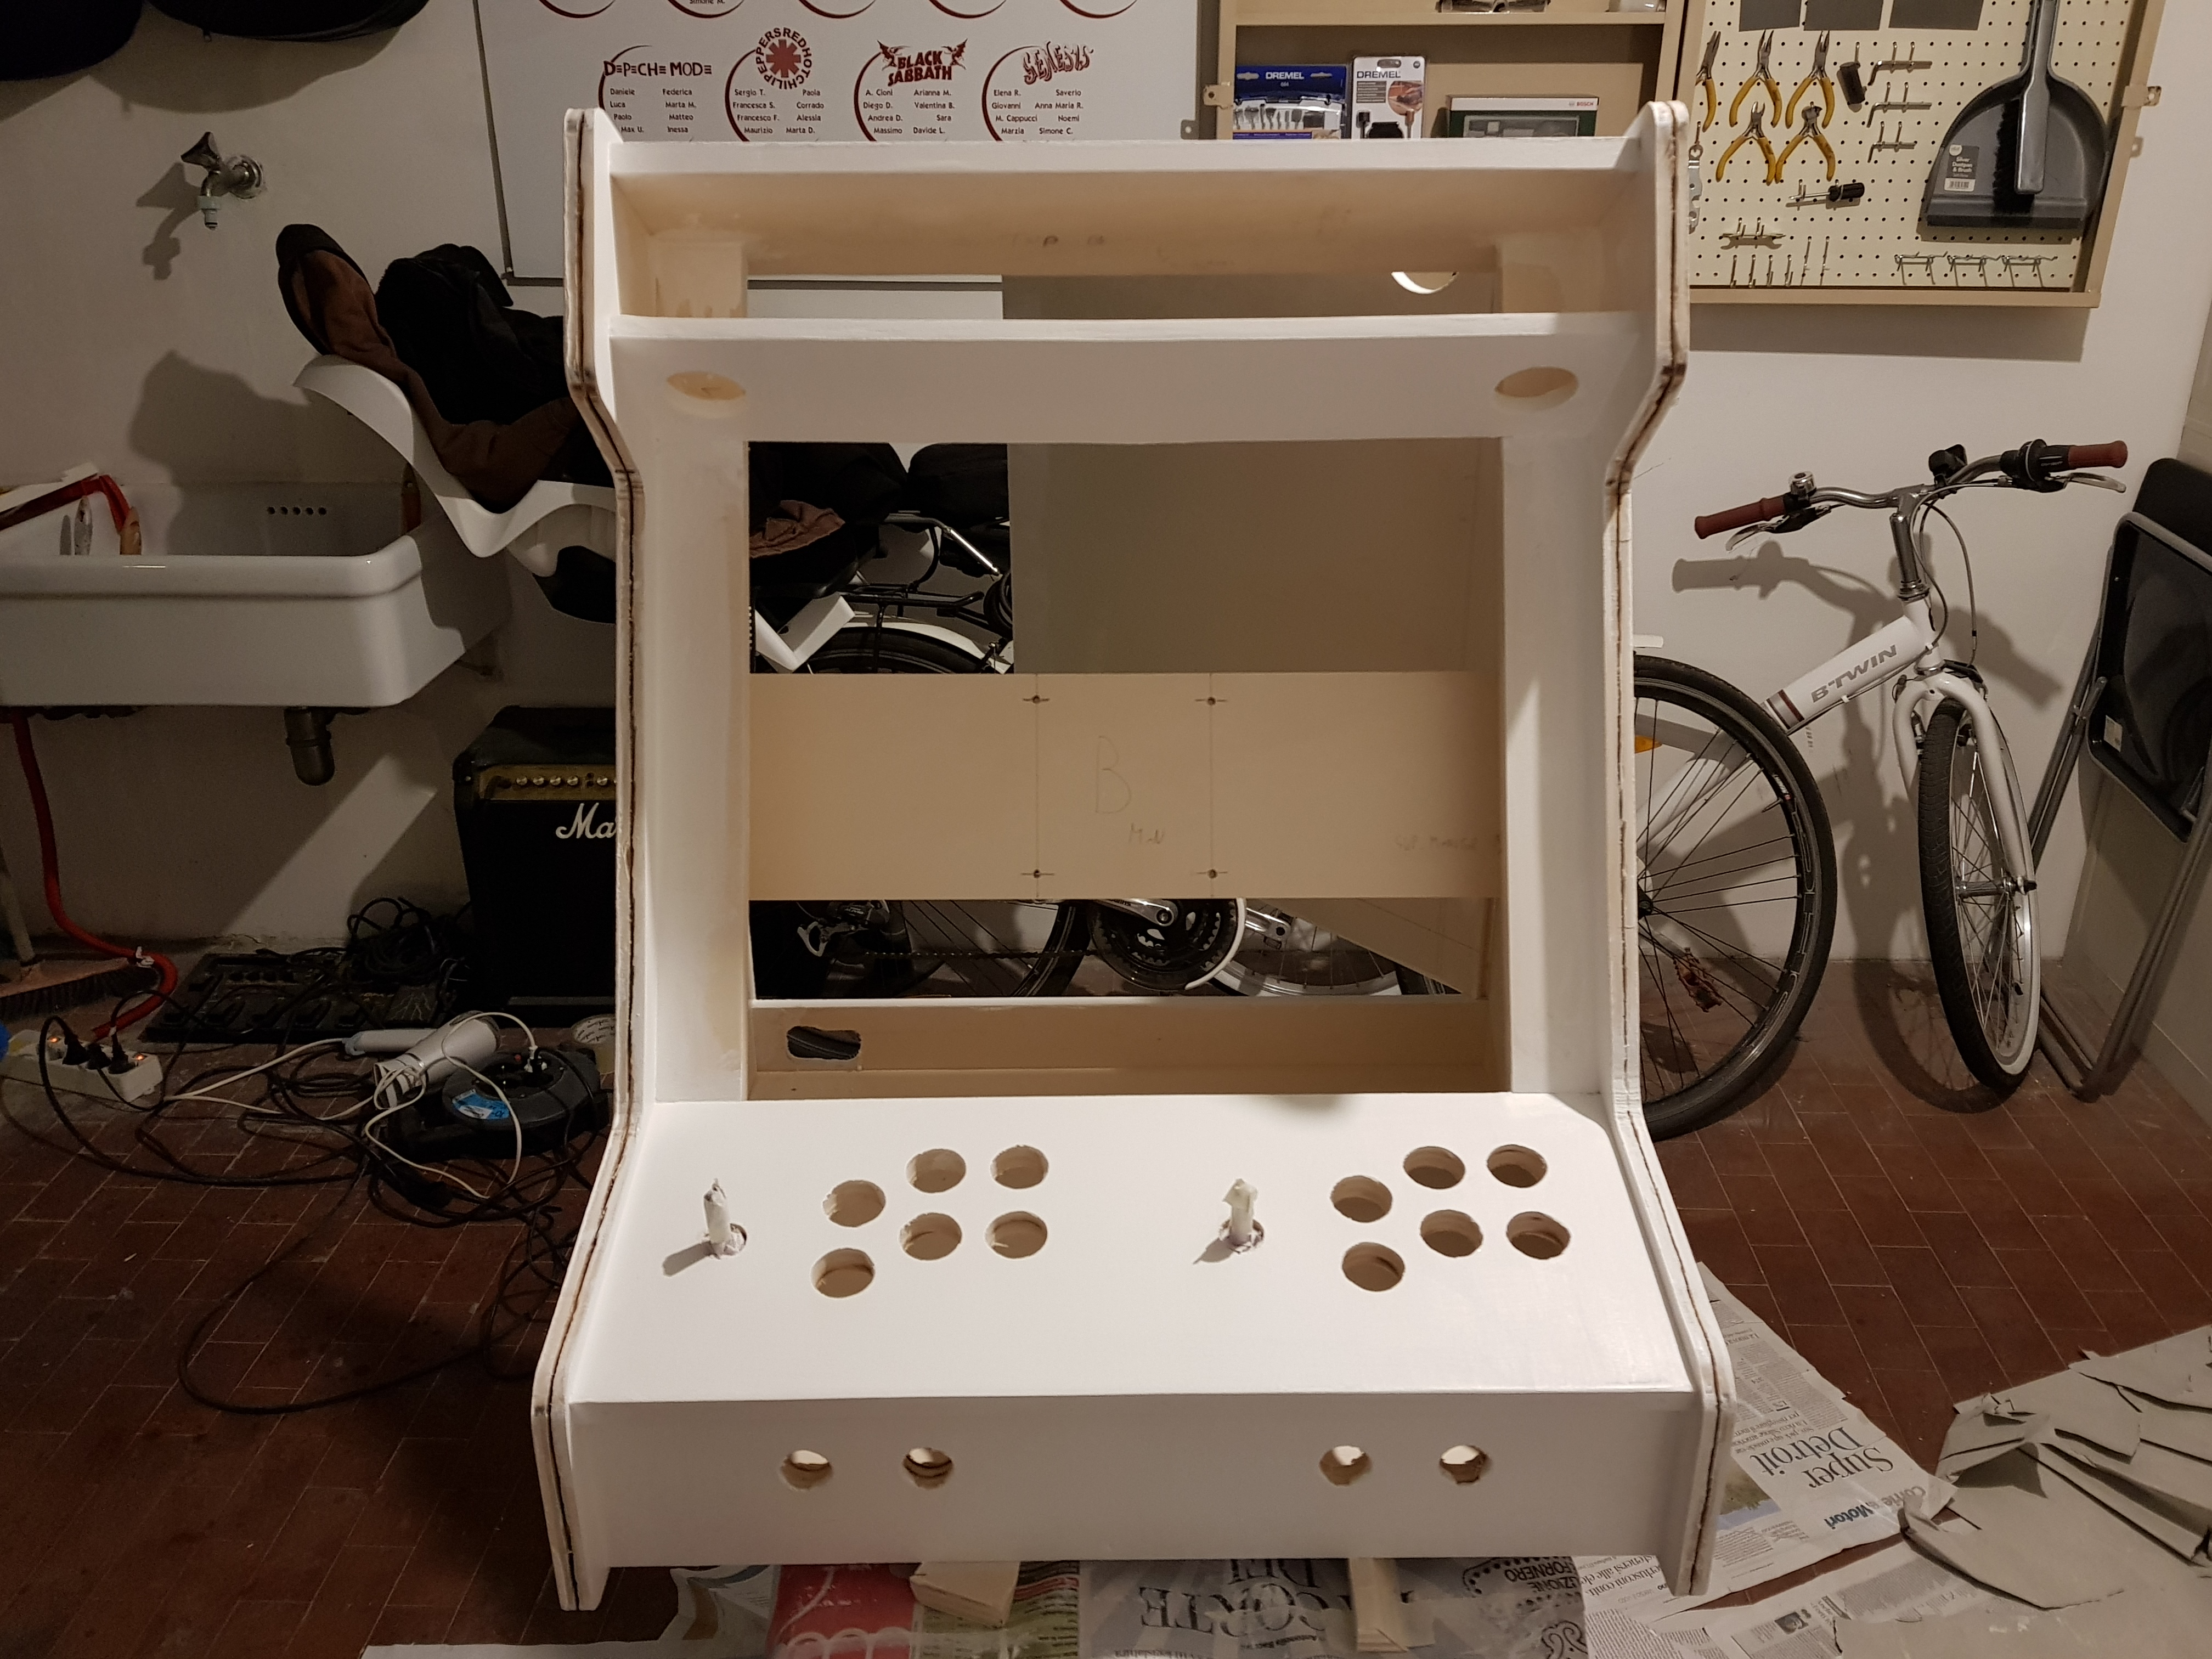
Before starting the painting process, I took my time to prepare the wood for painting. This is probably the most overlooked part of any painting wood, and in many ways is the most critical. Your work is only as good as the canvas upon which your creation takes life: paint will not fill in cracks, dents, holes or other imperfections in the wood and keep them hidden after it dries. In fact, those imperfections will probably be even more apparent.
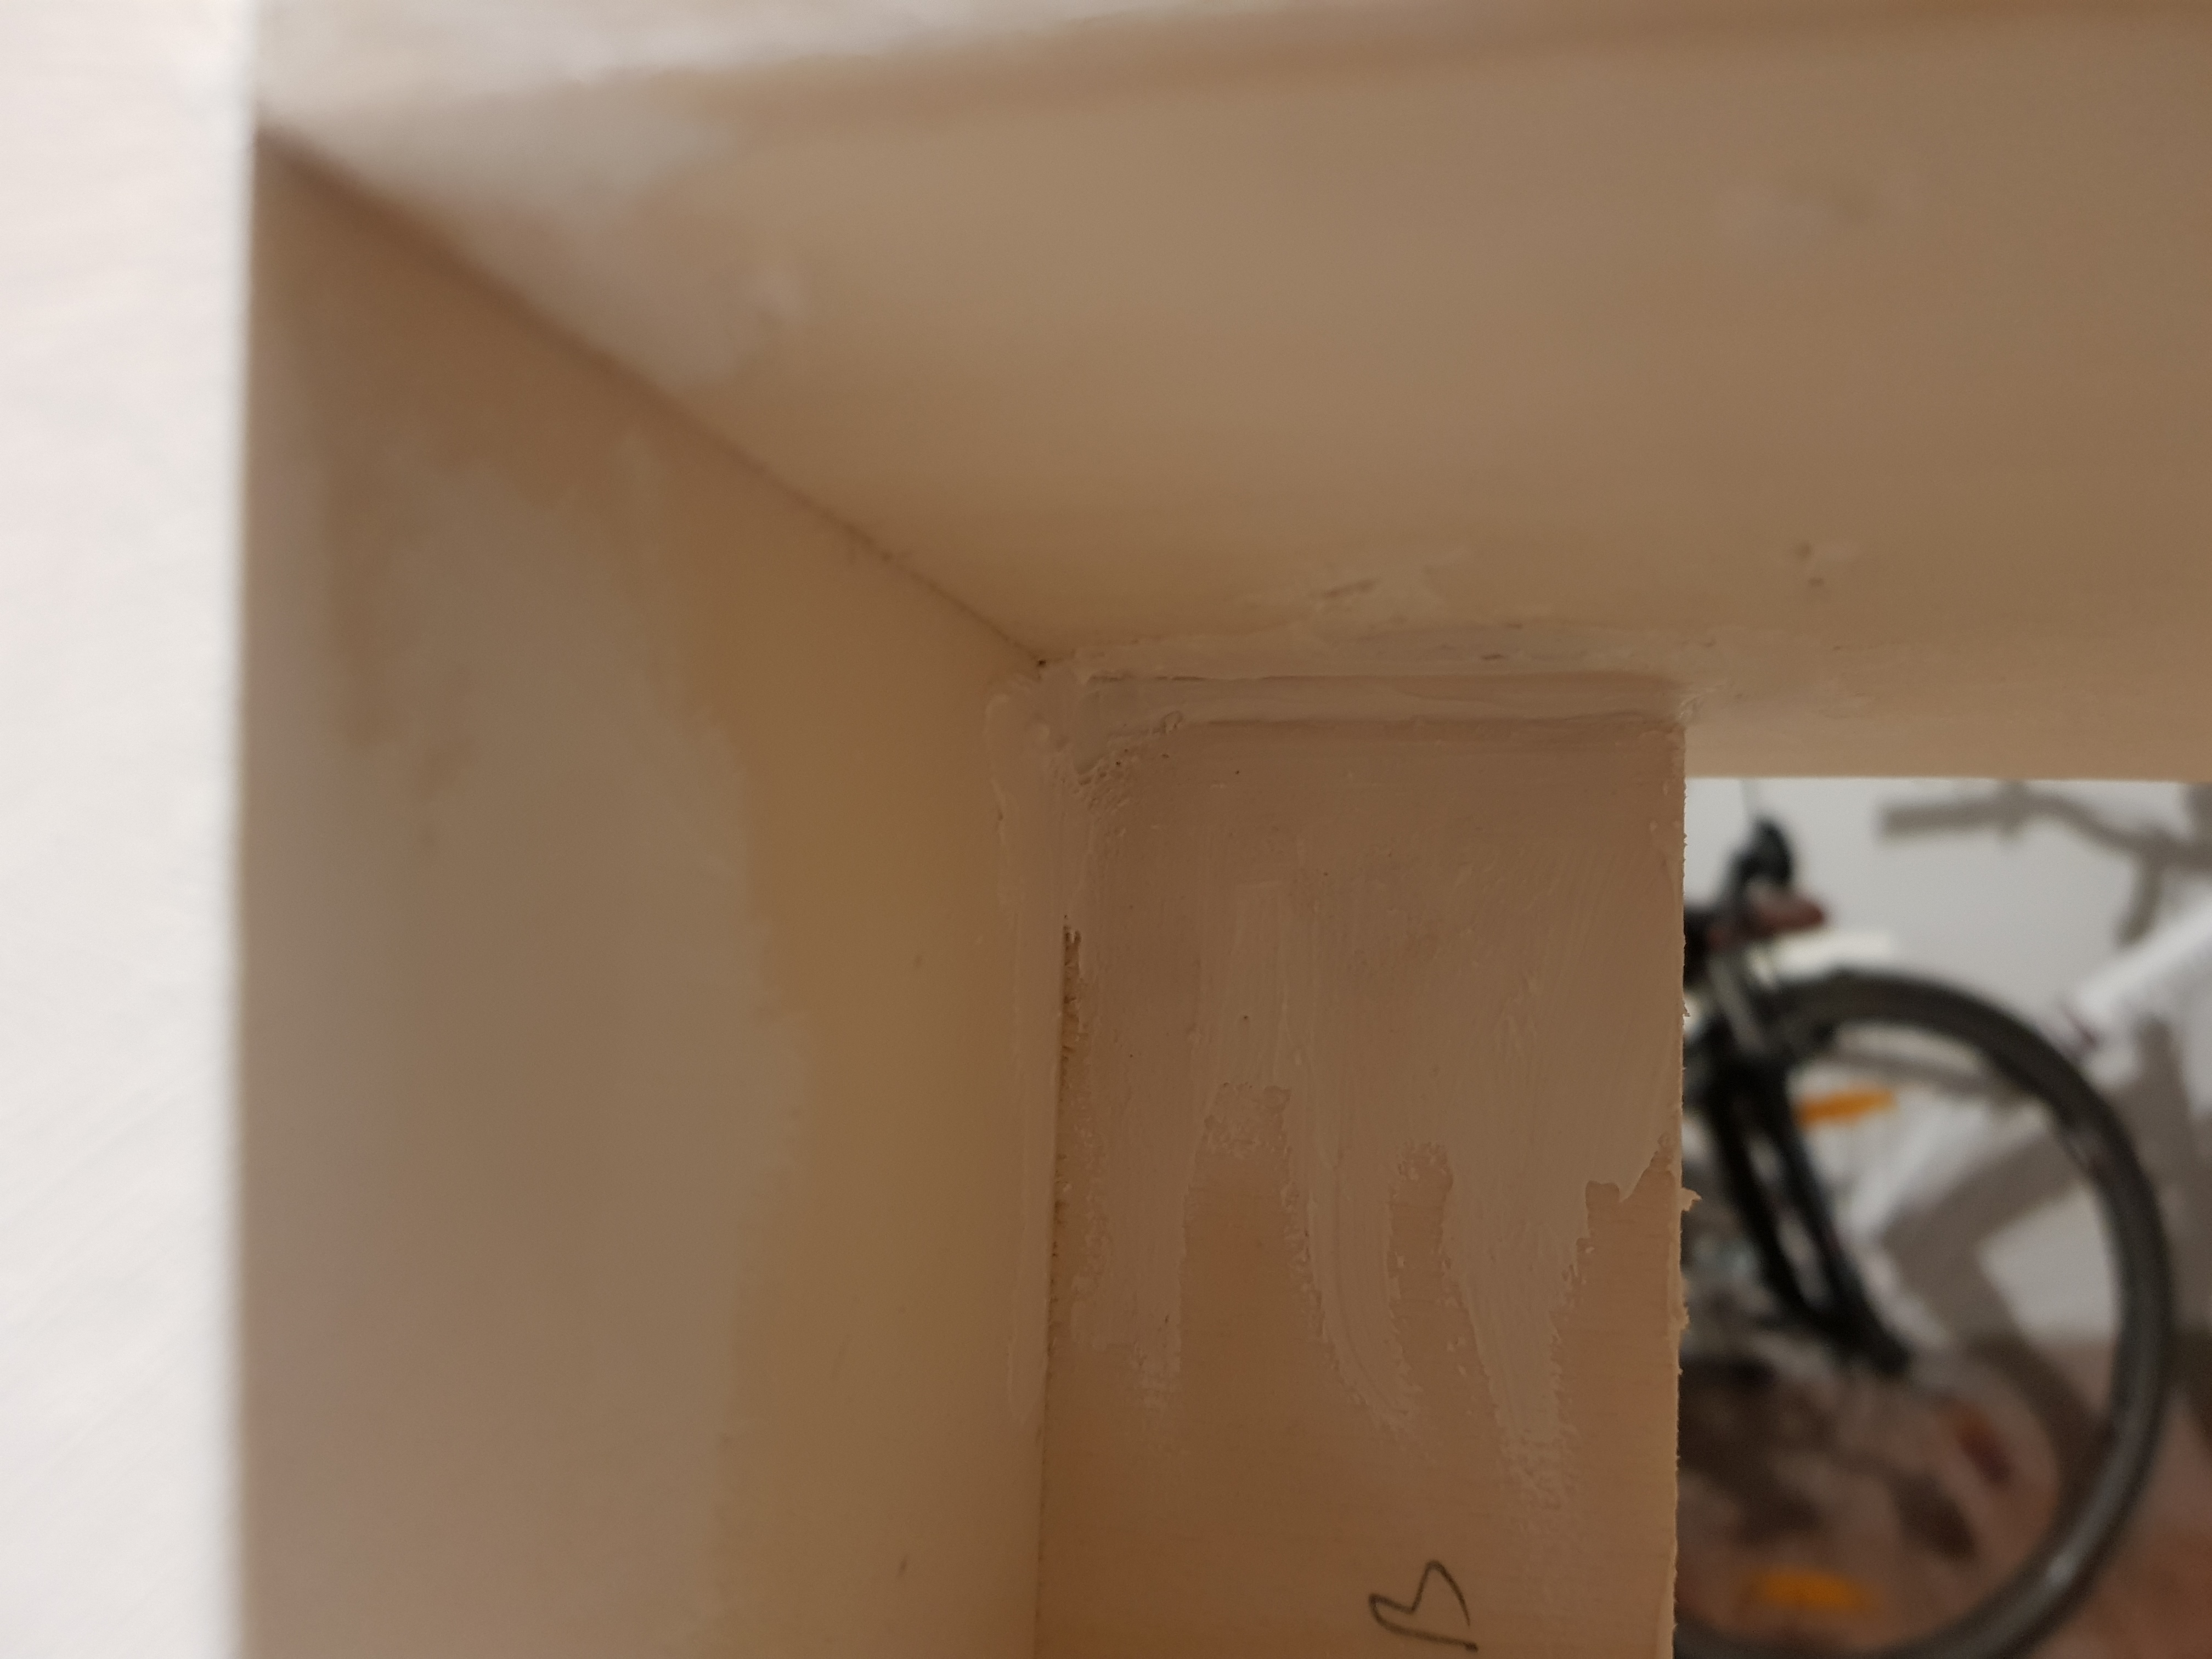
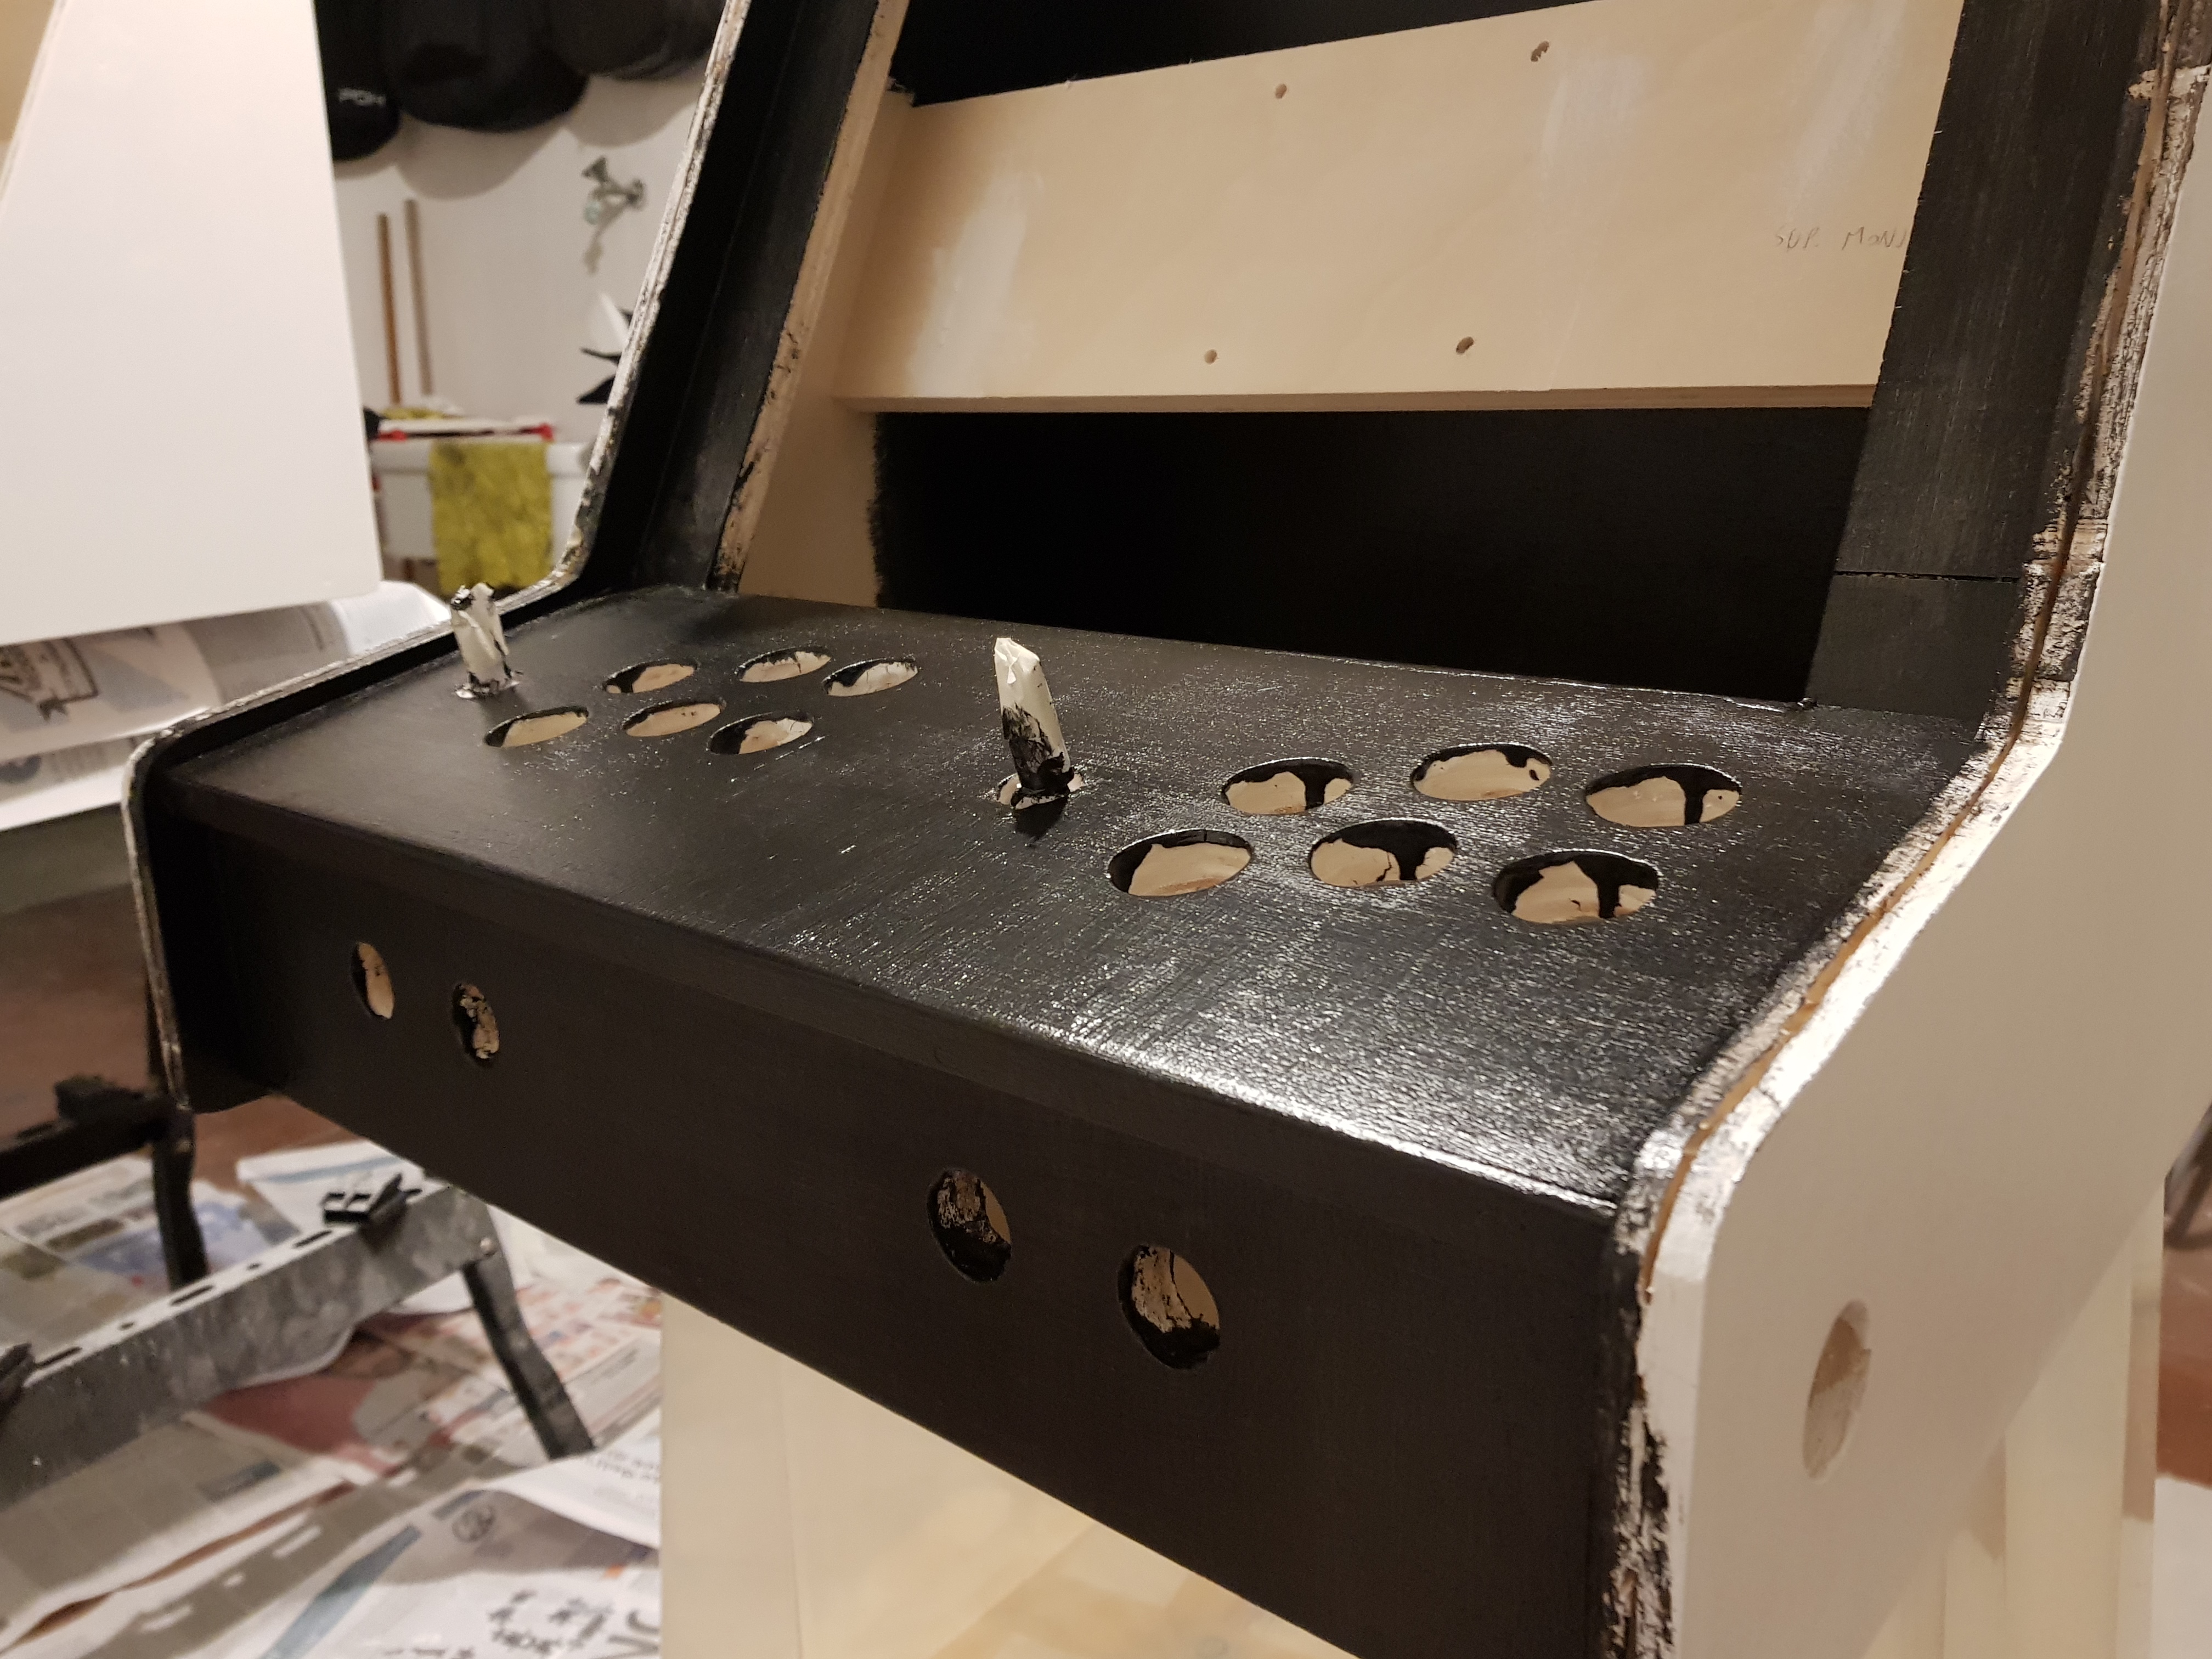
That’s why I had to fill all dings, gouges and scratches with wood putty and spackle. I used a flexible putty knife and filled in all the areas needing attention. I wasn’t afraid of using too much spackle there, as I knew I would have sand down the whole cabinet right after that – after it was completely dry.
Here’s a picture showing some spackling while it was still in progress: as you can see, I also spackled all the screw holes.
Applying the Fond
Before performing this task, be sure to sand everything again to remove bulges and irregularities from the spackle.
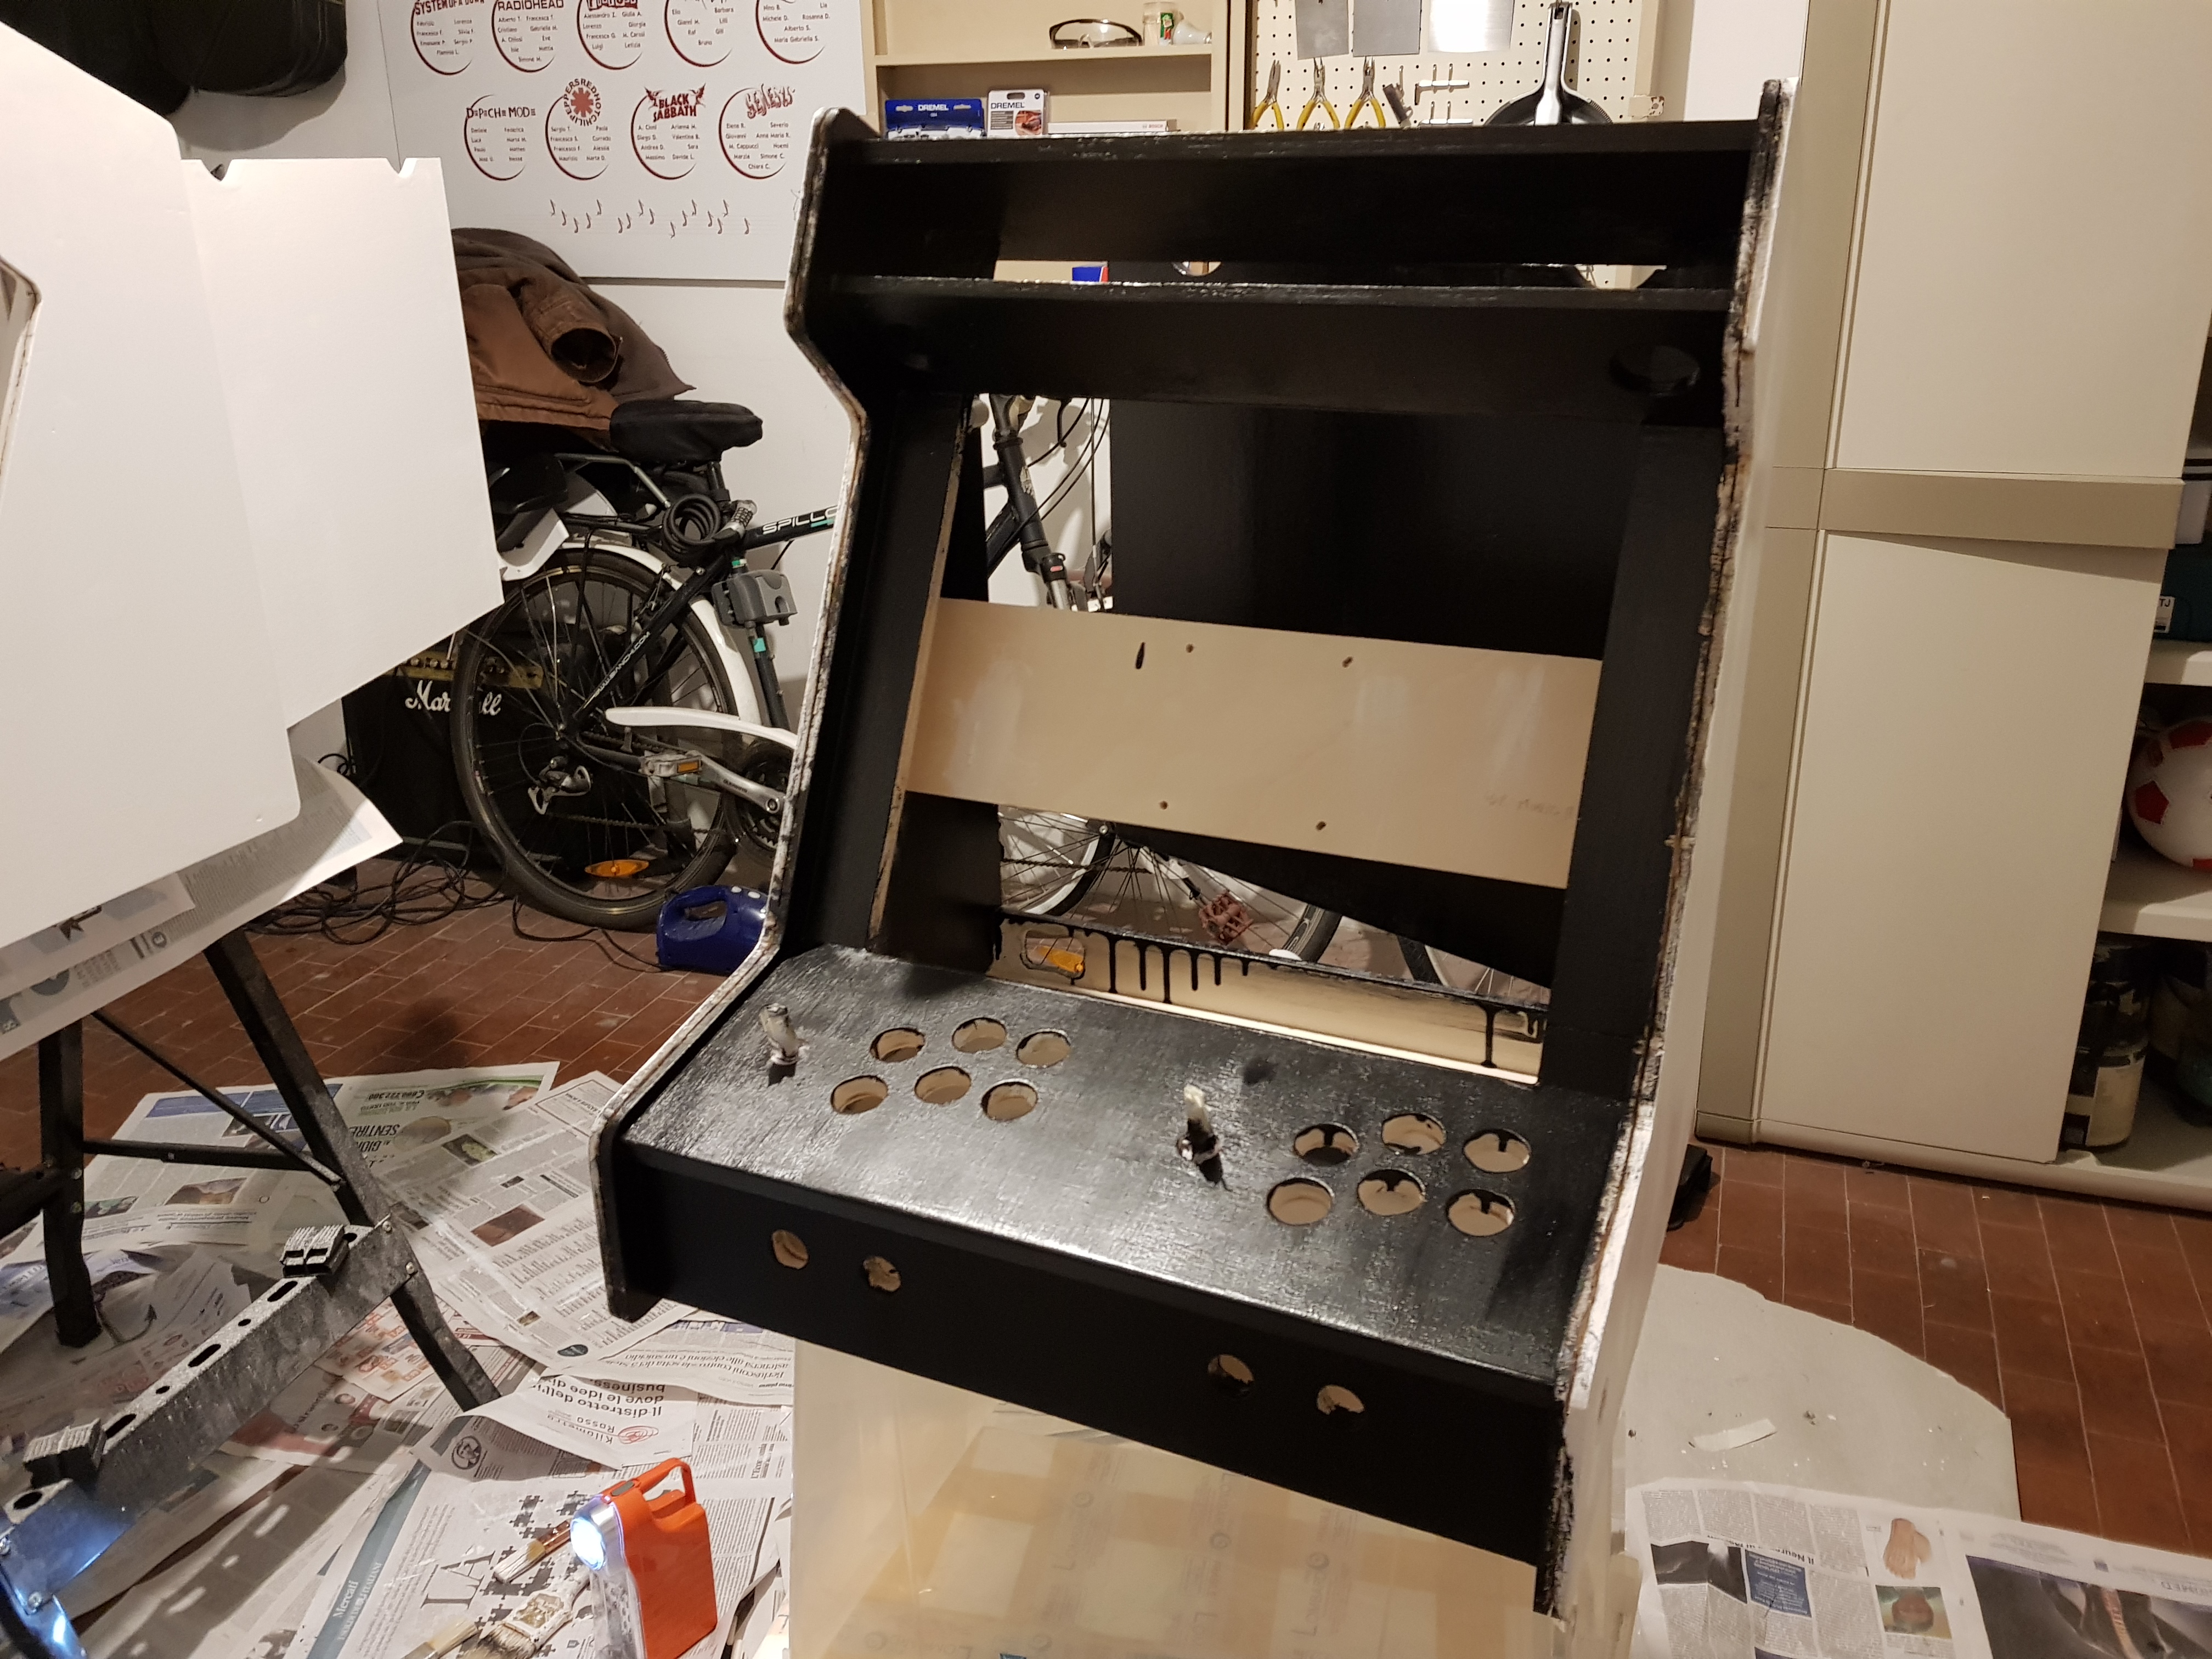
Applying the fond is an easy task: I put 2 layers of water fond on the wood, waiting 4-6hrs for each one and carefully sanding both of them.
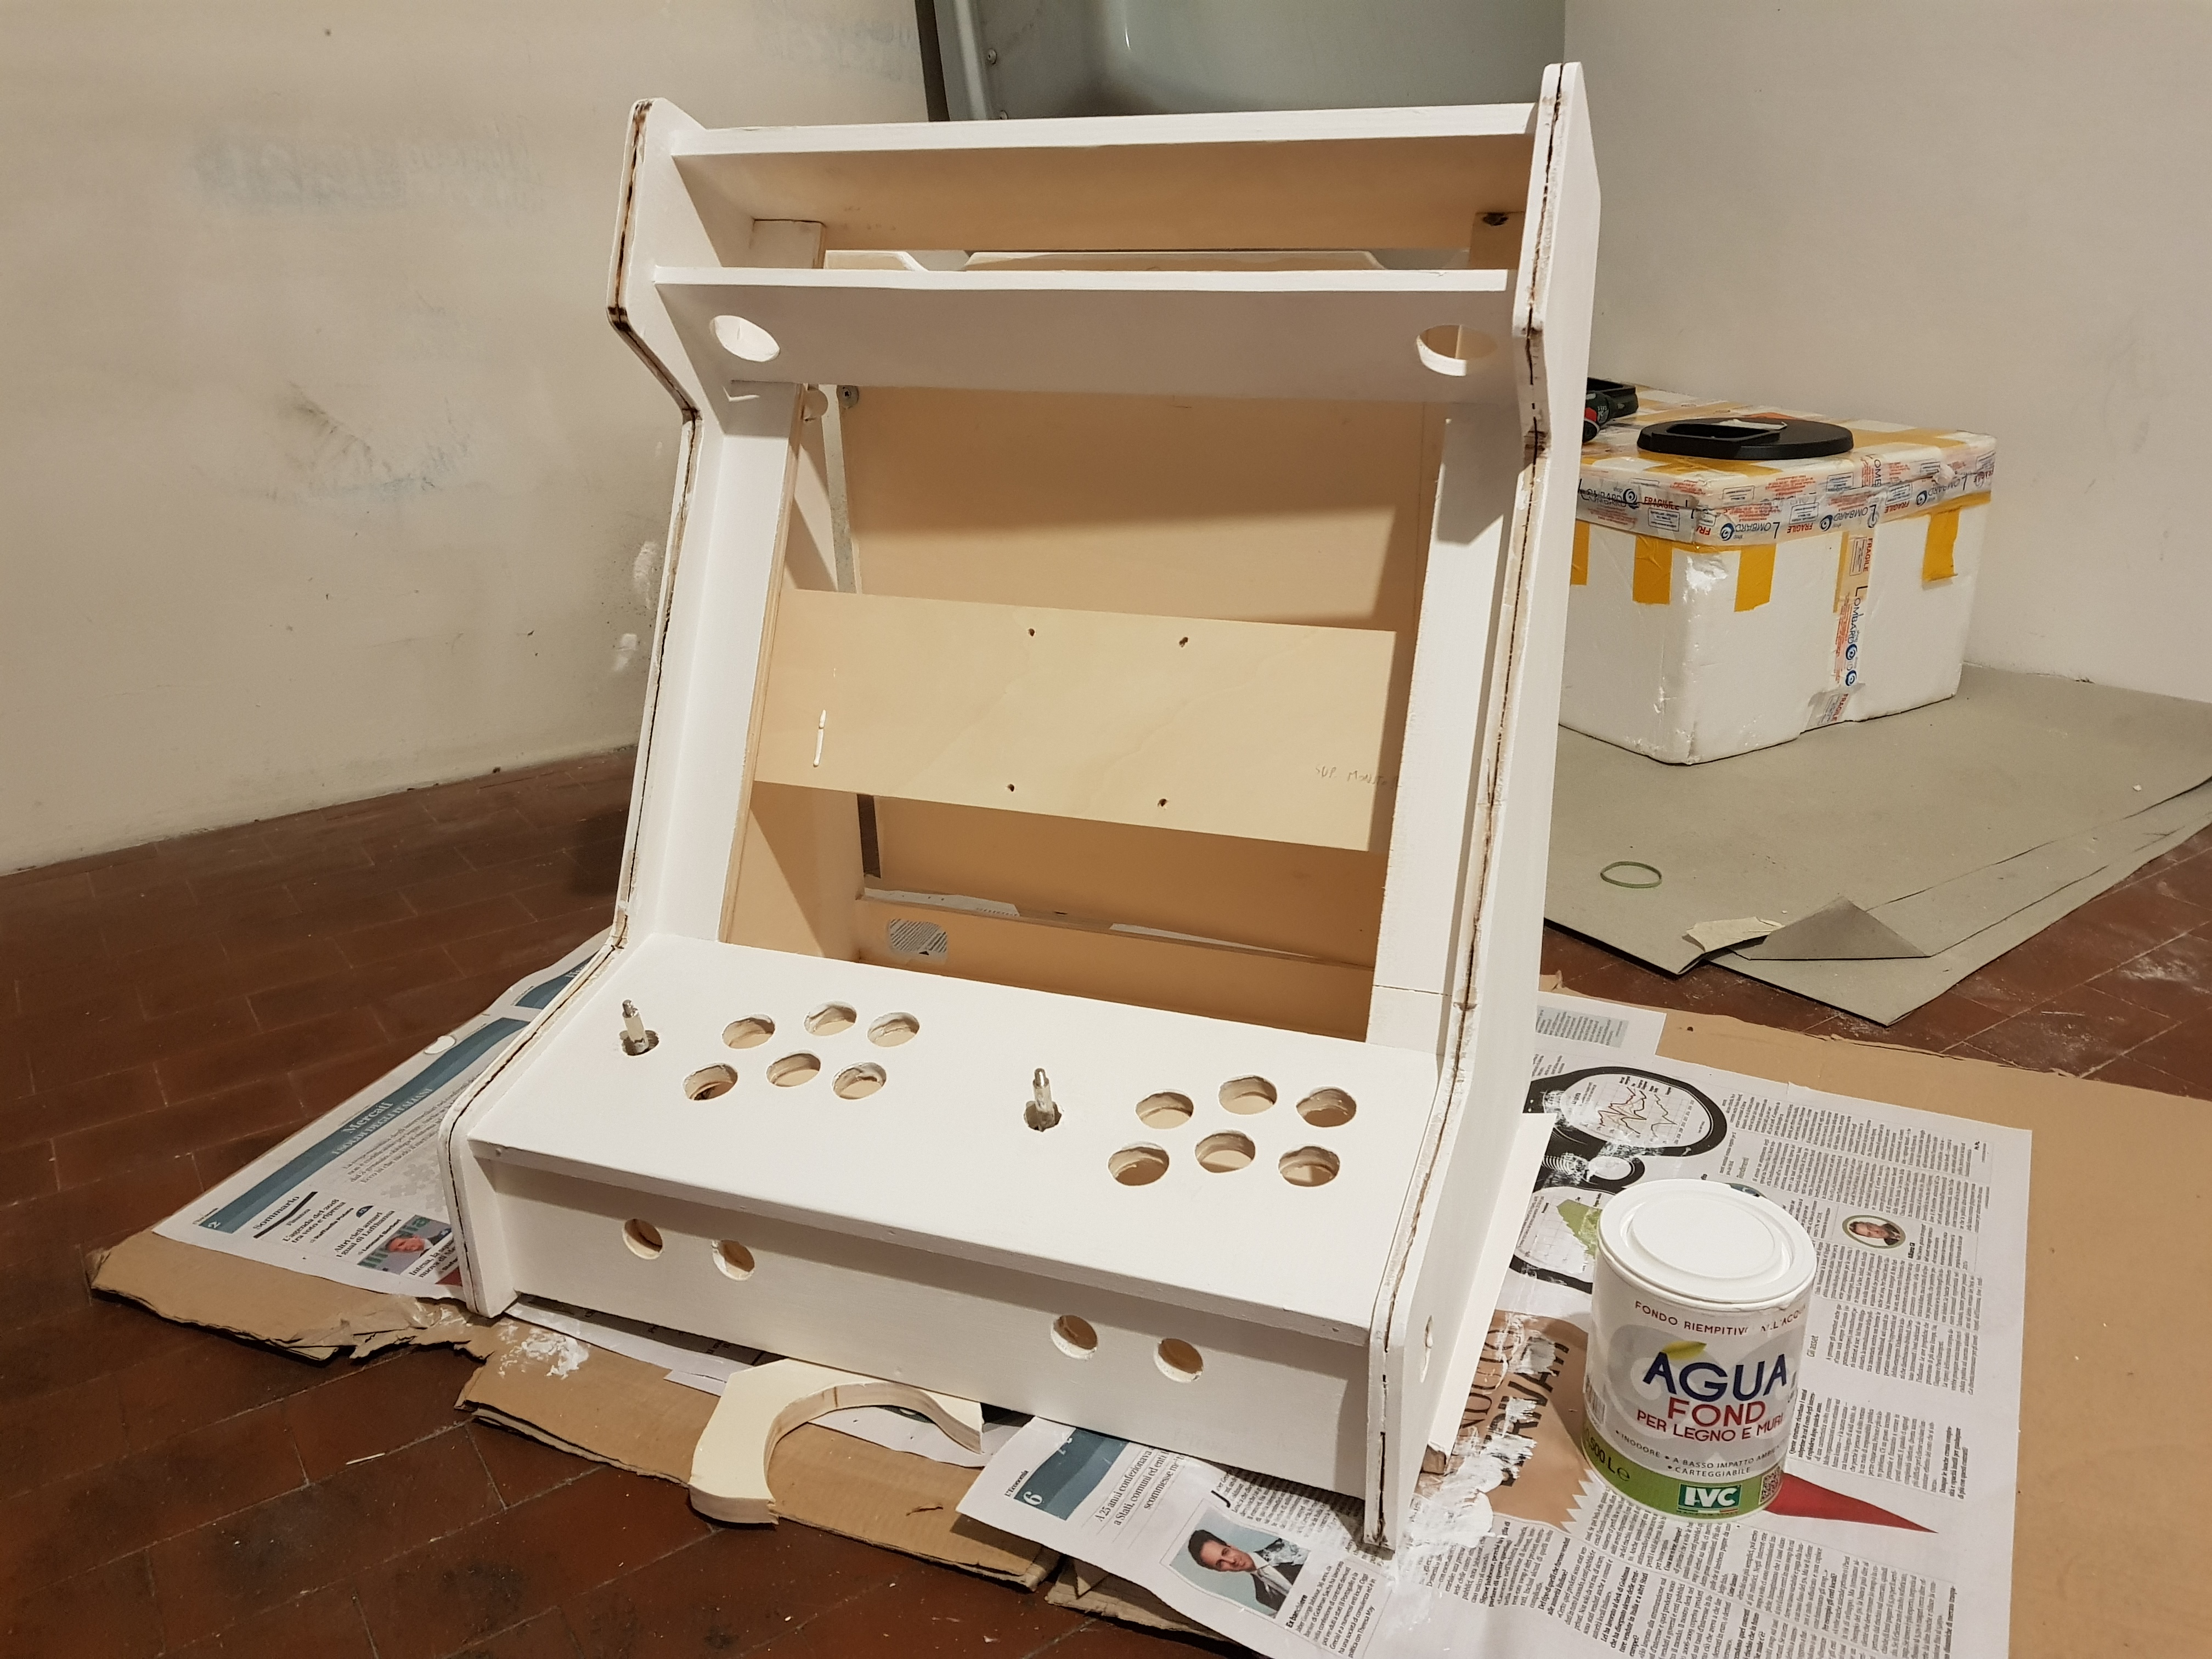
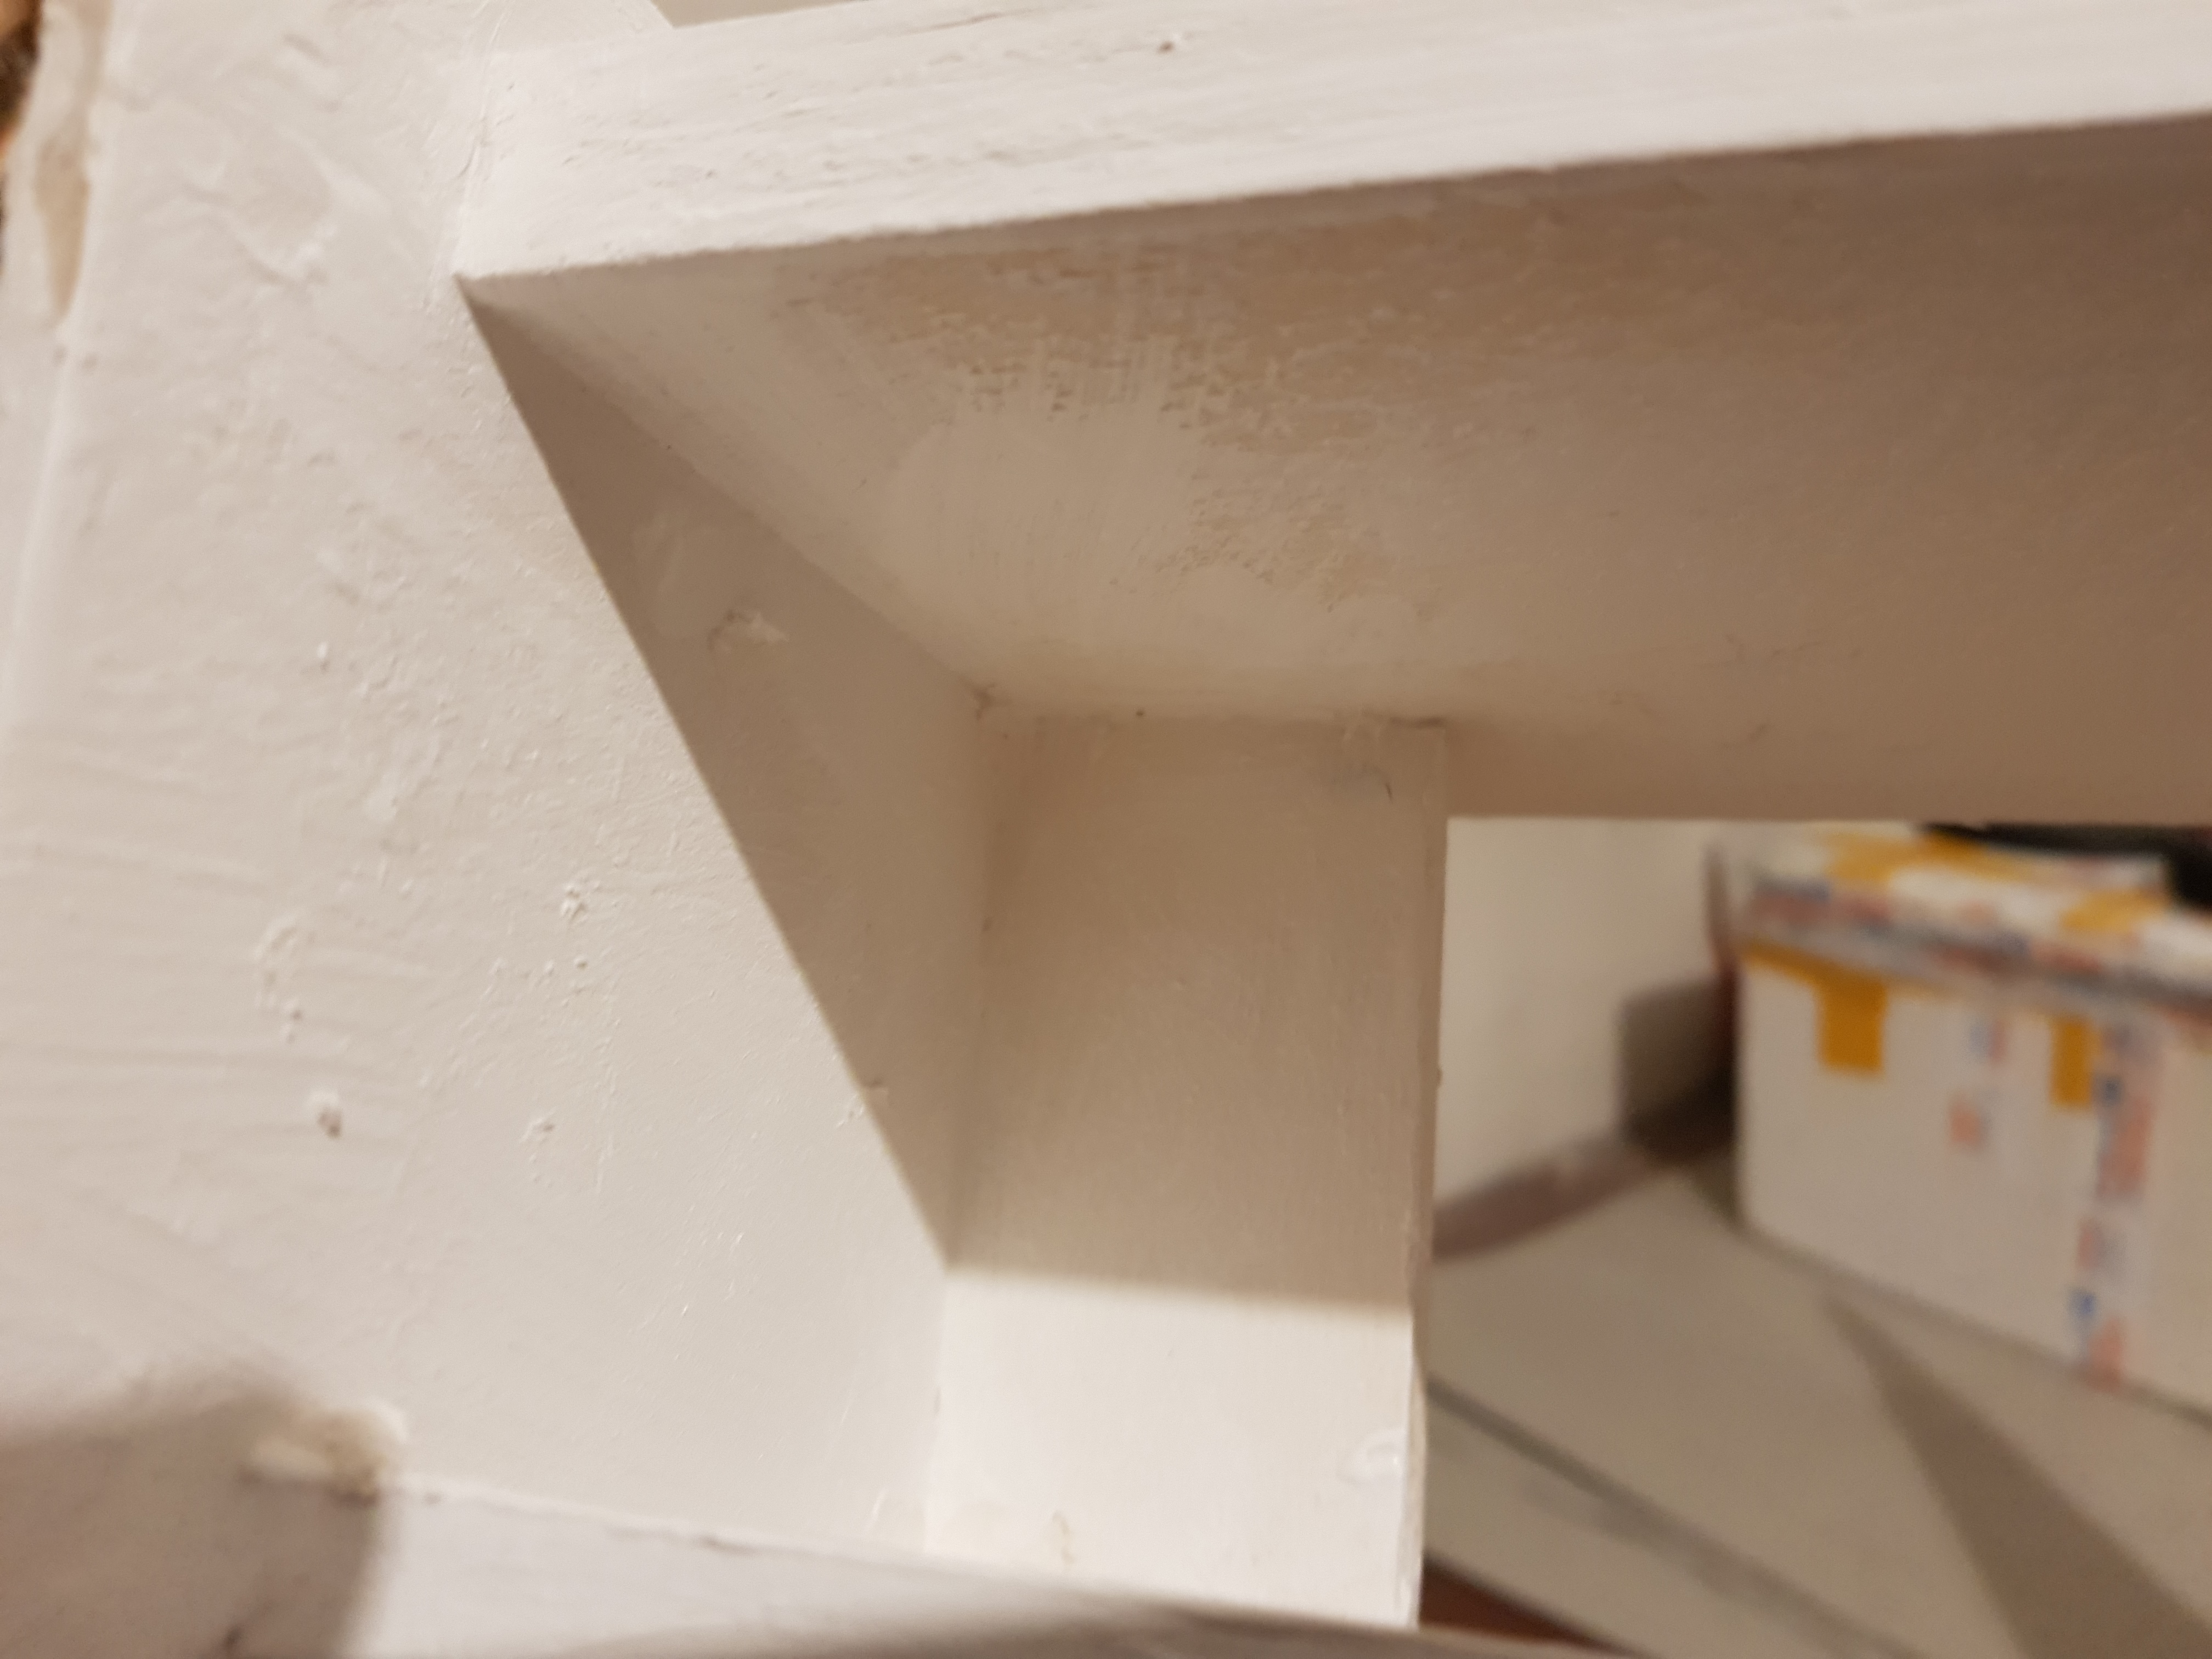

As you can see from the picture below, applying the fond could emphasize the bulges created from the spackling process, as it behaves differently over them. Luckily enough, all these imperfections can be easily fixed with proper sanding.
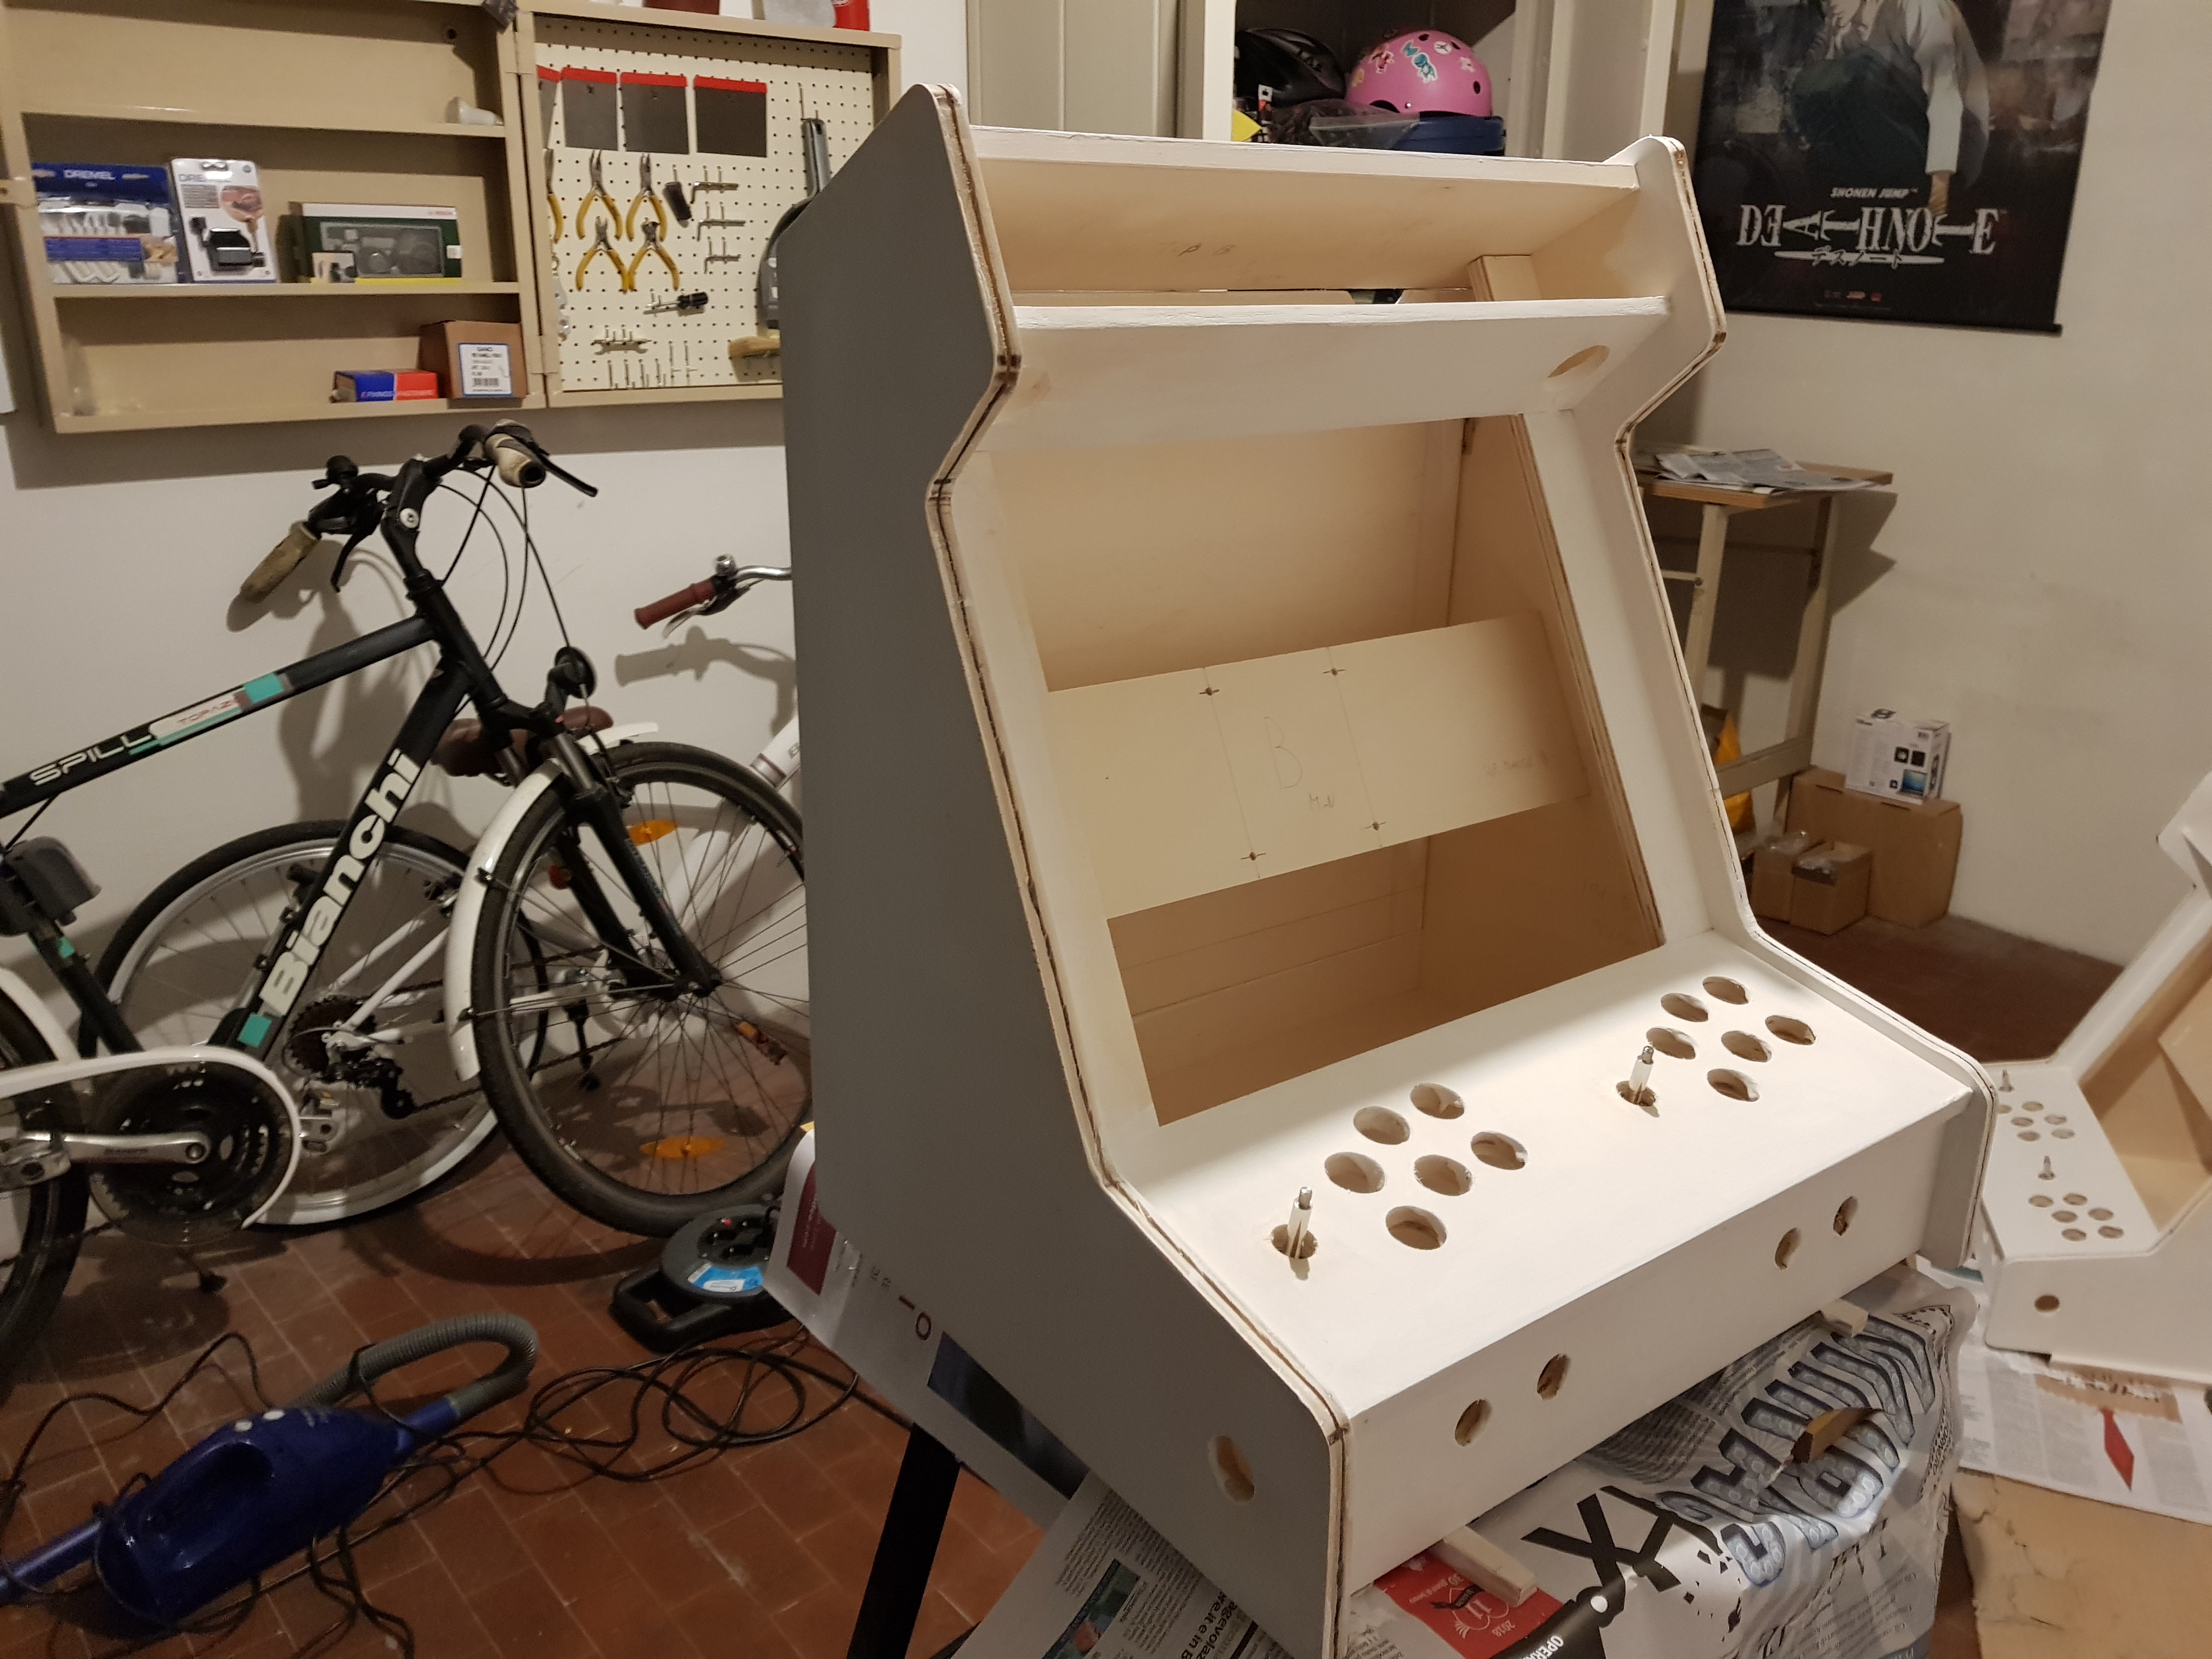
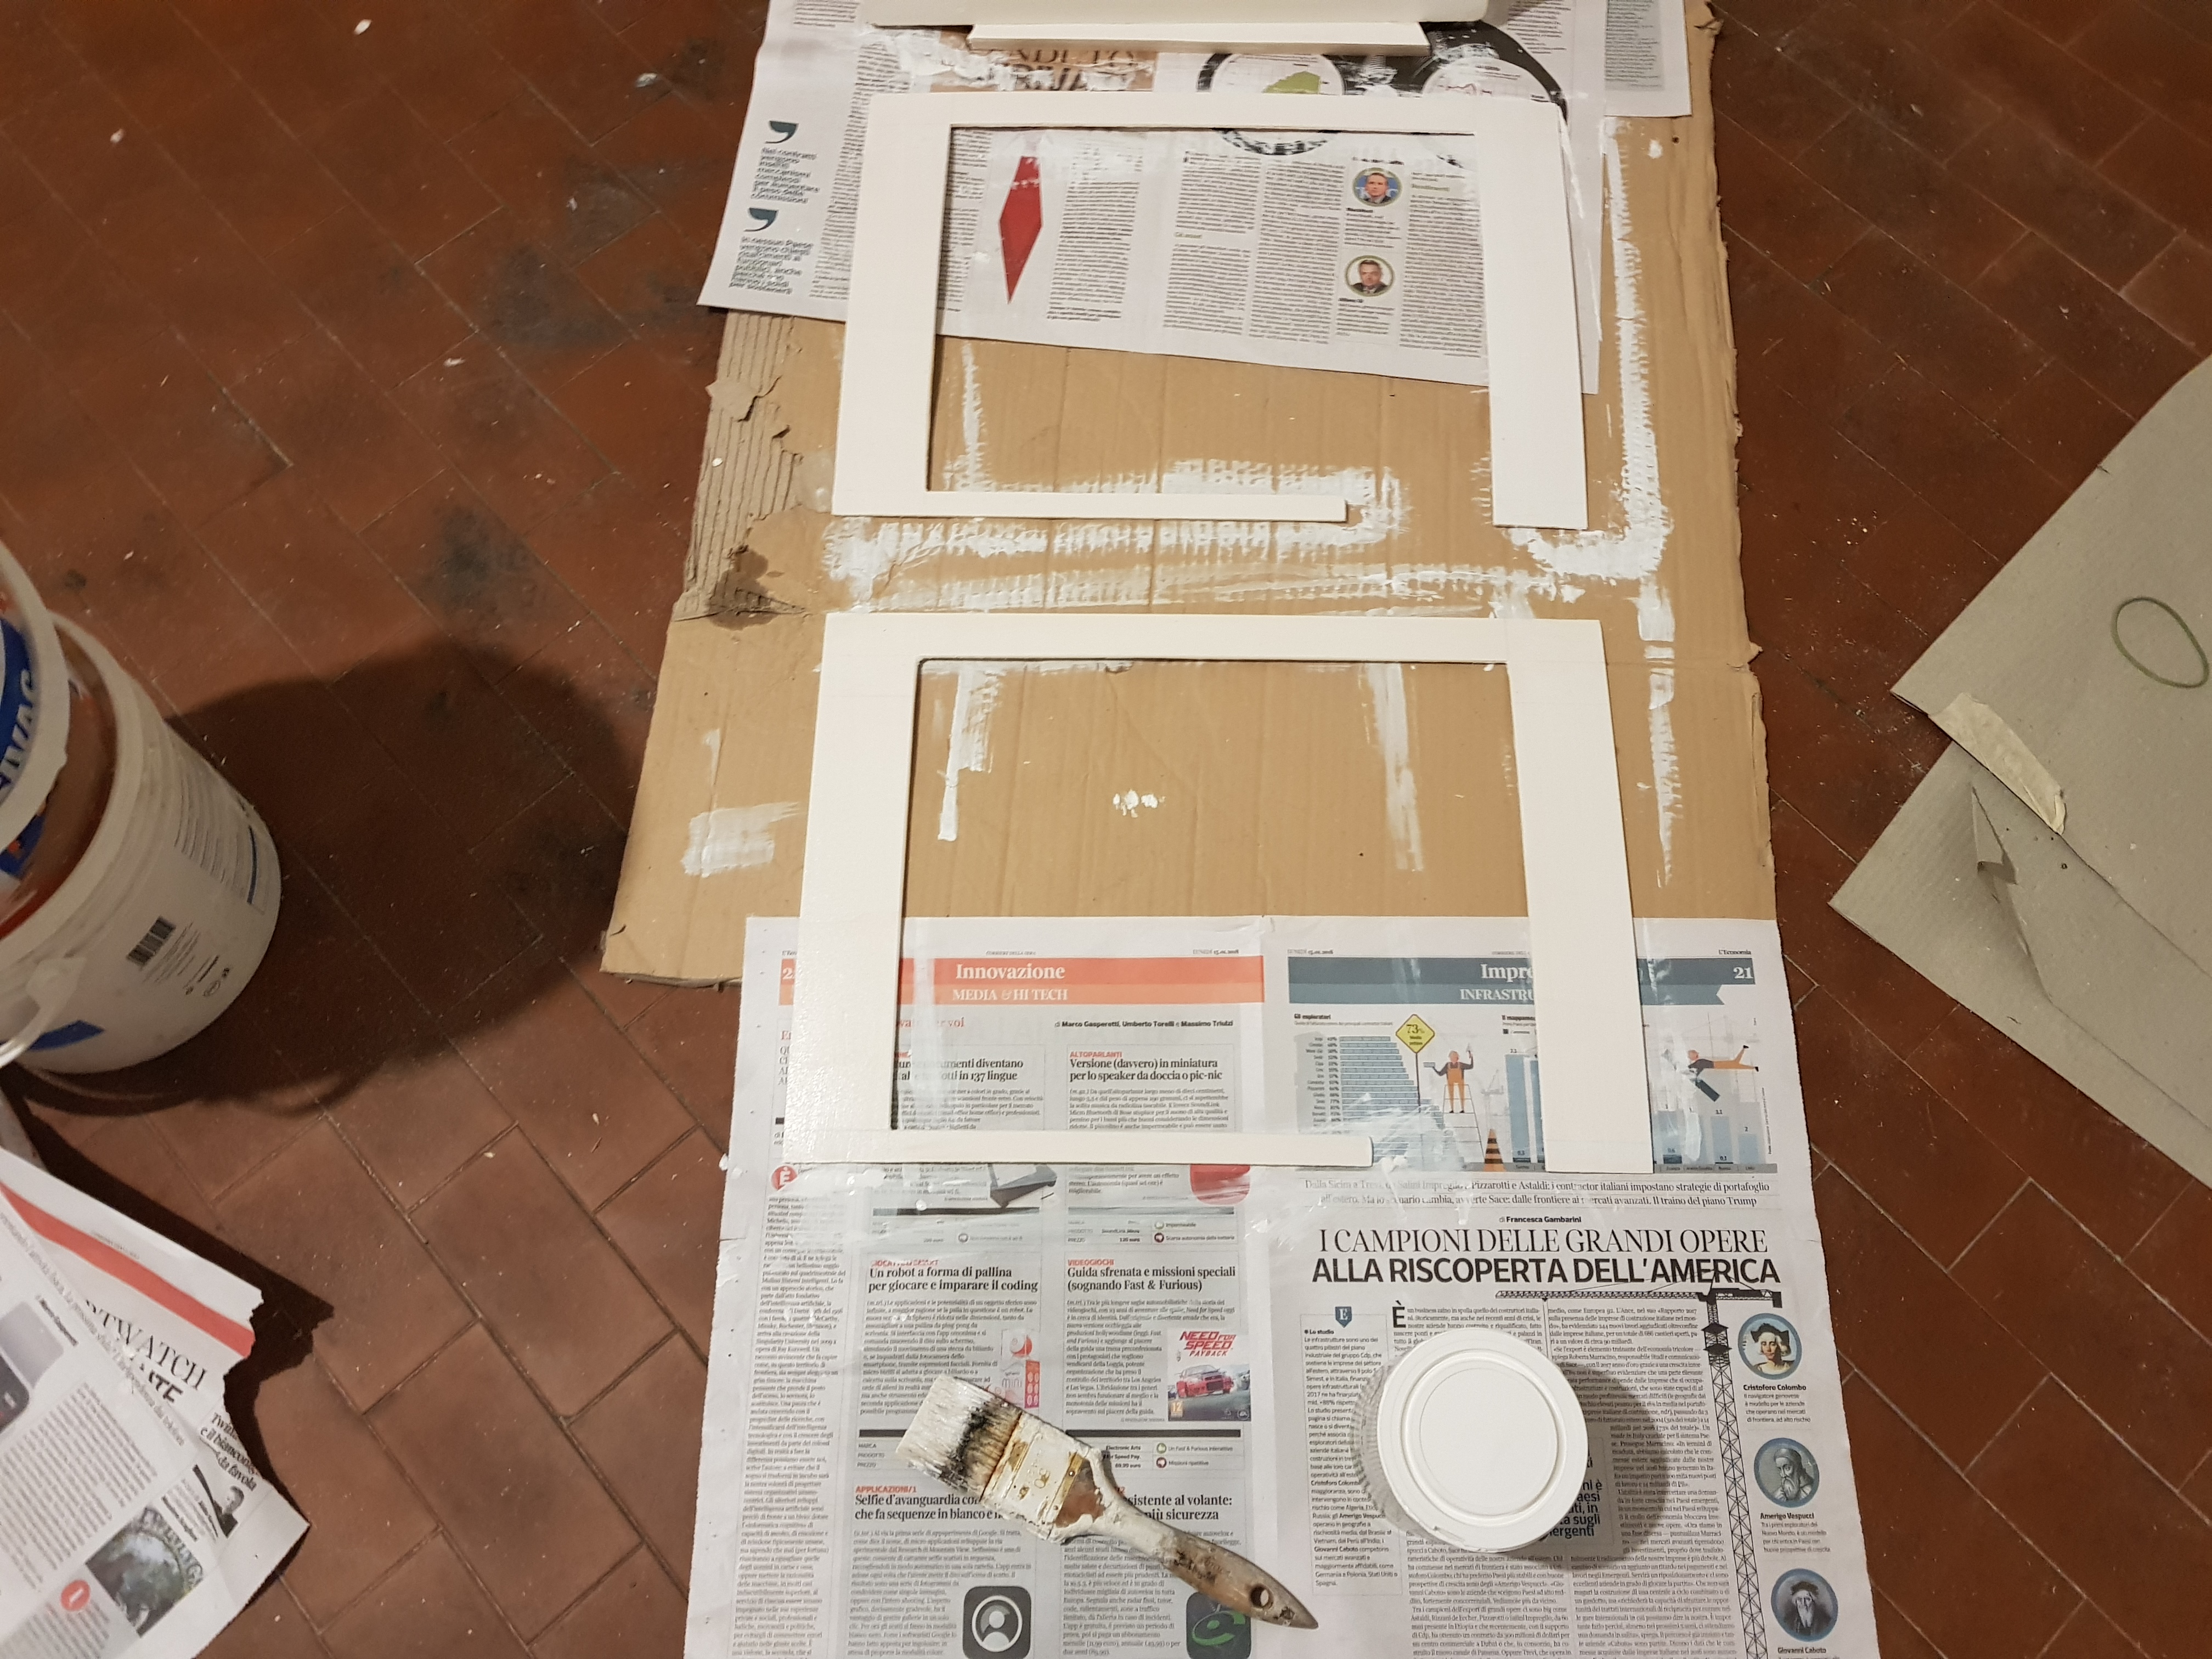
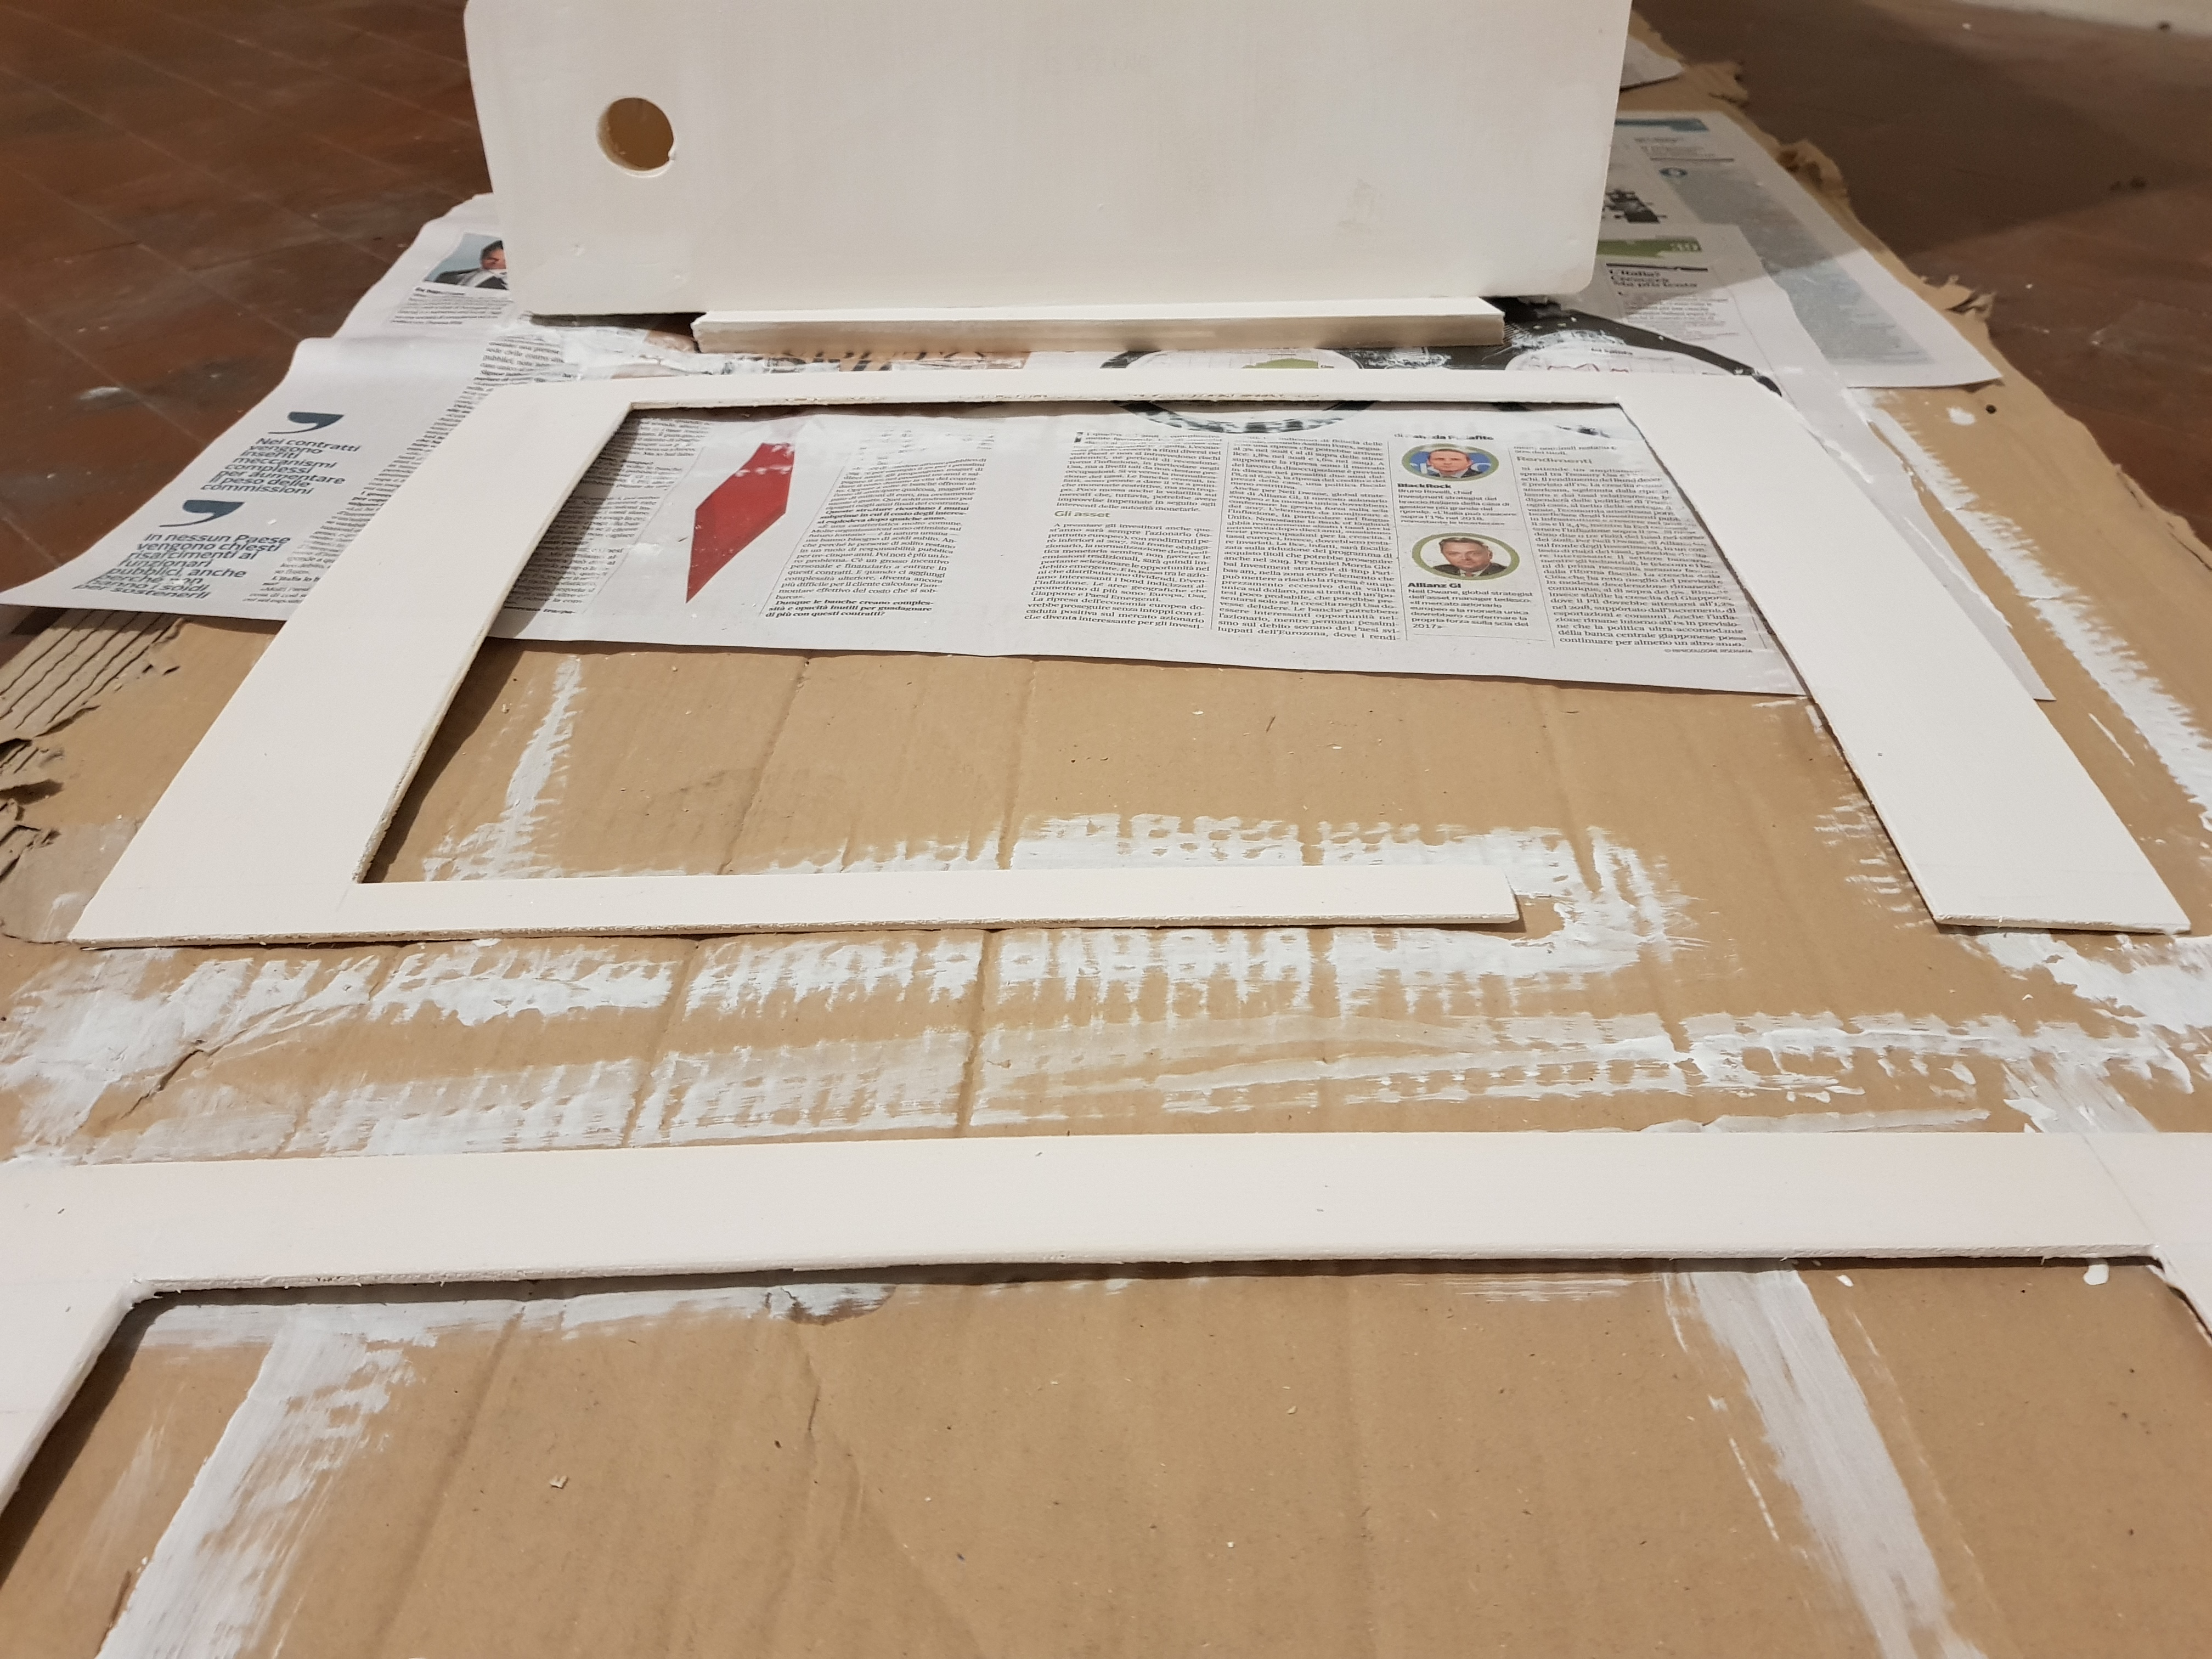
Don’t forget to sand and apply the fond on the Monitor Cover frame as well:
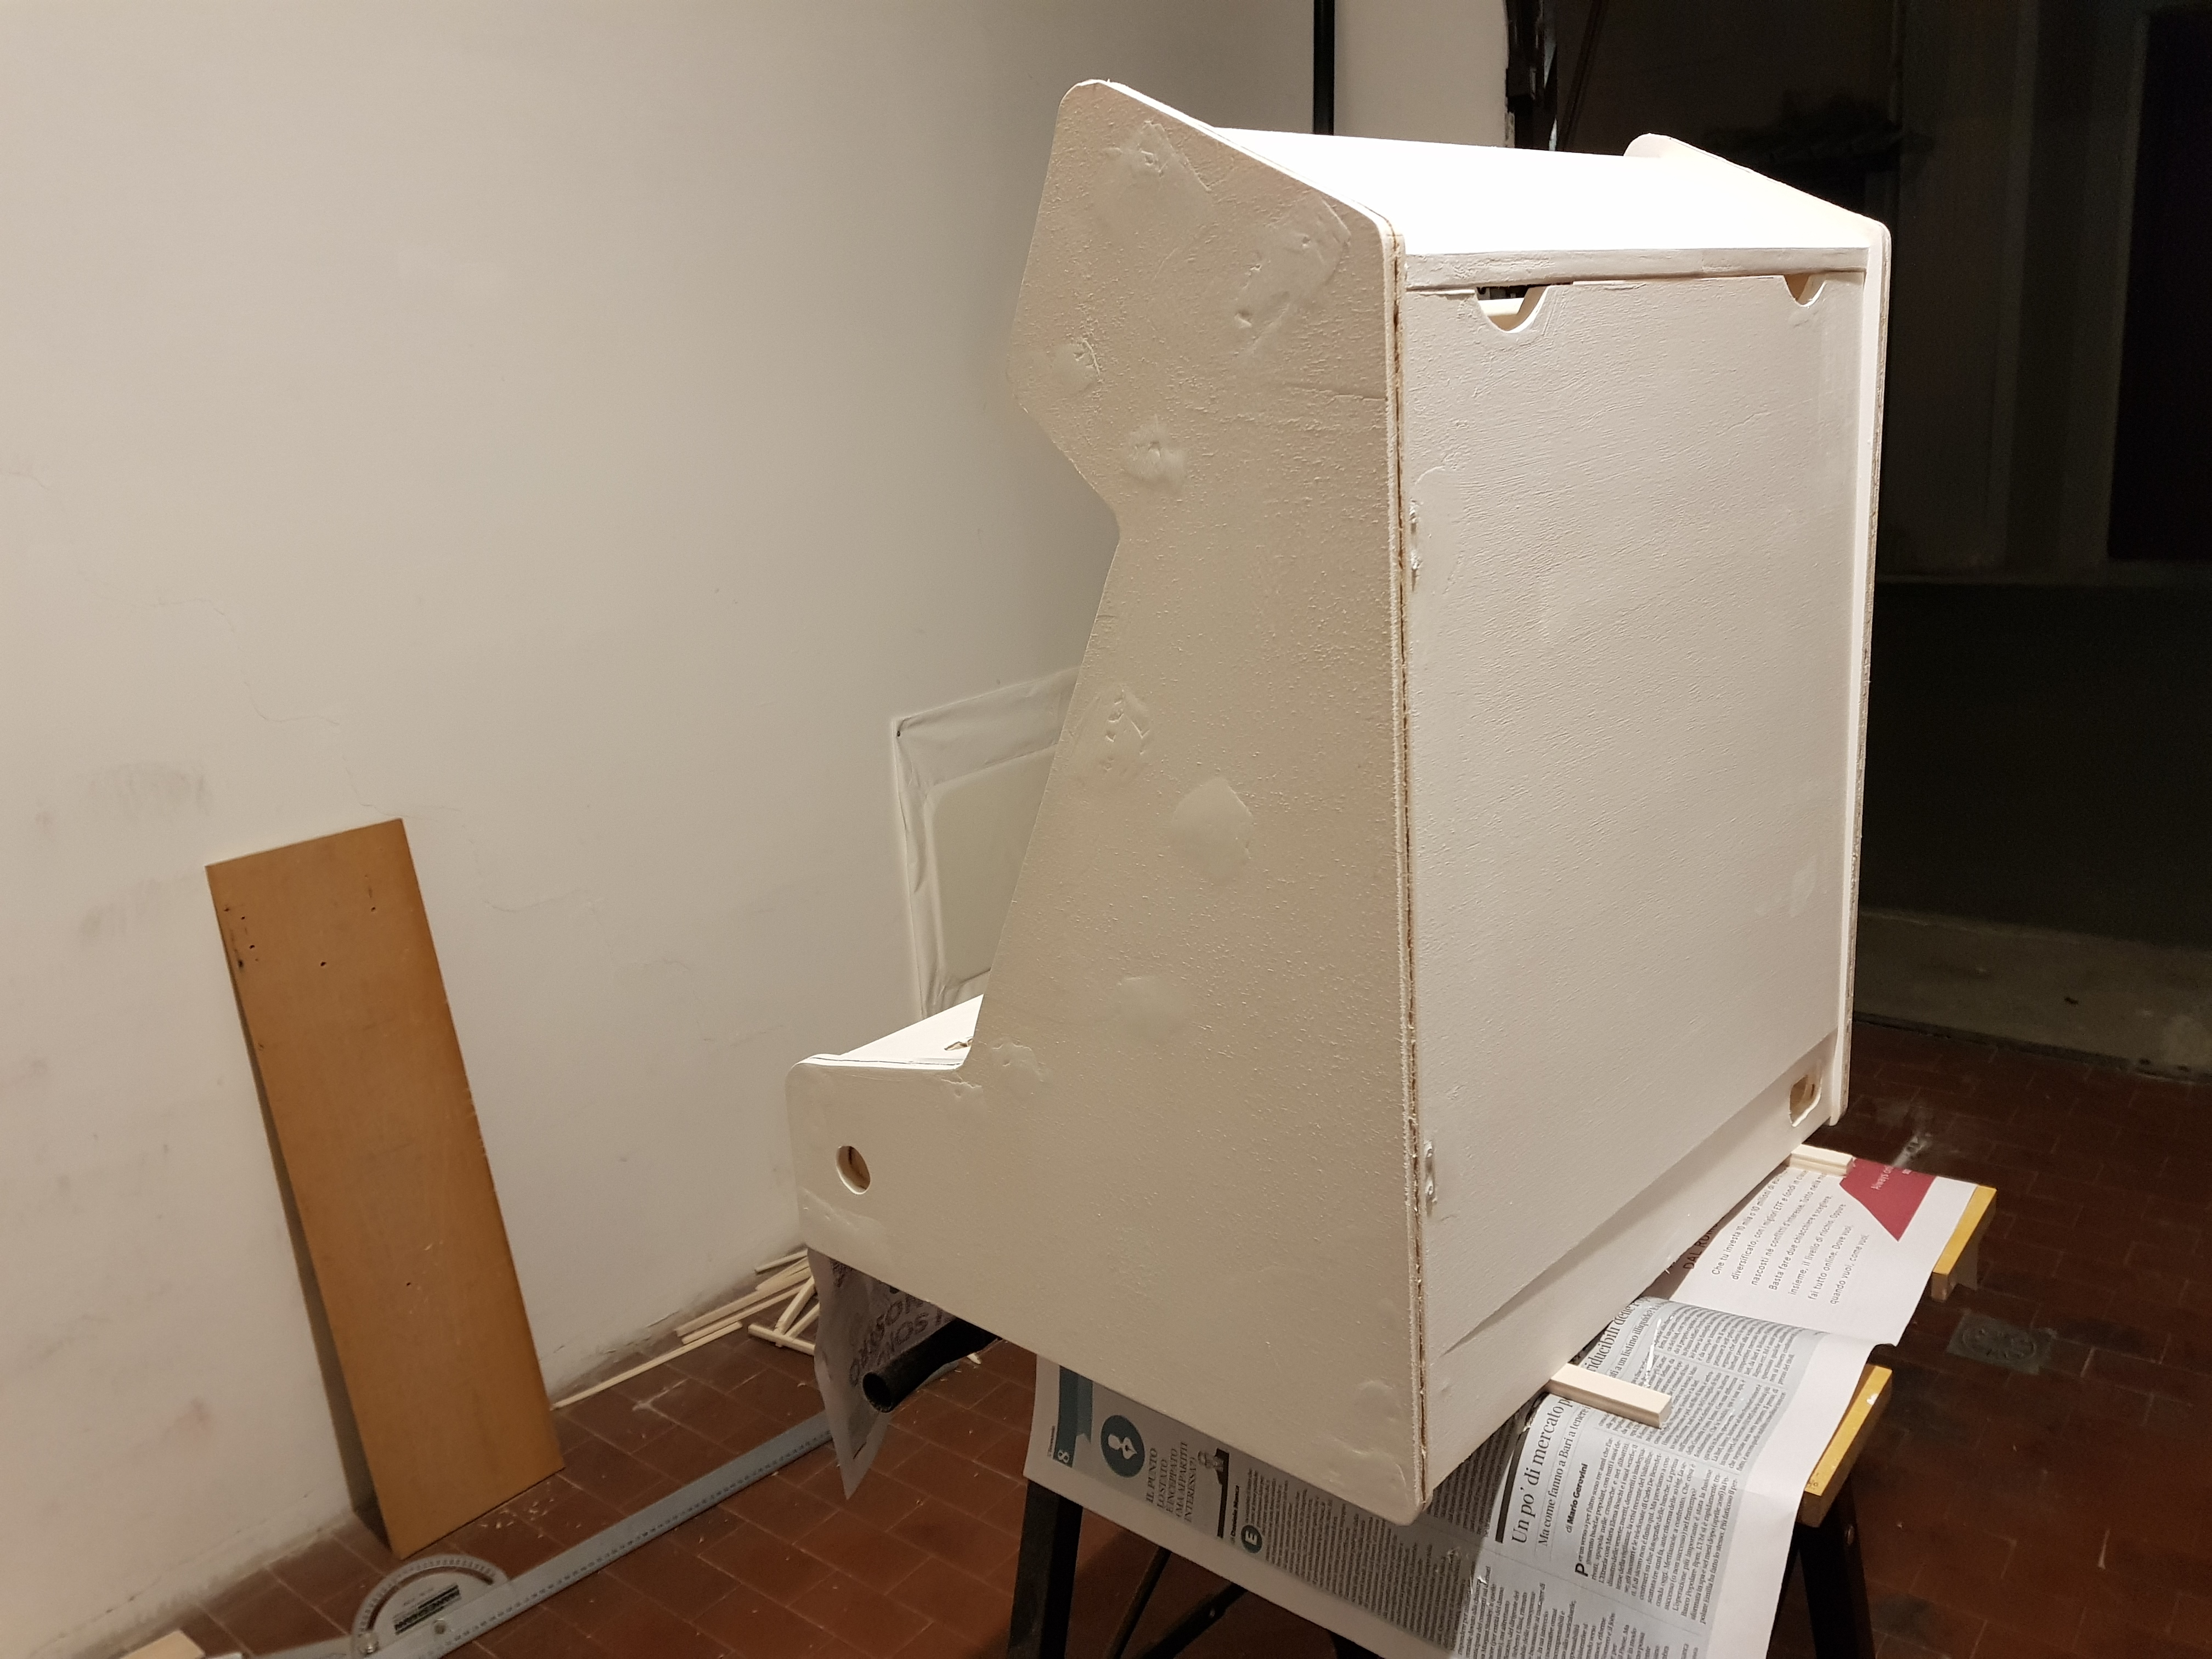
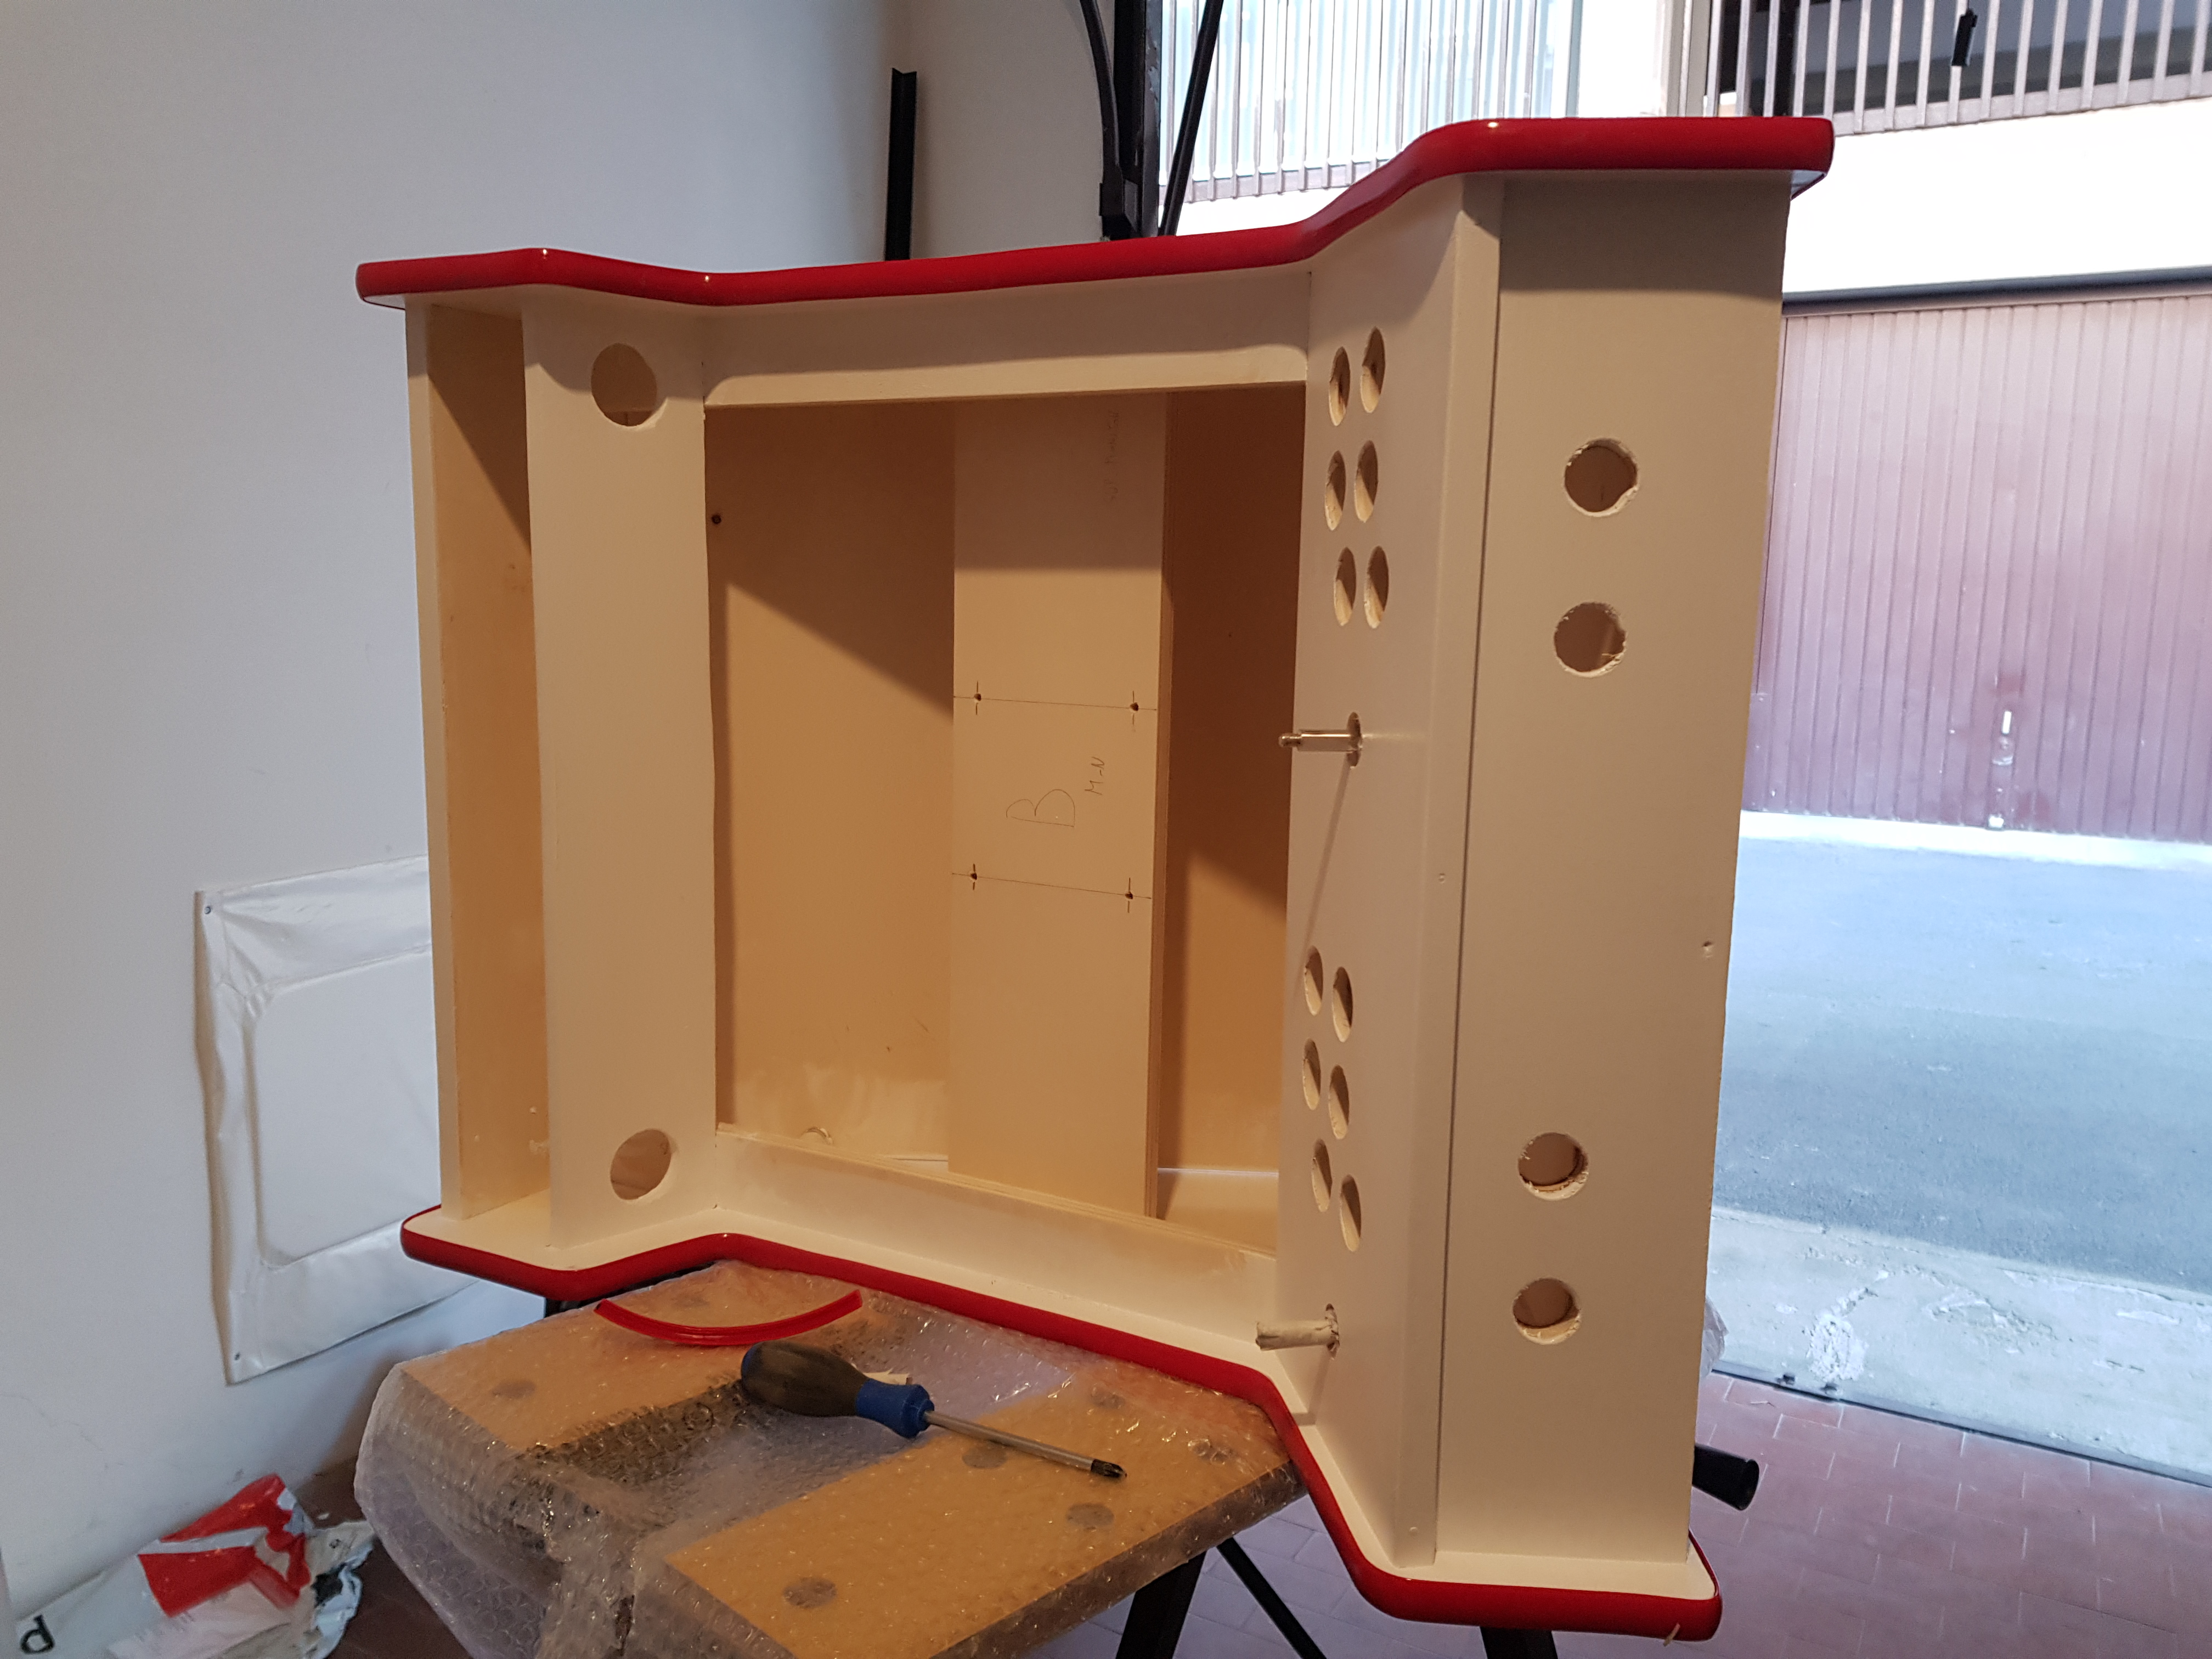
Painting it Up
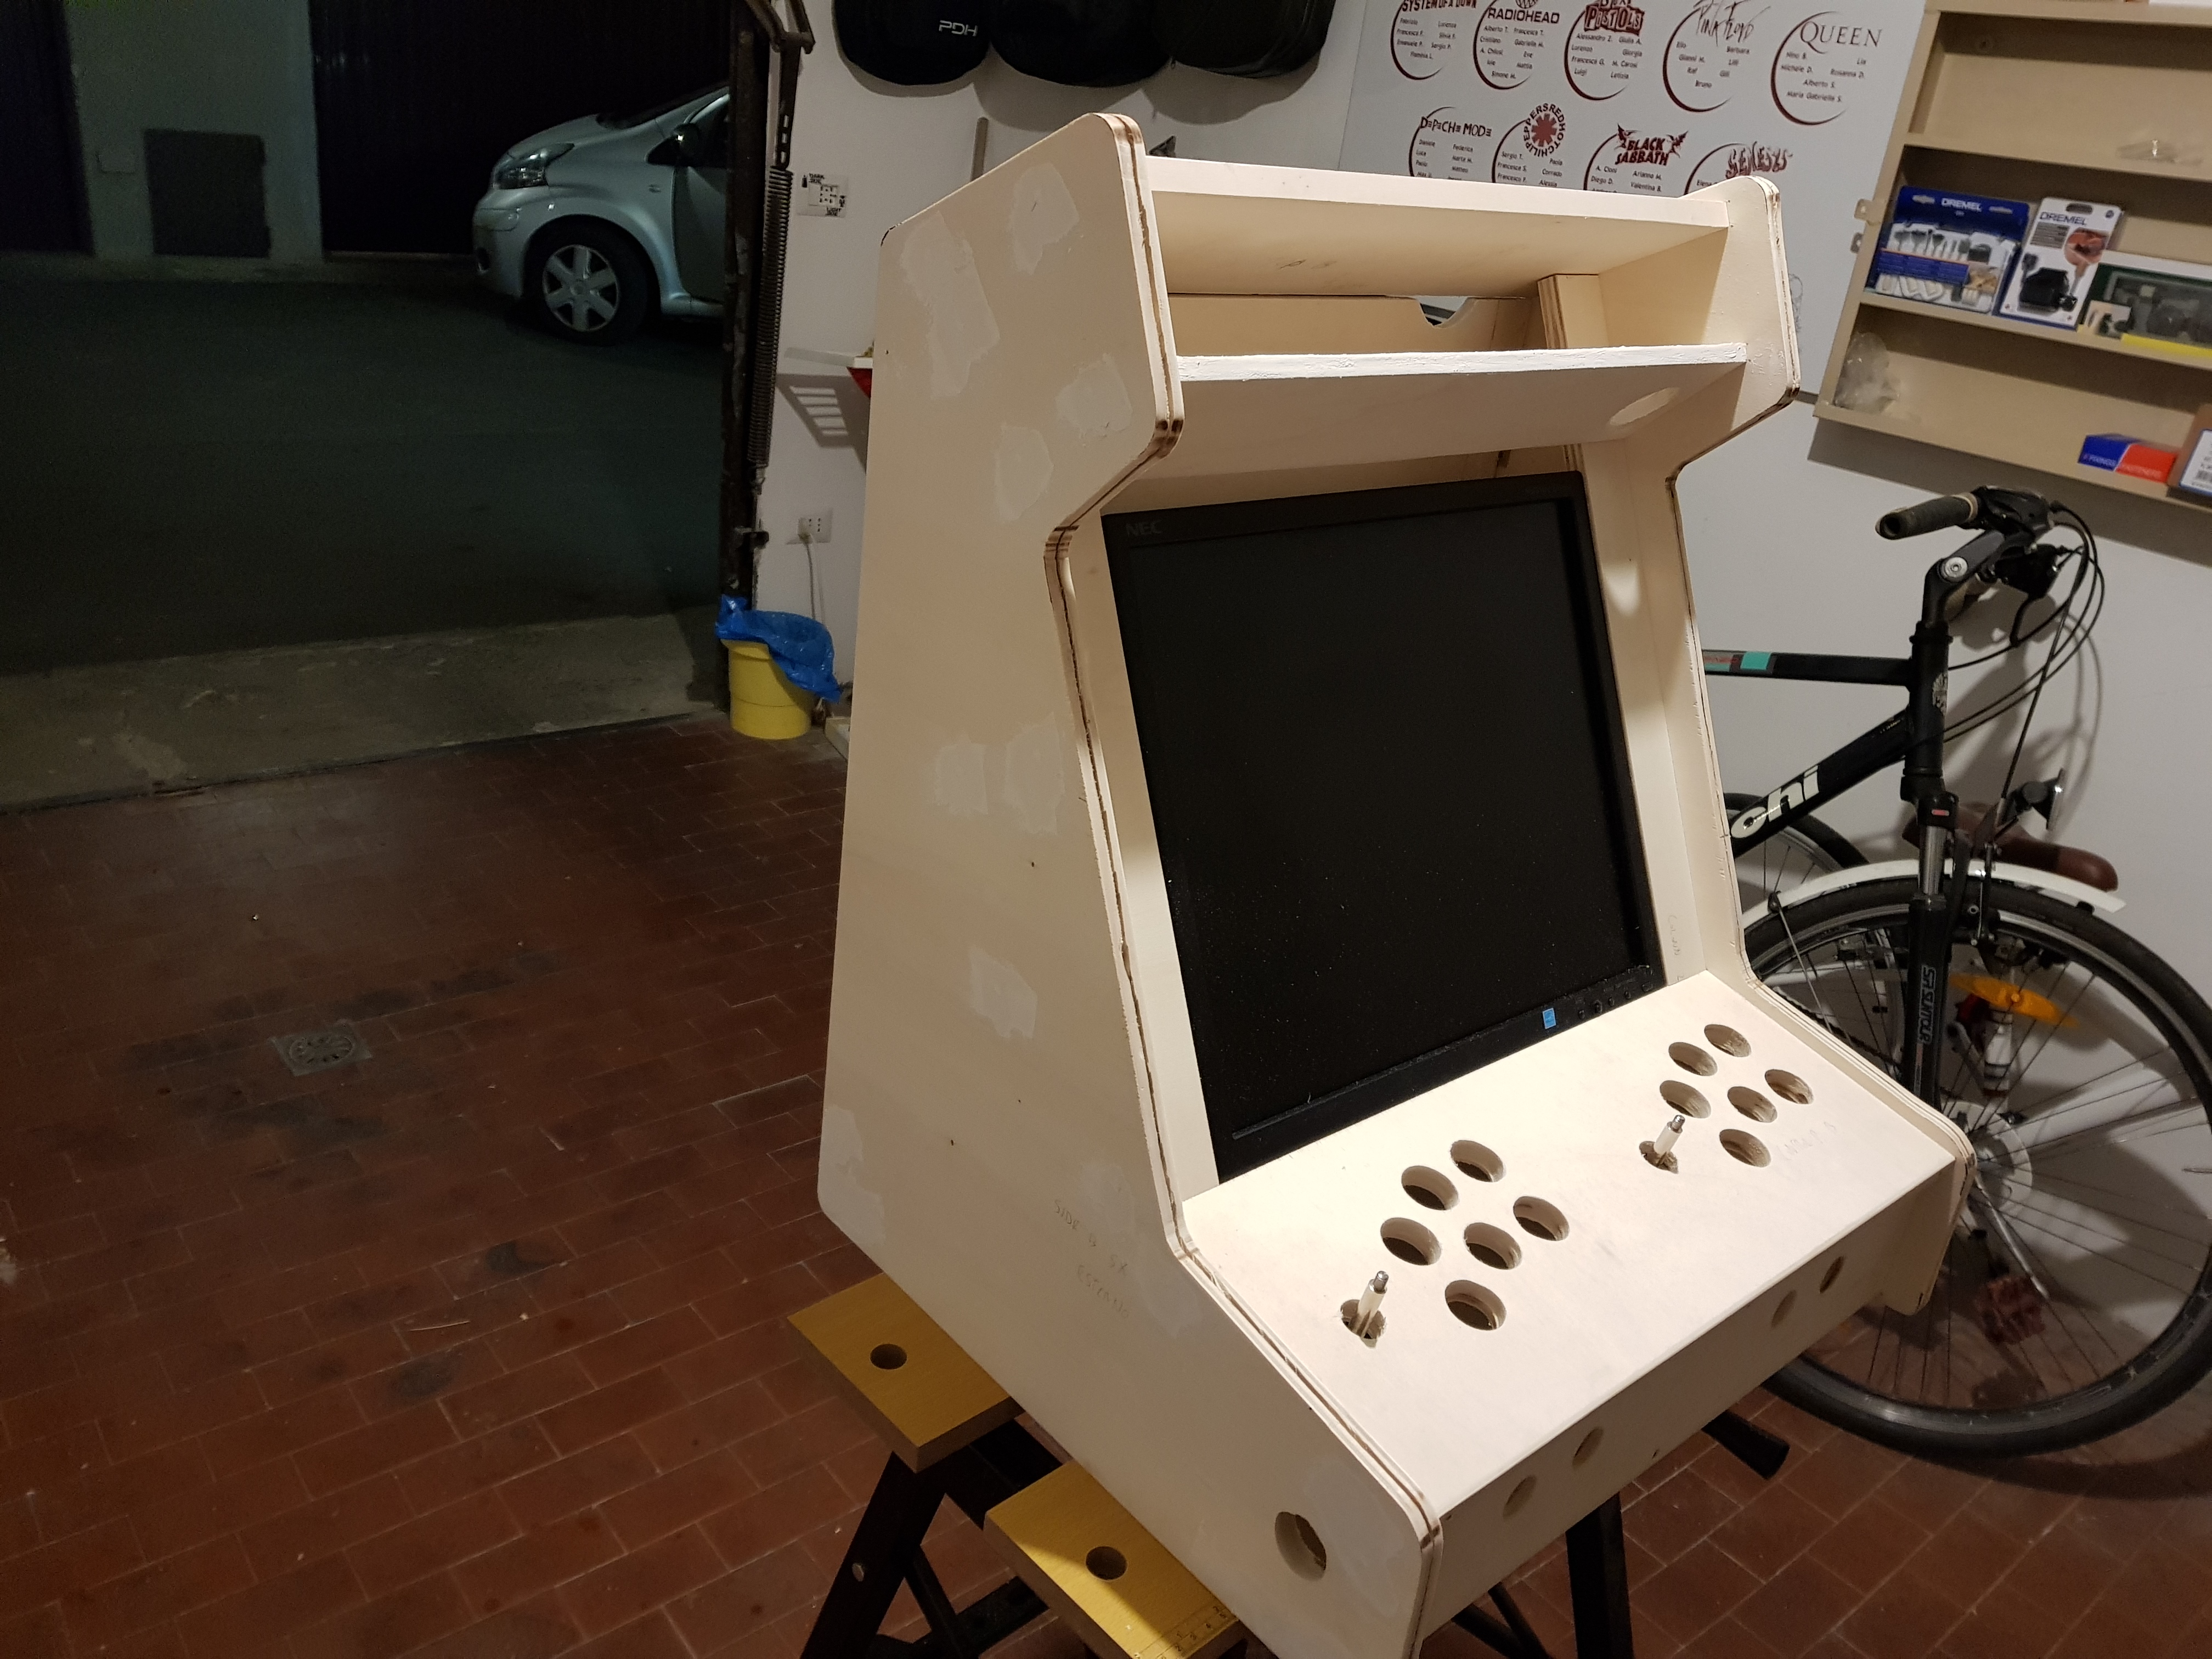
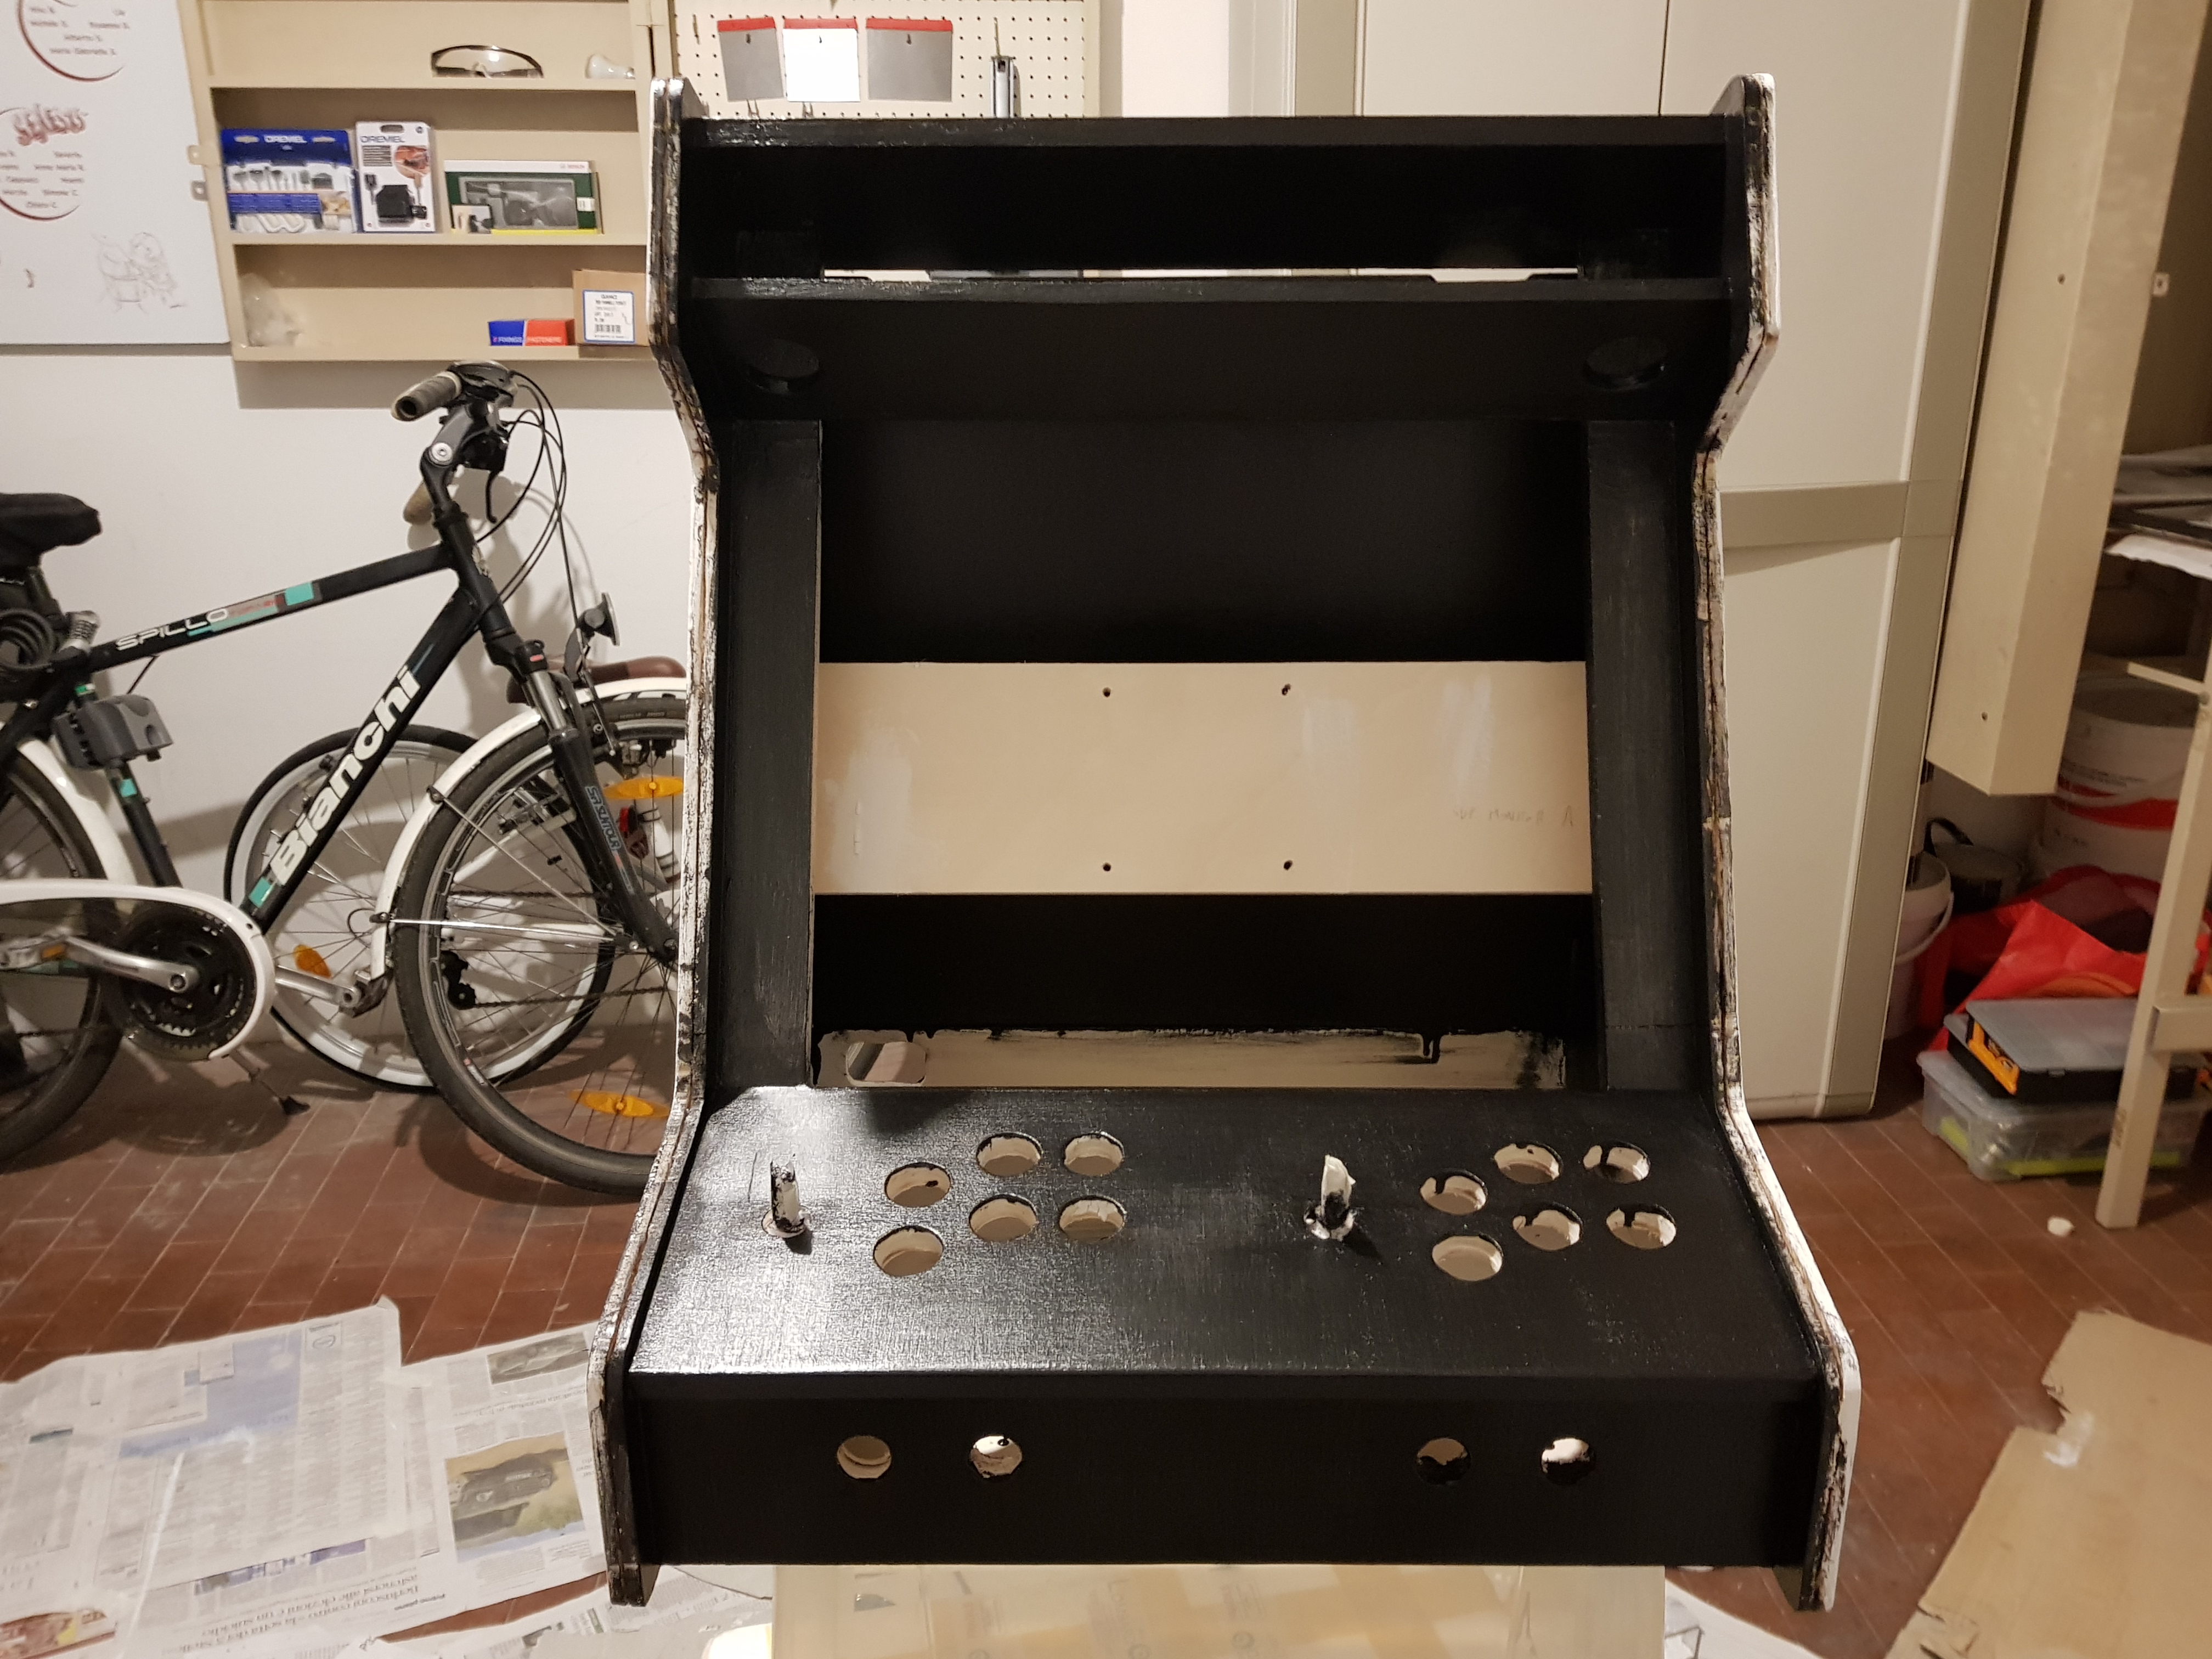
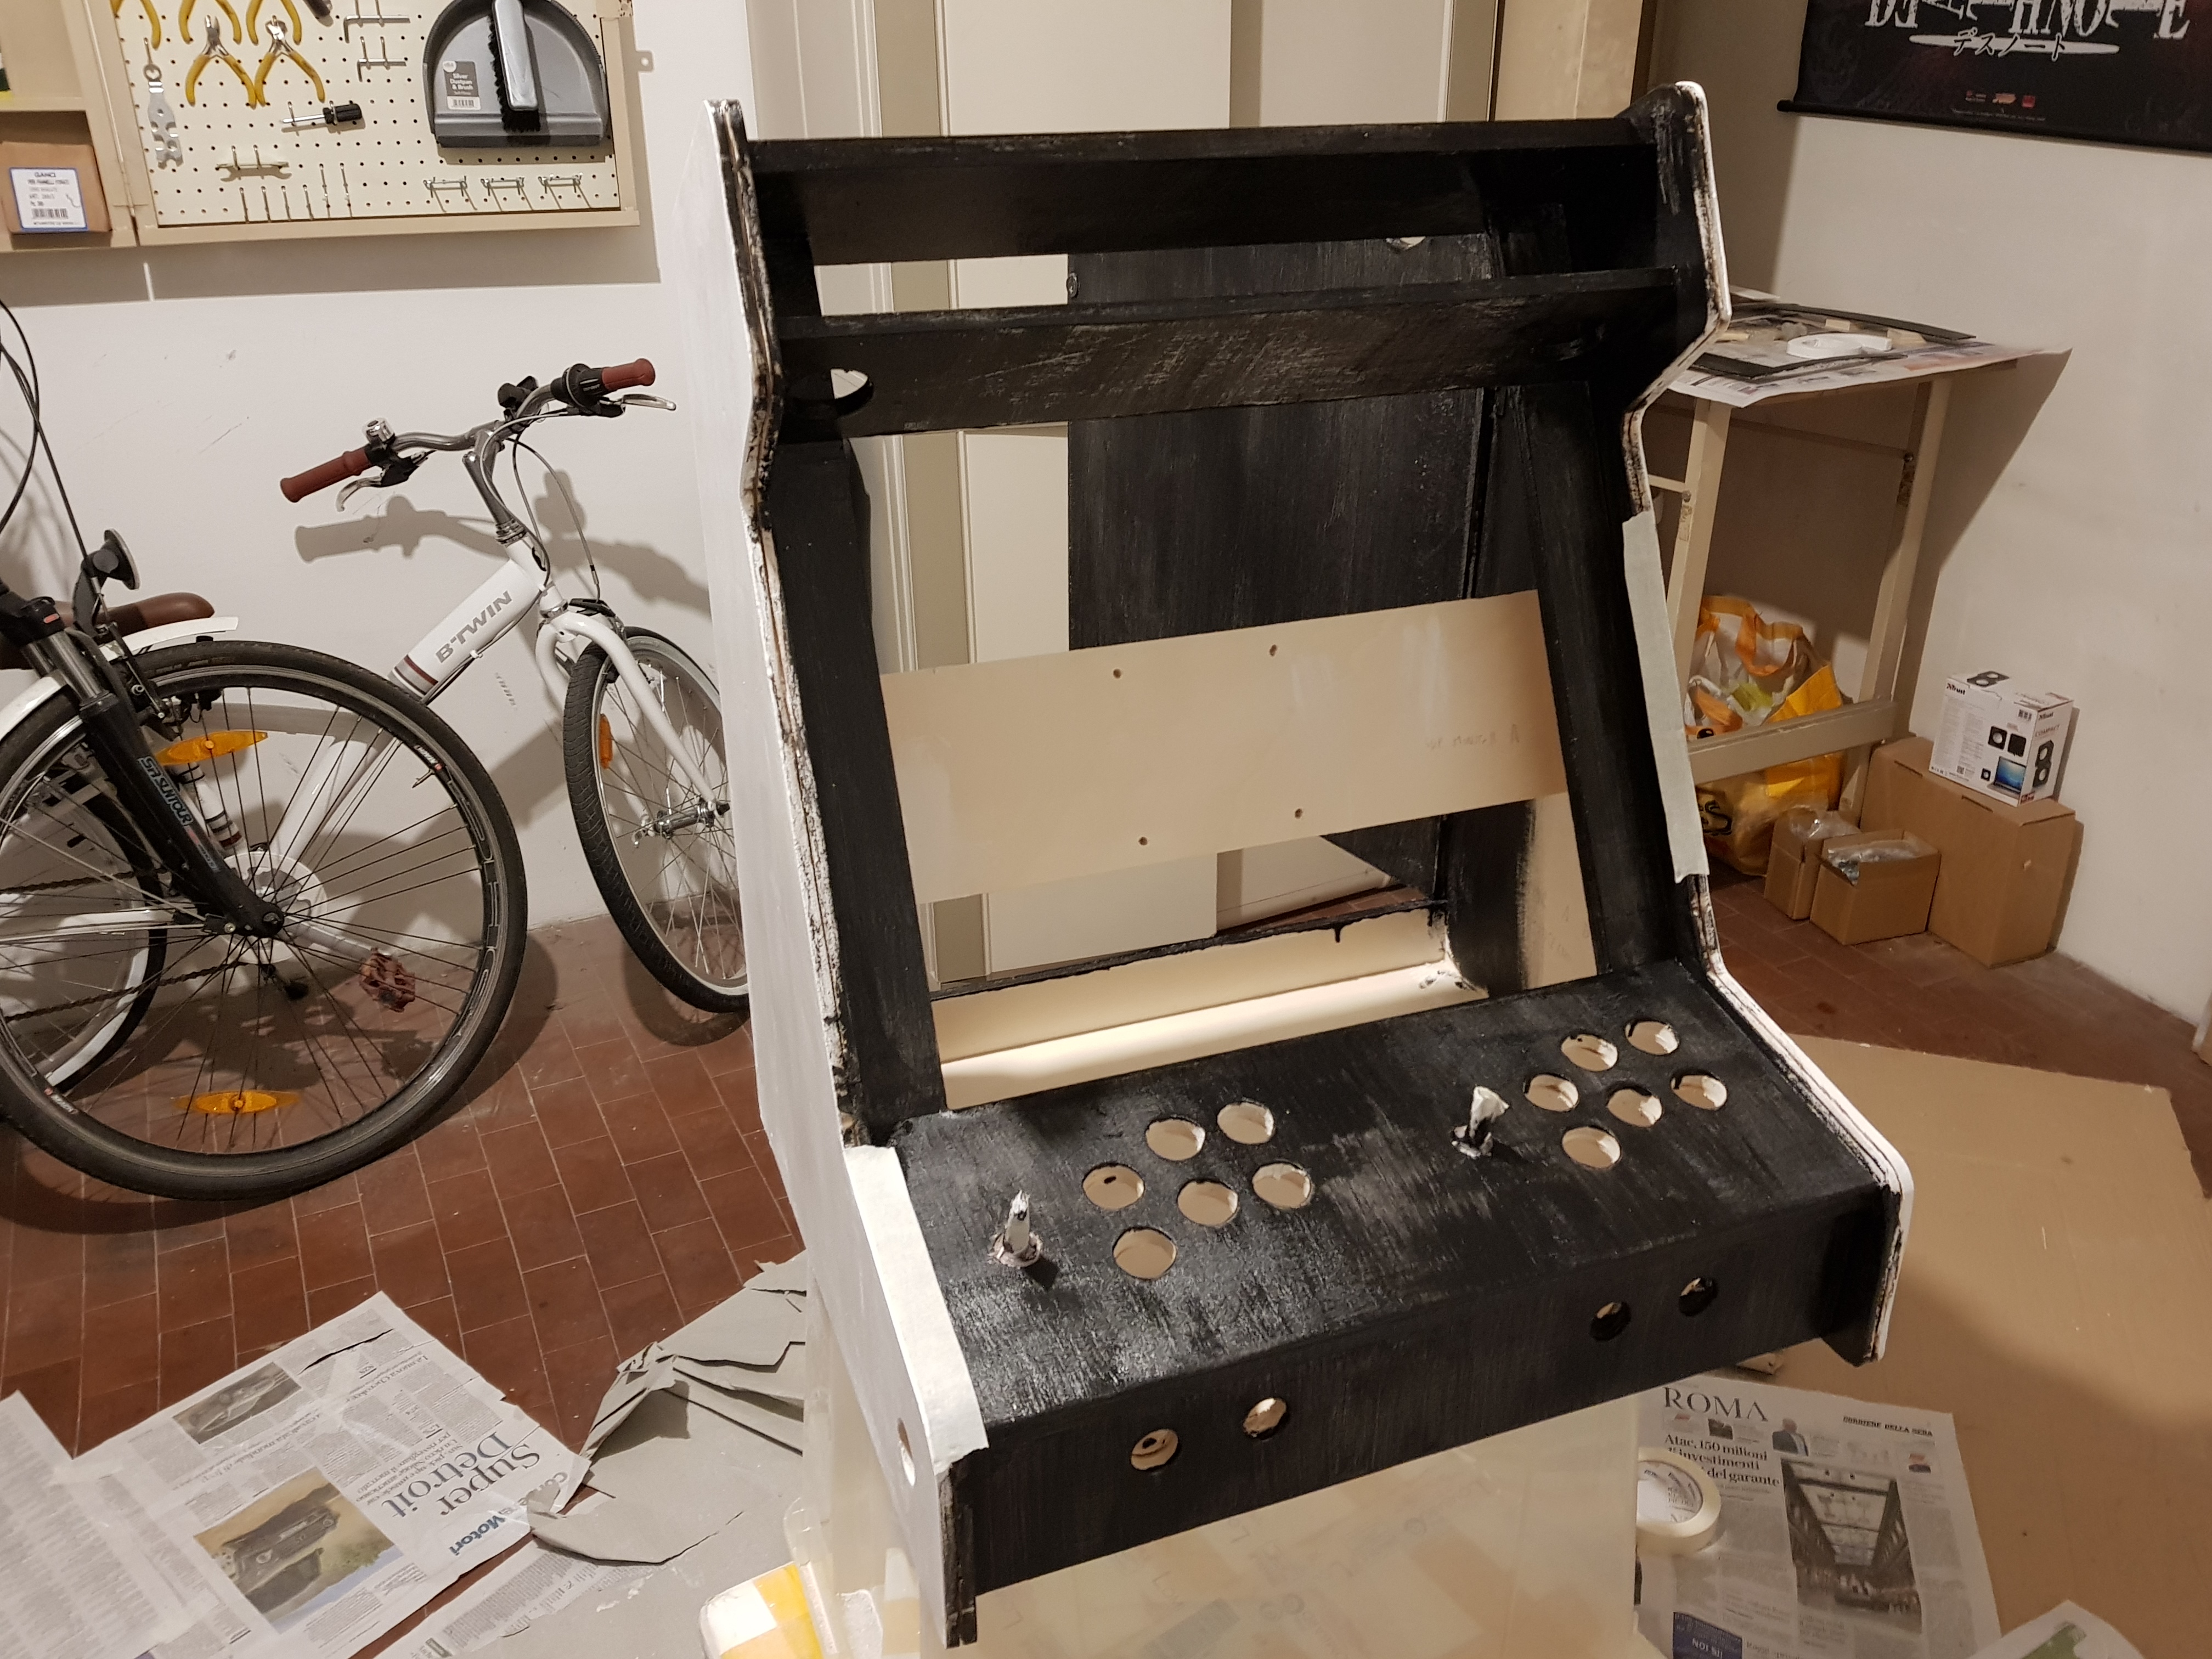
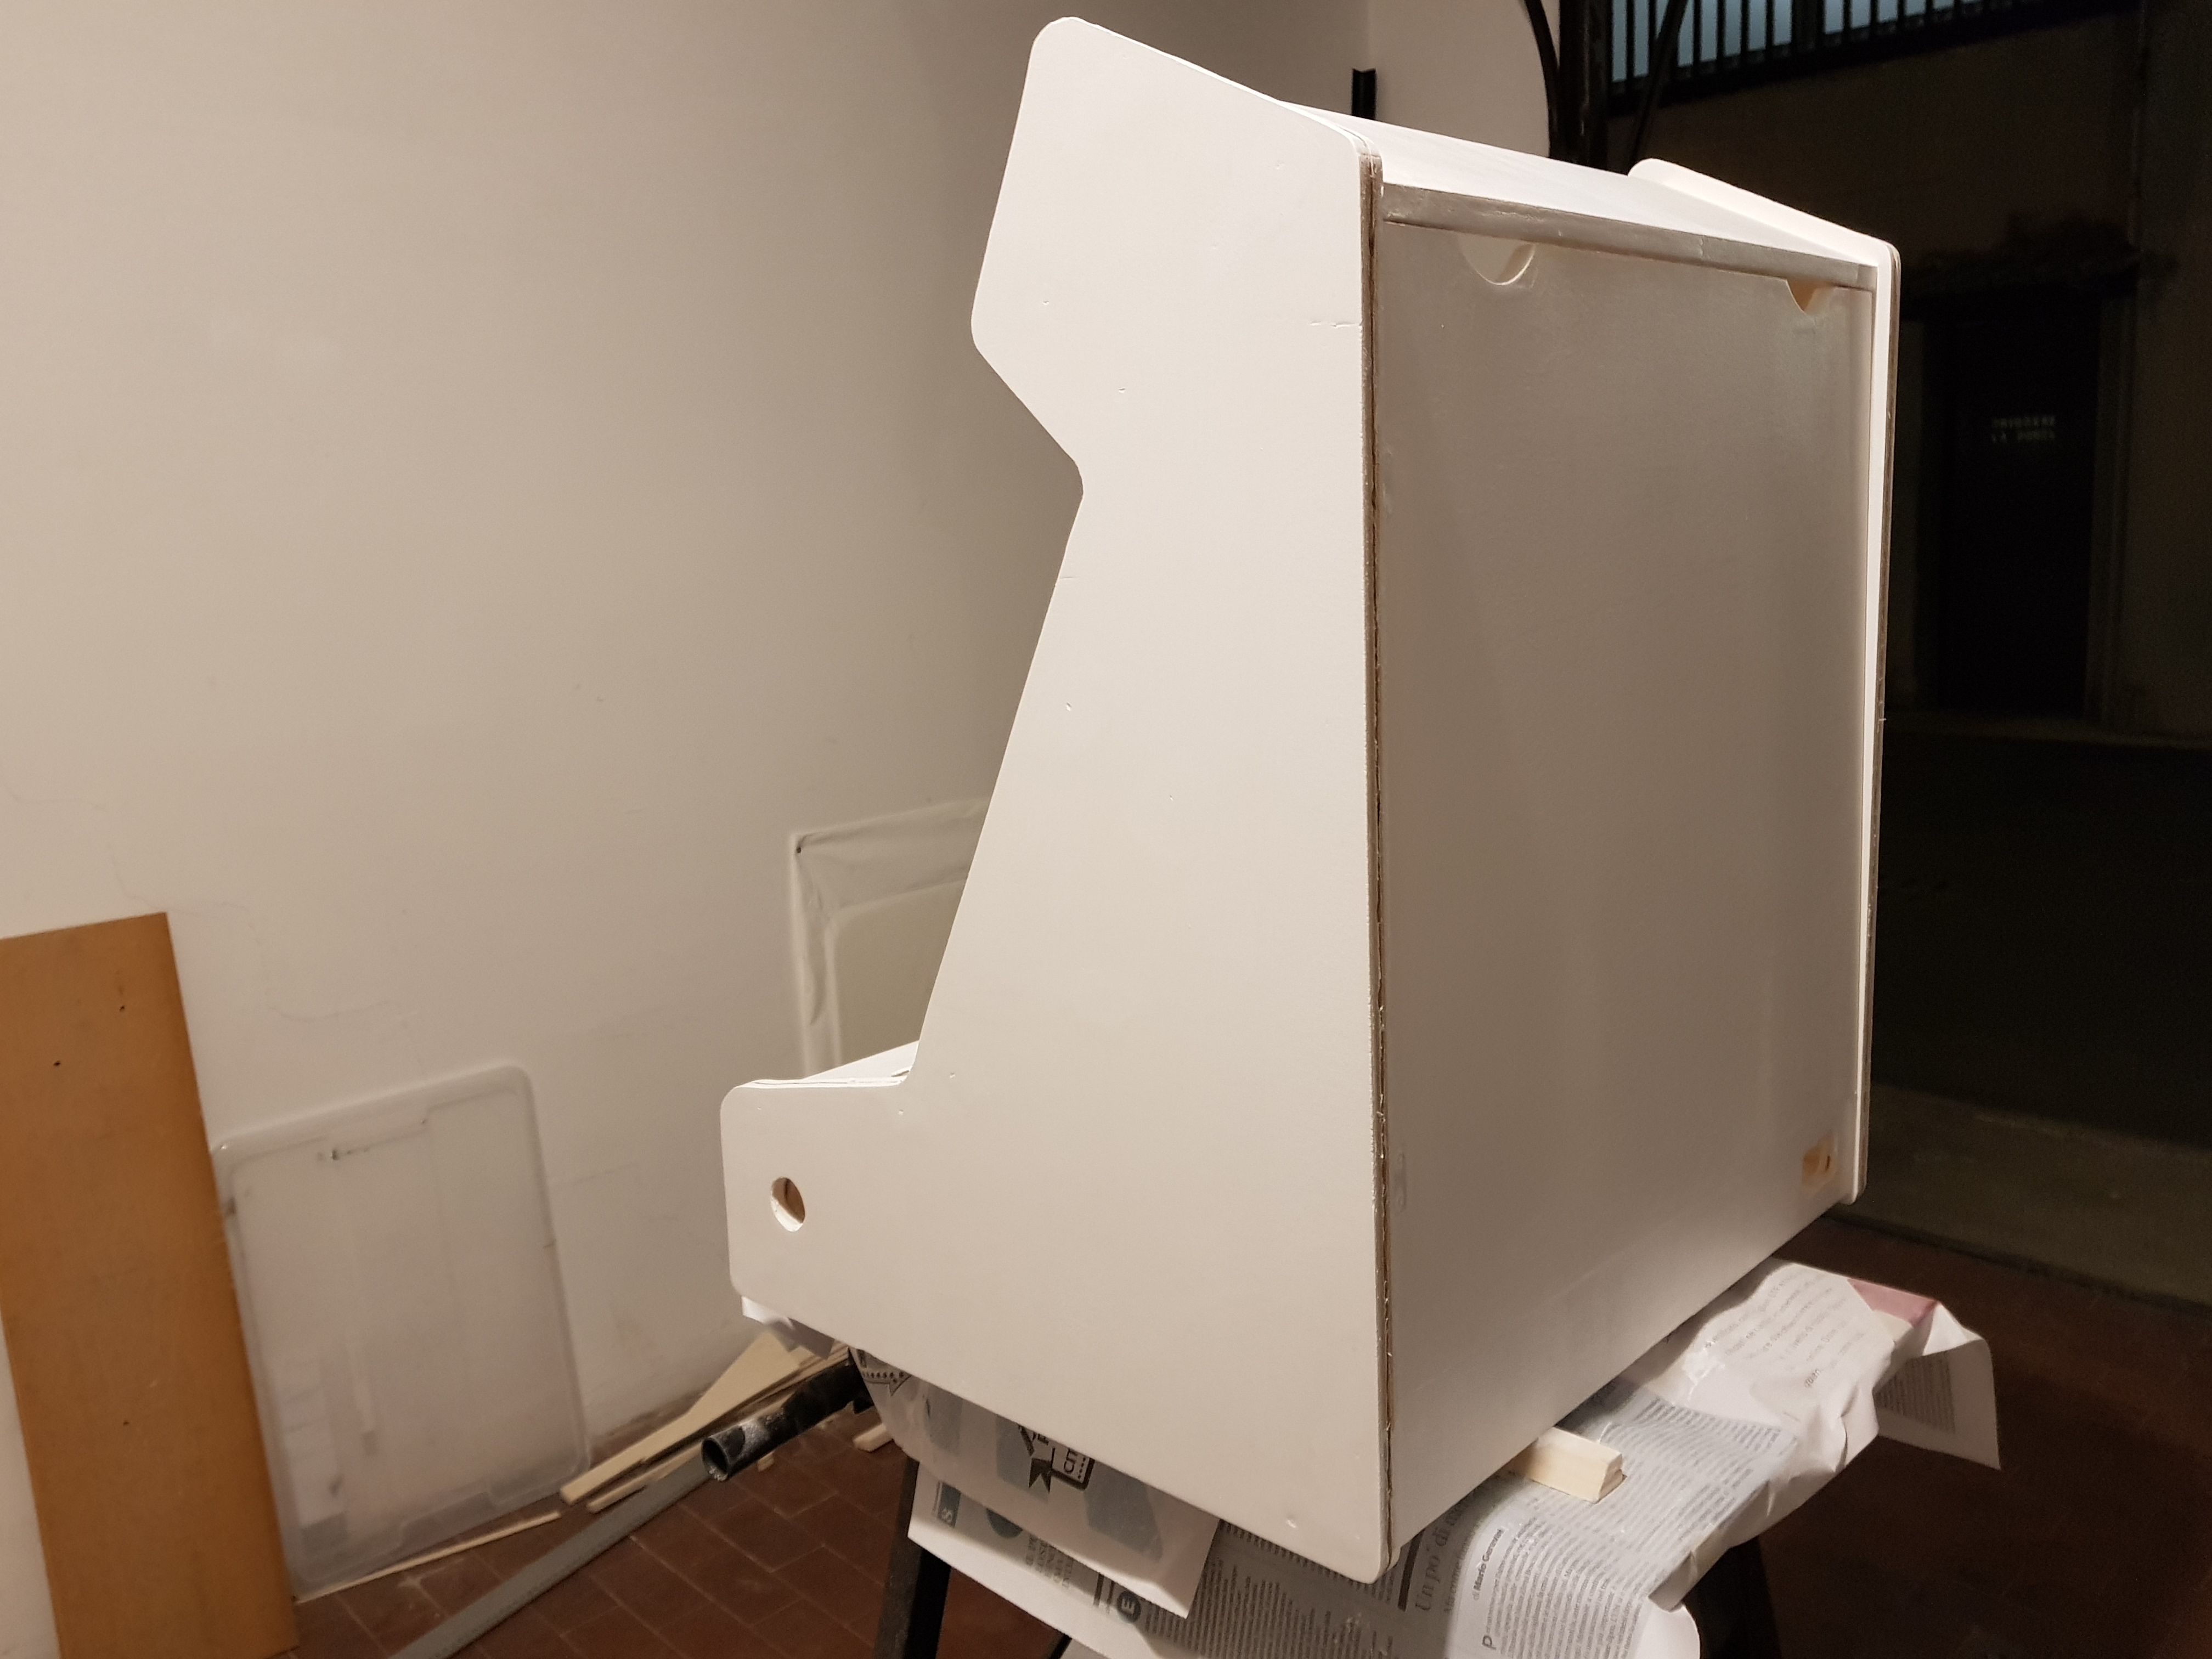
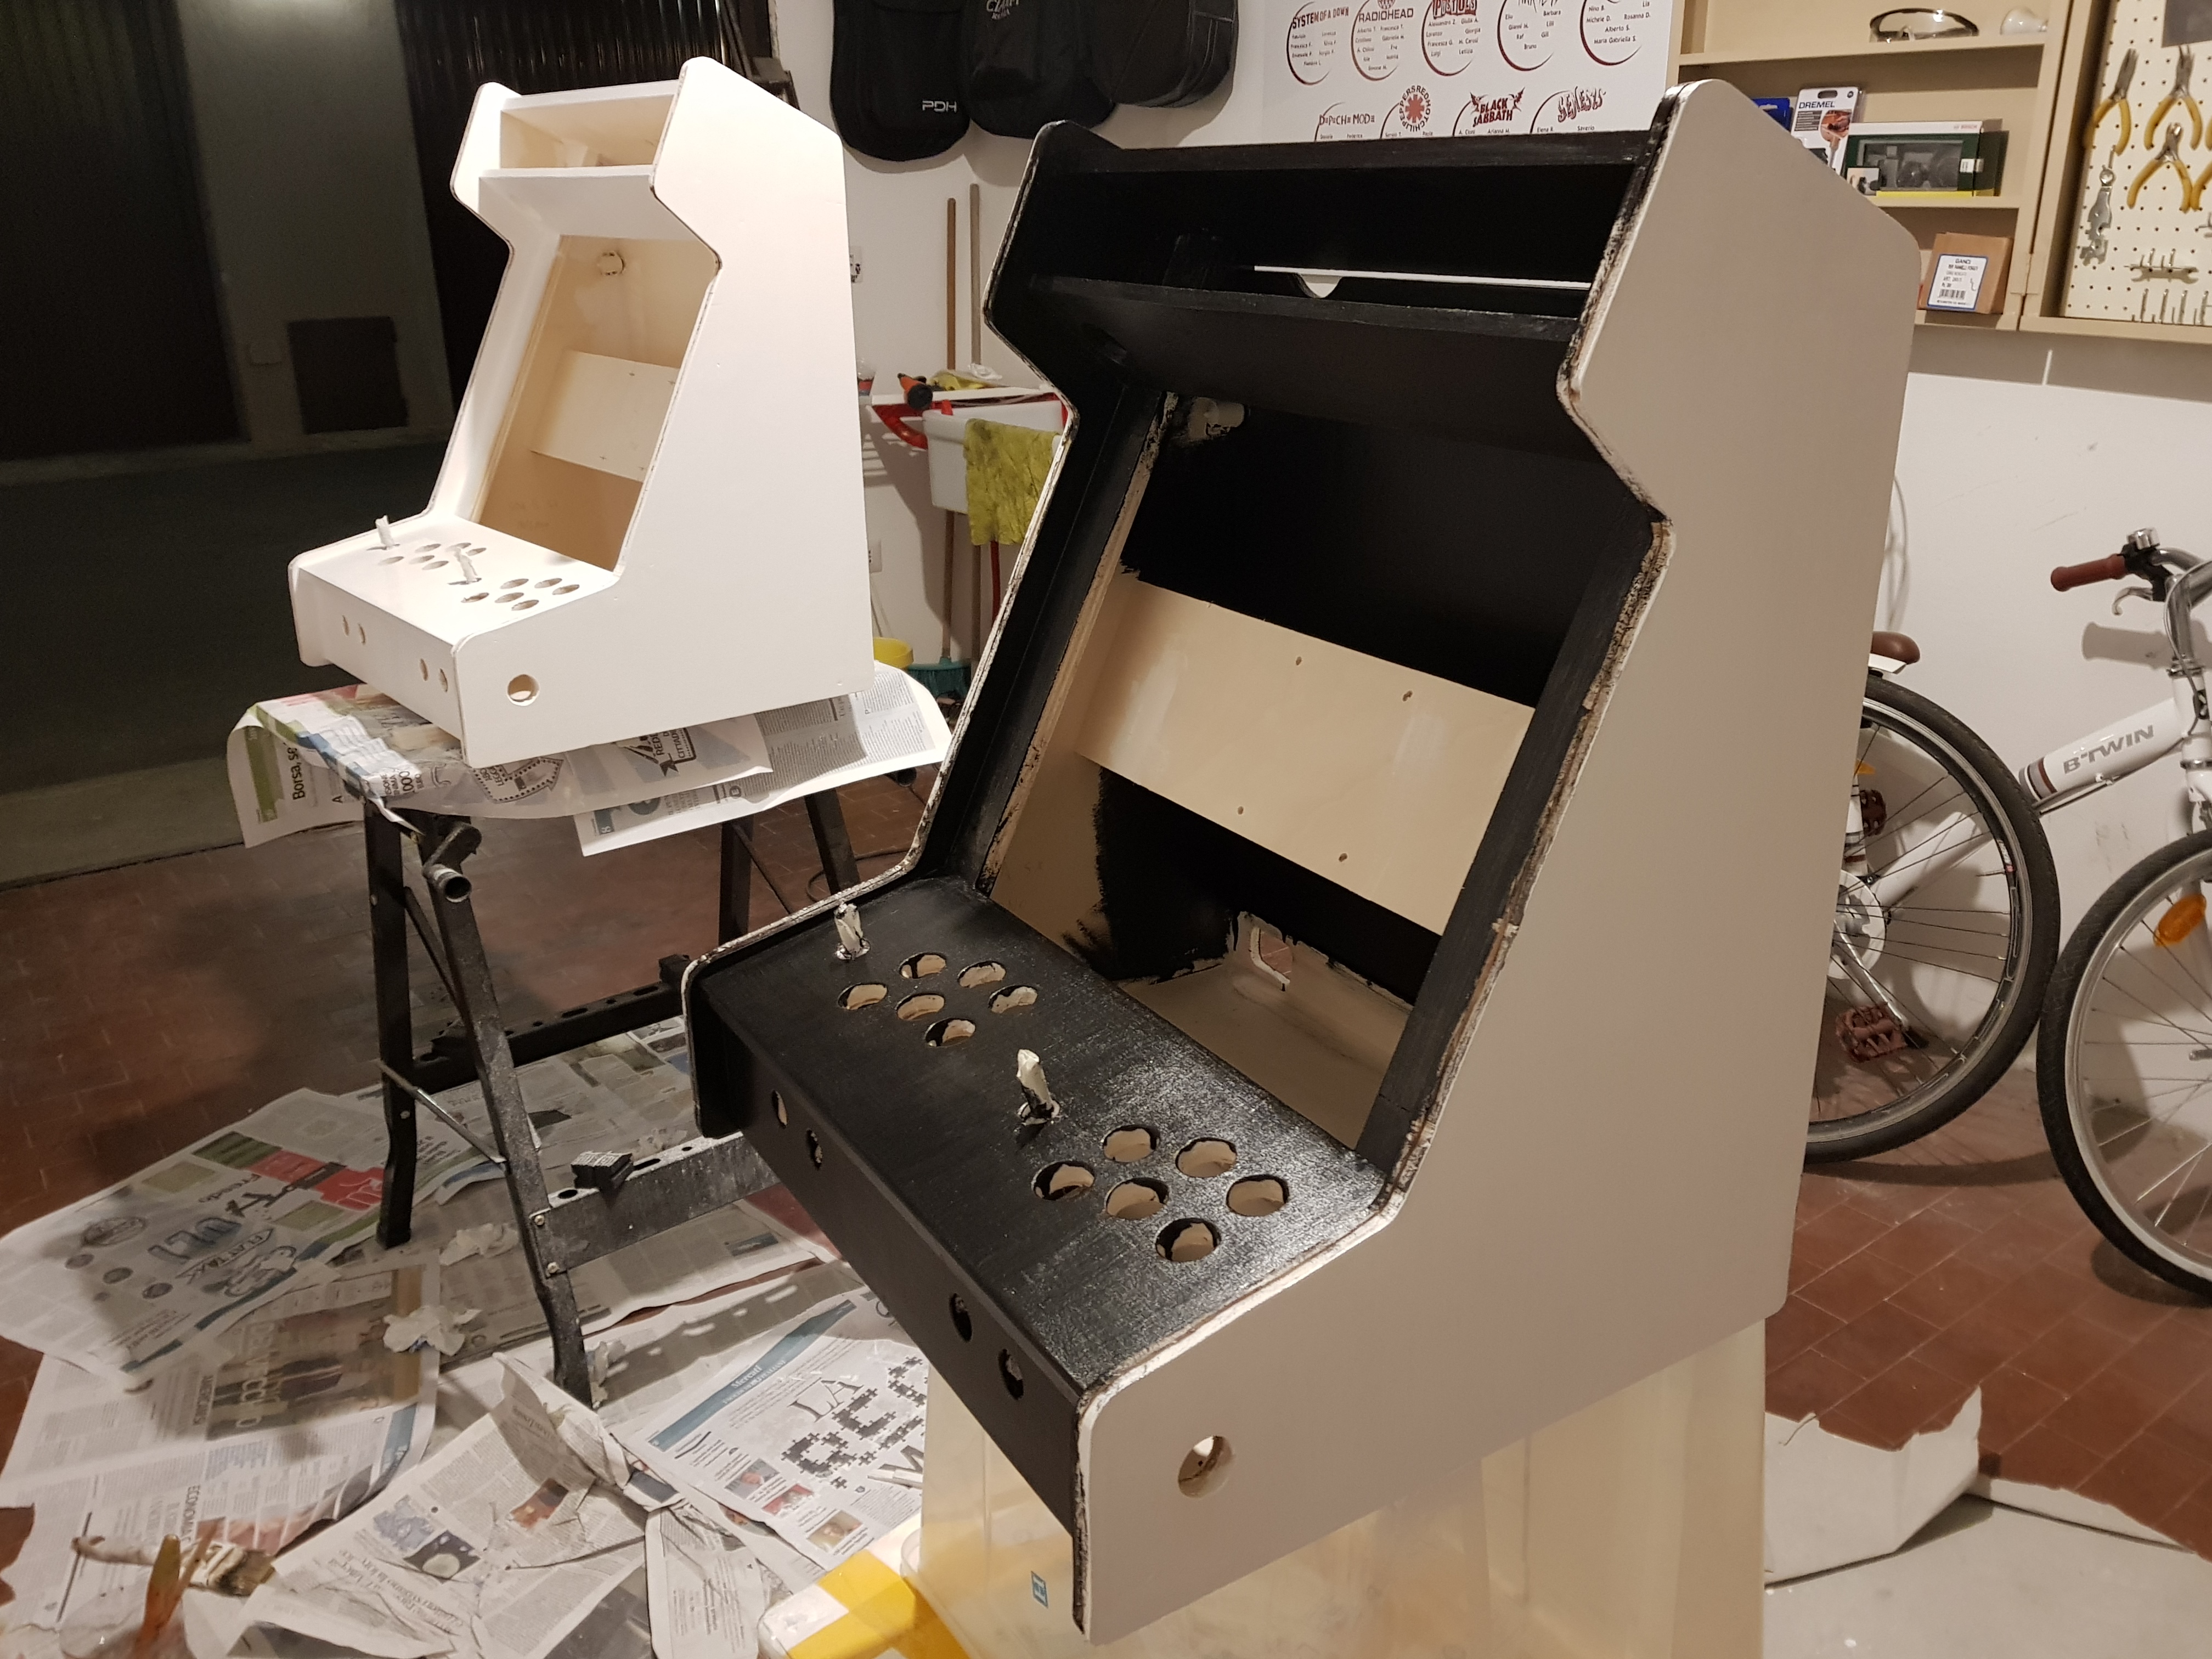
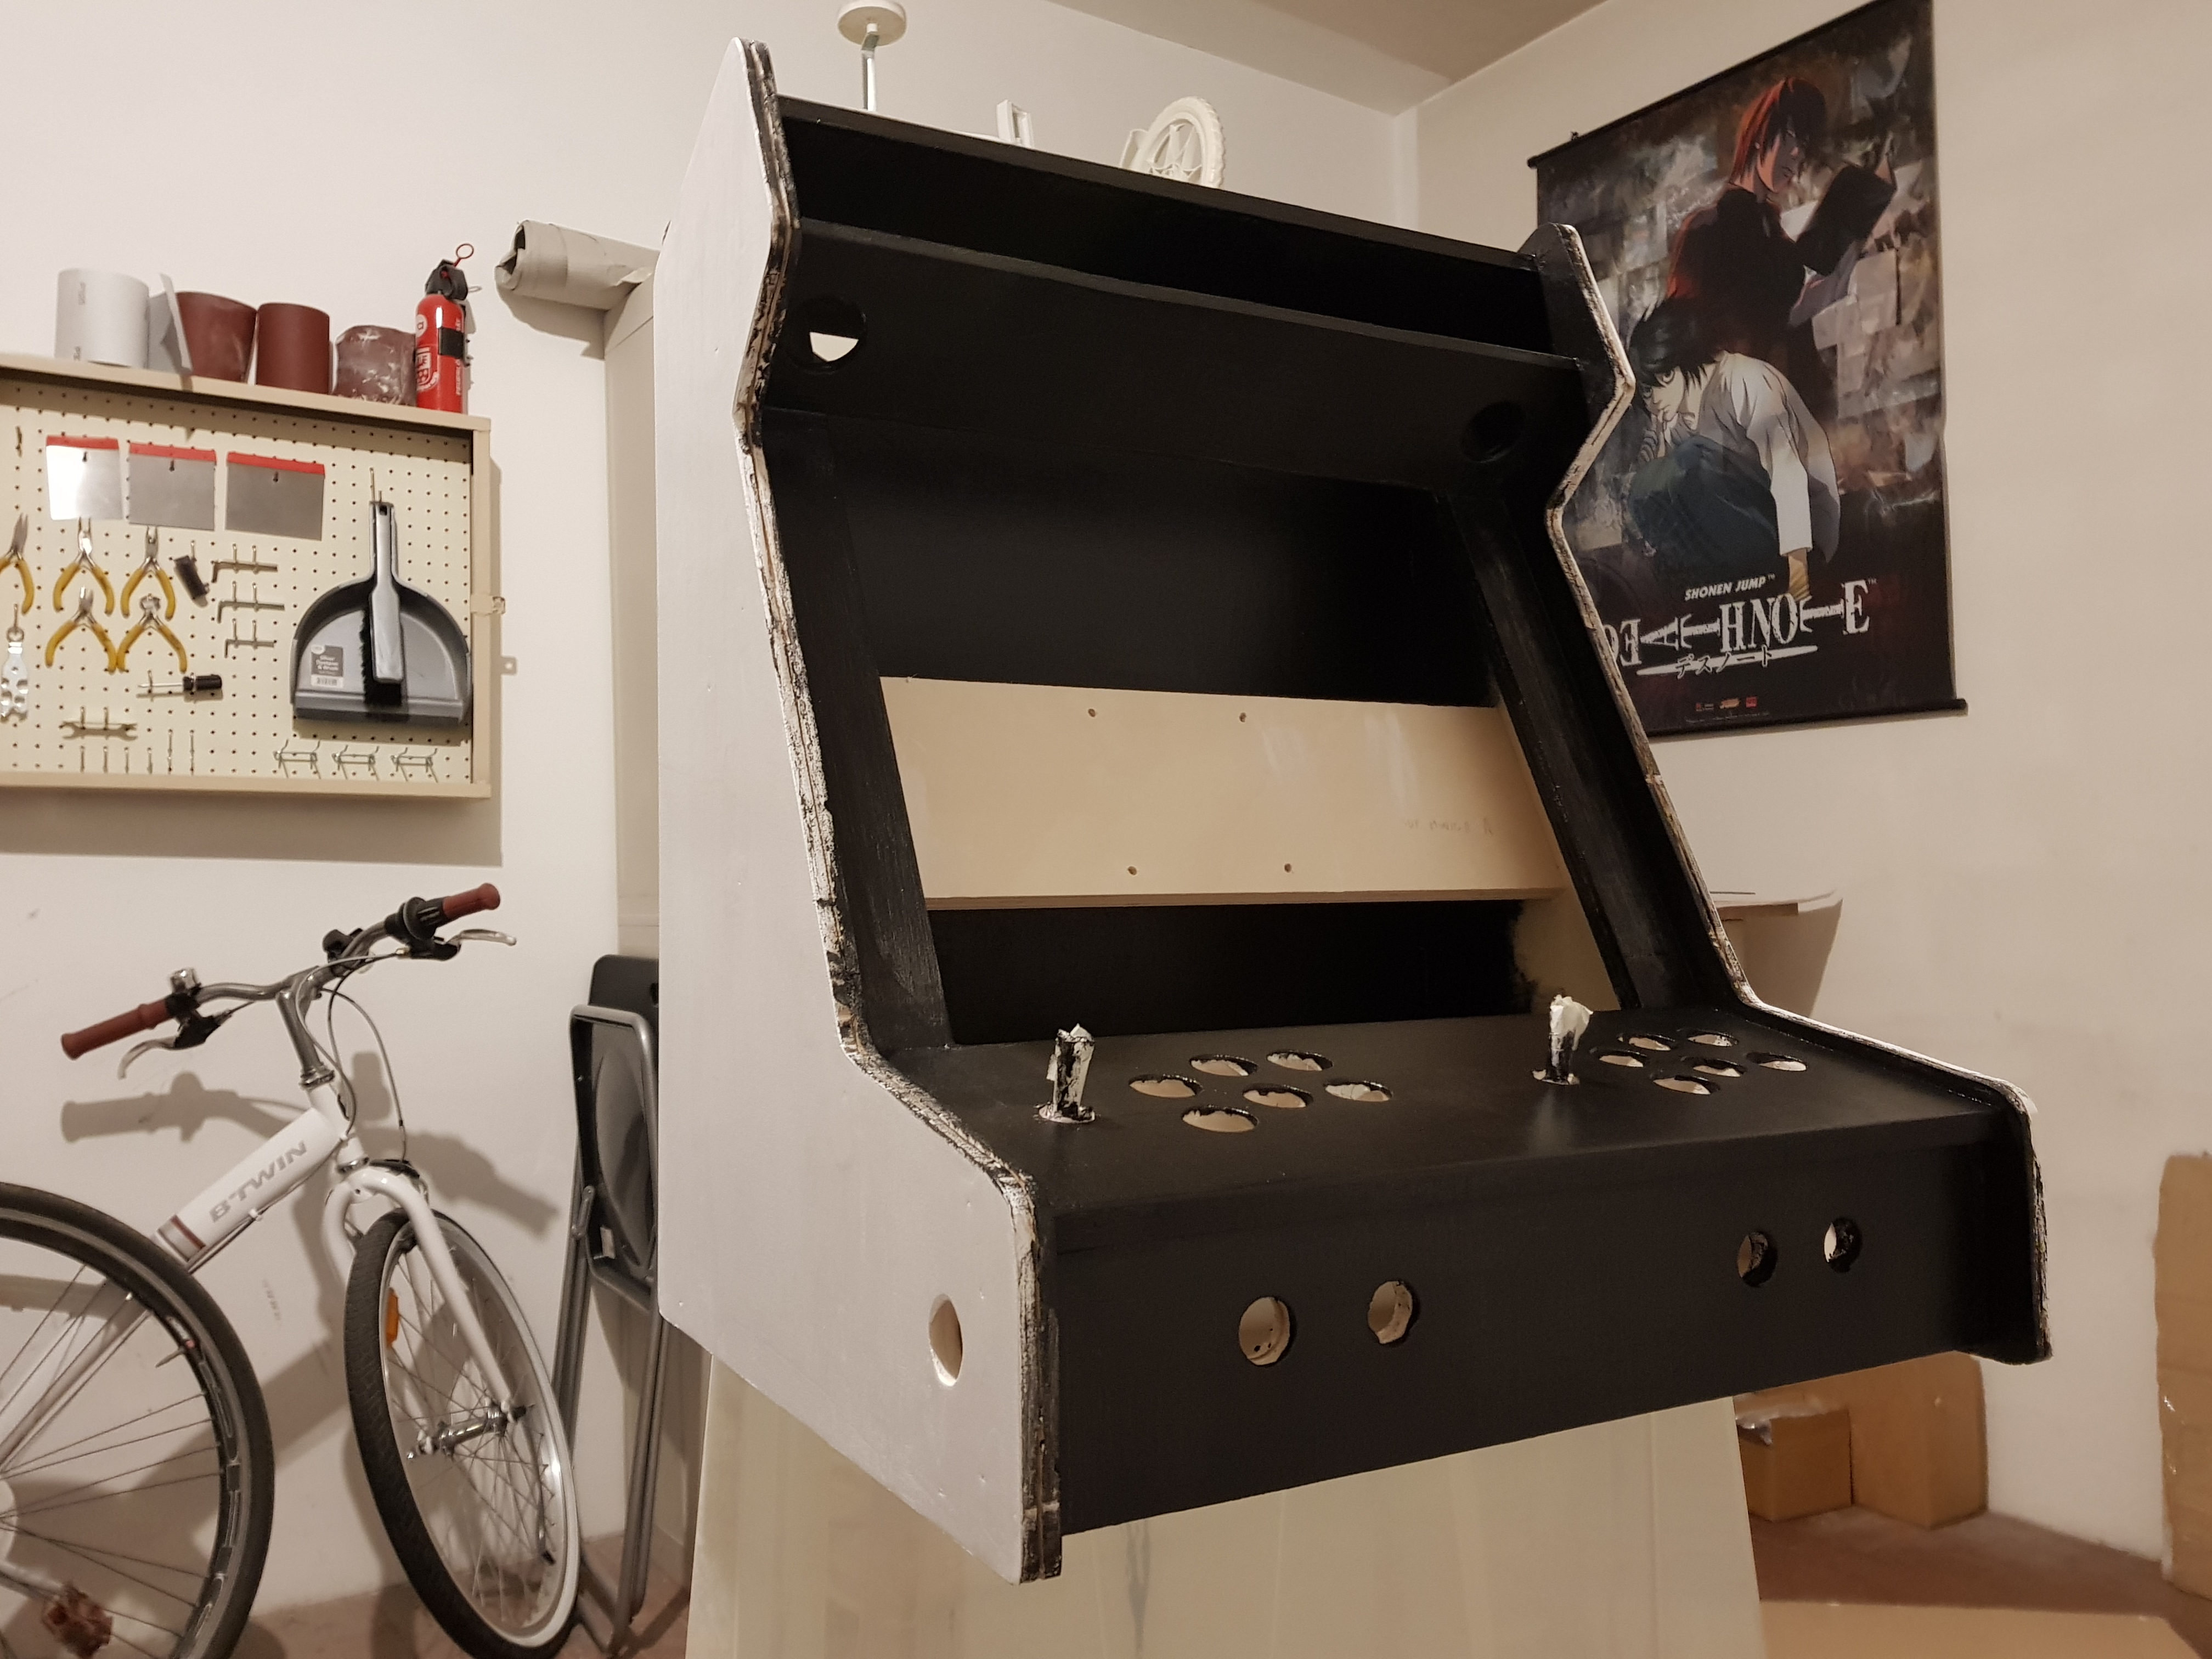
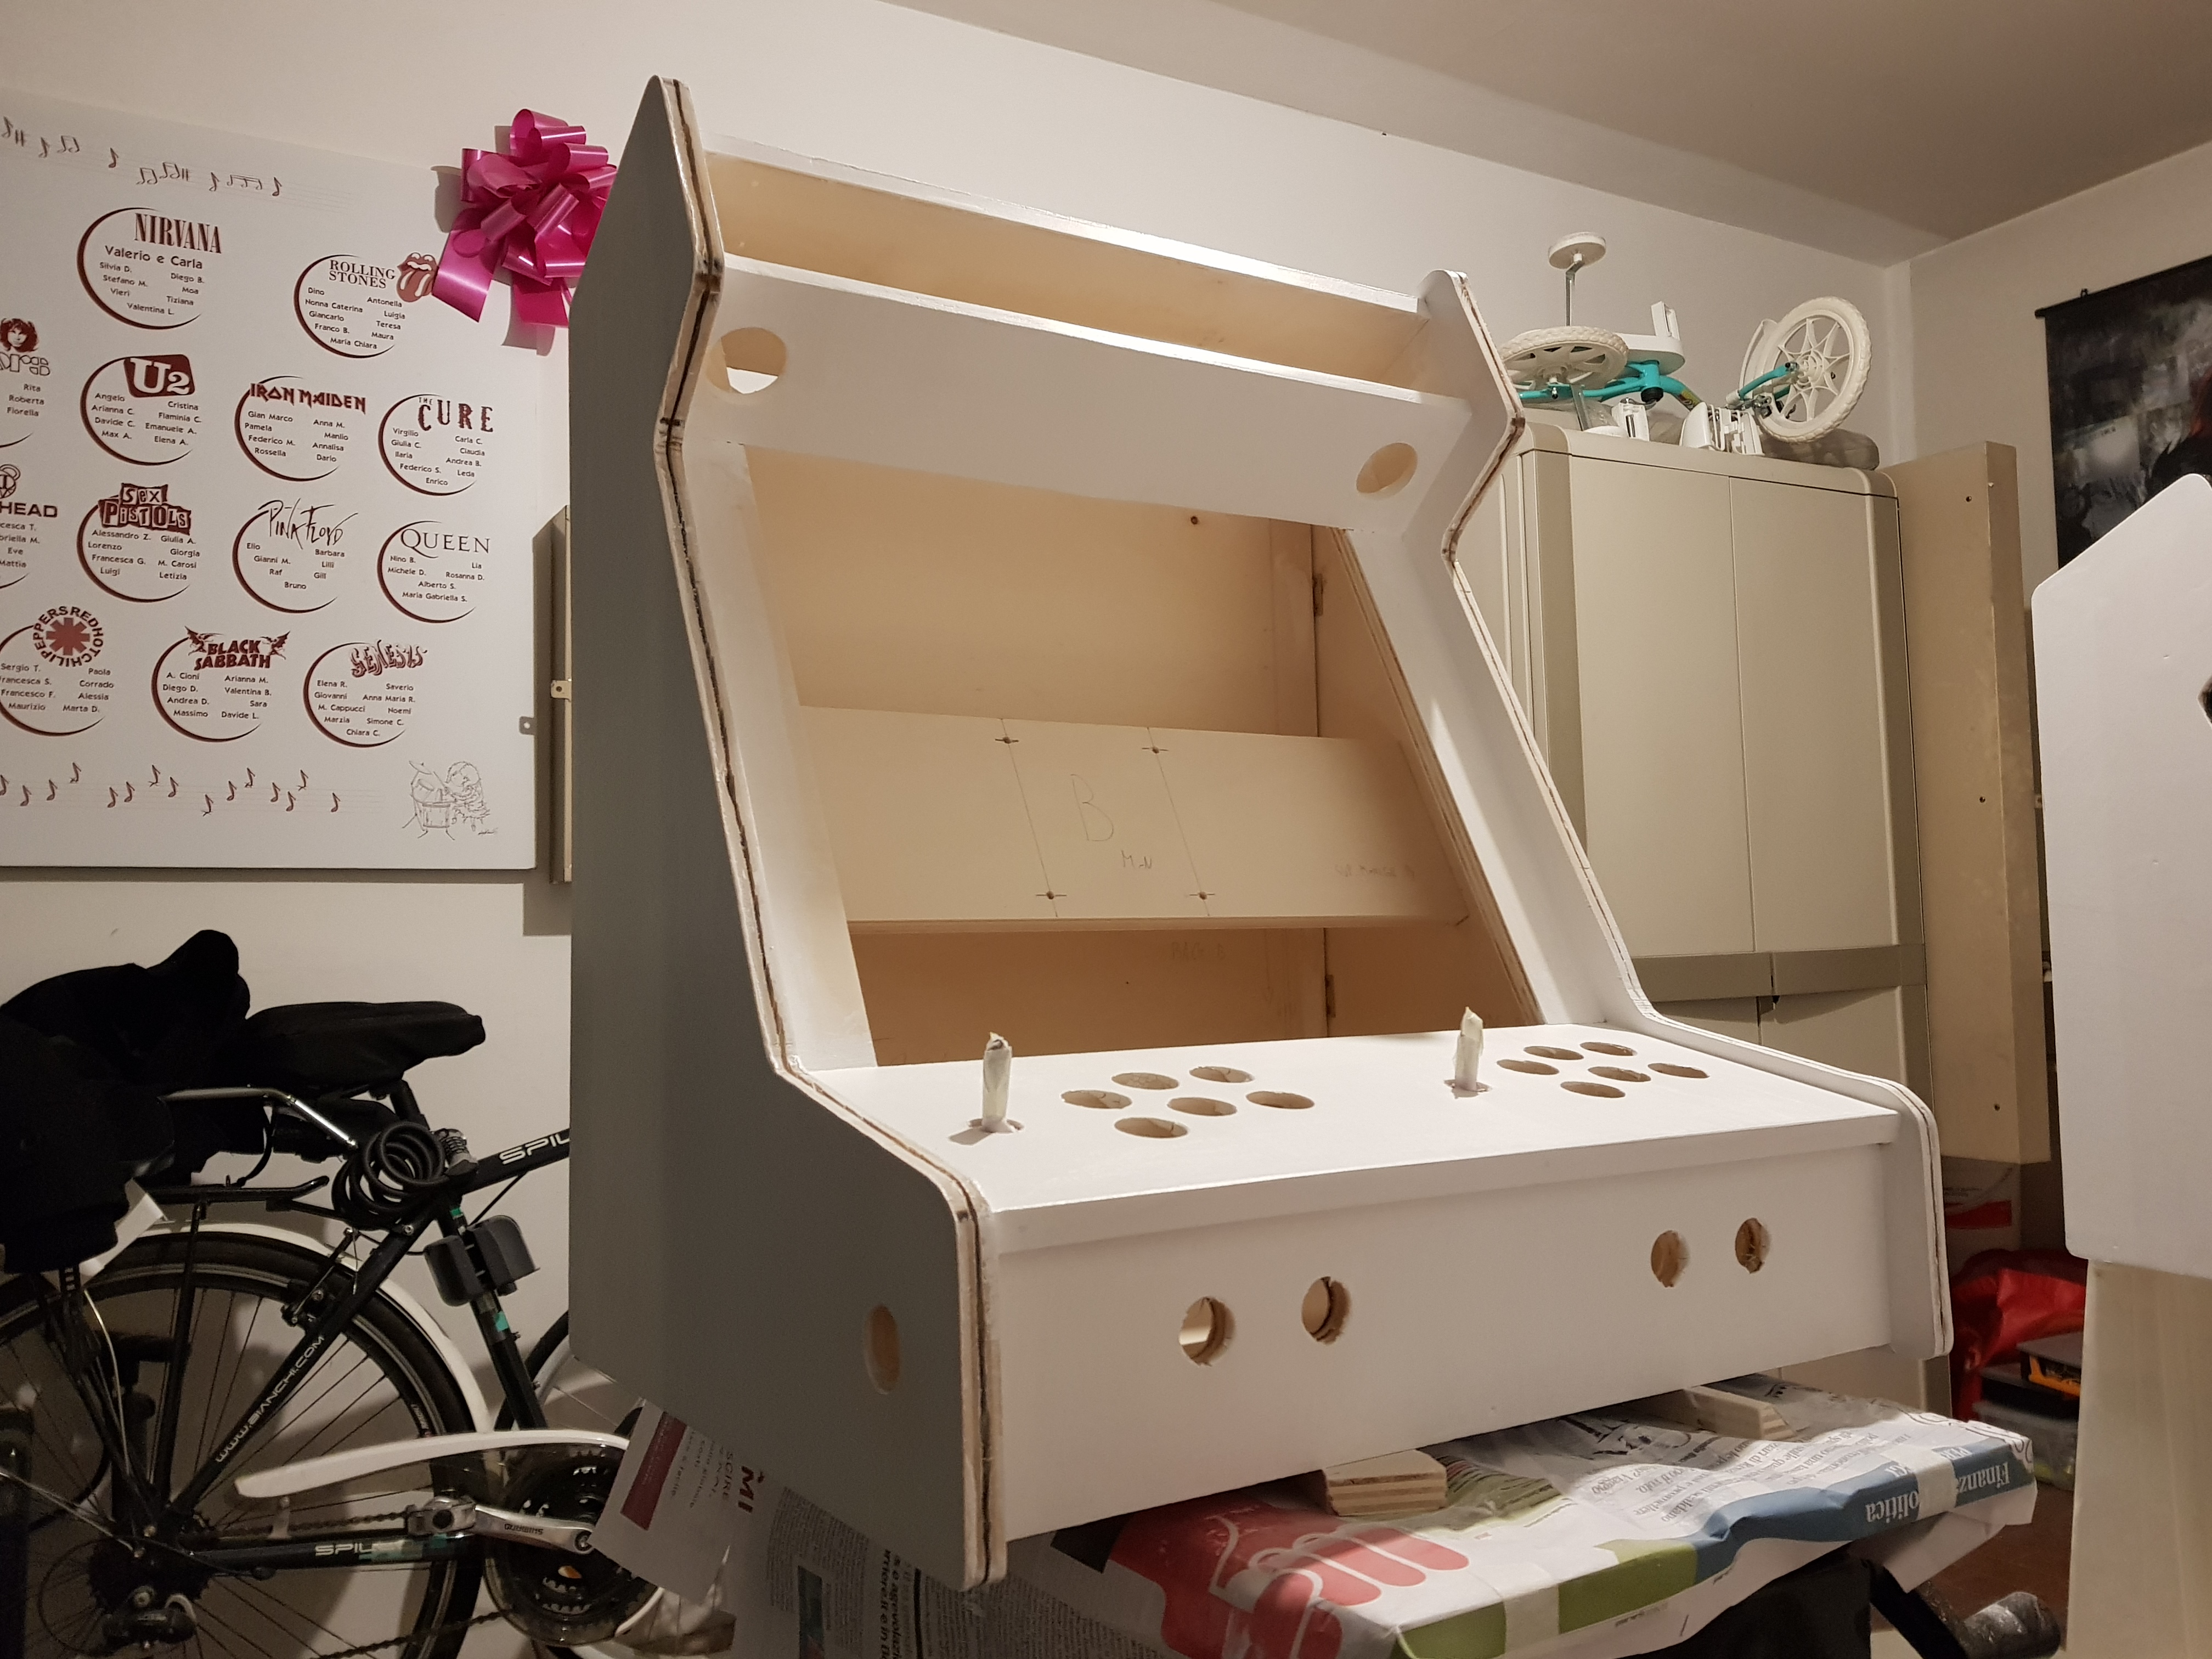
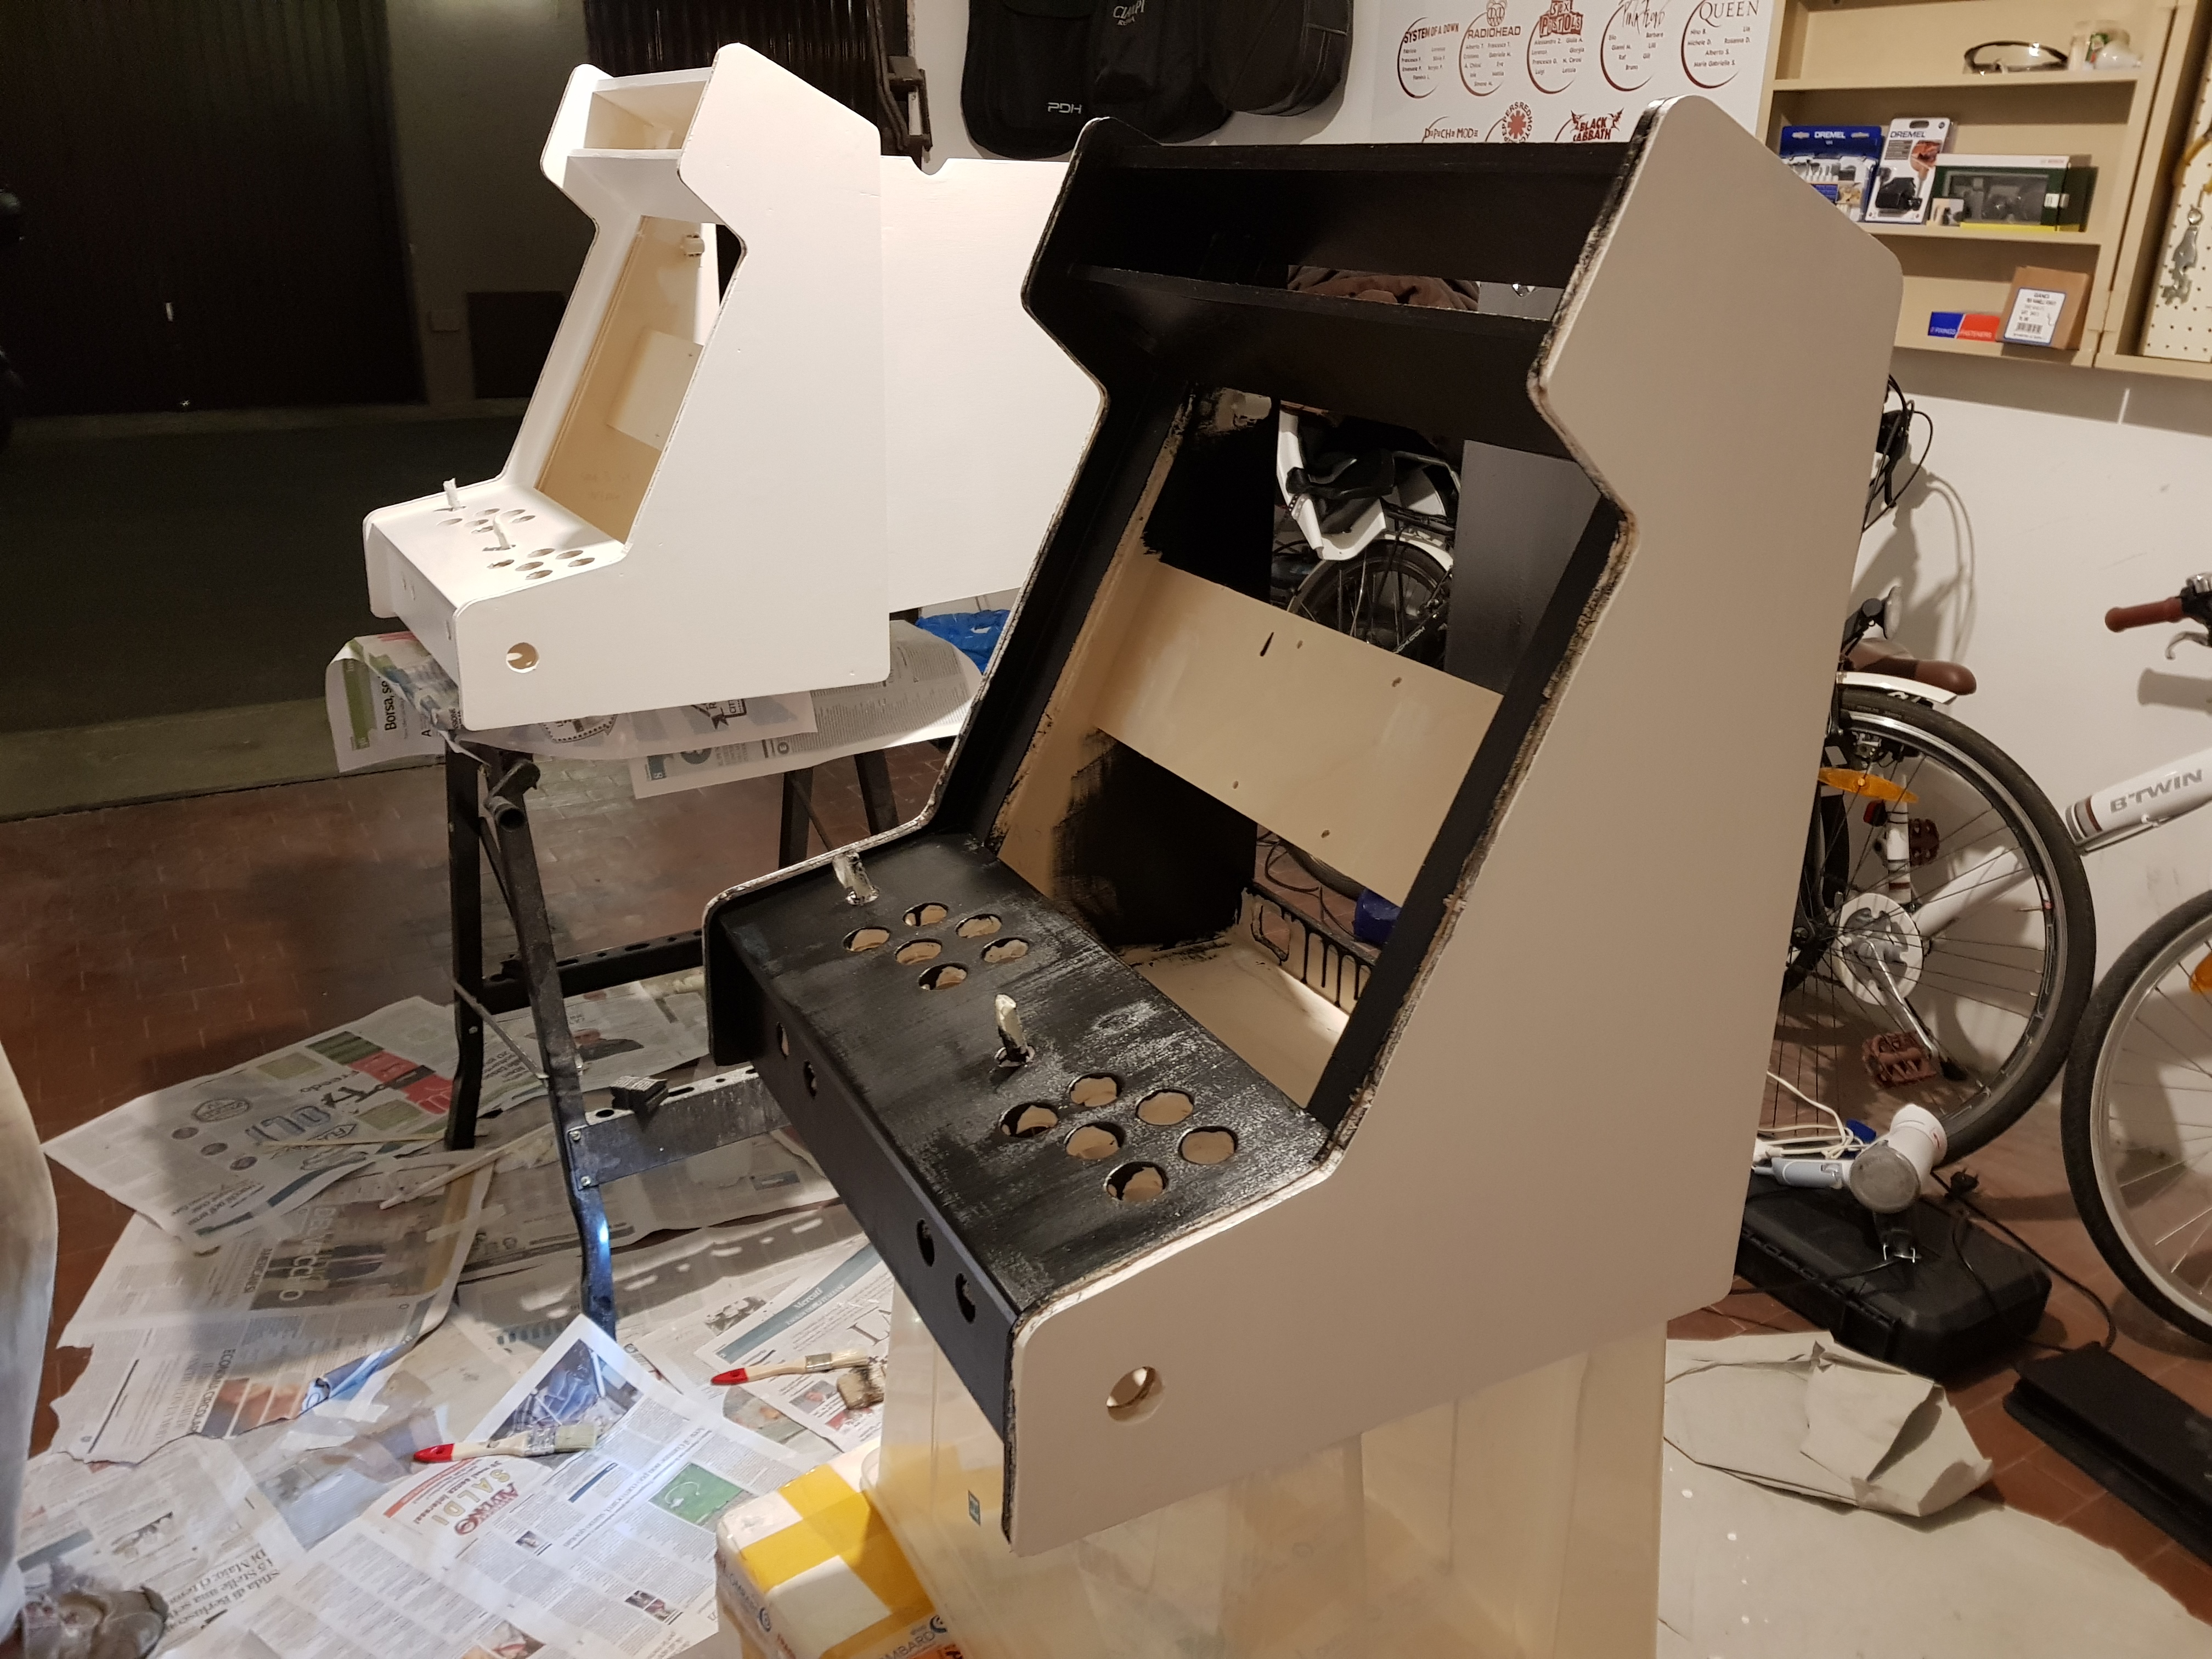
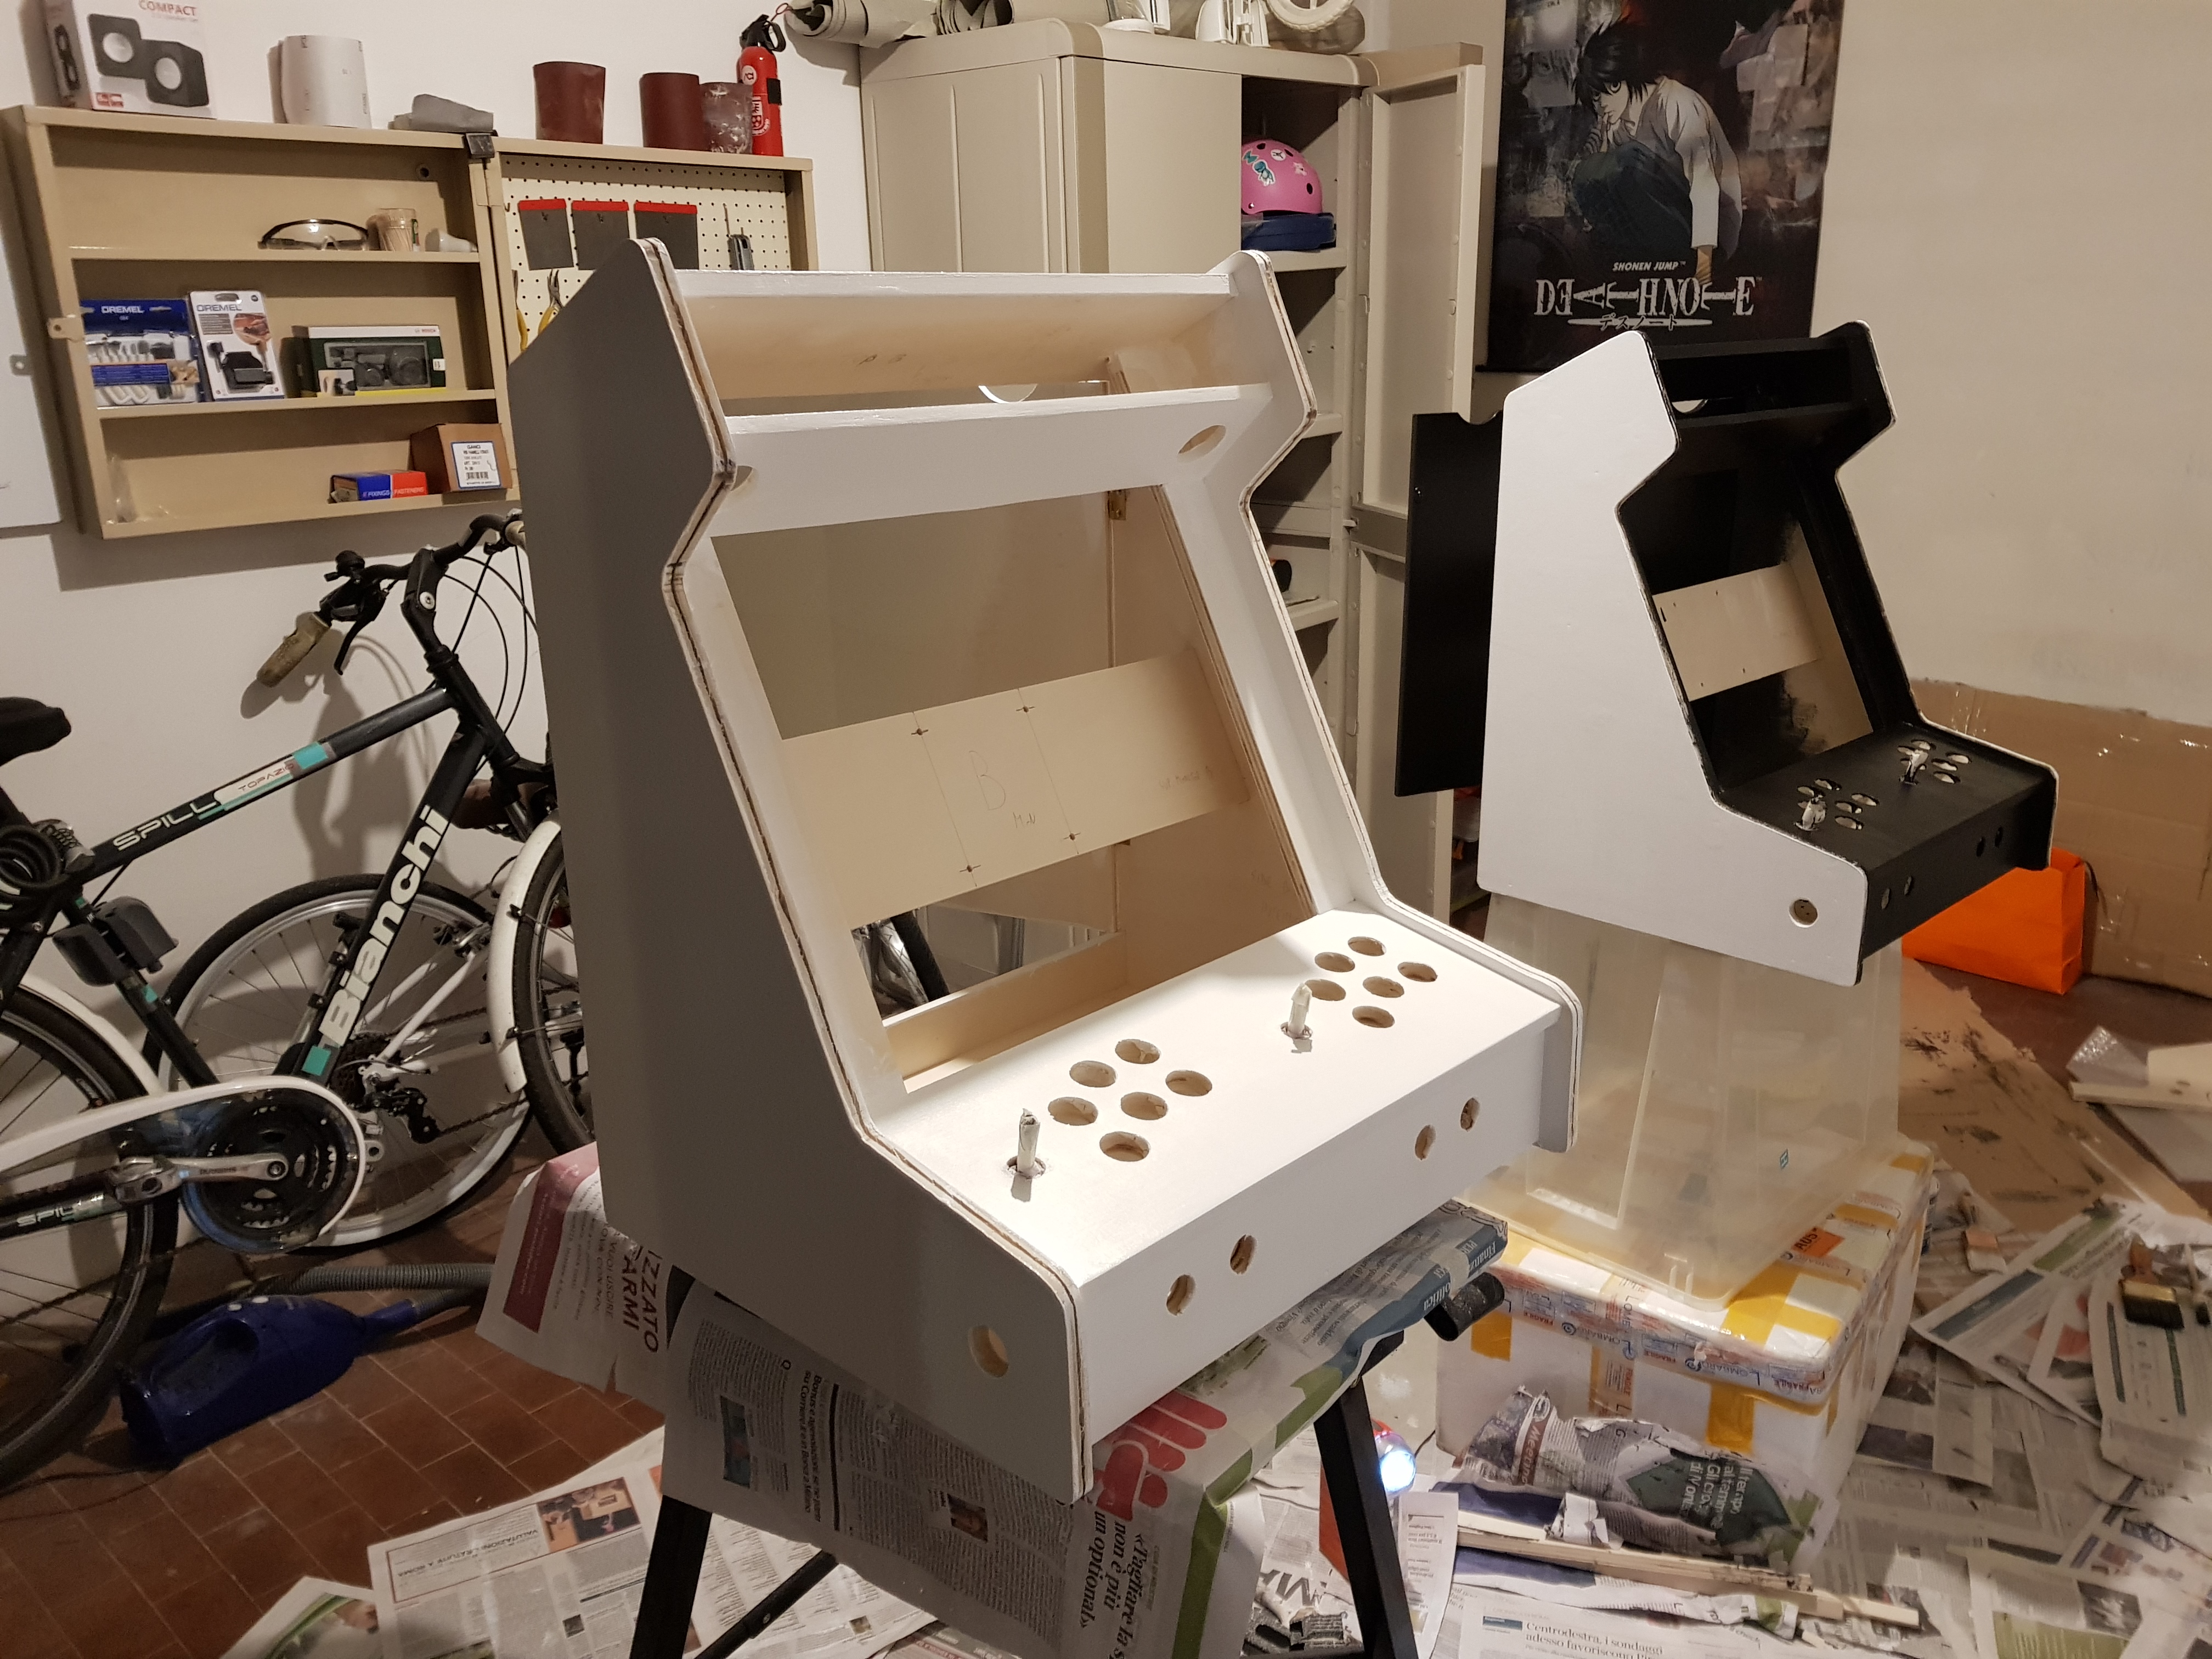
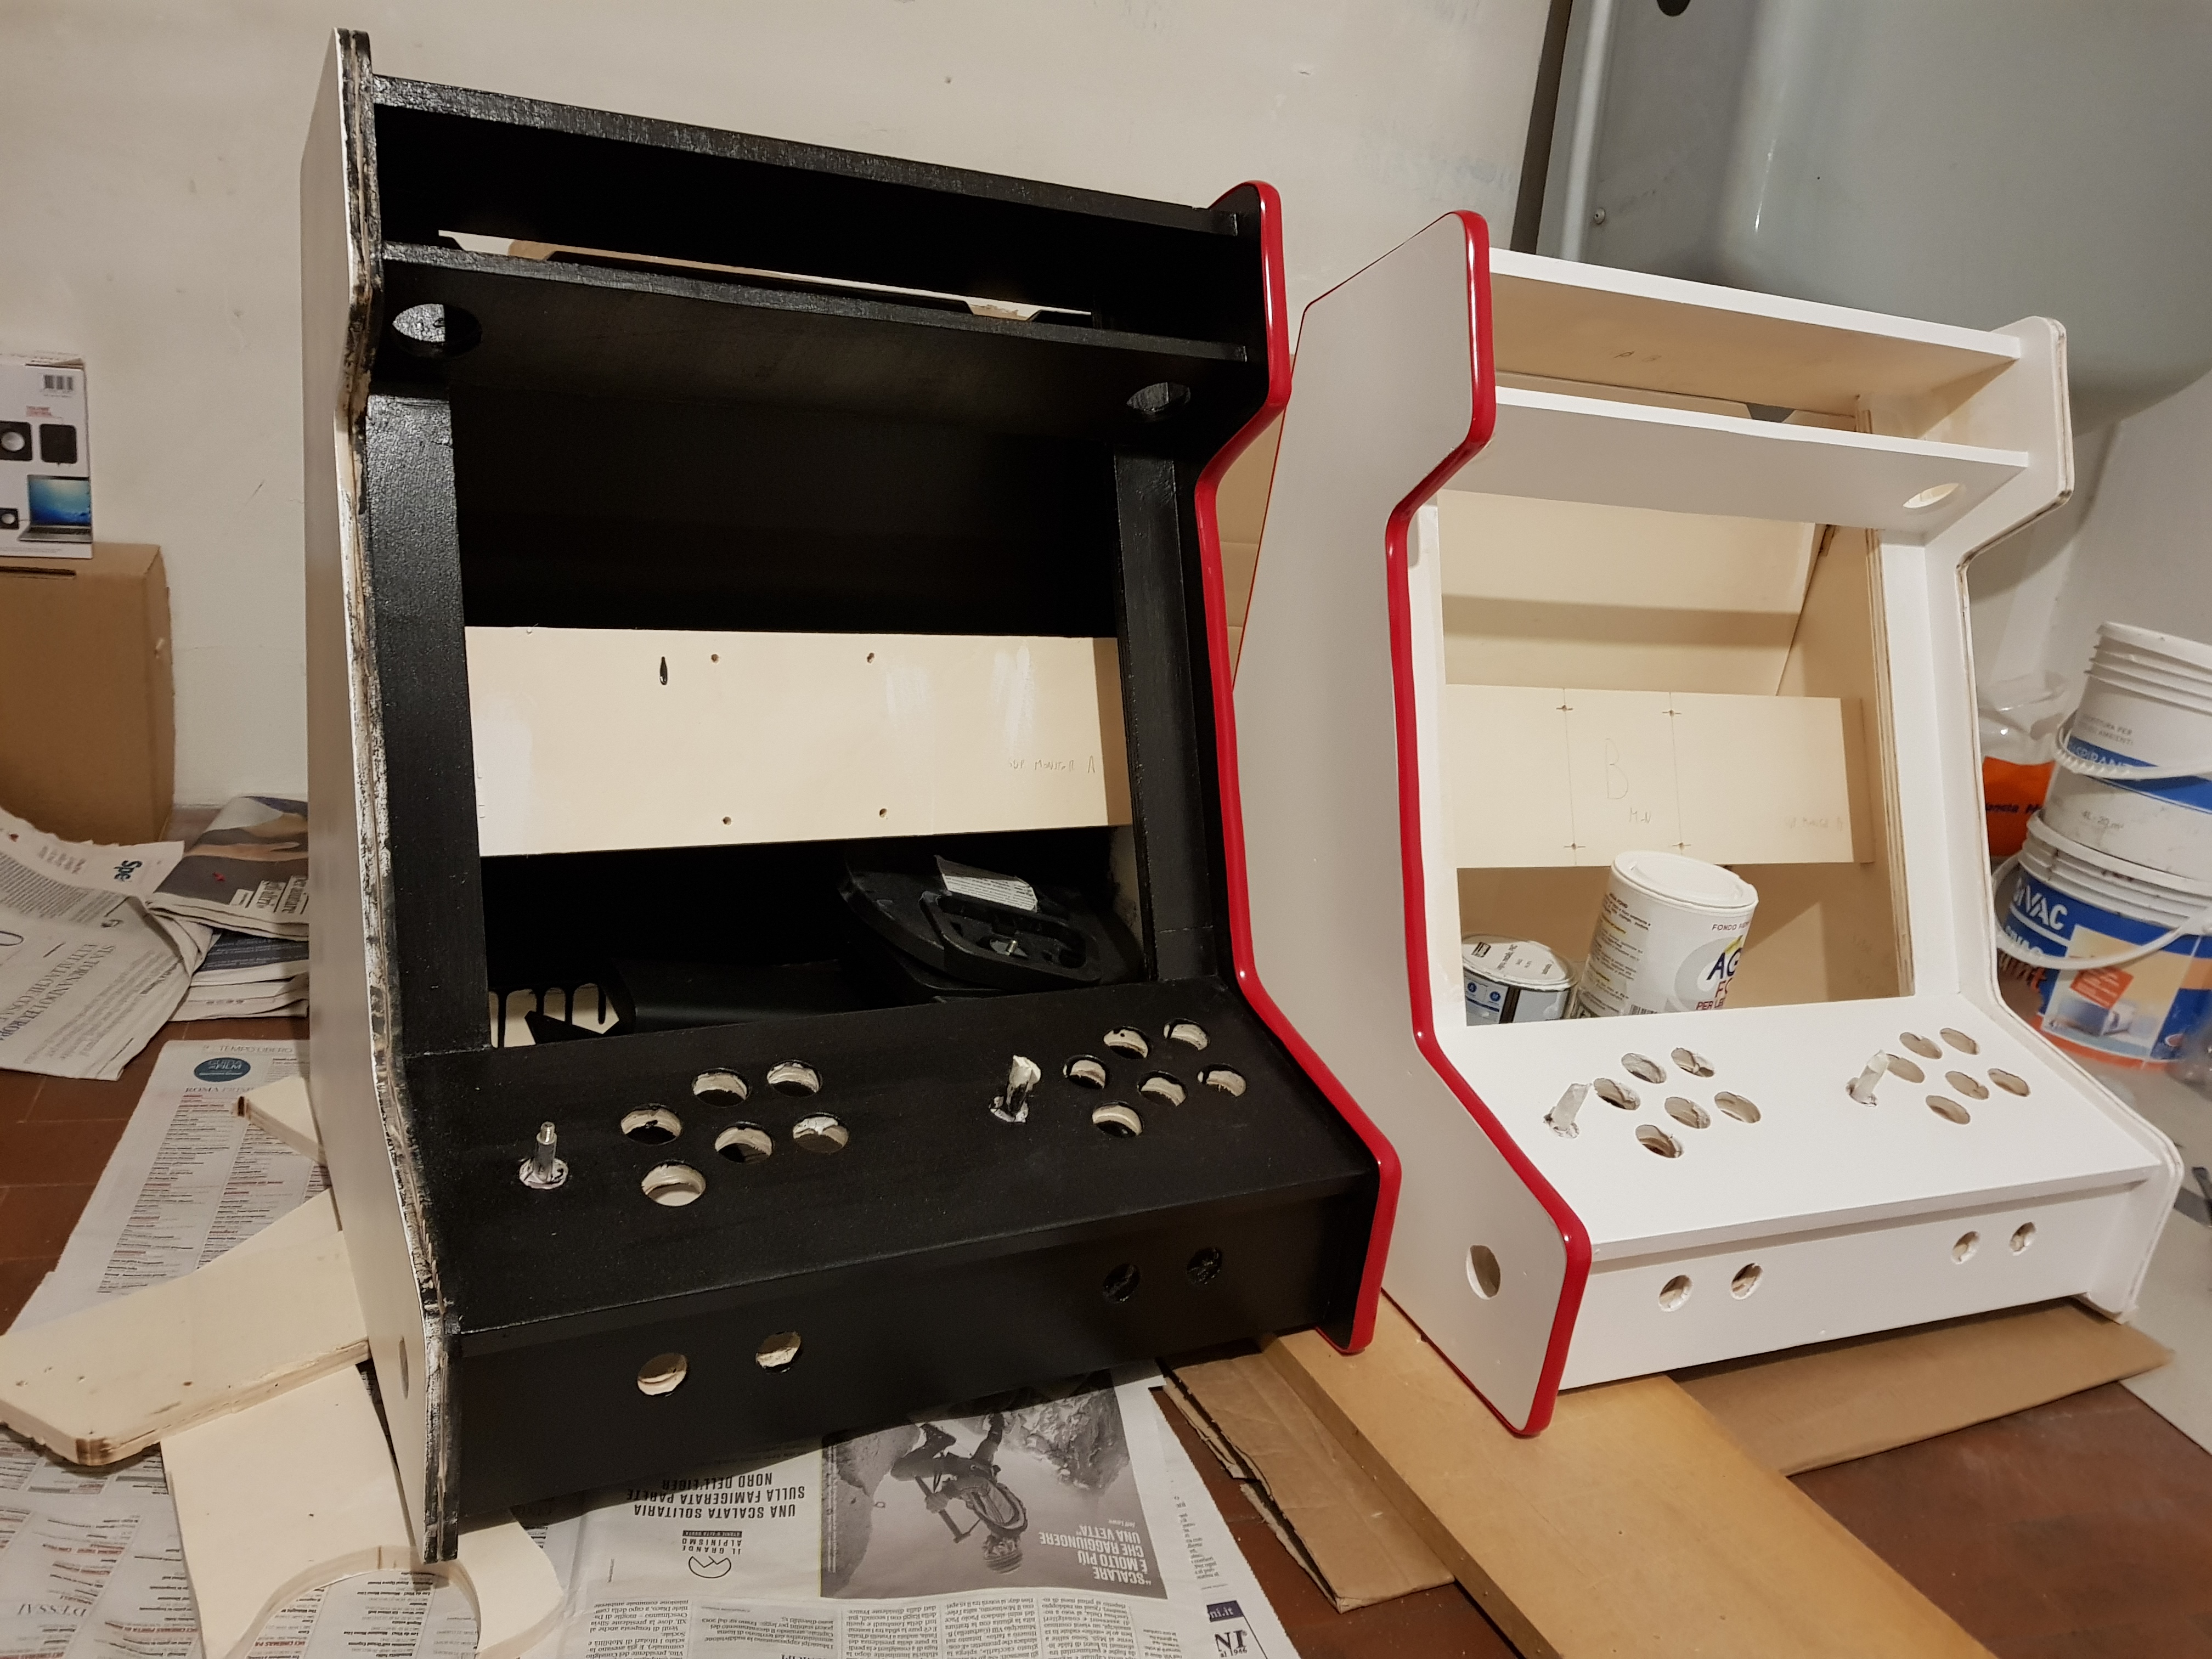
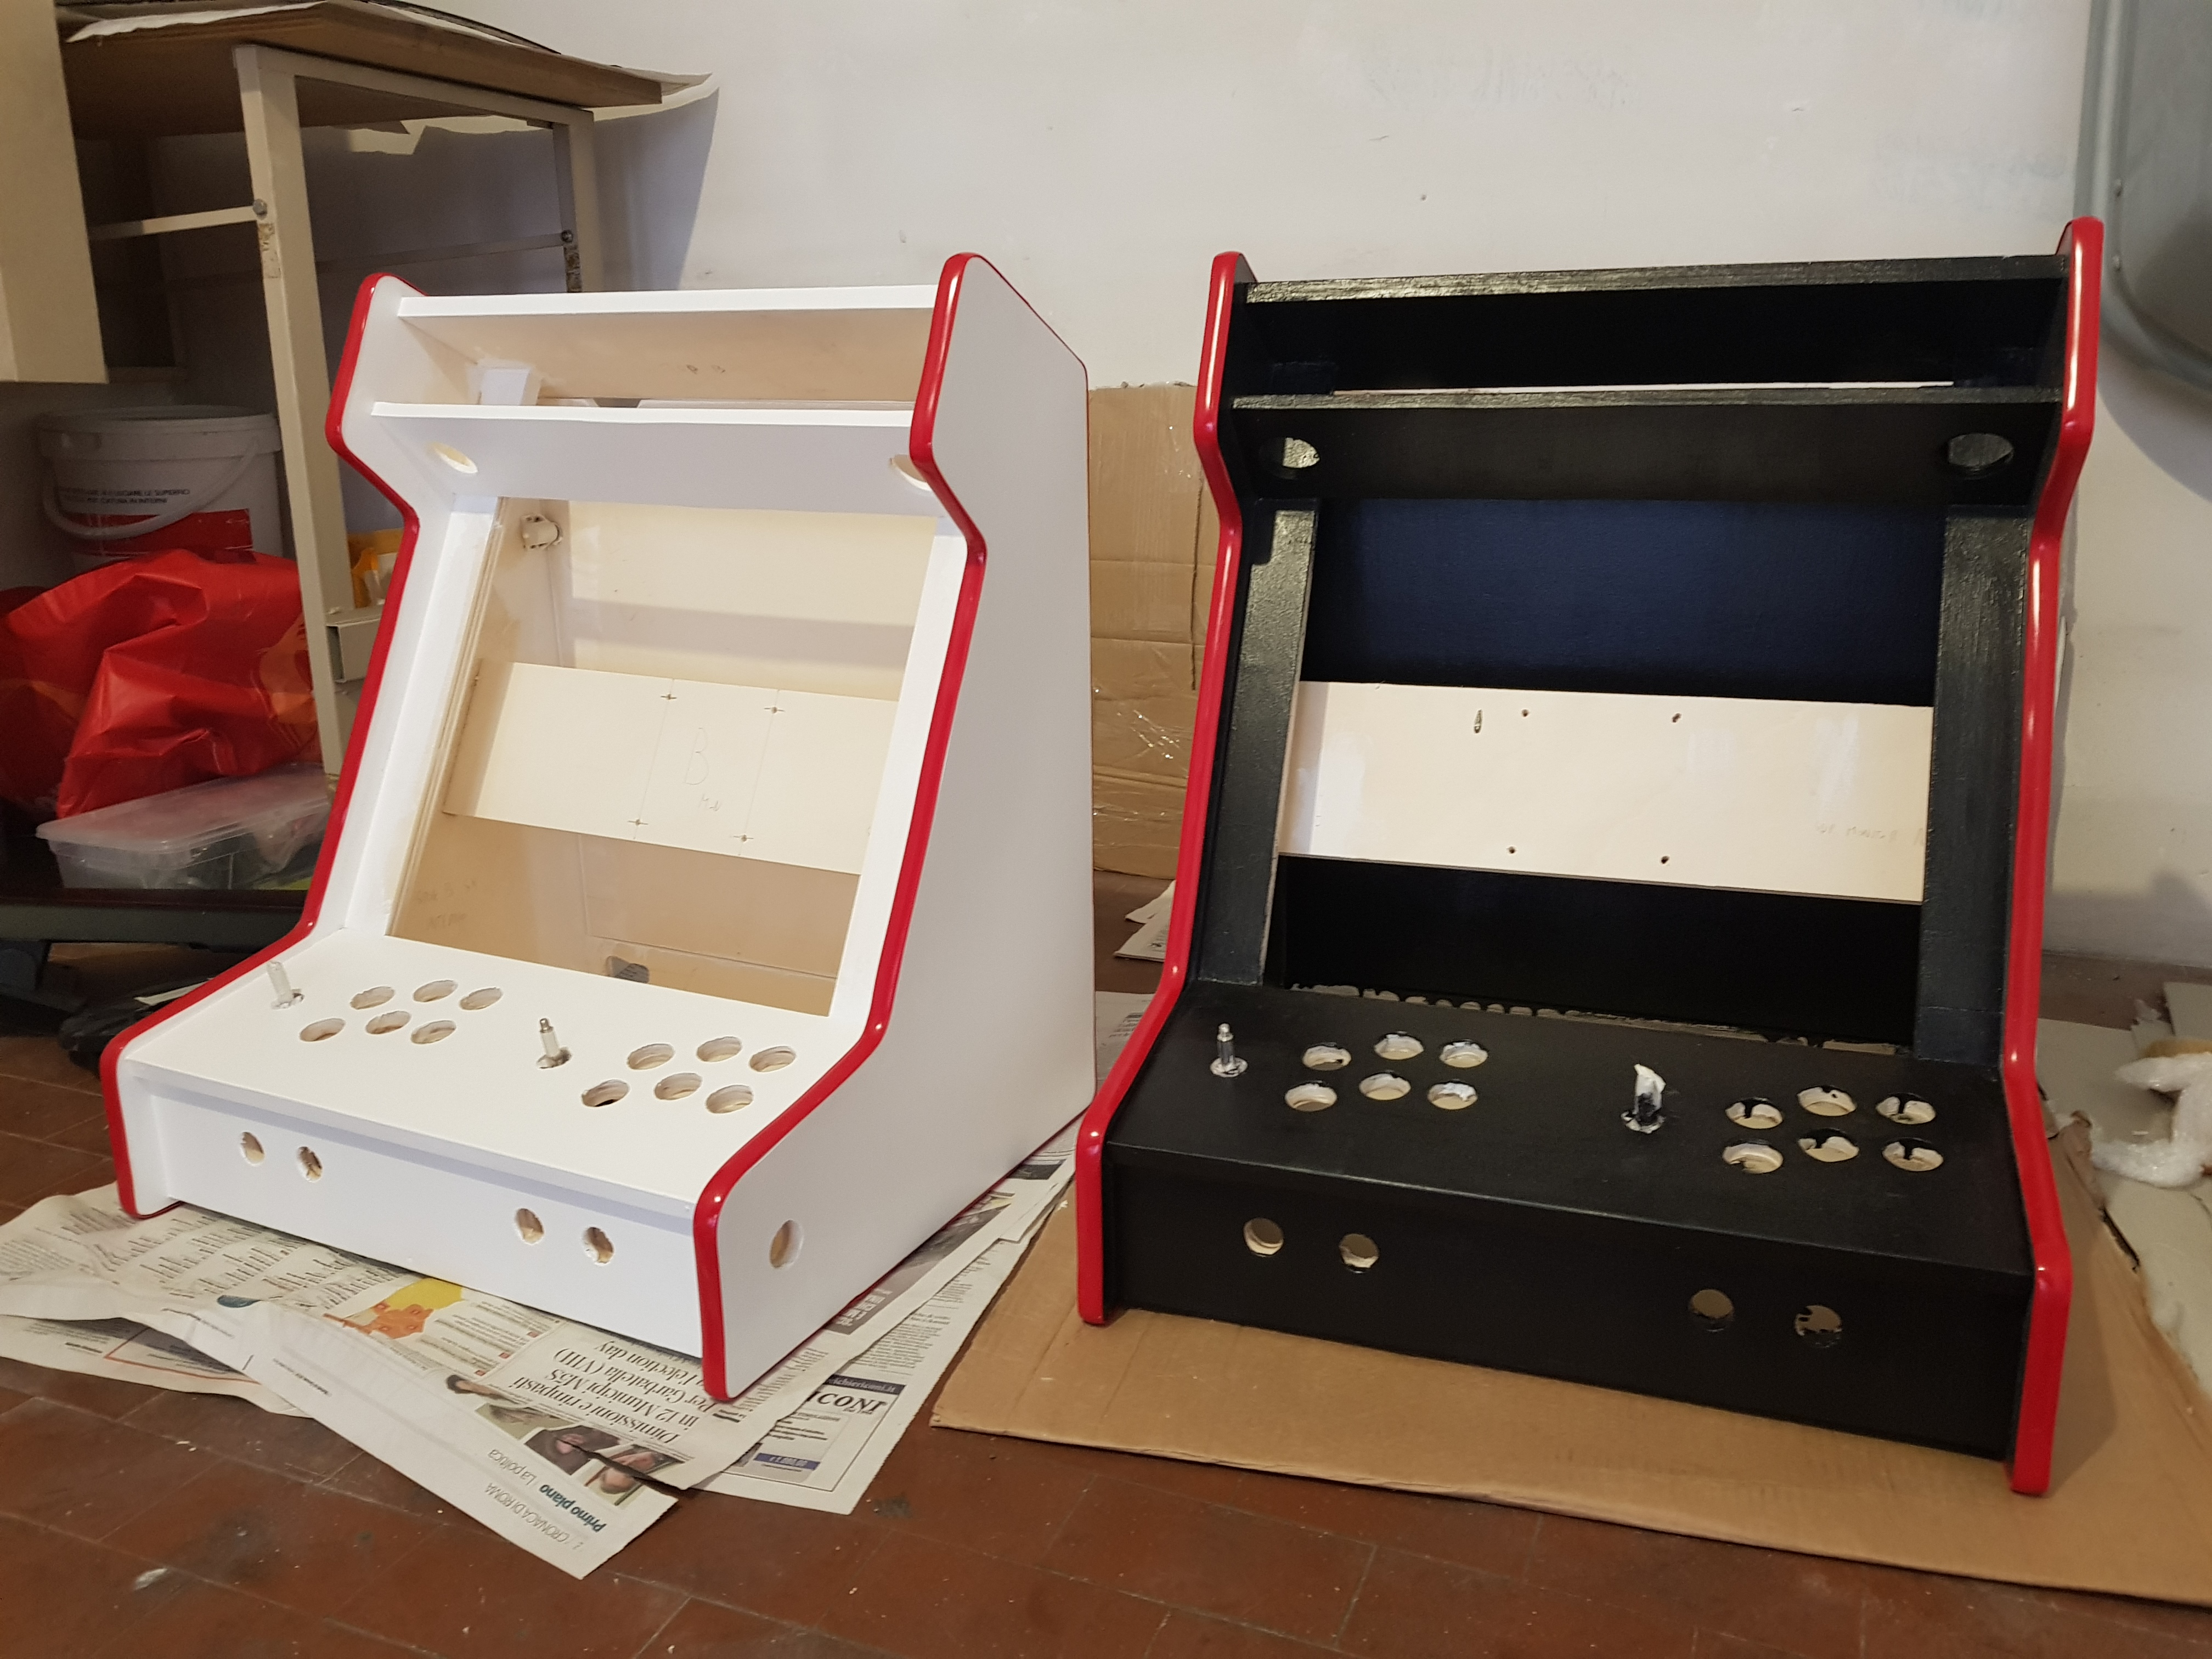
When the second hand of fond was fully dry, I could proceed with the painting phase. Since I made two cabinets, I used a different color pattern: total-white for one of them and a black-and-white mix for the other one. I still couldn’t say which one is better, as they both looked great in the end, to my eyes at least!

… And that’s it!
Three hands of paint where more than enough for the total white cabinet, yet the black-and-white one required as much as five hands to achieve the desired “pitch black” effect I wanted.
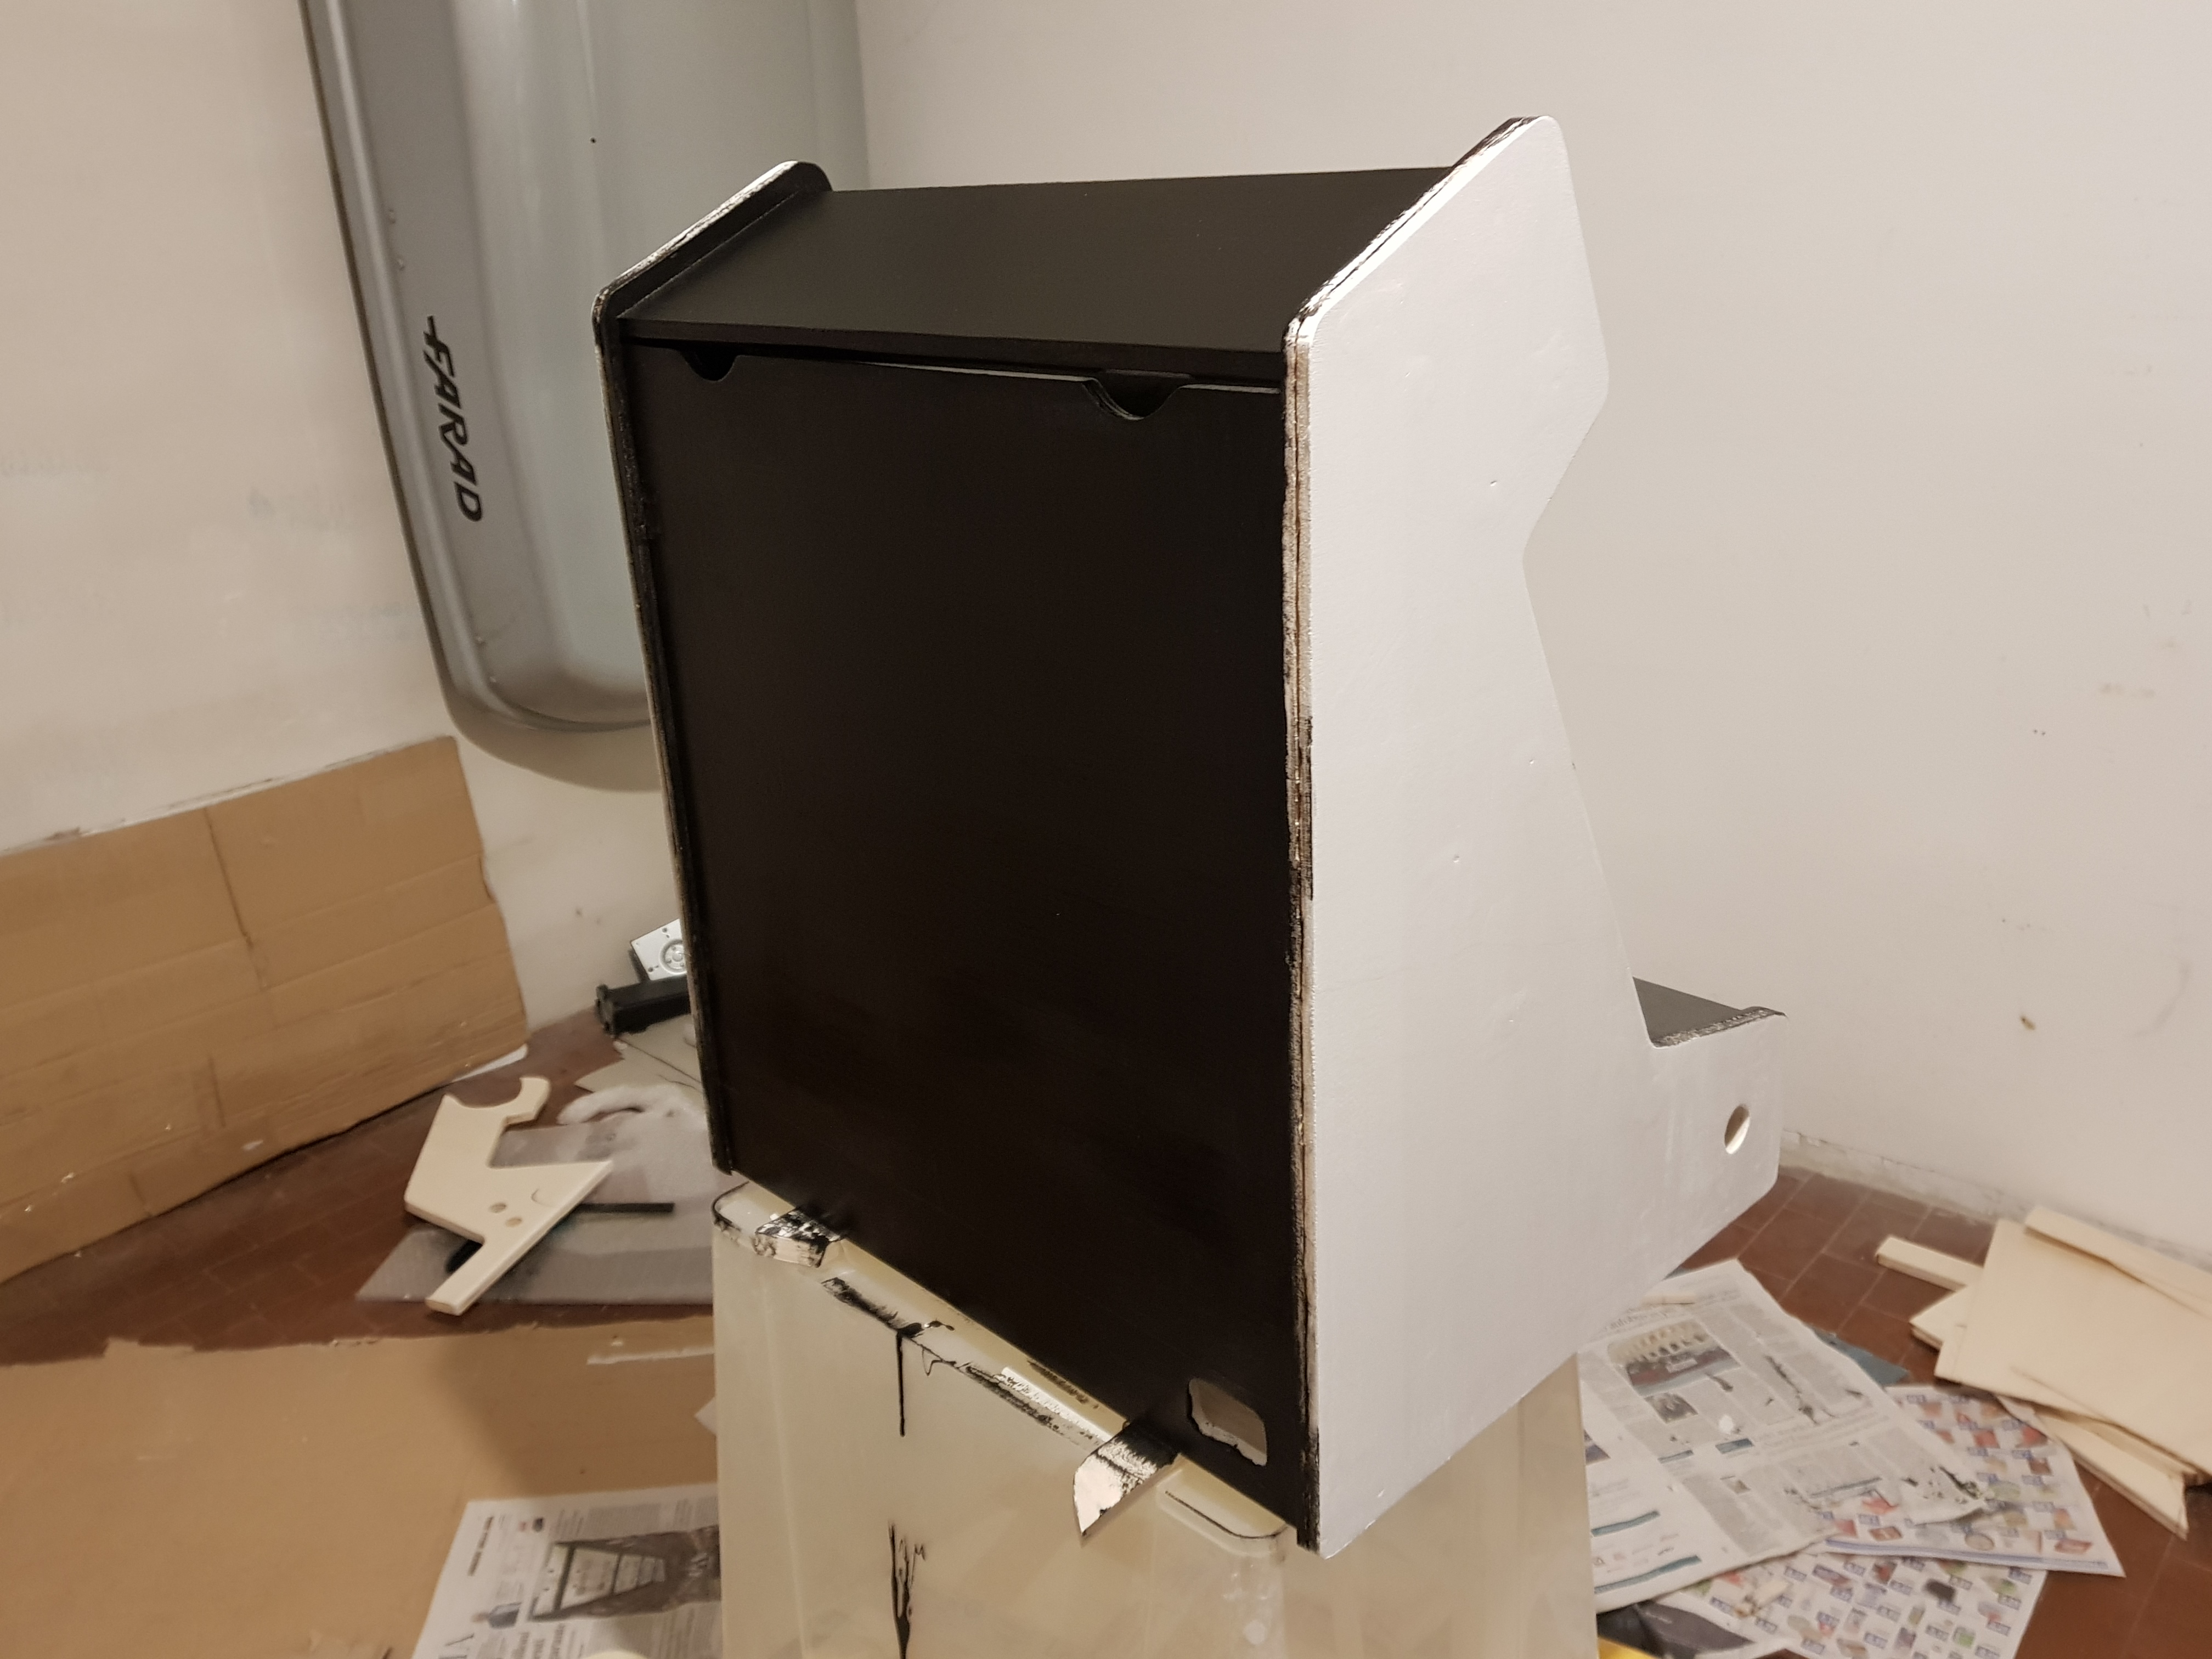
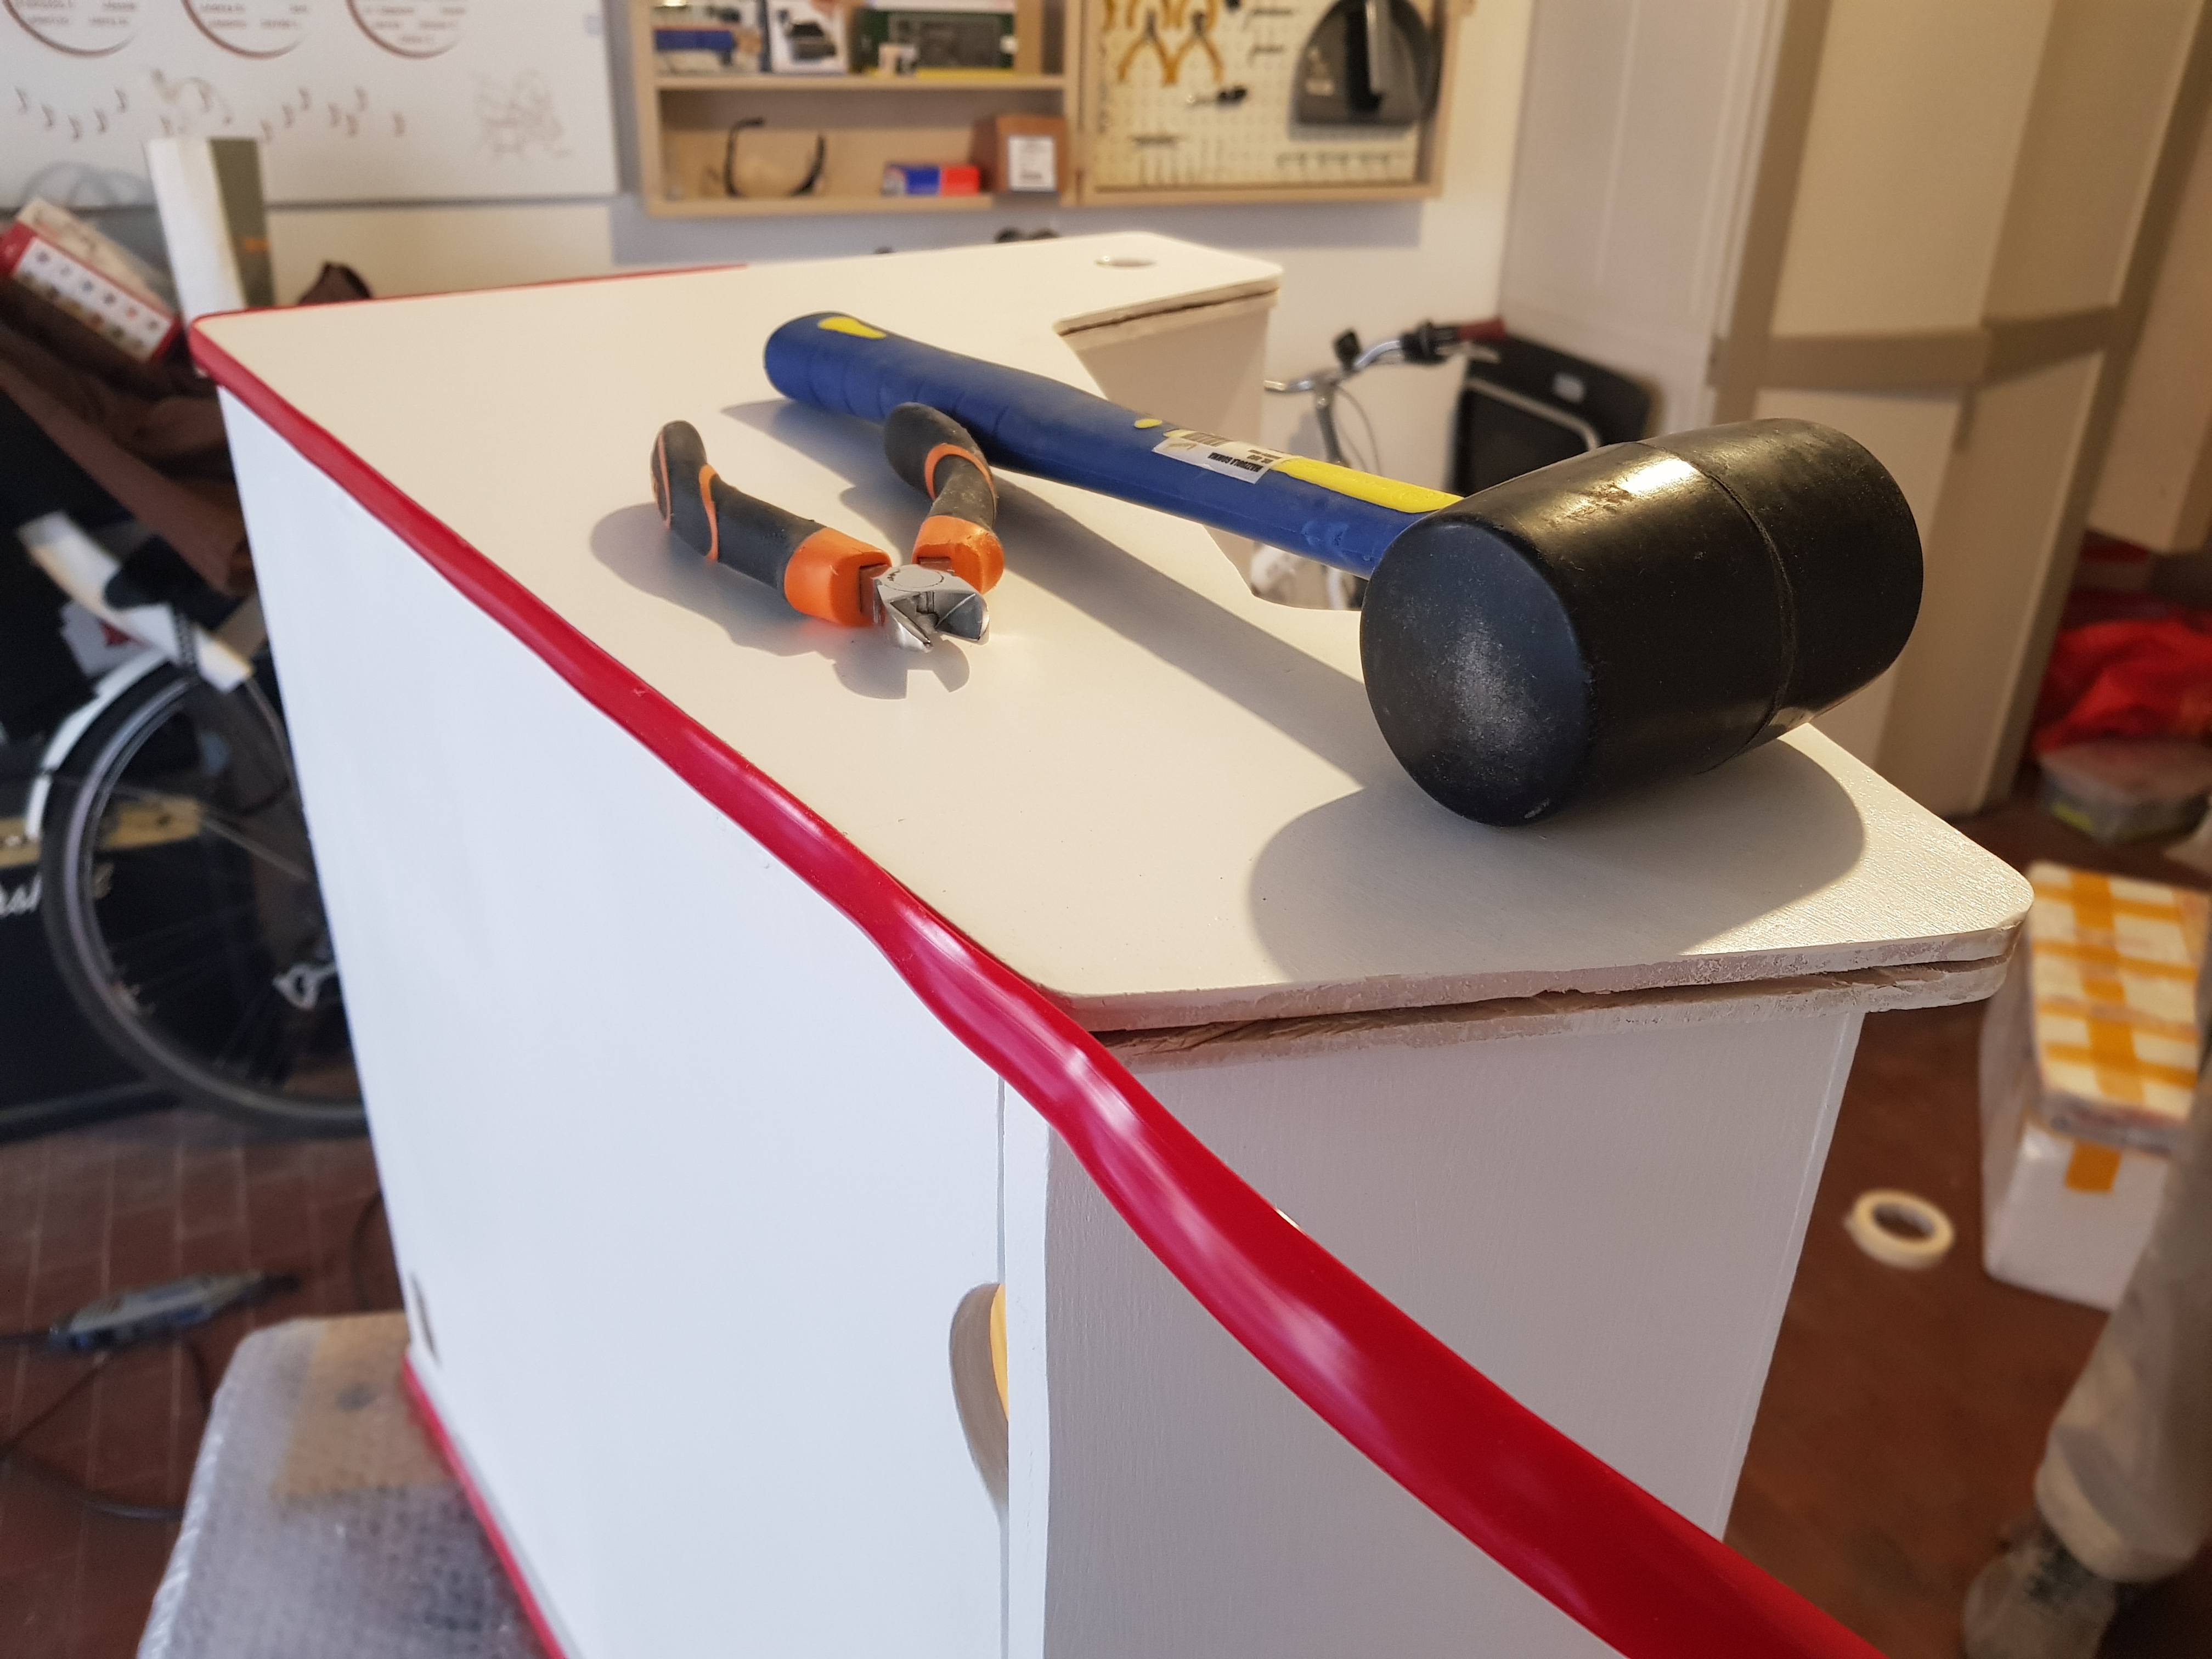
Inserting the T-Molding
The T-Molding “insertion” was arguably the most difficult task of the whole process: that was mostly due to the fact that I used the Dremel chainsaw tool to cut its slot instead of using a proper slot cutter, thus ending up with a slightly irregular cut that prevented the T-Molding from easily fitting in. To work around it I had to:
- Adjust the slots with the Dremel and/or with the help of a slot-head screwdriver & an iron hammer.
- Use the Rubber Hammer like there was no tomorrow on the damn red thing to firmly push it inside the slot.
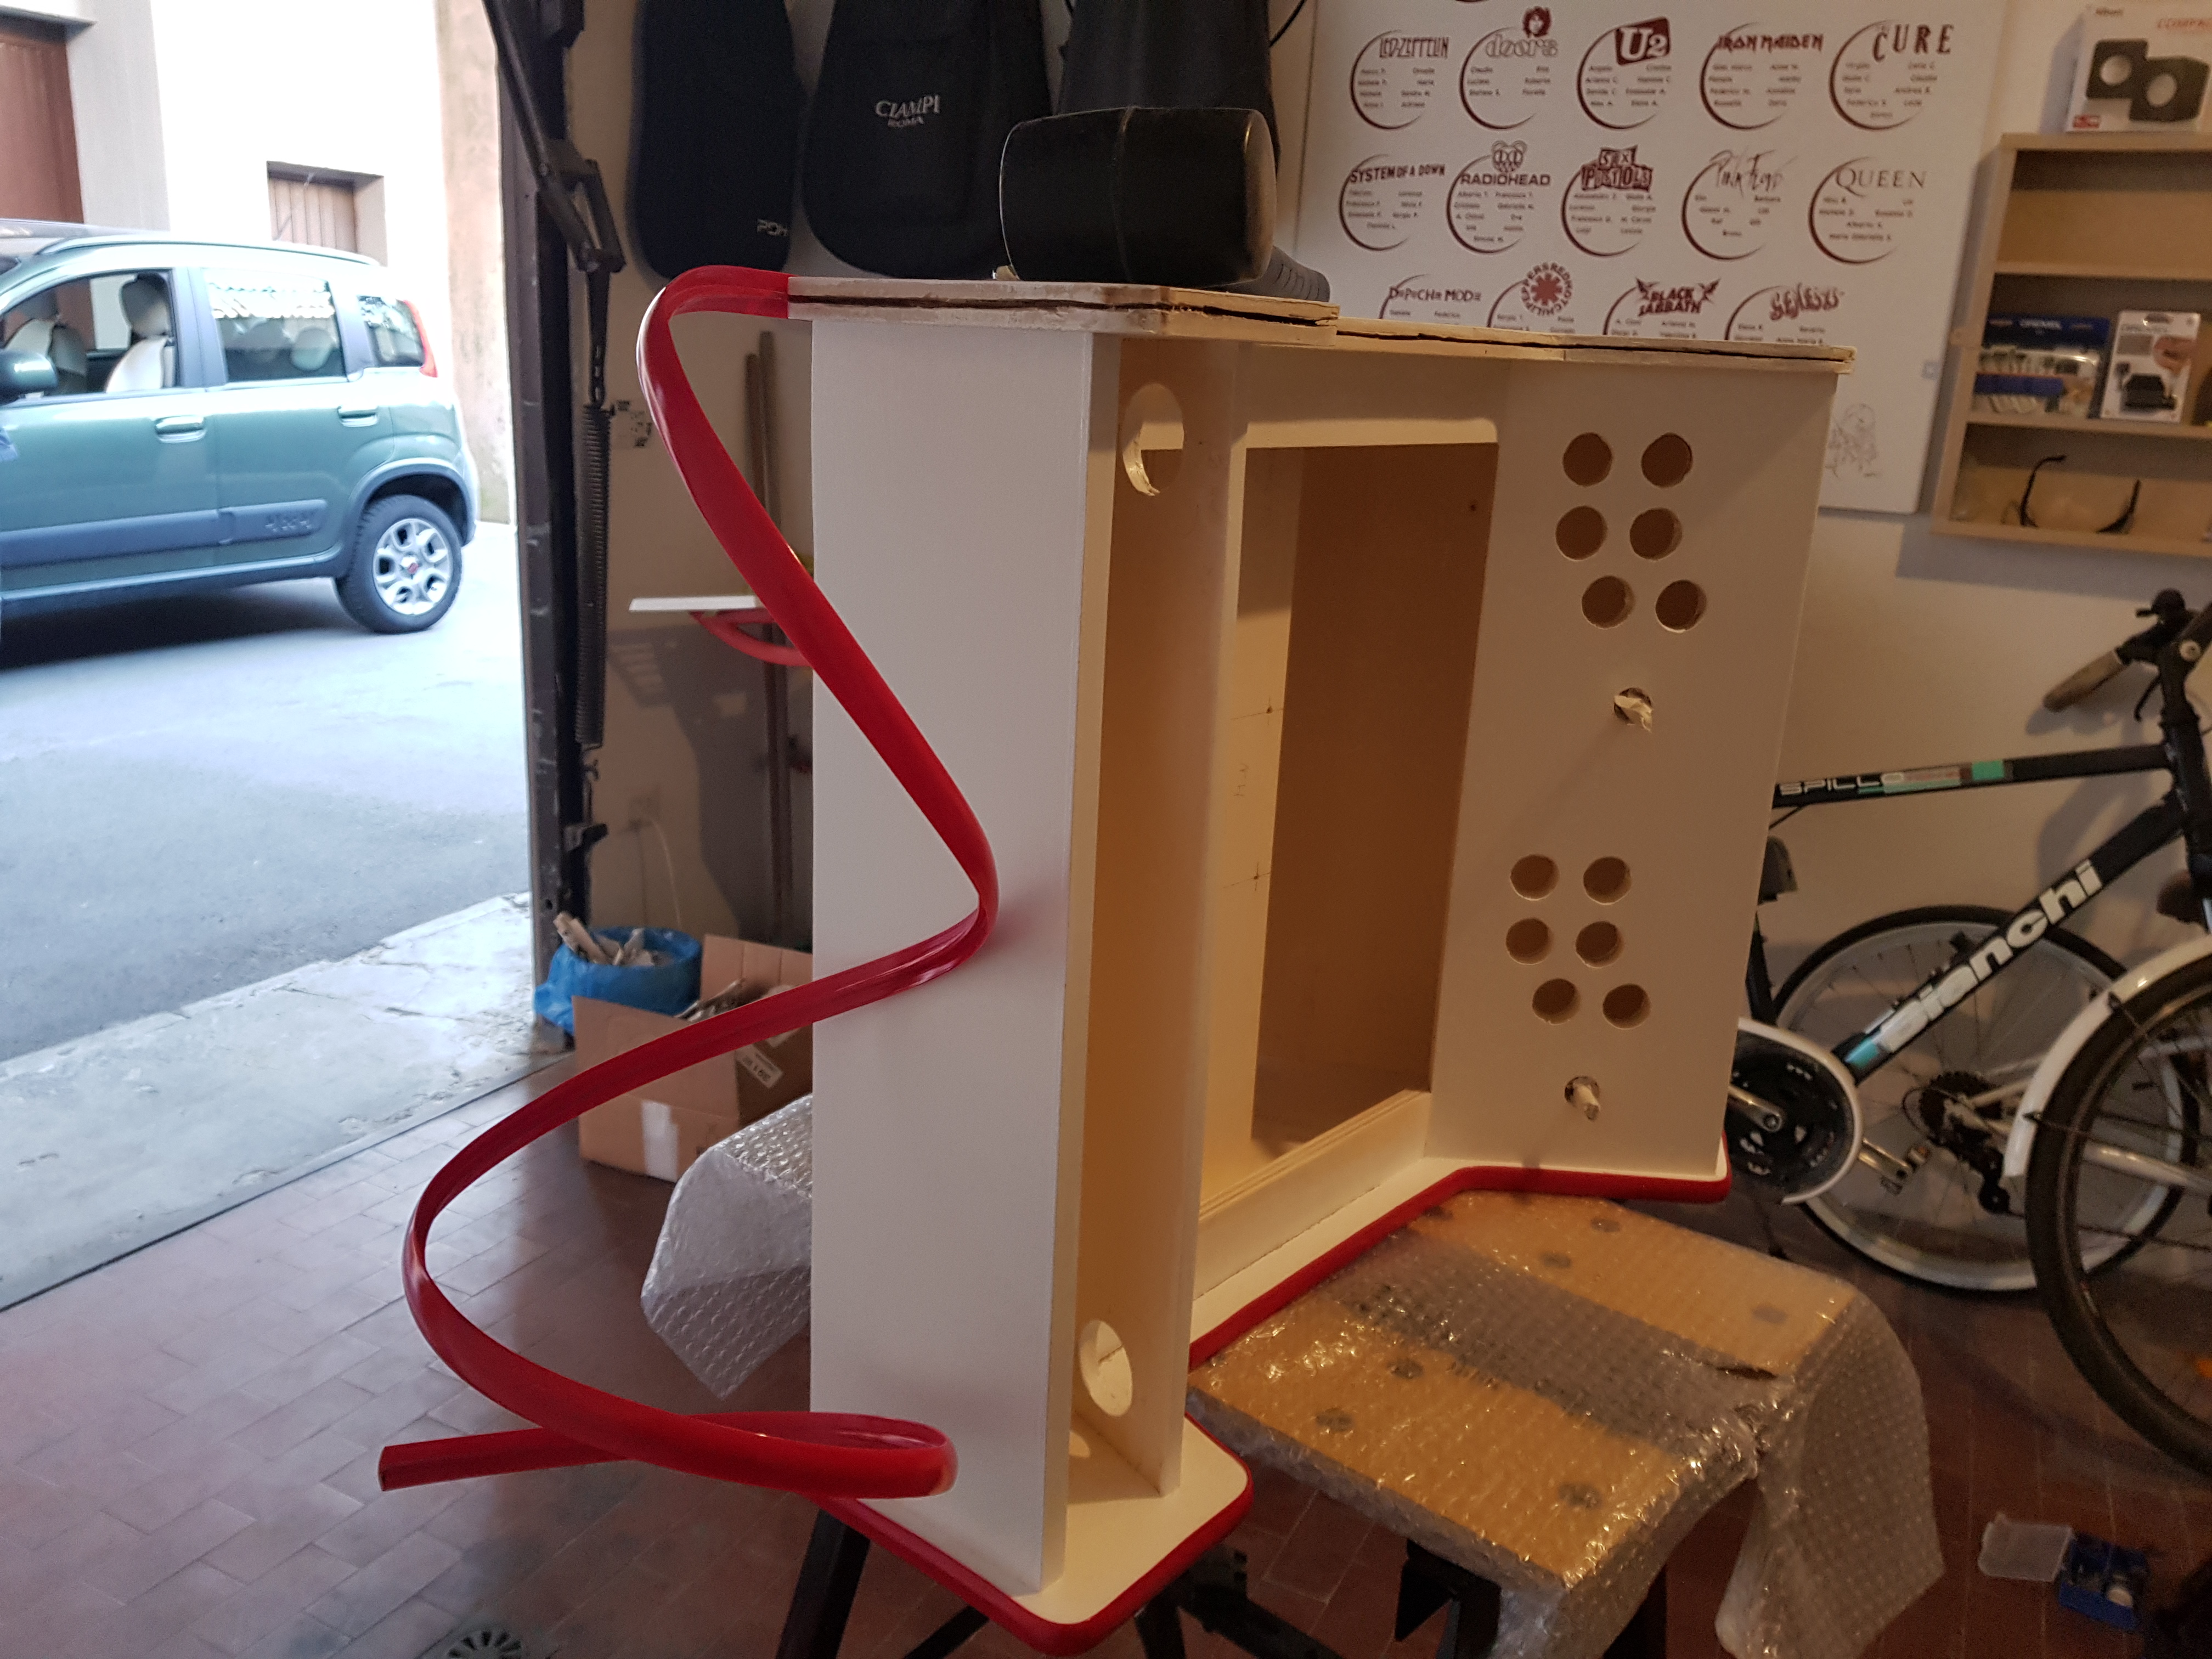
I also had to use some bi-component epoxy glue in a single point where the slot ended up being too big so that I could have the T-Molding properly fit and also stay firmly put everywhere.
Conclusion
This is the end of Part 4: our cabinet is now fully painted and the T-Molding is (hopefully) firmly in place.
In the next part of the tutorial we’ll deal with the hardware & electric components setup, leaving the software configuration for the sixth (and last) episode.
As always, if you have any question or want to leave your feedback, you’re more than welcome to do that using the comment section below!
In case you’ve missed the previous posts, here are the links to the whole guide:
- Part 1 of 6: Introduction & Raw Materials
- Part 2 of 6: Tools, Design & Prototype
- Part 3 of 6: Building the Cabinet
- Part 4 of 6: Painting & T-Molding
- Part 5 of 6: Installing the Hardware
- Part 6 of 6: Configuring the Software (Raspberry PI & Retropie)
Check out all the pictures of the Arcade Bartop (all those used in this tutorial + more) on my Arcade Bartop album on Flickr.com.

These look great. Did you spray or use a brush to paint them?
No spray, plain brush 🙂