 - Part 1 of 6 - Introduction")
Table of Contents
Welcome to part five of my six-post long Arcade Bartop DIY tutorial. In case you’ve missed the previous posts, here are the links to the whole guide:
- Part 1 of 6: Introduction & Raw Materials
- Part 2 of 6: Tools, Design & Prototype
- Part 3 of 6: Building the Cabinet
- Part 4 of 6: Painting & T-Molding
- Part 5 of 6: Installing the Hardware
- Part 6 of 6: Configuring the Software (Raspberry PI & Retropie)
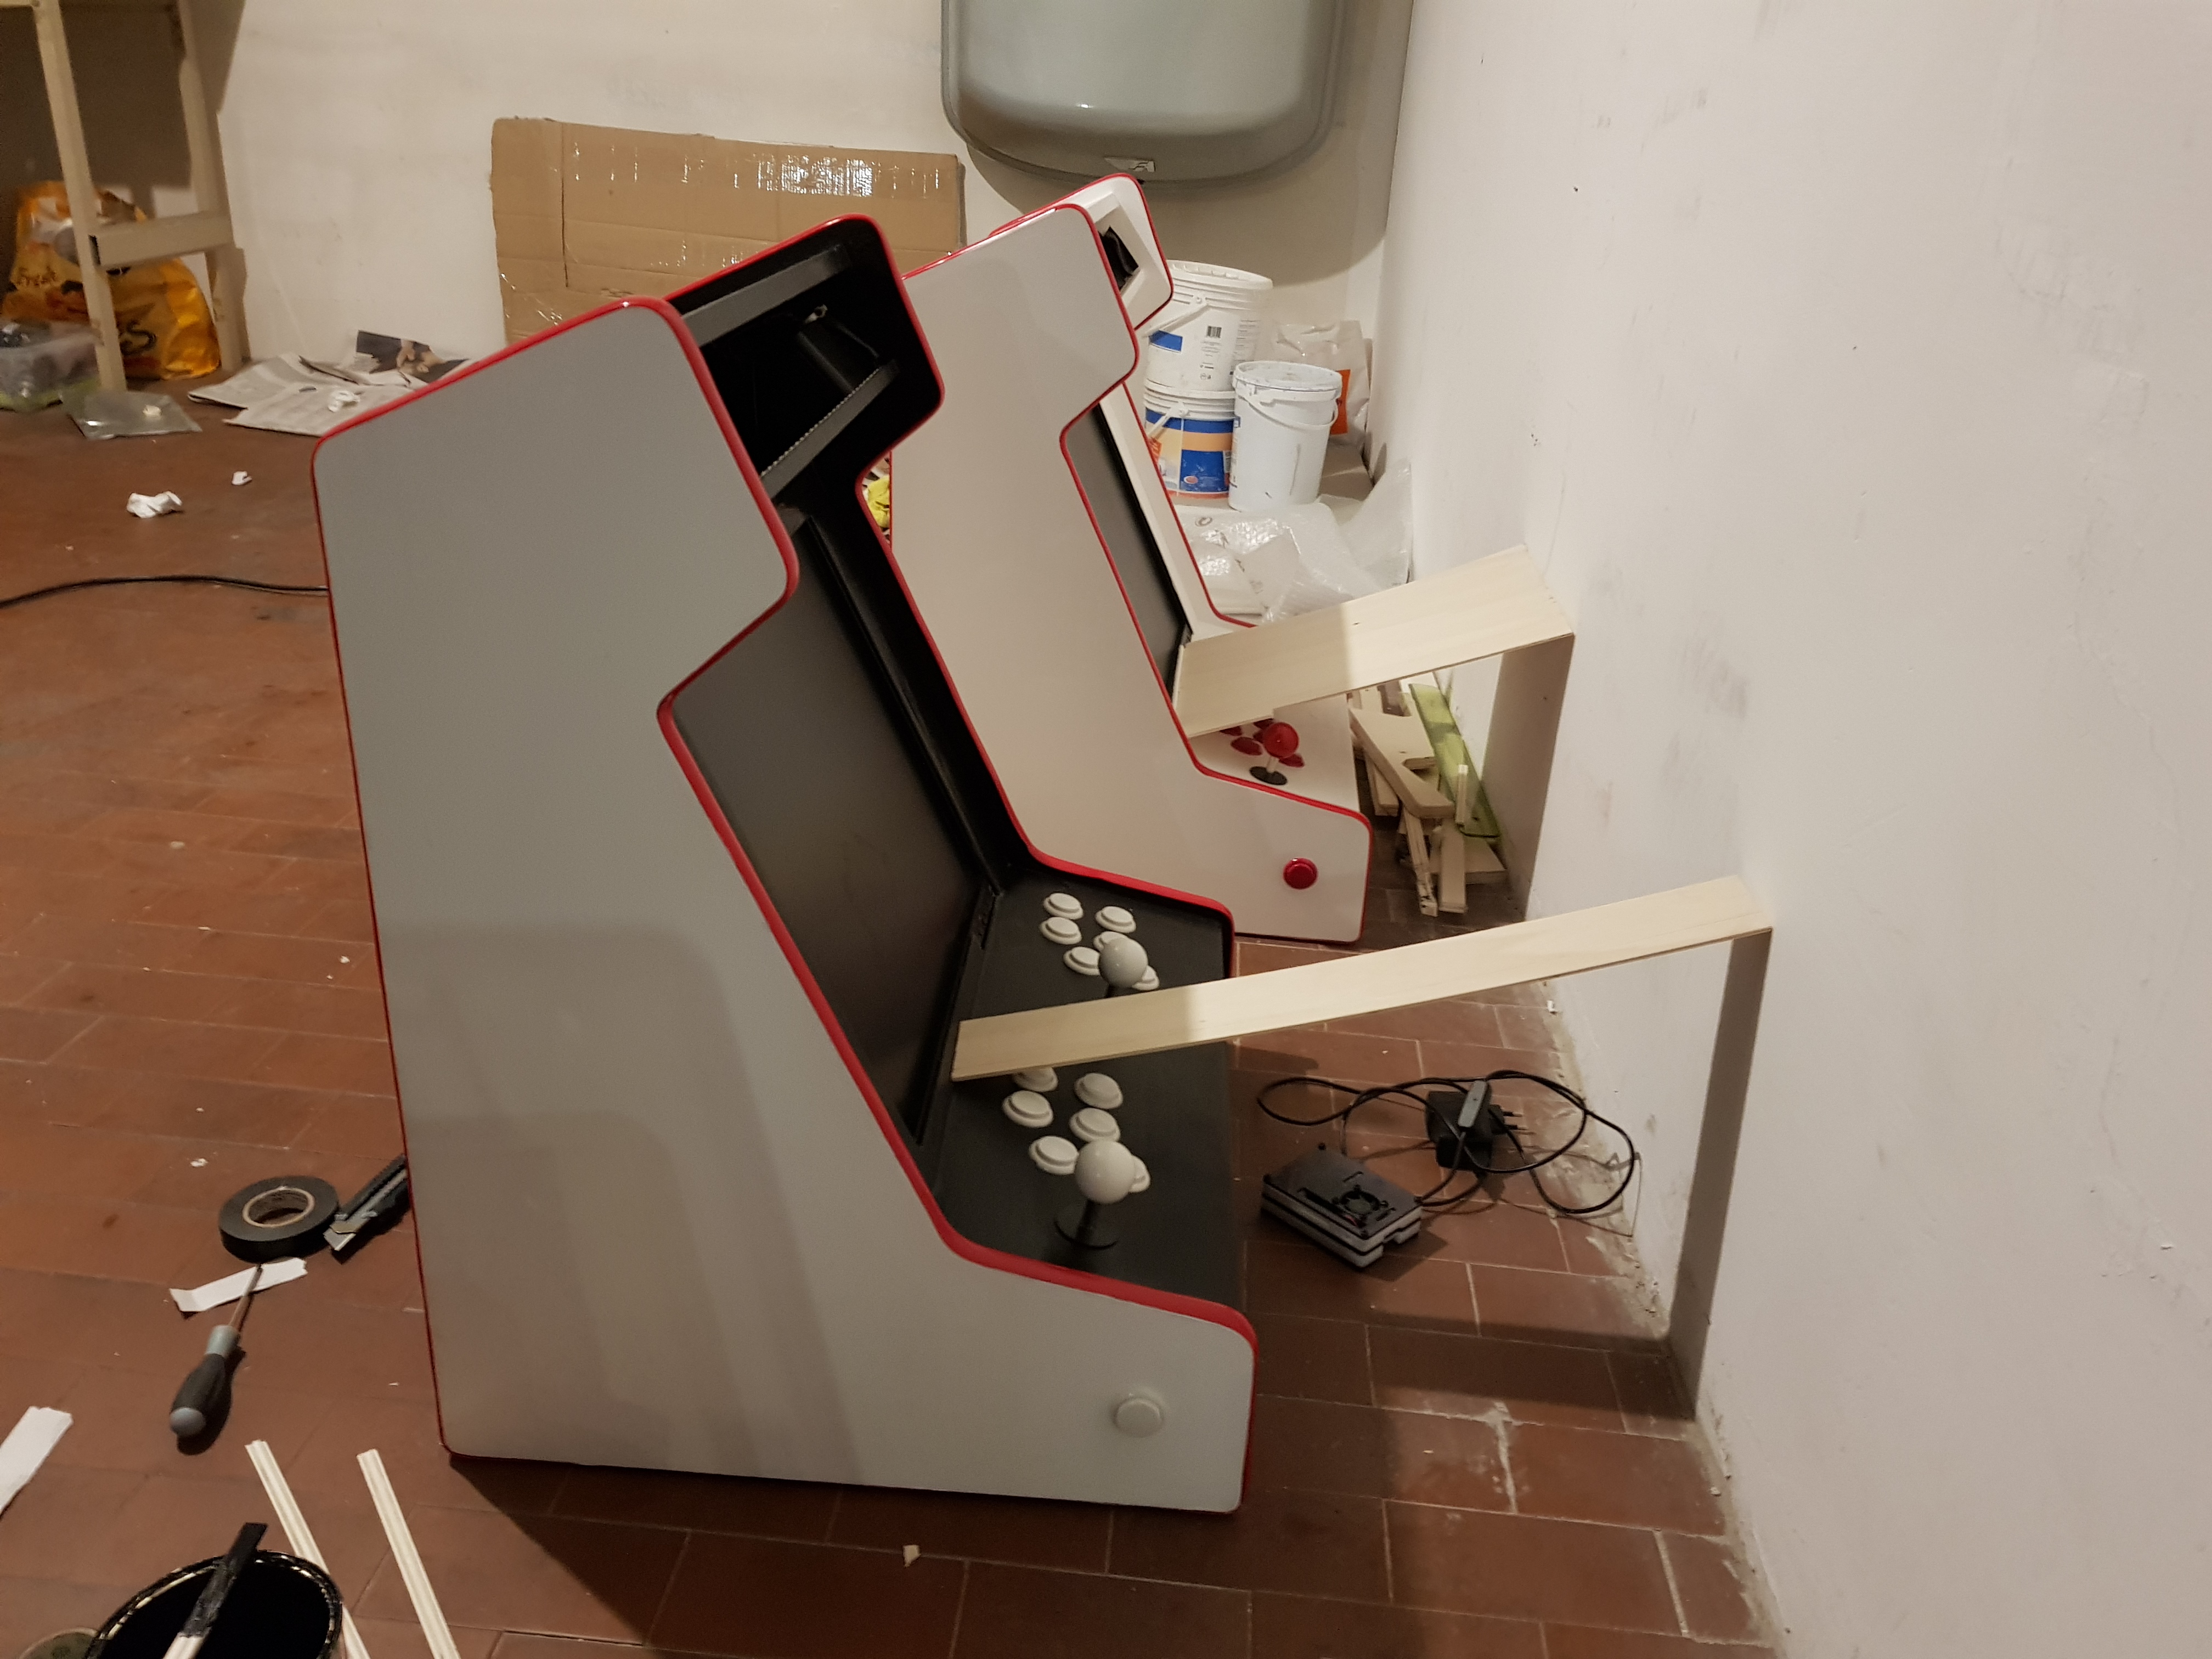
In this part I had to deal with AC sockets, power strips, joystick buttons, welders, LED drivers, stereo speakers and plexiglass.
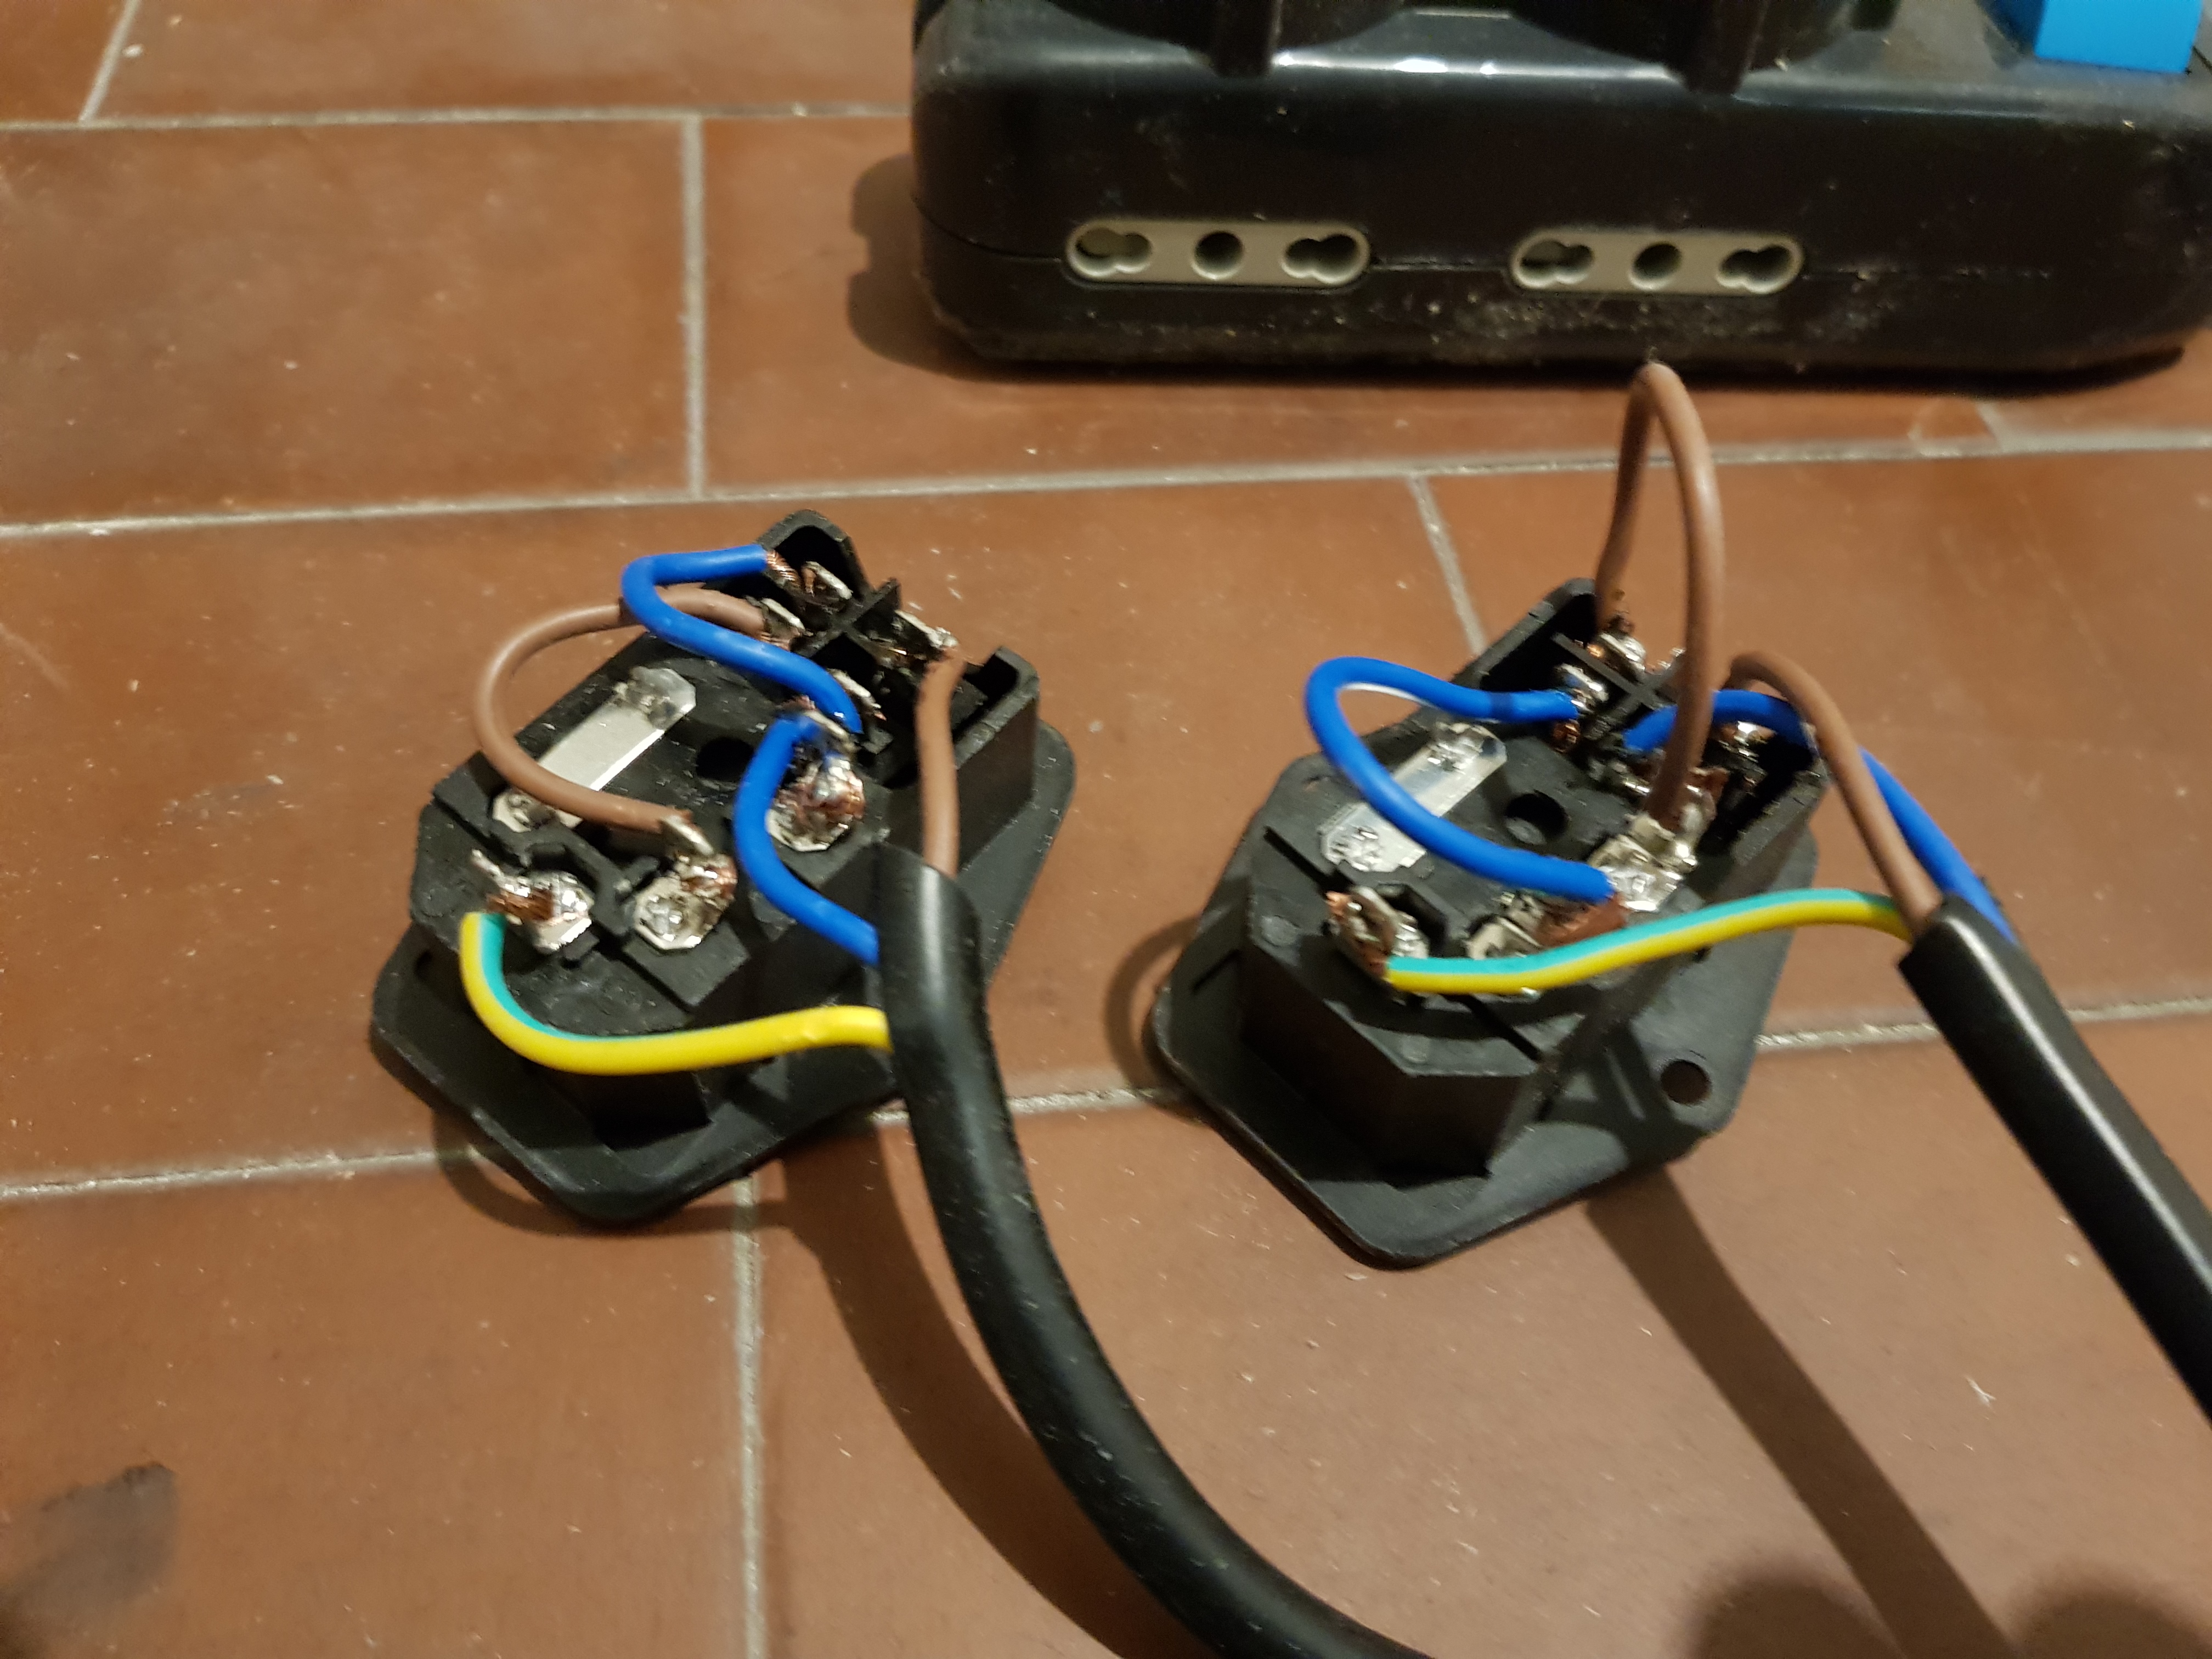
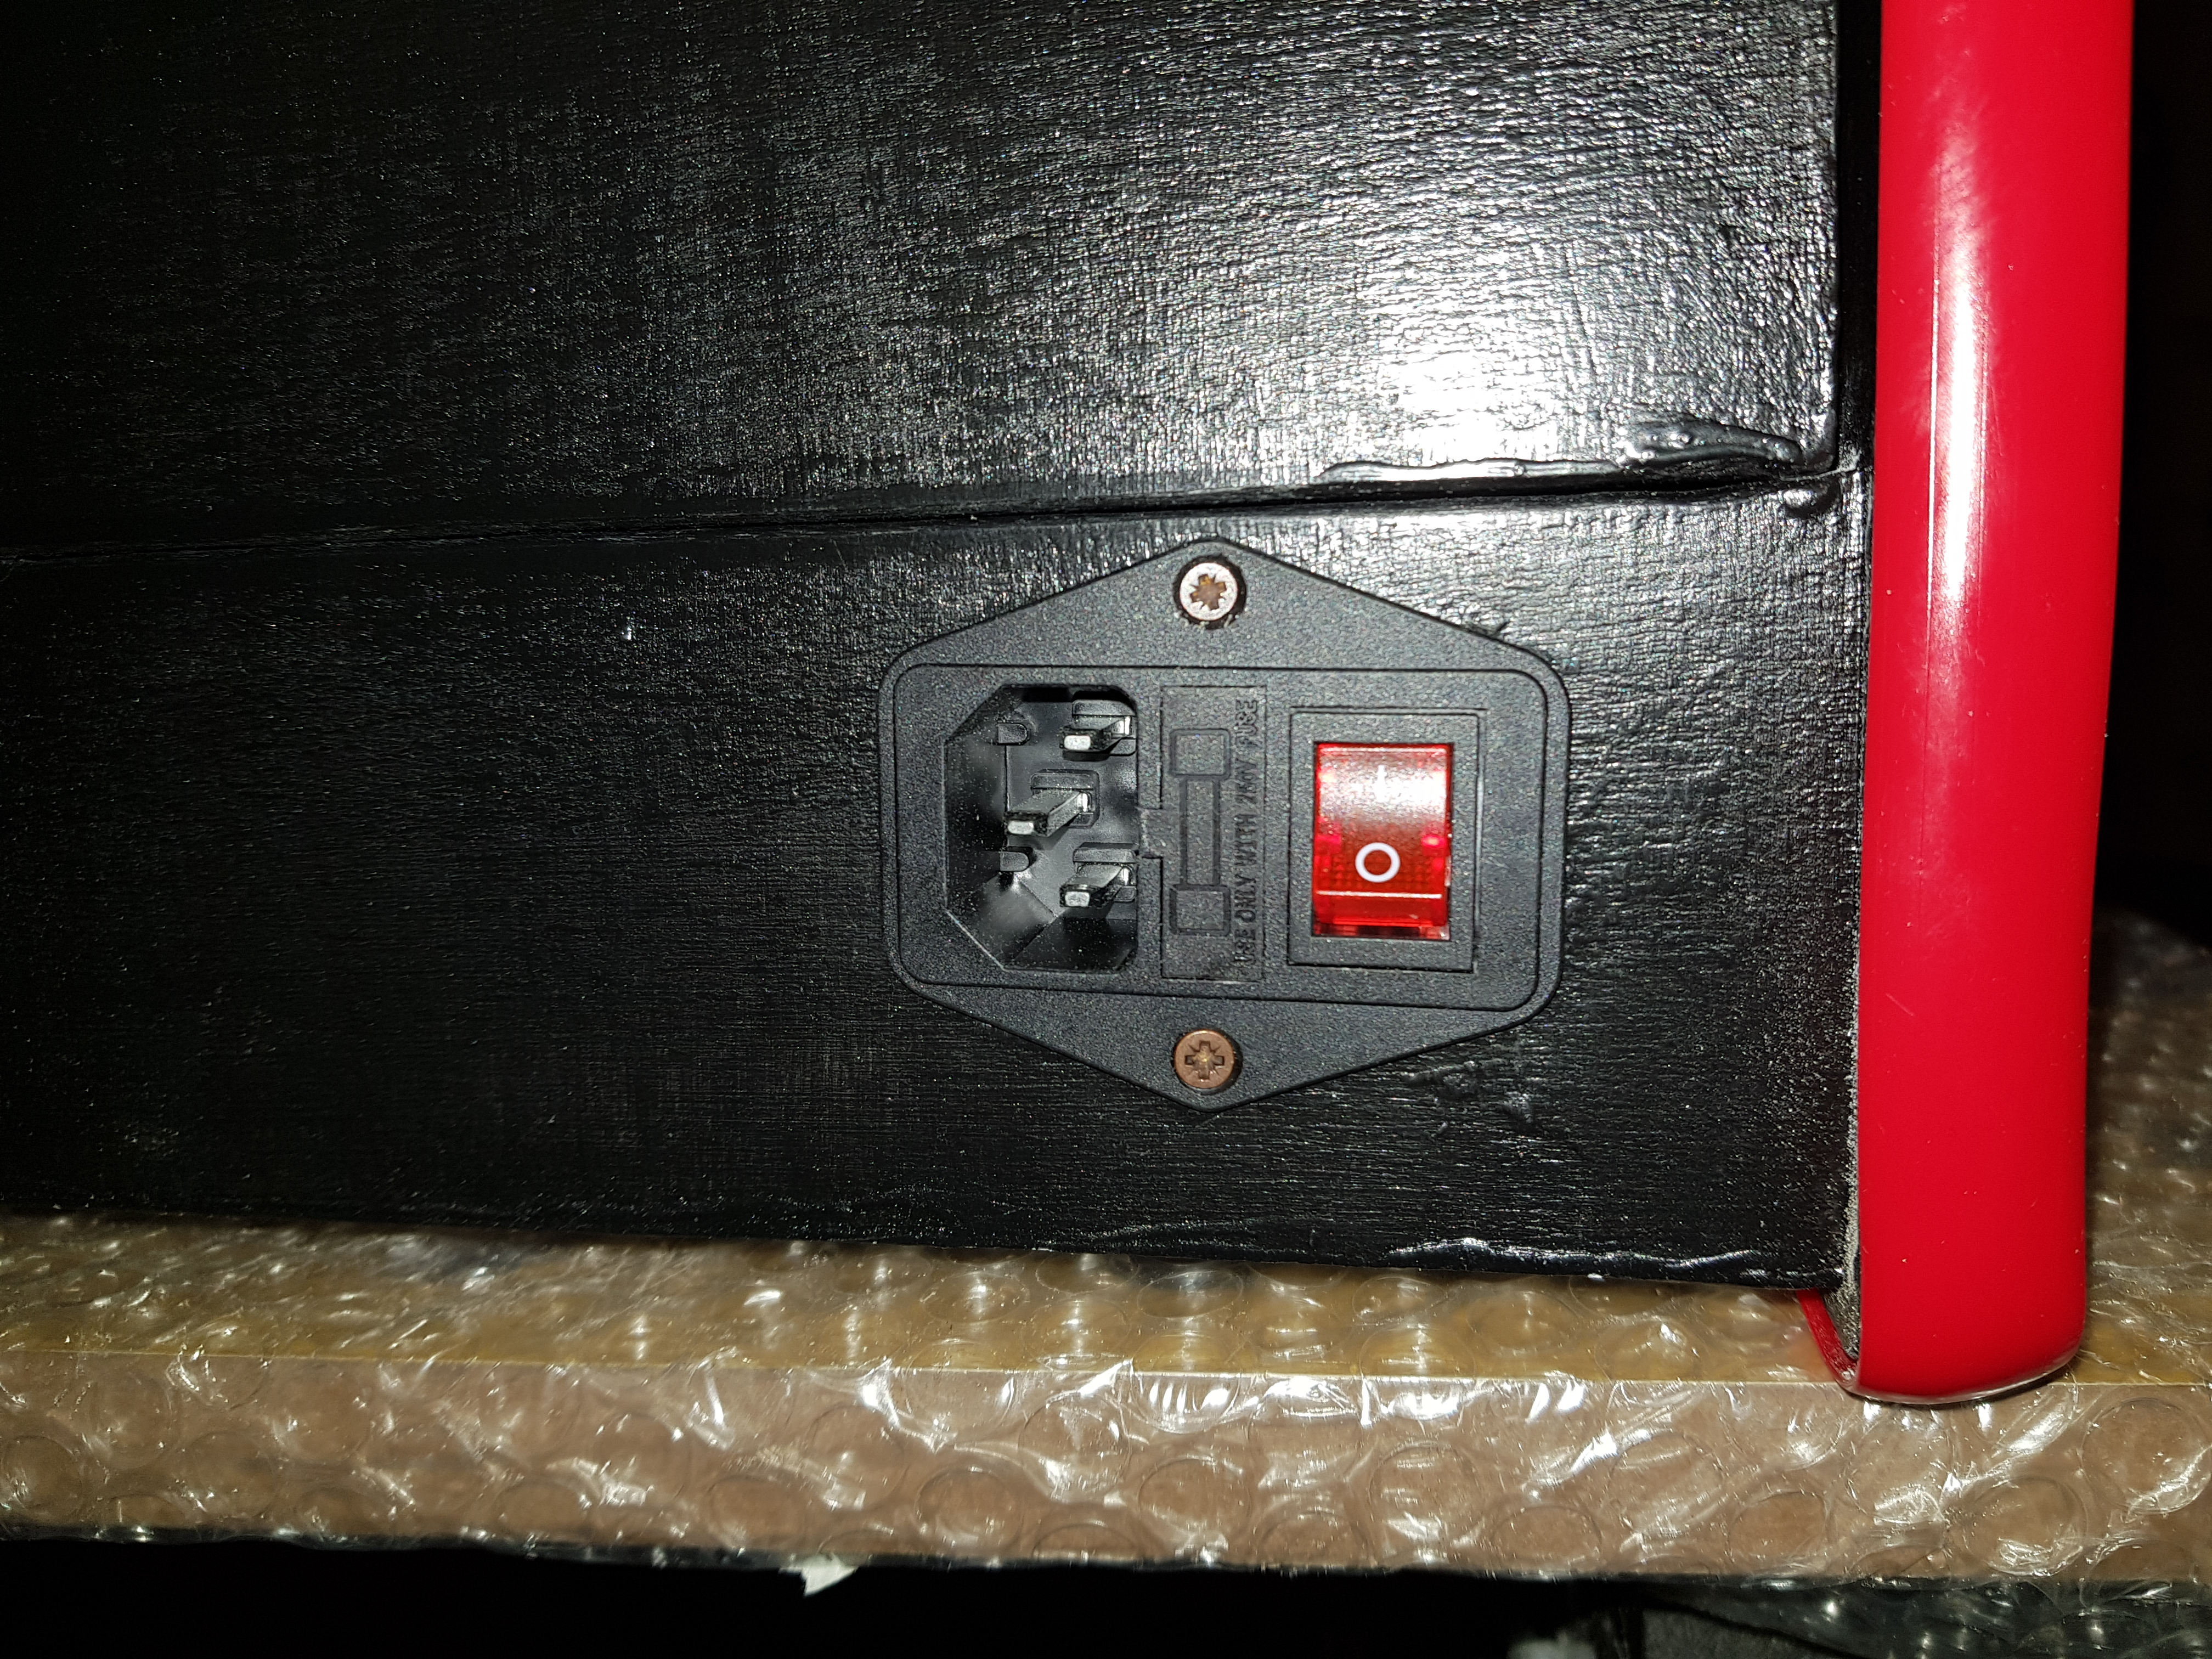
Setting up the AC Socket
Time to get the welder, the insulating tape, the IEC320 C14 AC power socket and the power strip to wire up the cables, plugs & connectors that will bring the electricity inside the cabinet.
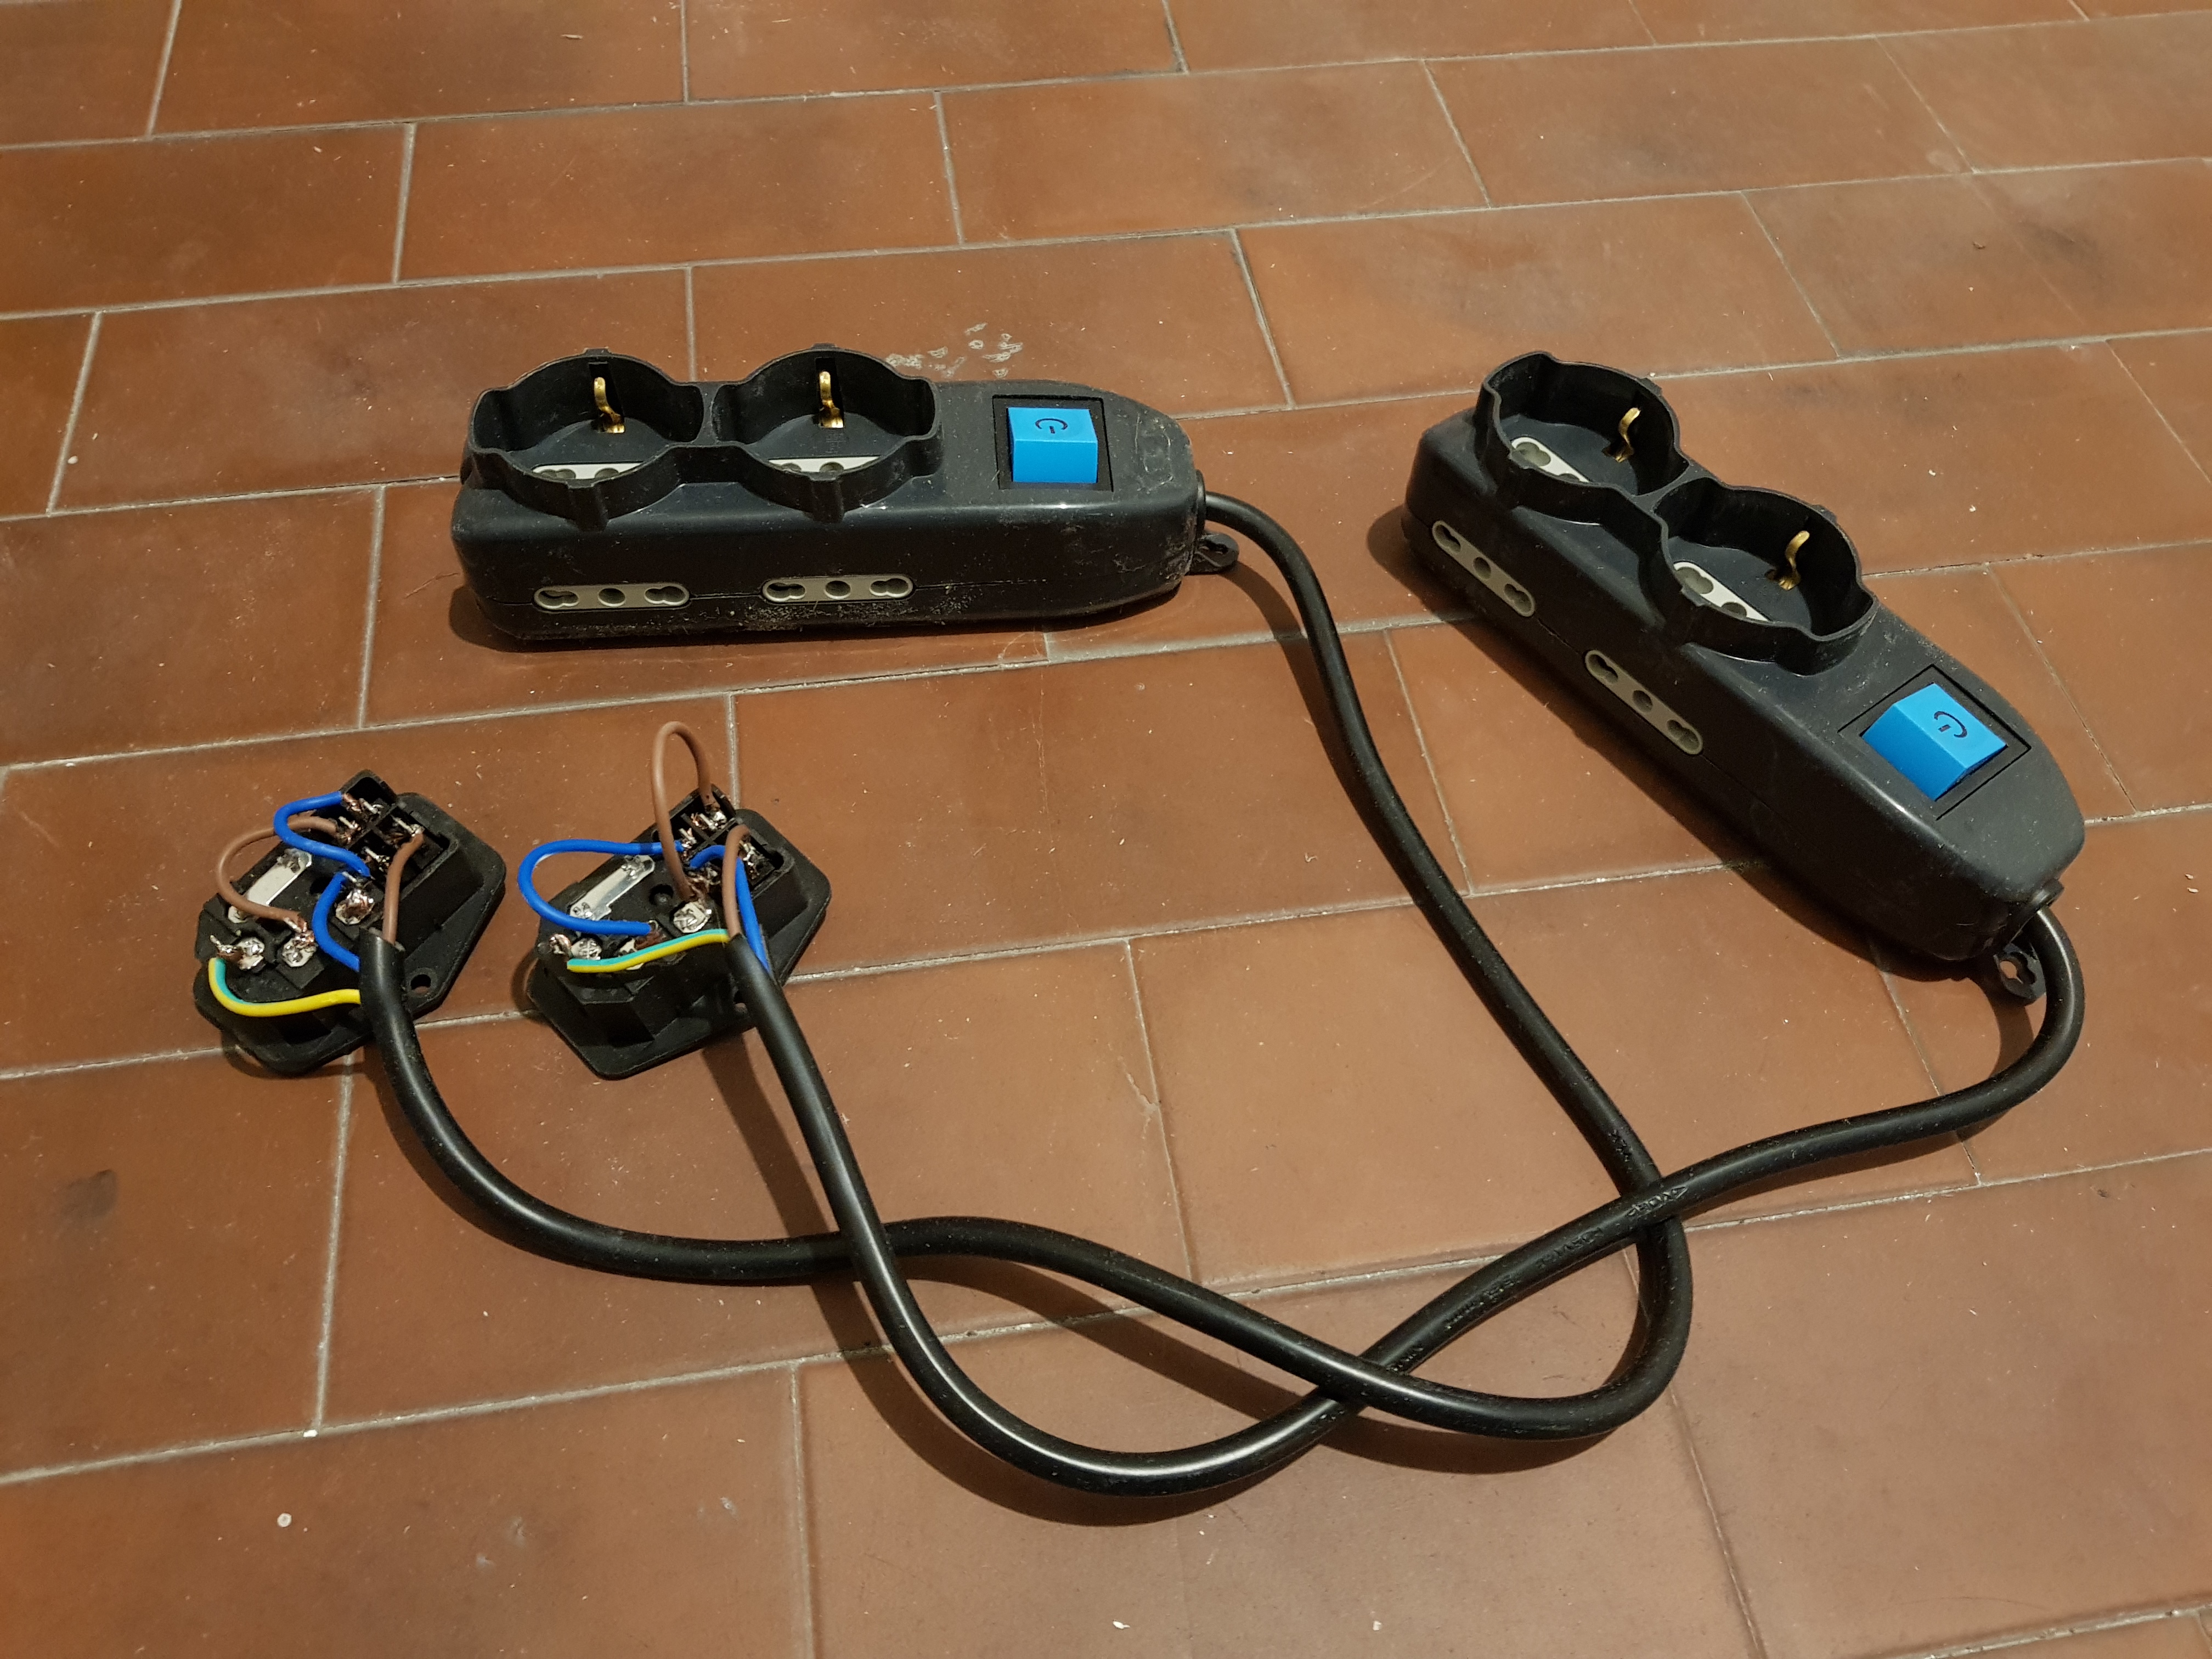
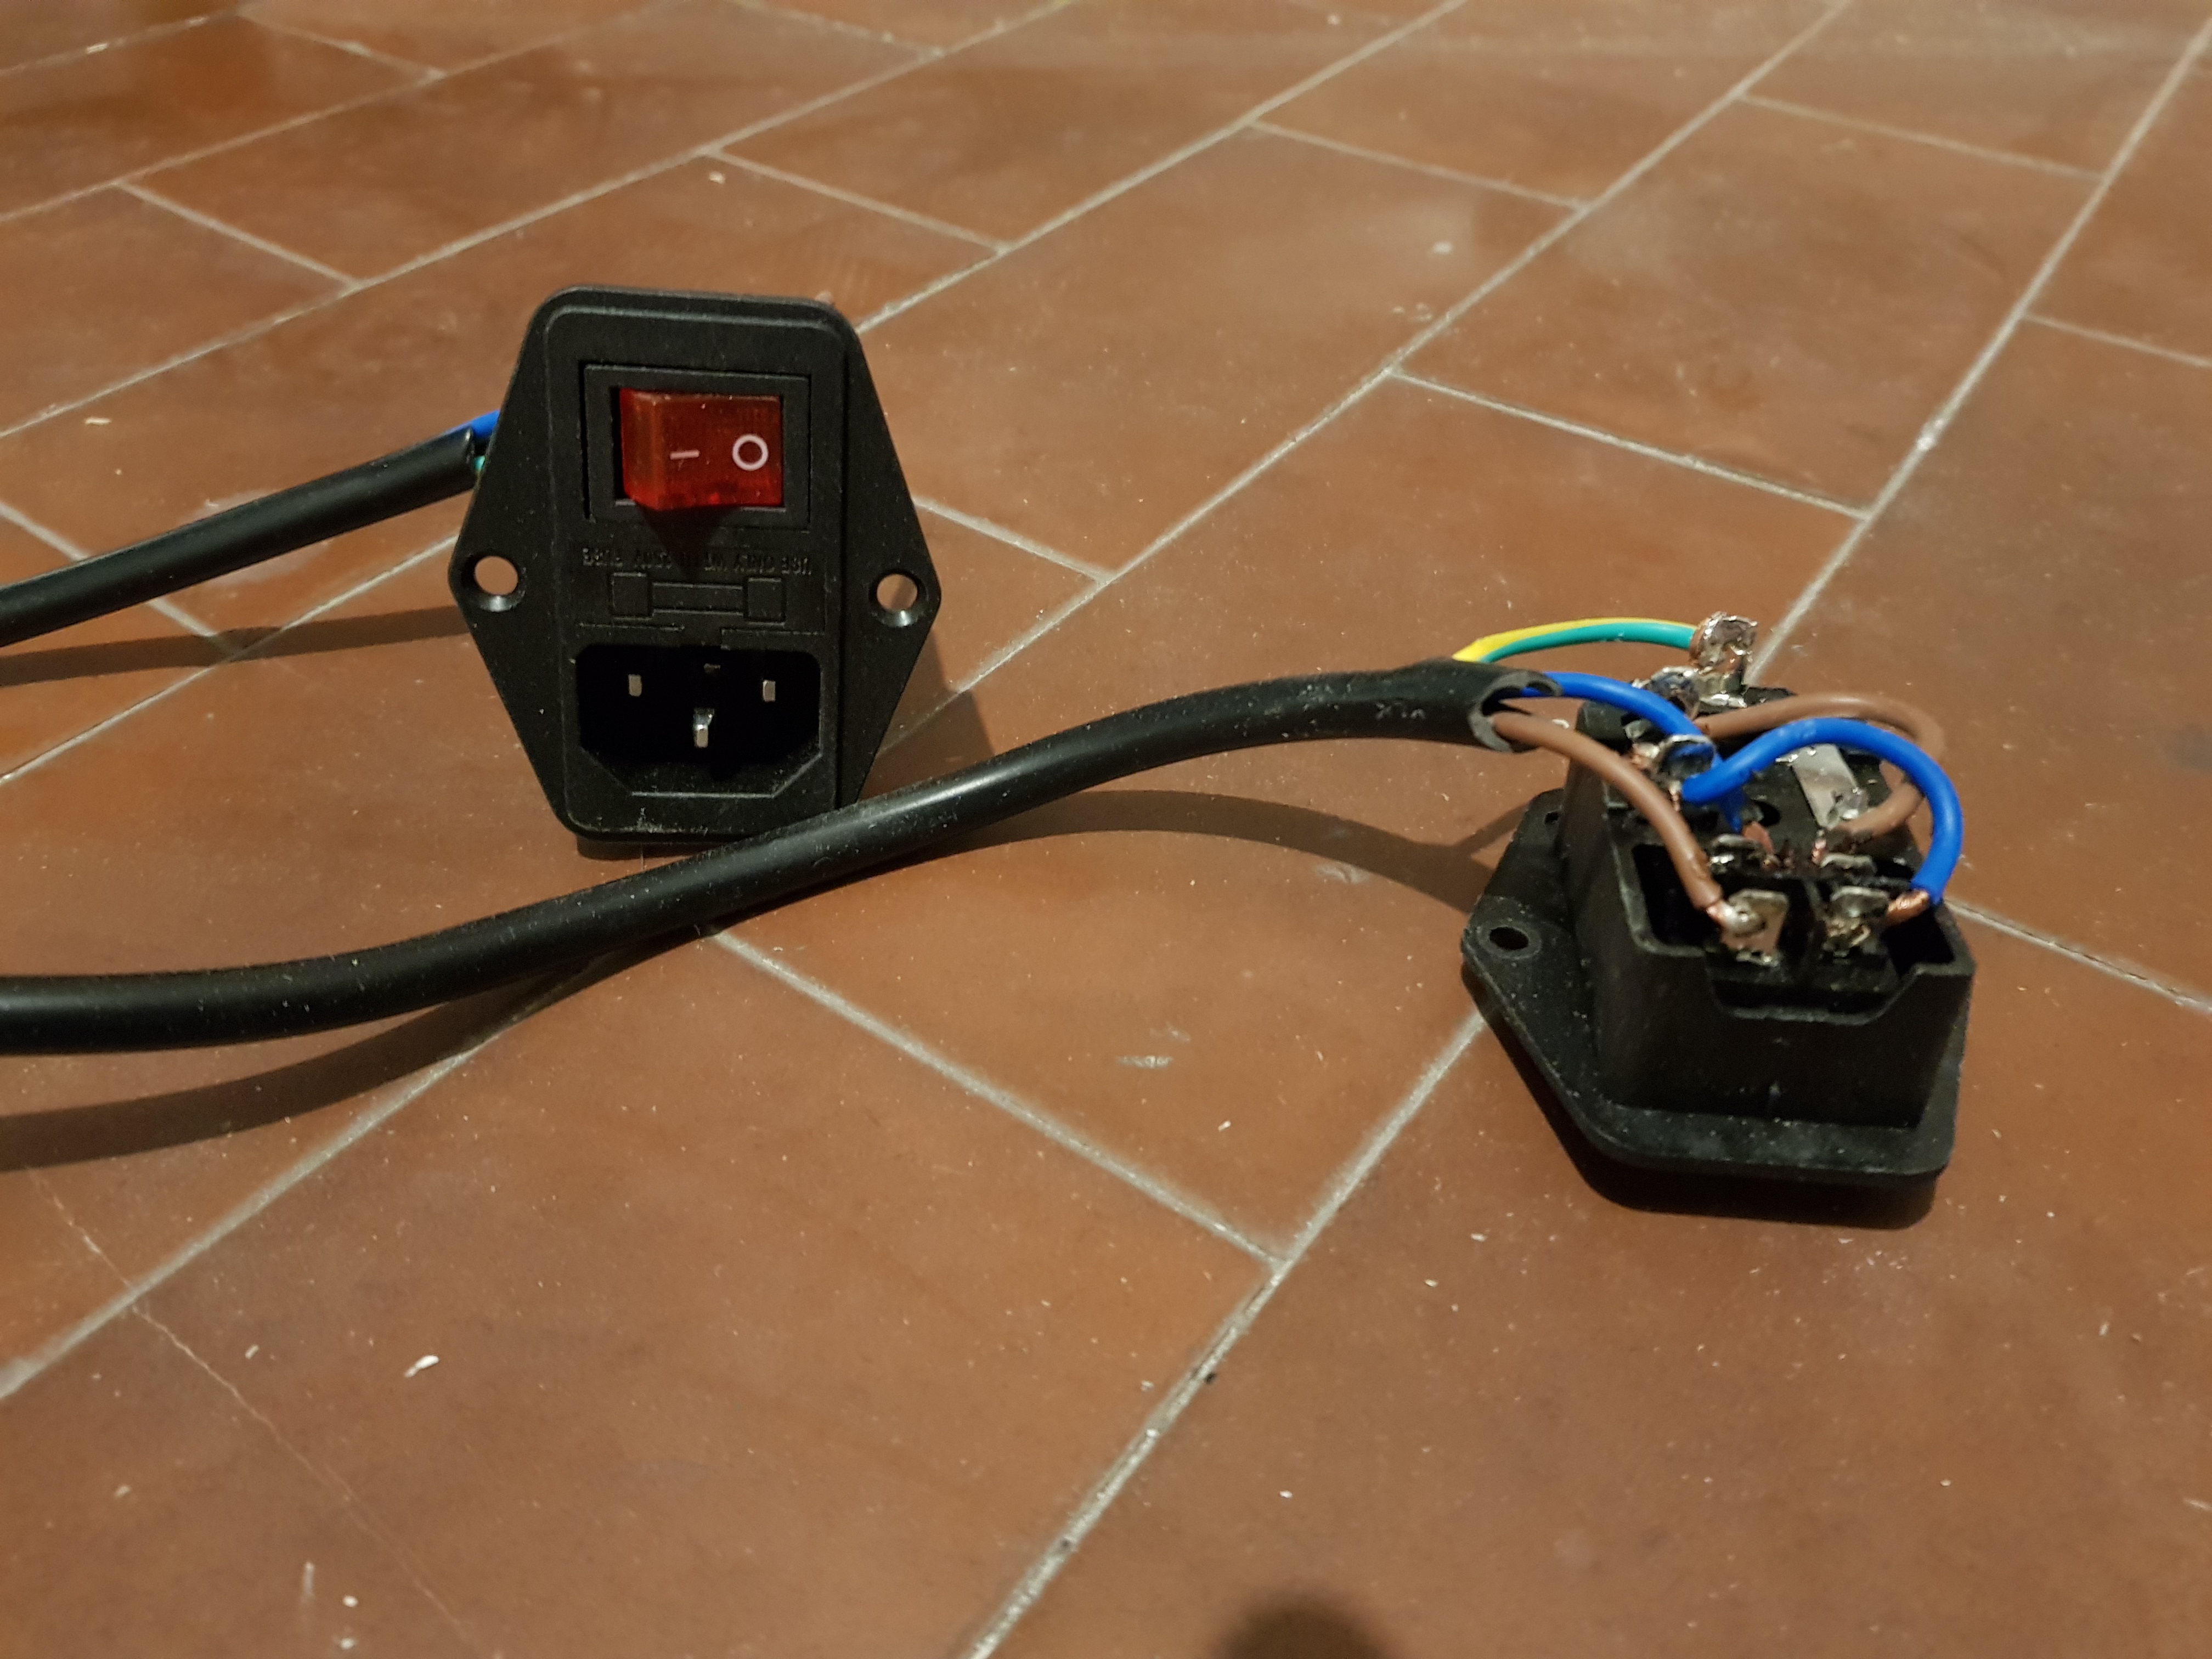
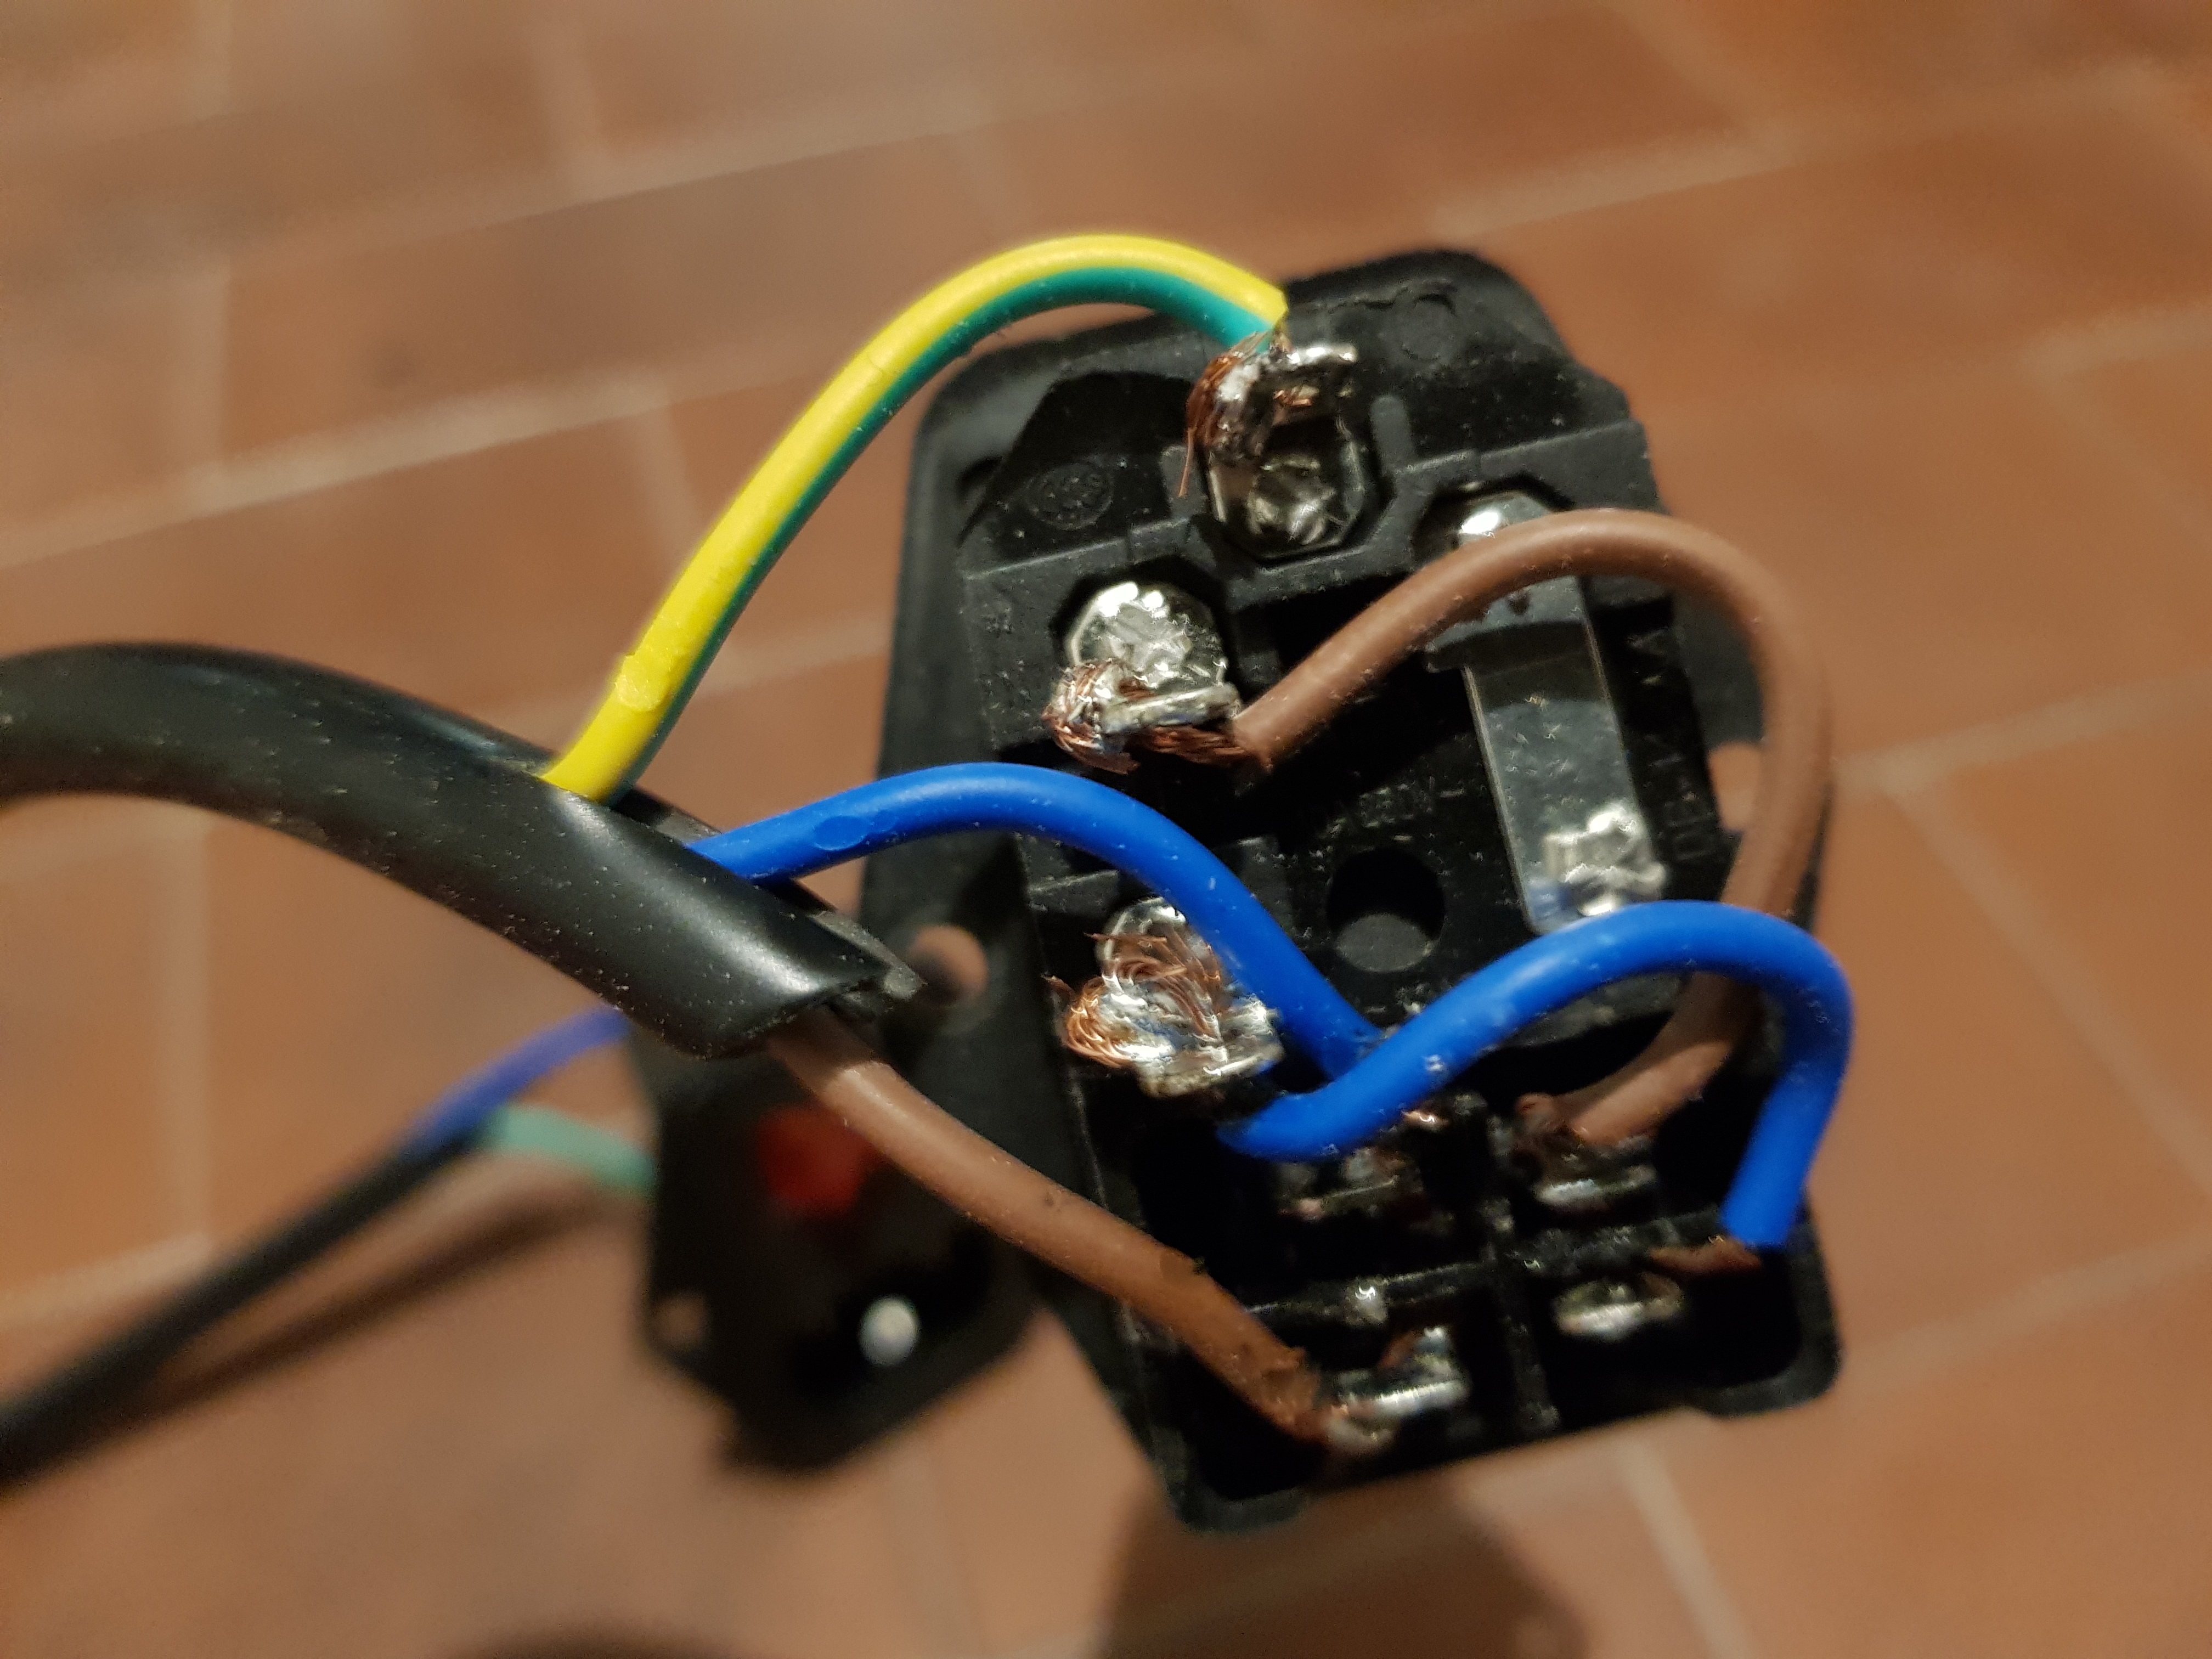
Remember to put the 10A fuse inside the IEC320 C14 AC socket for increased security!
Once finished, I put the socket to the Back Low panel by cutting a small rectangle opening using a hand saw and fixed it with two small screws.
I then used two more screws to fix the power strip to the bottom panel inside the cabinet.
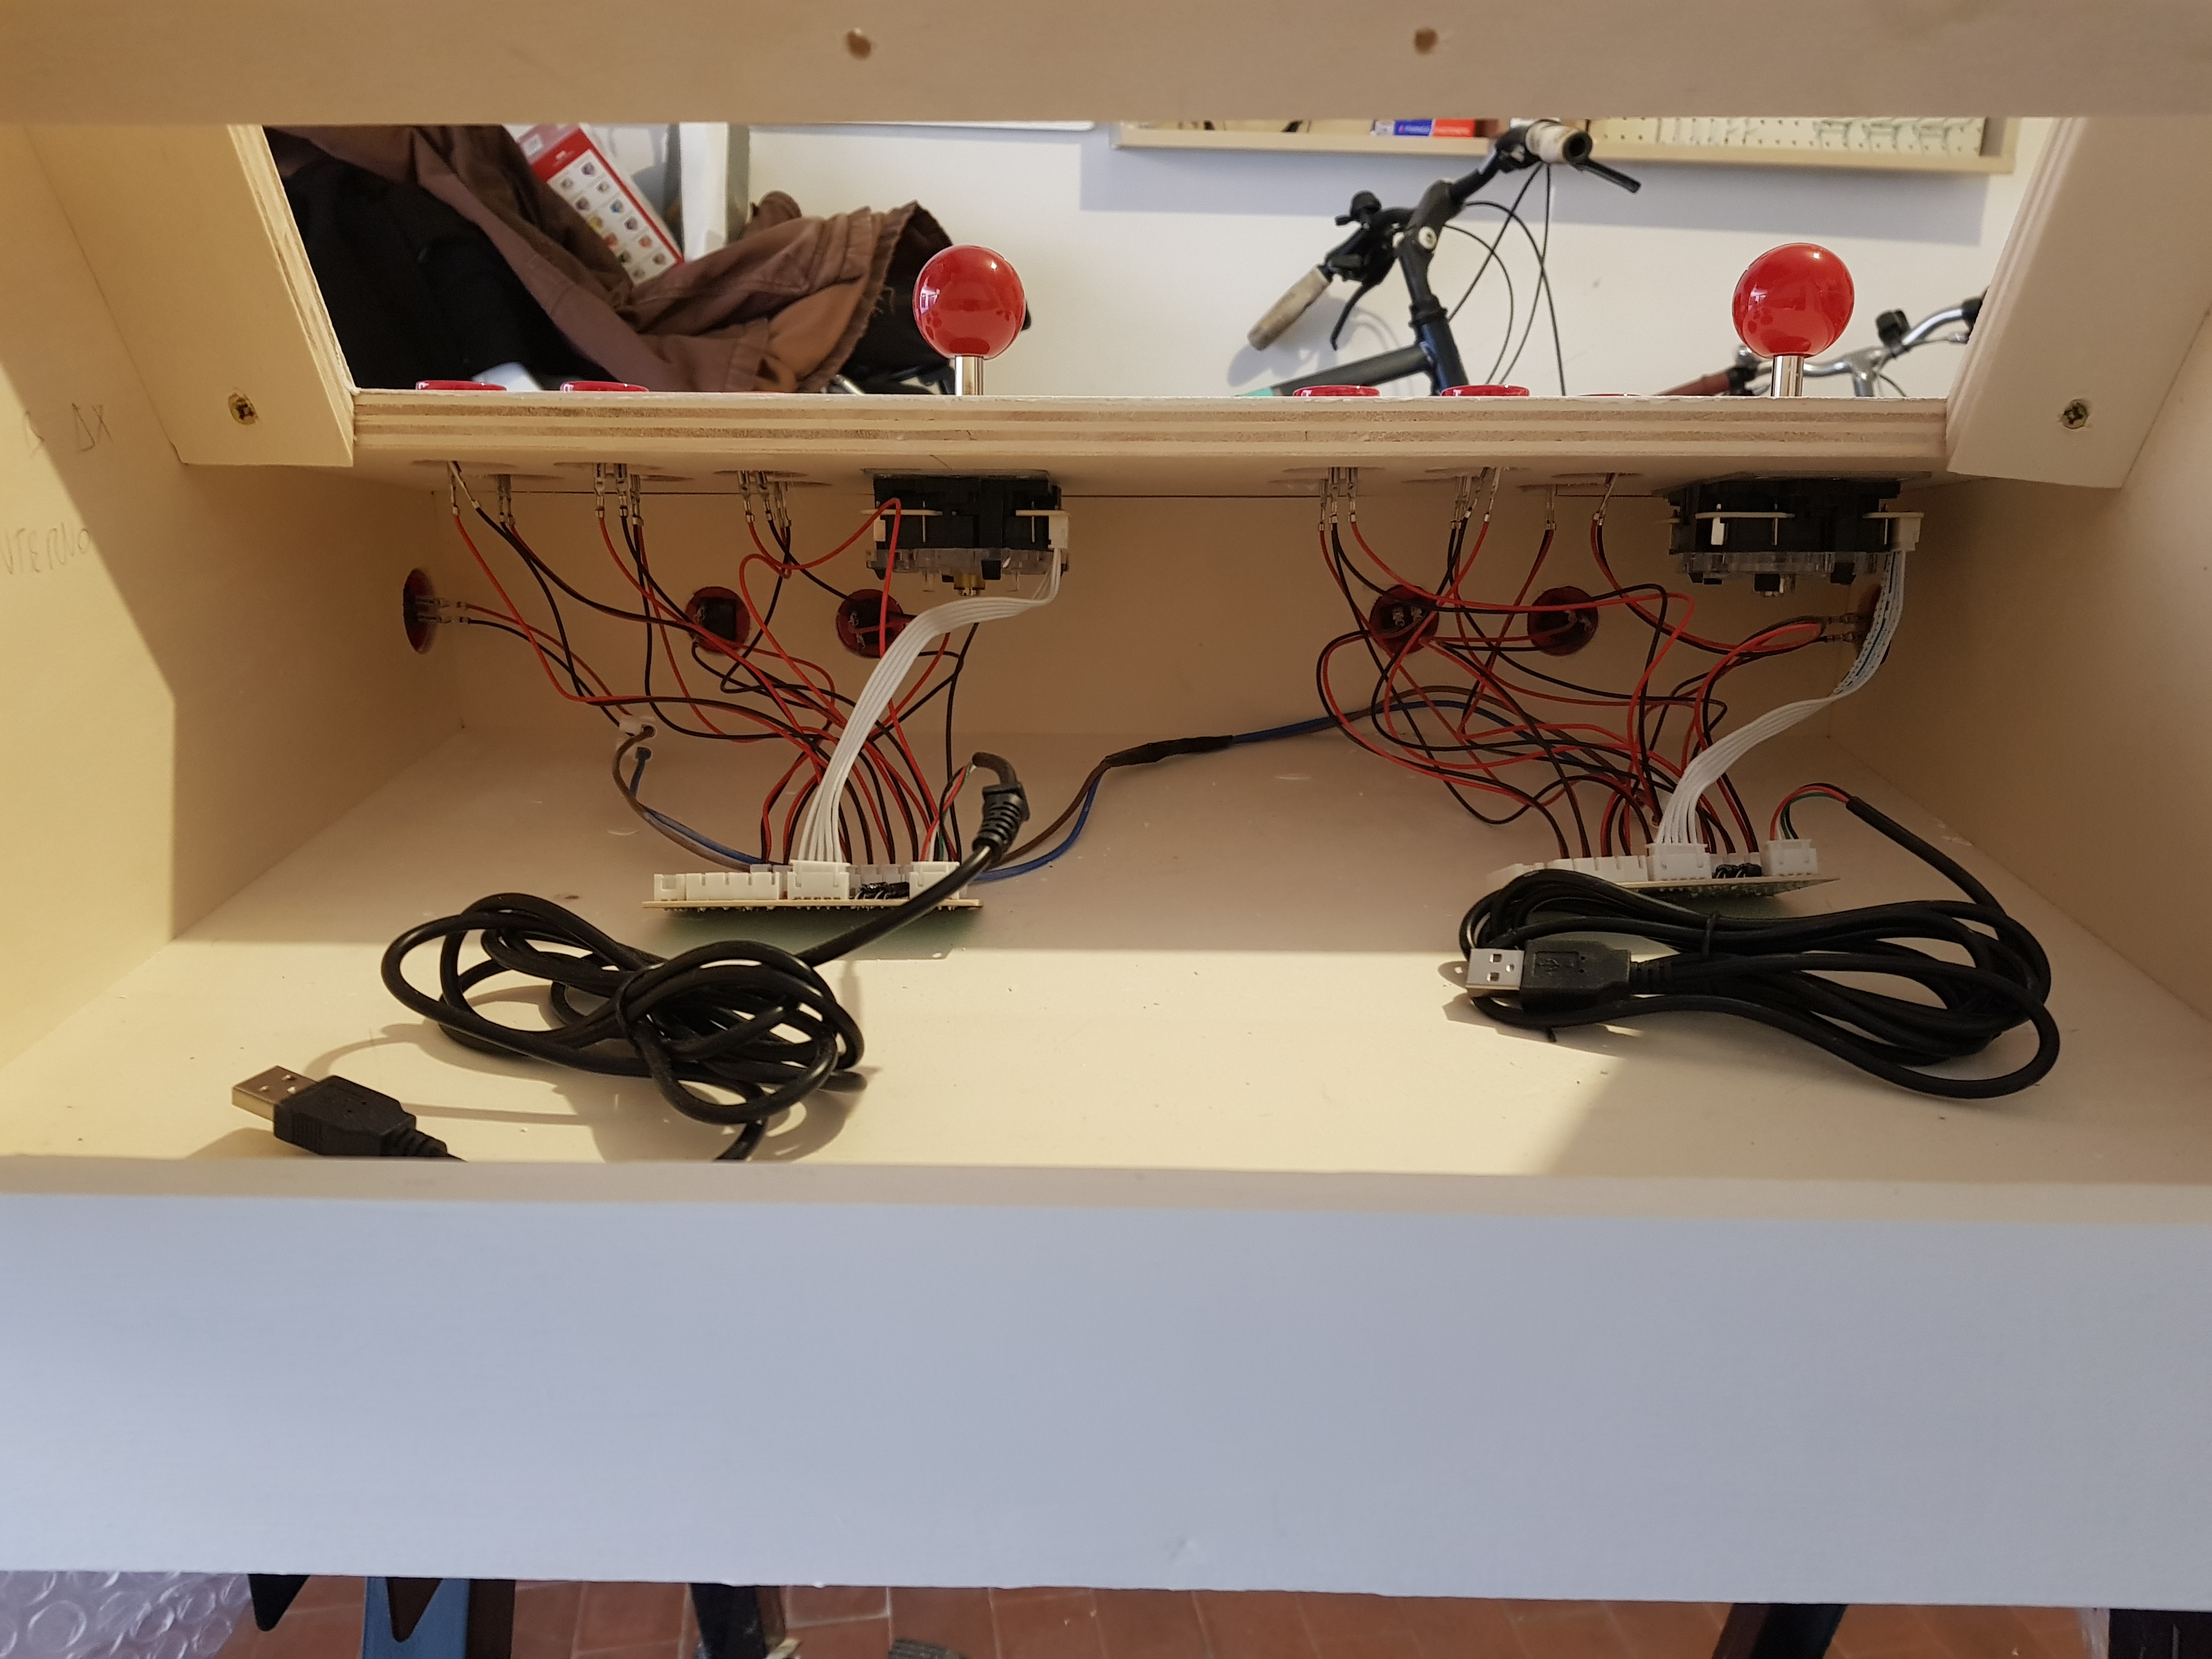
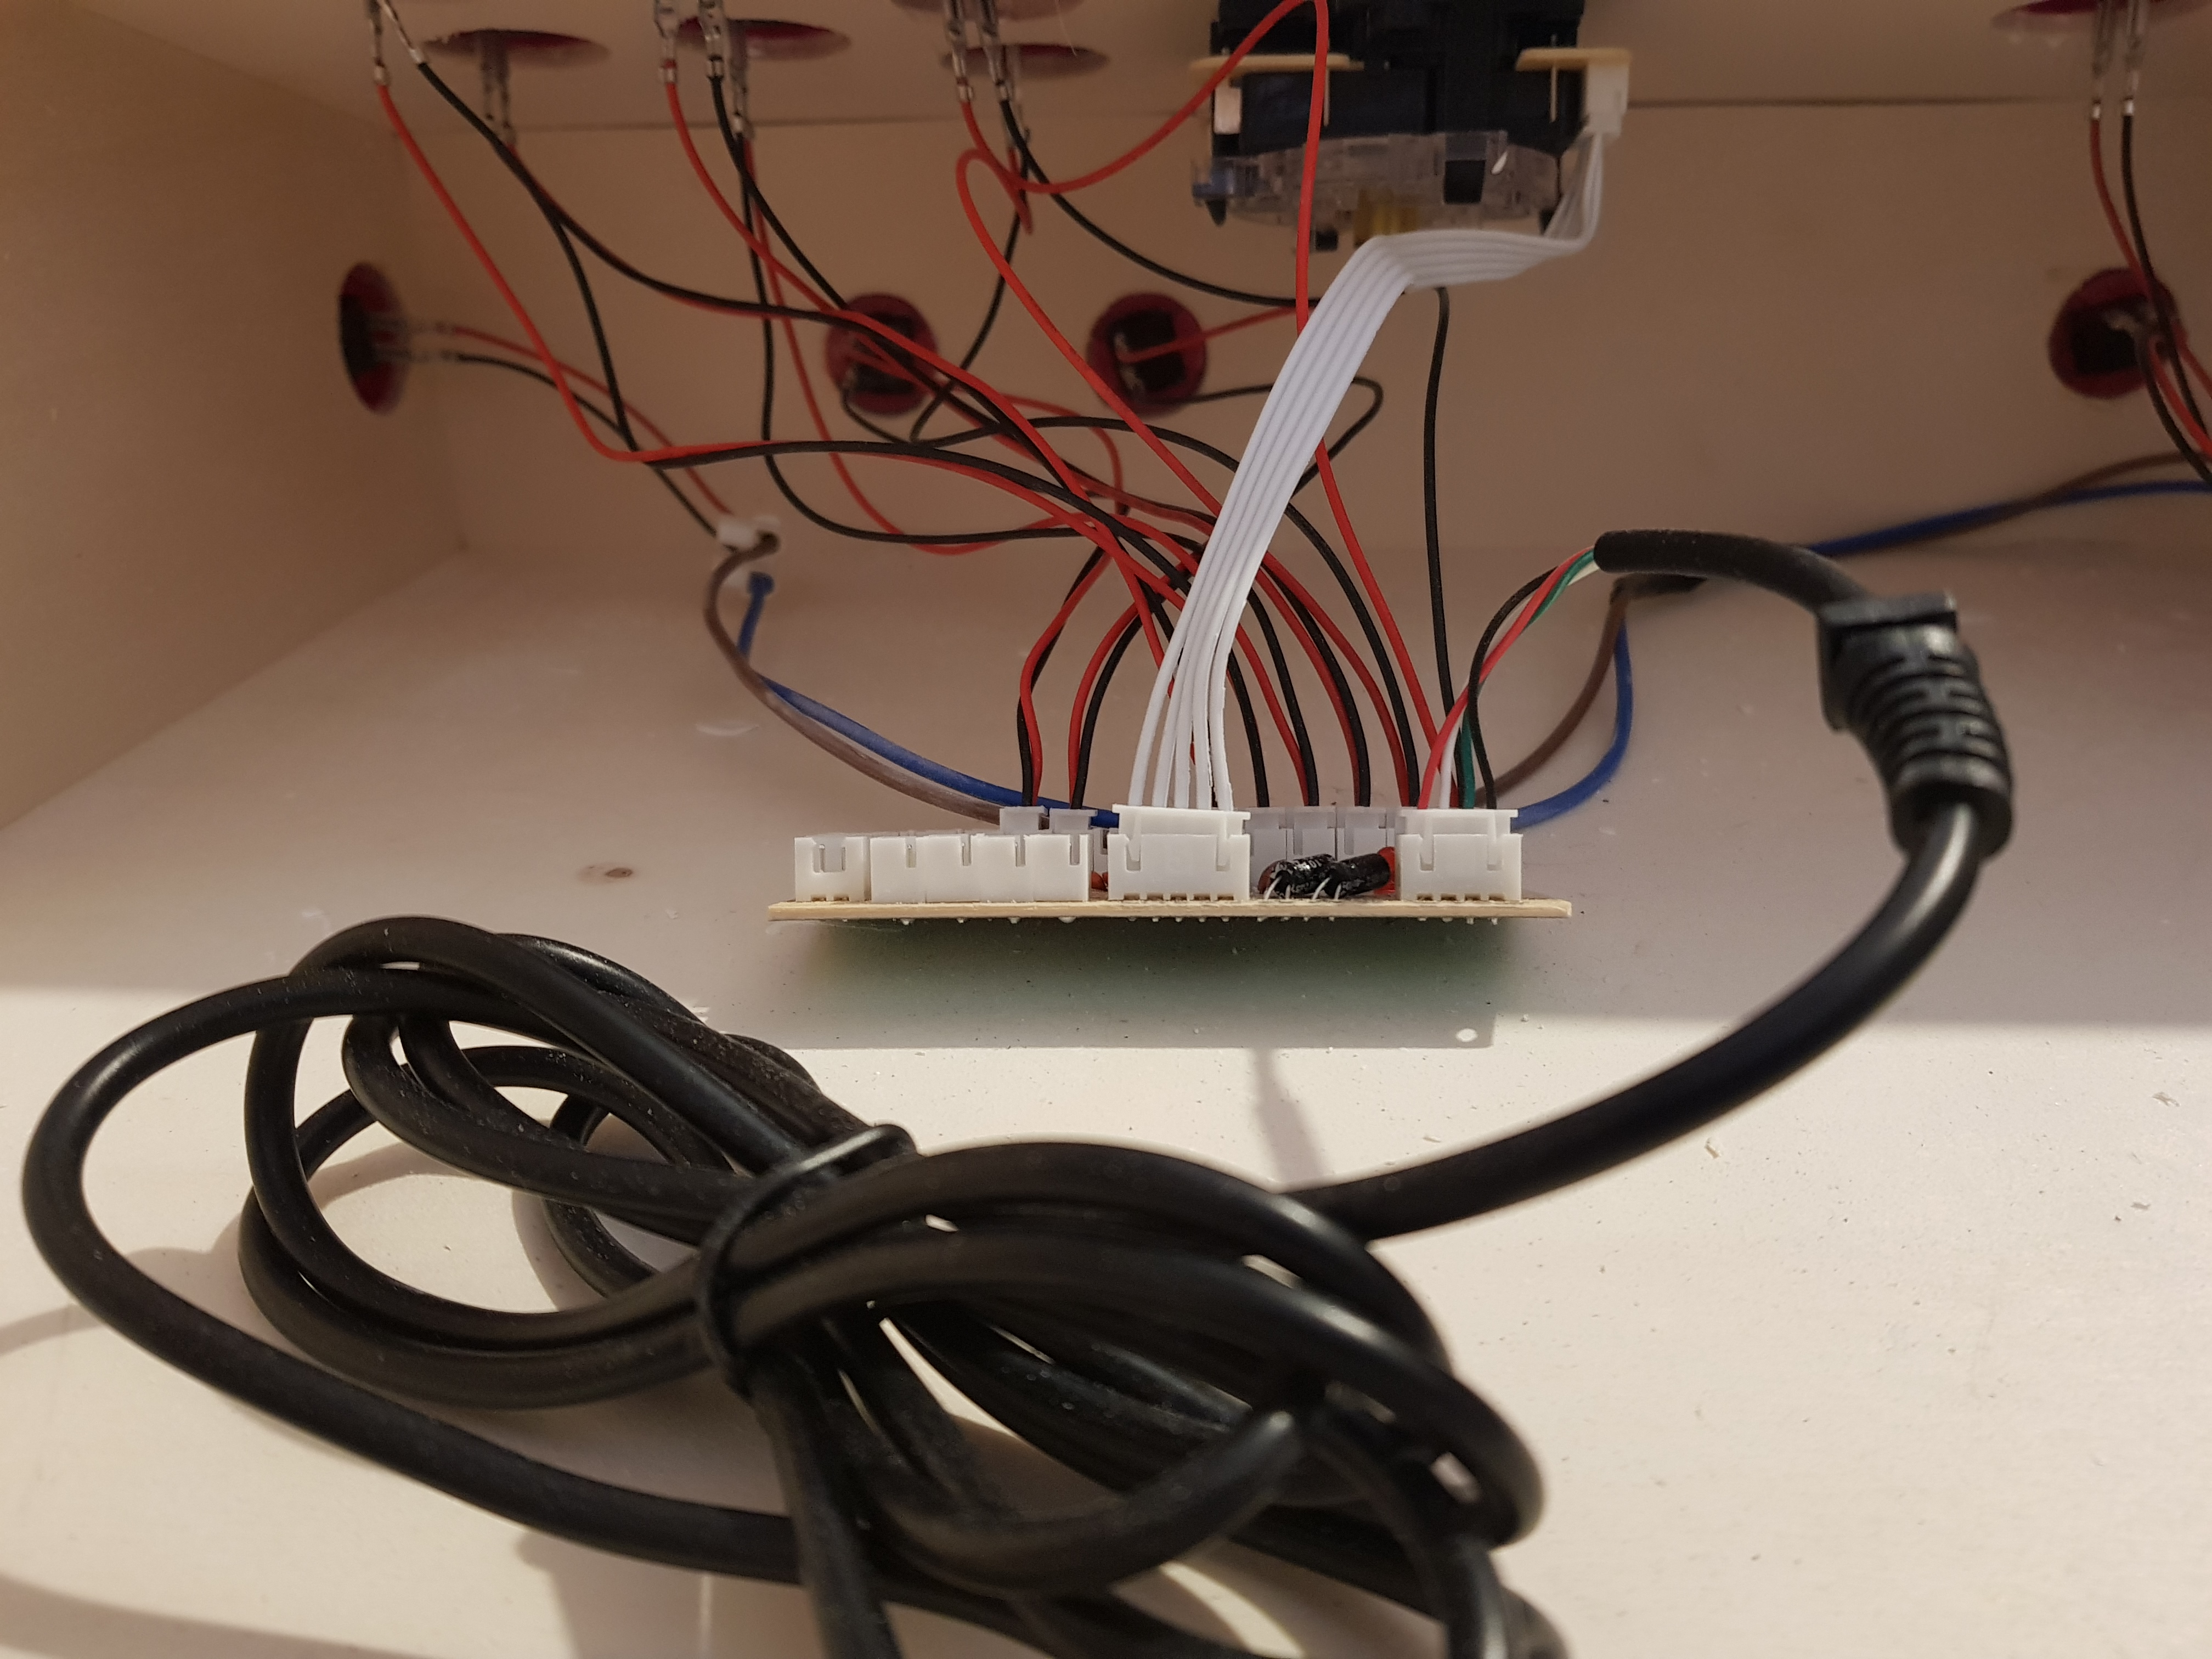
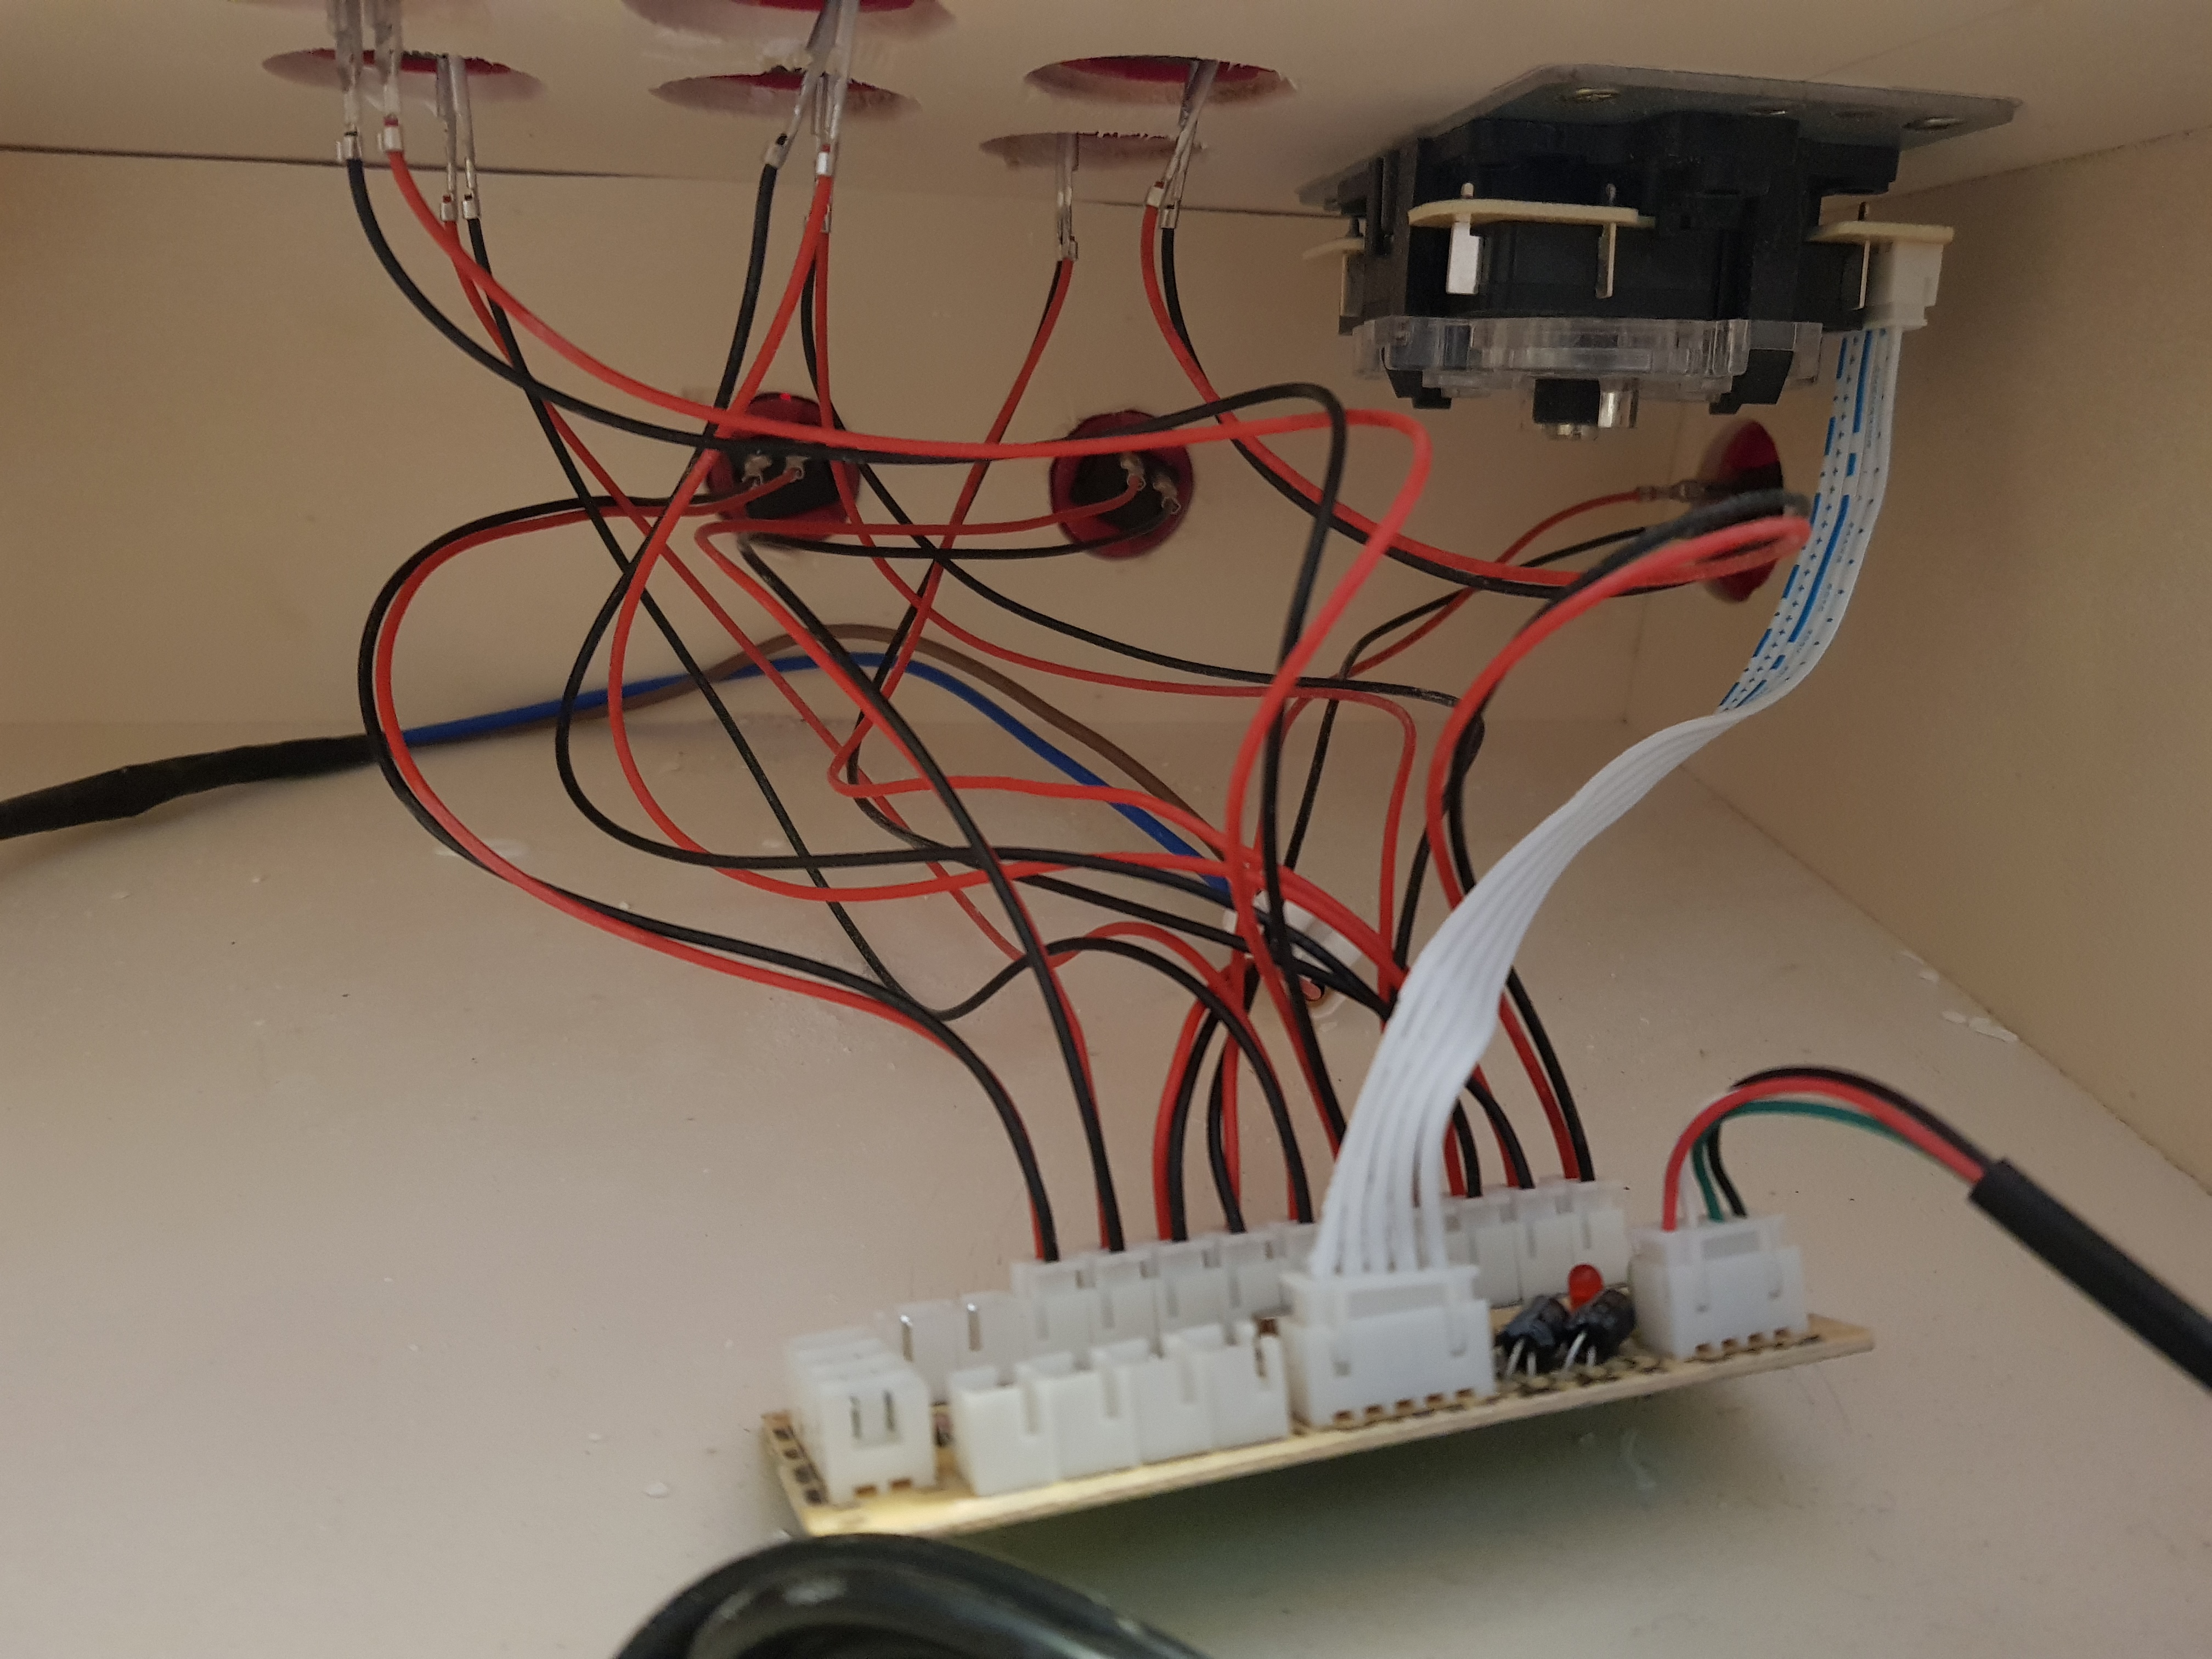
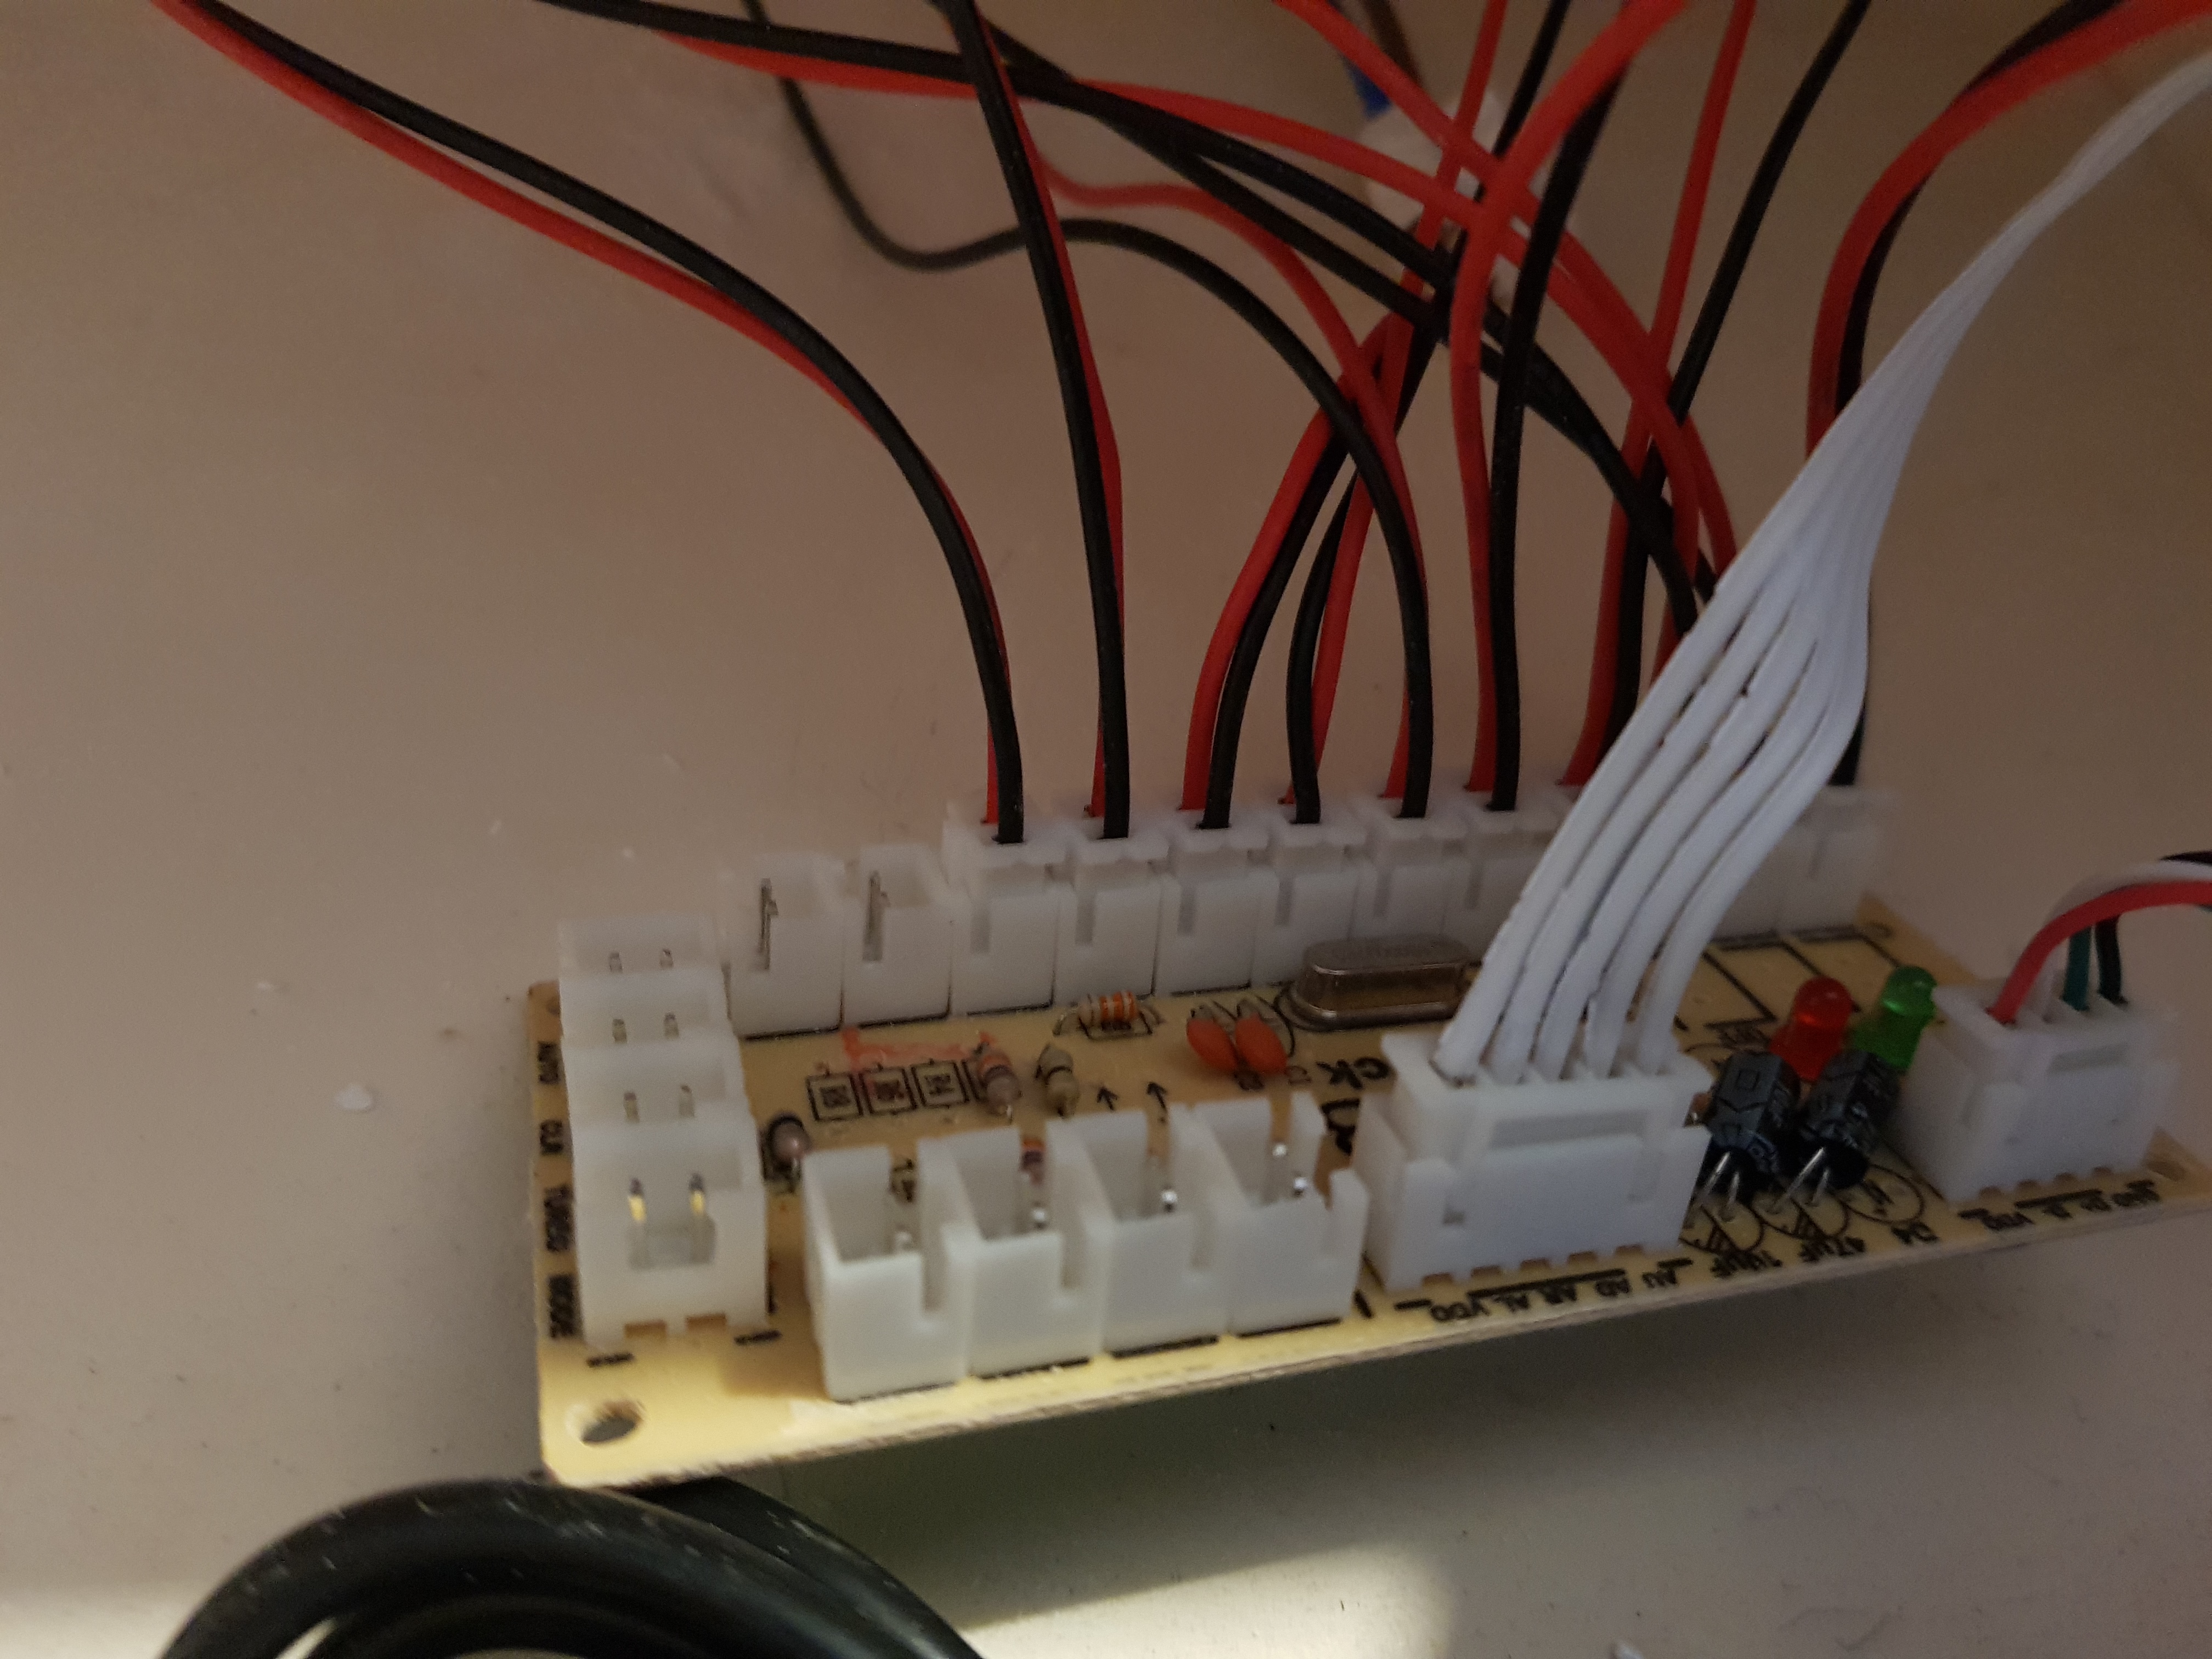
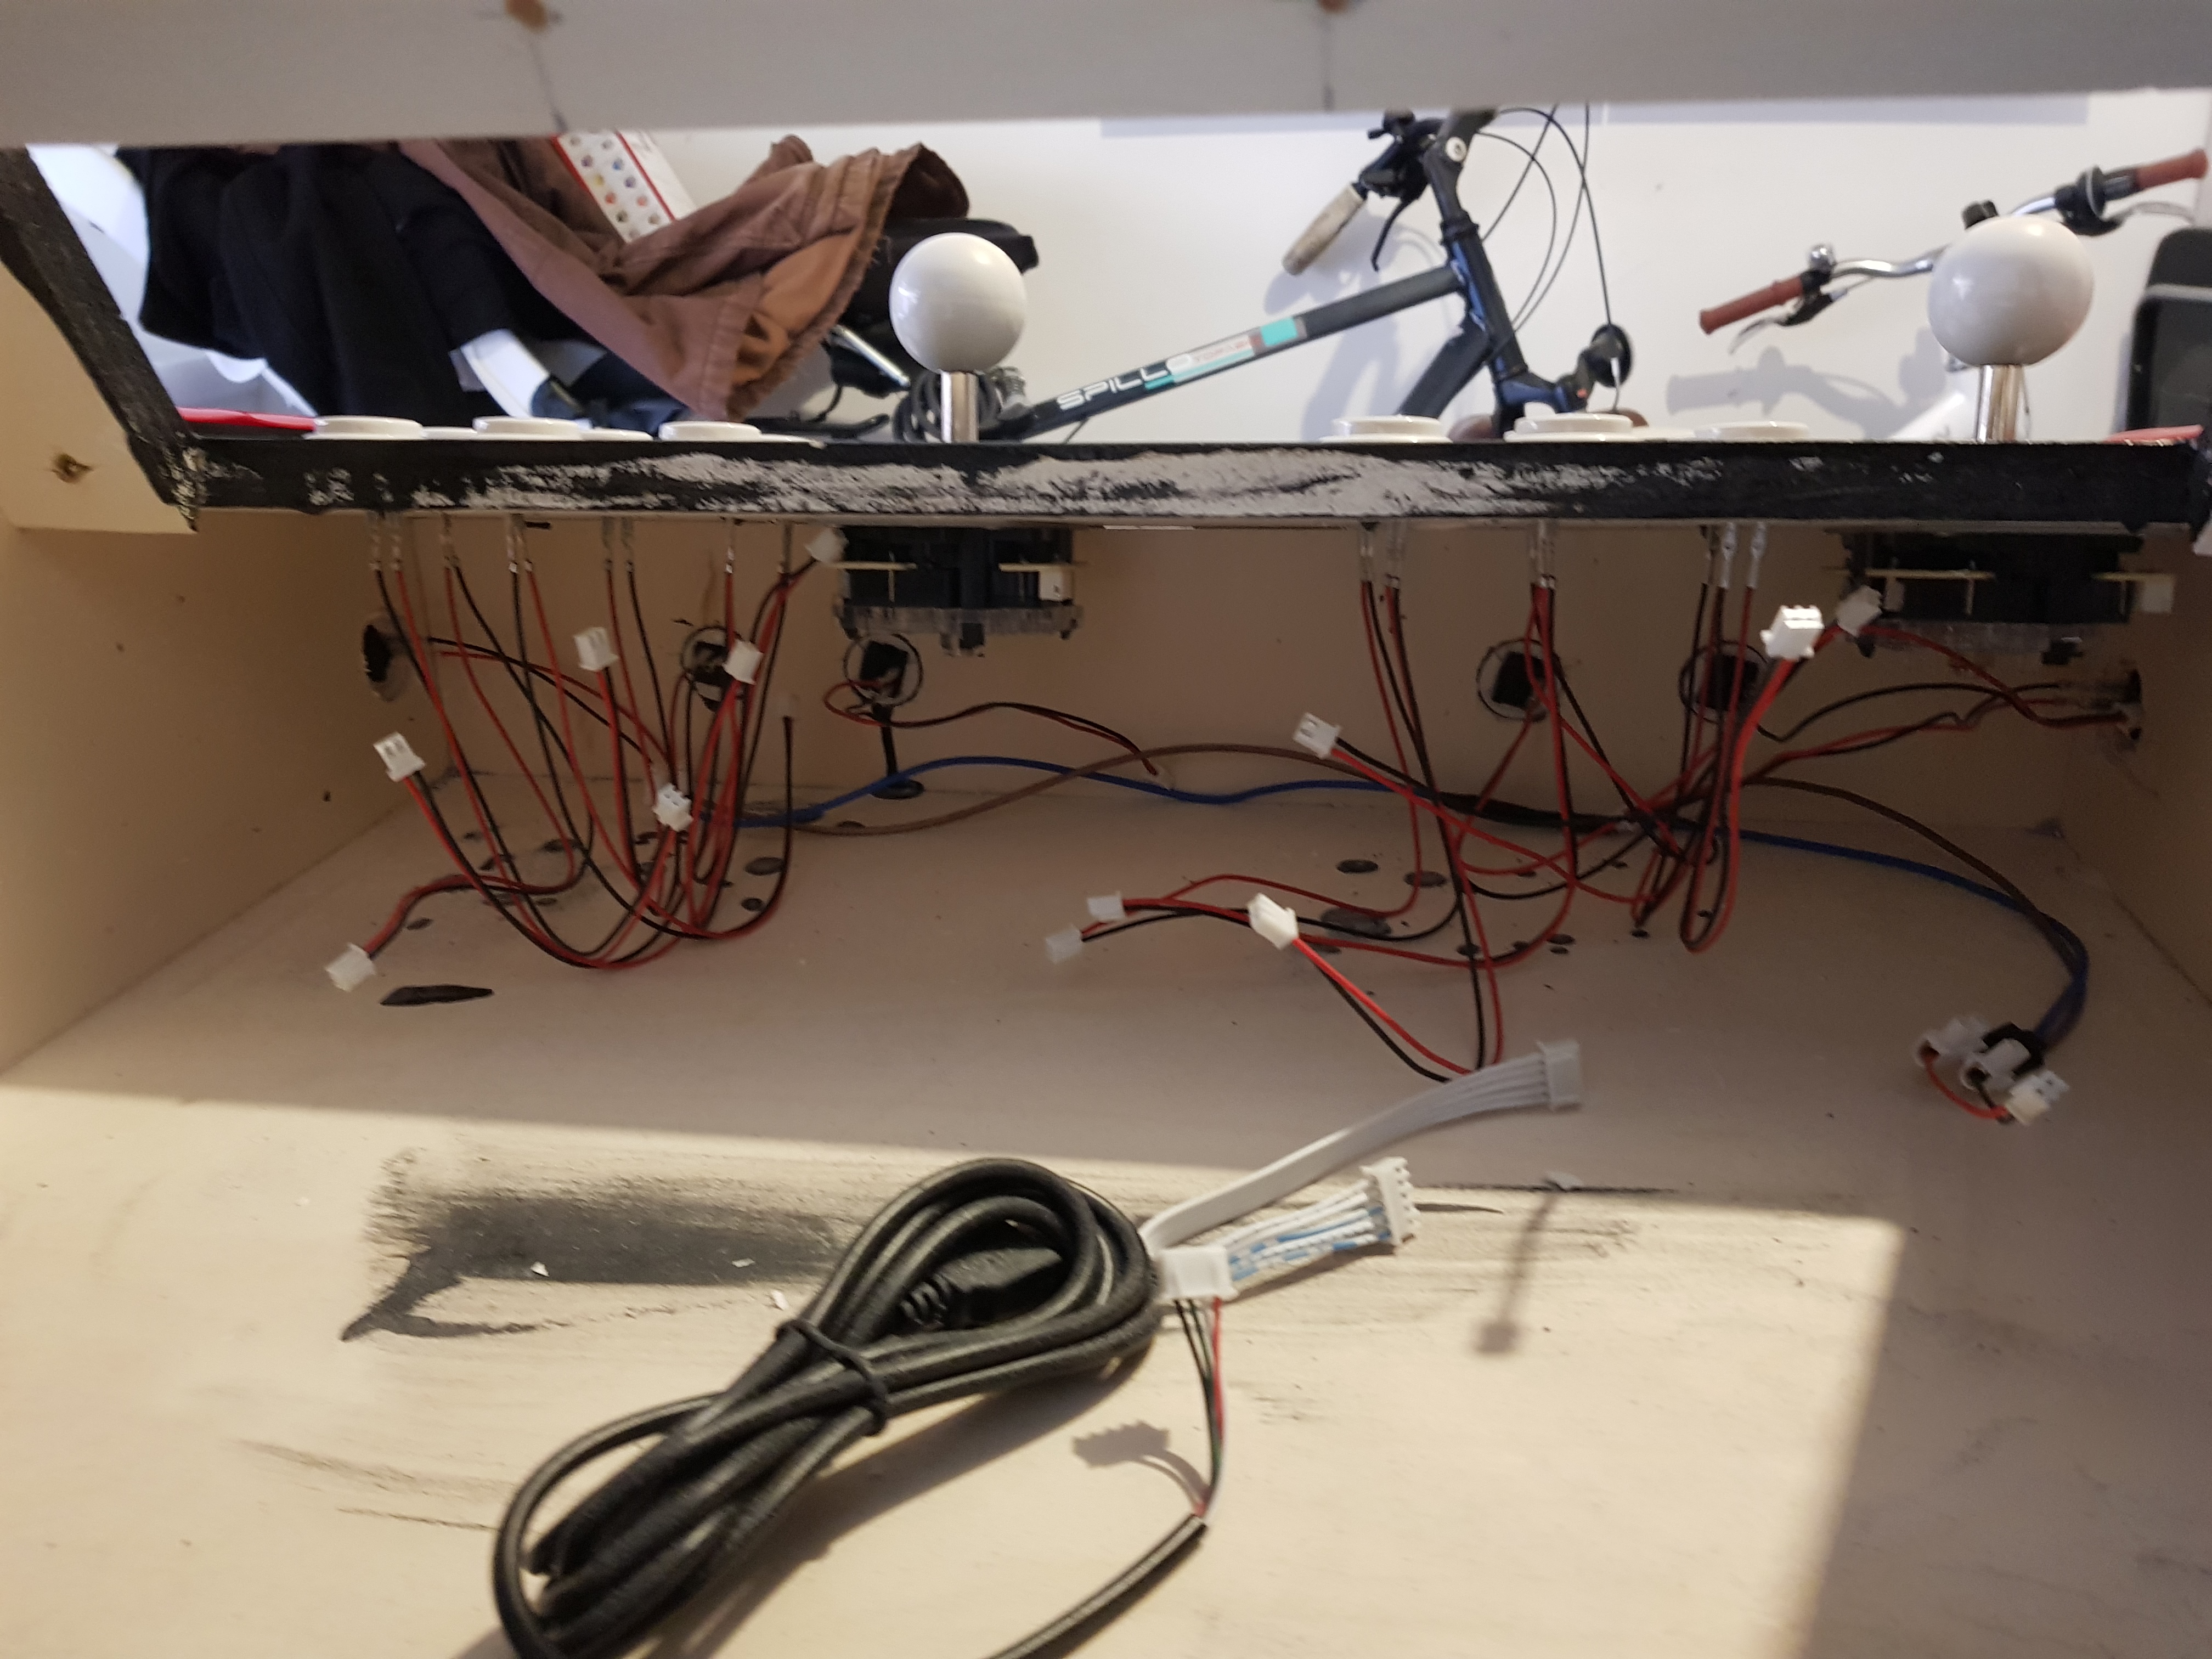
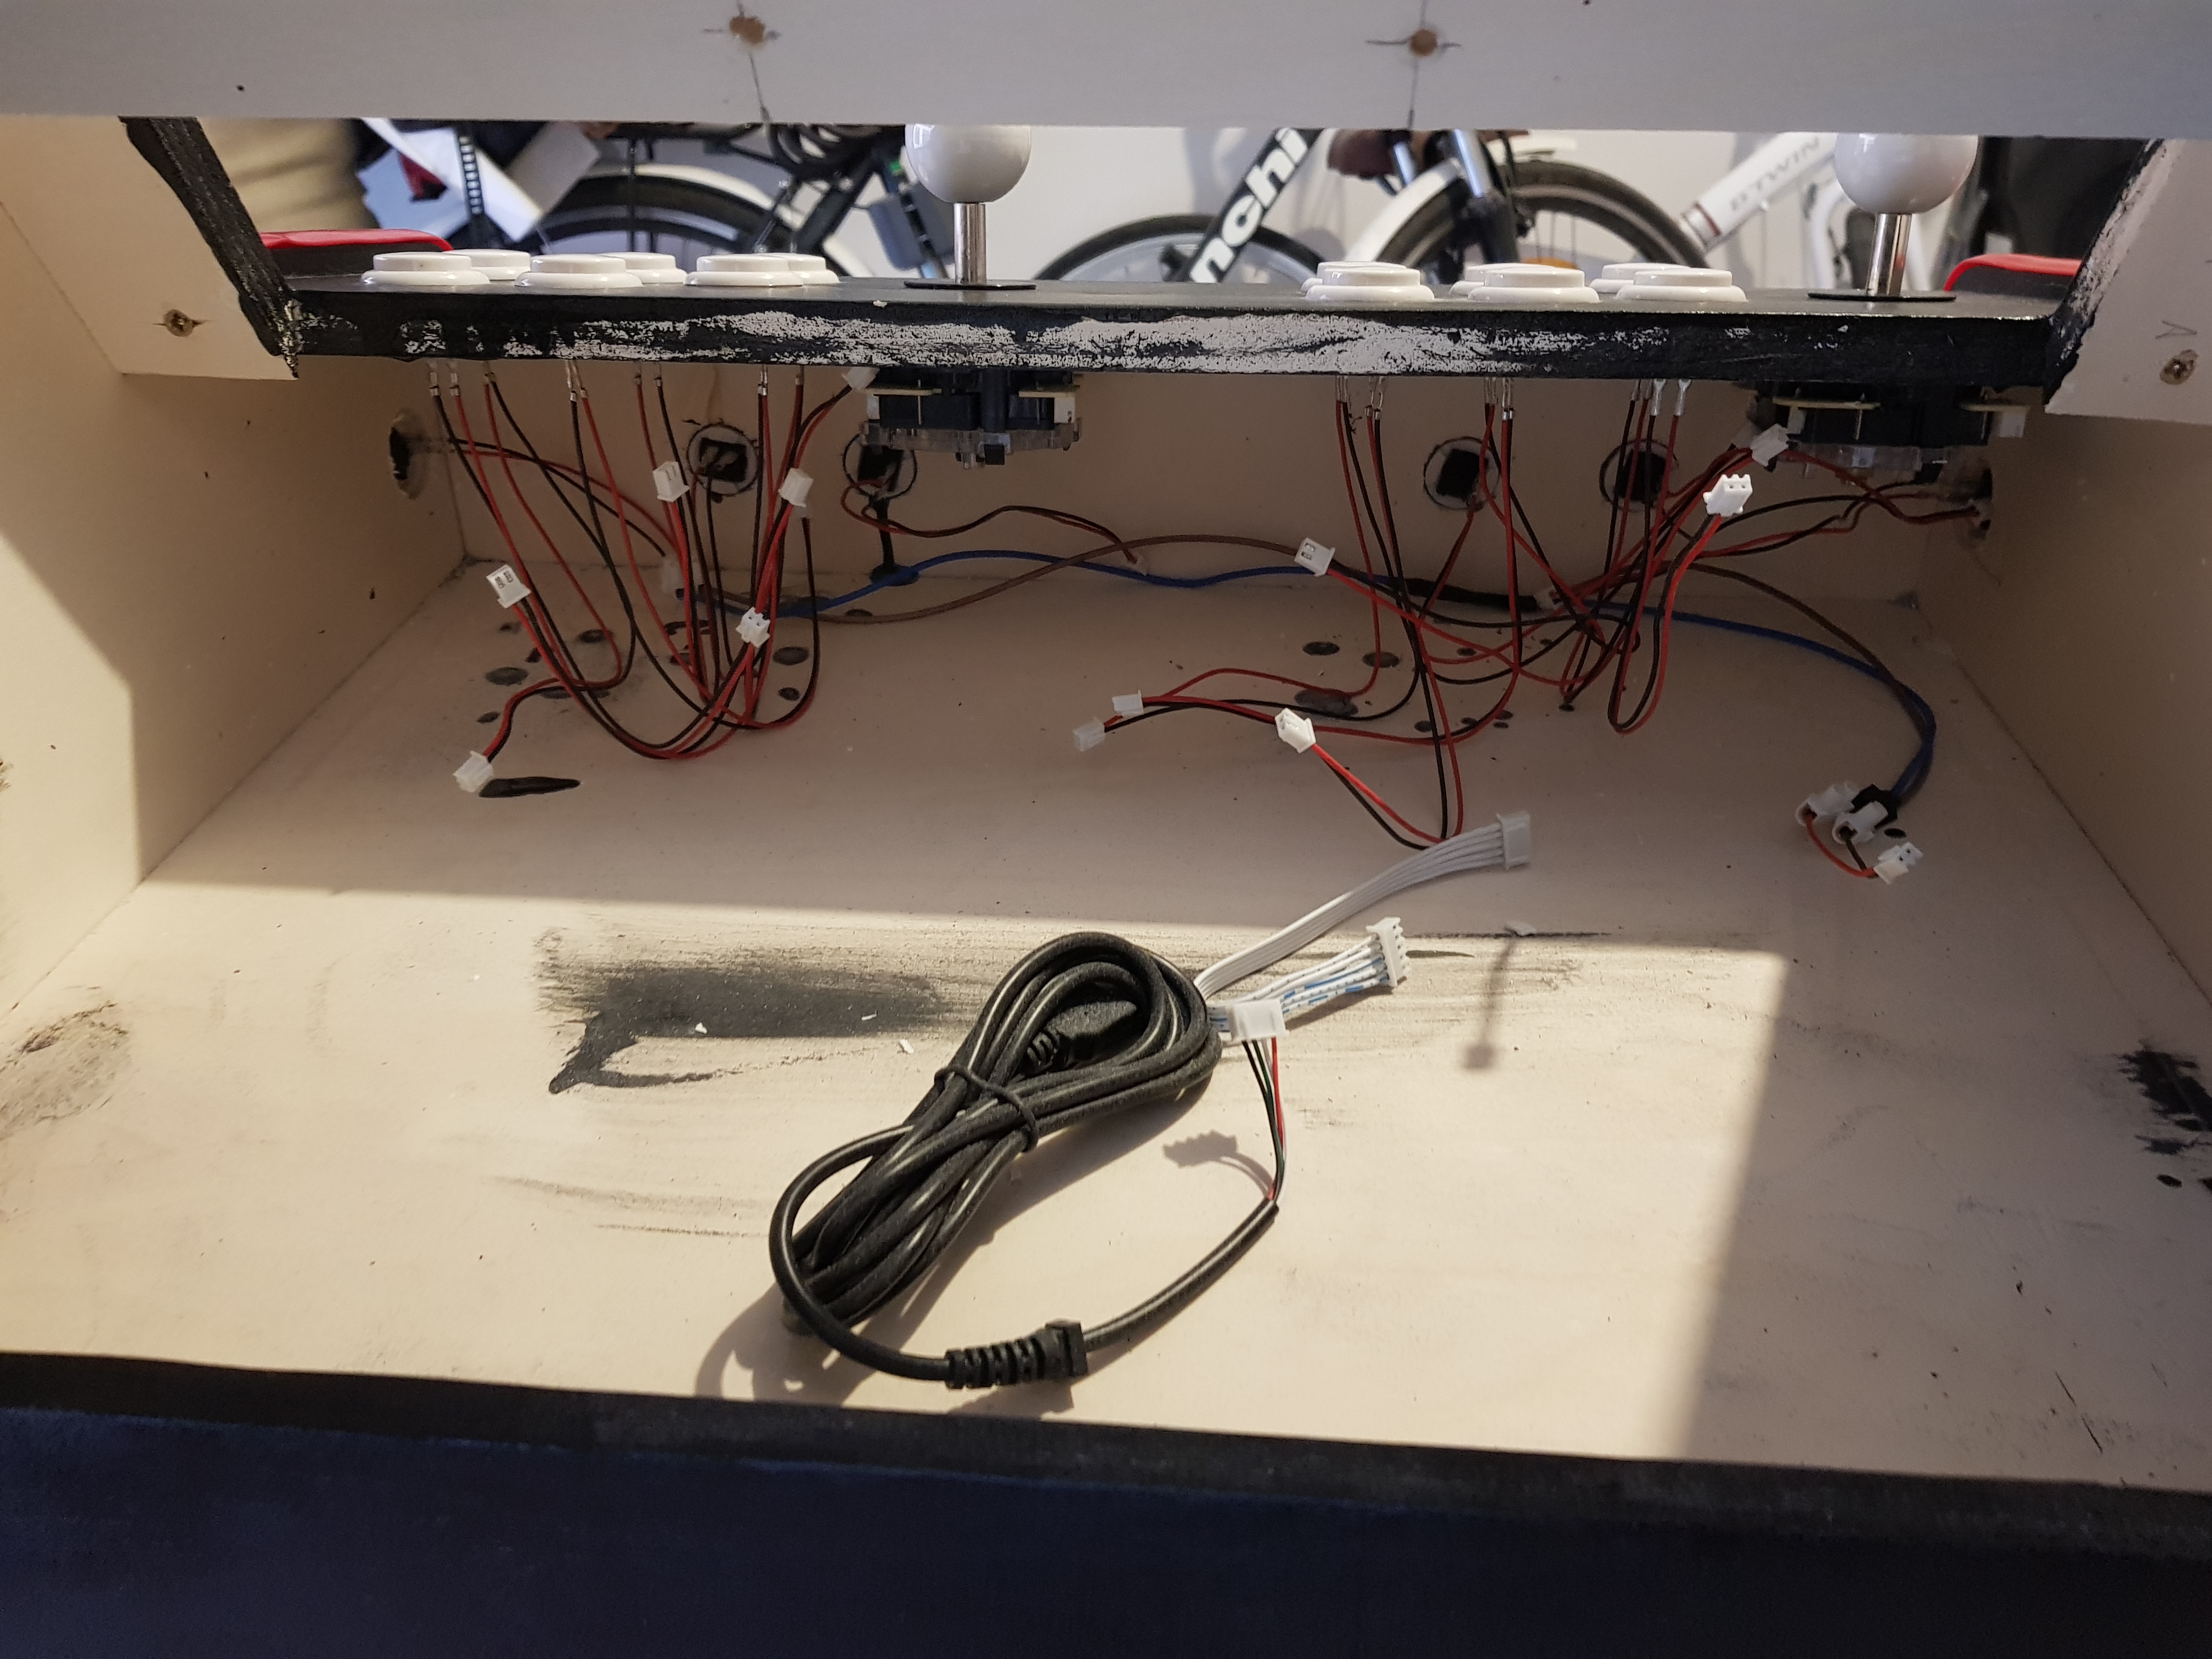
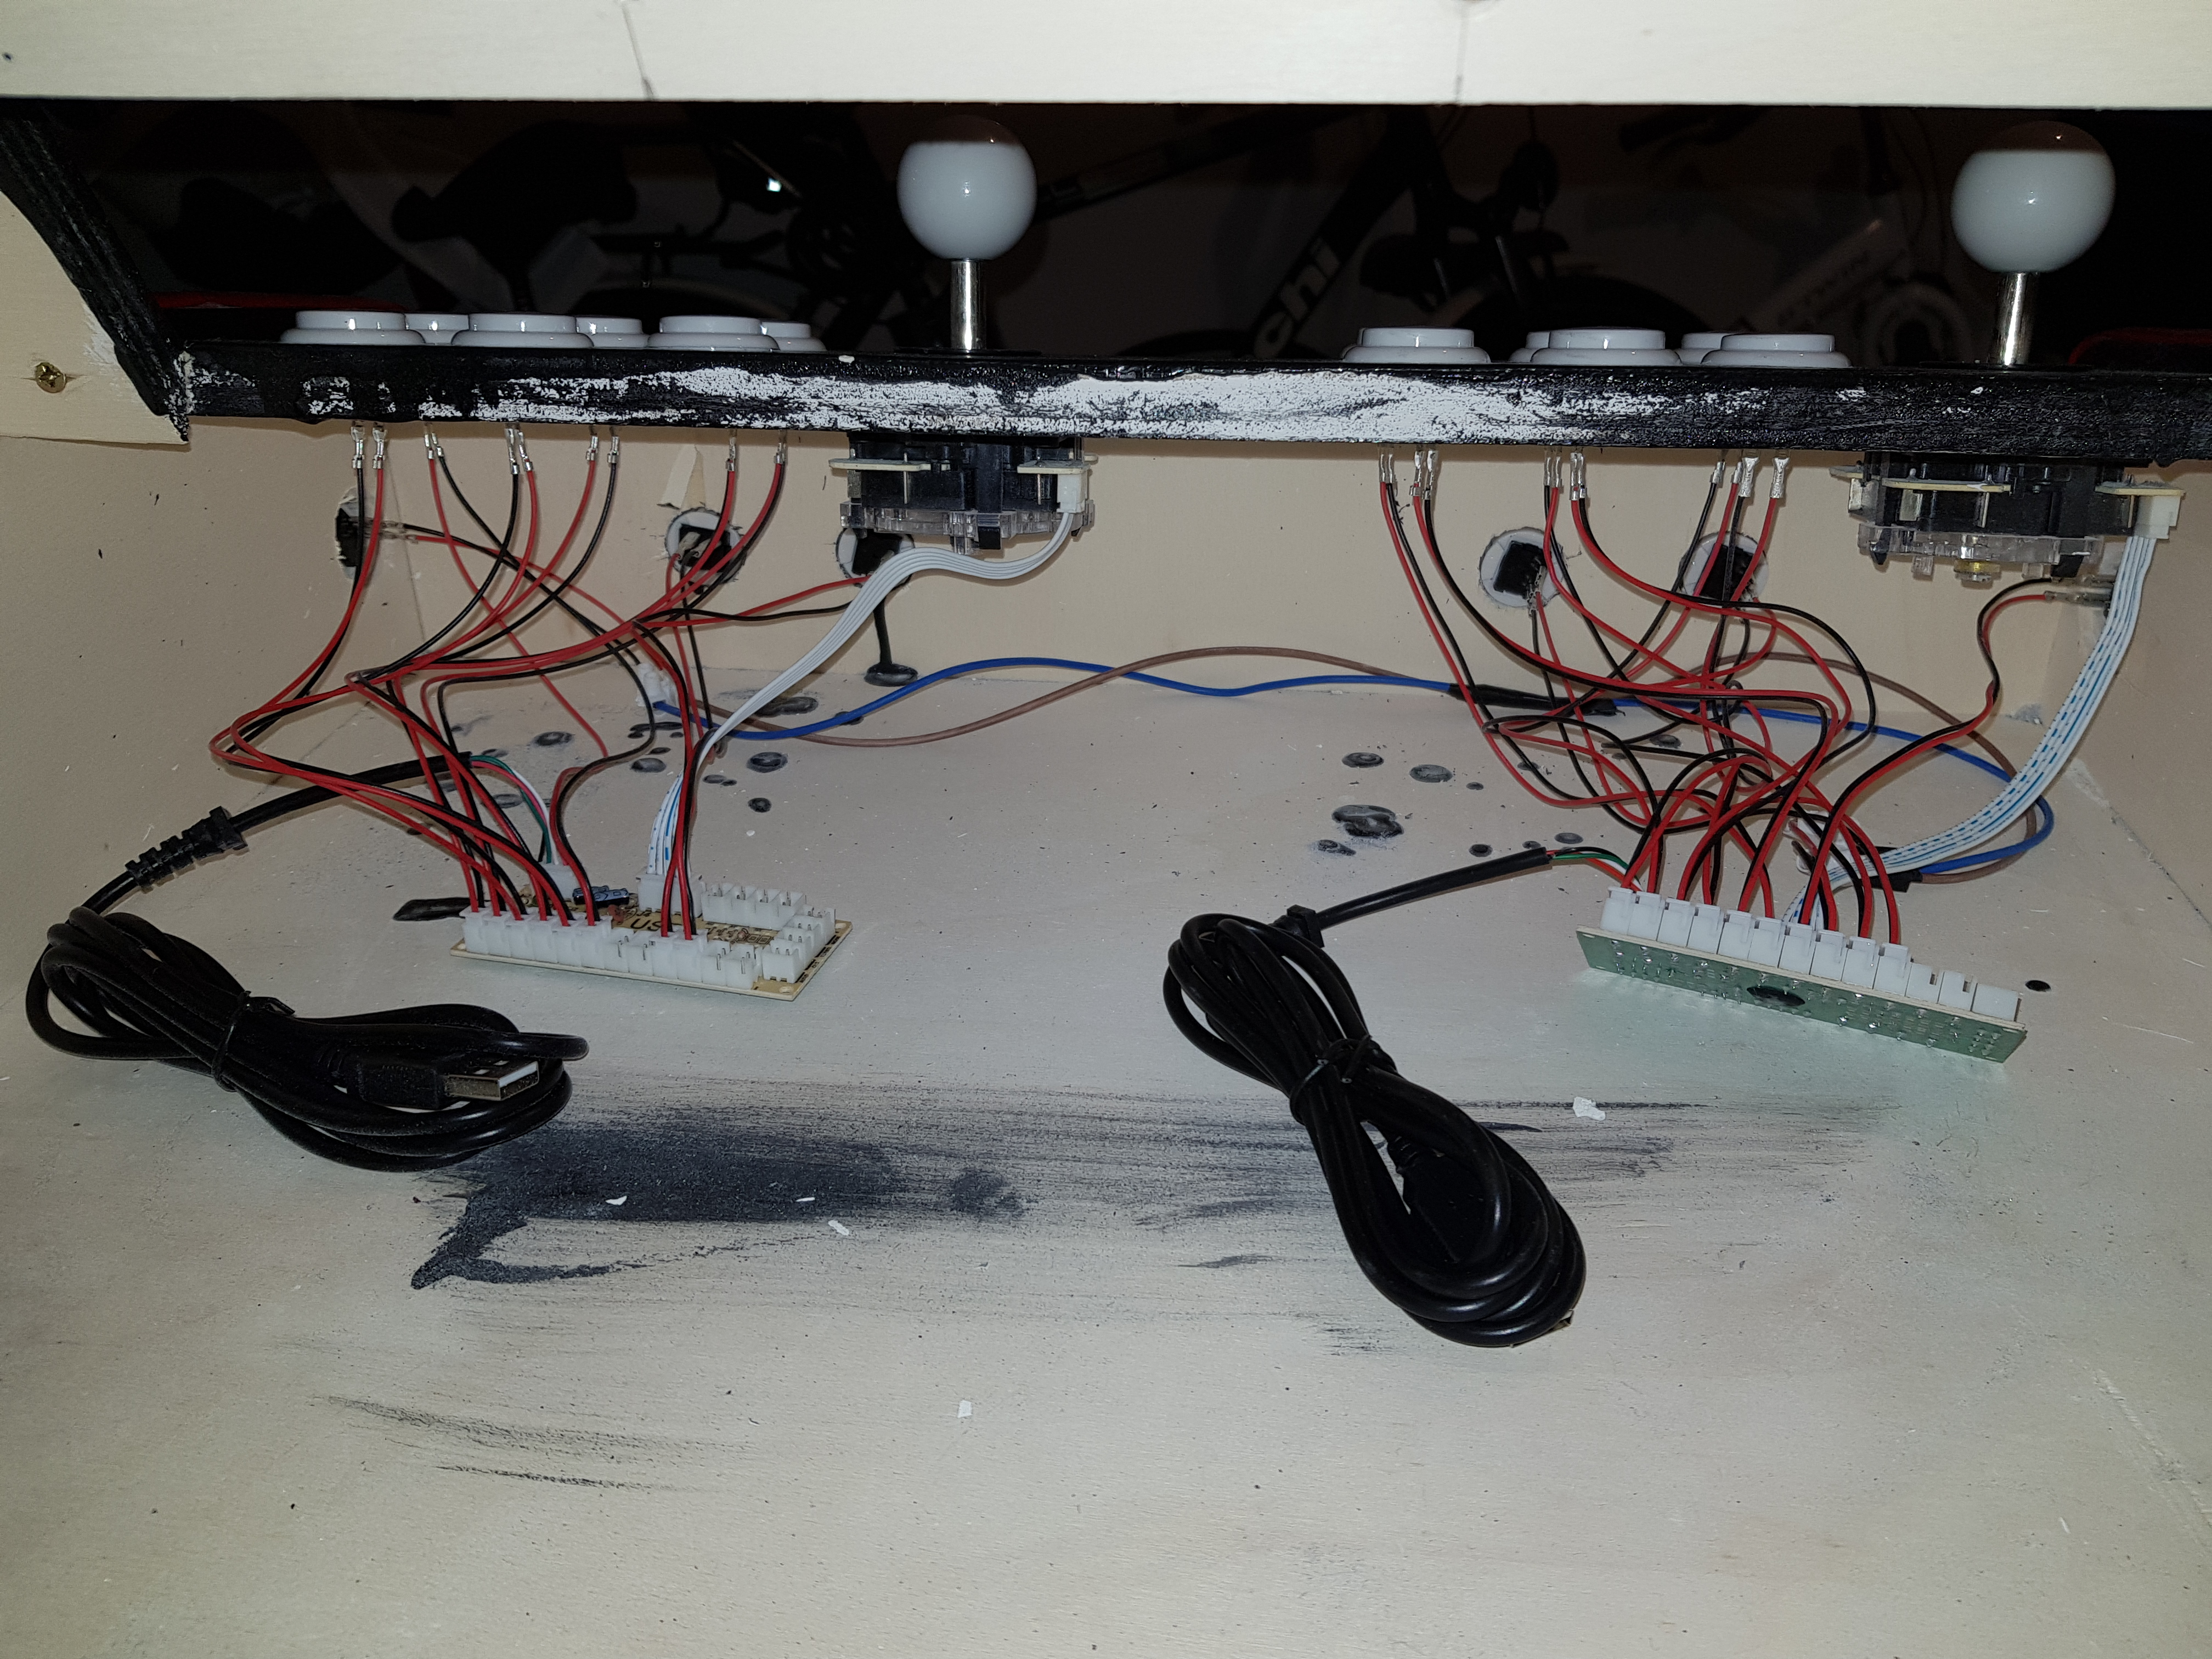
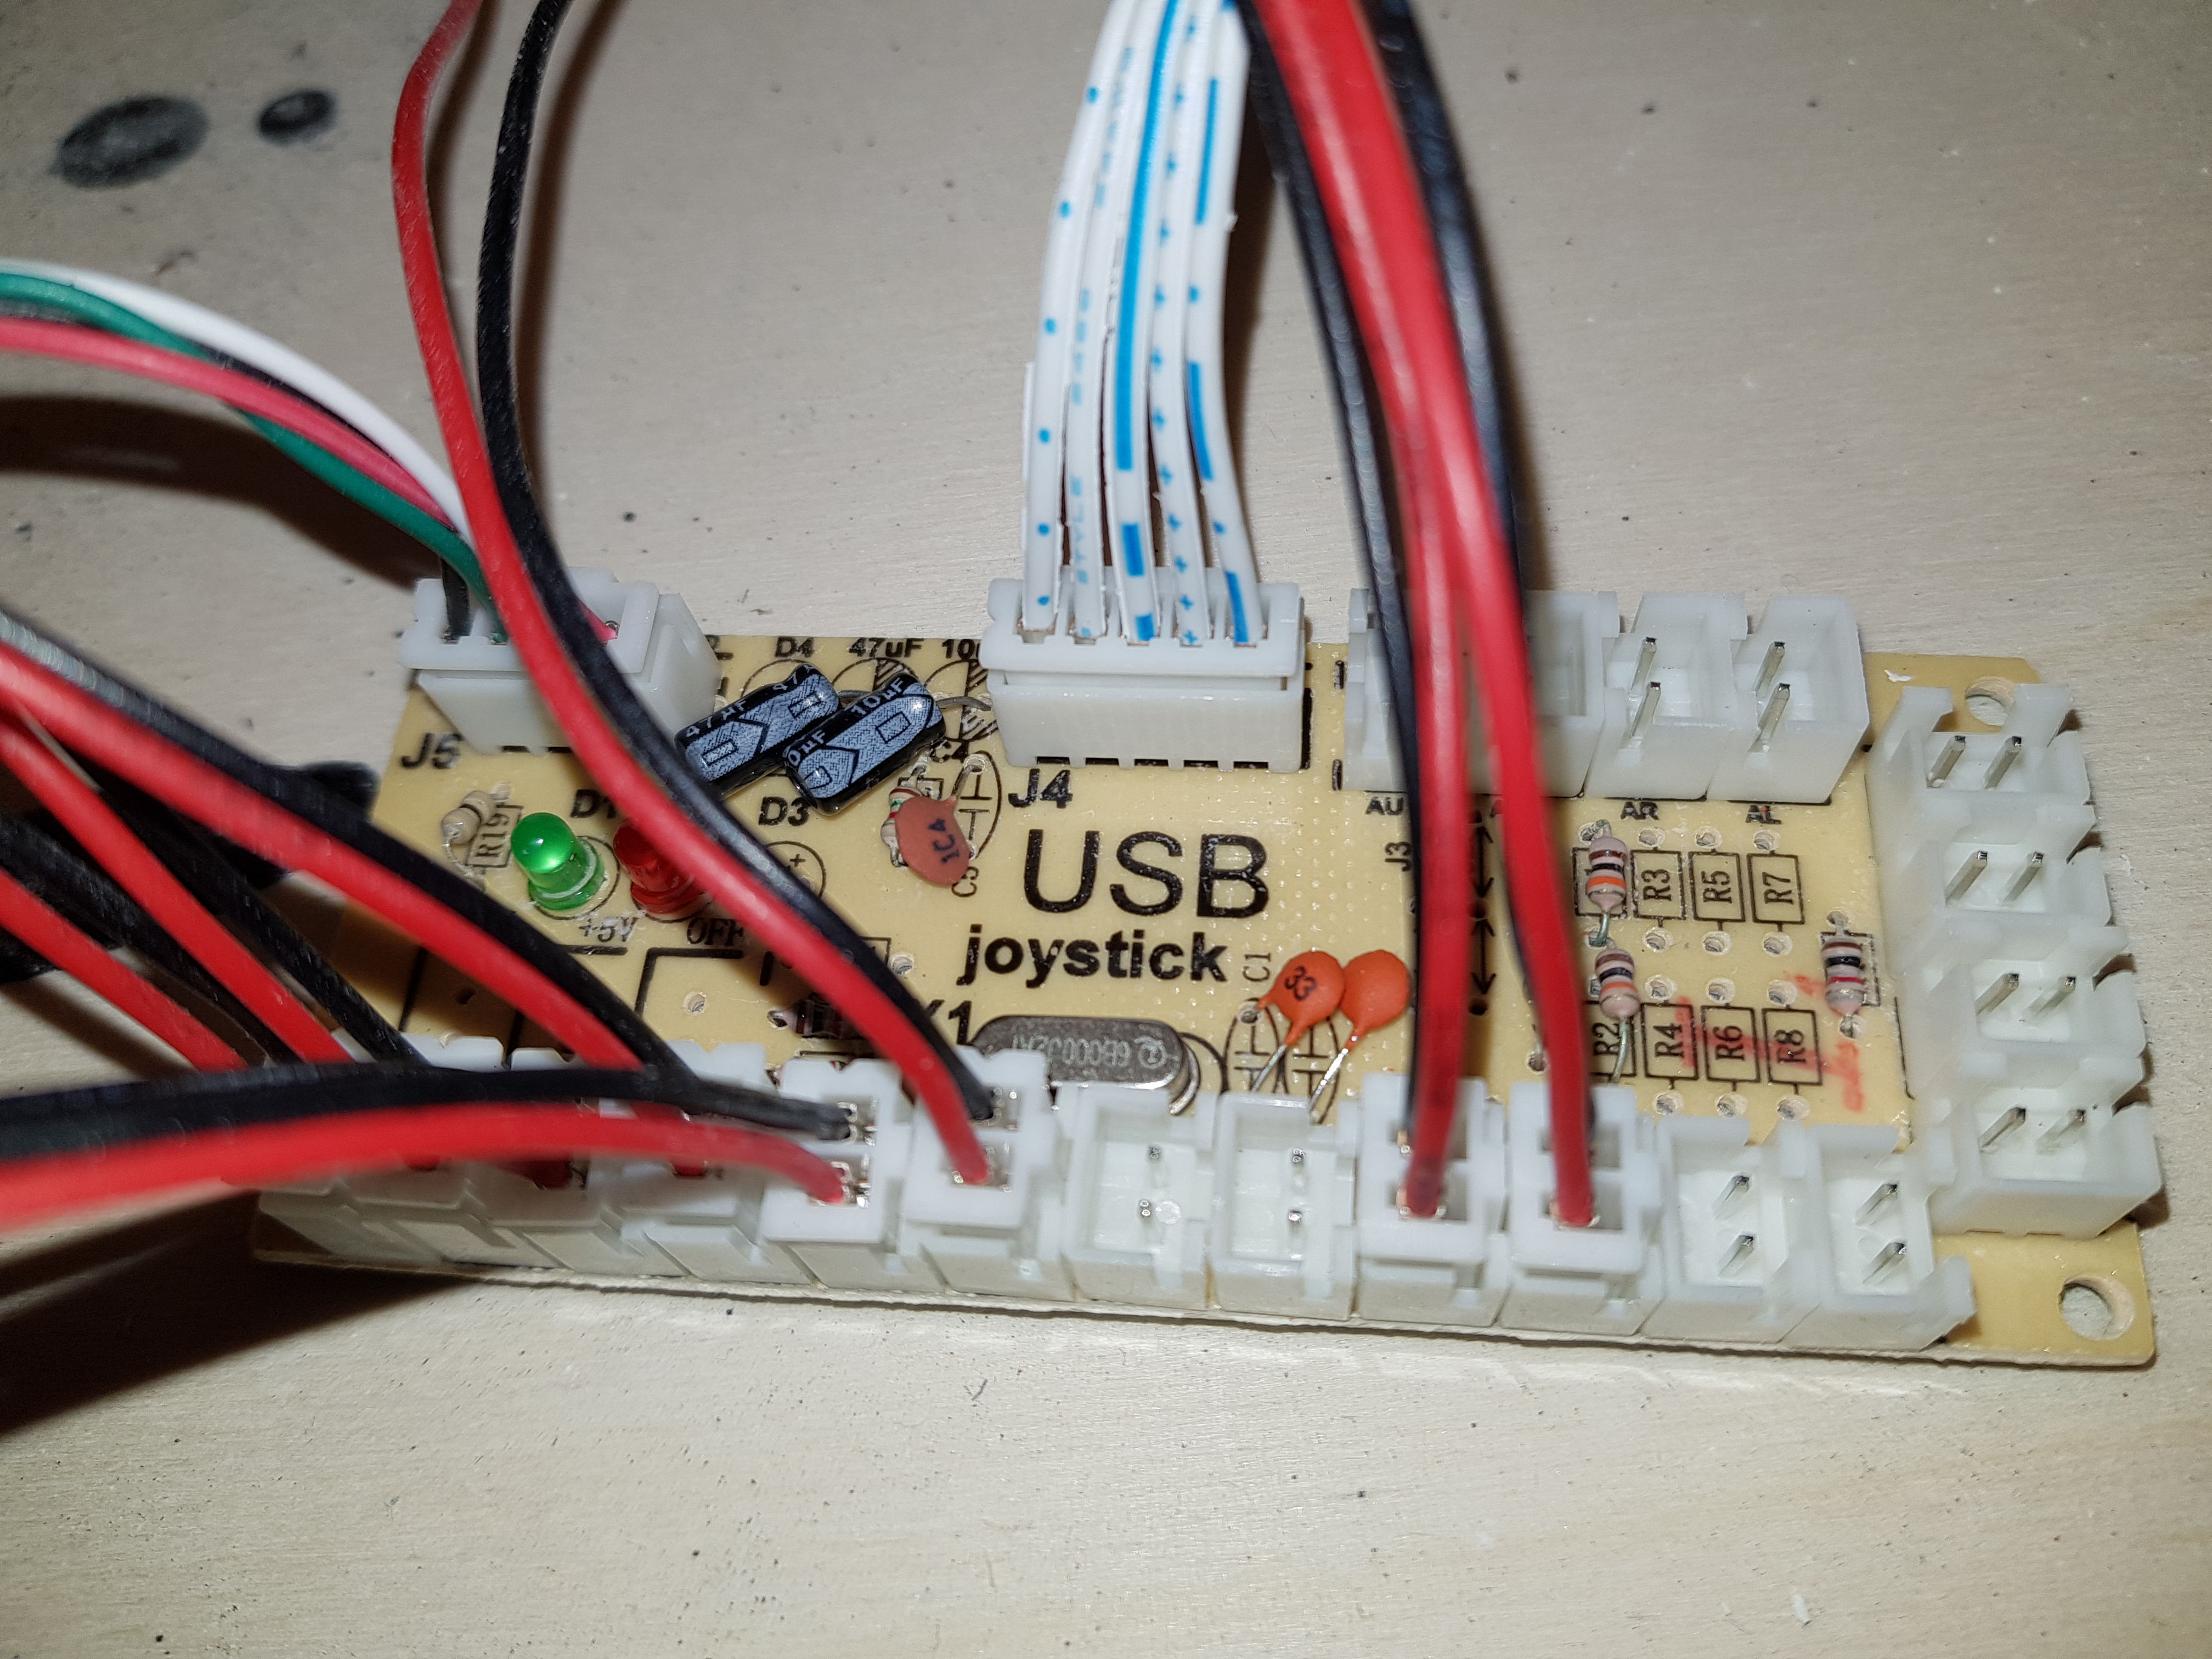
Wiring the Buttons
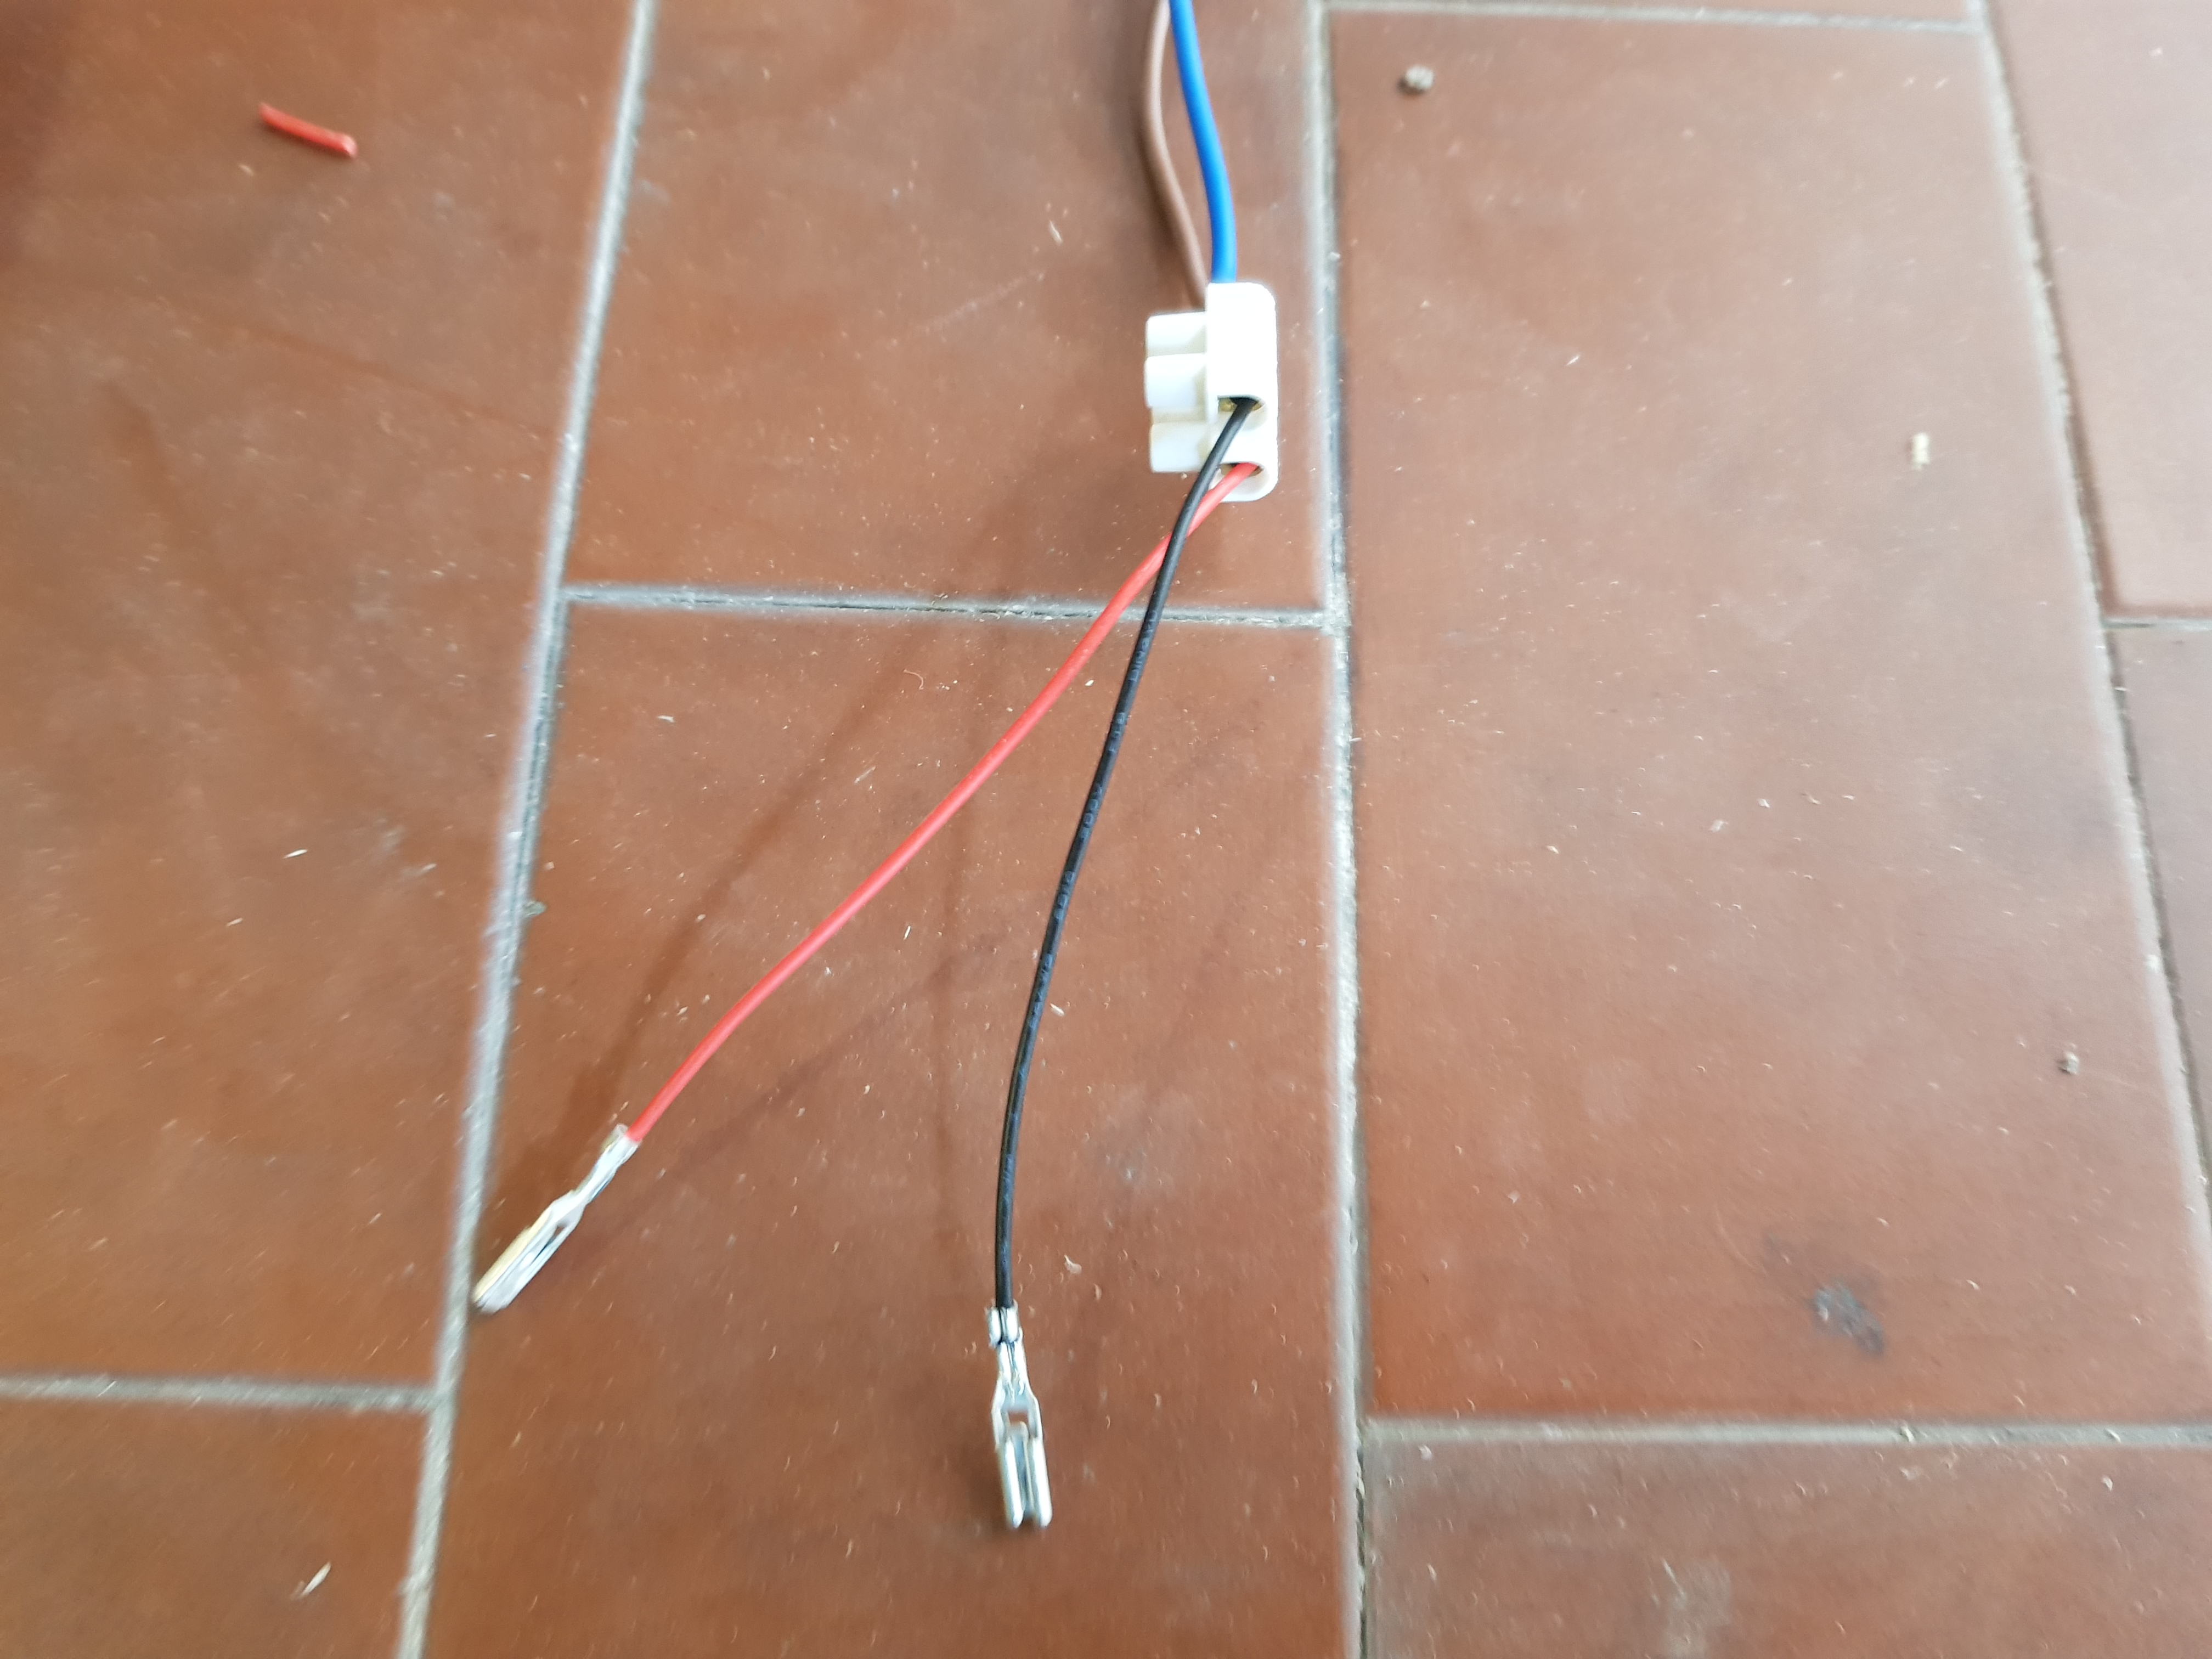
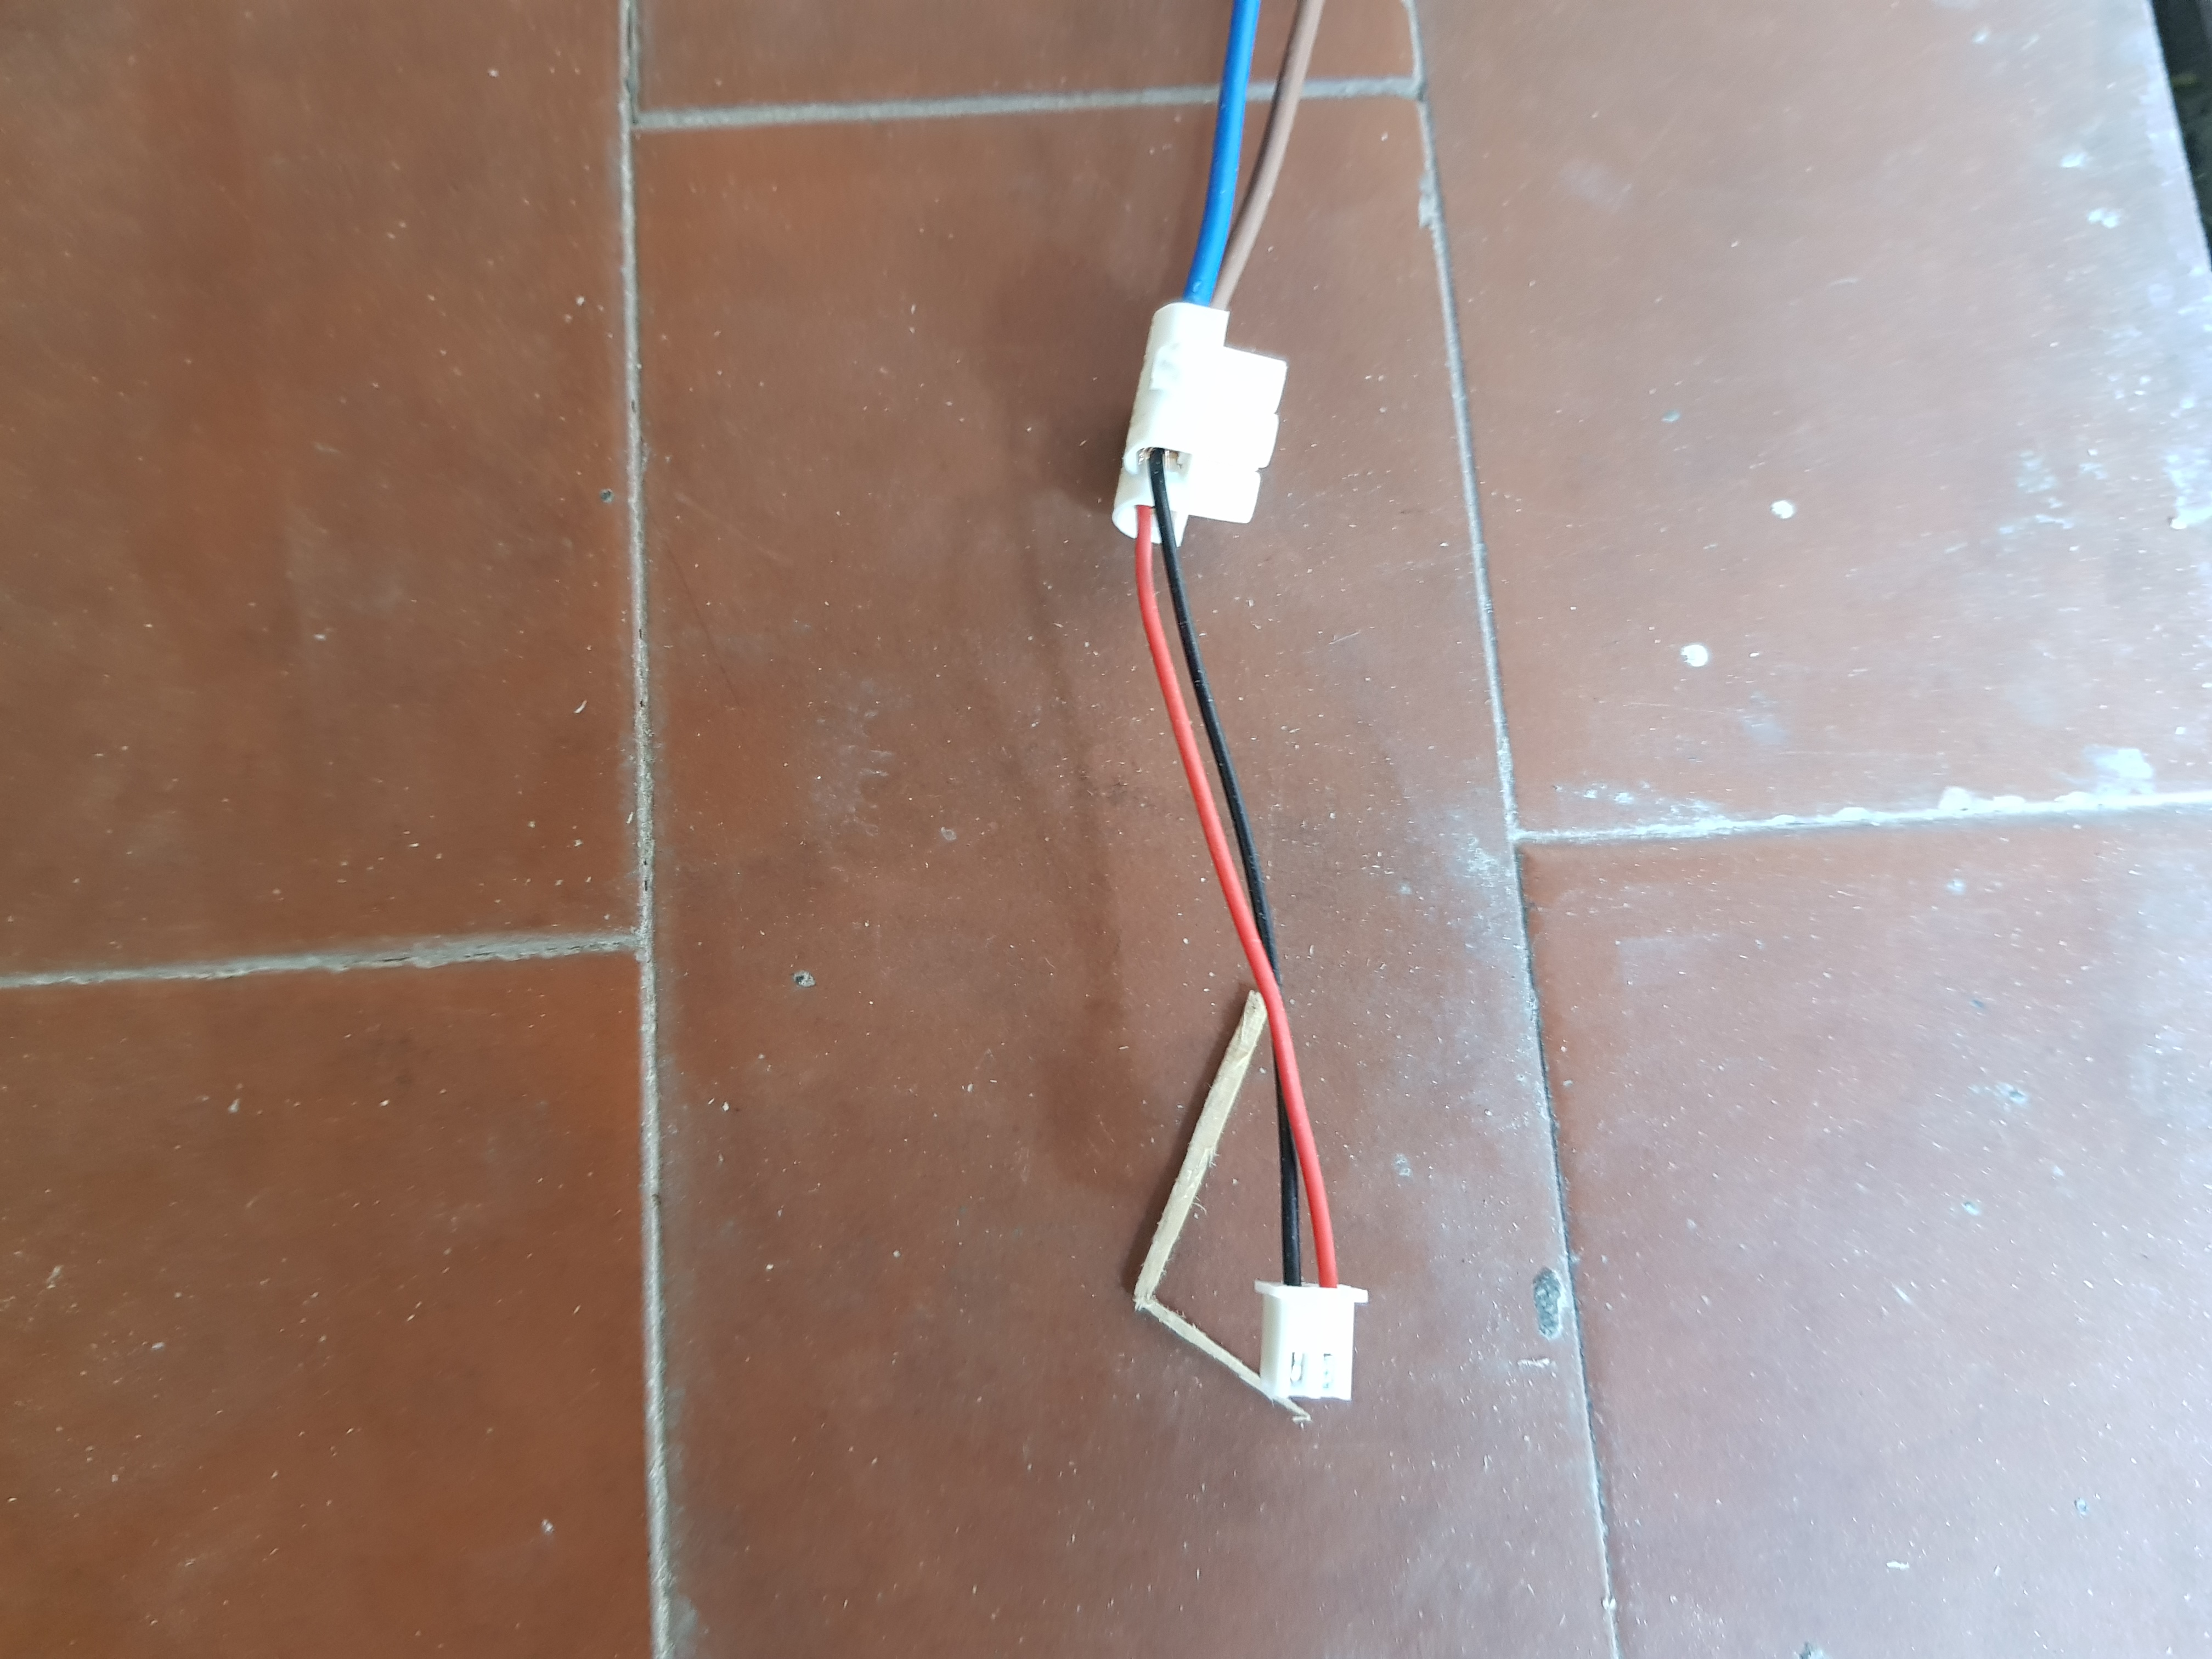
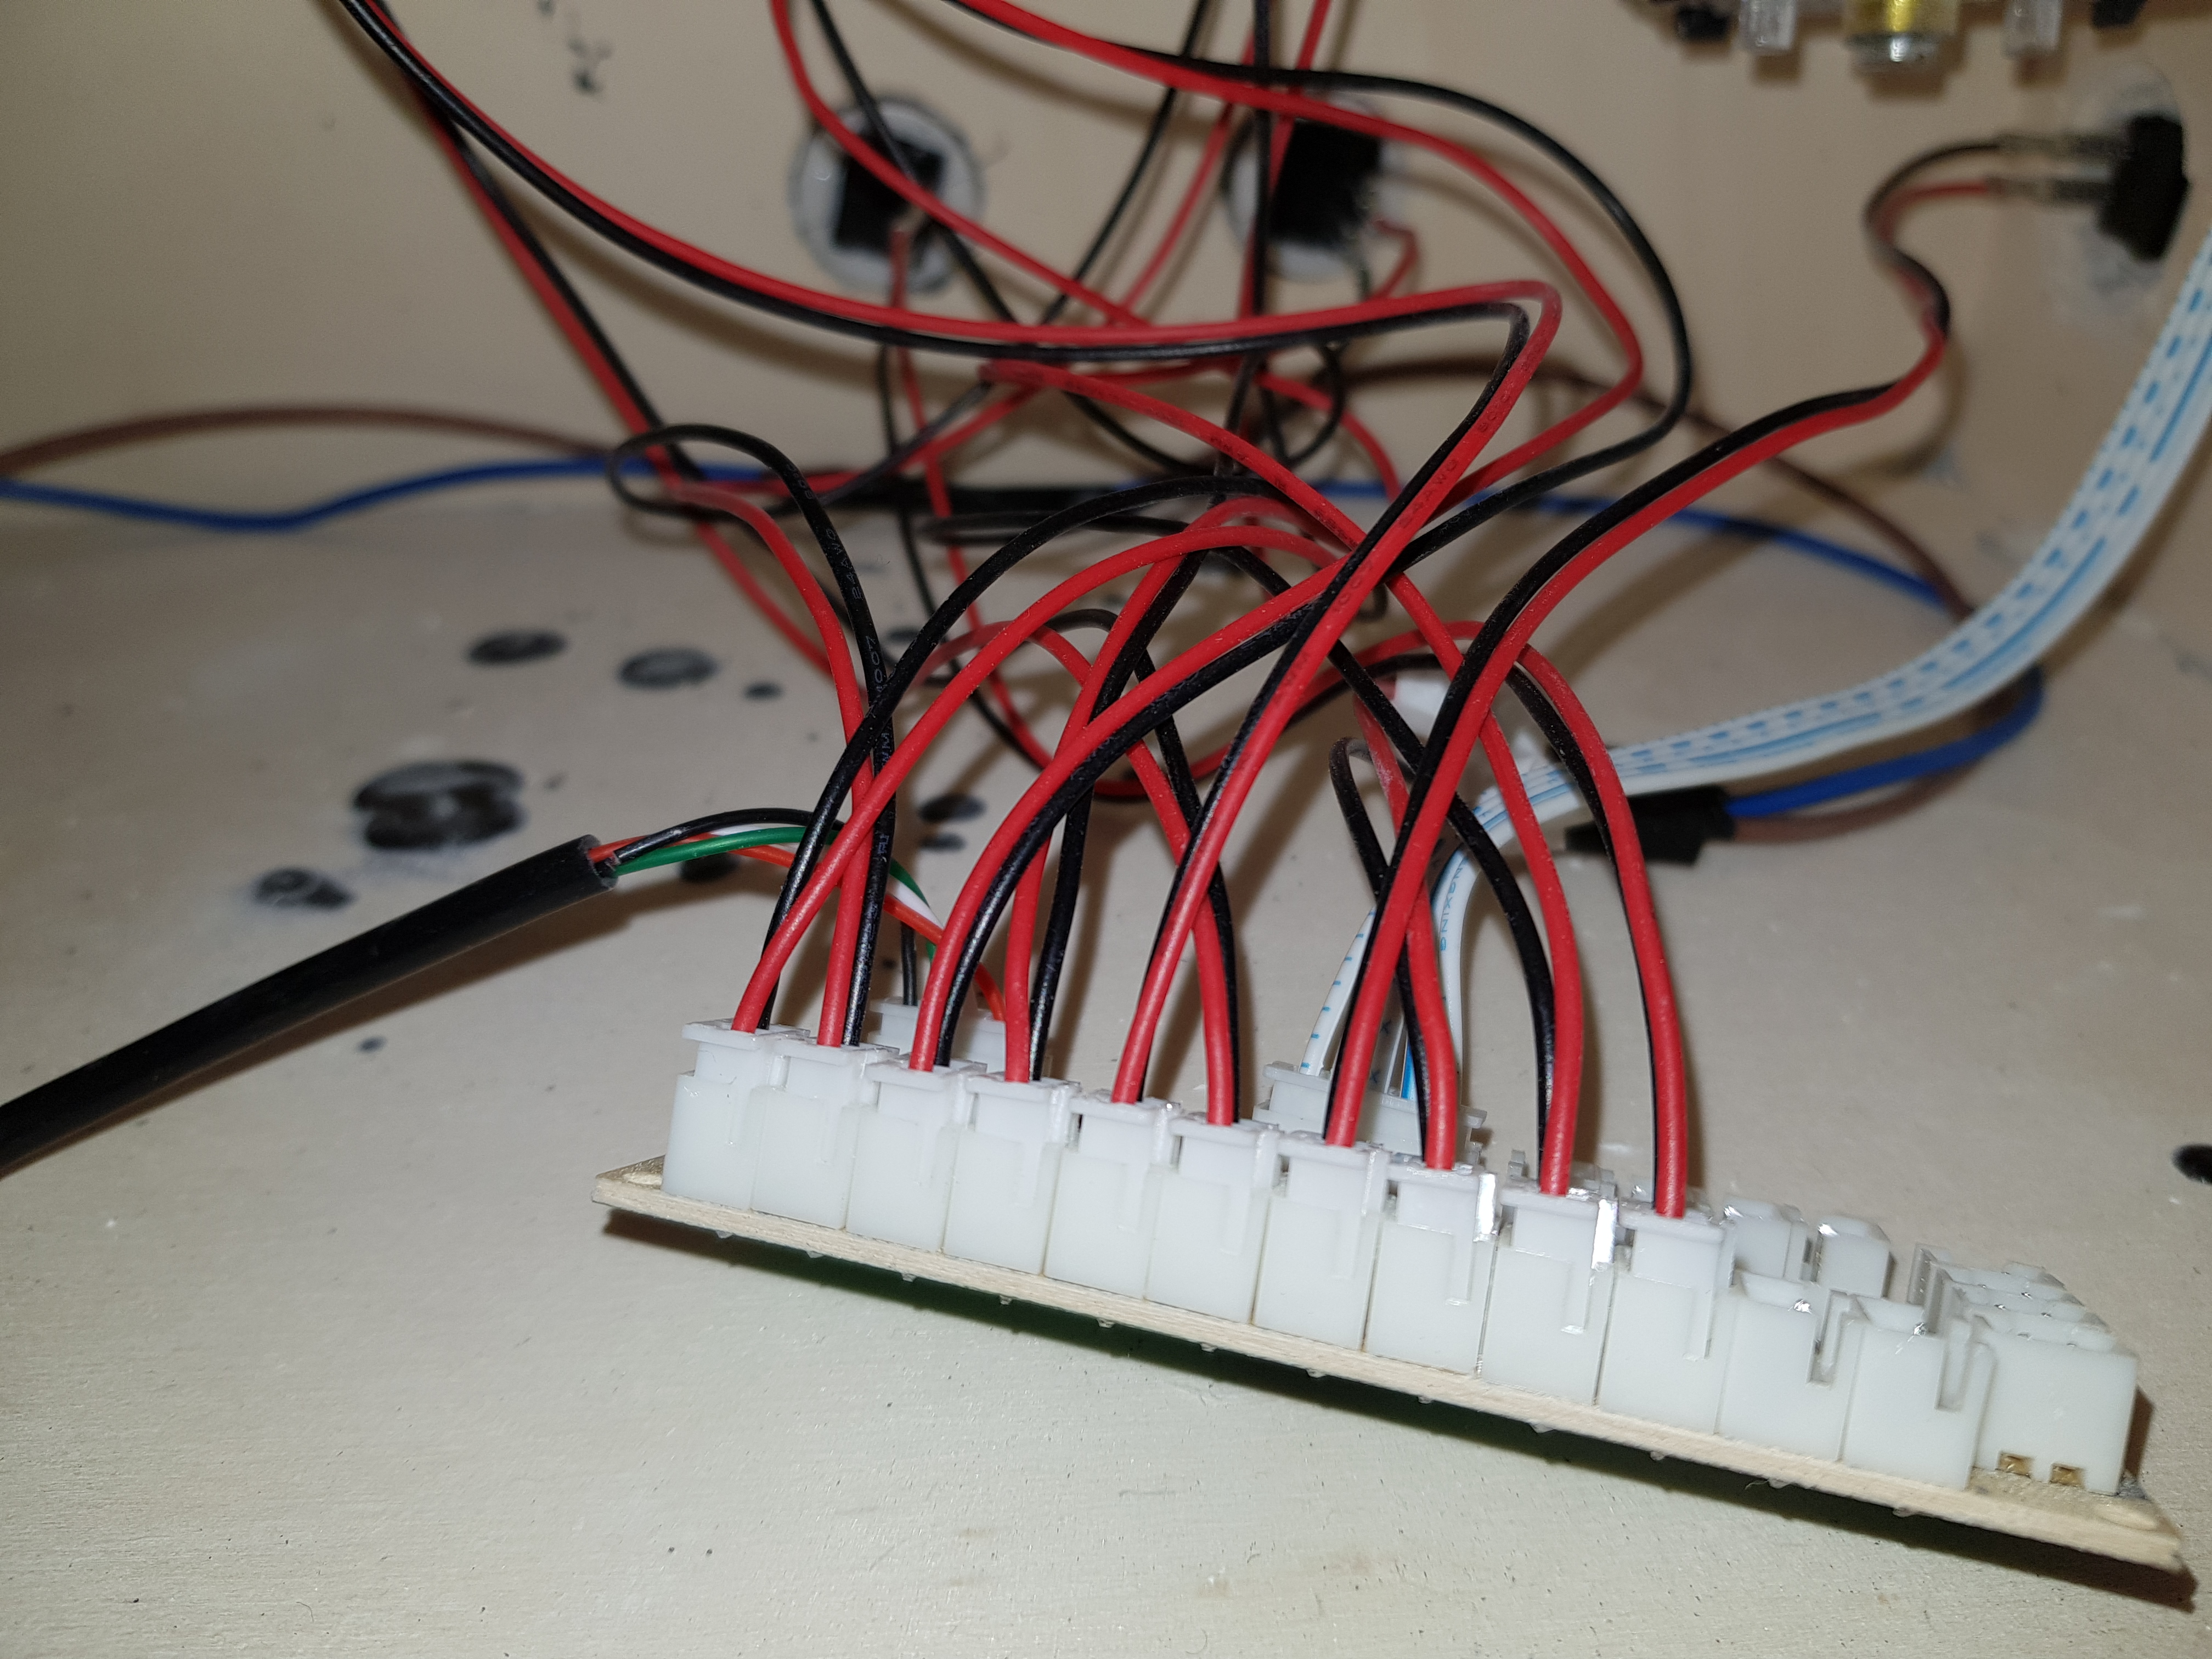
To wire the Side Panel “flipper” buttons I had to build some extension cables, as the provided ones were too short using clamps.
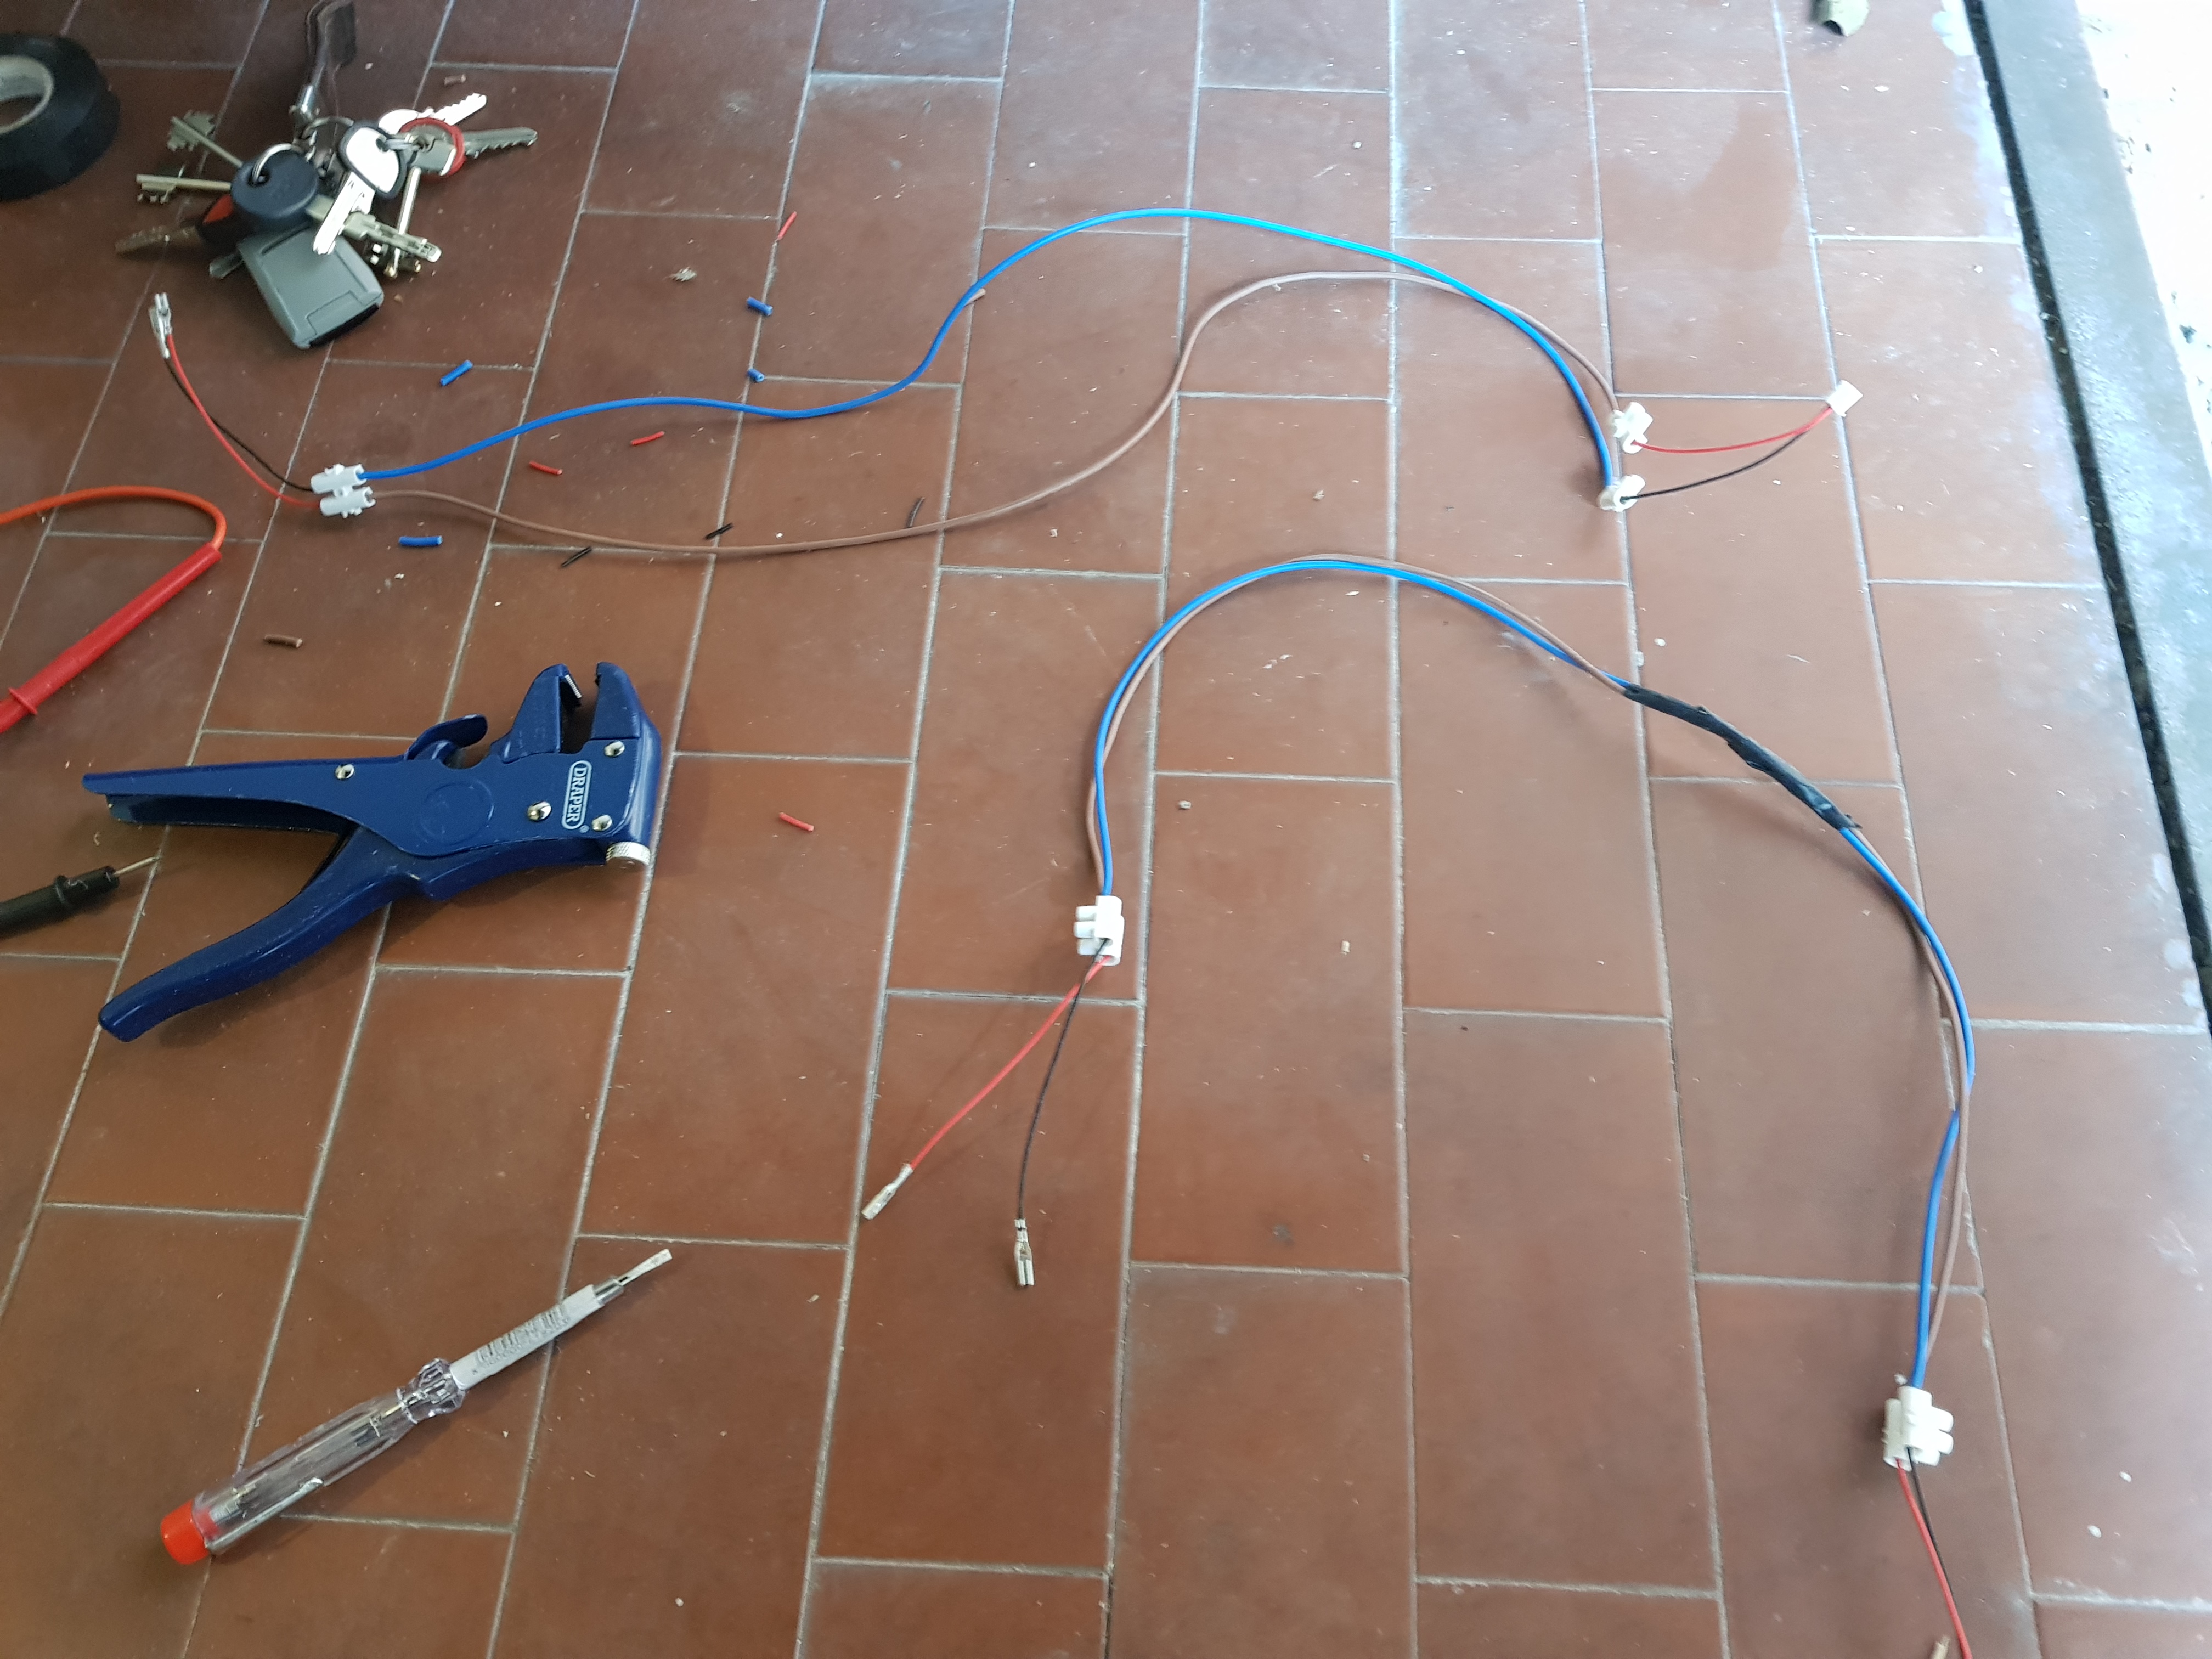
The rest was quite straight-forward: all I did was following the instructions provided by the joysticks.
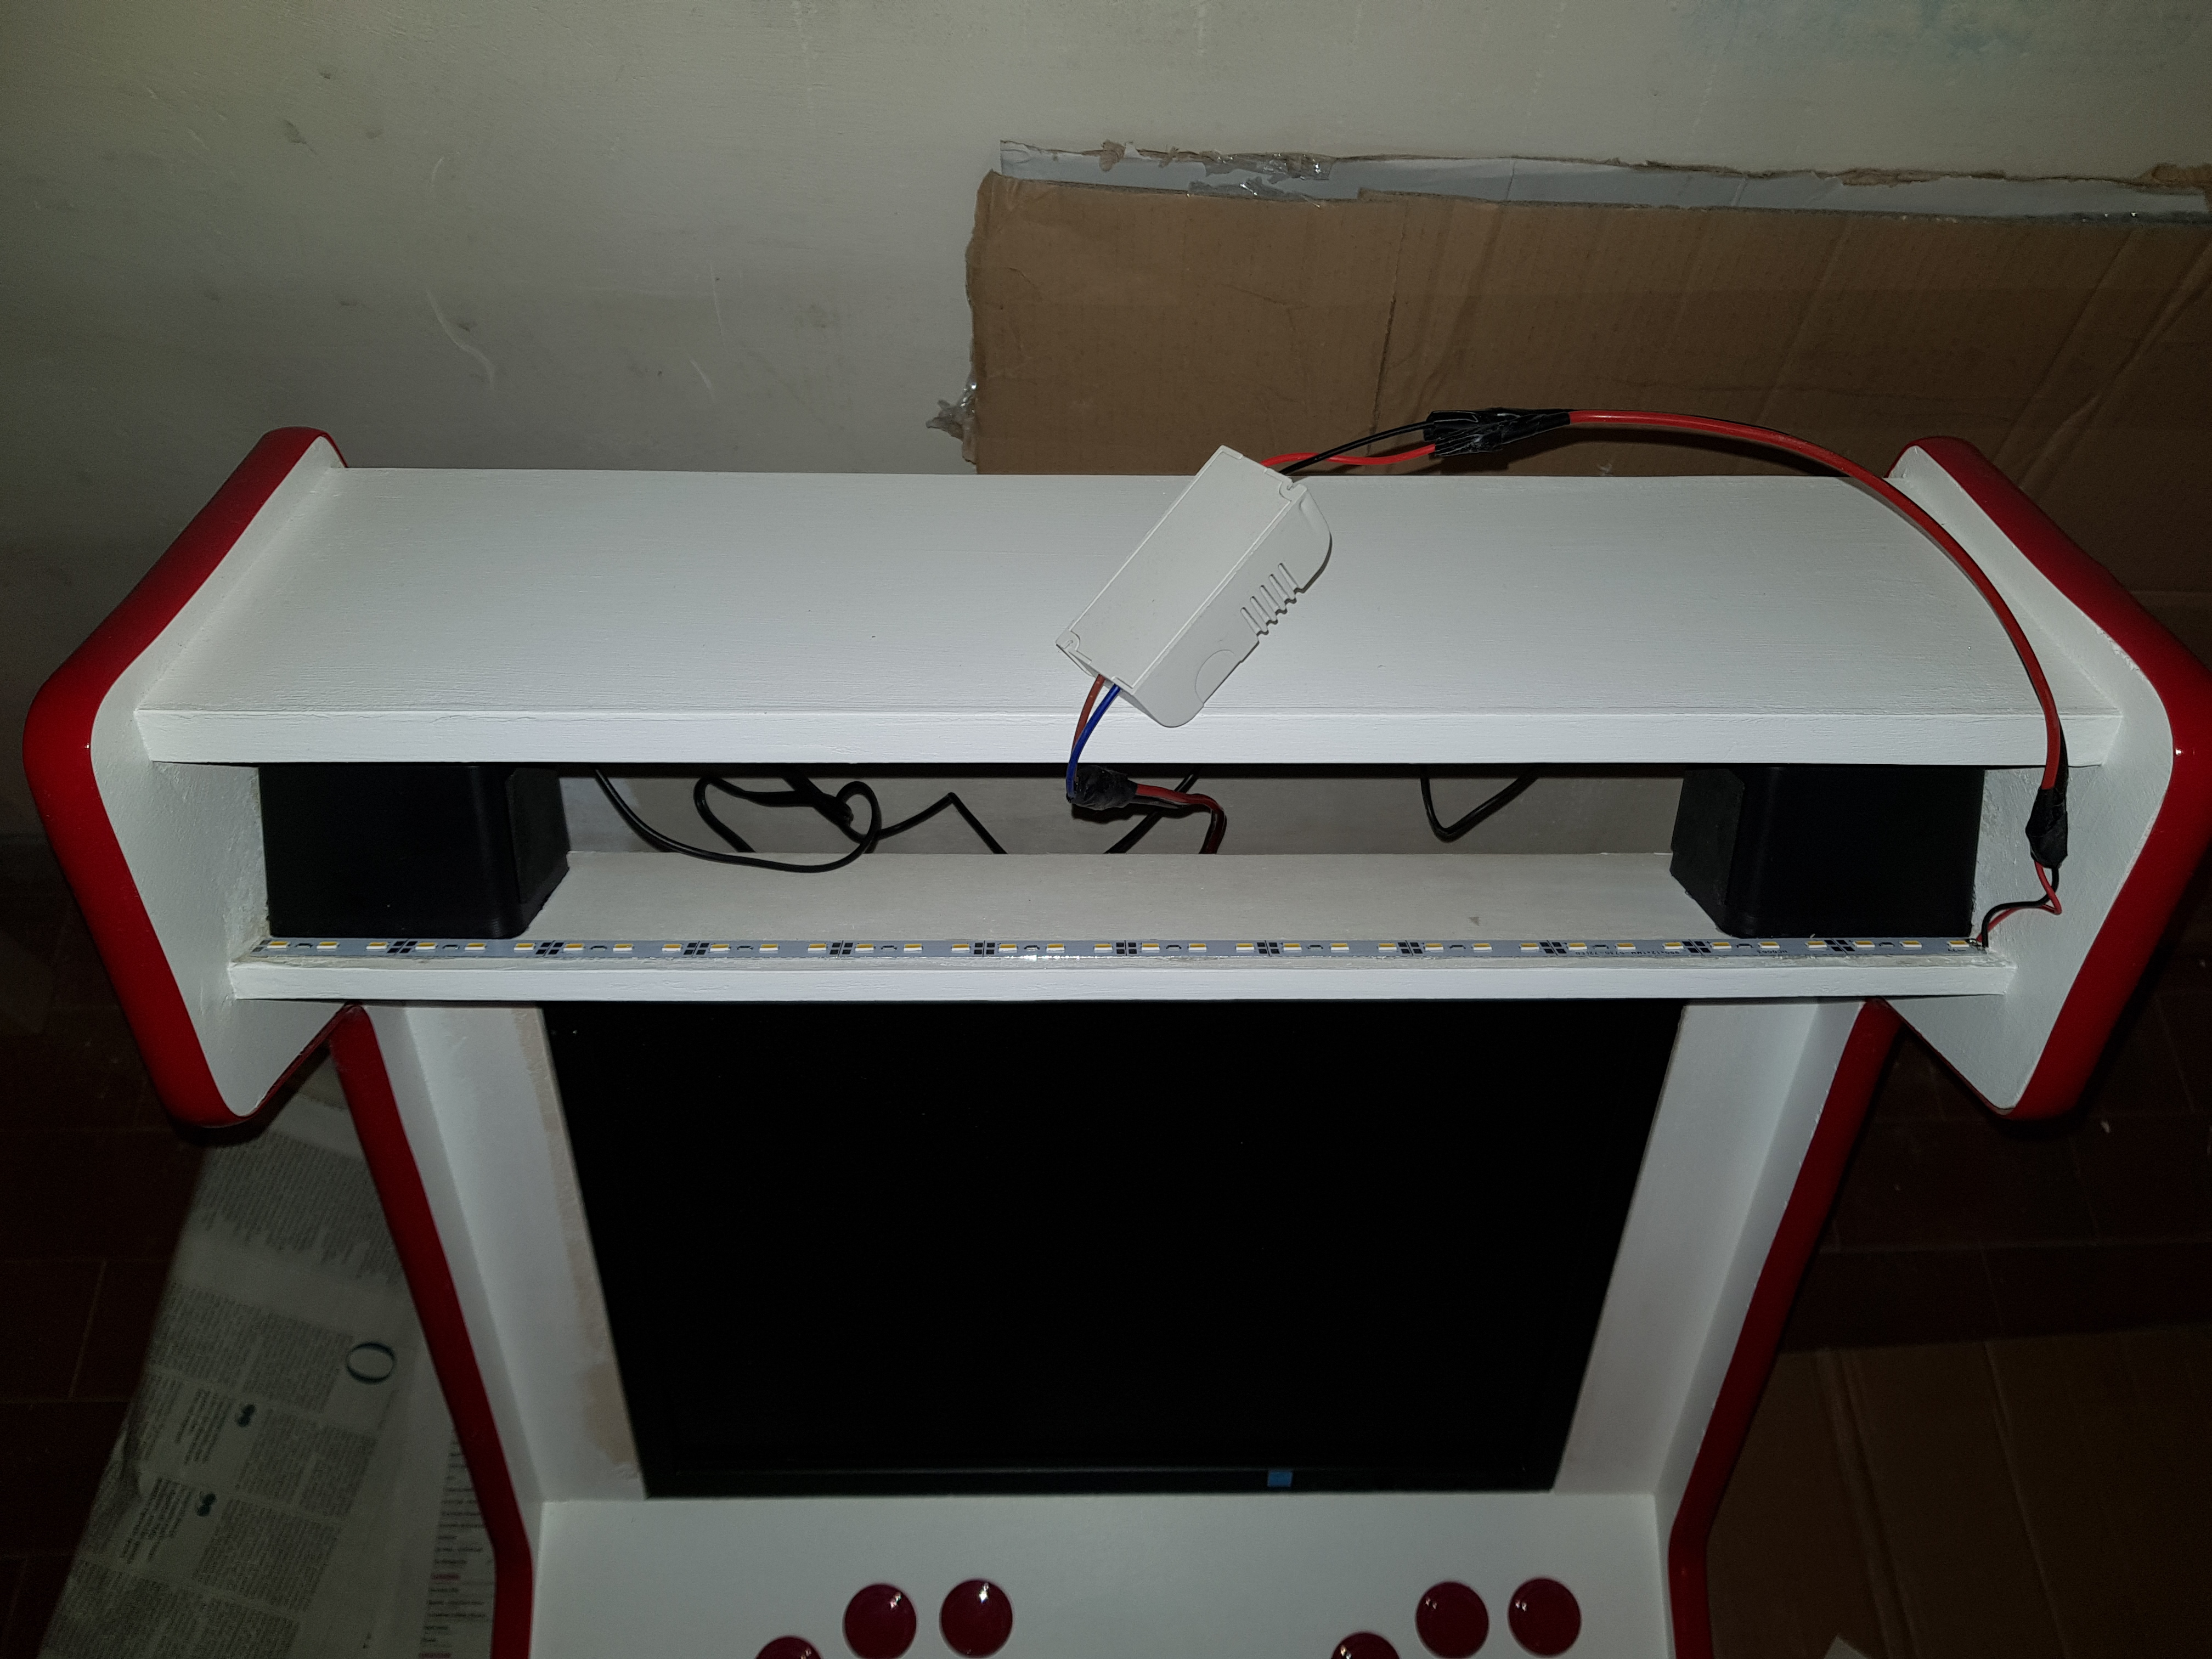
Stereo Speakers
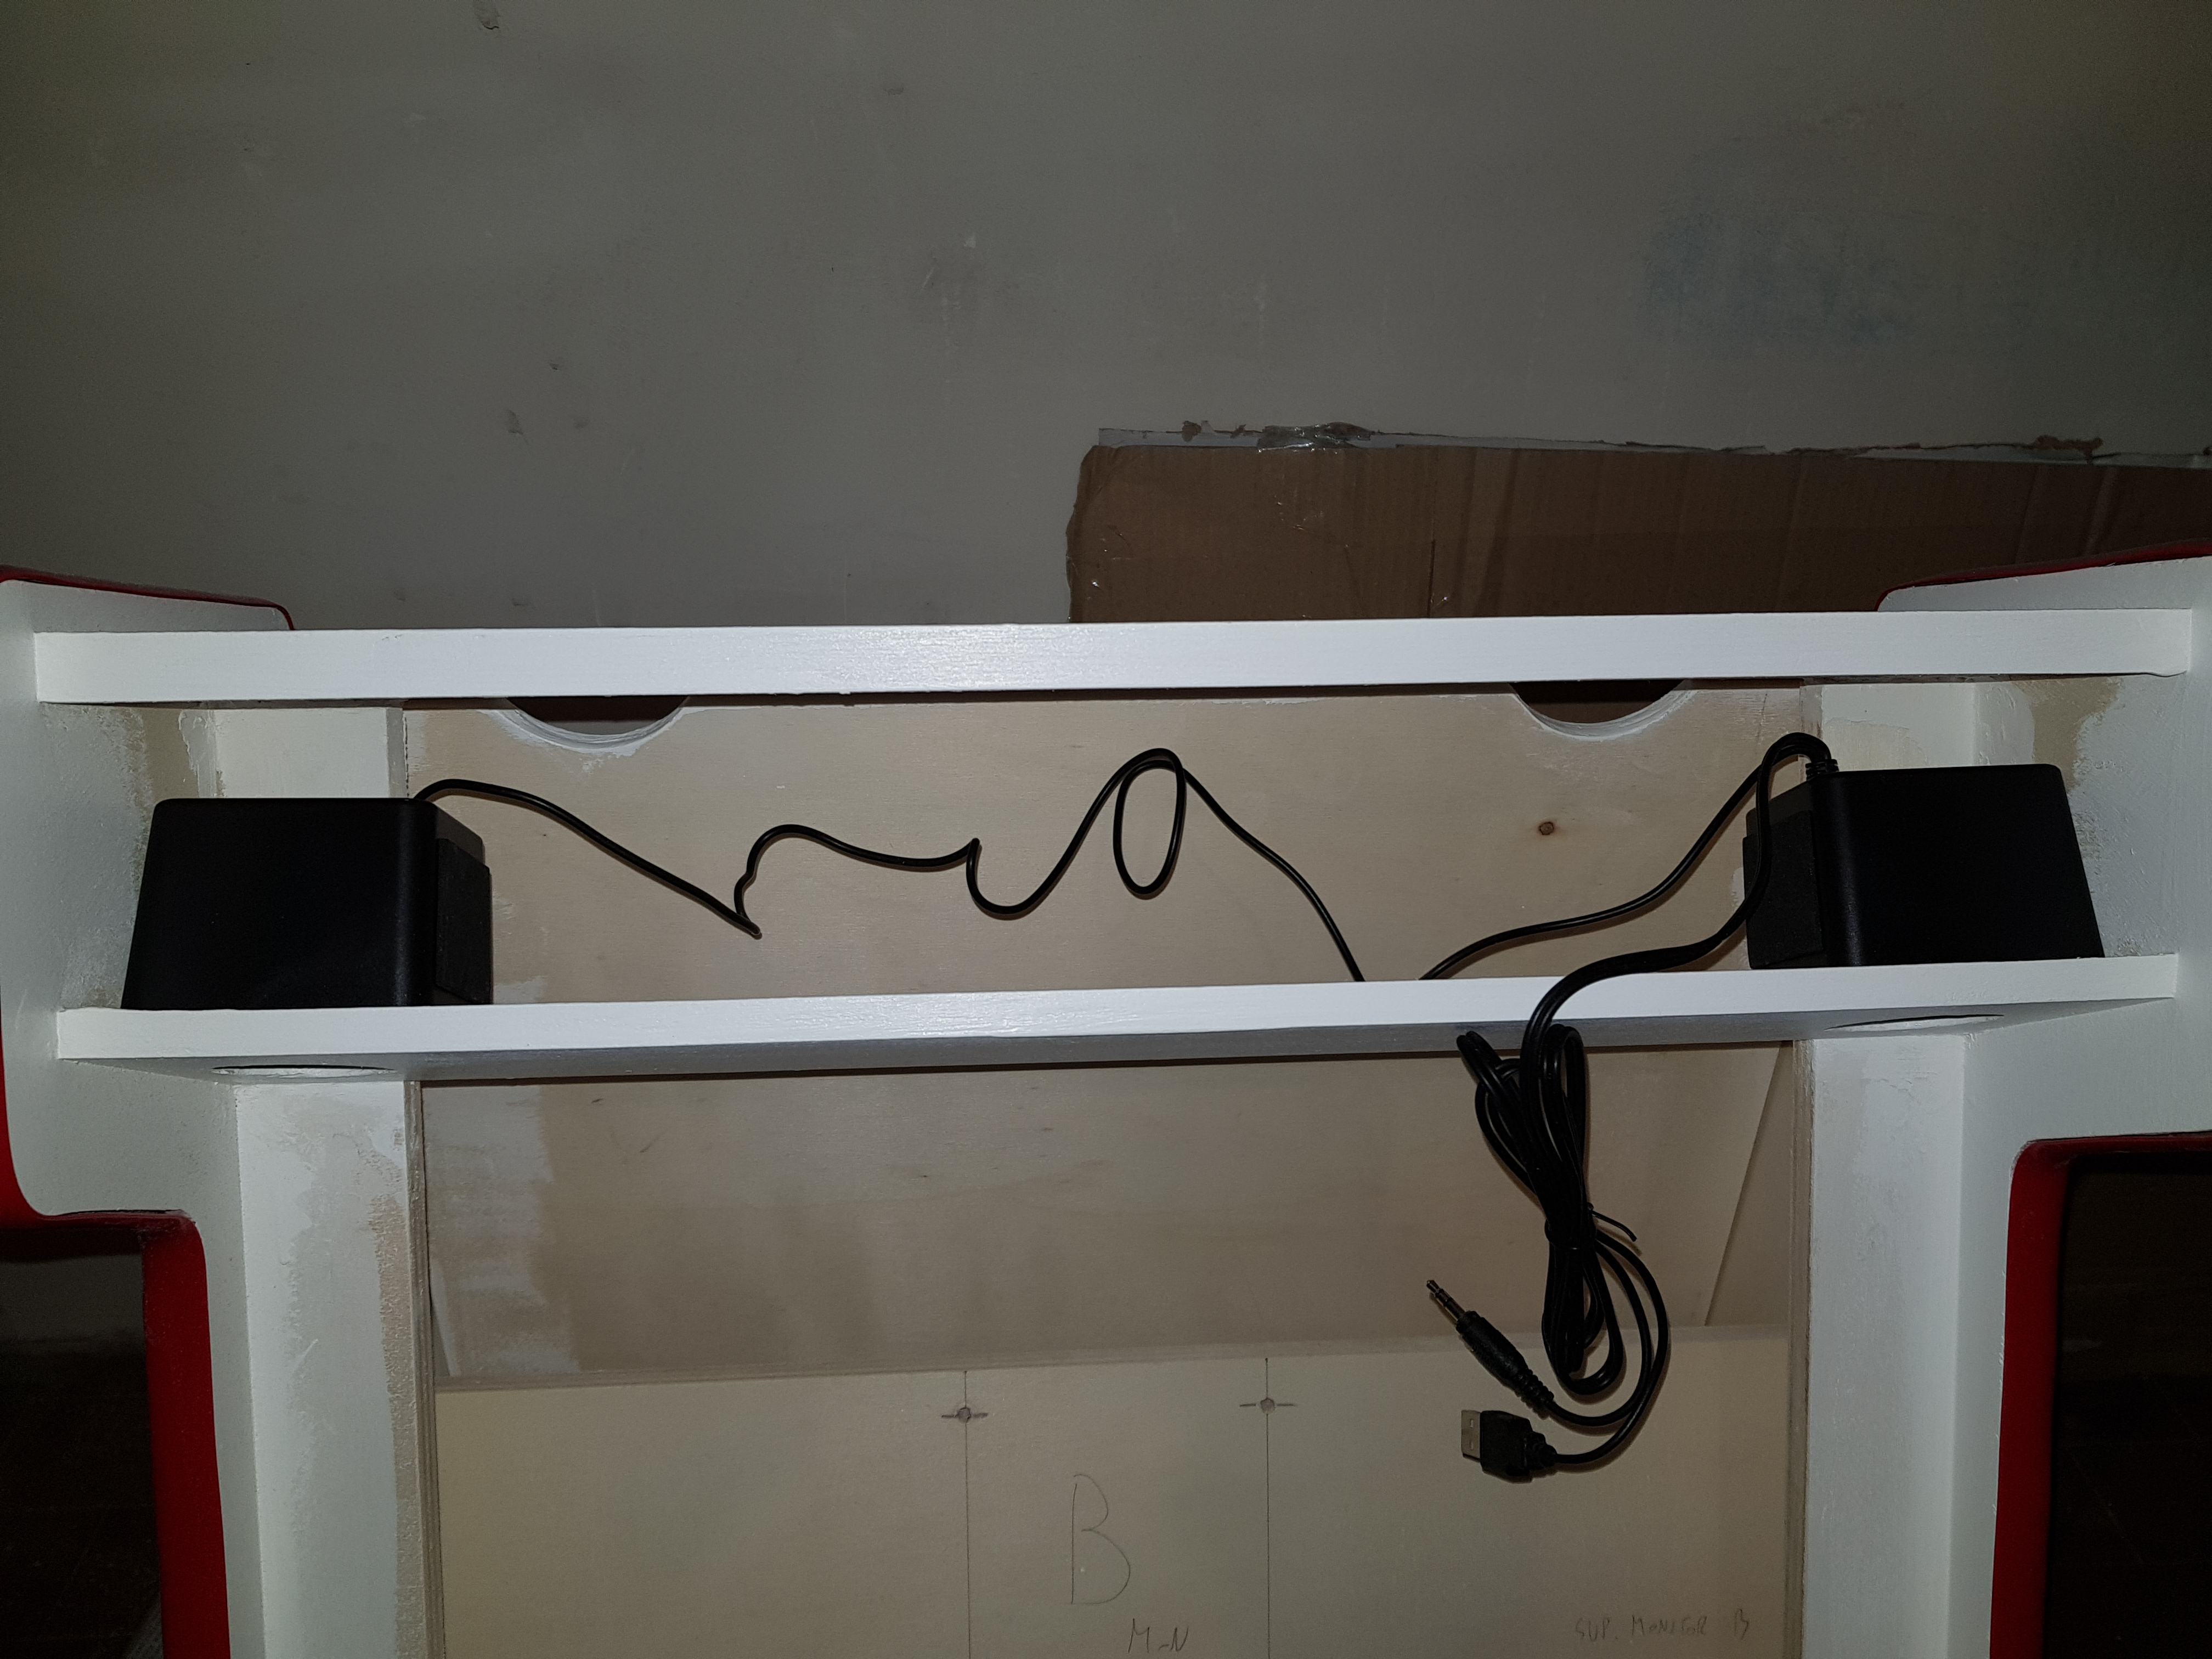
Once done, I installed the Stereo Speakers within the Marquee: I used some drops of silicon glue to firmly put them in place: all the wires goes towards the rear part, so that they would be covered by the monitor. I also made sure to have the volume control bar facing backside, so that I could be able to control it by opening the Back-side Door.
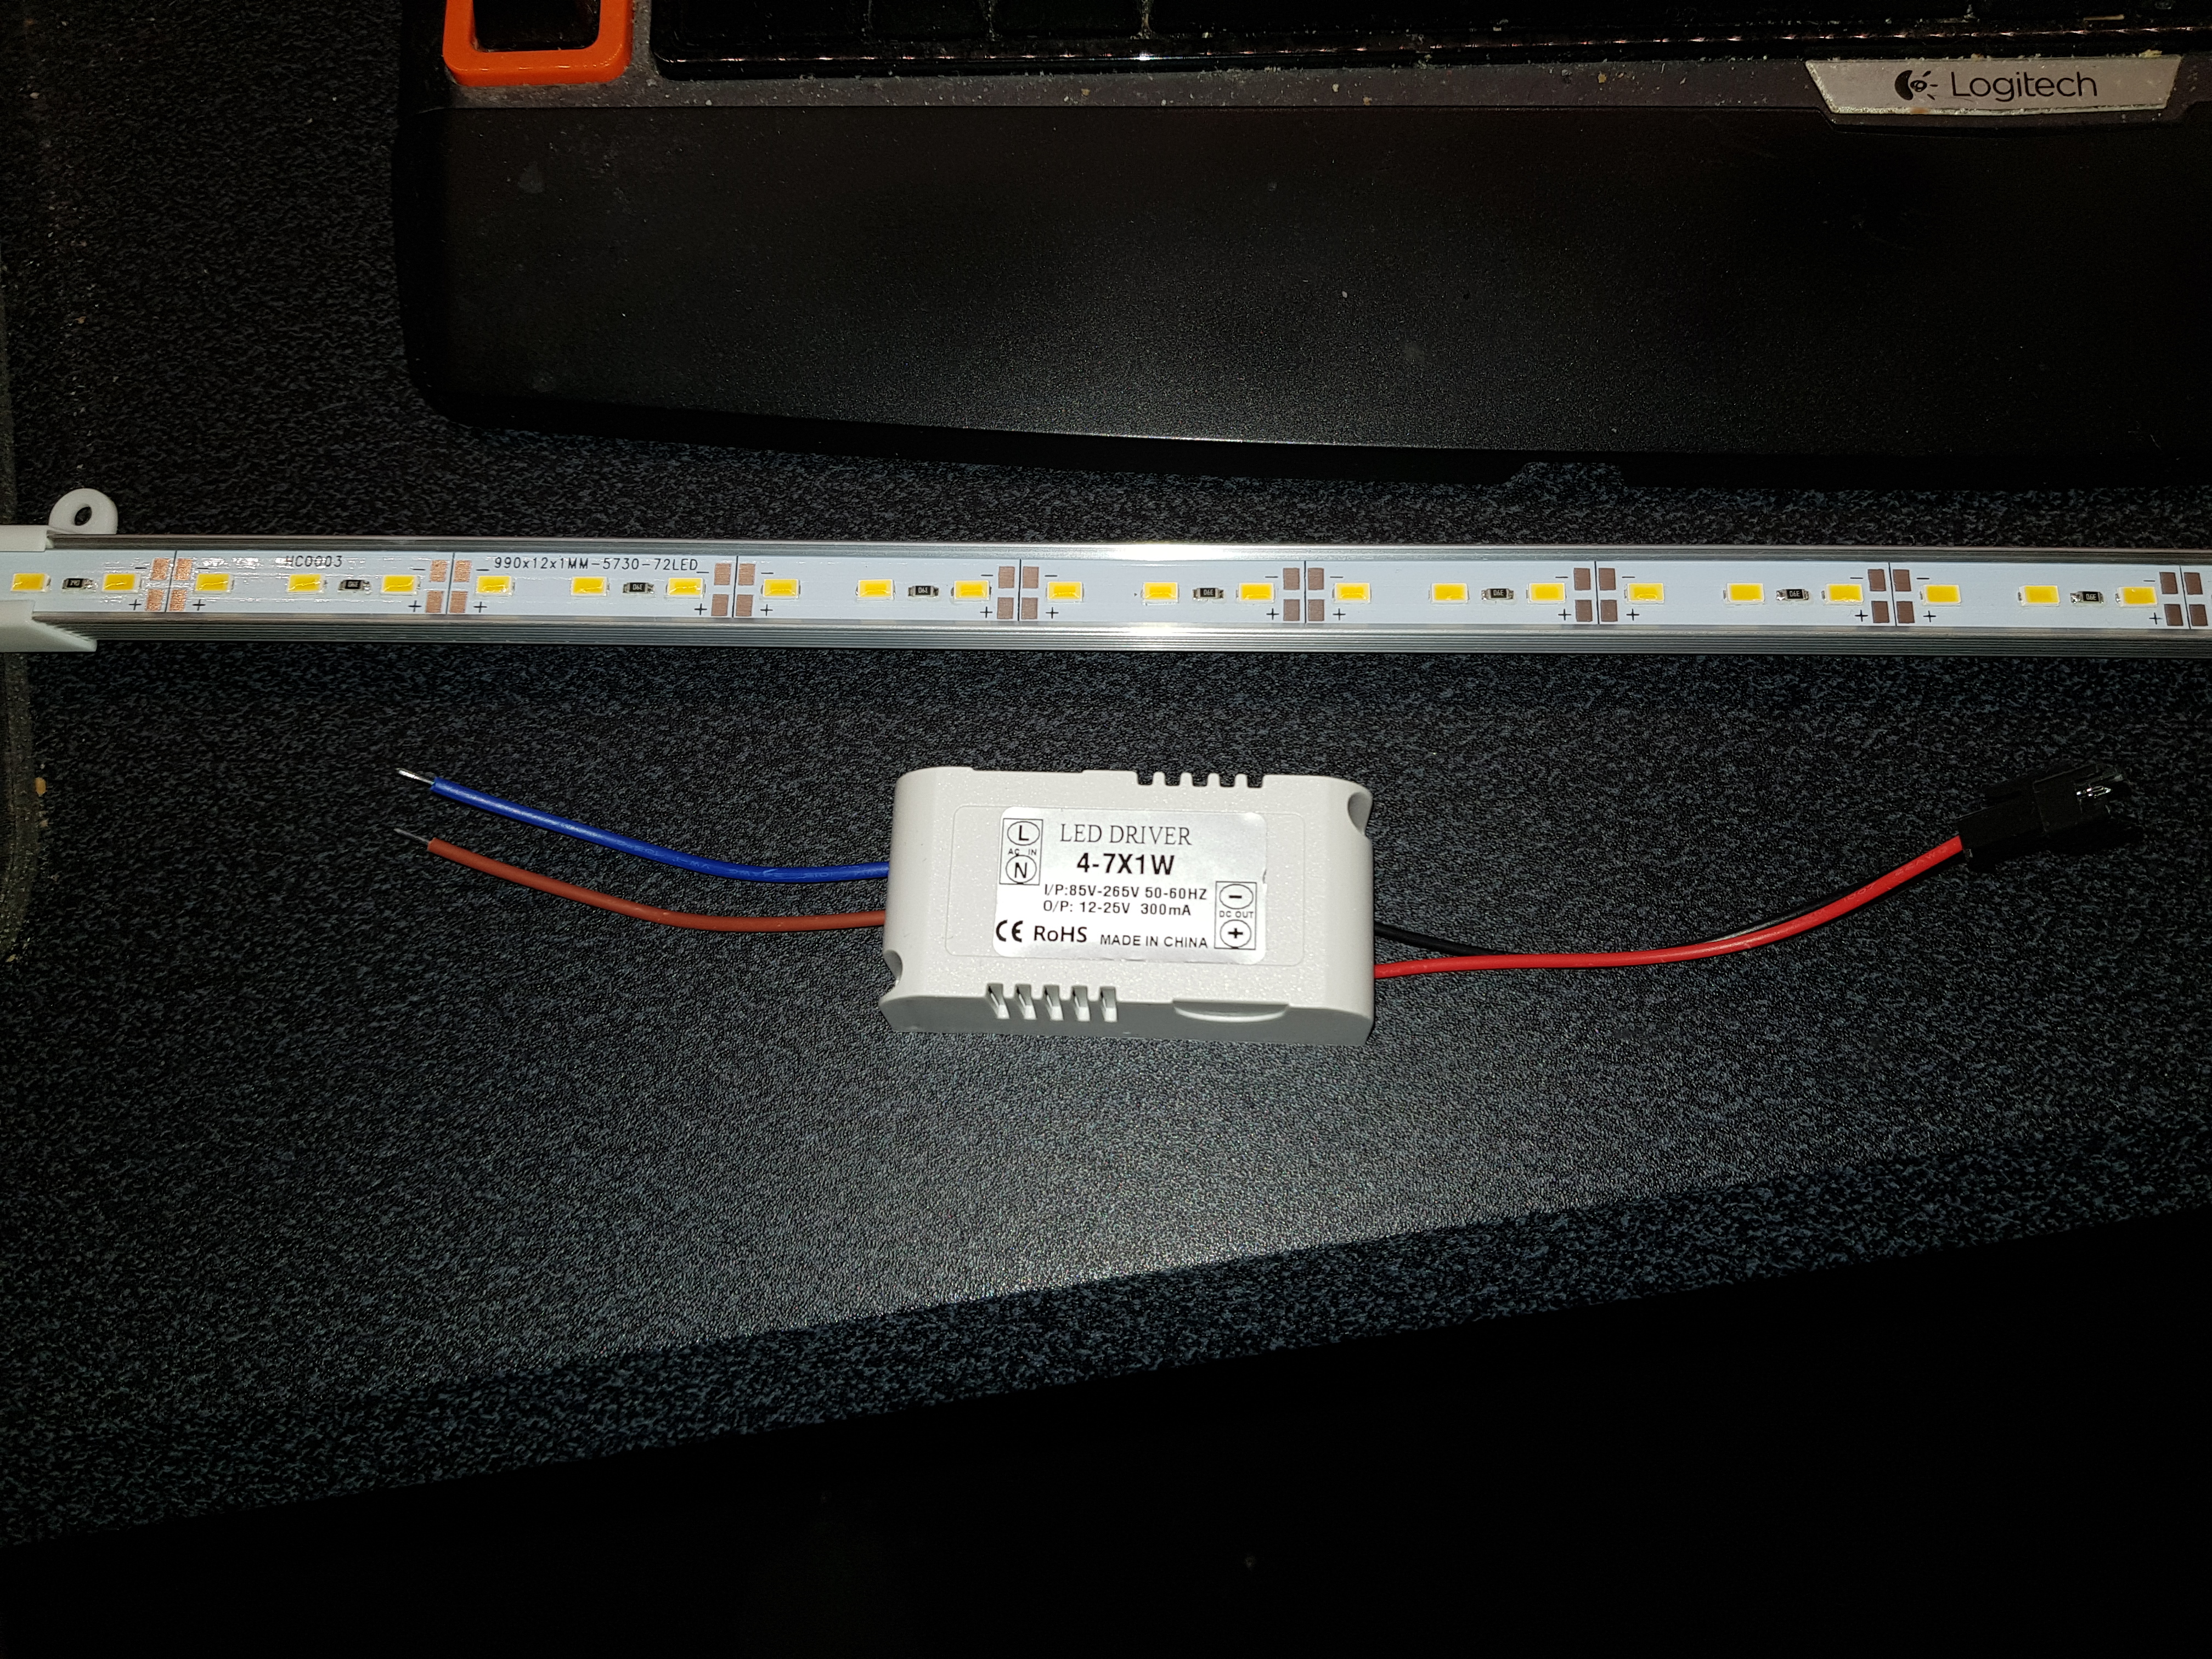
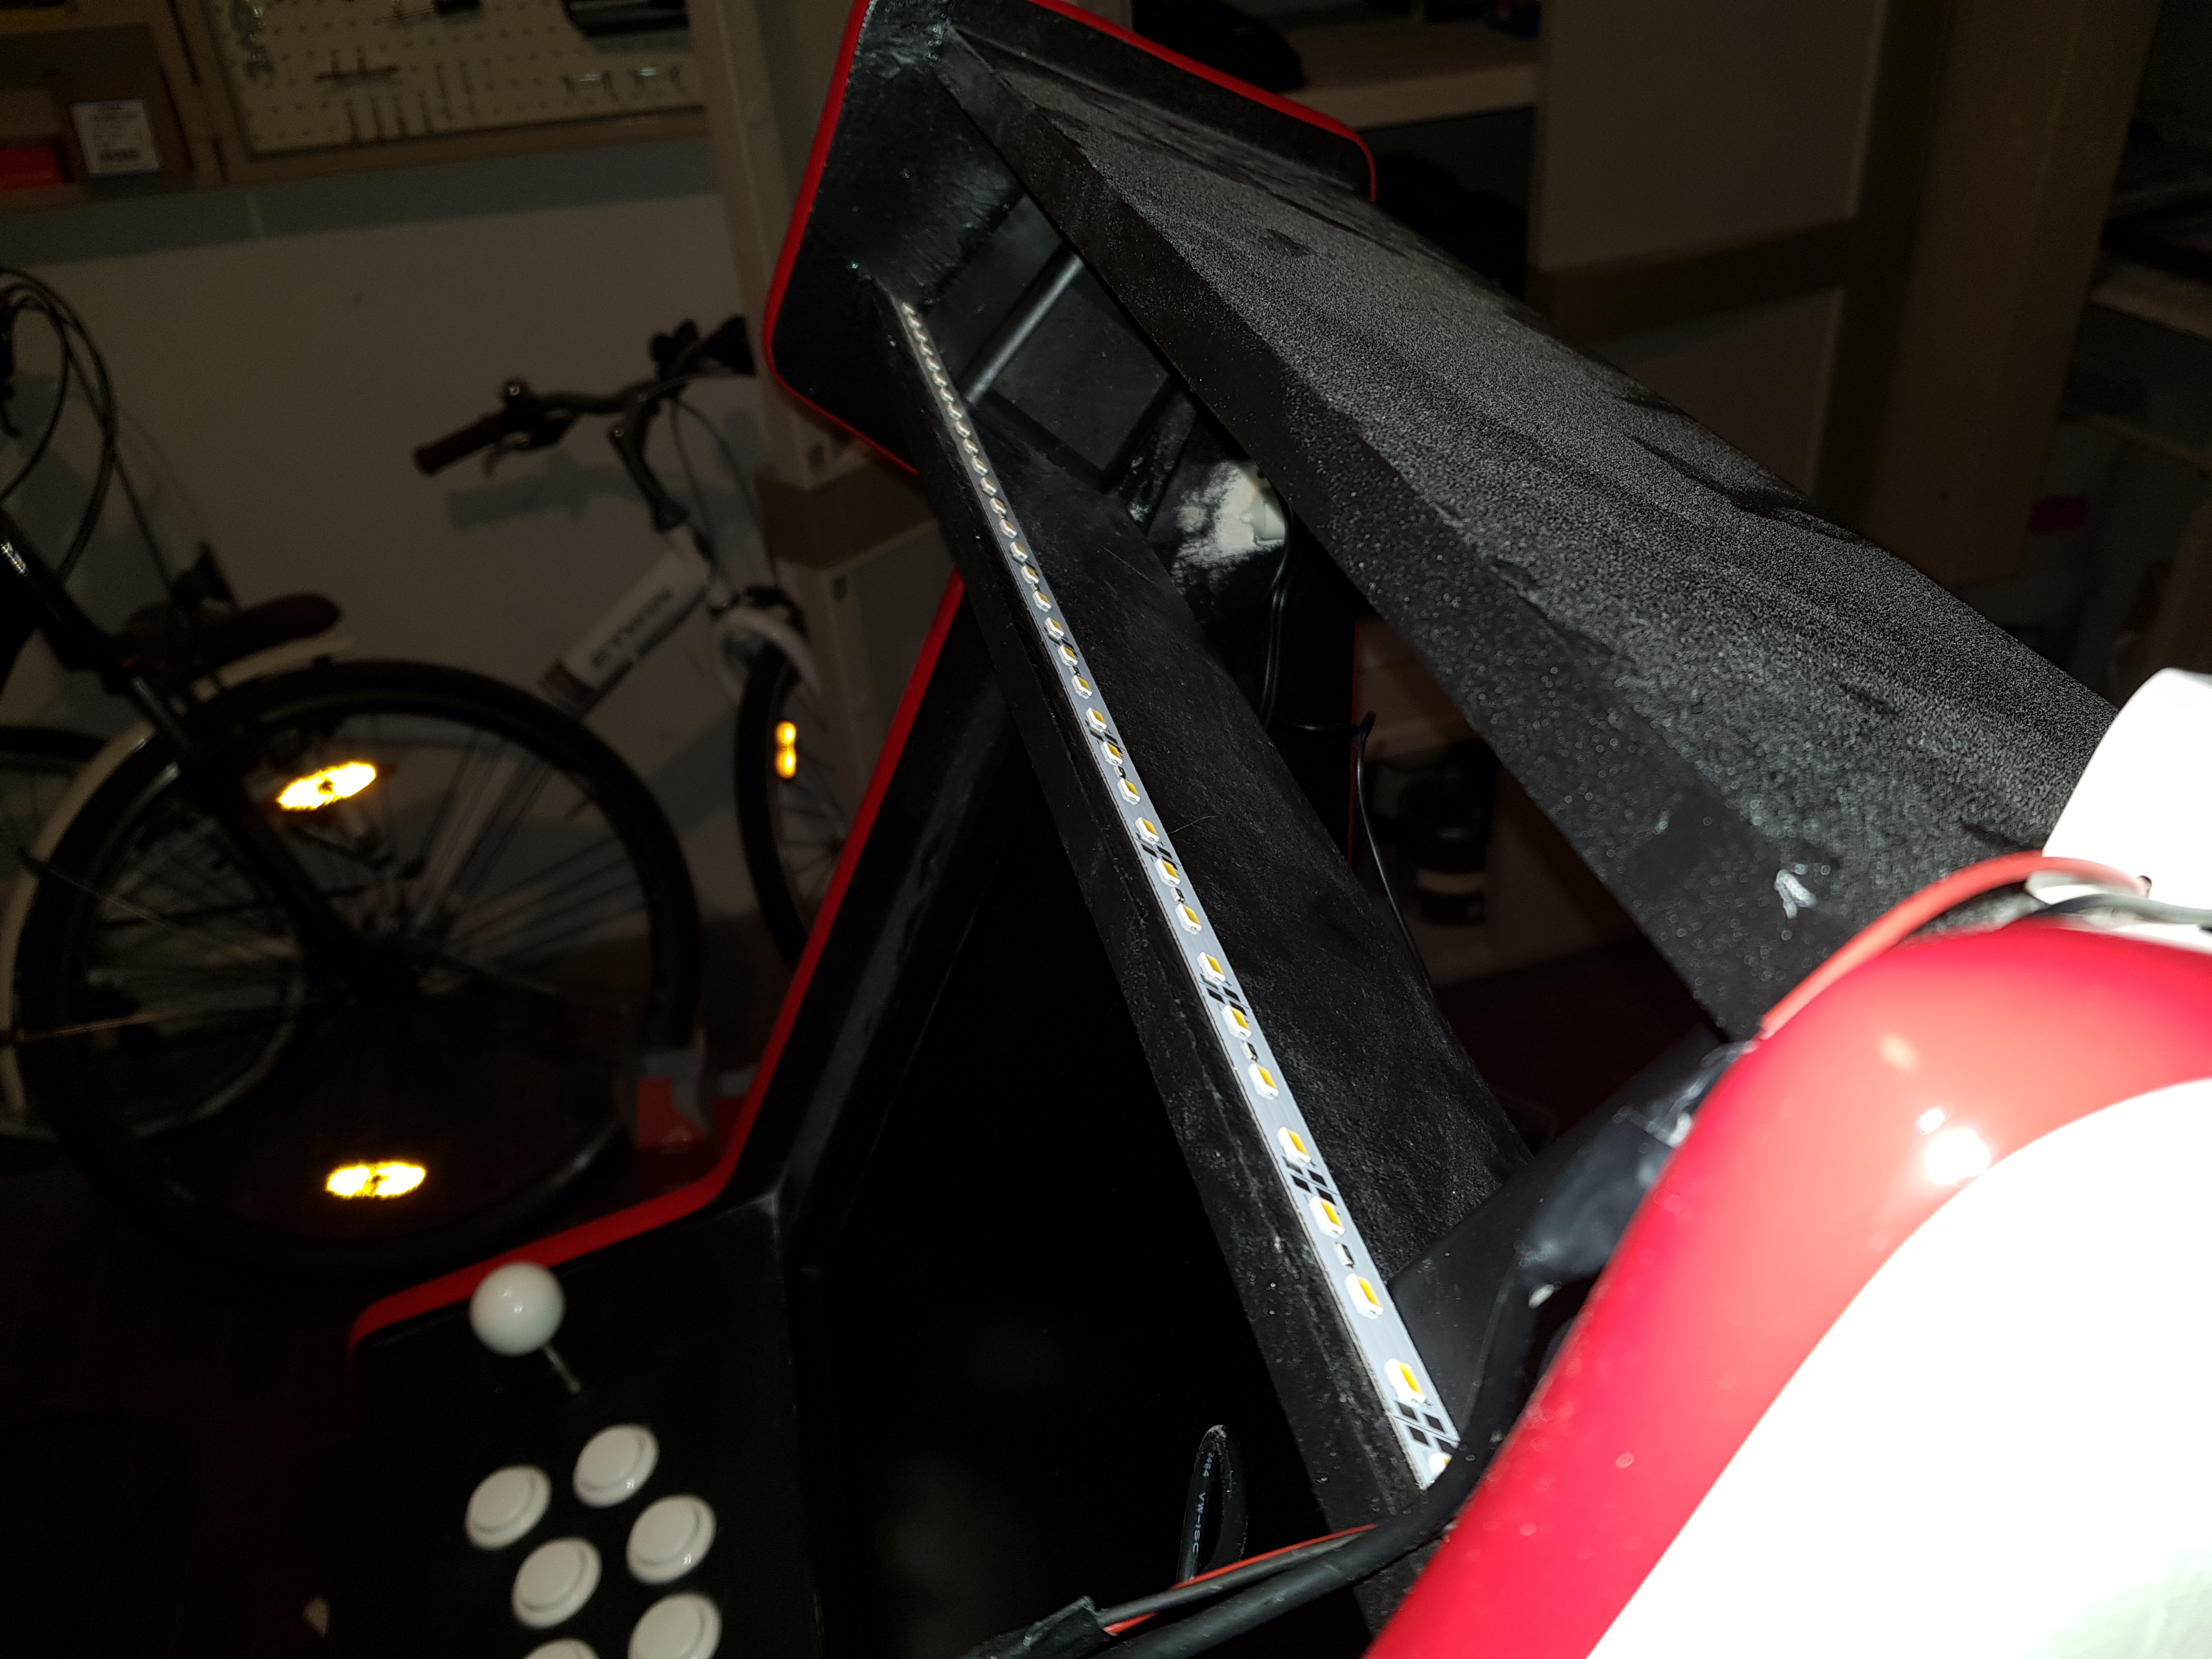
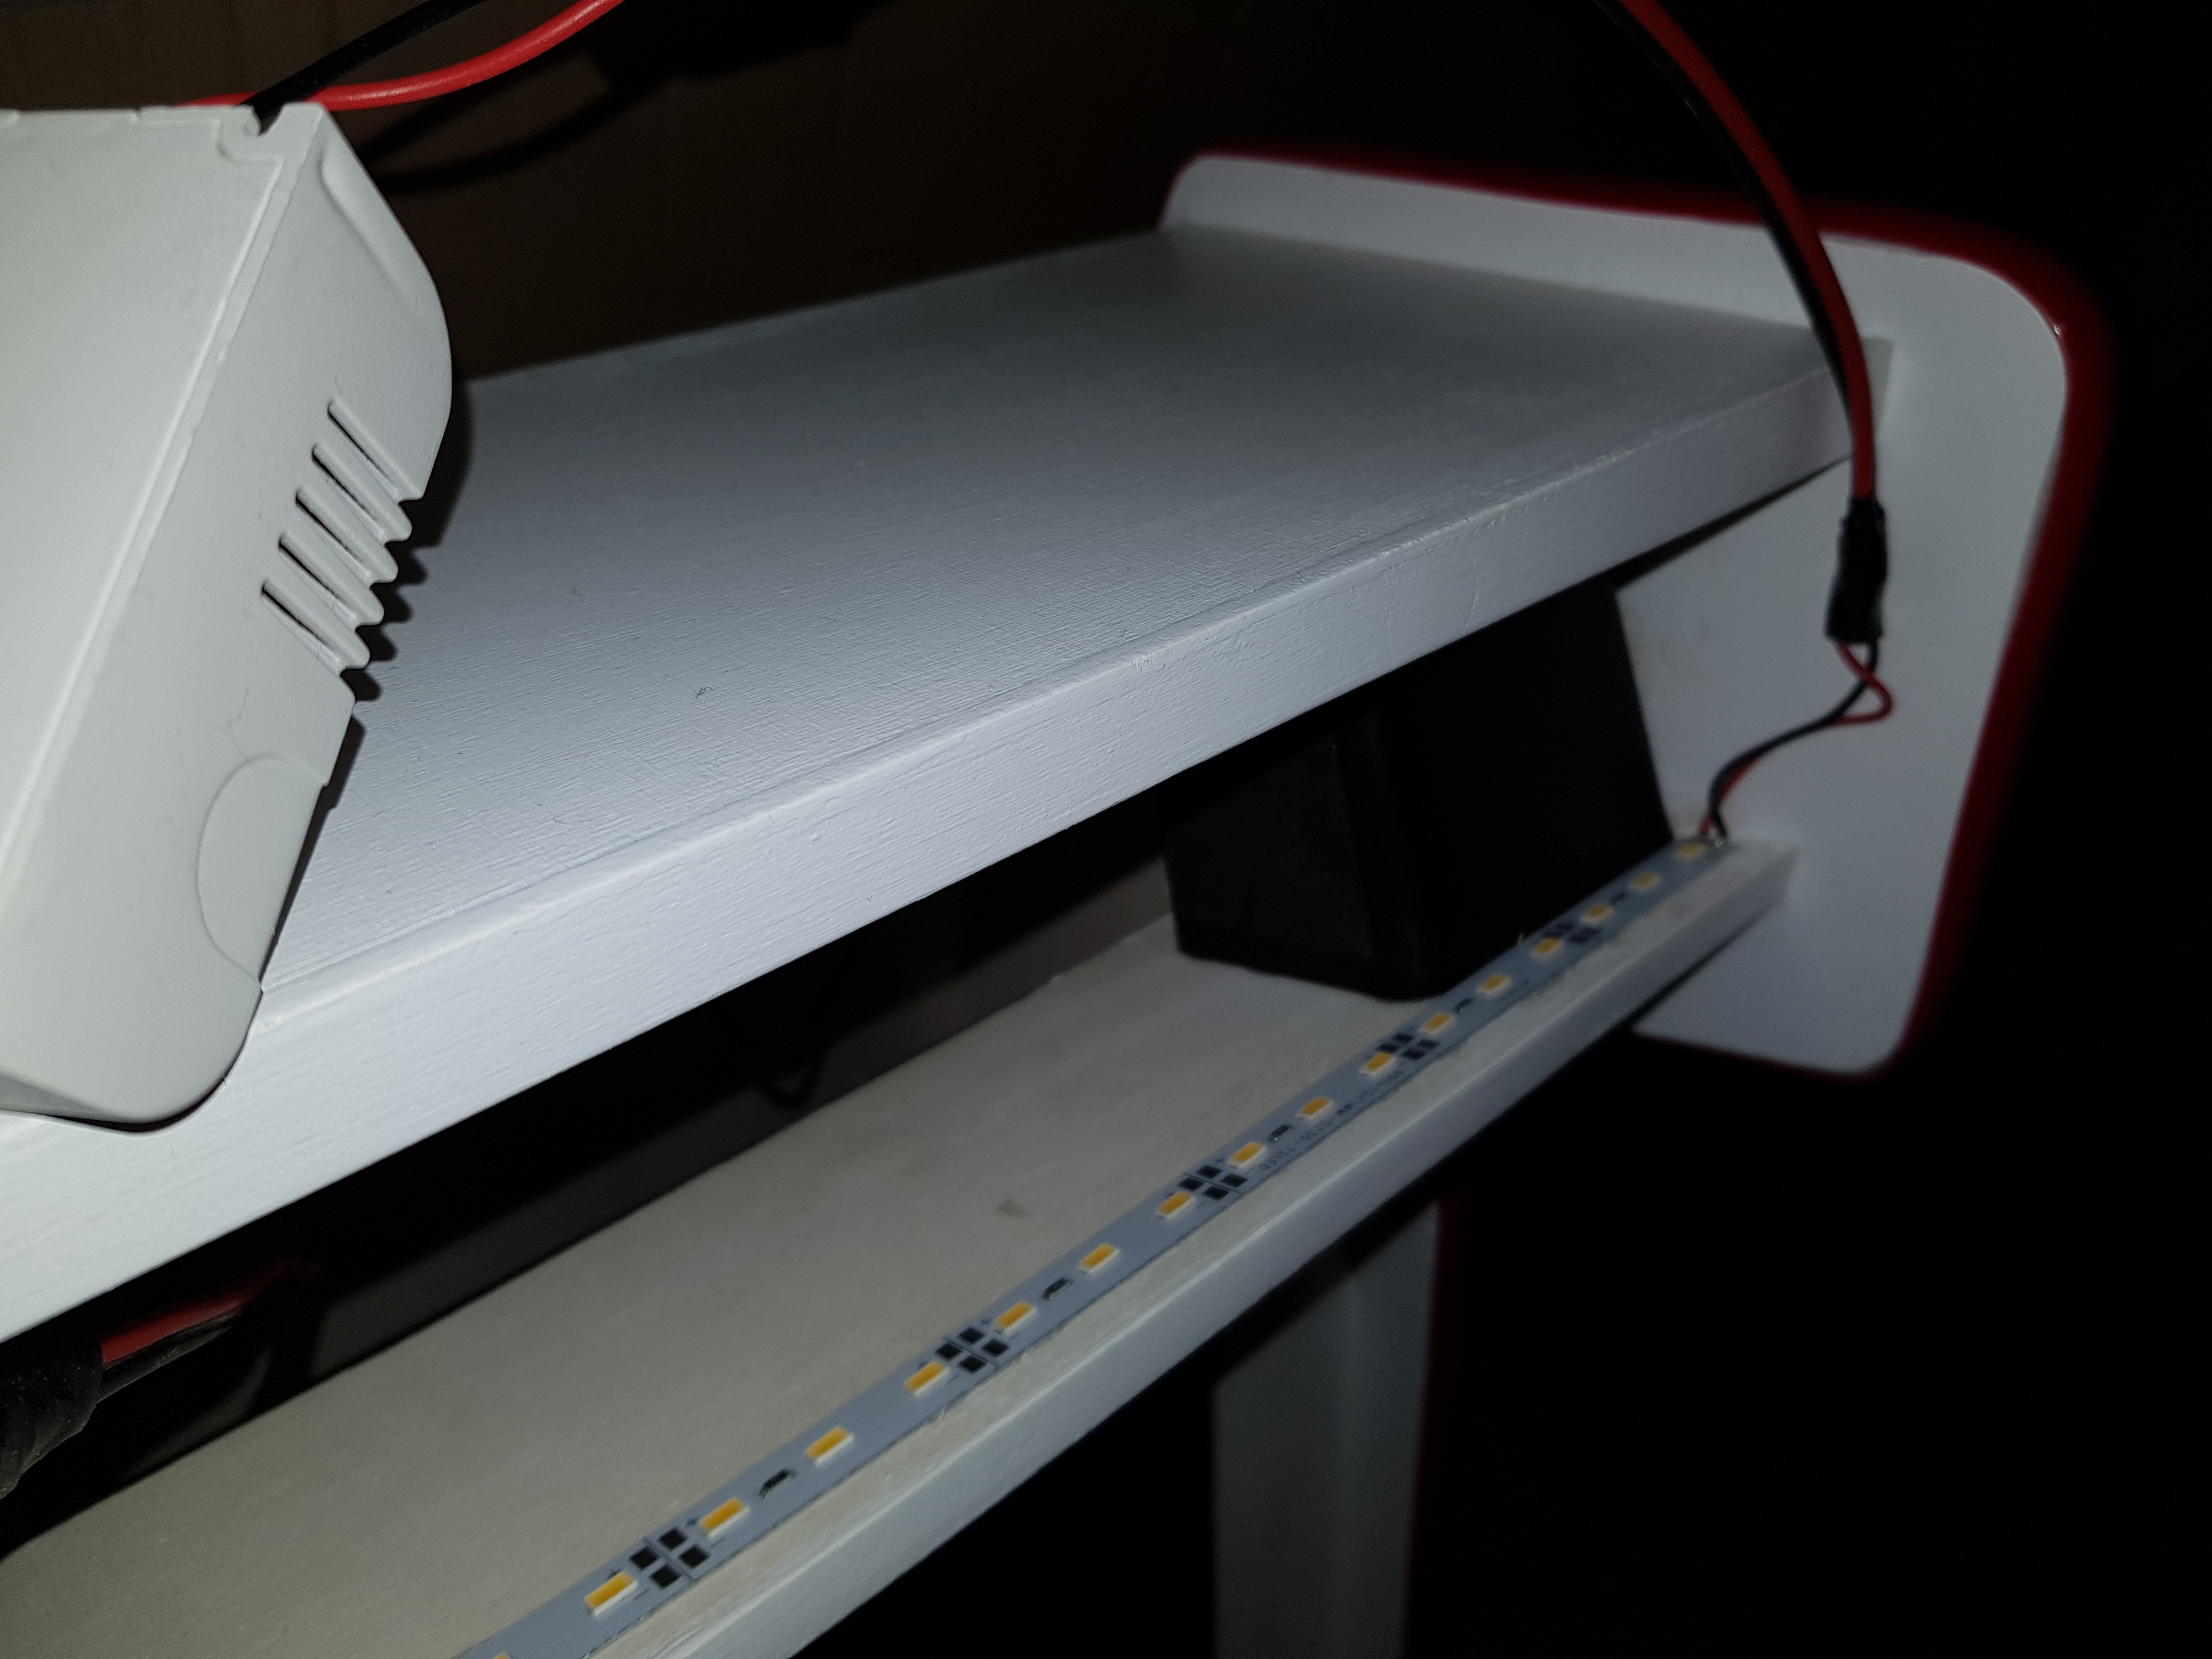
Marquee LED Backlight
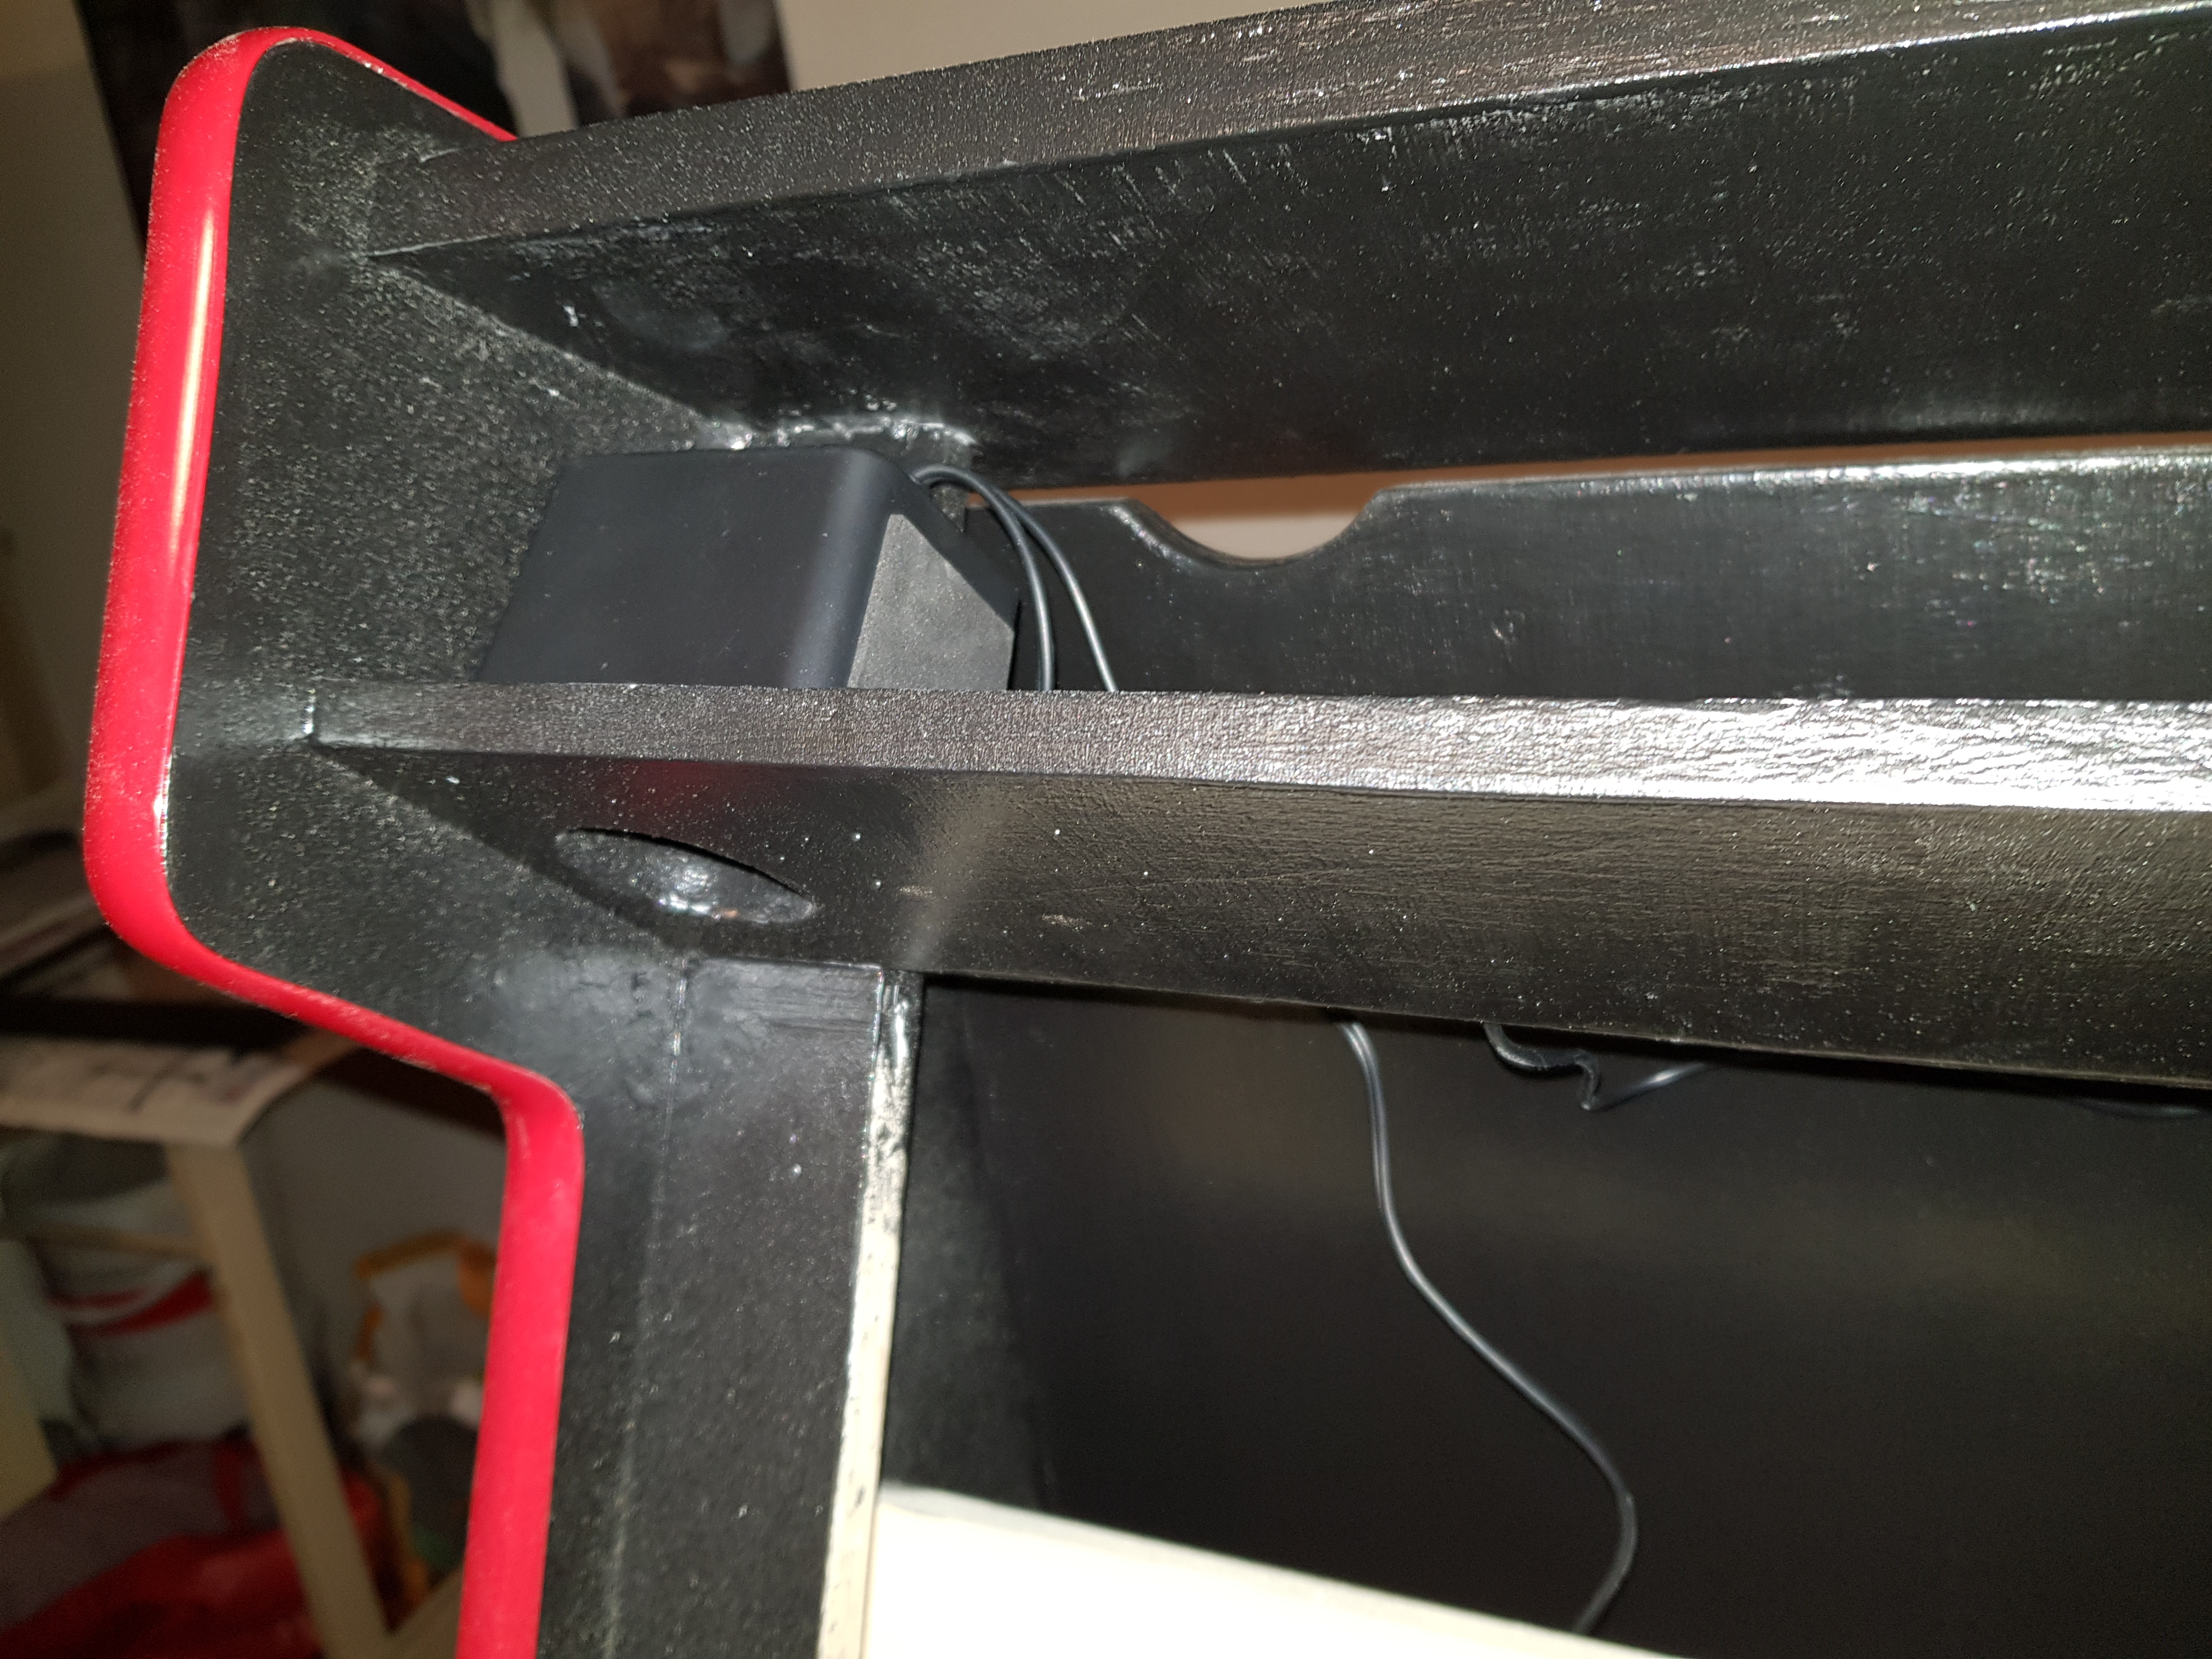
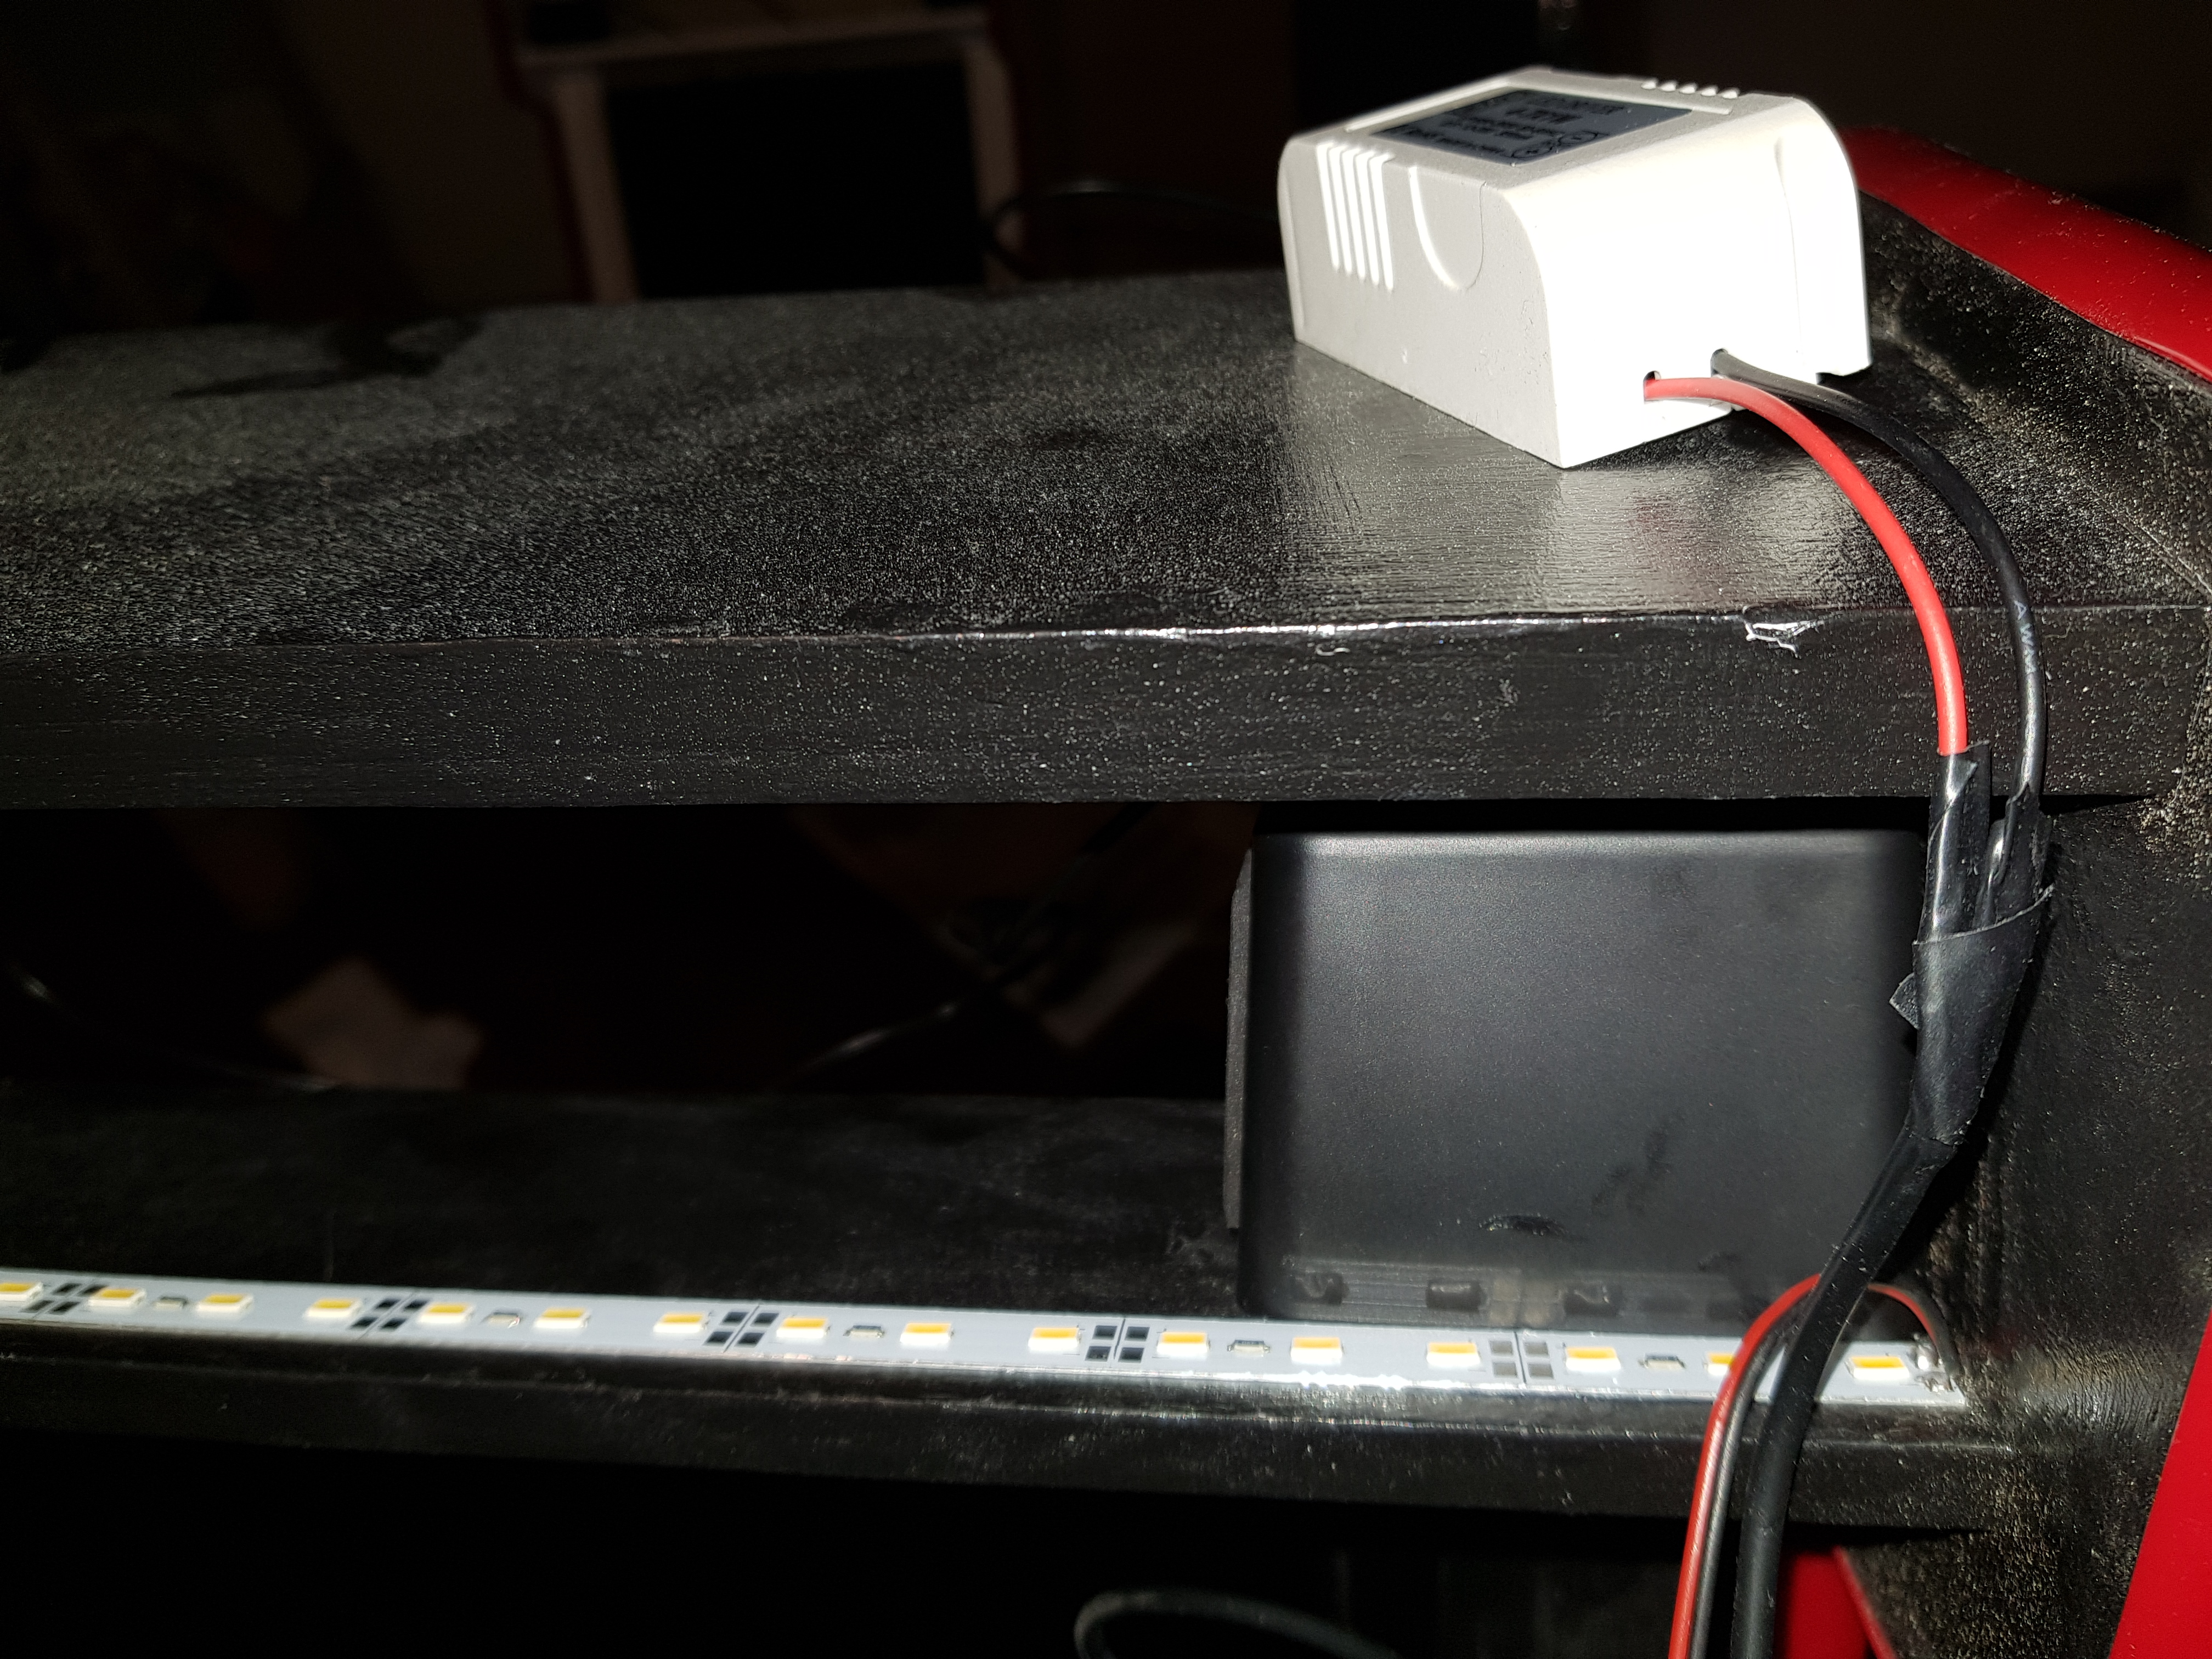
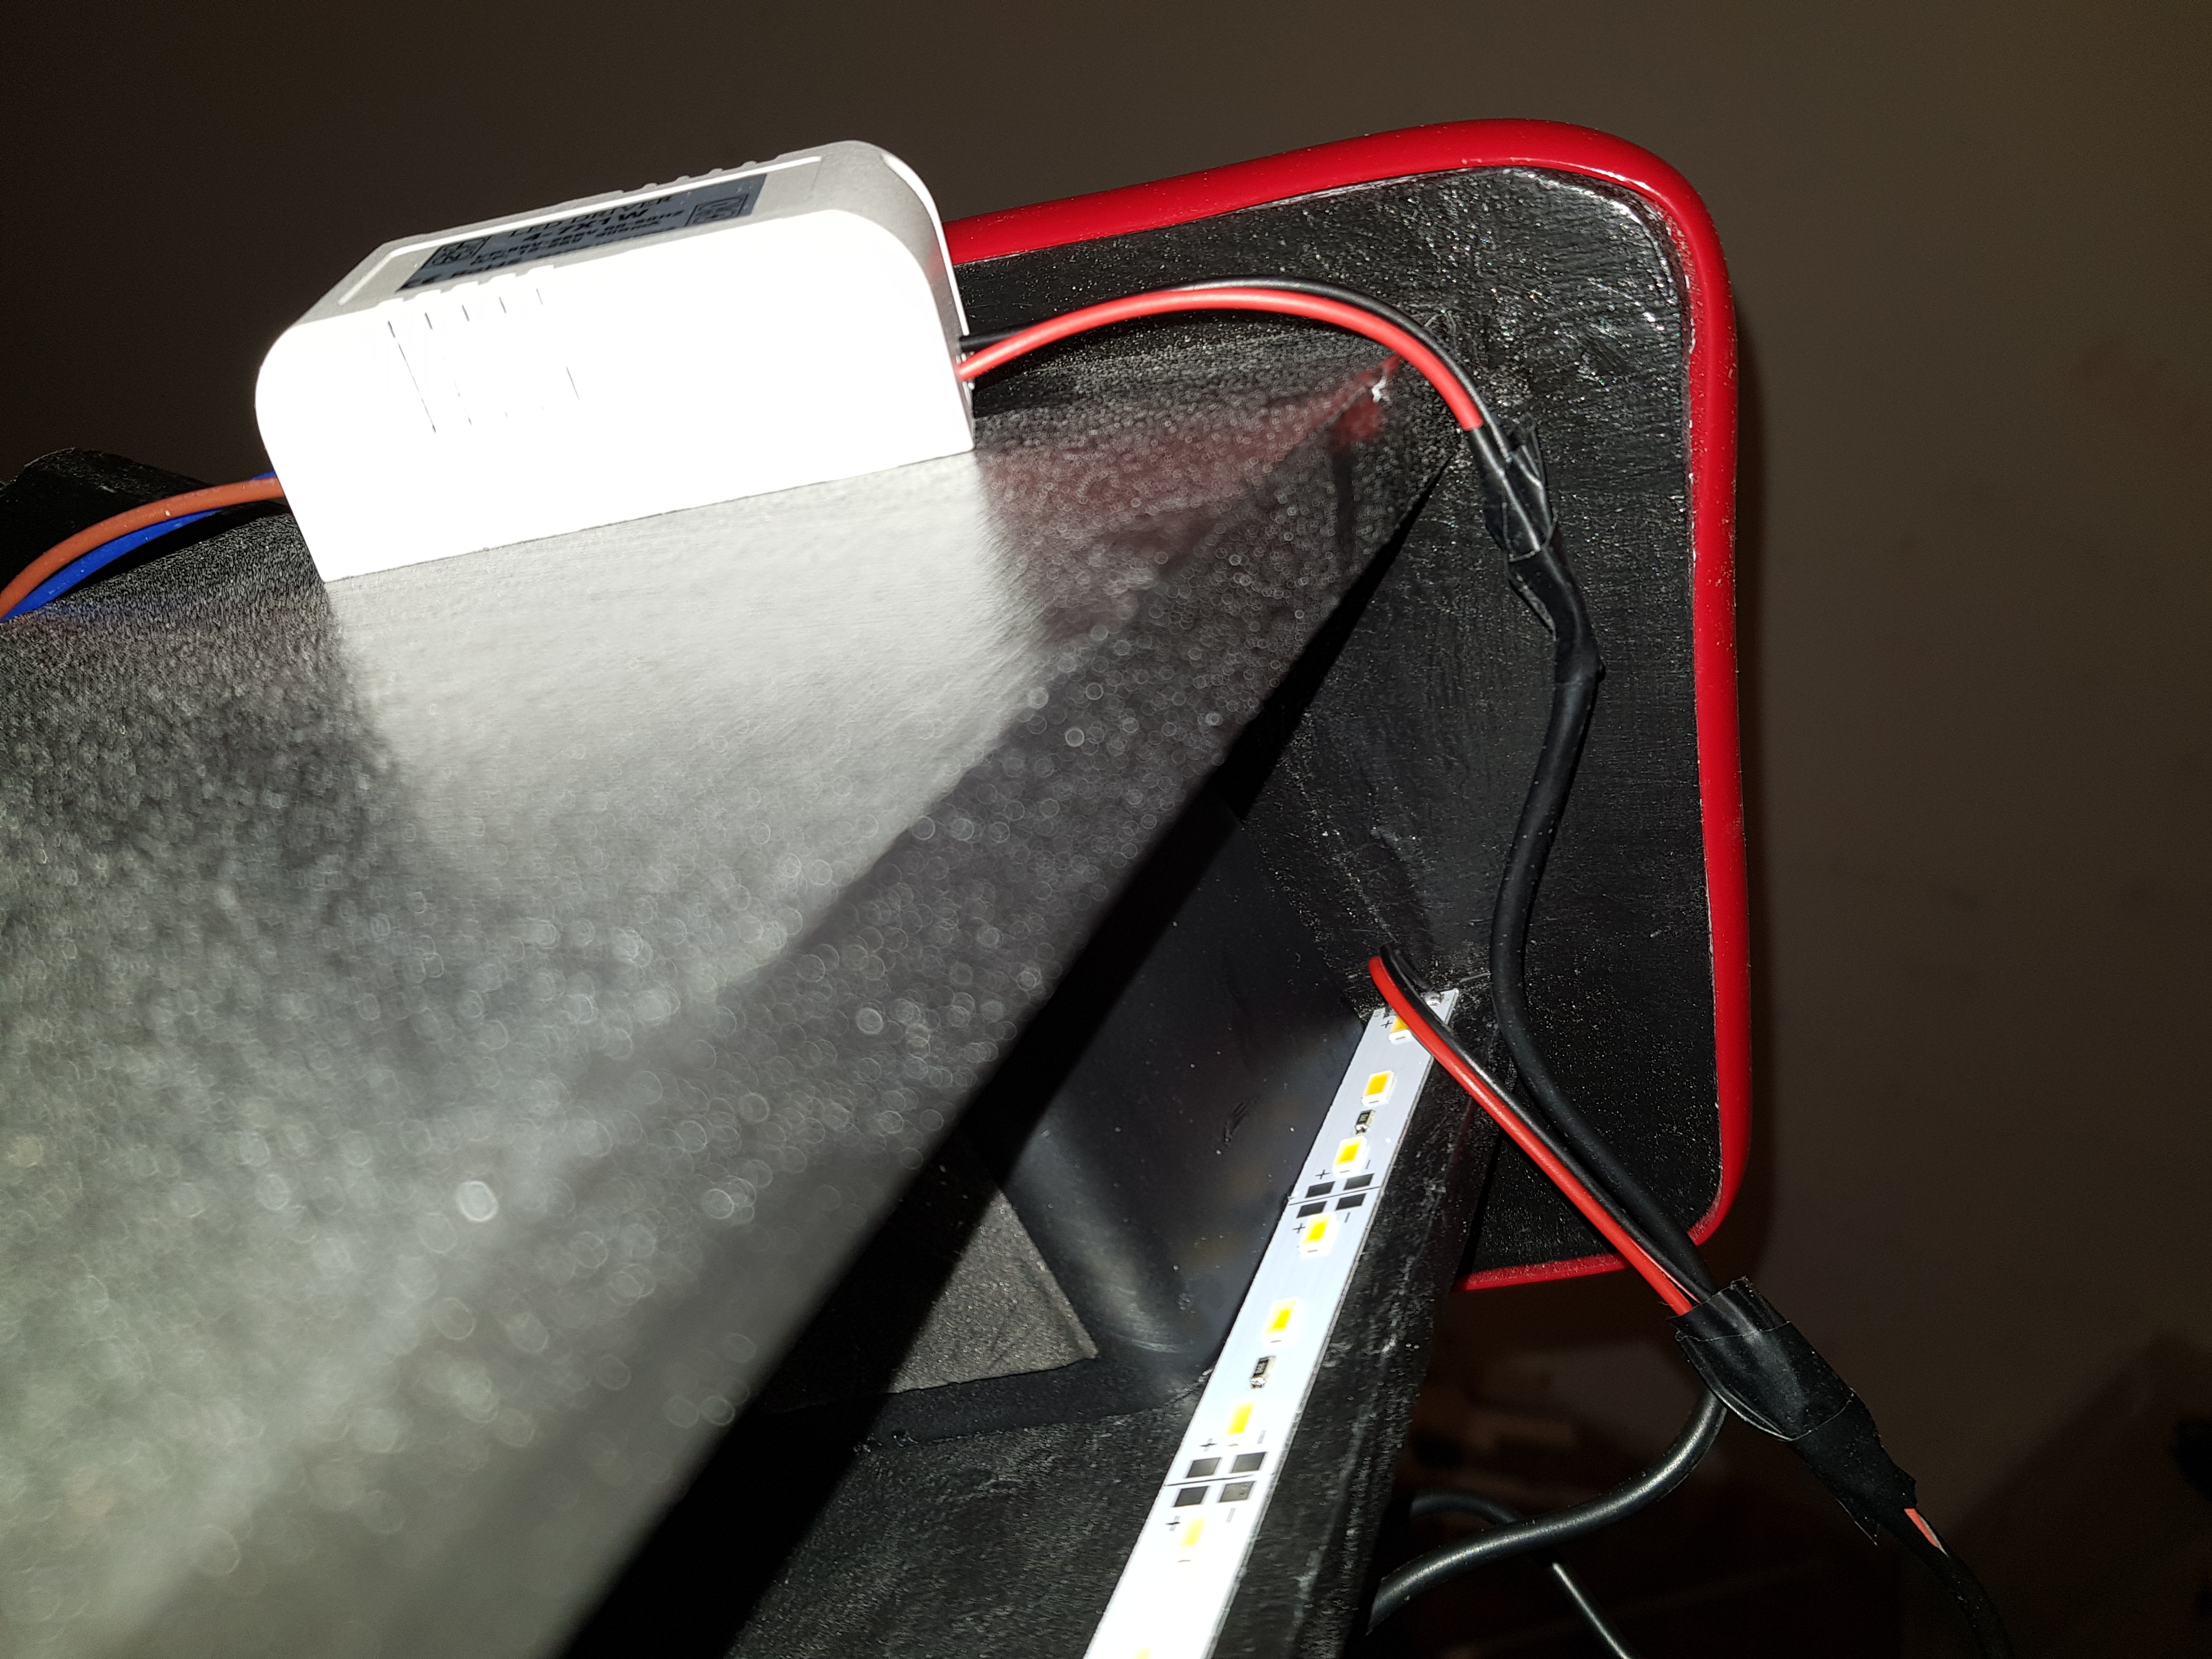
Installing the LED bar inside the Marquee was also an easy task: I used some drops of silicon glue to fix that in place, but a double-sided adhesive tape could also do the trick. The only non-trivial thing I had to do there was to manually wire the LED Driver, since it came with very short (and bad quality) stock cables. I ended up ditching all four of them and then using the welder to re-do them from scratch.

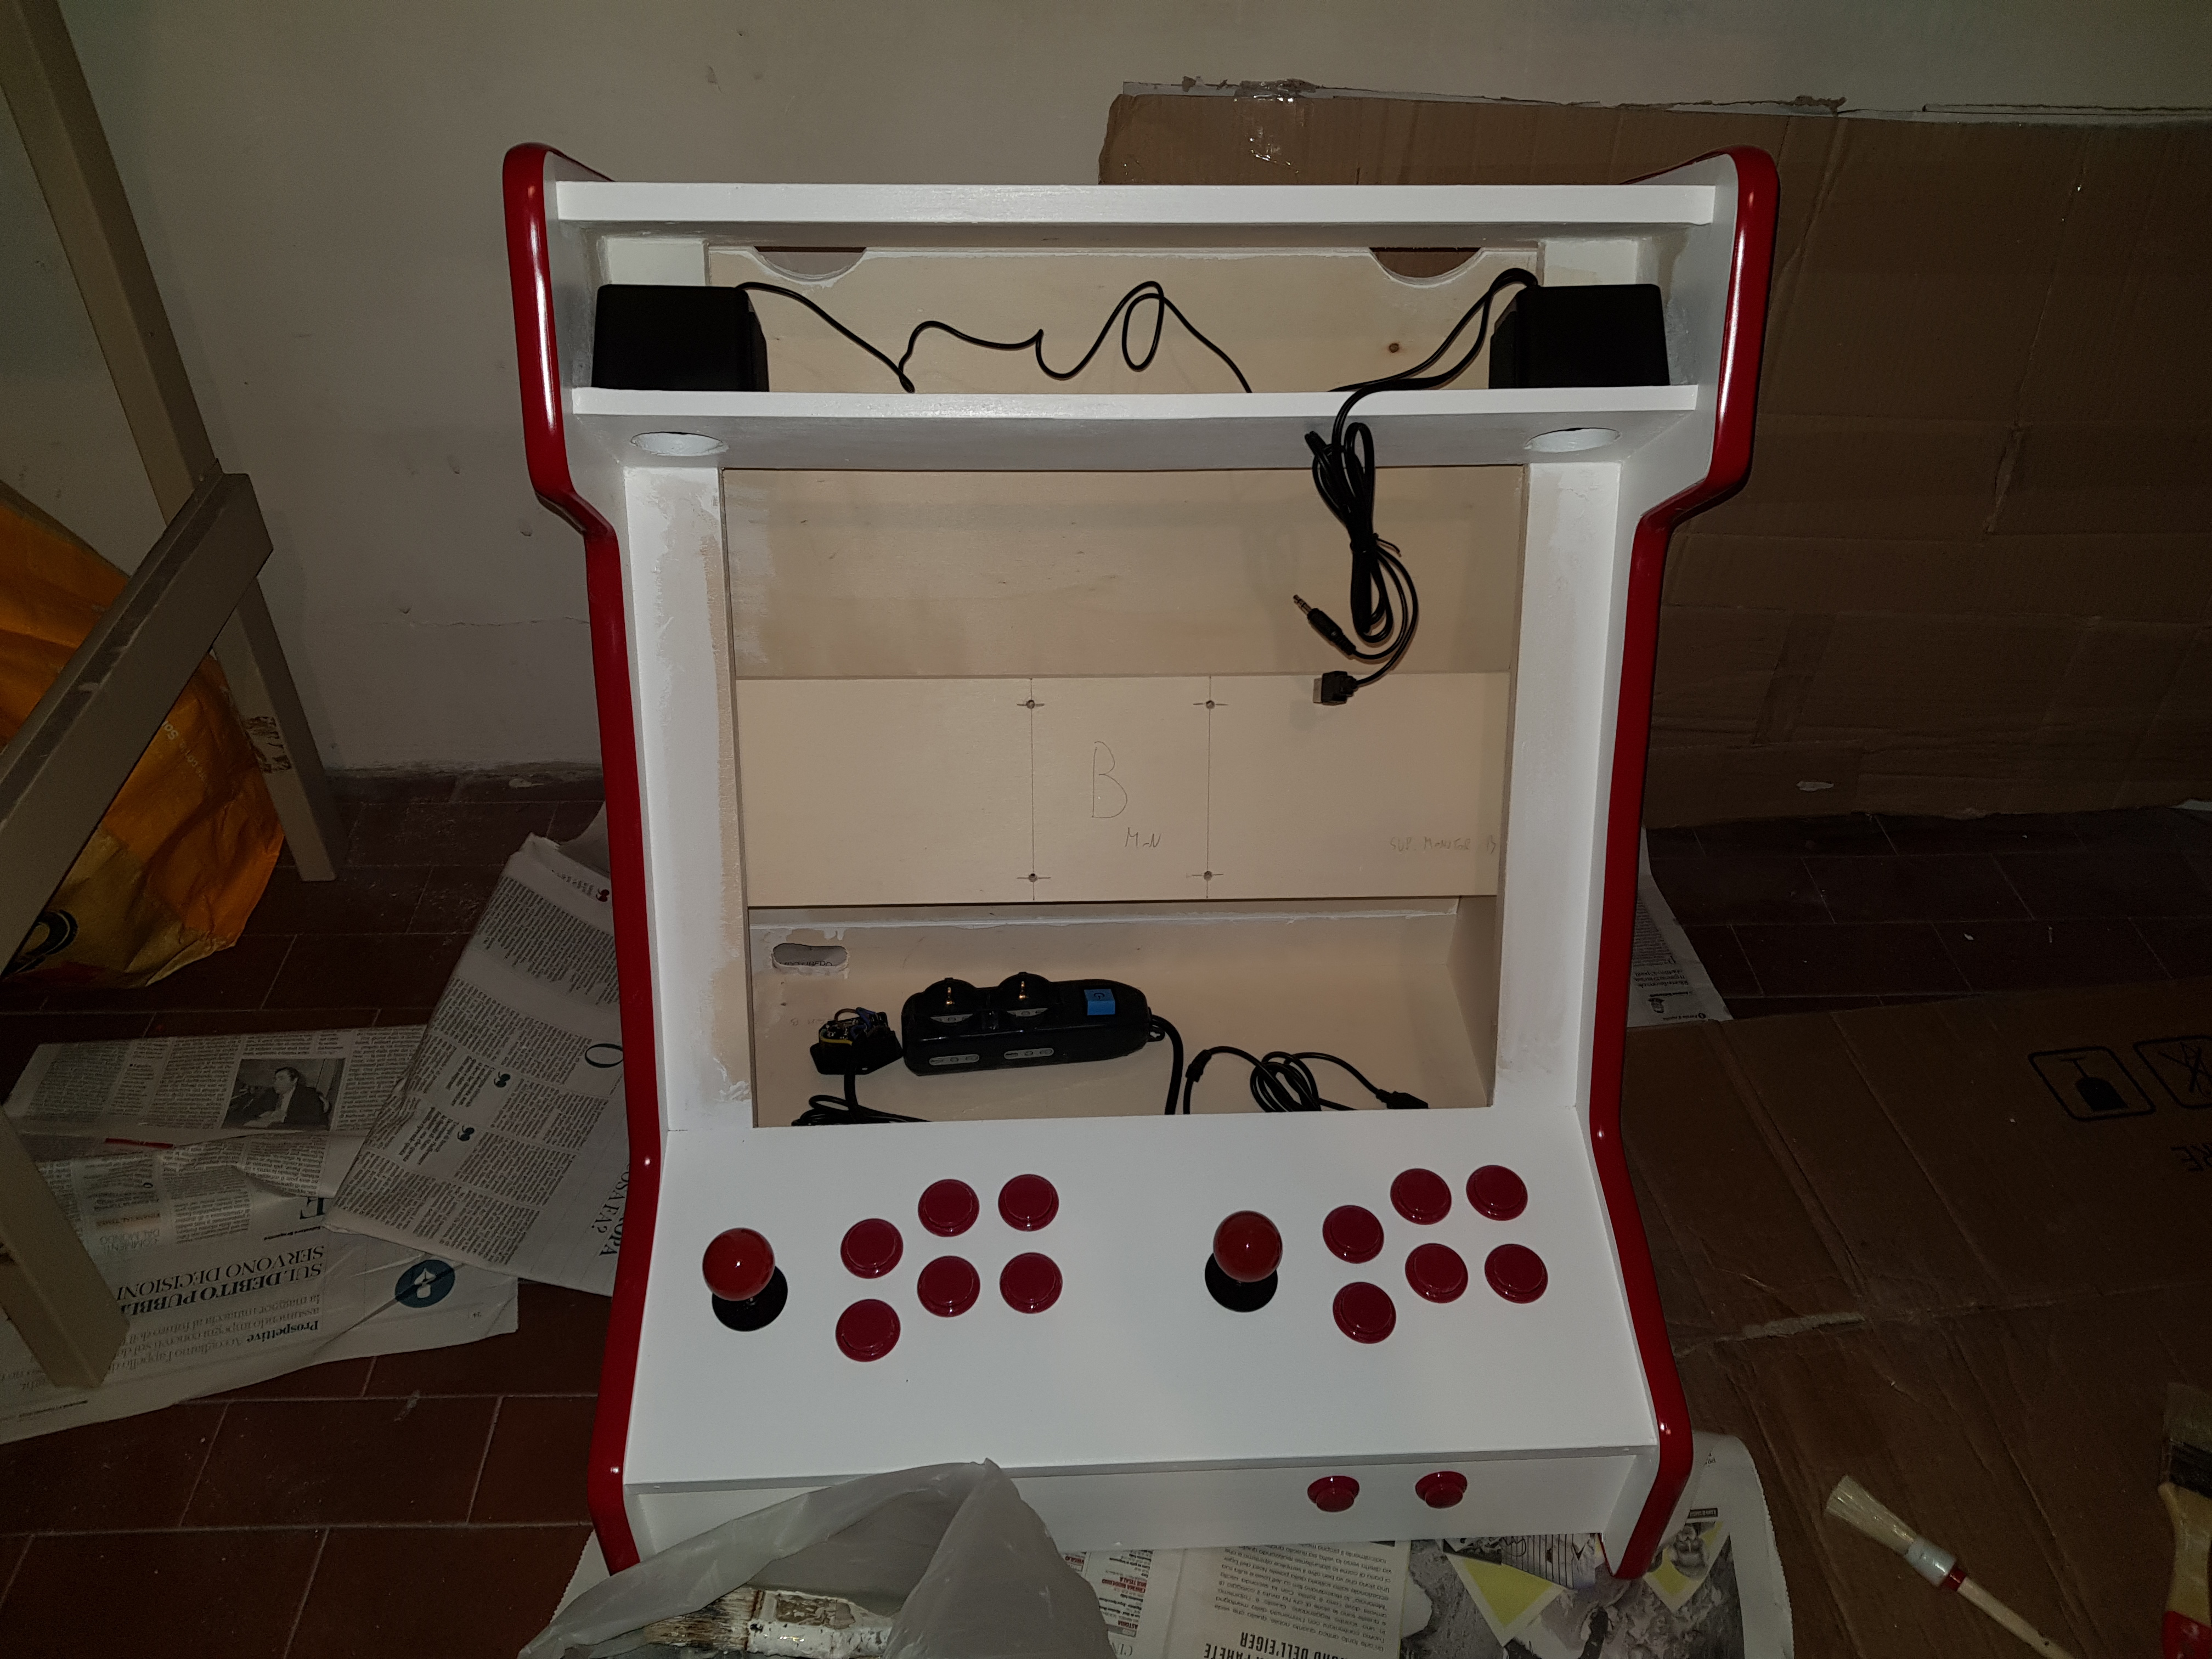
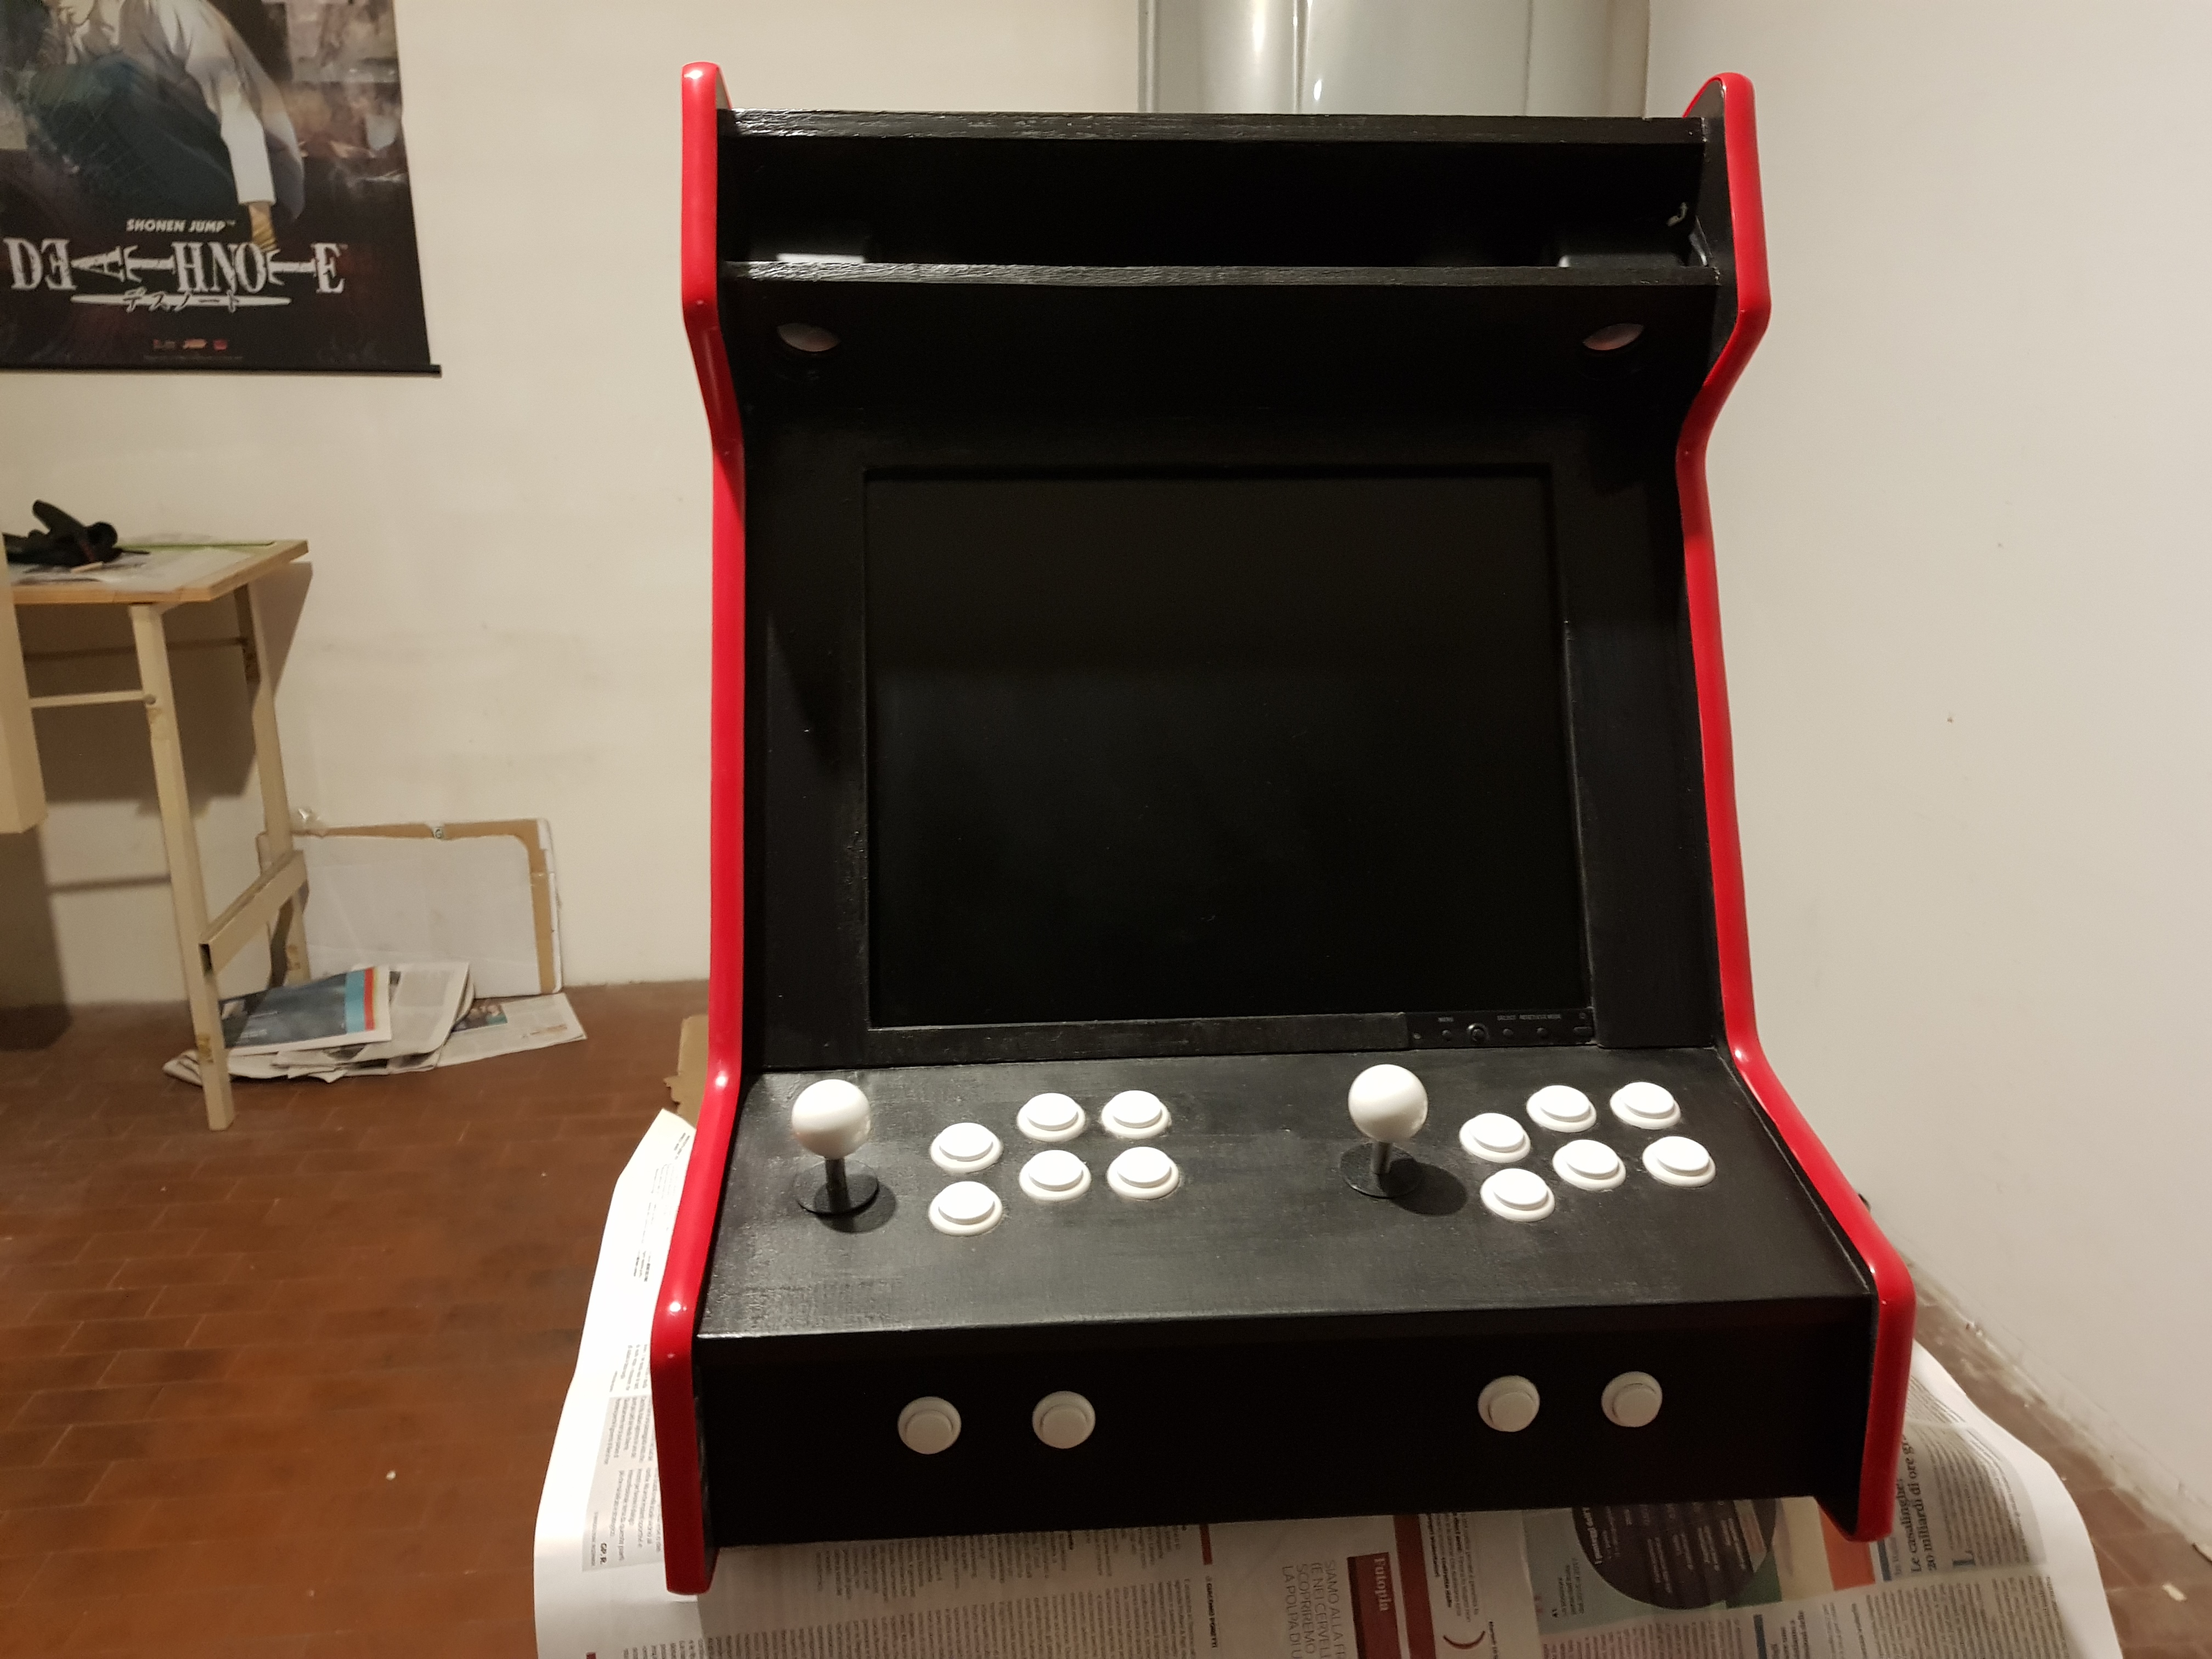
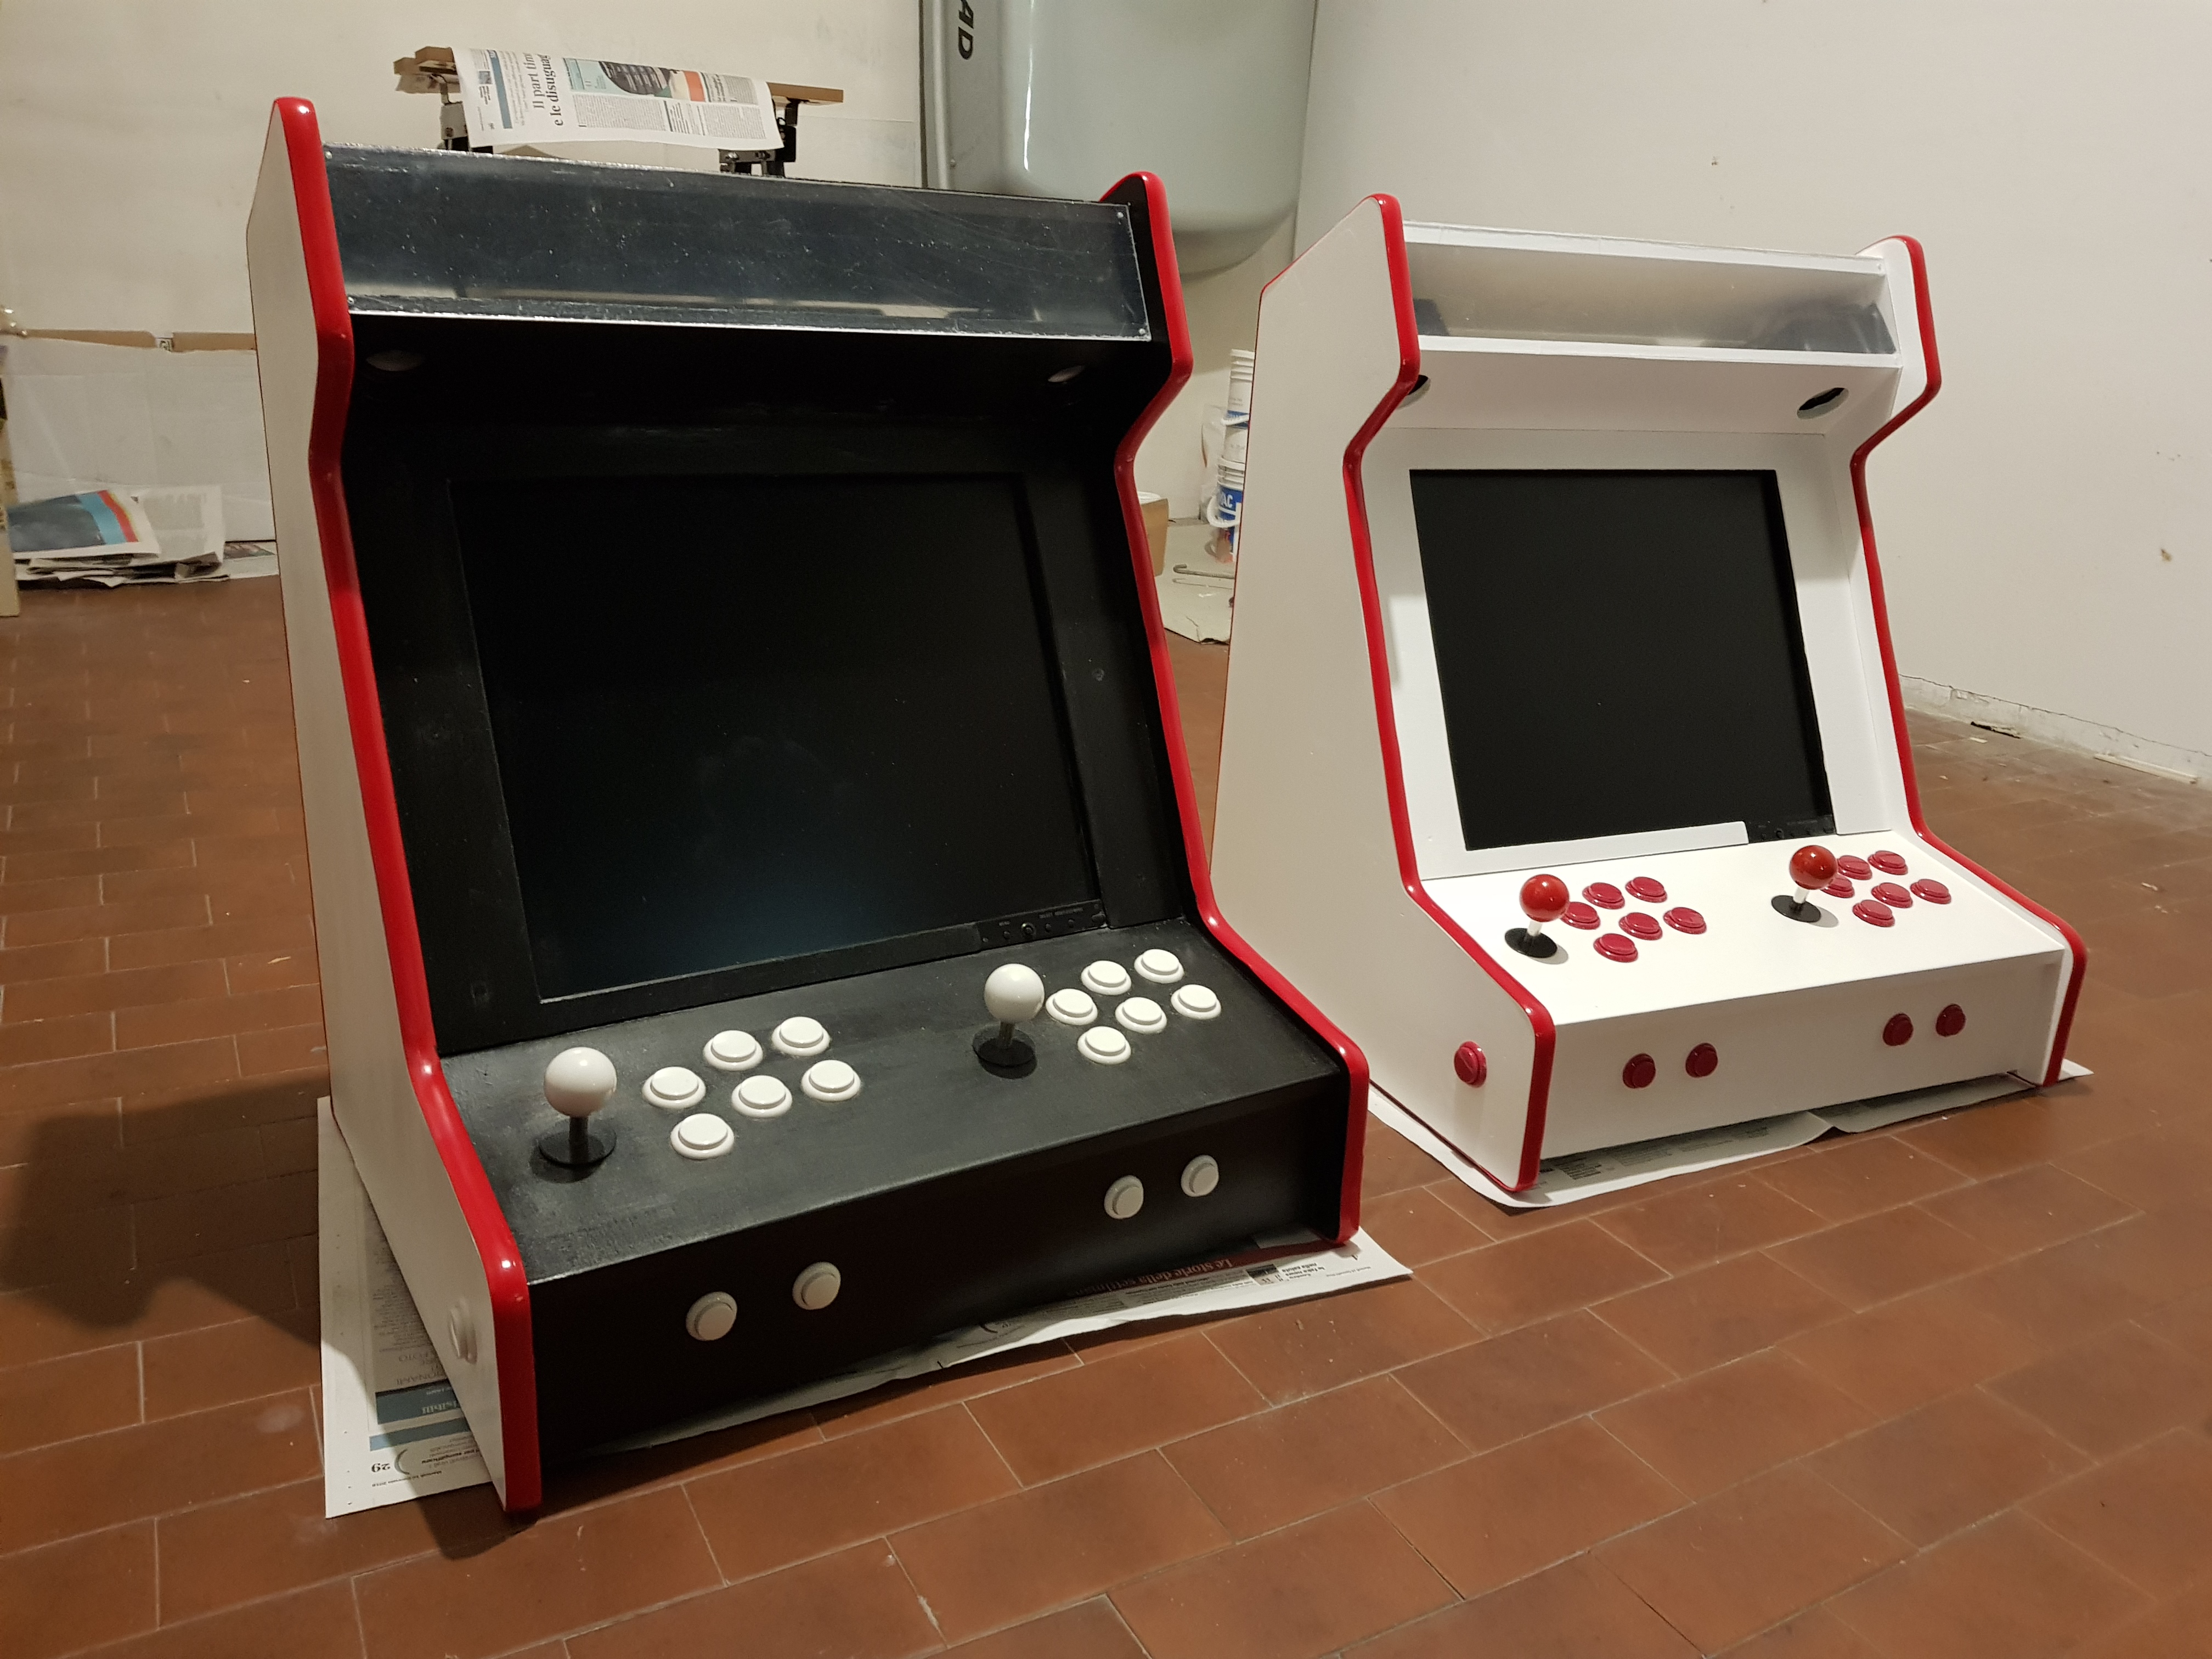
Monitor and Raspberry PI
Installing the monitor was also an easy task, since I already did the VESA holes and took all the measures:
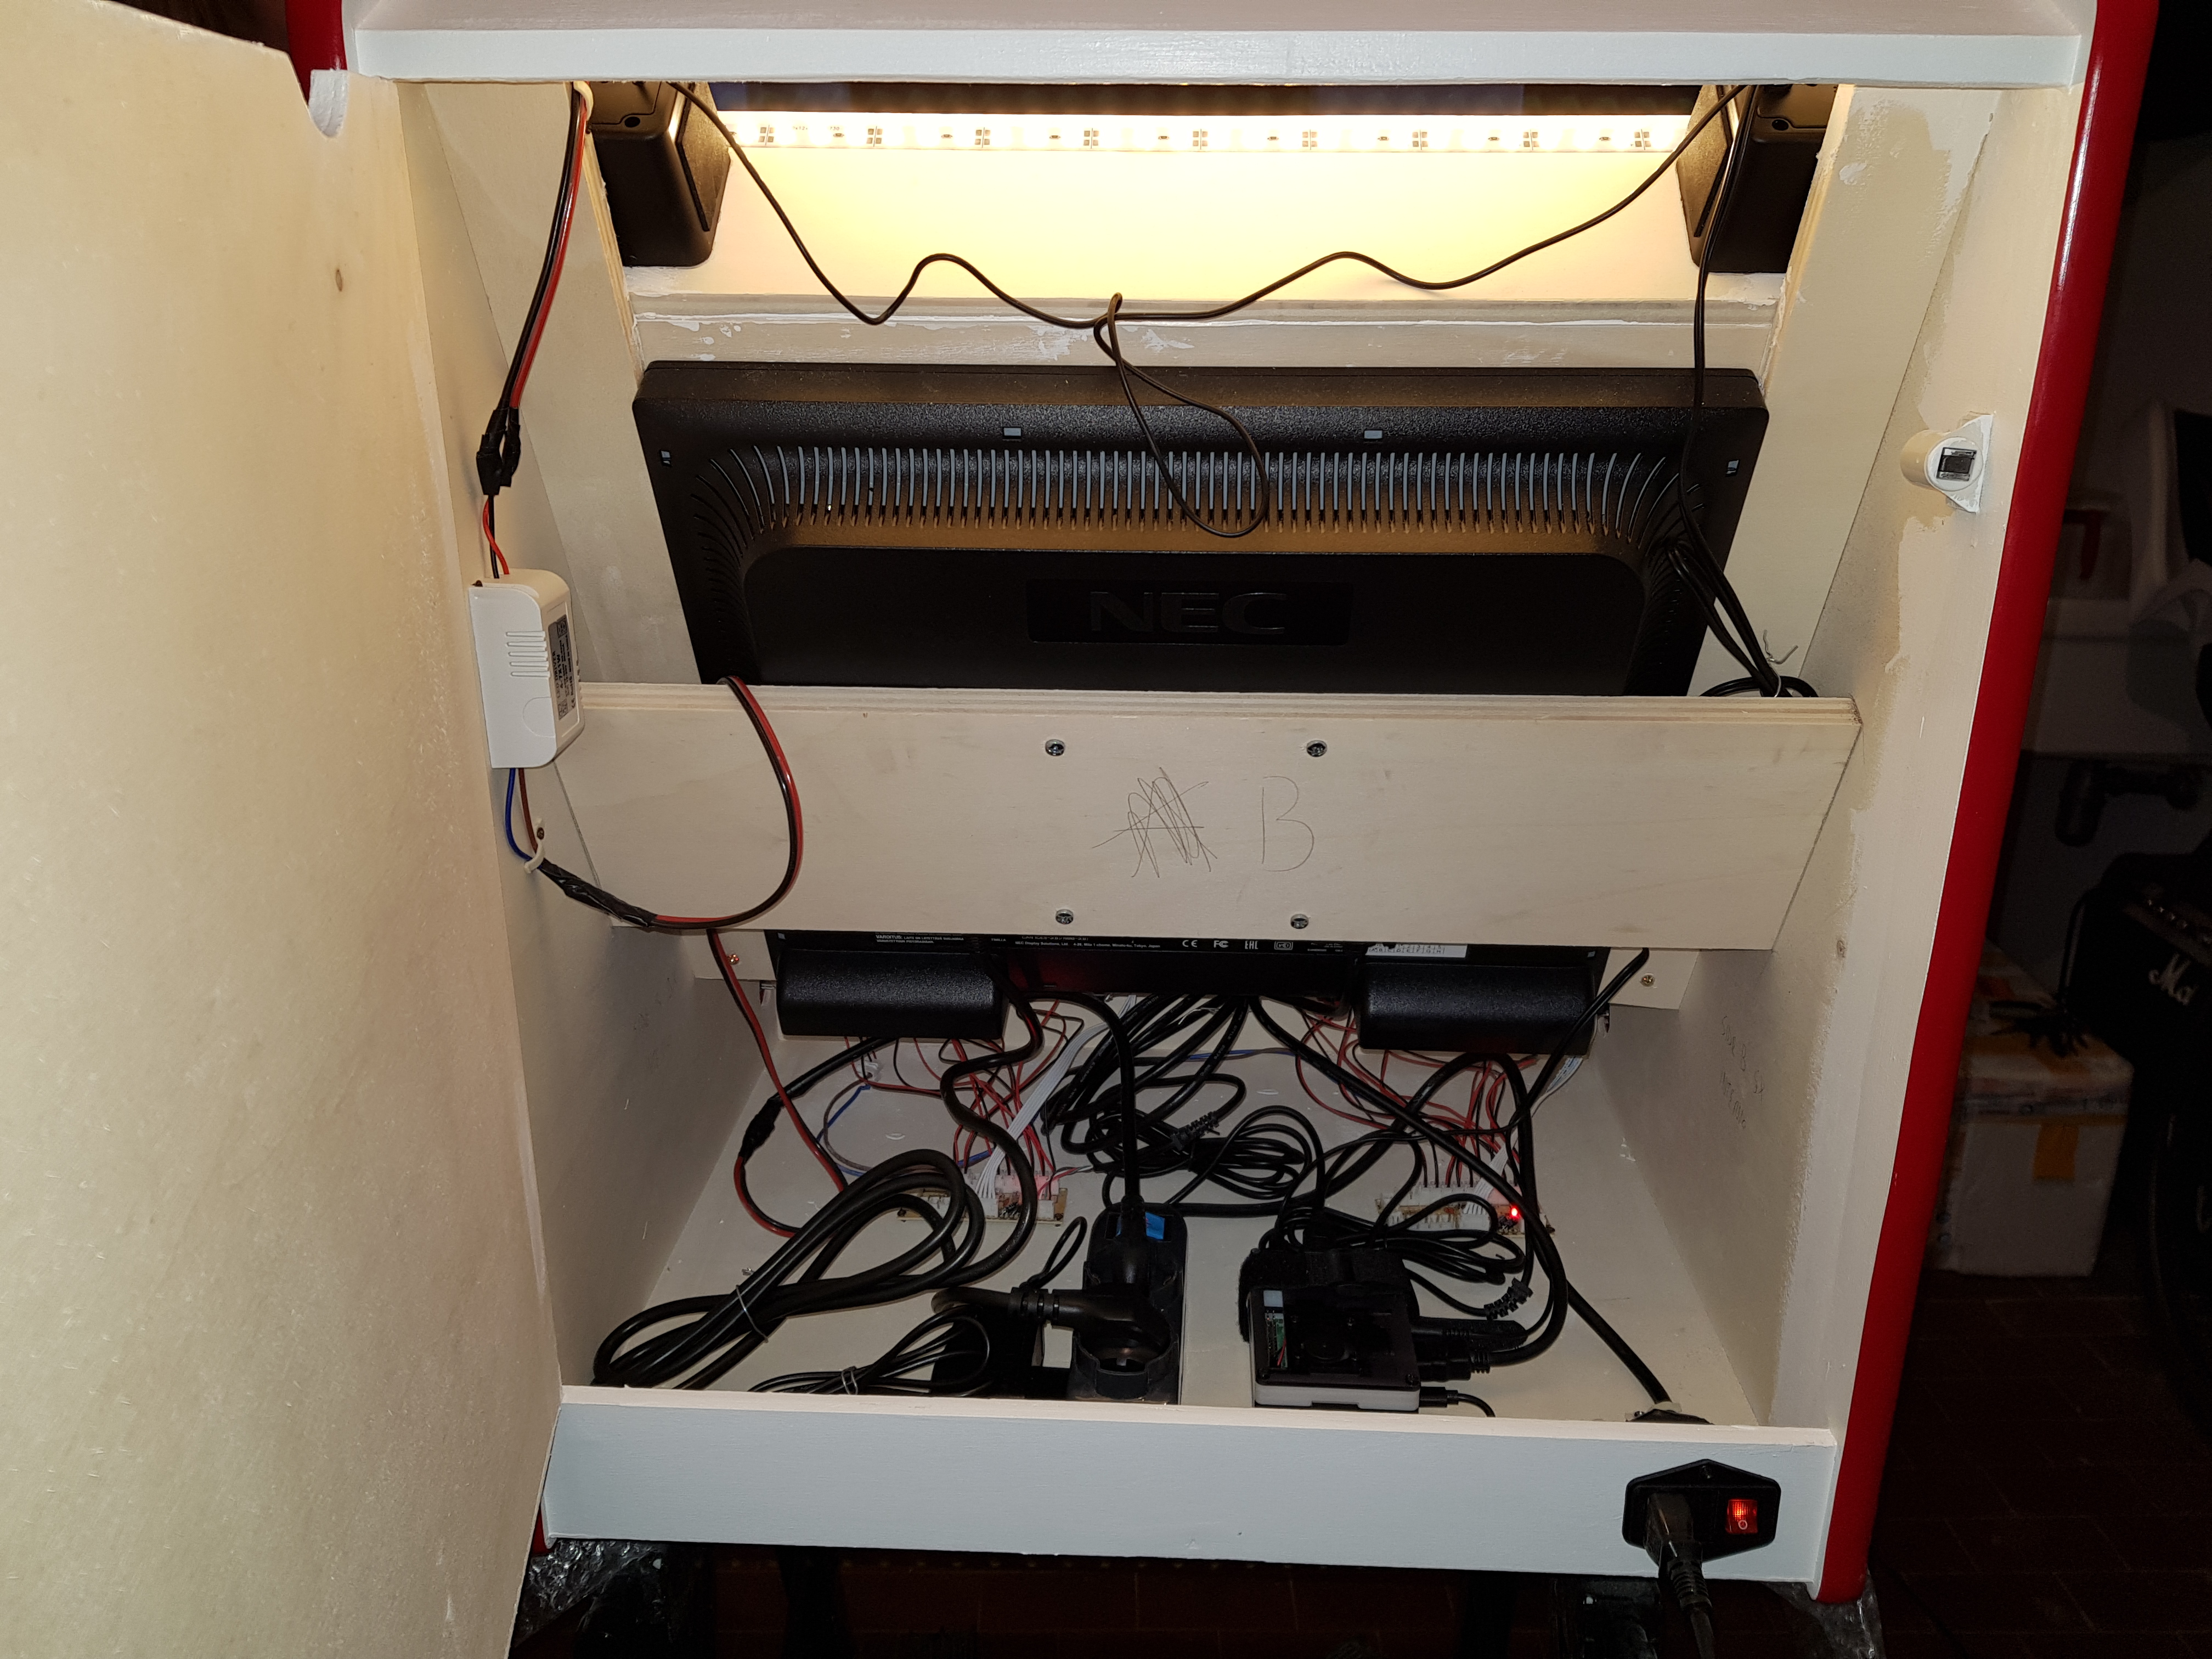
In the above screenshot you can also see the Raspberry PI mounted to the bottom next to the power strip and the LED Driver to the Left Side Panel. The cables are still quite a mess in there, but that can be easily fixed with some cable ties and/or clamps.
Monitor Frame
The monitor frame was a bit harder: it took some time to properly align it: i used some glue to stick it into place, then fixed with three screws to the sides. I also had to spackle them, which eventually led to another hand of paint for the whole frame (two hands for the black cabinet).

I ran into an odd issue with the lower part of the frame, which was dangling outwards: that was caused by a small curve of the 3mm wood, most likely caused by the fond and the painting as both cabinets had it.
I couldn’t put screws there because there was the monitor behind it, therefore I fixed the issue with some small drops of silicon glue:
In the above photo you can see the simple, yet effective technique I used to keep that lower part of the frame firmly in place: it took few hours, but eventually I was able to permanently correct the wood curve in both the cabinets.
Here was the final result:
Marquee
As for the marquee, I had a lot of possible options: paper, cardboard, plastic sheet, transparent plexiglass with decals, professionally printed plexiglass. I didn’t want a paper or cardboard solution, as it would’ve seemed too cheap. Therefore, I tried with a transparent plexiglass with a printed decal:
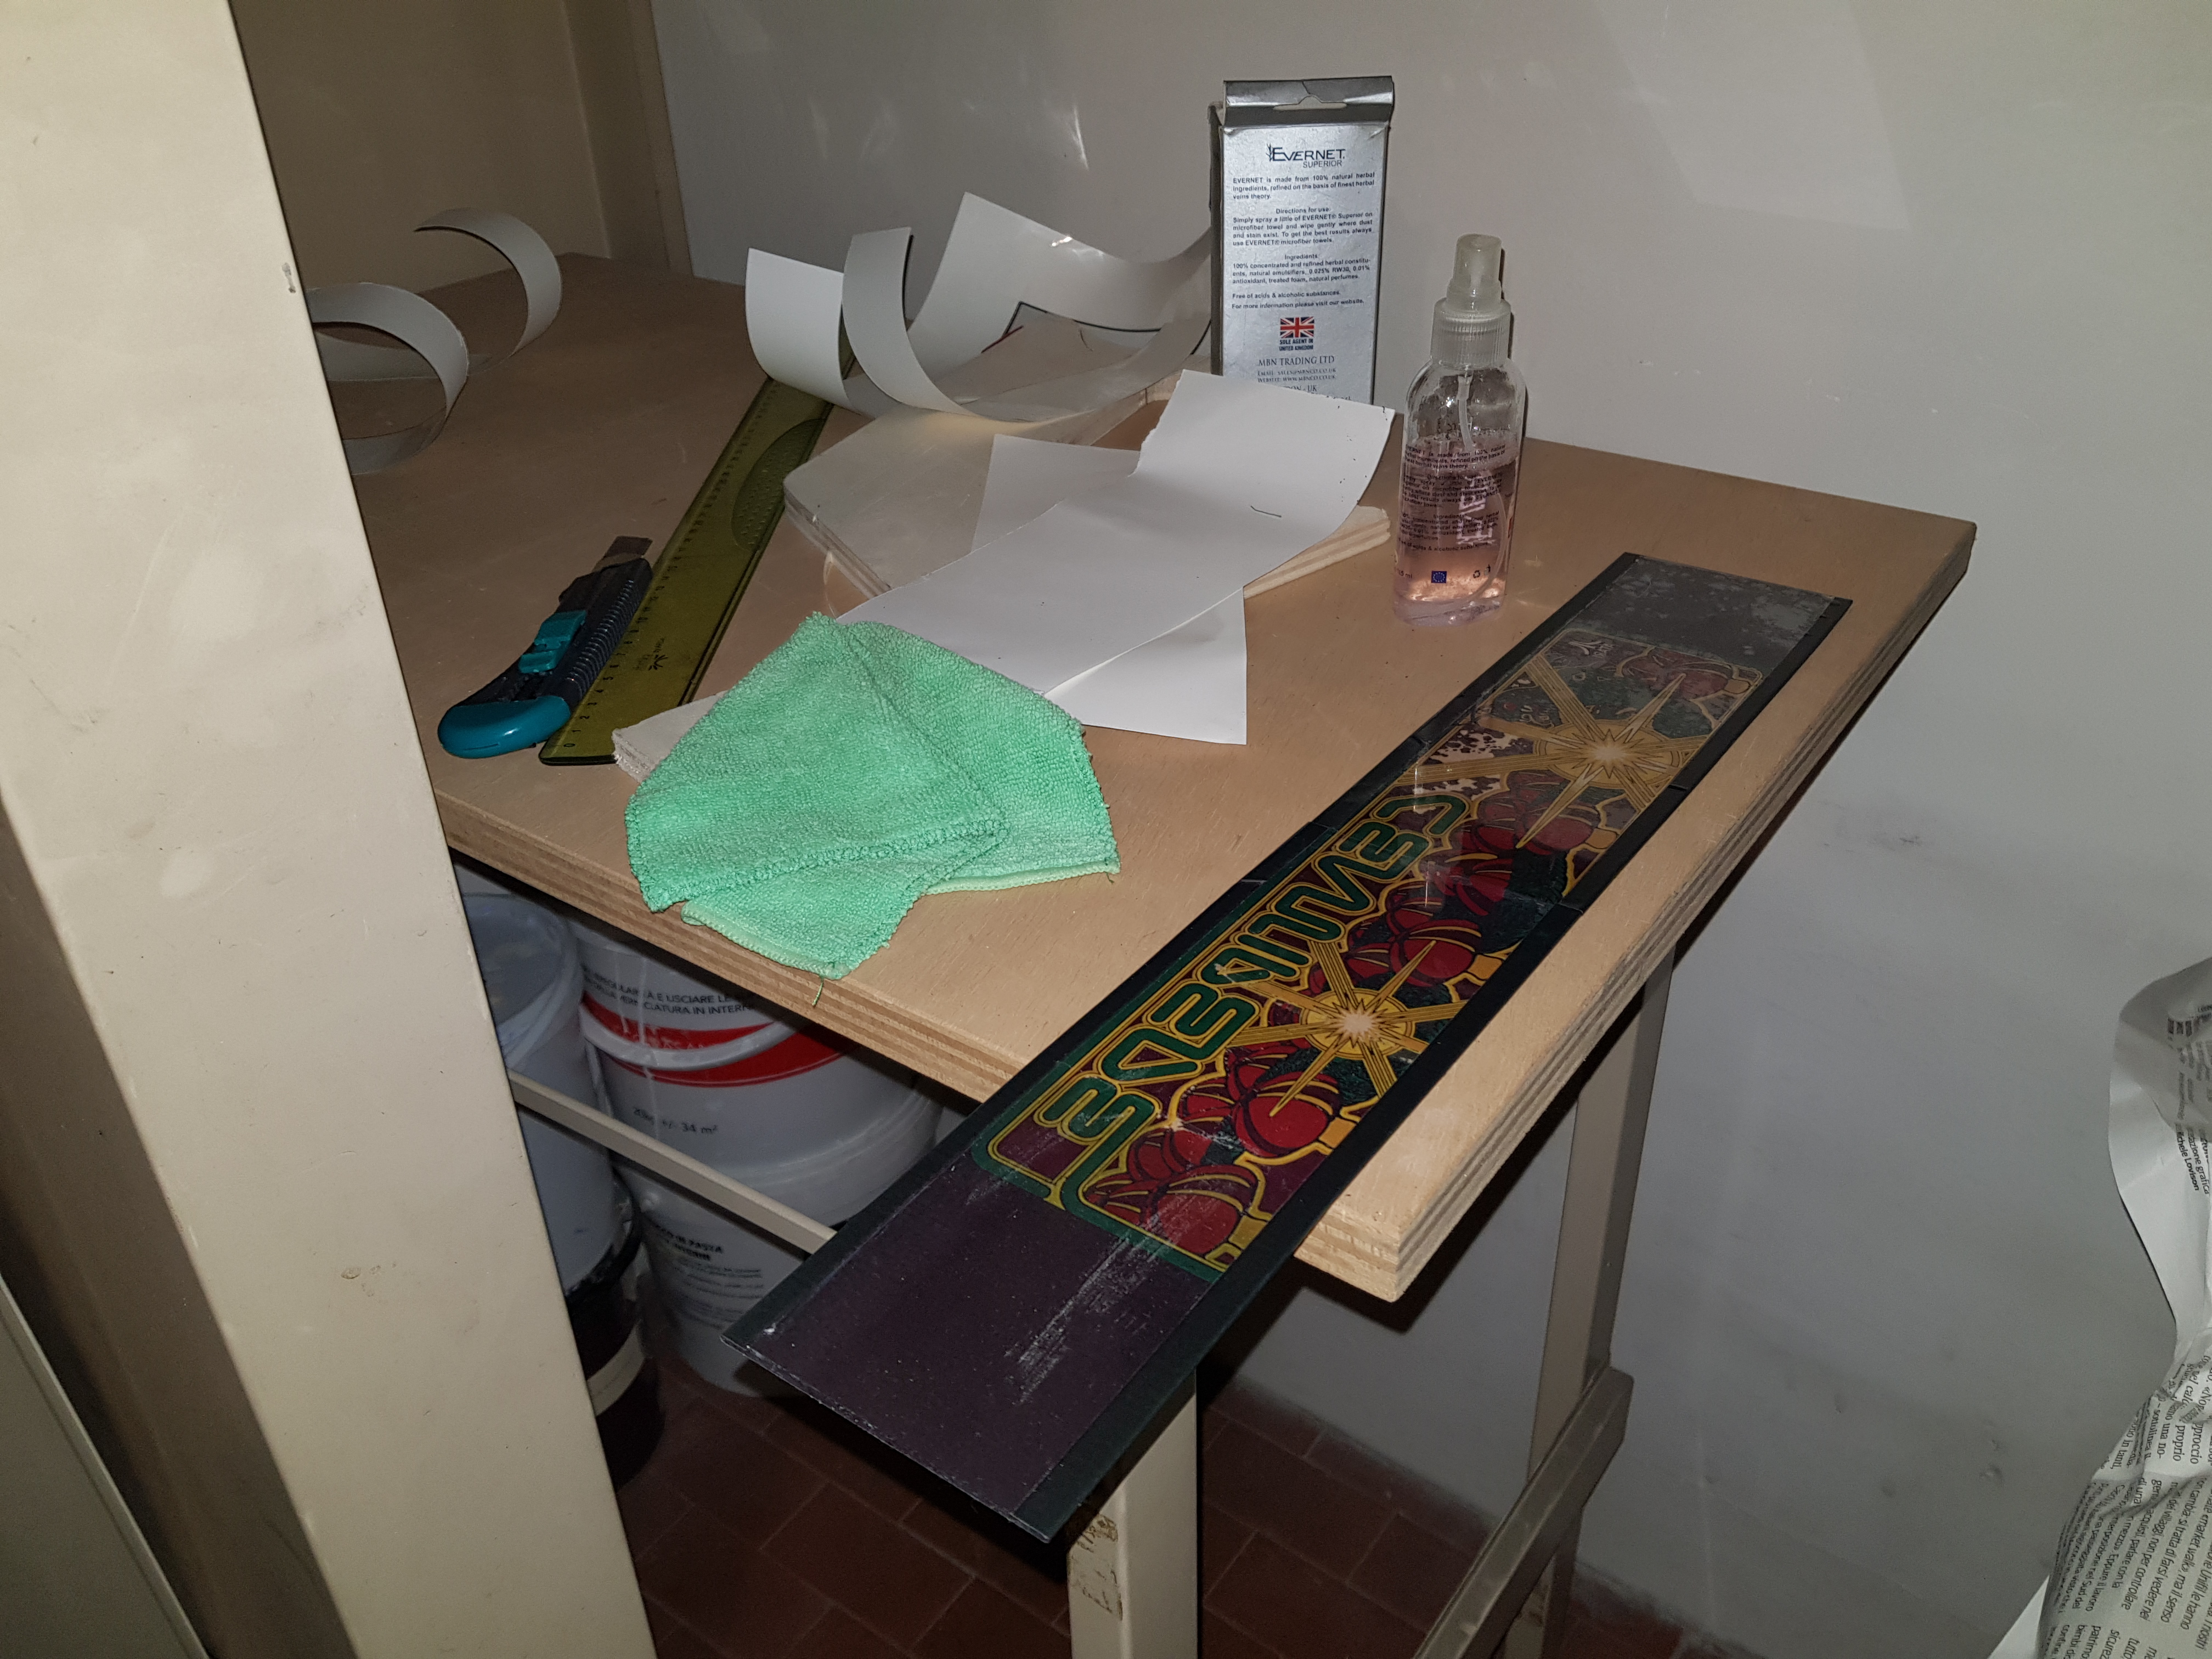
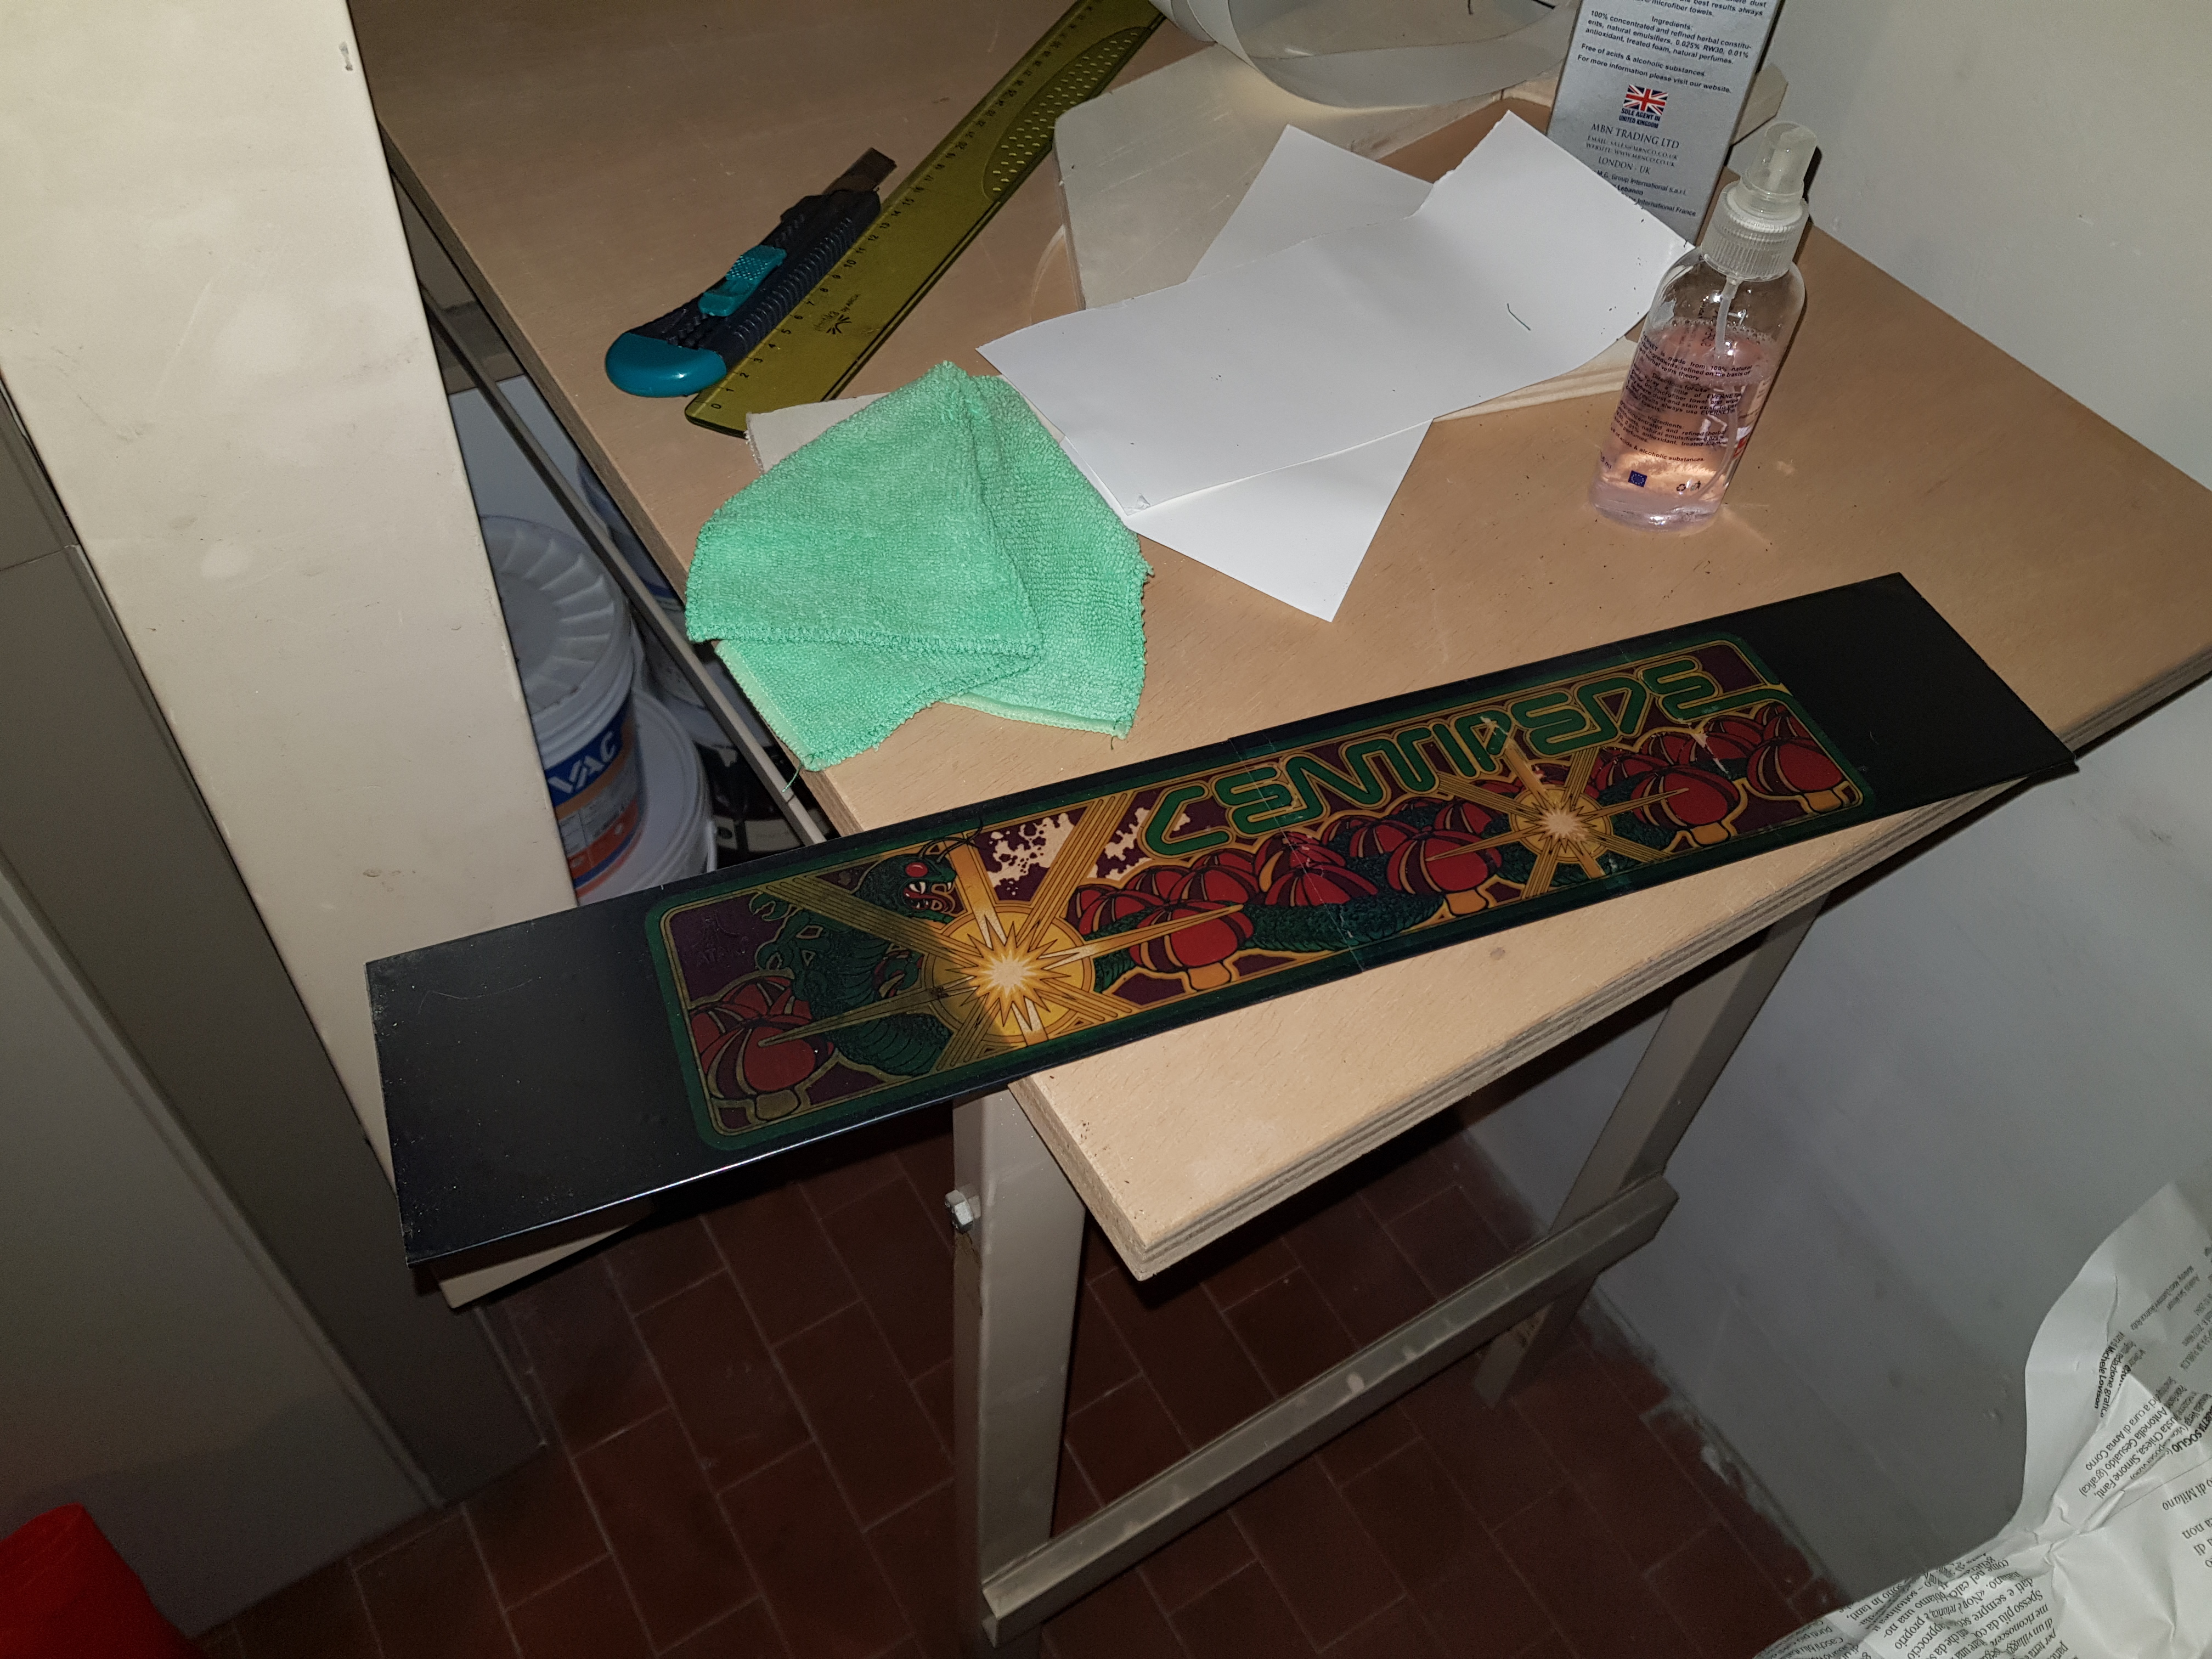
As you can see I used the Centipede marquee, which is downloadable from free – together with hundreds of other HQ marquee resources from the classic arcades – from the ArcadeArtwork website.
Unfortunately, that solution didn’t work well: the transparent decal sheets that I used to print the marquee kept losing the color, leaving a nasty dust when touched and causing the drawing to fade and/or scratch.
In the above pictures you can see a very visible scratch in the upper-left corner.
Cool, yet not cool enough: the marquee was a crucial part of the Arcade Bartop look & feel, hence I felt that I had to do a better job there.
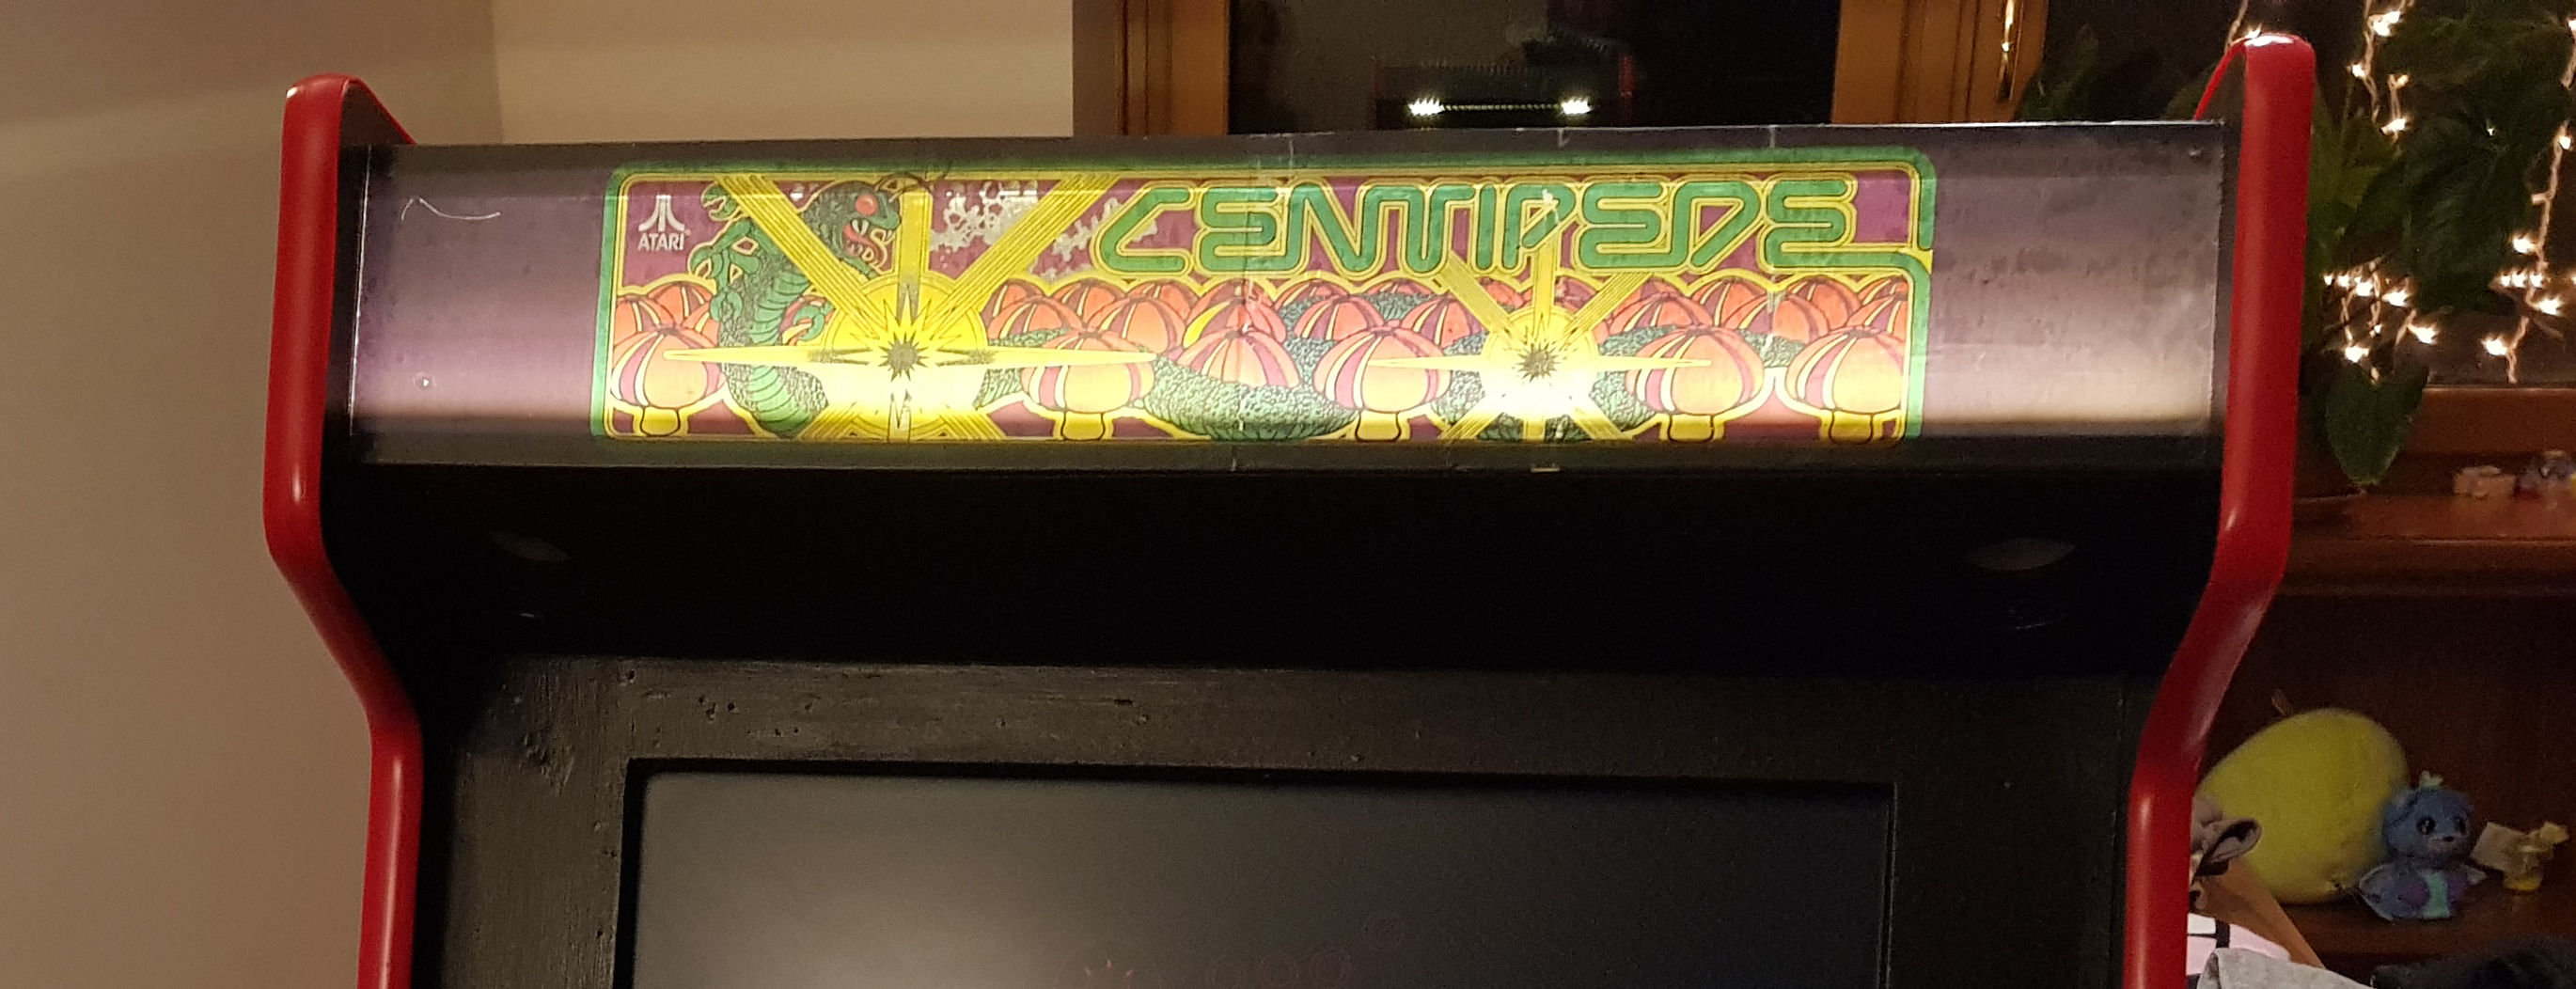
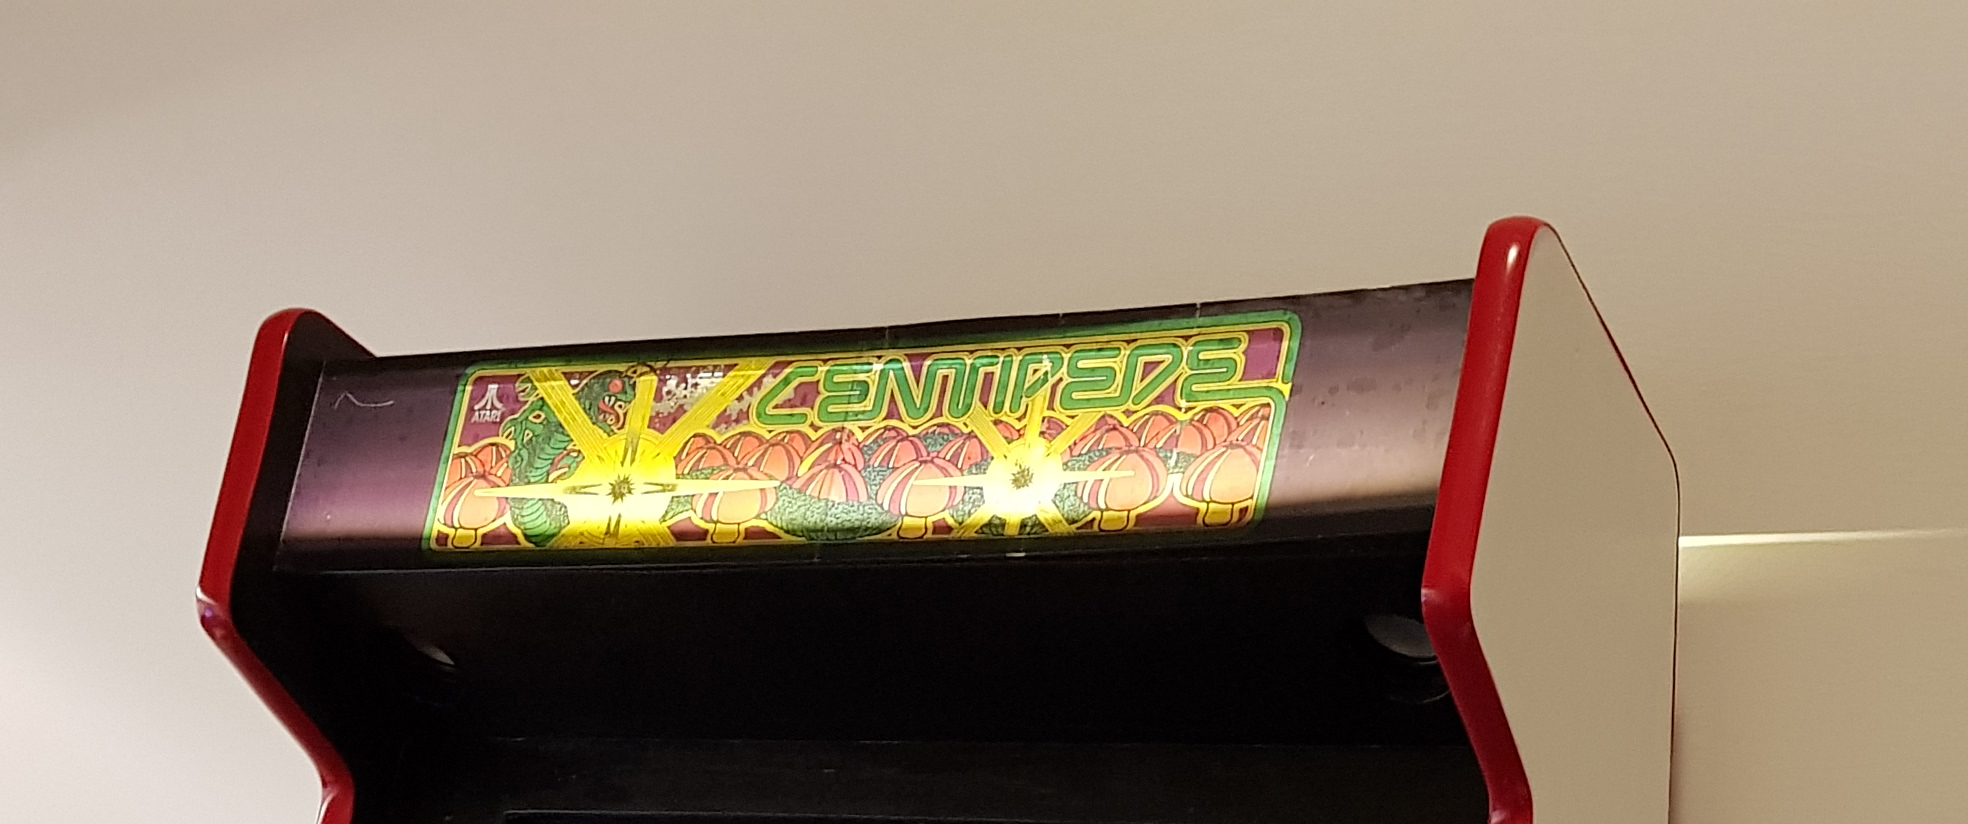
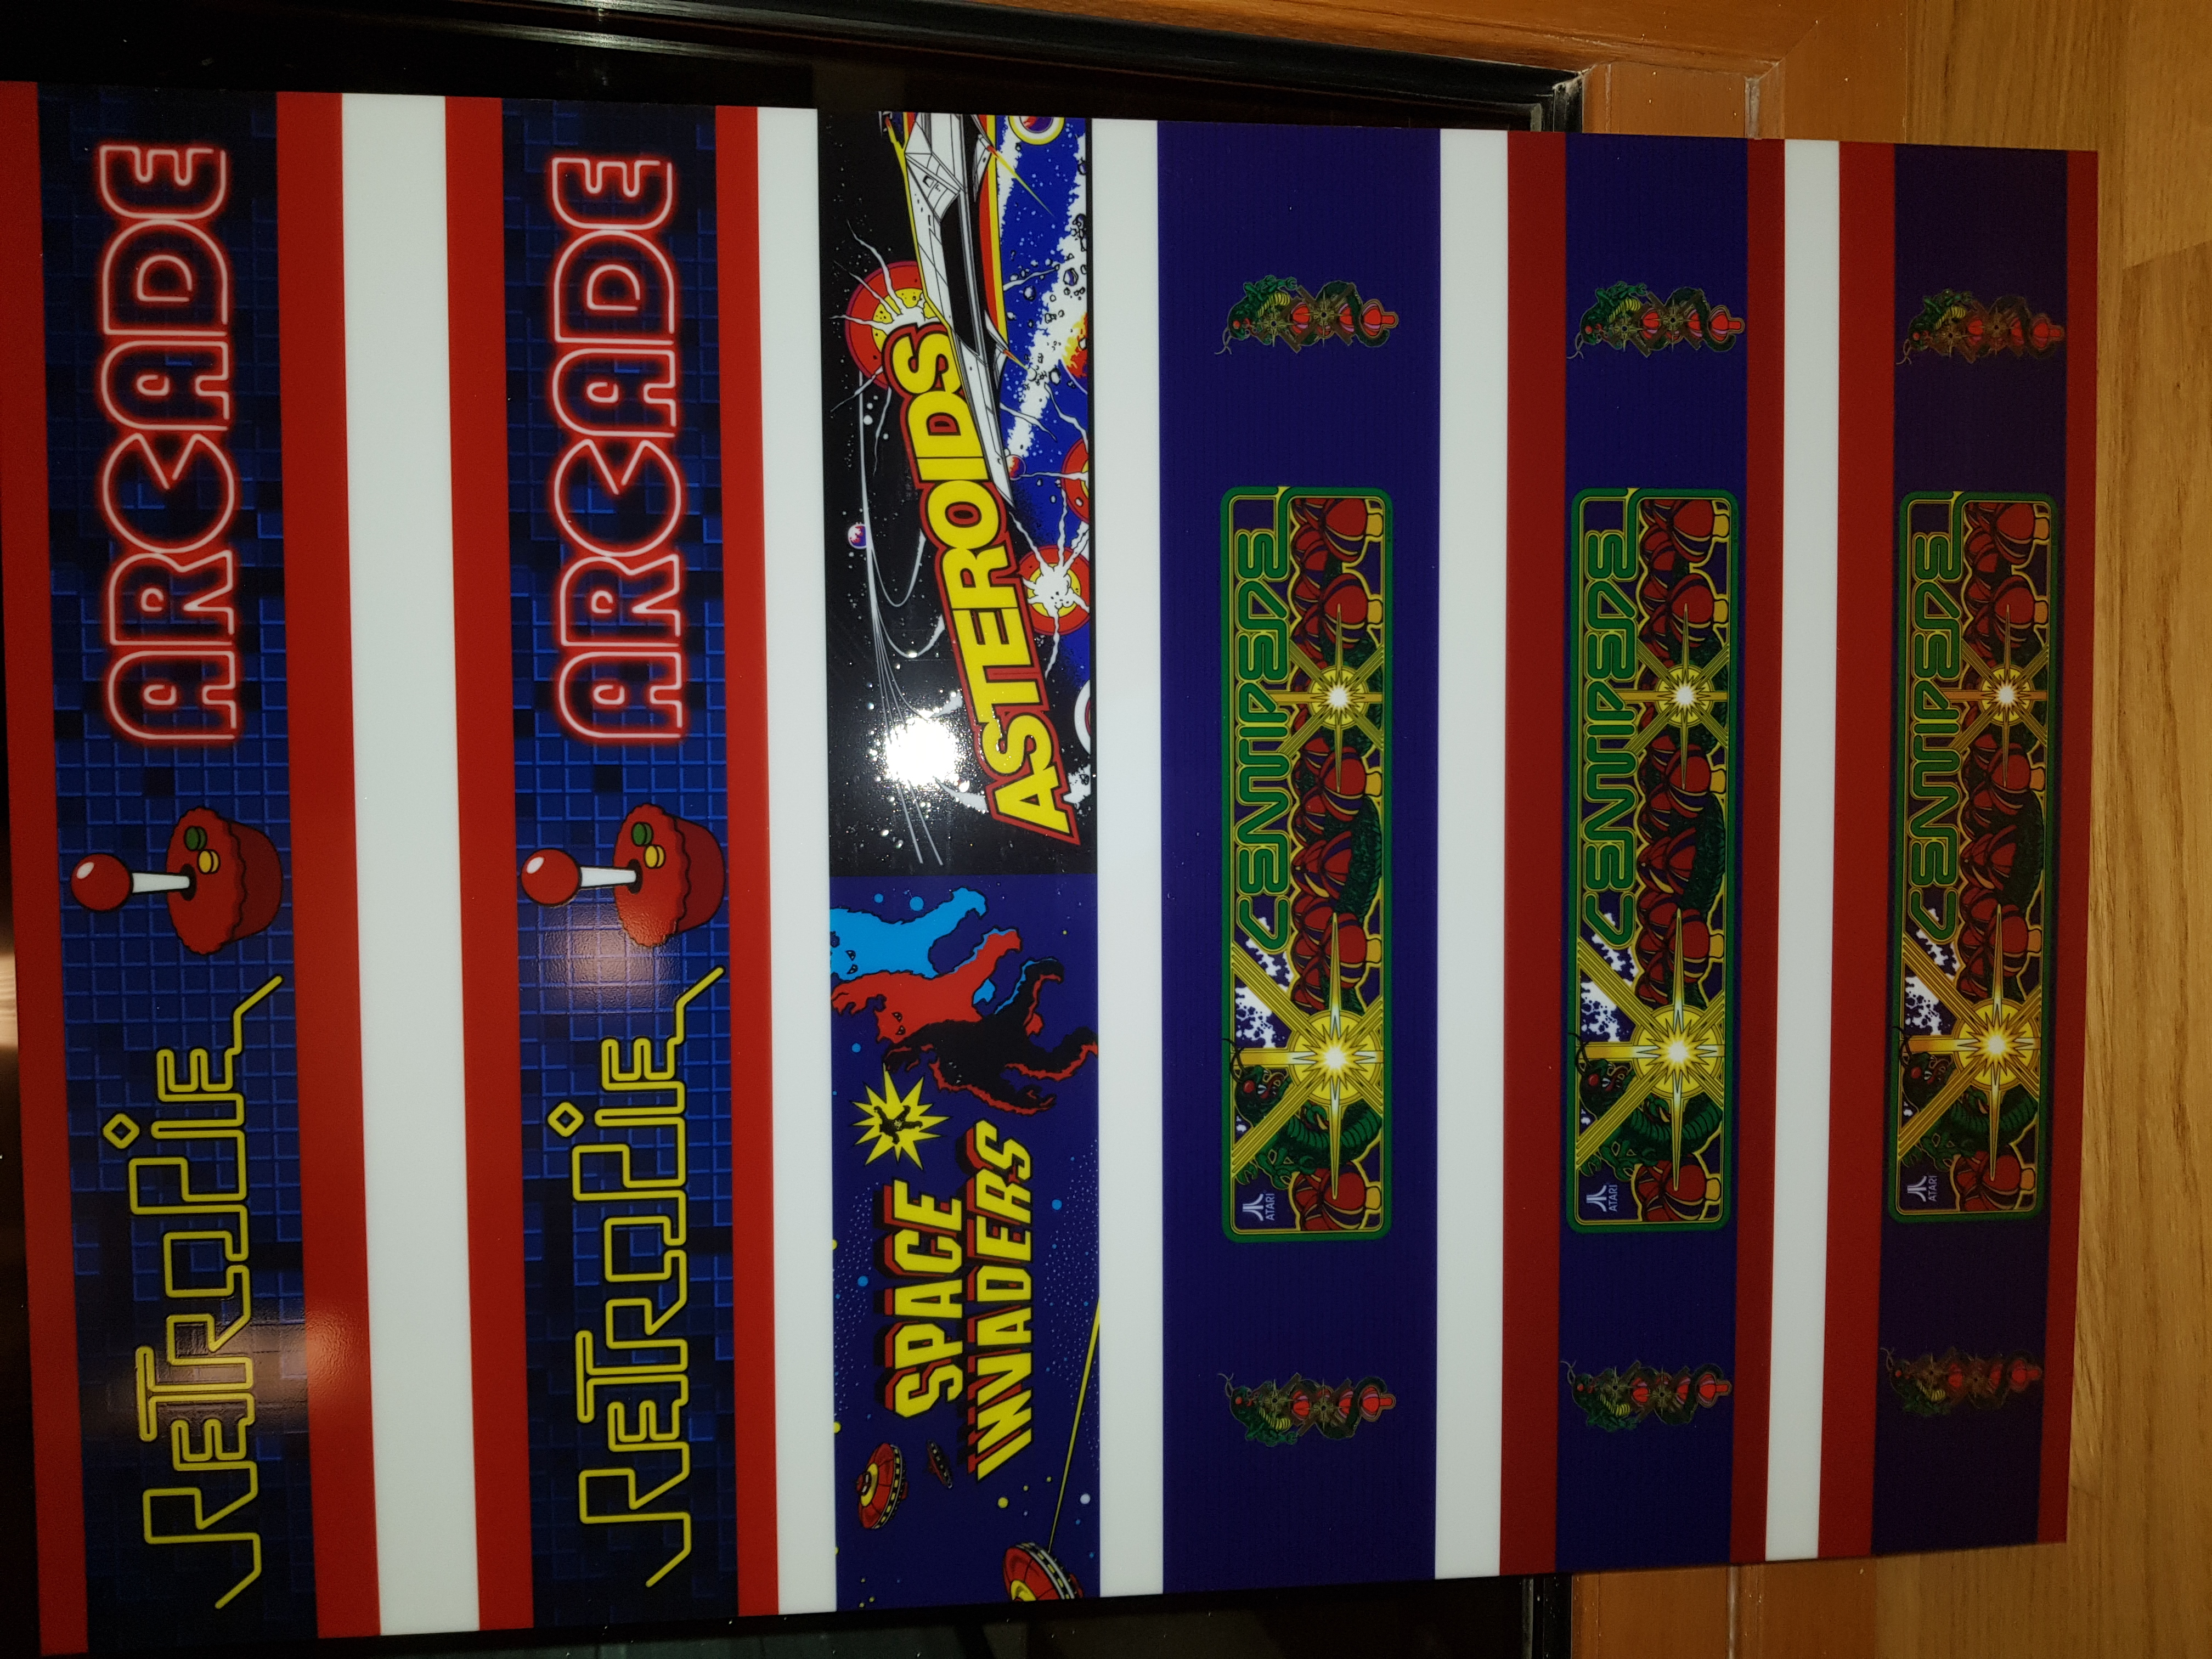
After some unsuccessful attempts with various types of paper and cardboard – which were all retro-illuminated badly or in an uneven way – I chose to ditch the transparent plexiglass and to order a custom-printed, semi-transparent plastic sheet from an online printing store. Needless to say, I optimized the minimum available size (500mm x 1000mm) to have as many marquees as possible.
I used the Jigsaw to cut that and the Drill to plant four holes near the four angles for the screws.
Here was the result:
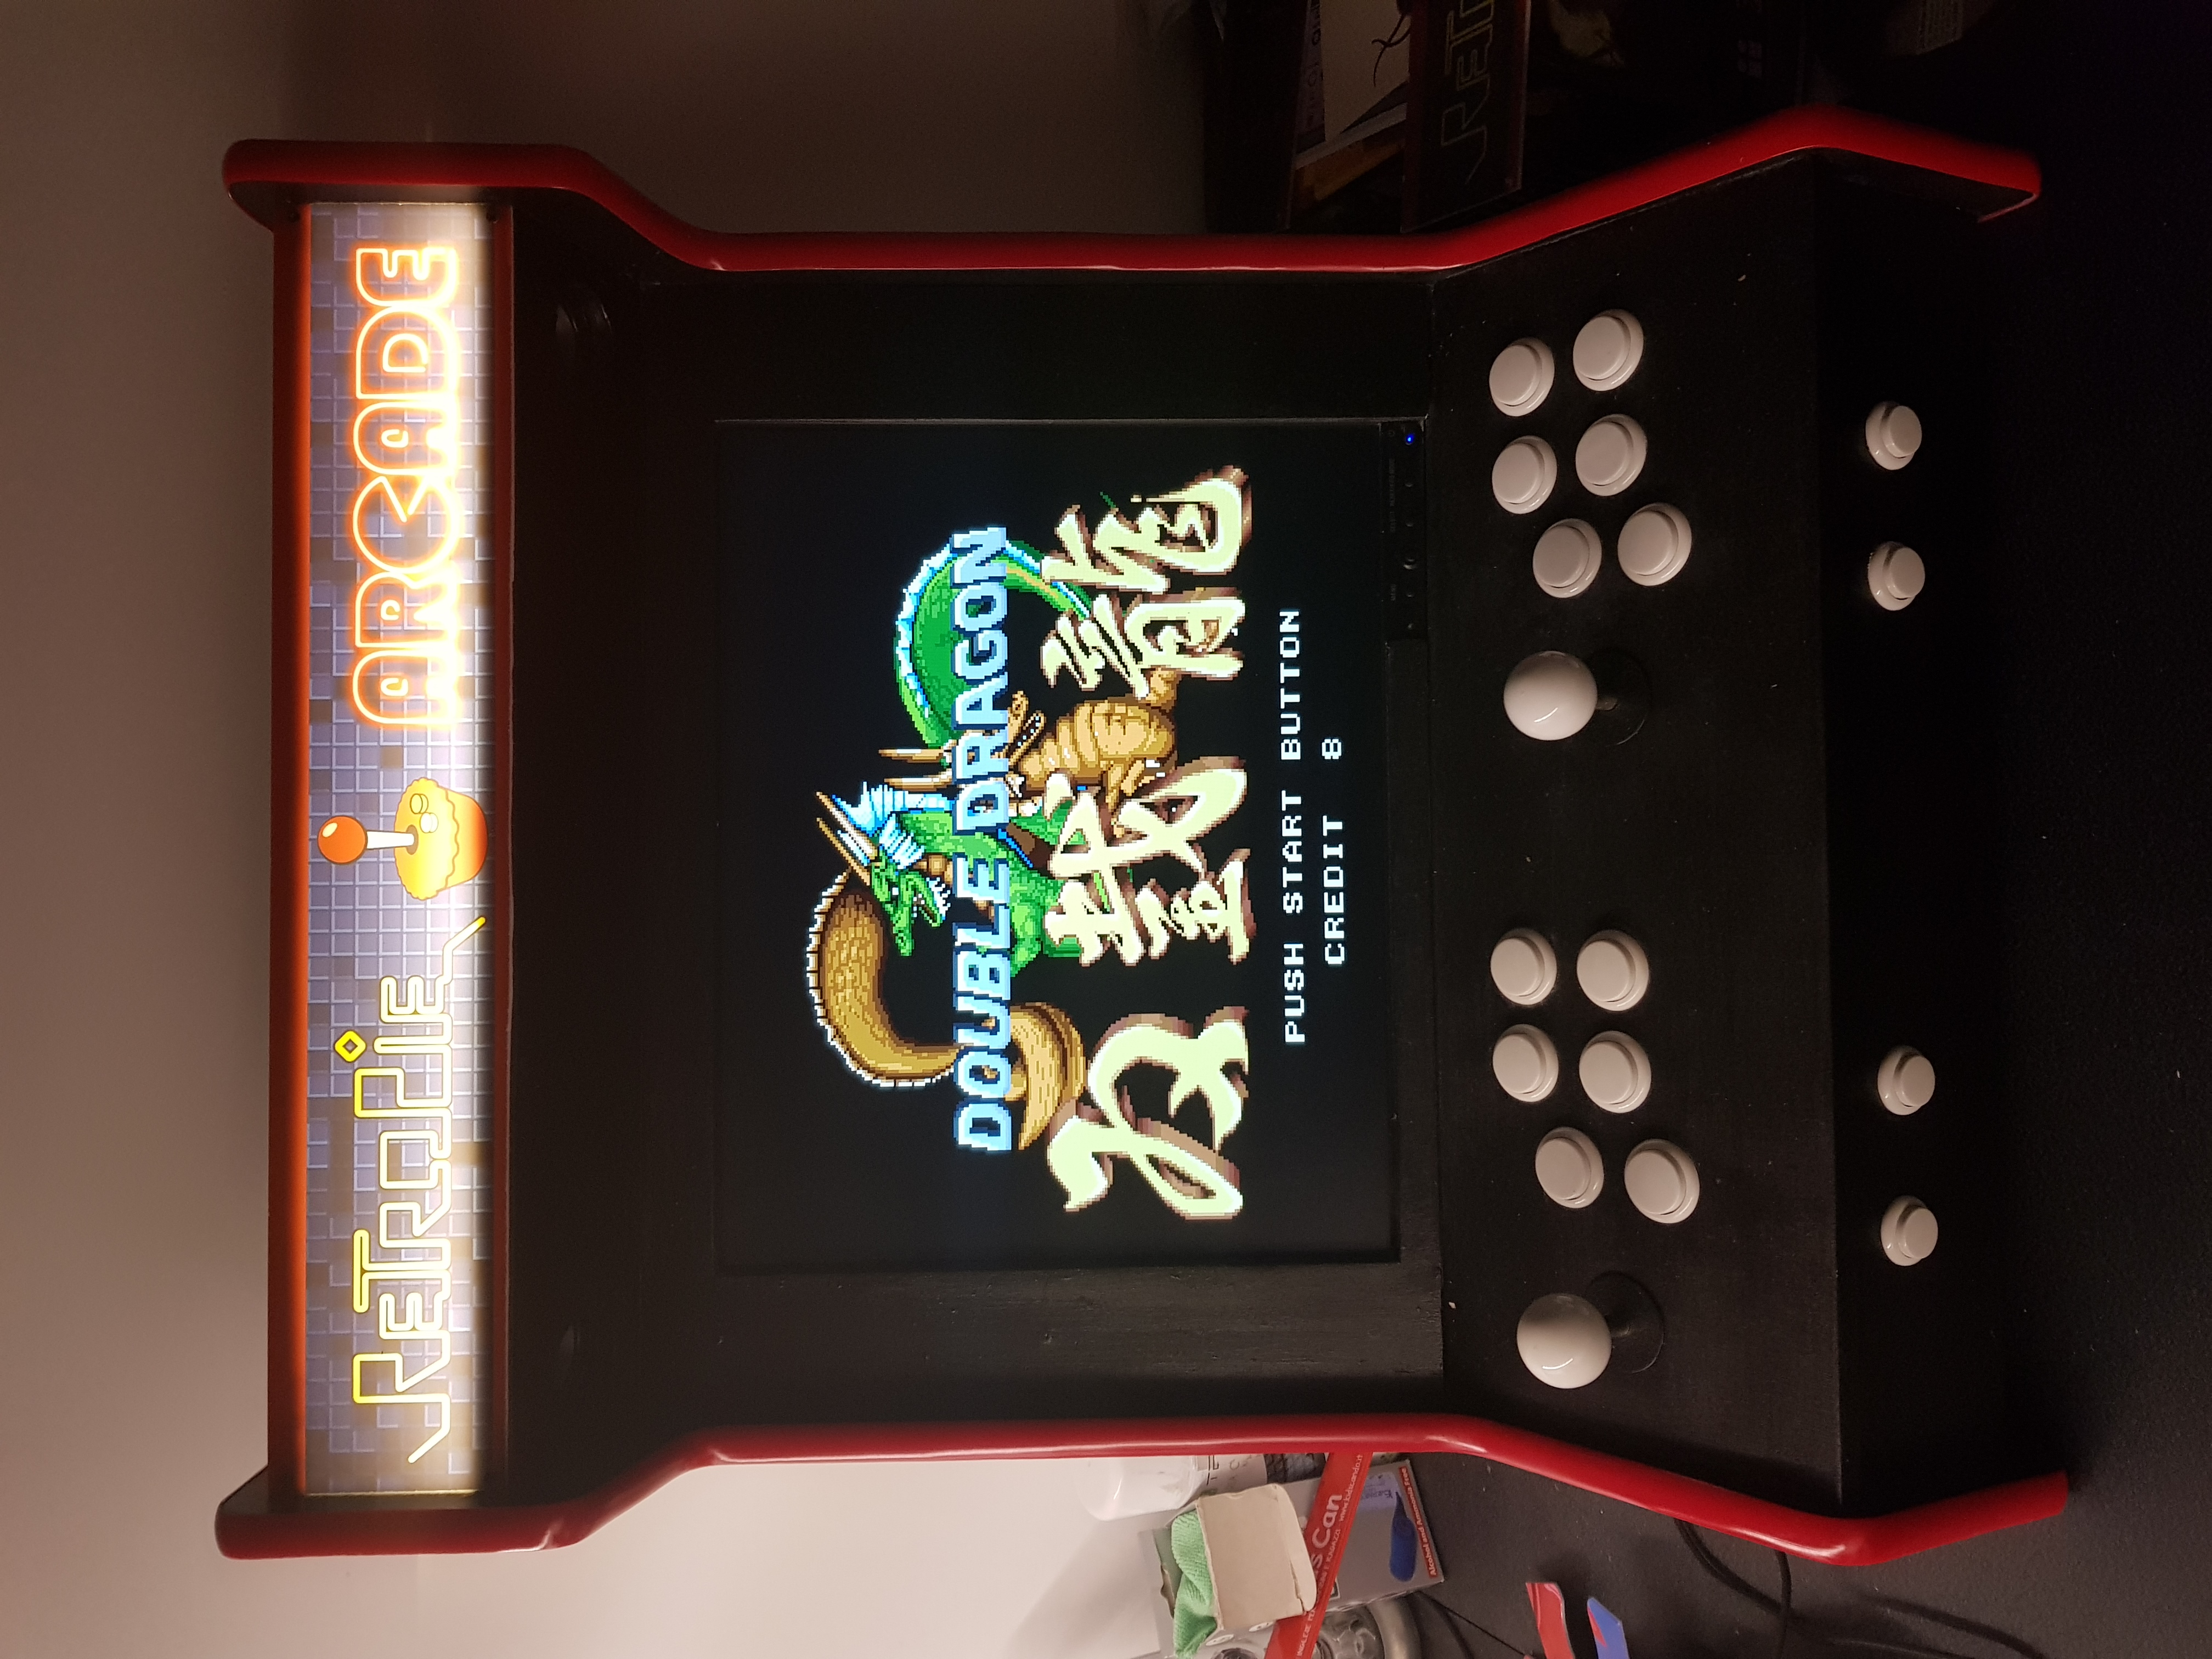
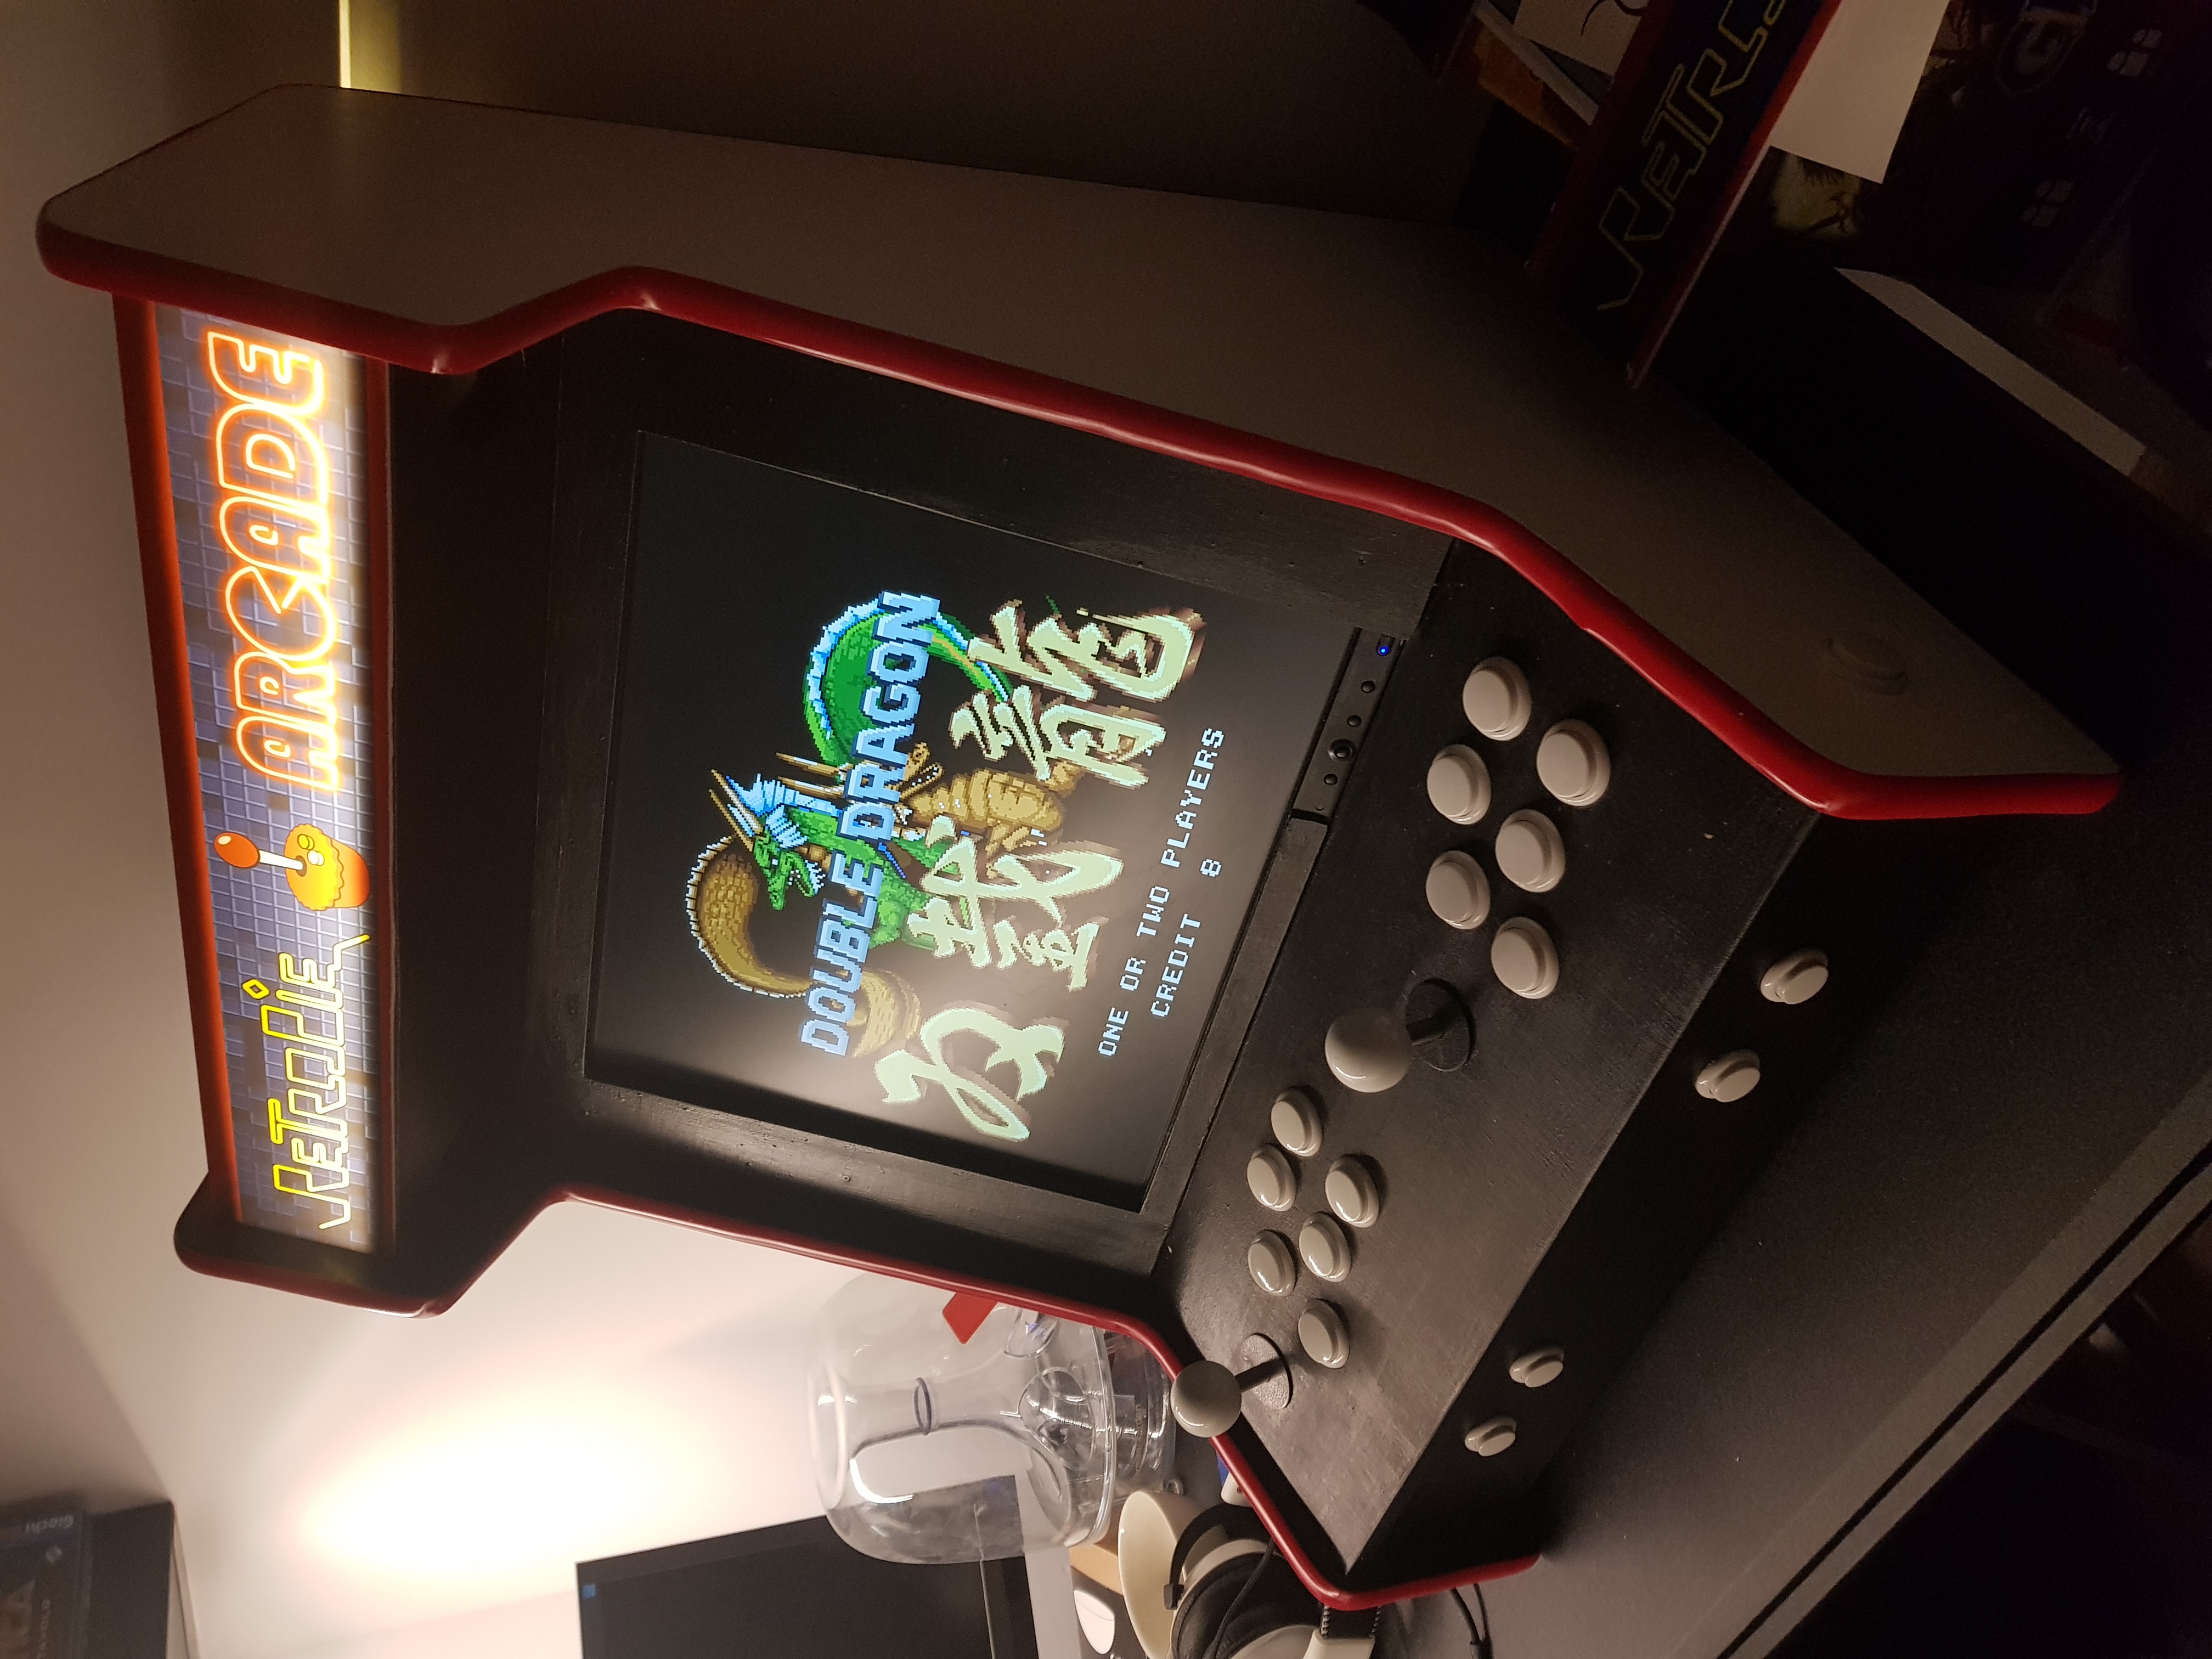
Ignore the Double Dragon screen for now: that’s part of the Software Configuration, which we’ll extensively discuss in the next – and final – part of this tutorial.
Conclusion
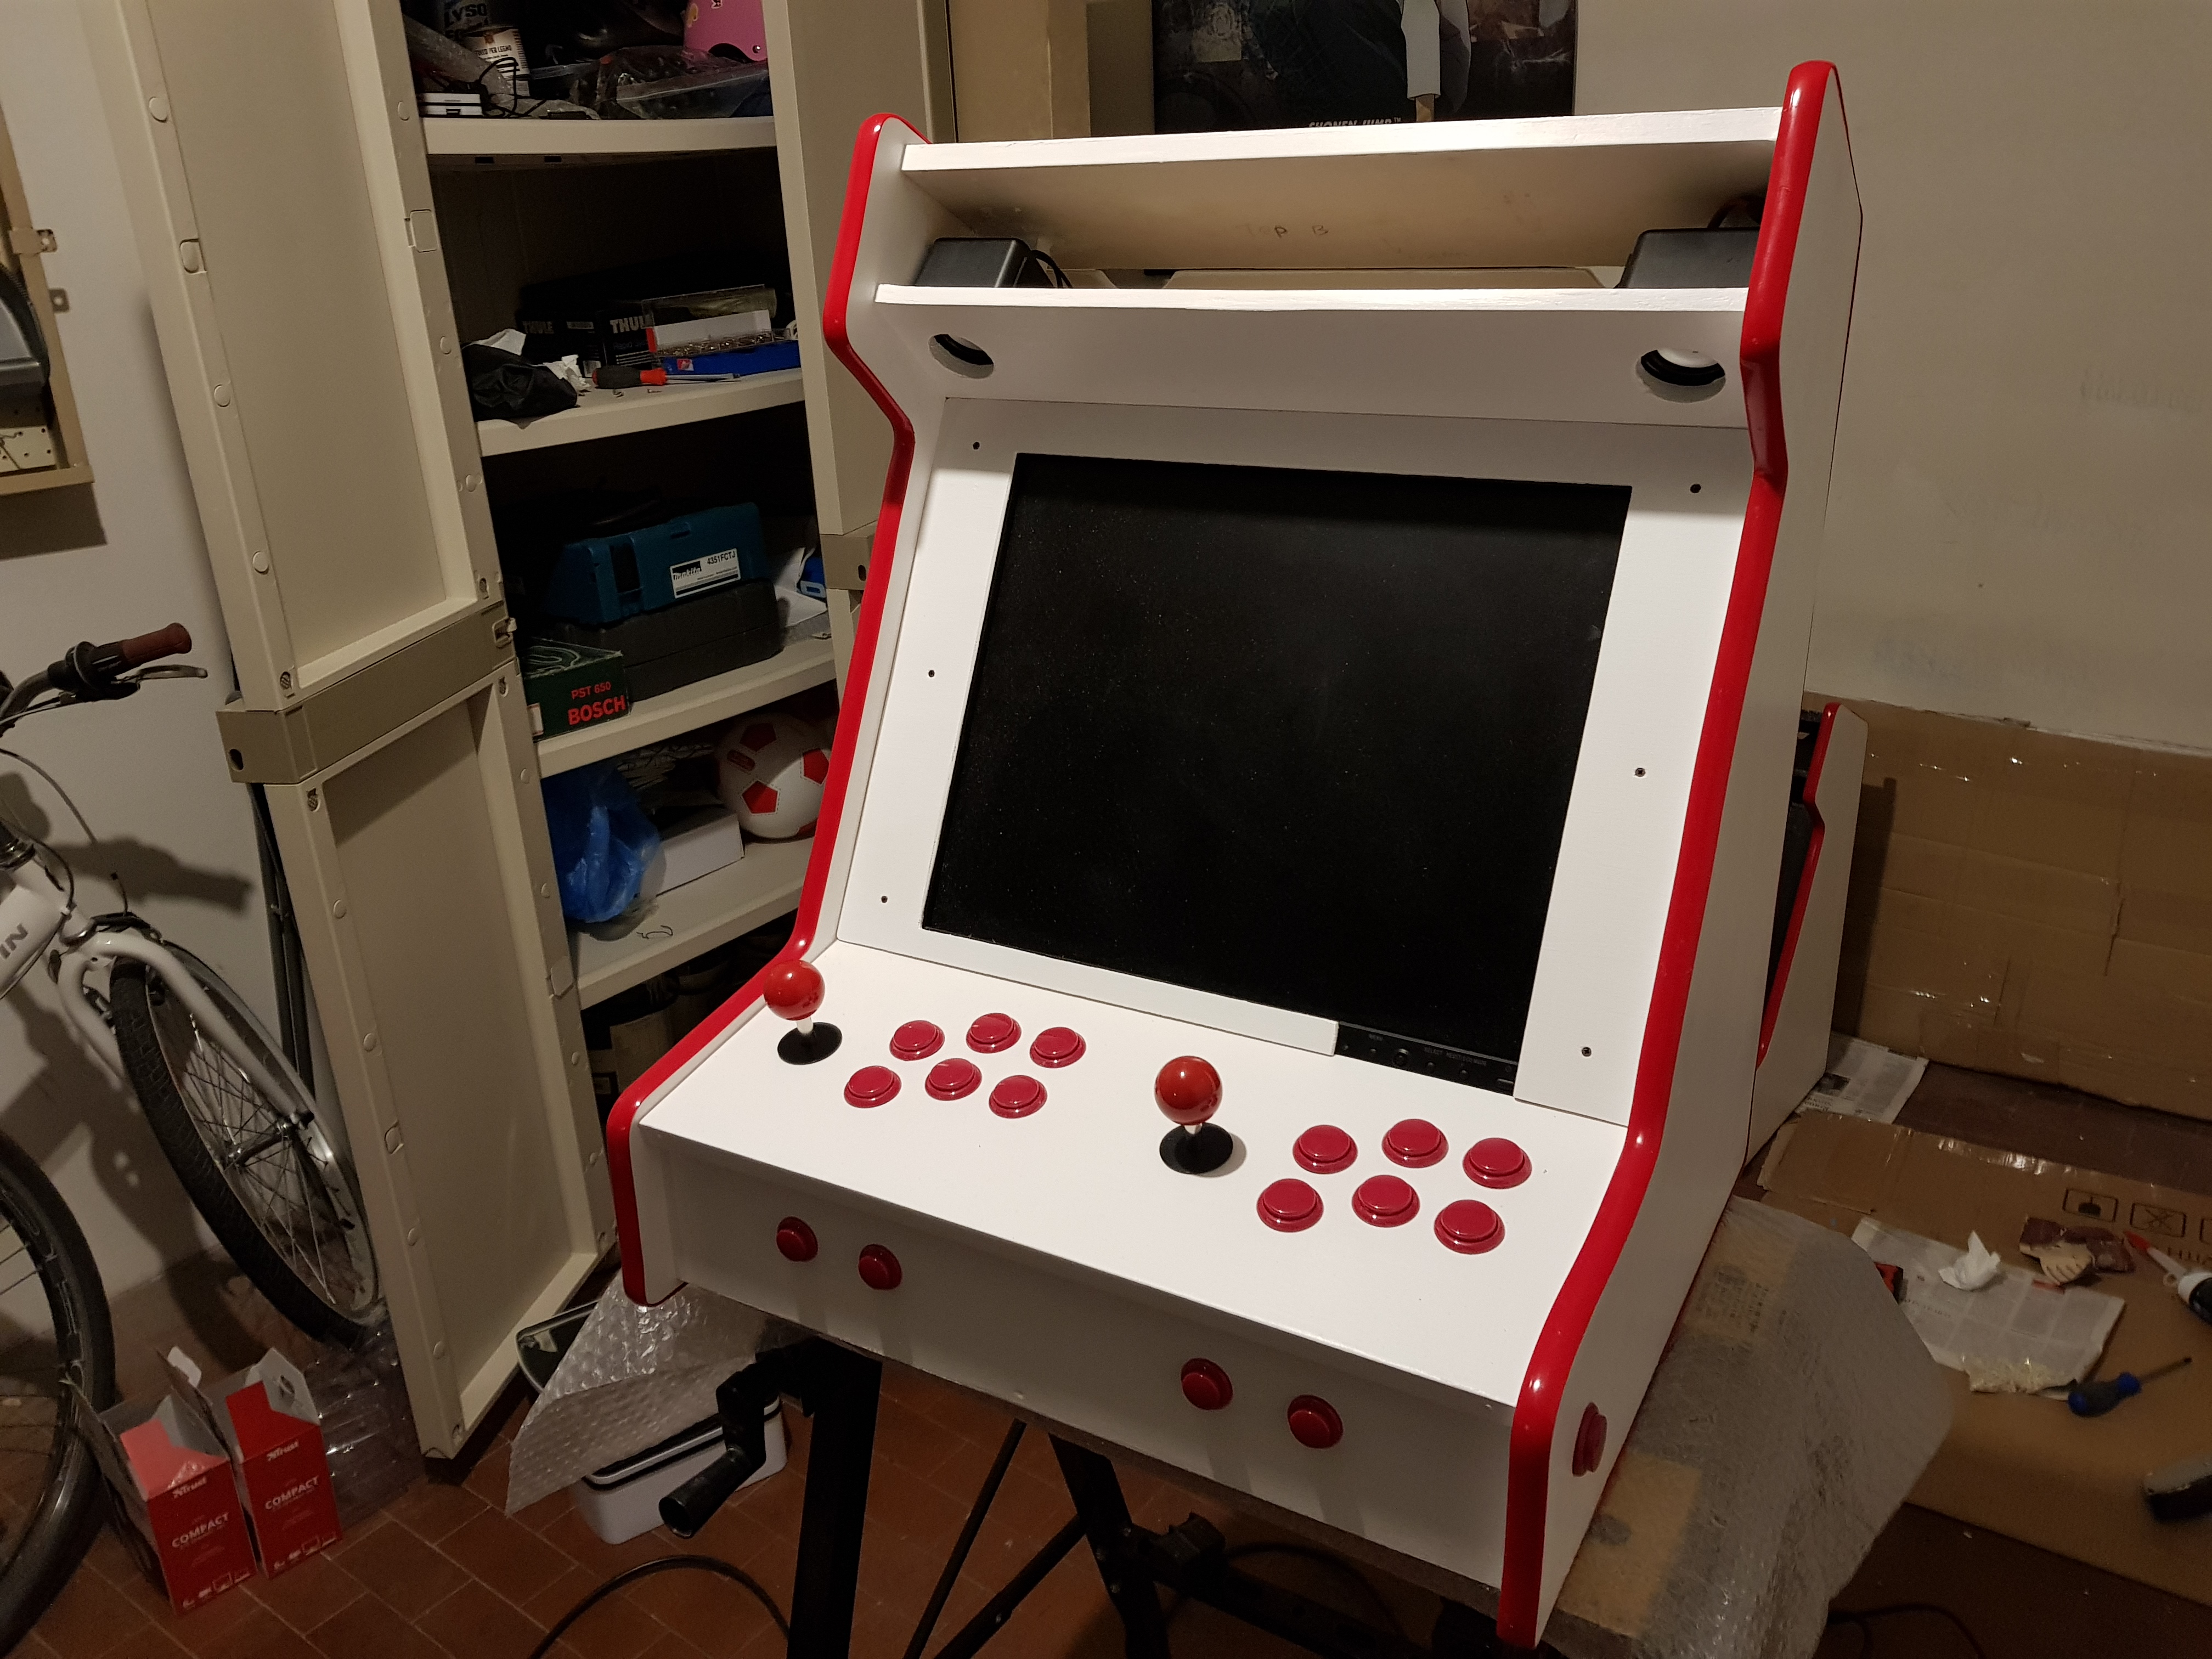
This is the end of Part 5: our Arcade Bartop is now a fully functional product featuring built-in audio, backlight illumination, joysticks and a Raspberry PI.
In the next and final part of this tutorial we’ll deal with the software configuration, which will finally bring the most important thing into the scene: an insane amount of arcade games!
As always, if you have any question or want to leave your feedback, you’re more than welcome to do that using the comment section below!
In case you’ve missed the previous posts, here are the links to the whole guide:
- Part 1 of 6: Introduction & Raw Materials
- Part 2 of 6: Tools, Design & Prototype
- Part 3 of 6: Building the Cabinet
- Part 4 of 6: Painting & T-Molding
- Part 5 of 6: Installing the Hardware
- Part 6 of 6: Configuring the Software (Raspberry PI & Retropie)
Check out all the pictures of the Arcade Bartop (all those used in this tutorial + more) on my Arcade Bartop album on Flickr.com.

Hi, your guide is simply great!!
I am a beginner in the world of electrical connections and stuff so please bear with me.
What I dont understand is how you connected the monitor and everything else to work with the flipper switch on the side. Could you kindly send me photos and explain better please?
Also, I’m guessing that a normal 3 pin kettle switch will power everything up?
Thank you so much!
Hi. Would you mind sharing your marquee art?