
UPDATE: For Disney Tangled Rapunzel Costume Tutorial, click here.
There are a lot of Elsa costume tutorials around the web, yet I found none of them really helpful when my little daughter asked me to sew a costume for her. Most of the “Ice dress” guides are simple and cheap, but the final result seems not very accurate and my daughter is really demanding when it comes to queen Elsa!
So I decided to create something on my own and, then, share my efforts. Hope they will be helpful somehow!
1) The Fabric
The first thing we should take care of is trying our best to find the right fabric.
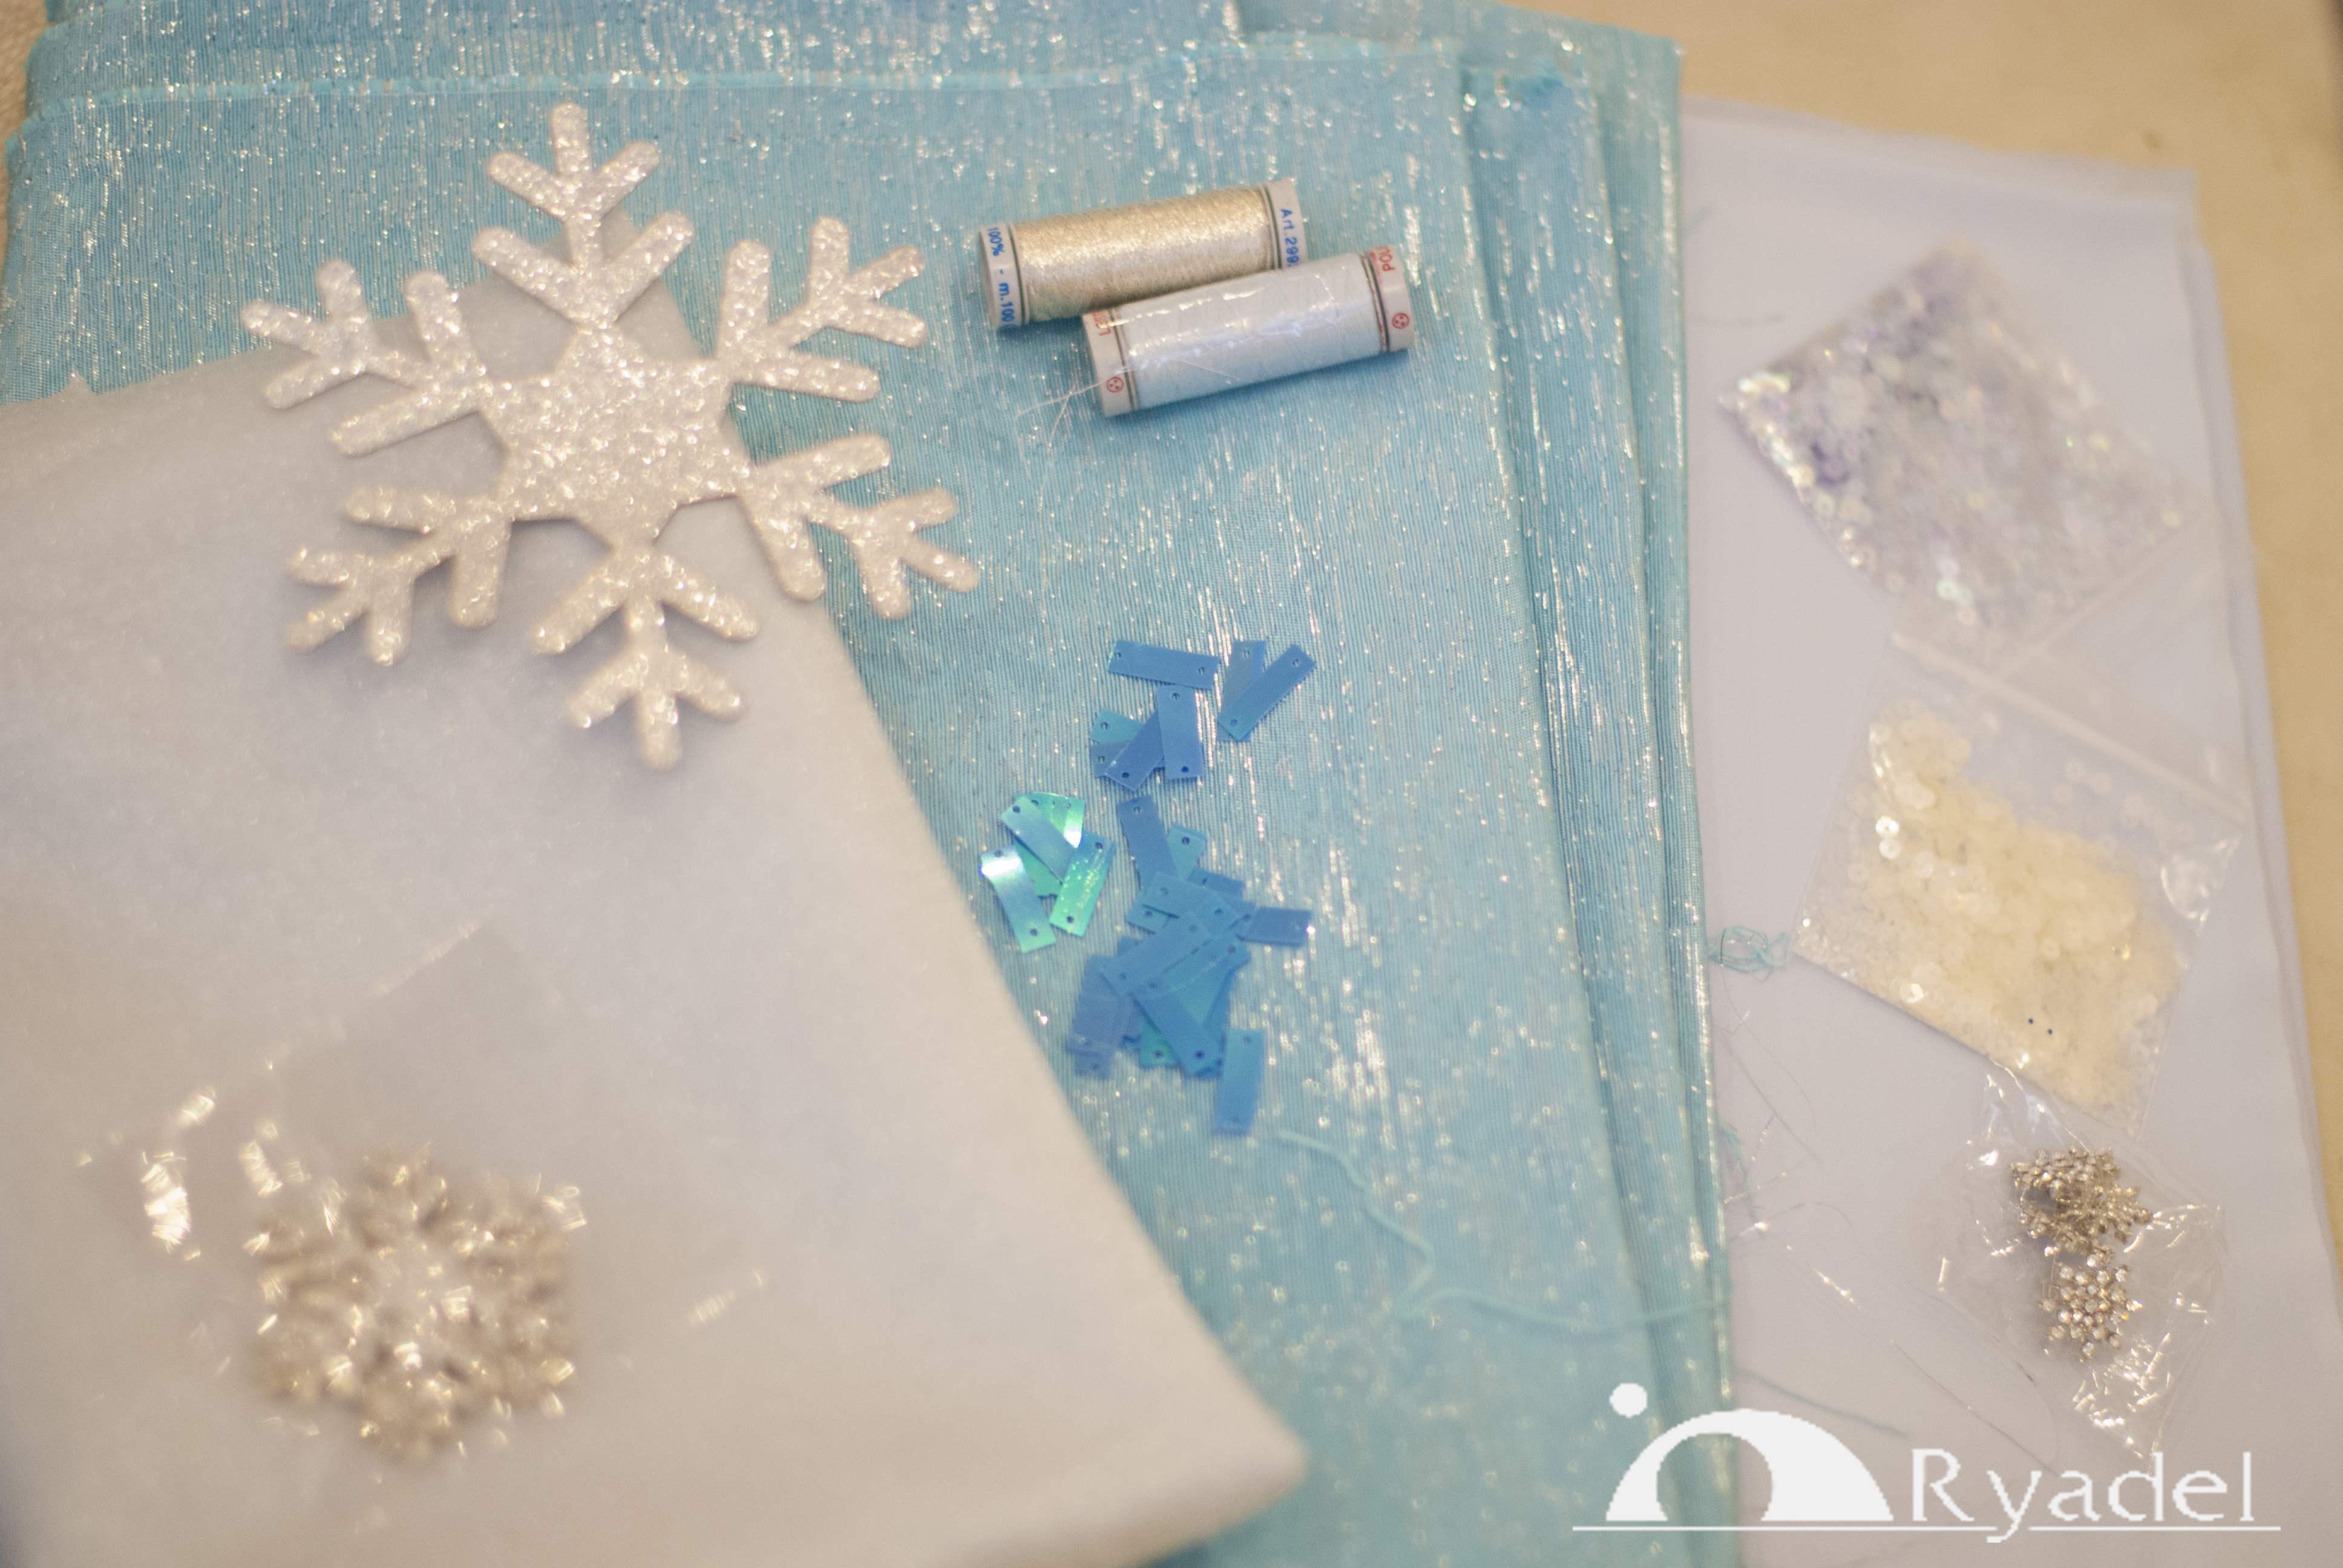
I chose:
- a light blue cotton fabric with silver inserts (available either on etsy or ebay) for the gown;
- a pale blue stretch lycra fabric for the vest;
- a turquoise veil with silver snowflake for the cape (there are plenty of them sold on etsy. Otherwise you can easily transfer on a plain blue veil some “iron on” snowflakes or even draw them with a shimmering silver ink)
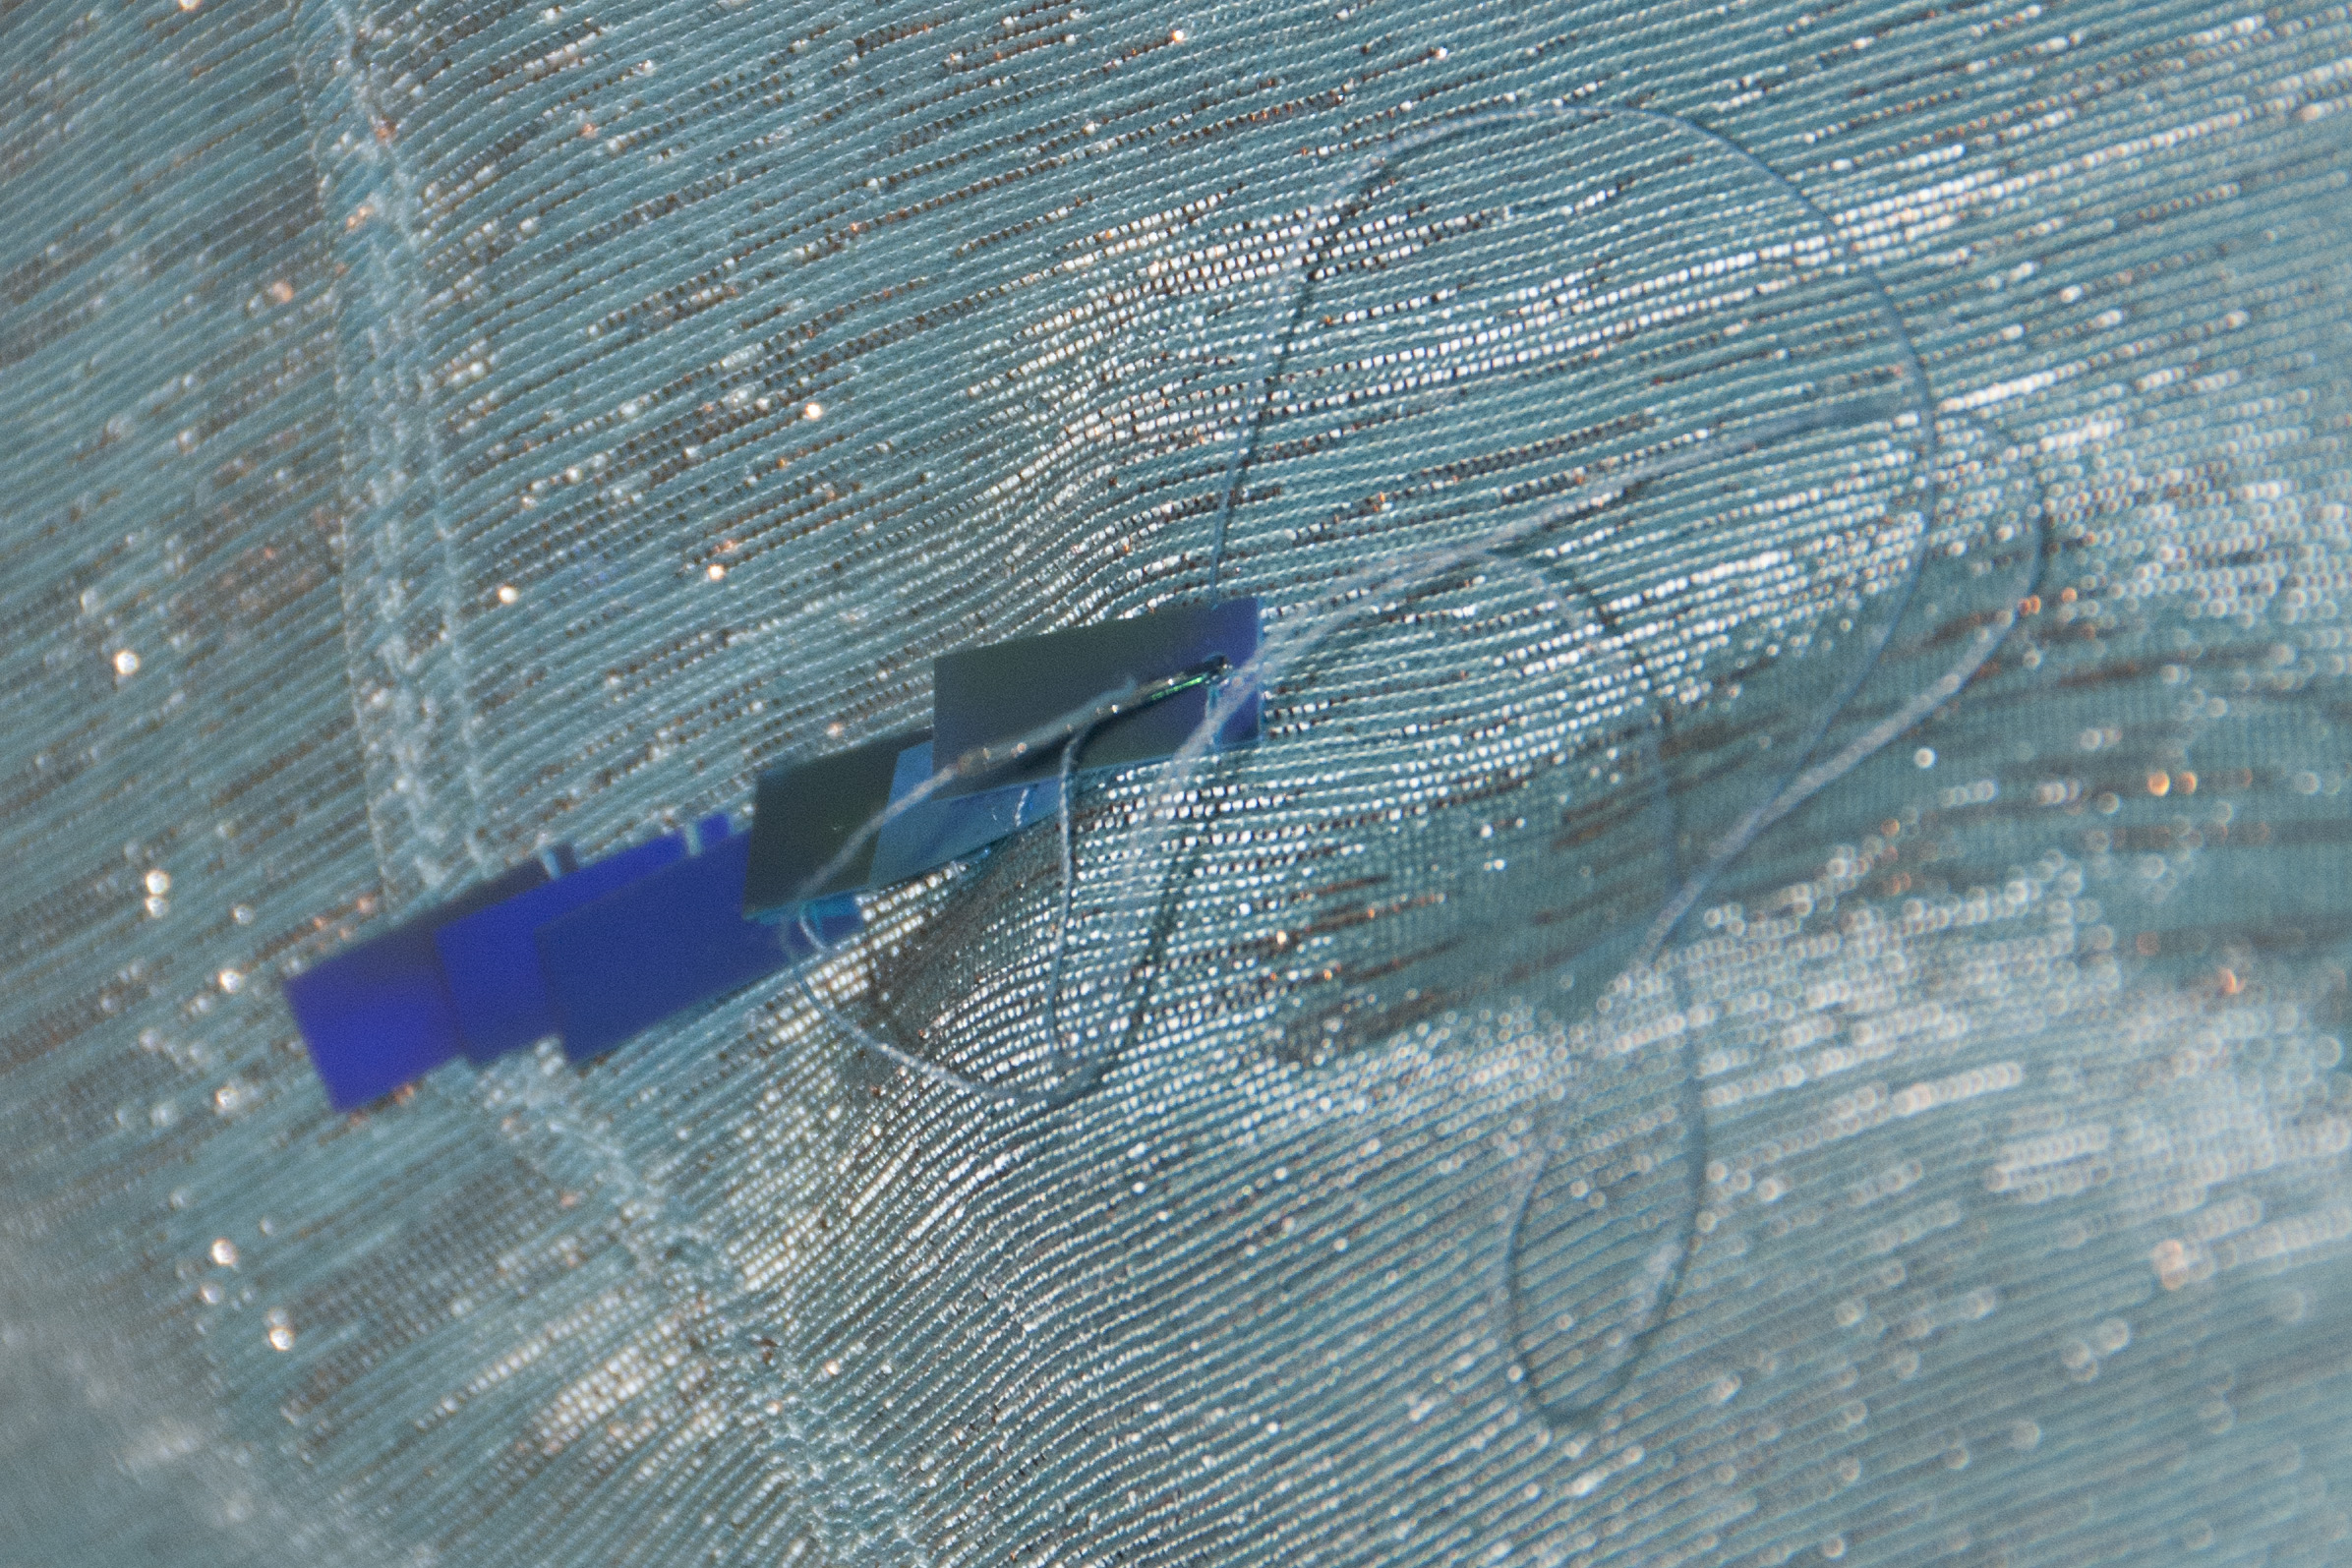
- Finally, two kind of sequins: small, round, clear sequins to male the shirt sparkle and the famous “athena beads” rectangle sequins in “cornflower blue” to decorate the corset.
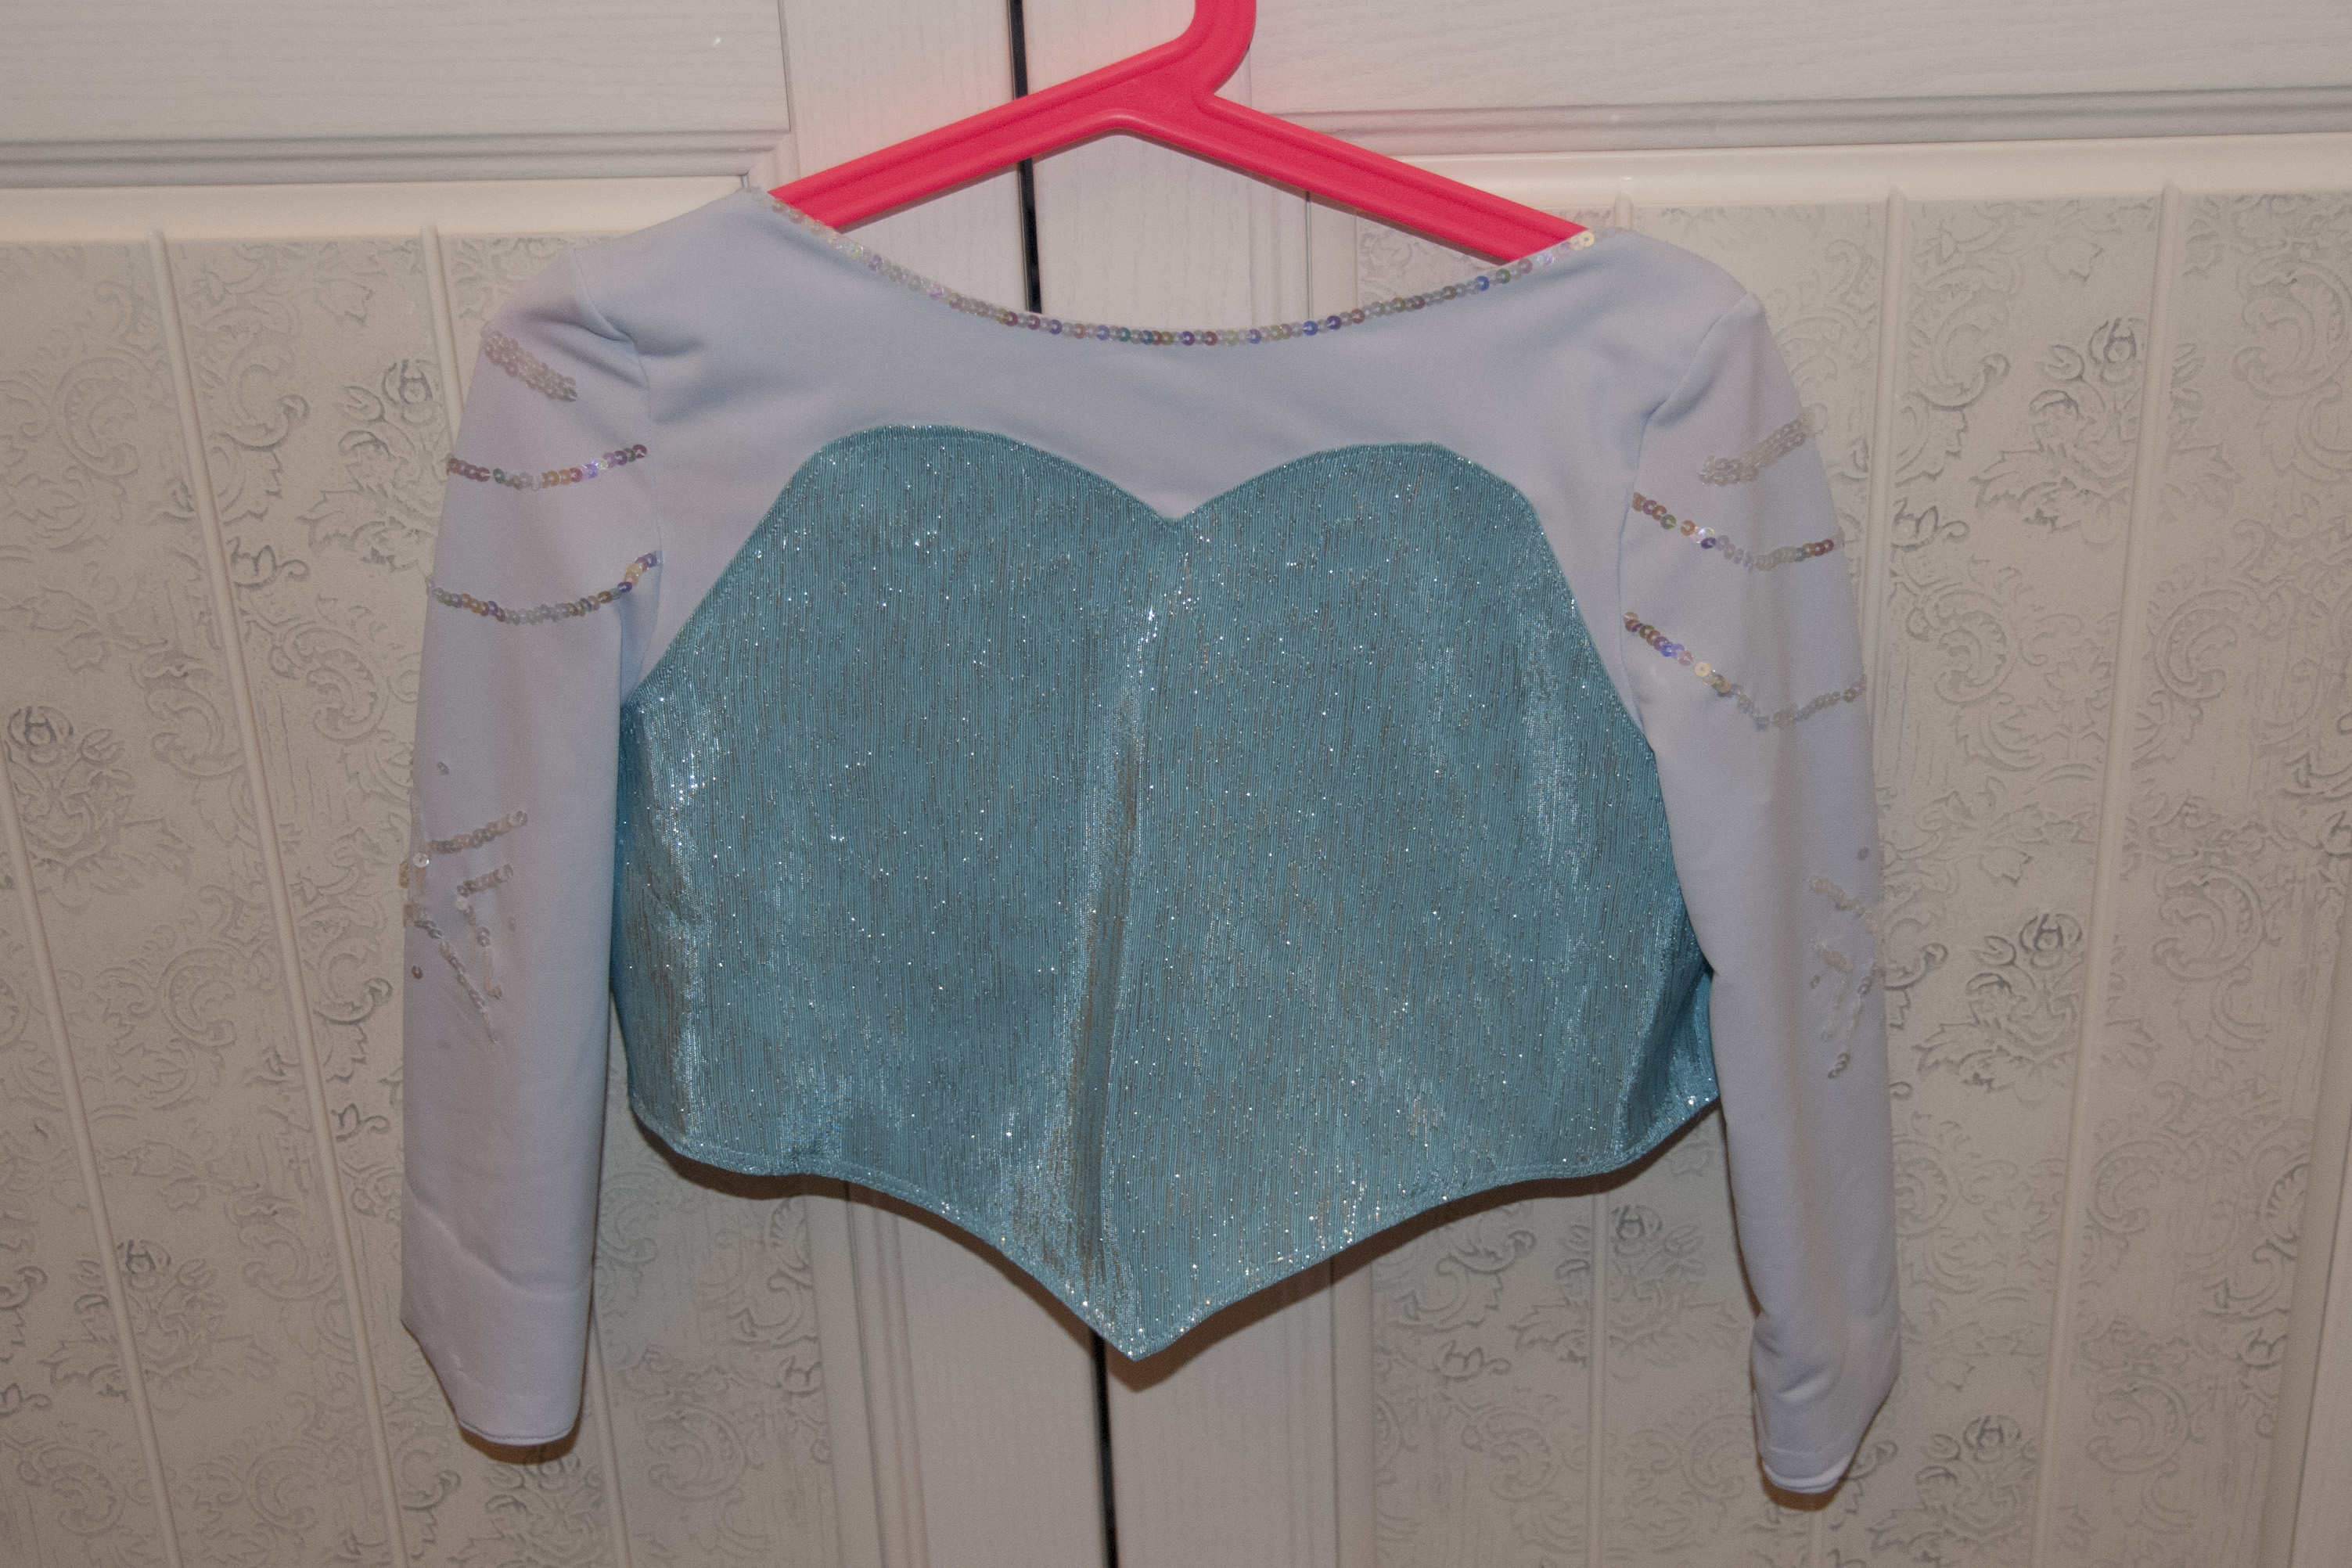
2) The Ice Shirt
Let’s start with Elsa’s “ice shirt”.

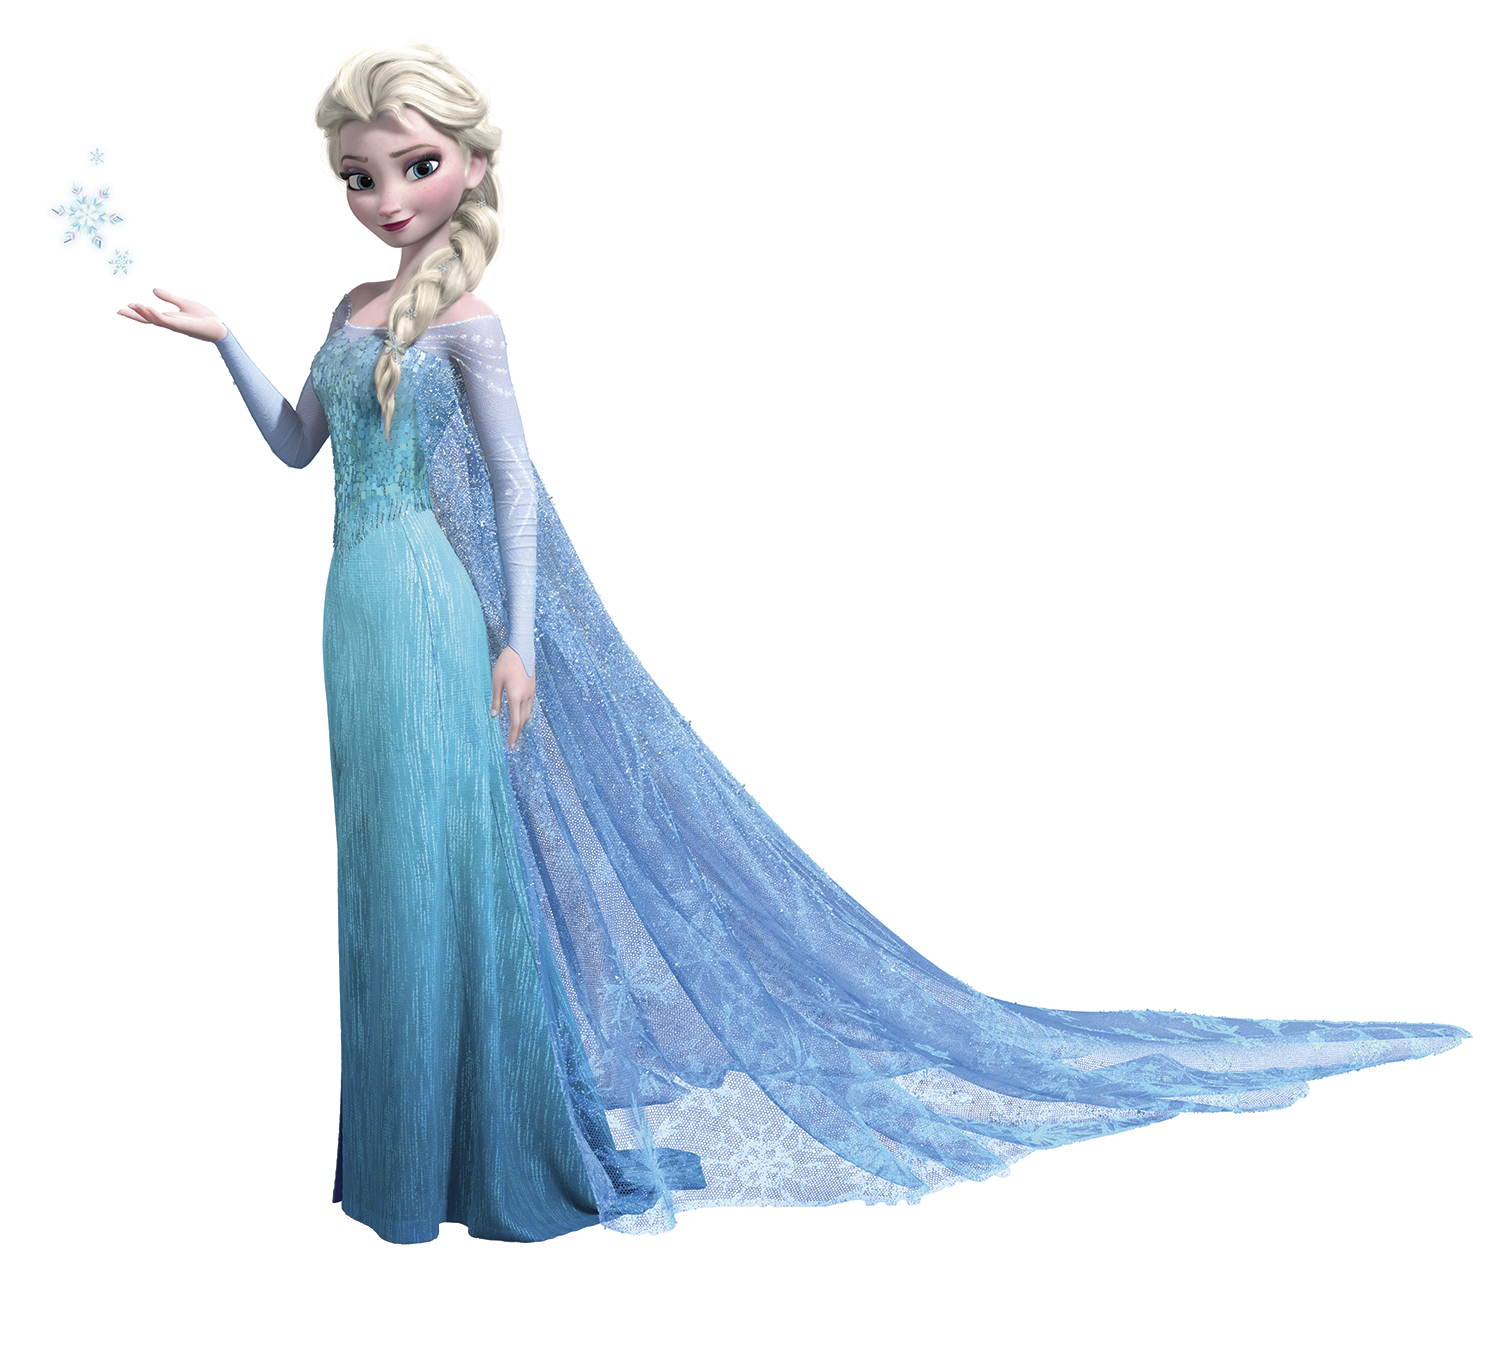
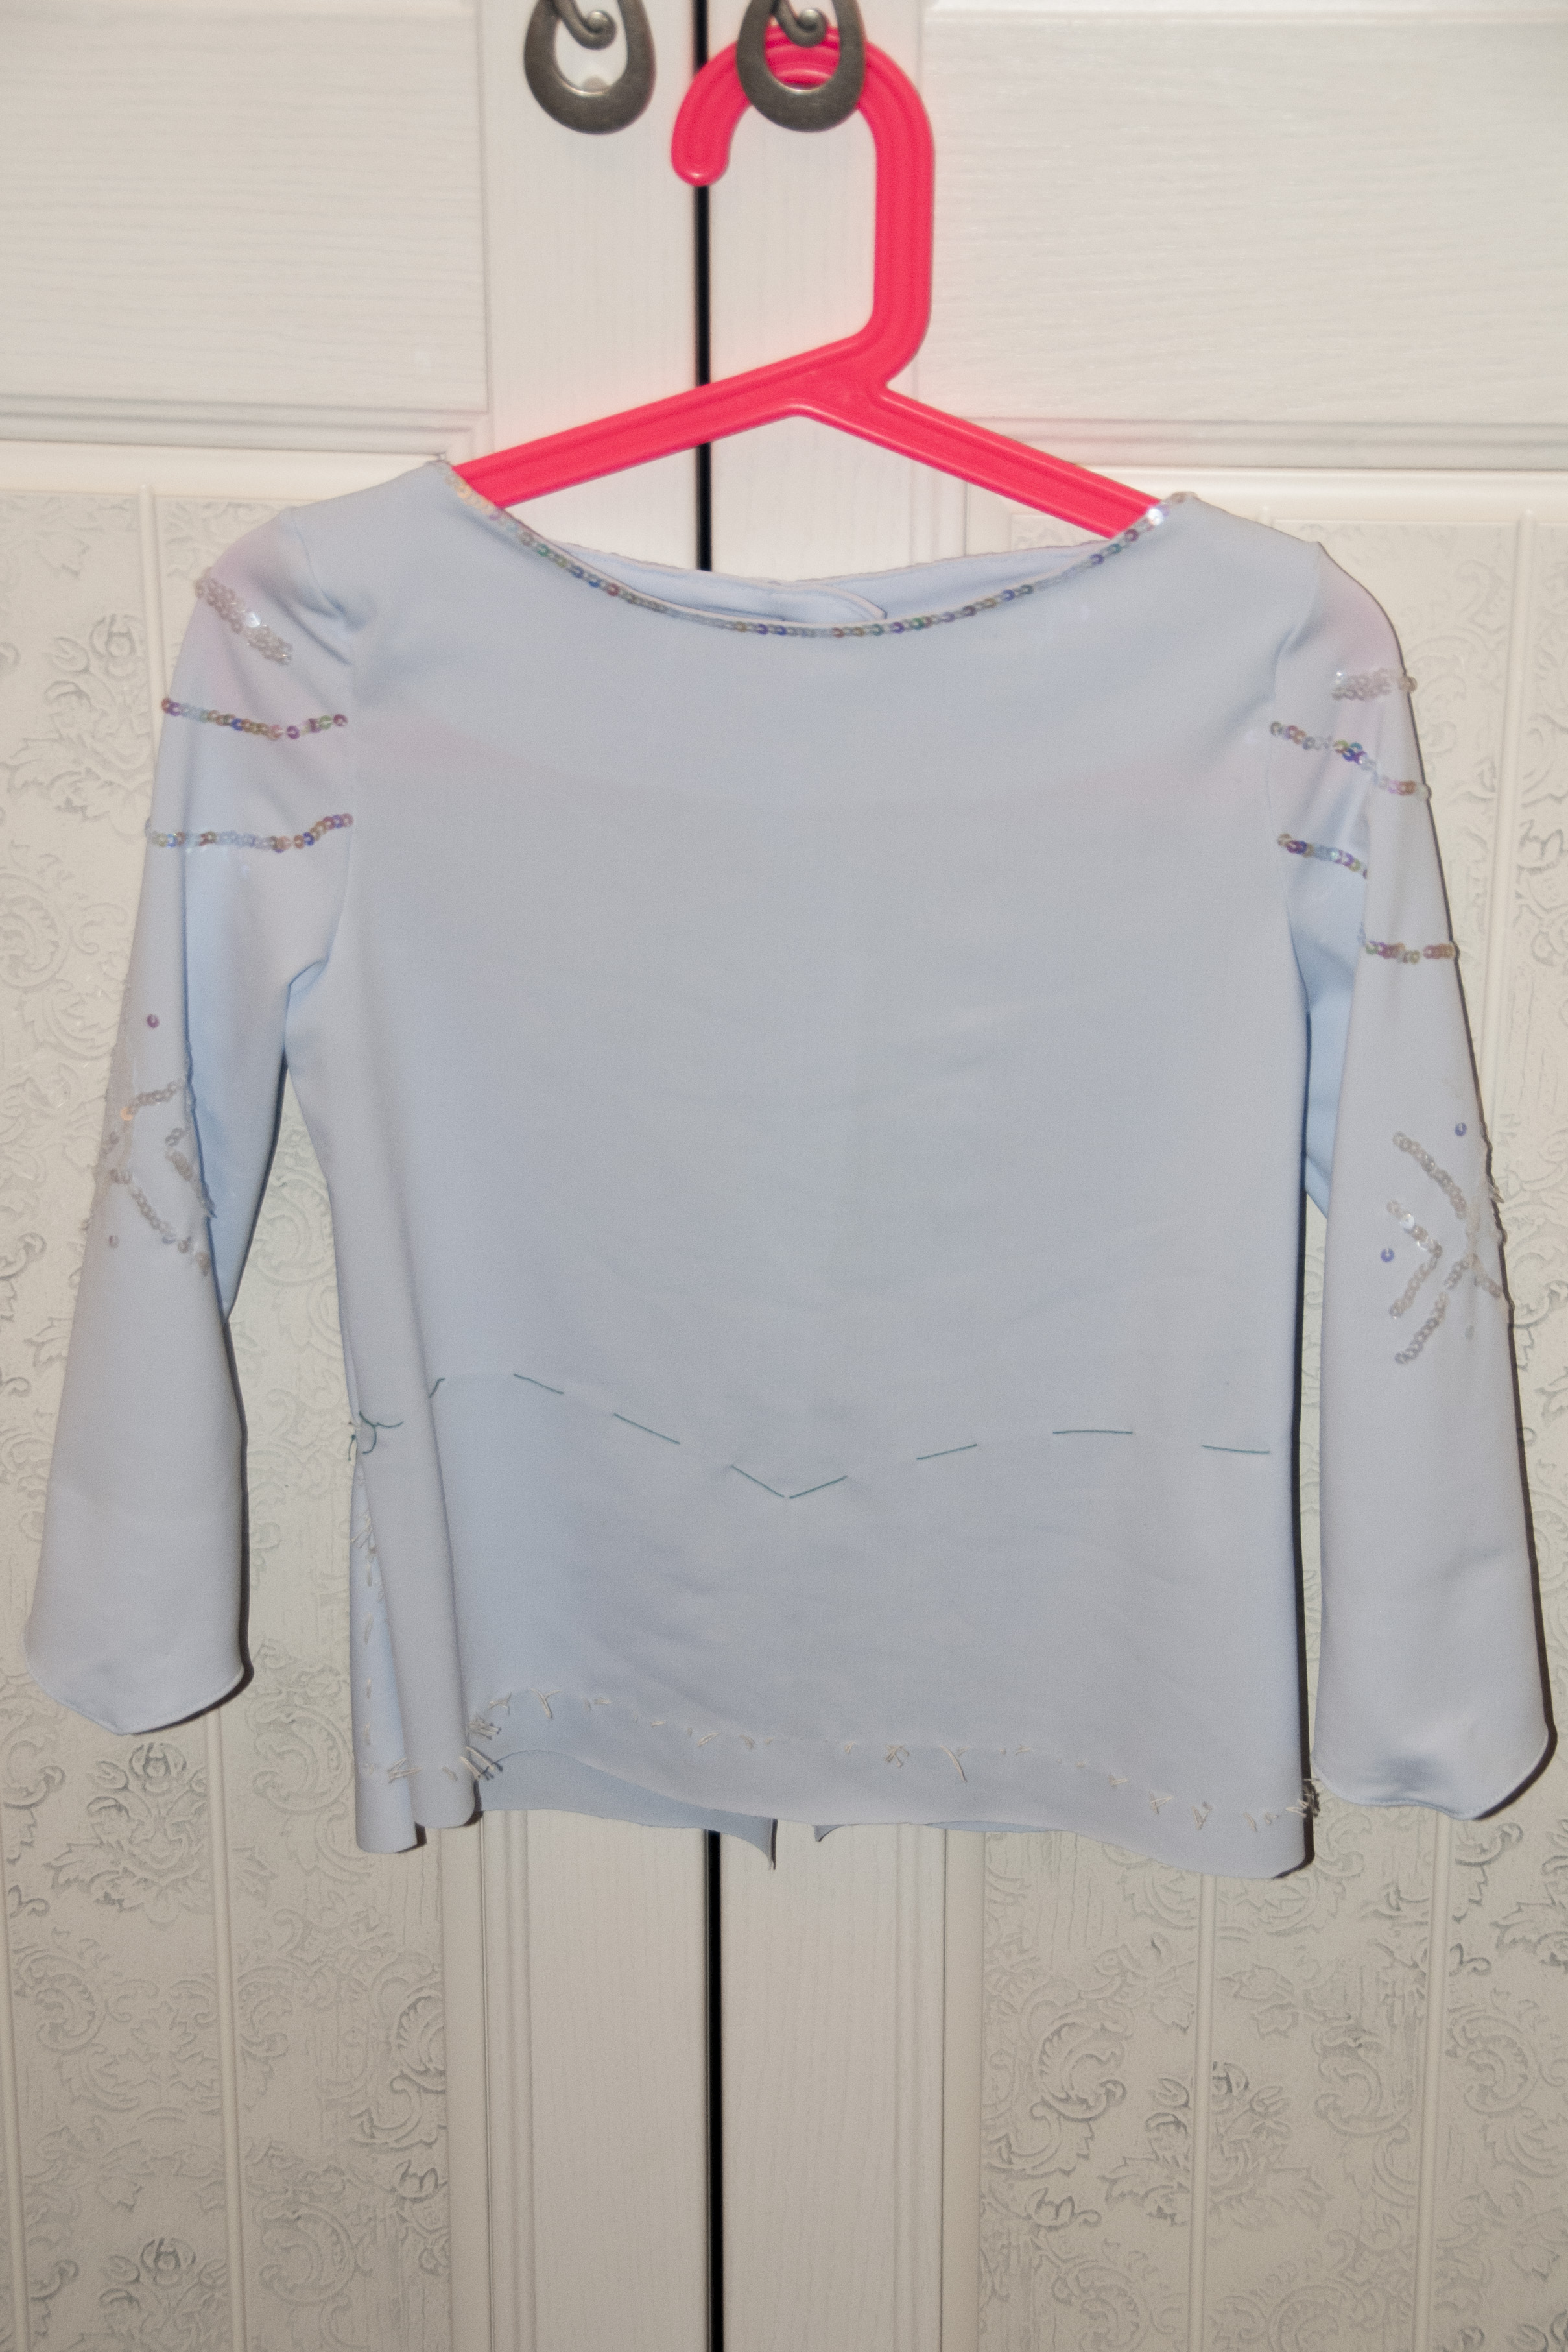
The shirt under Elsa’s gown is thin, low-necked and definitely veiled. Cold never bothered Elsa but… I needed a “kiddy version” of her shirt and I wanted my young daughter to feel comfortable and warm with it. So I opted for a stretch lycra fabric in a very pale blue color. The final effect is quite accurate.
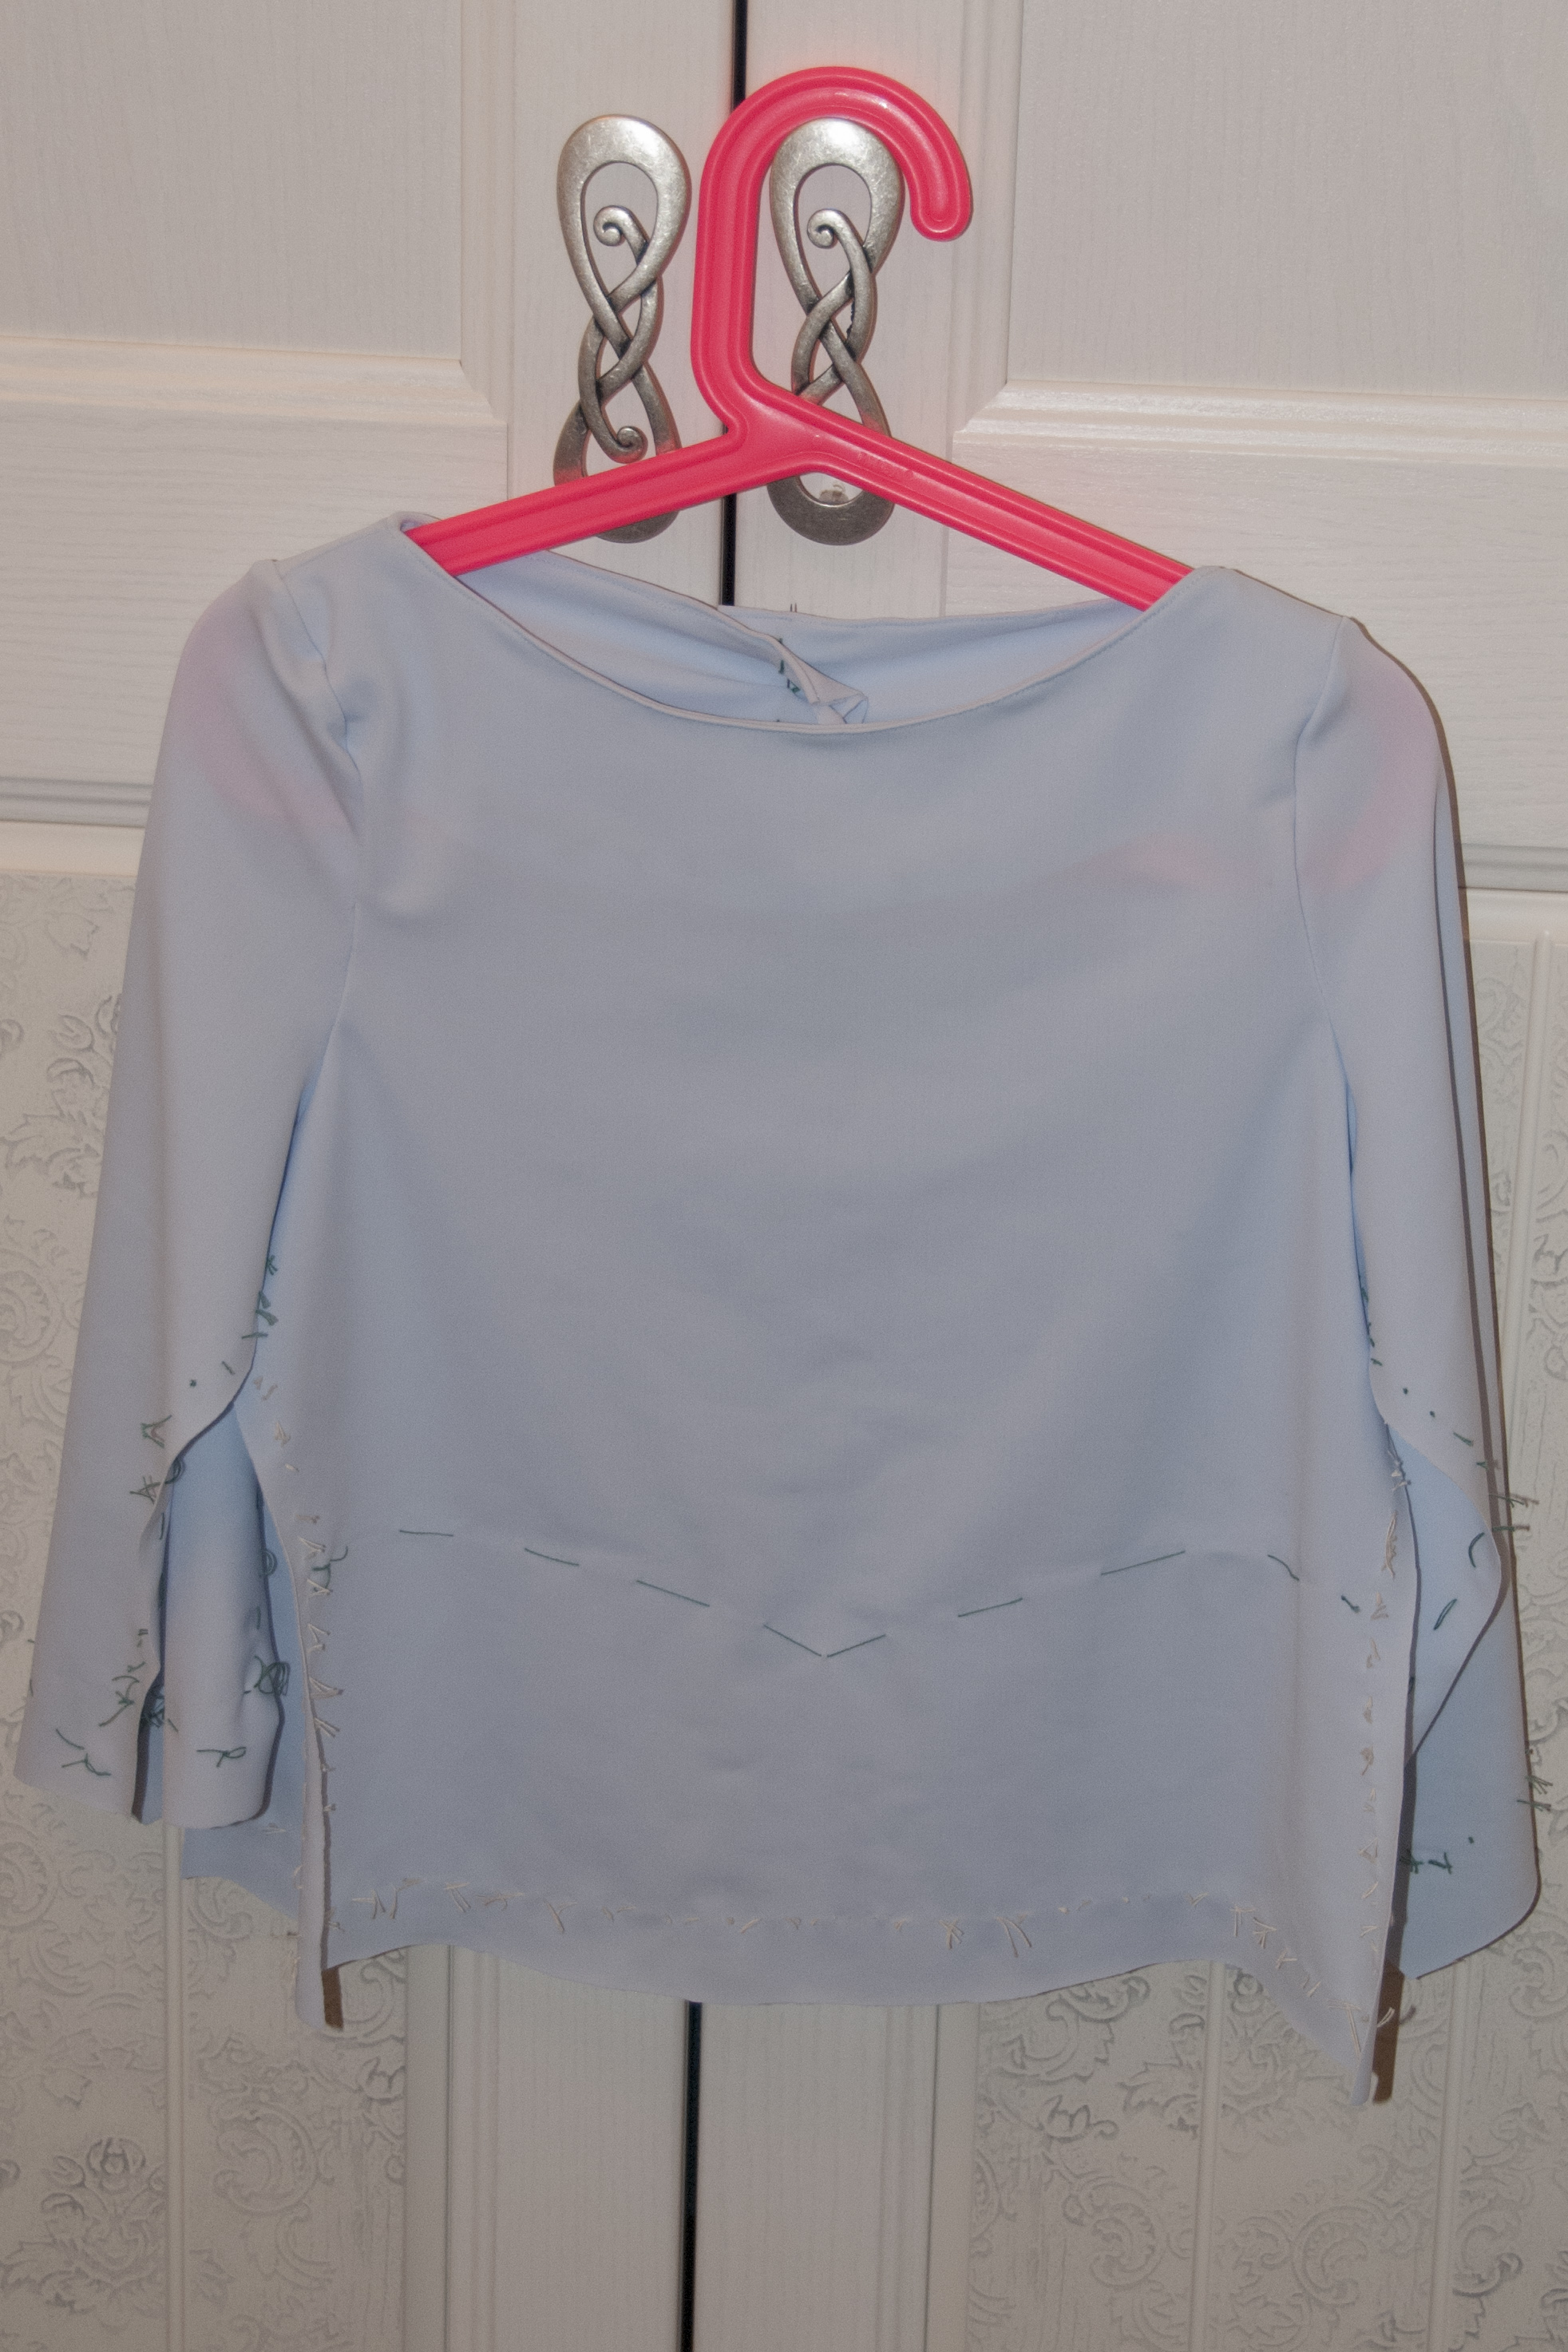
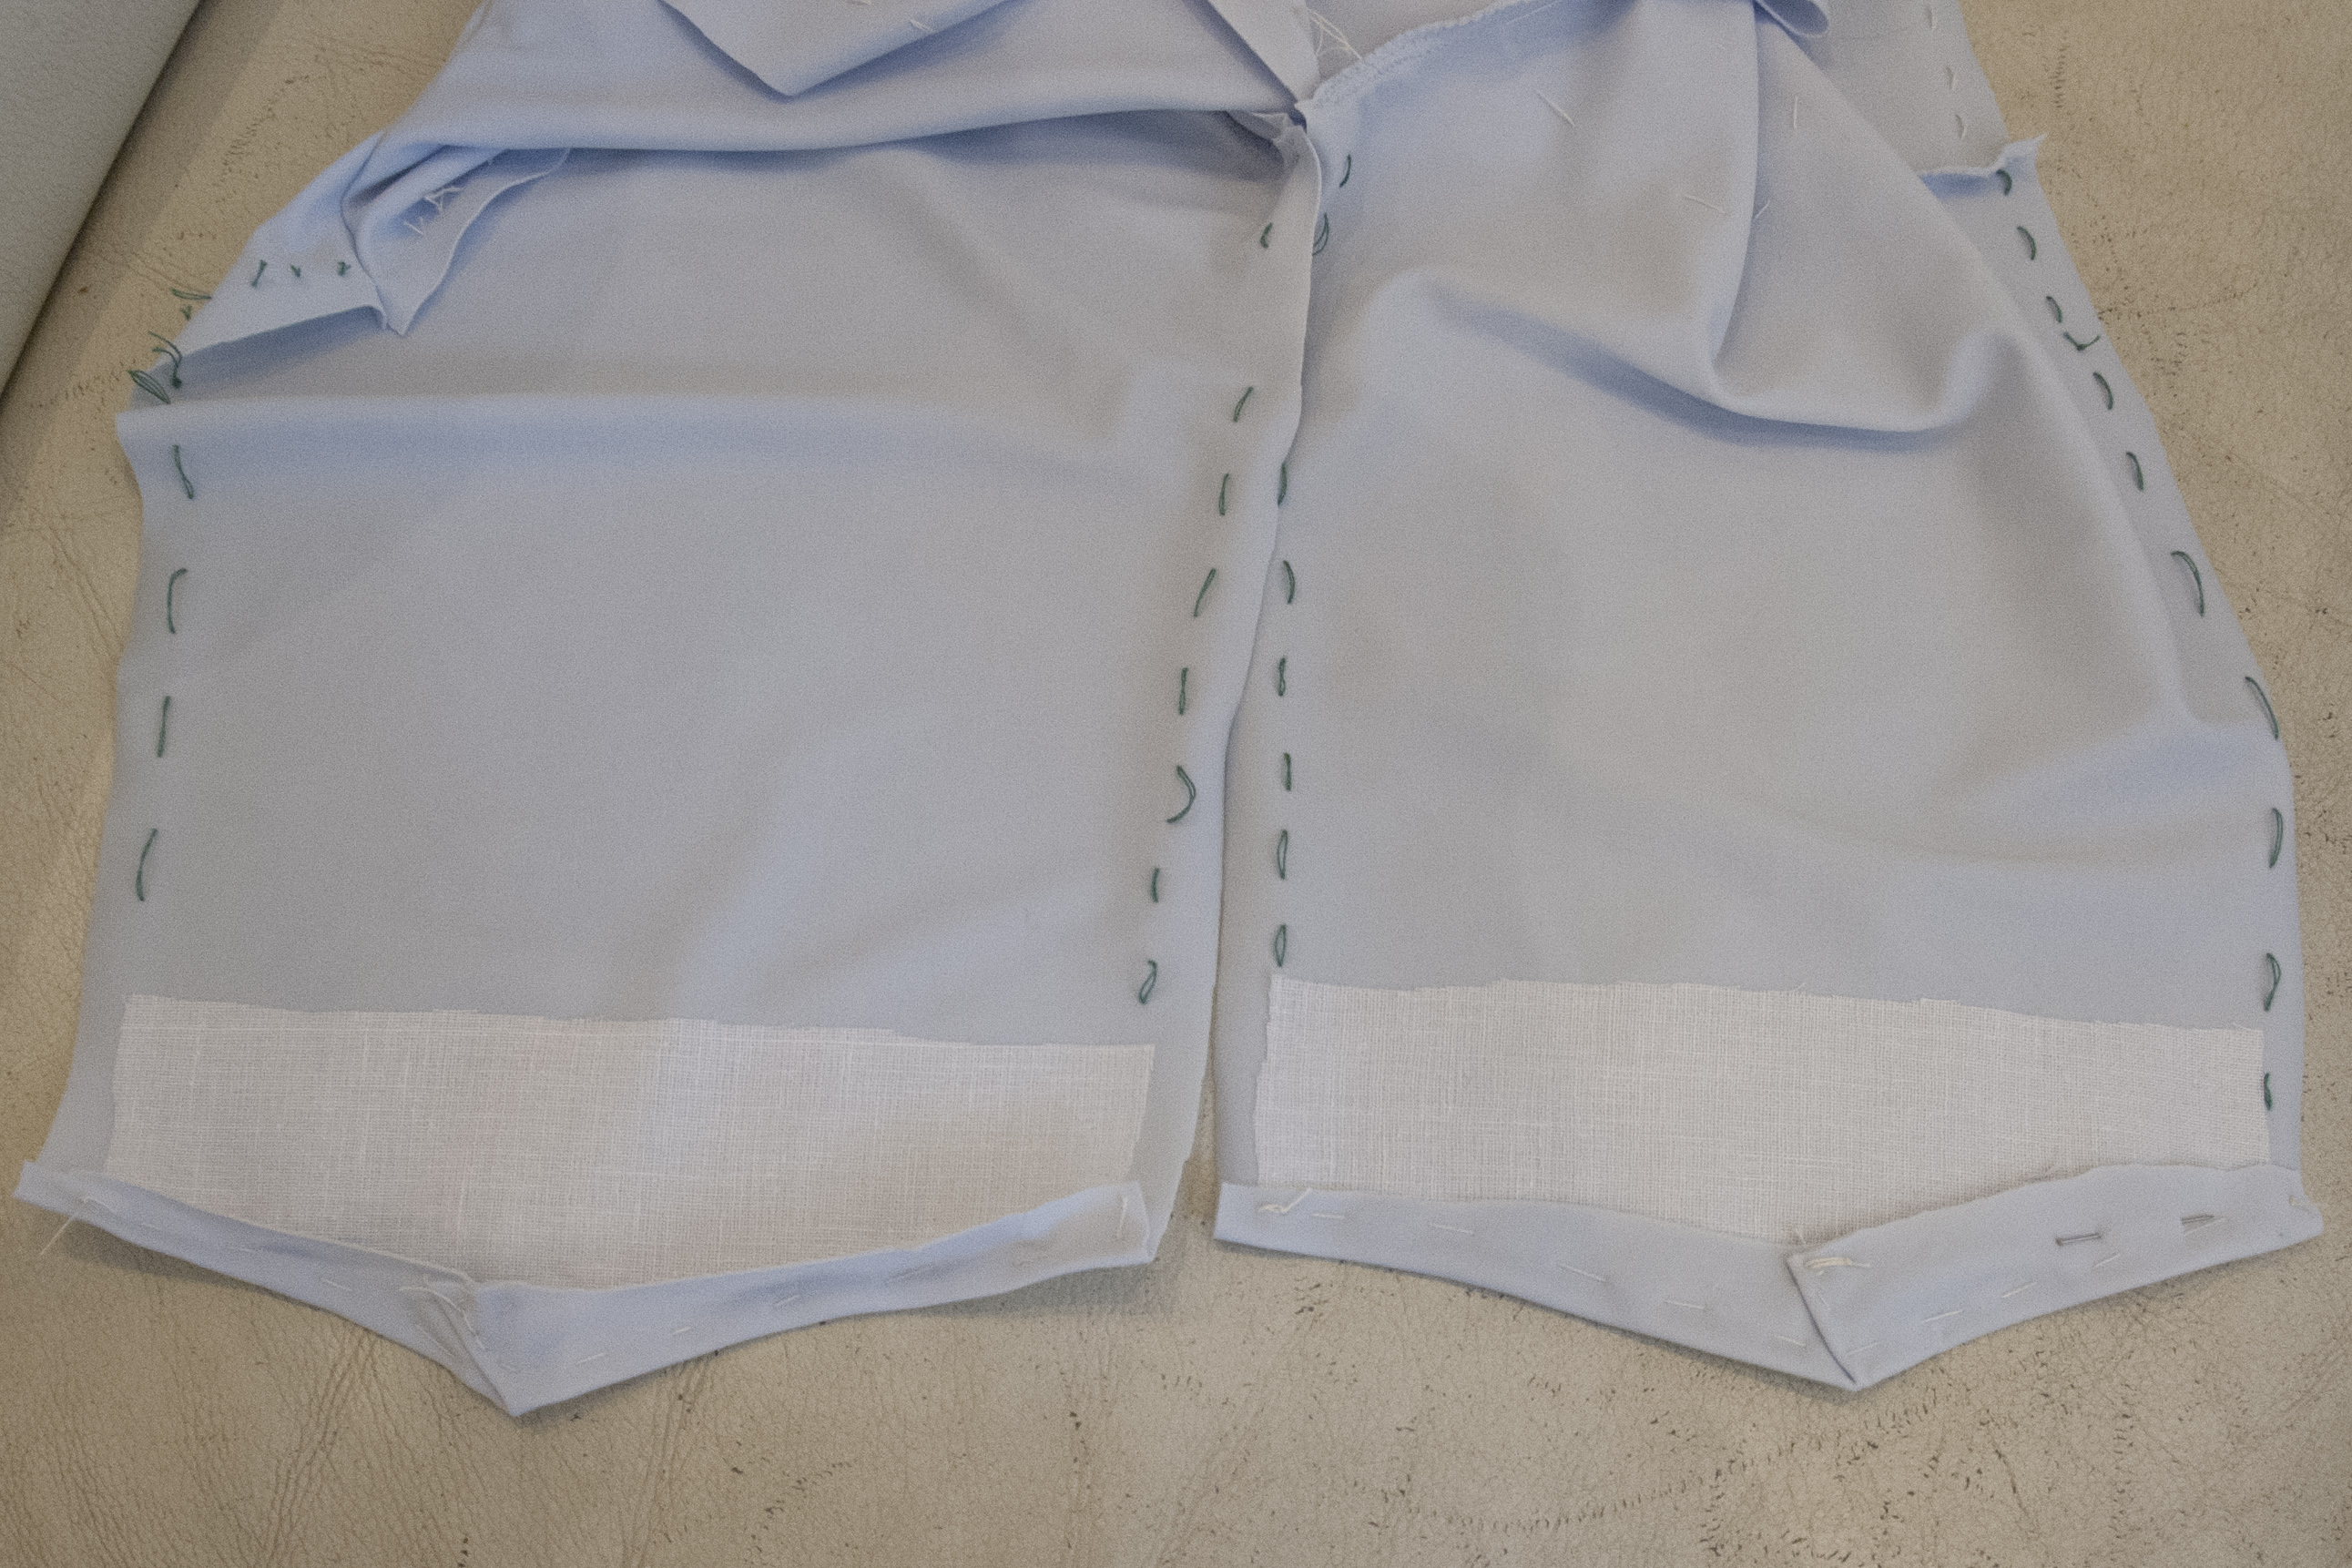
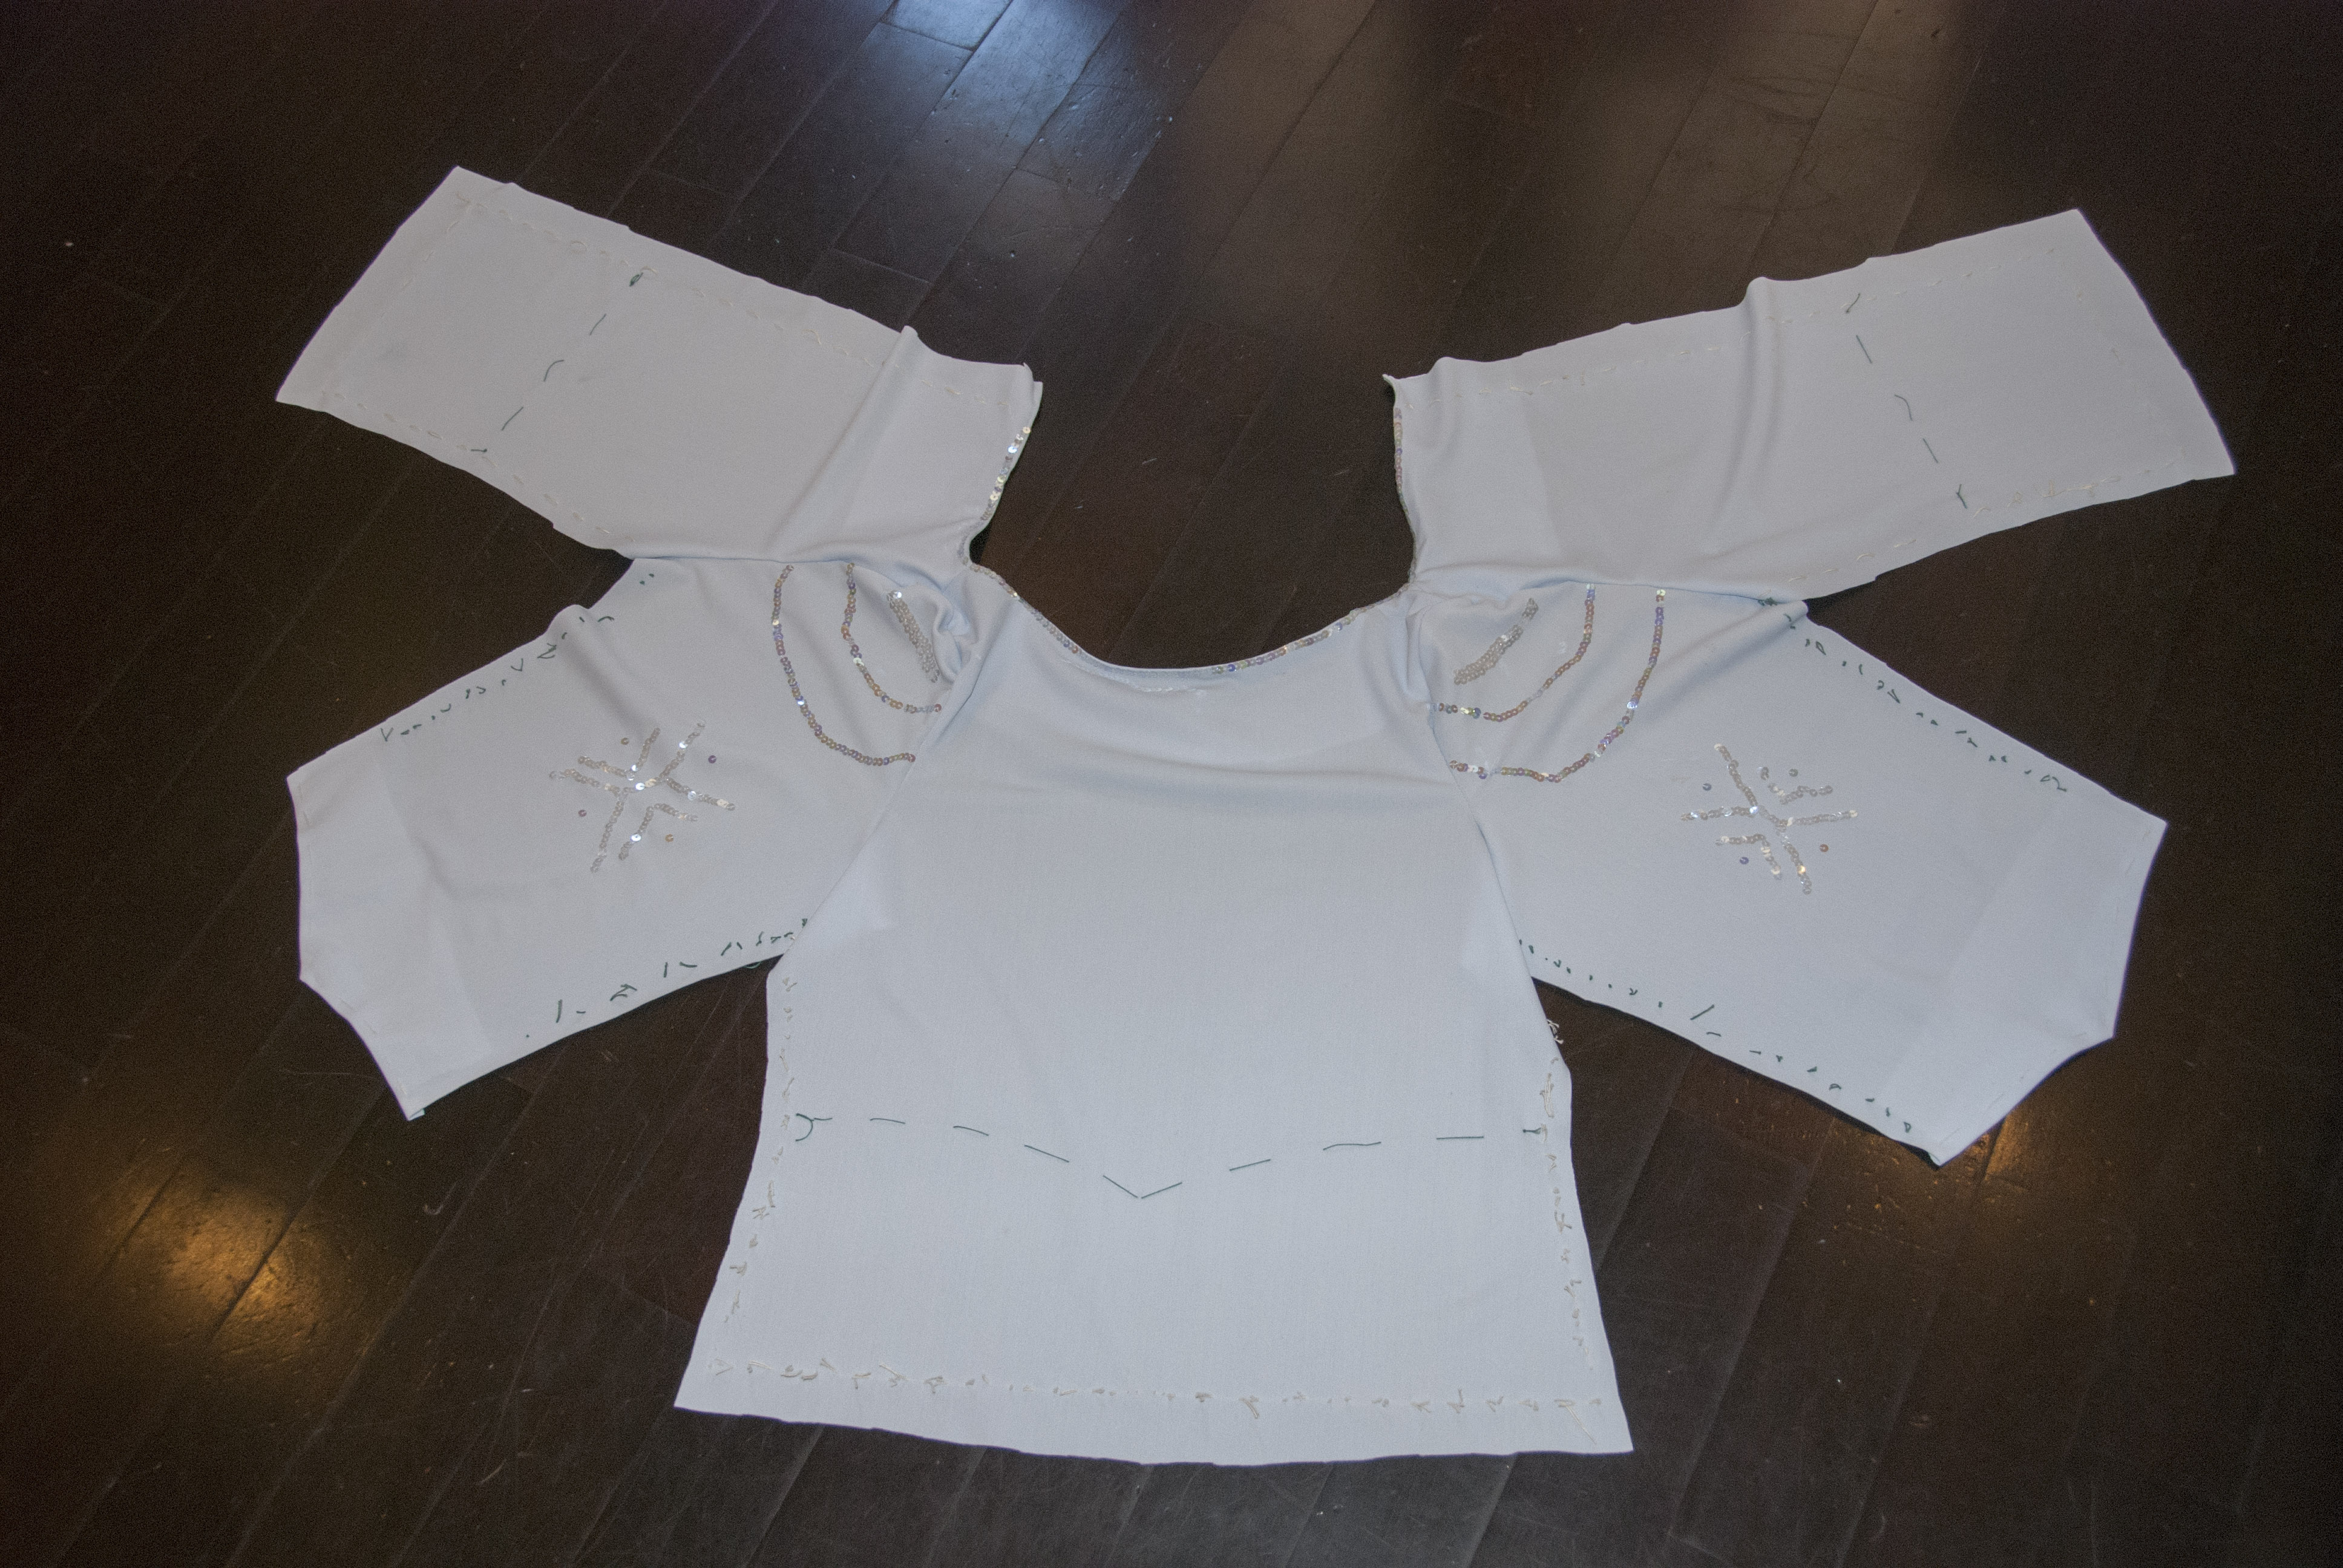
I chose a “boat neckline”, as it is very close to the line of the original shirt and yet much easier to wear for a child who needs to run, dance and play a lot. Then I attached the sleeves. I wanted them to end with a “V” line, just like Elsa’s, and I used an interfacing on the unseen side of fabric to make the cuffs more rigid.
Then I started embellish the shirt, sewing small, iridescent round sequins around the neck…
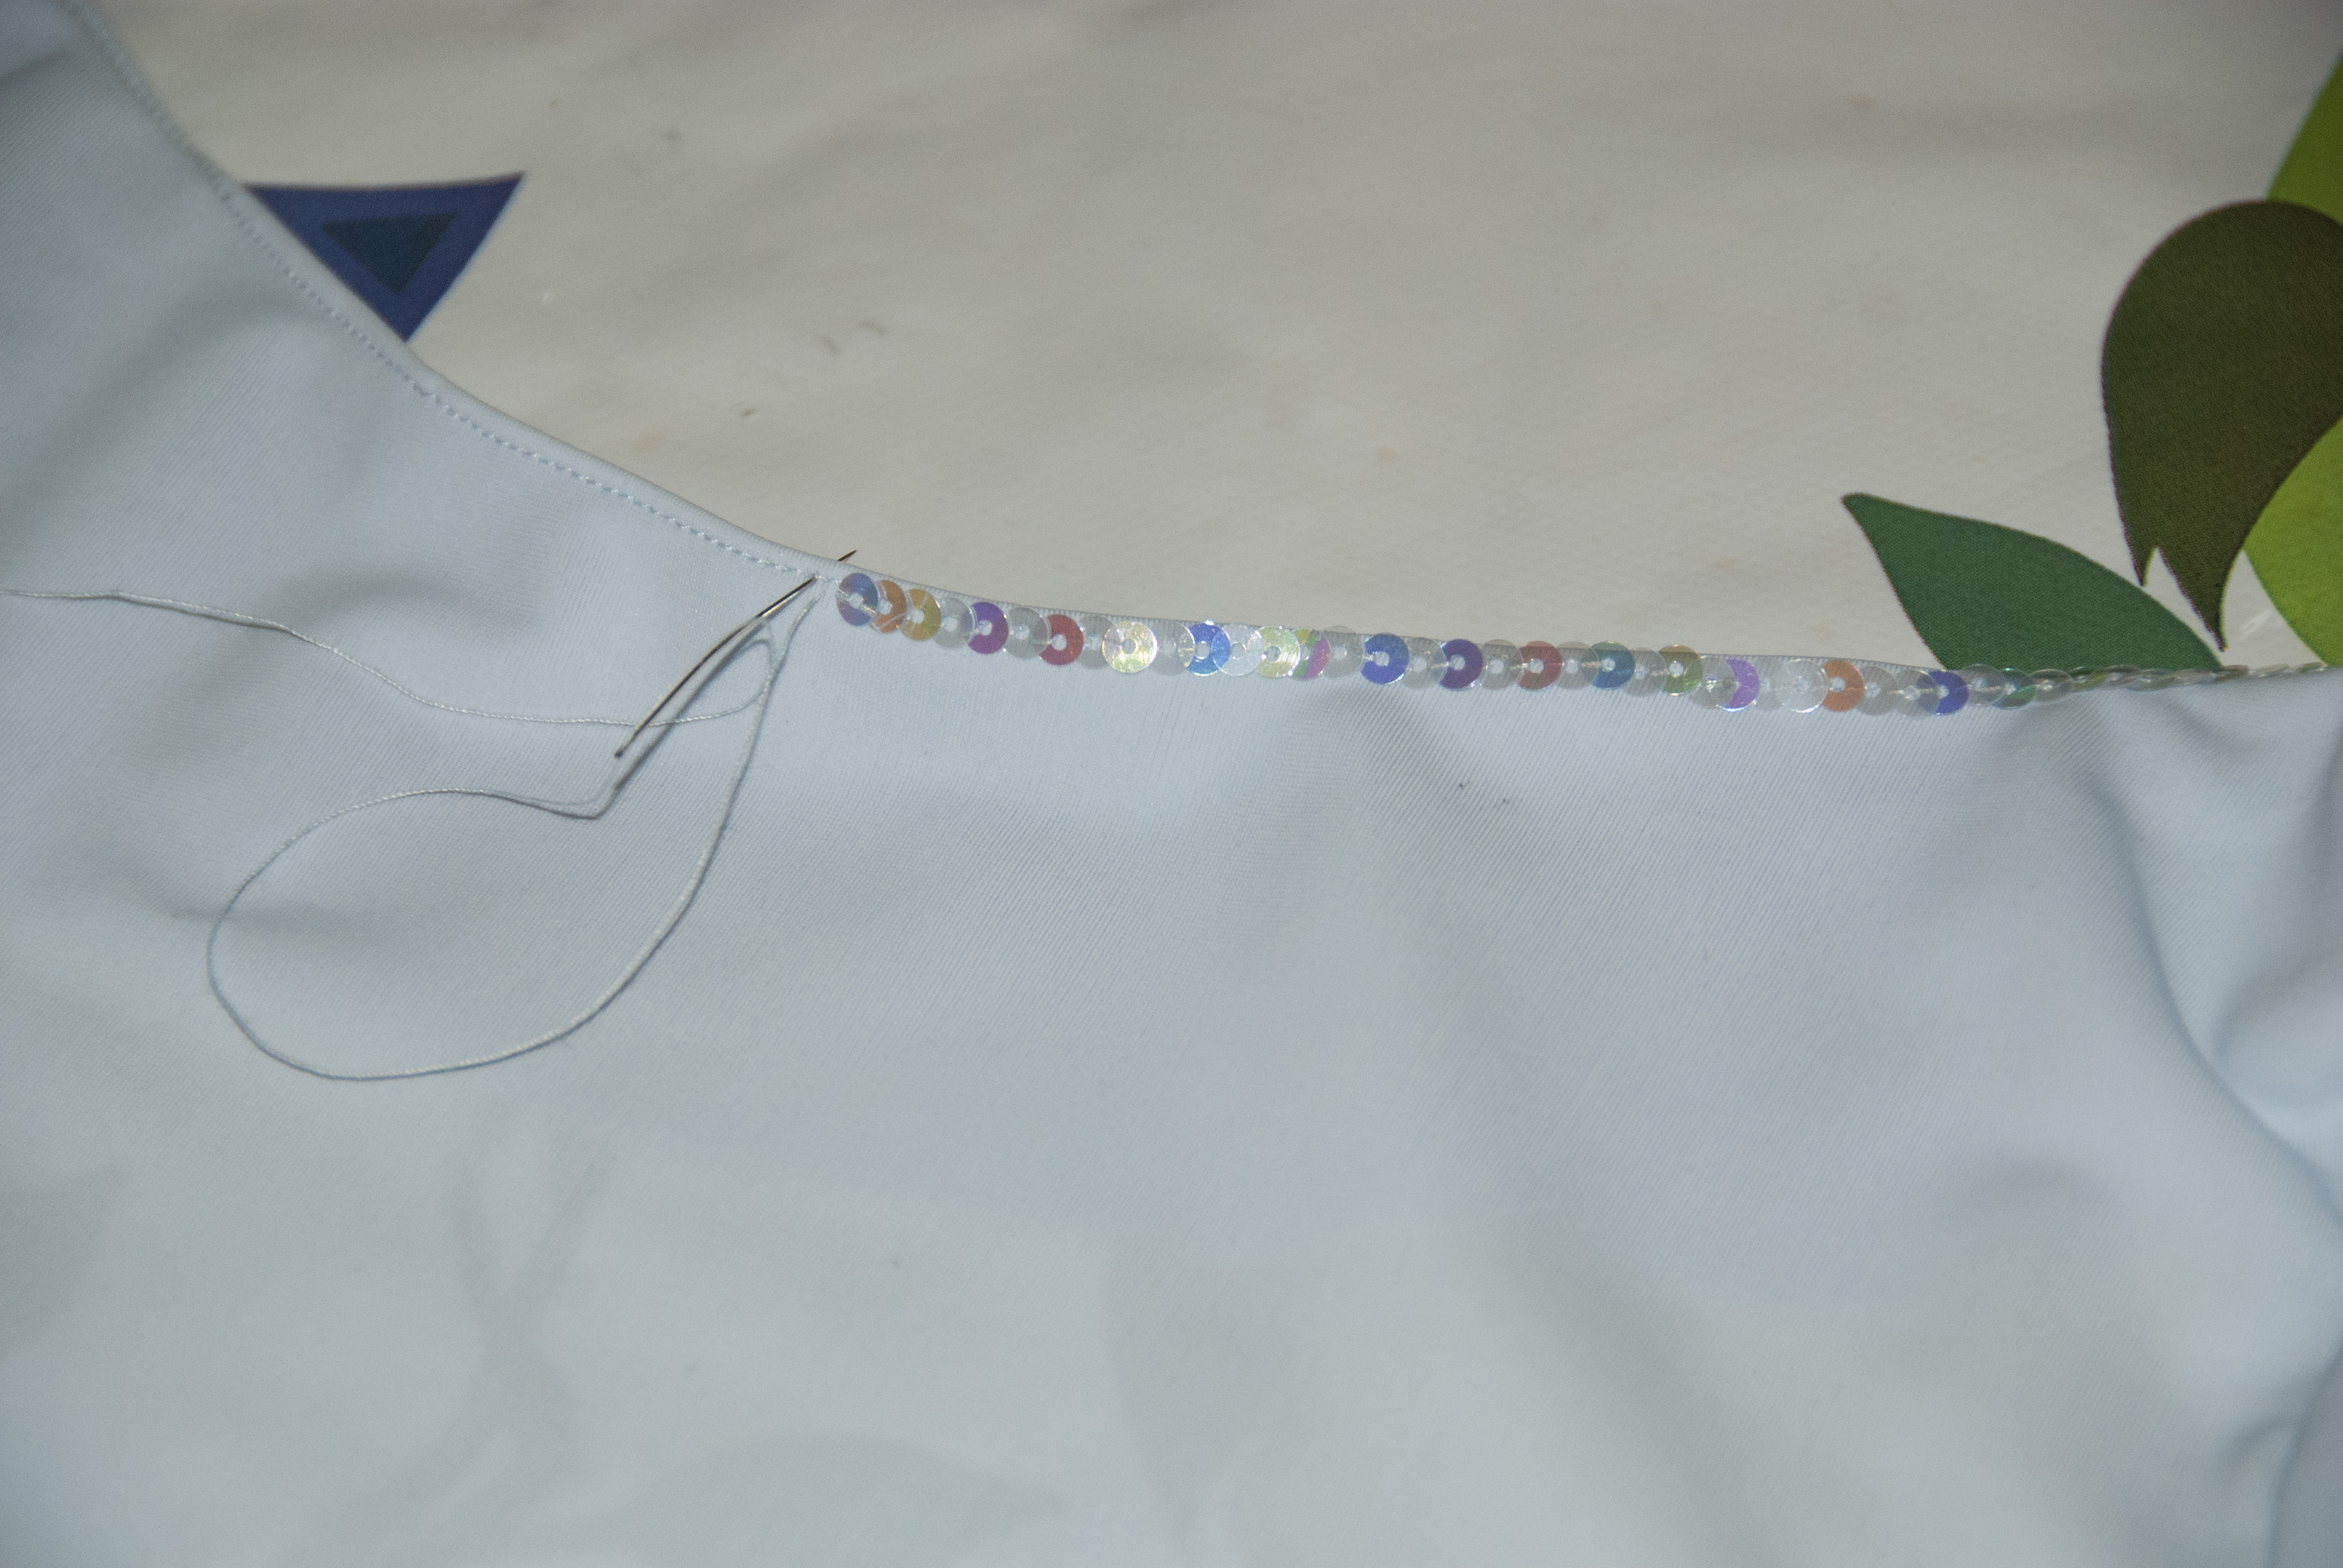
… and along the sleeves, always trying to reproduce the original design of the dress.
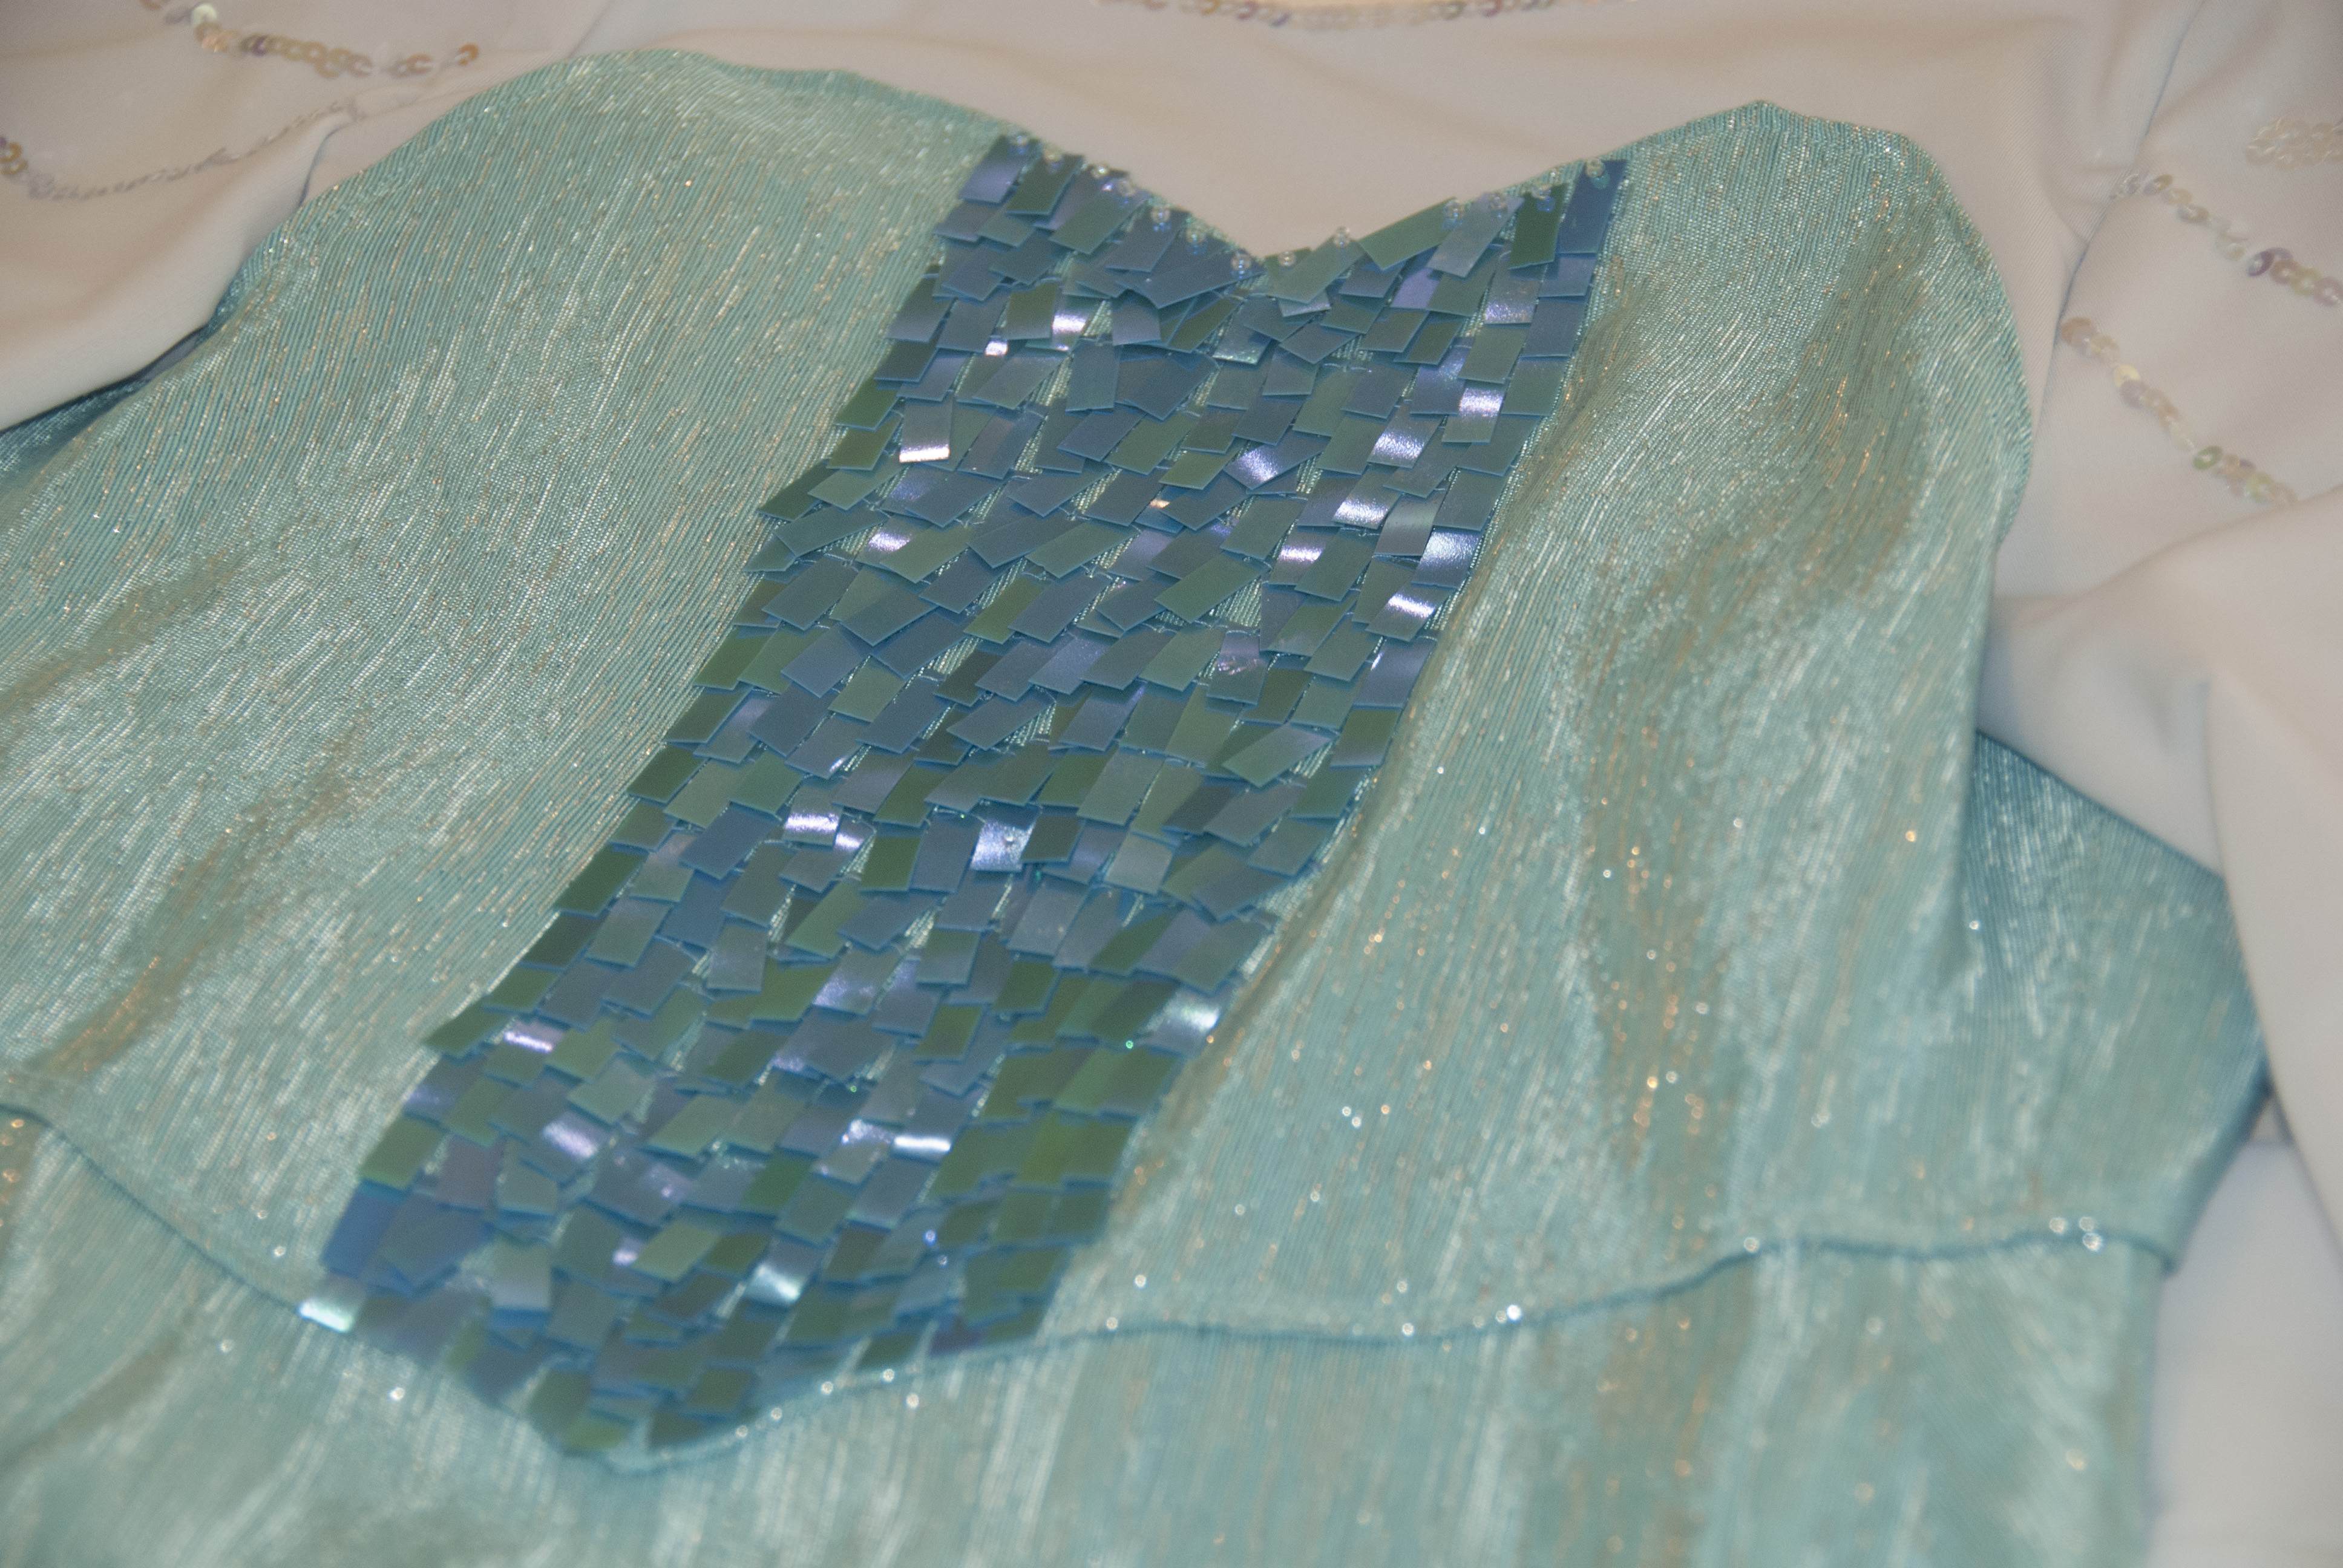
3) The Heart-Shaped Bodice
It’s time to sew Elsa’s heart-shaped bodice.
With the light blue cotton fabric with silver inserts I made an heart-shaped bodice. As it is intended to be applied over the lycra shirt, I used the same body measures and verified it was going to fit exactely over the shirt.
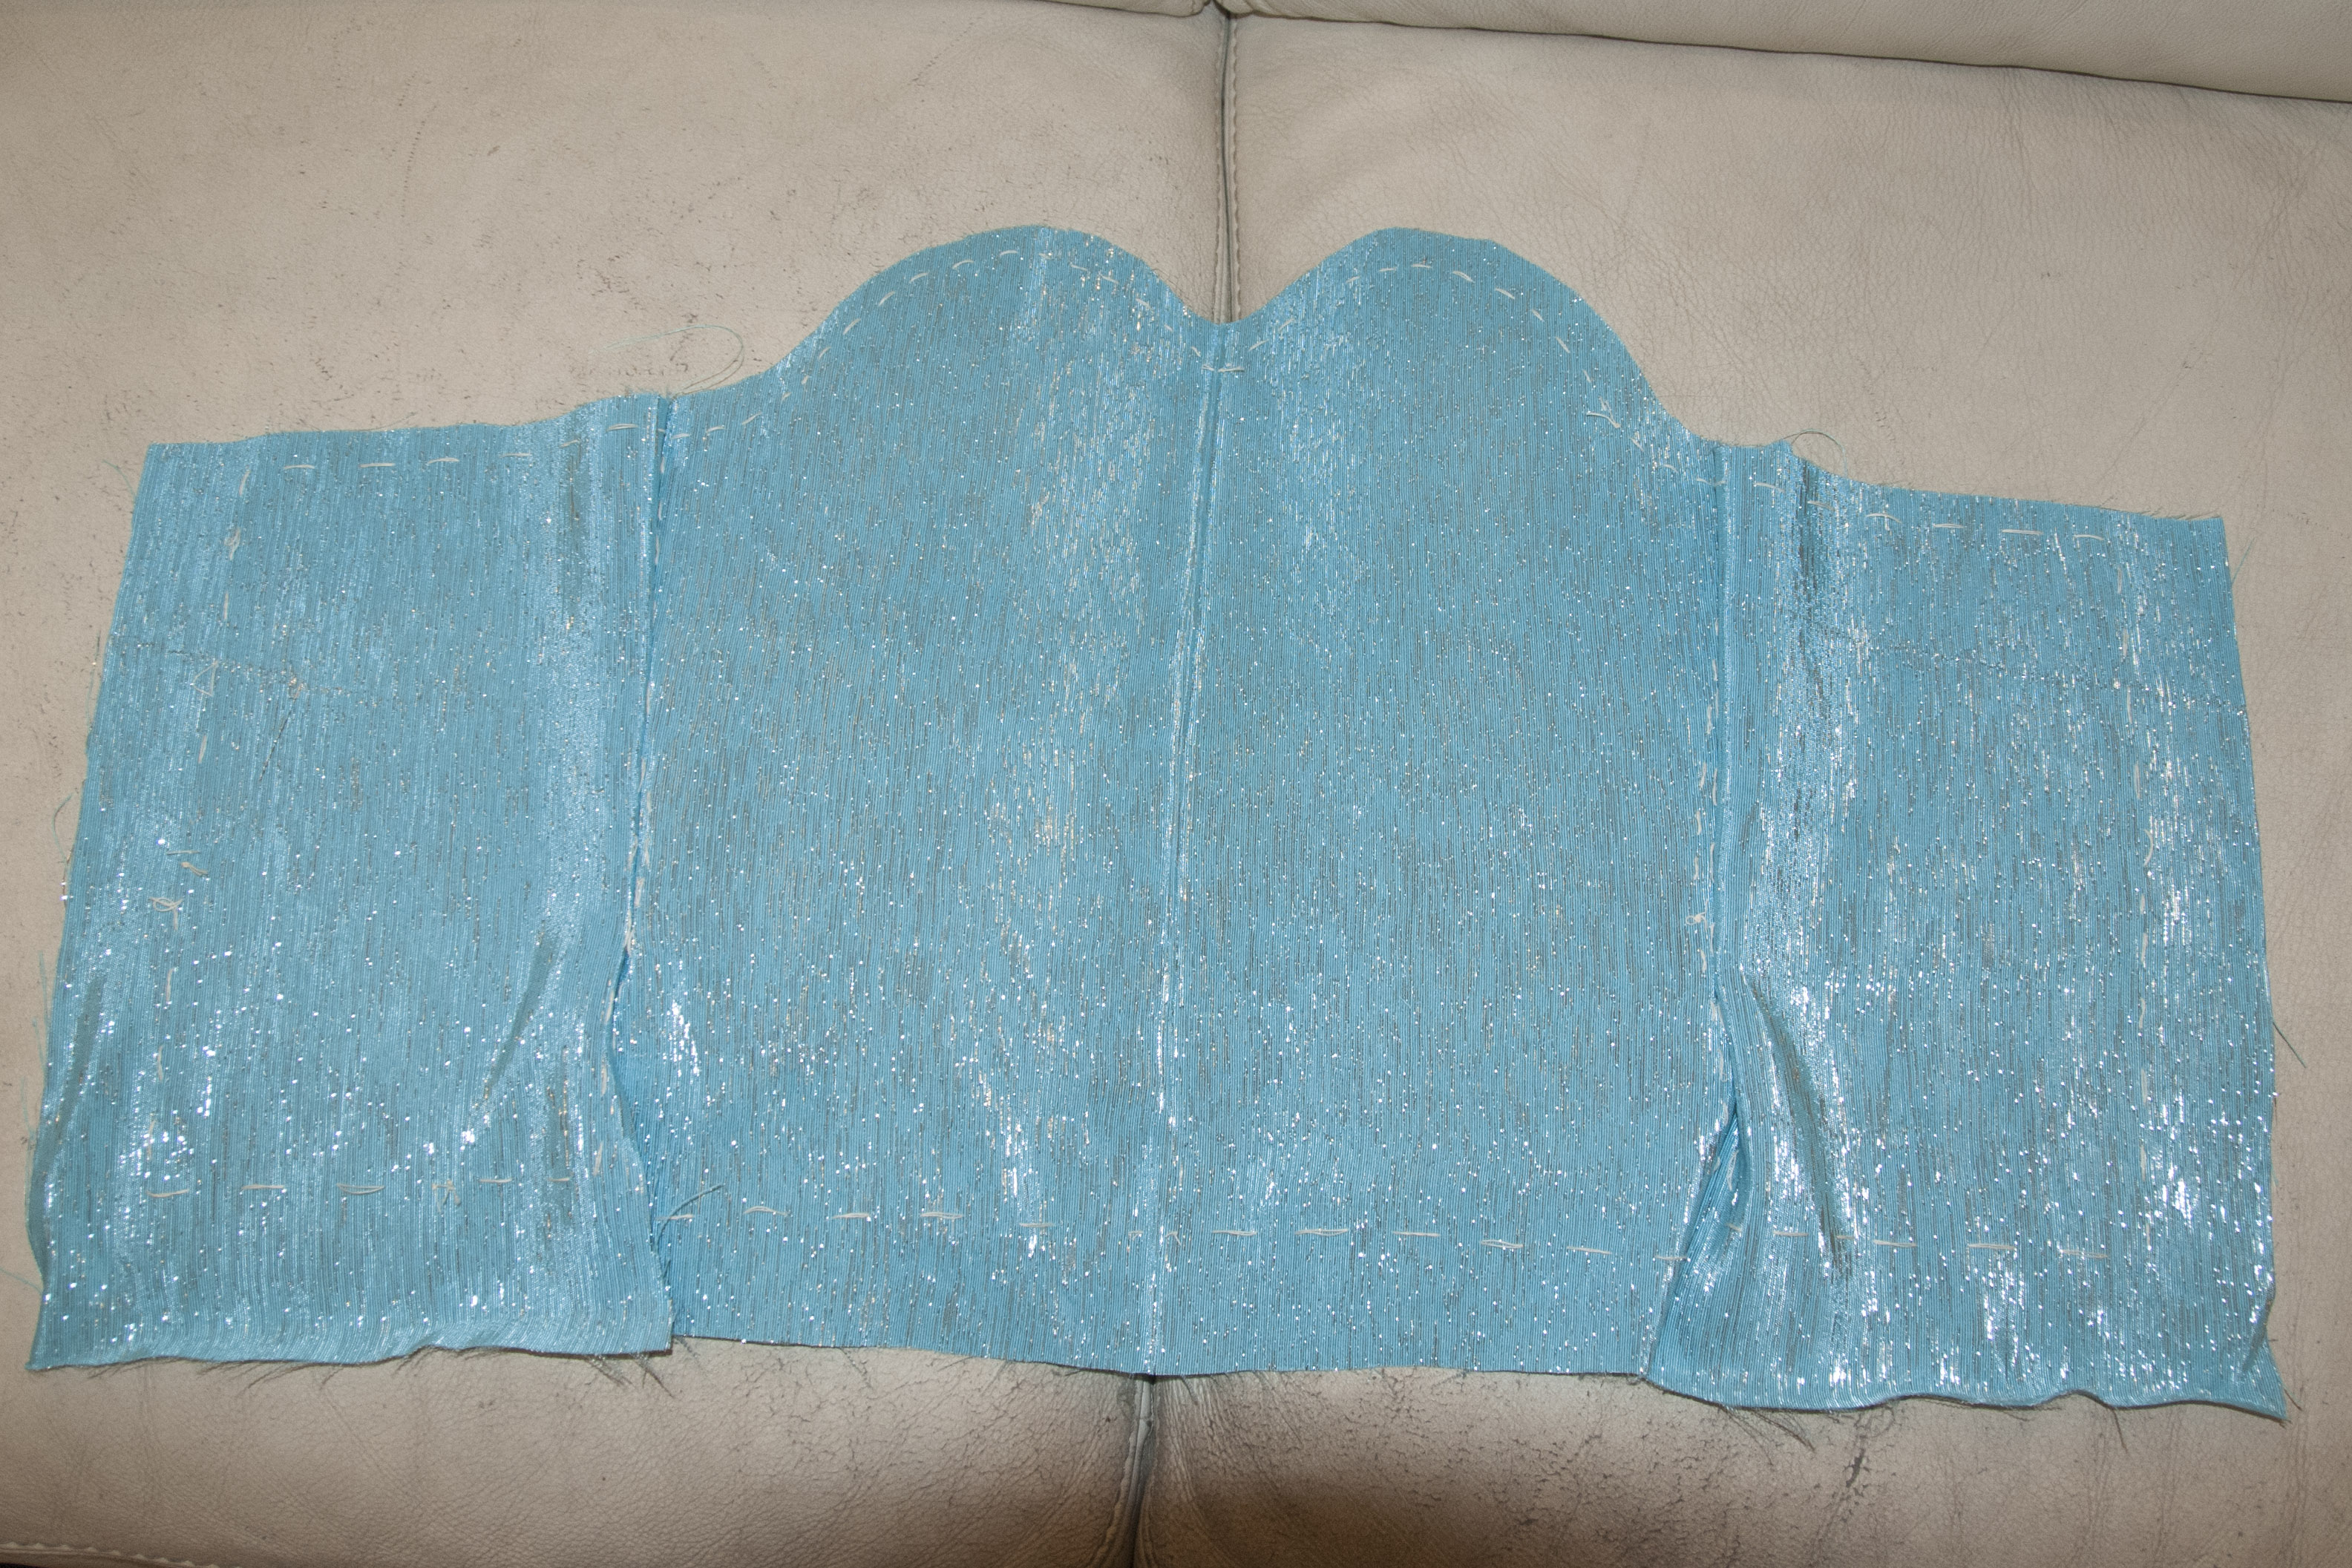
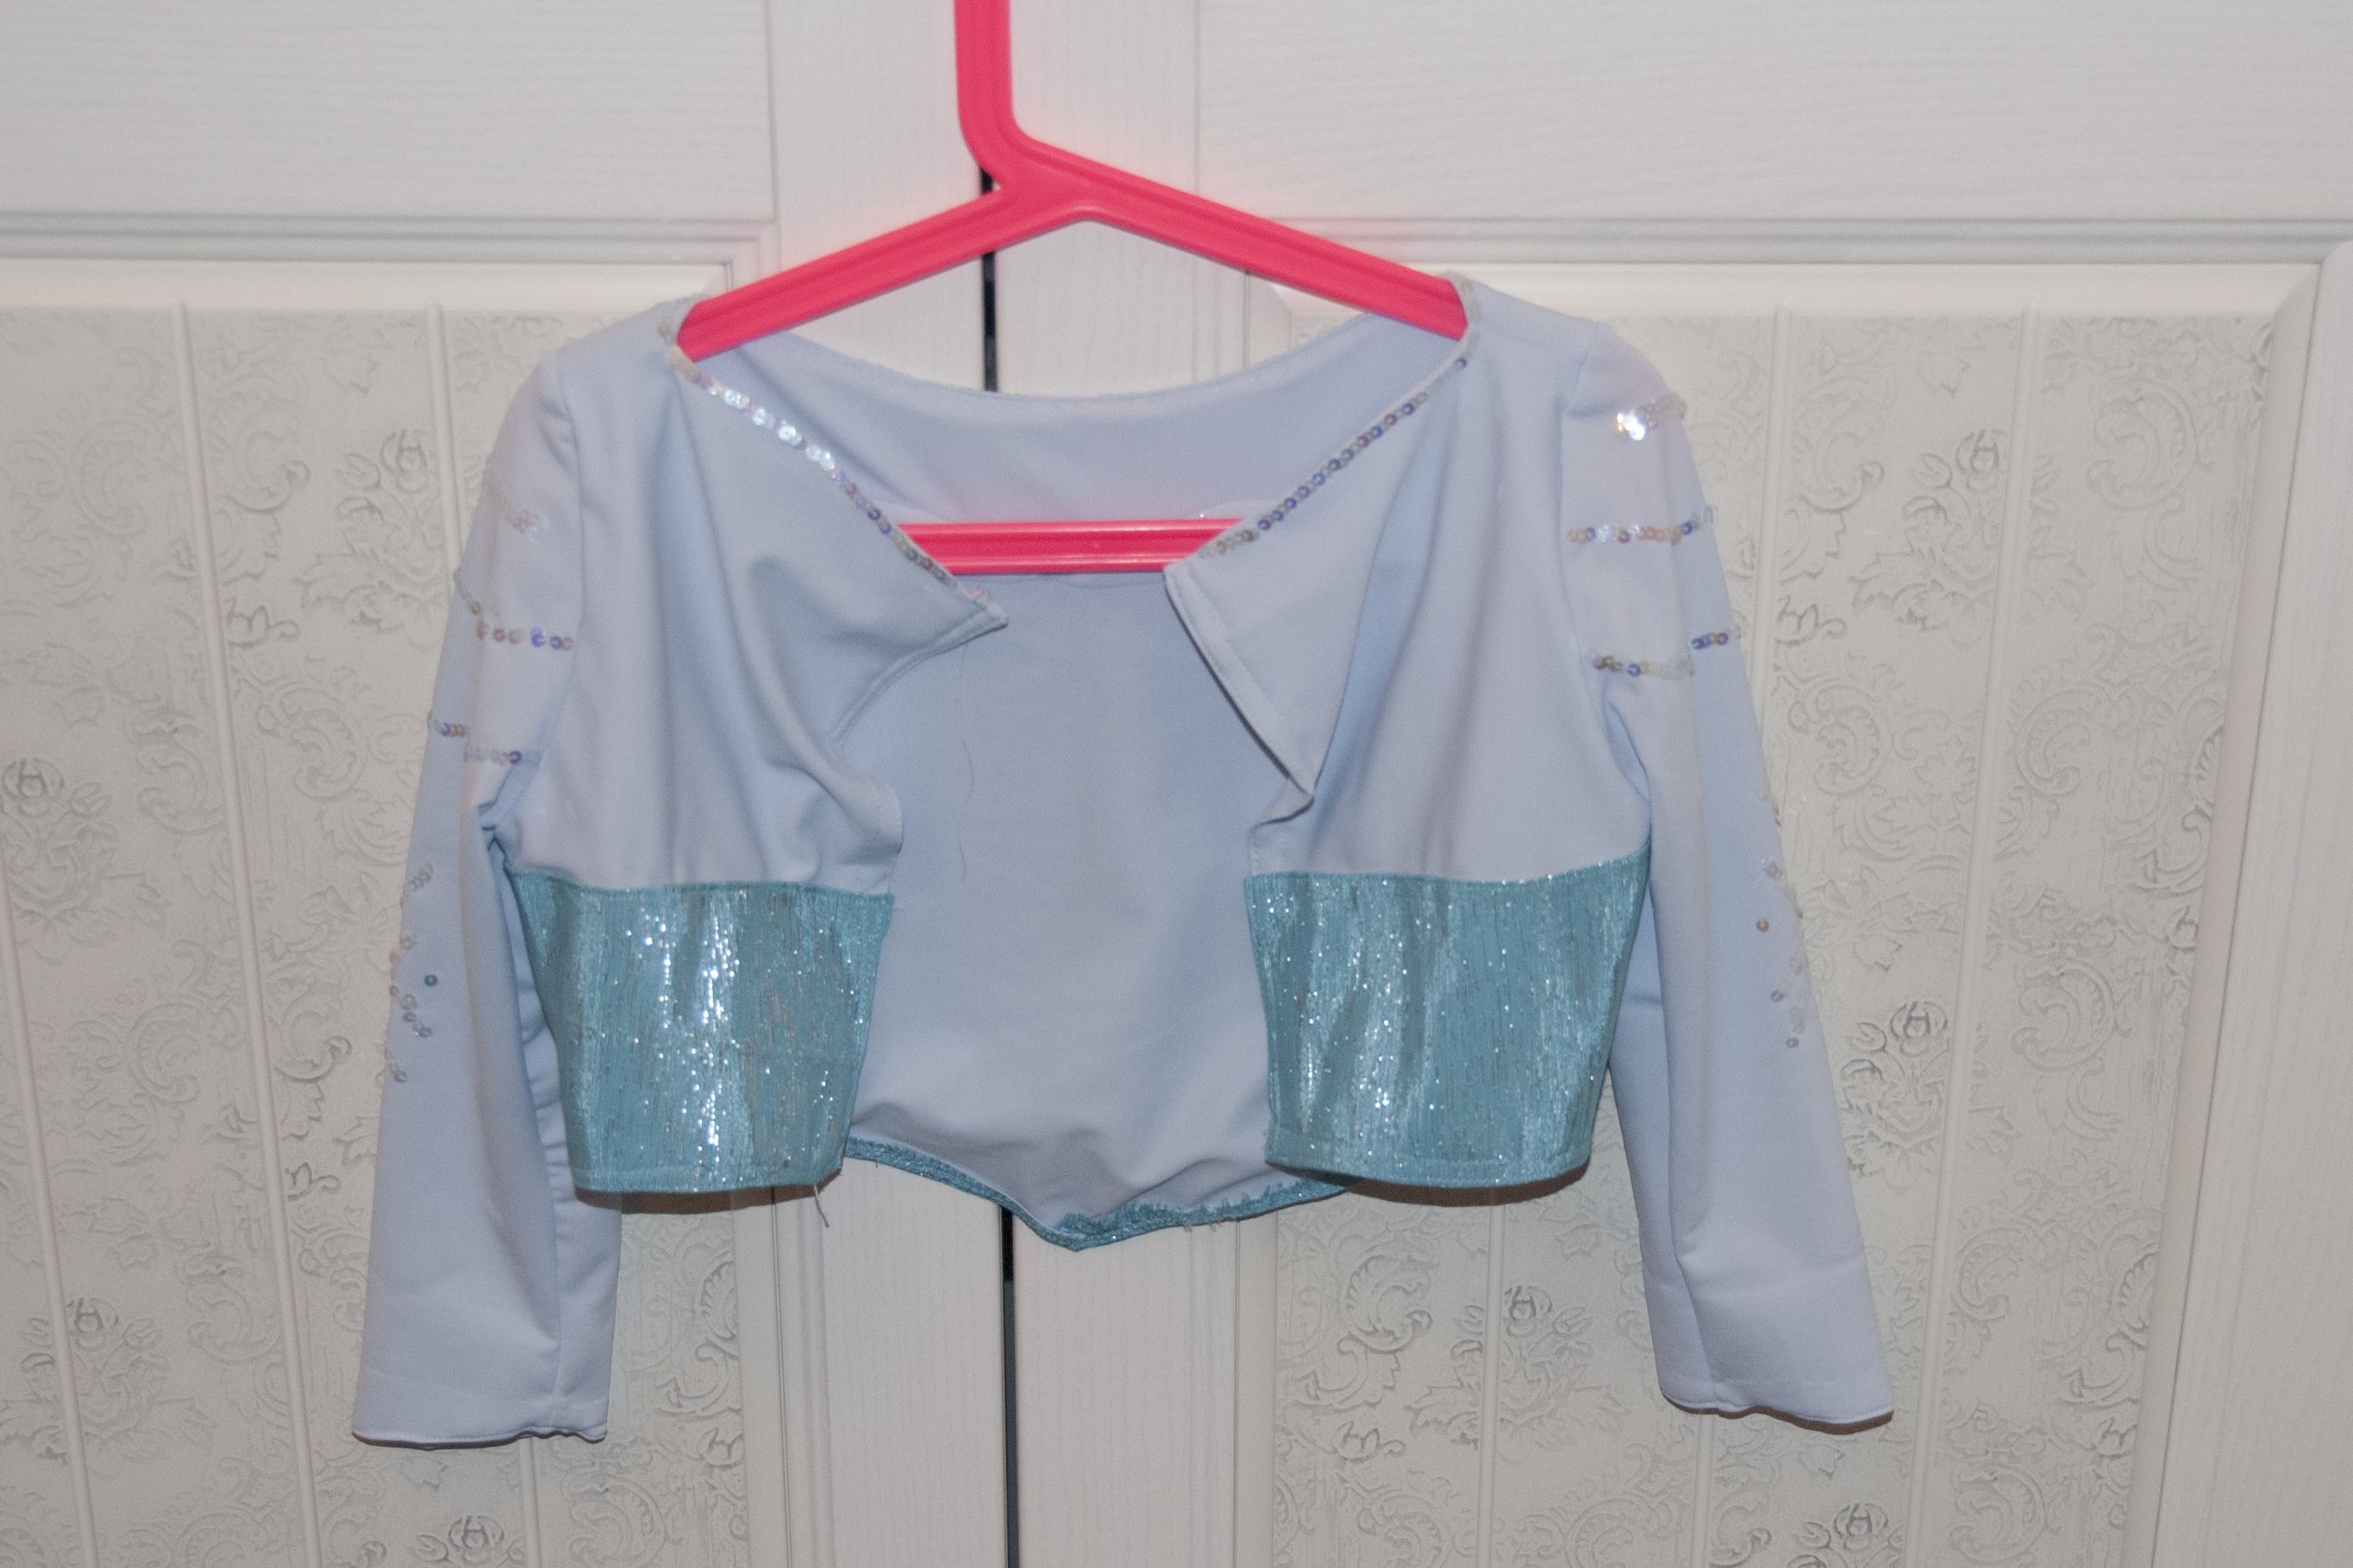
Then I sew the bodice over the shirt and obtained a brand new “top”. Then, I gave it a V-shaped waistline.
I left the back of the top opened, ready to apply a zip.
Now it comes the patience-demanding part of the project: sewing the sequins all over the bodice. Doing it will take you some time because the sequins have to be sewn one by one, but this operation is not difficult at all and I swear it’s even kind of relaxing!
4) The Ice Dress Split Skirt
With the same sparkling fabric used for the bodice, I sew a long skirt with a split on center left. To give the skirt the exact volume I was looking for, I proceeded this way: the back of the skirt was designed as the back of an “half-circle skirt” (divided into 2 panels); the front was designed as the front of a “quarter-circle skirt” (divided into 3 panels). This way, the back will have more volume and the front will be more tight (not too tight though!).
I sewed the 5 panels together (leaving place for a split on the center left).
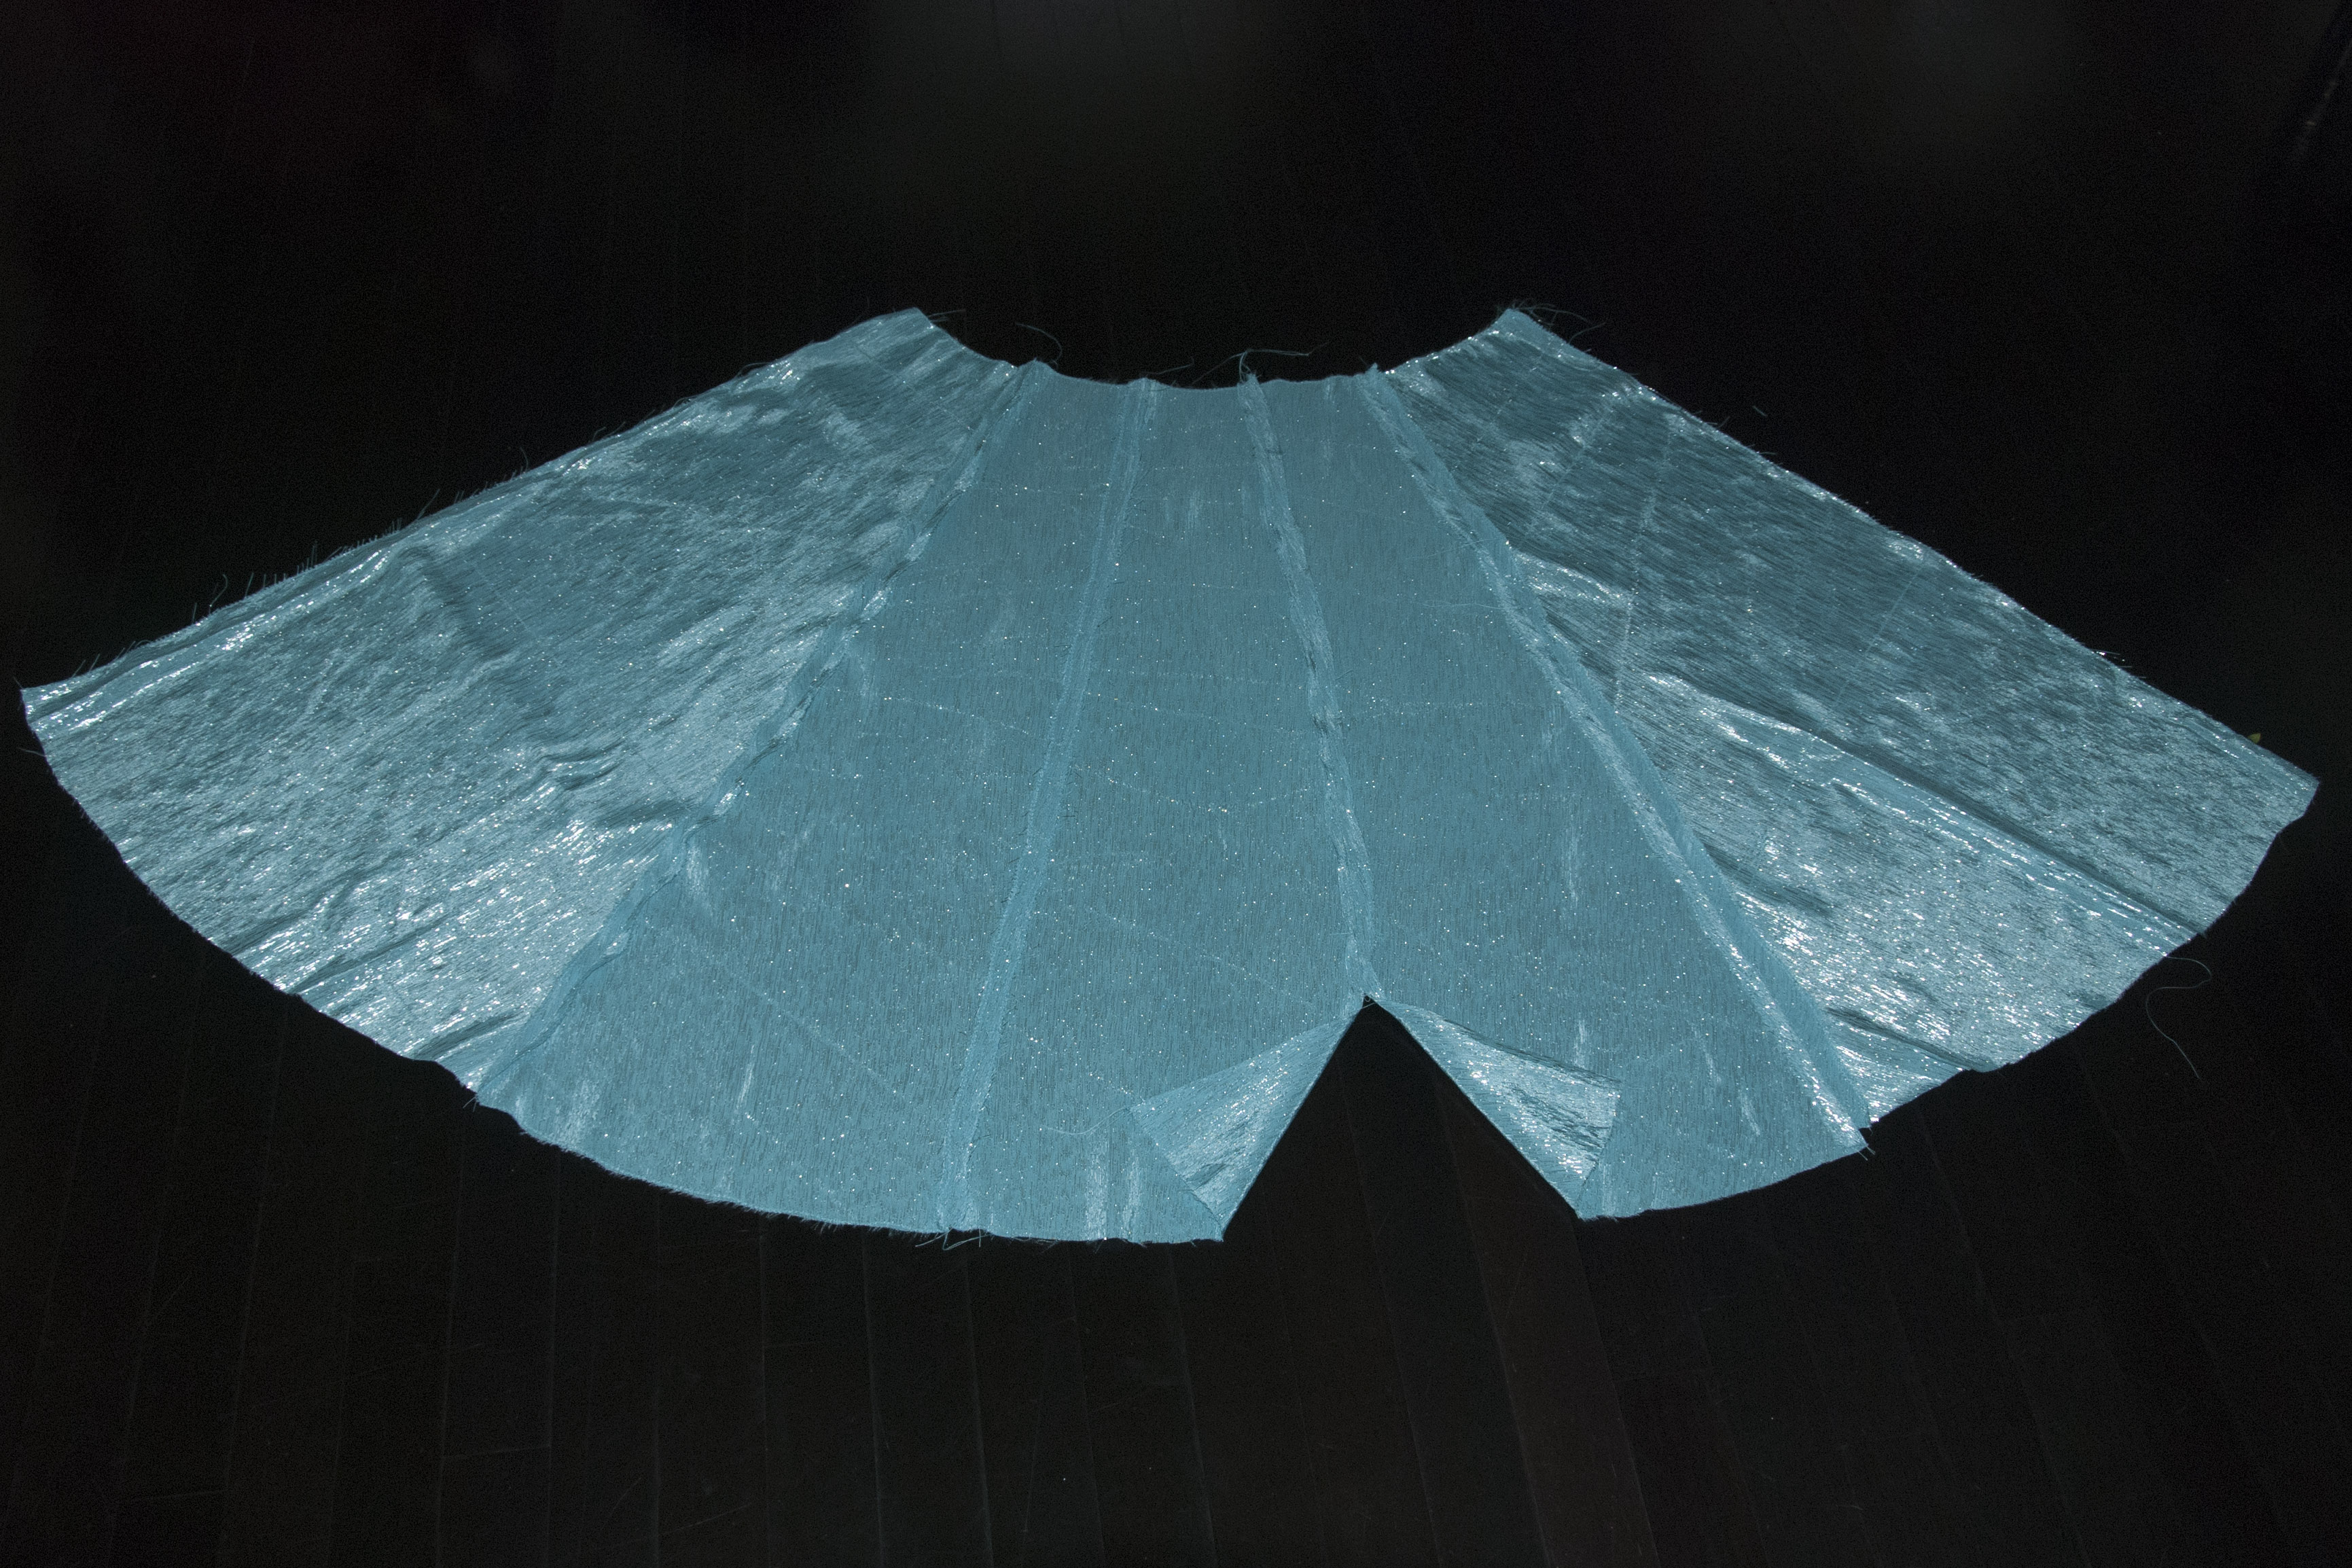
At the end, I applied the skirt to the top, sewed the hem (I chose for my daughter a moderate lenght as I needed she to be able to run and move without stepping on the hem) and closed the dress with an invisible zip (running from behind the neck to the pelvis).
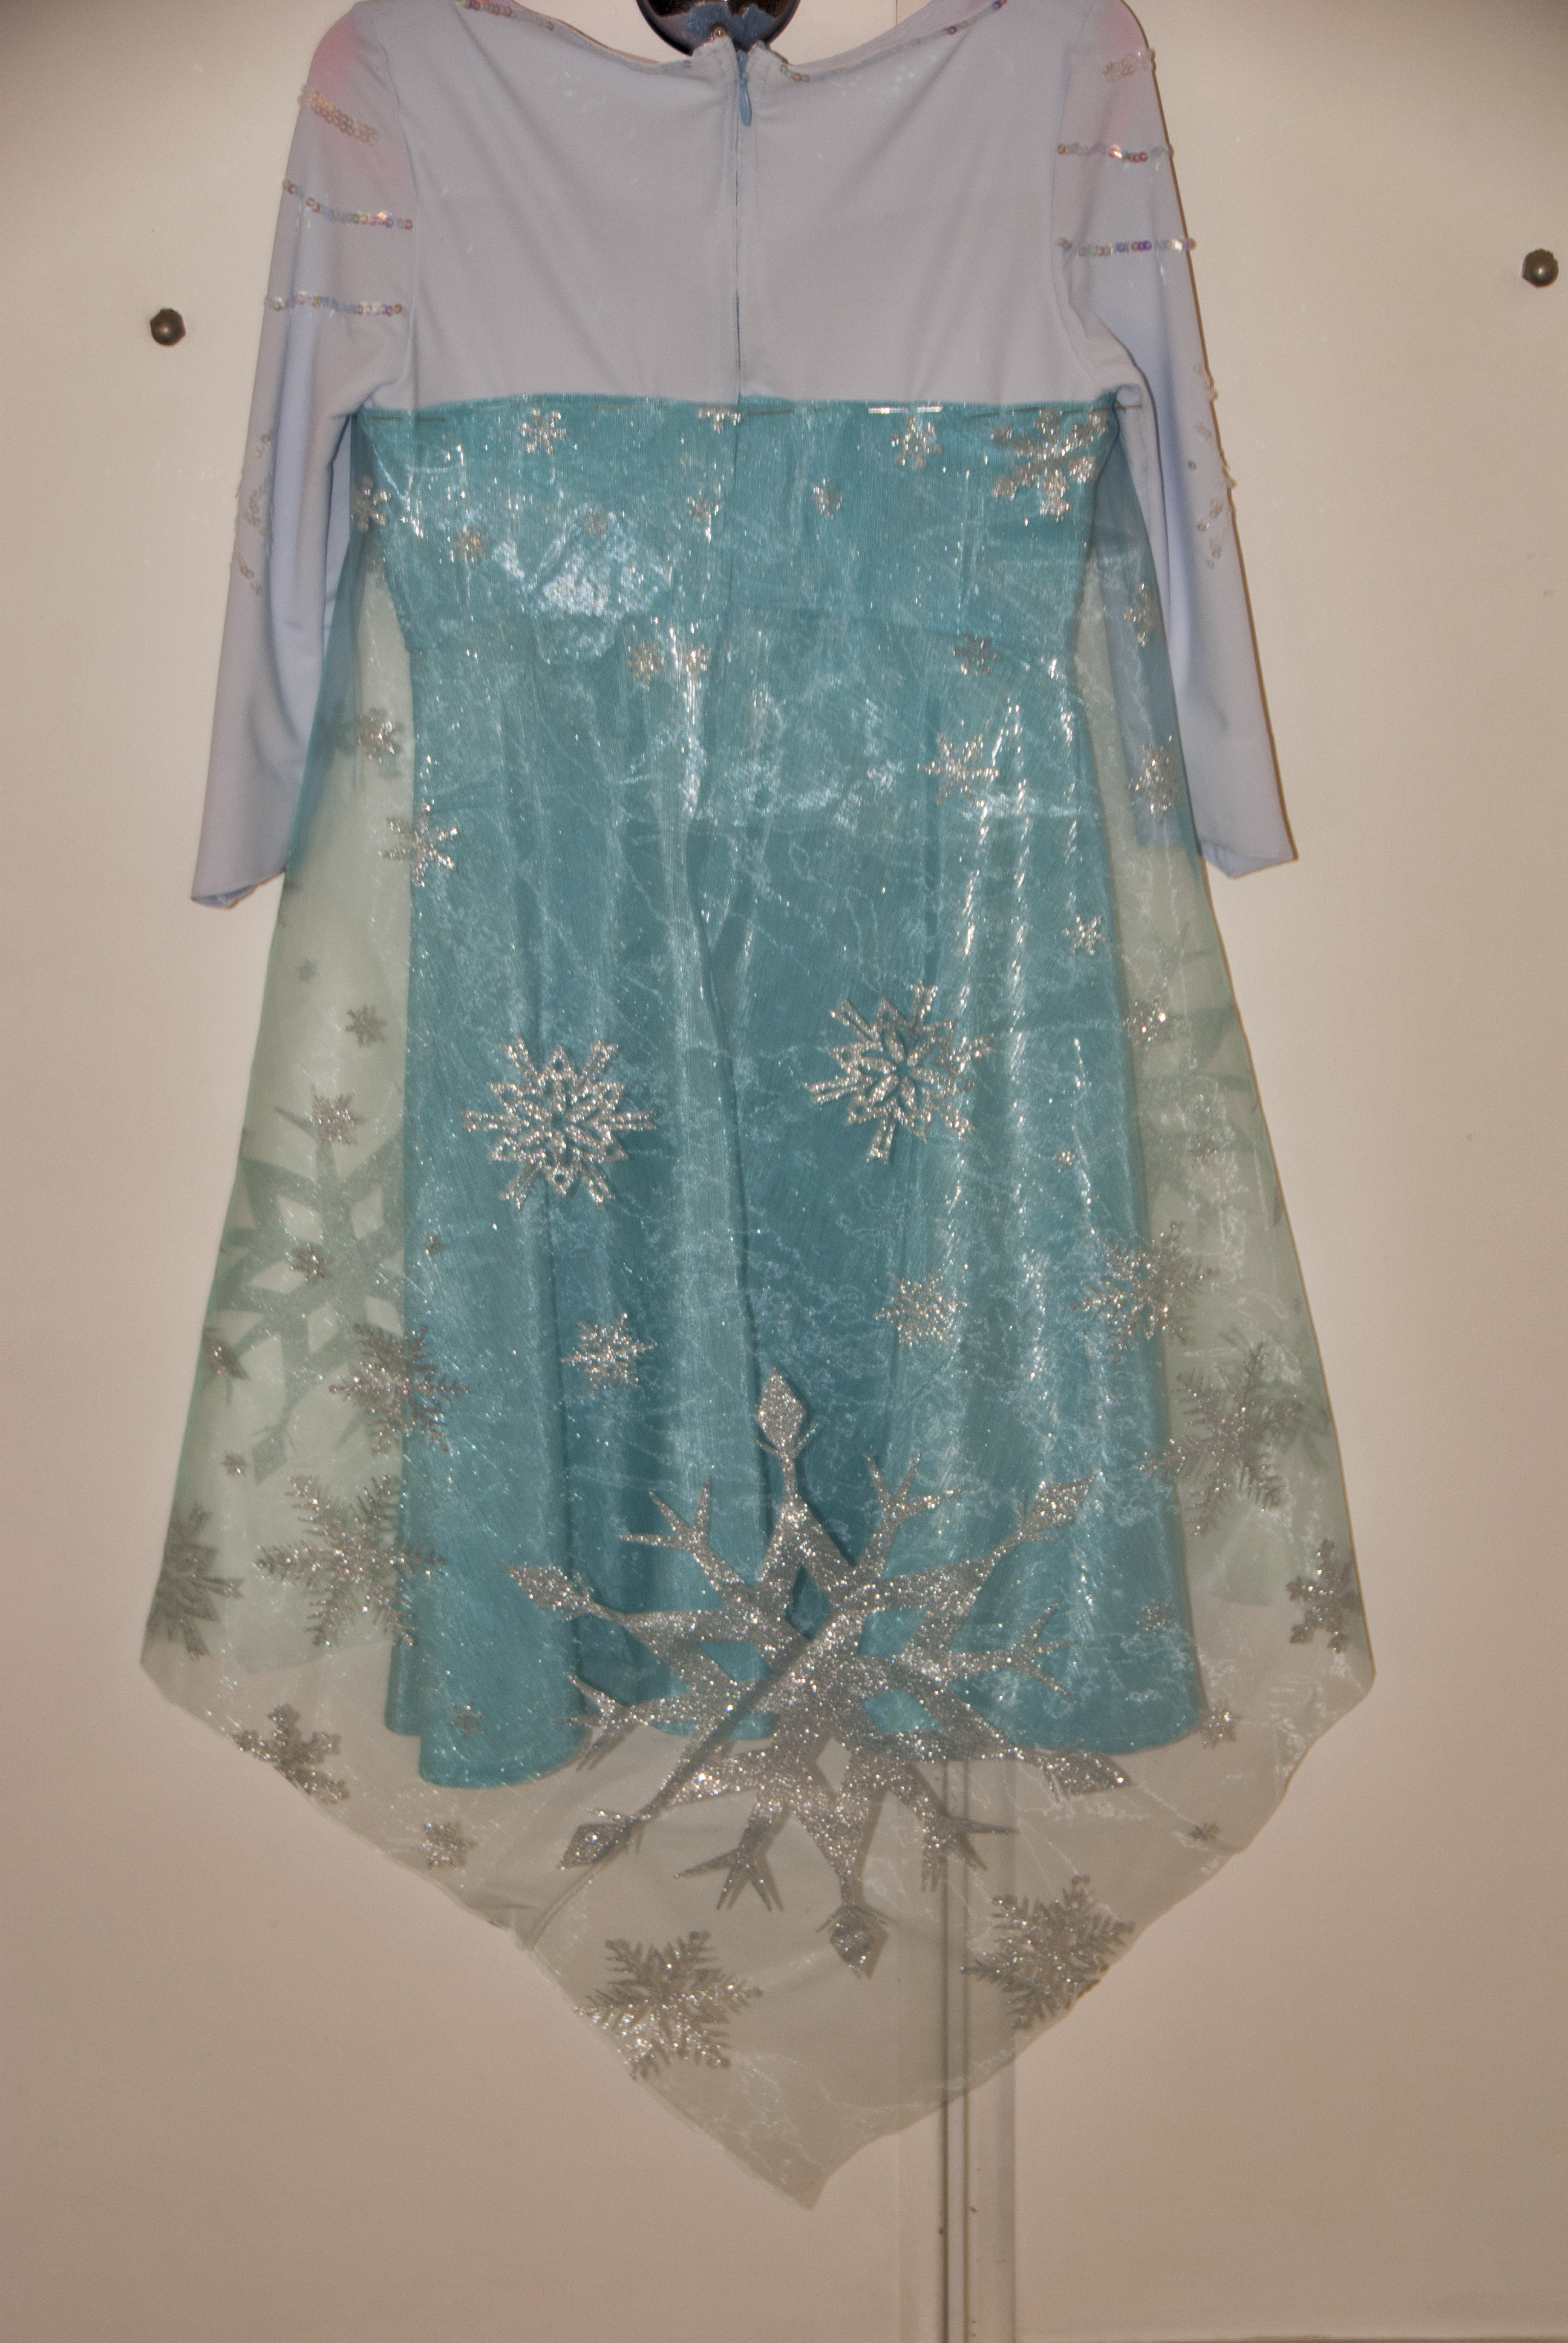
5) The Veil Snowflake Cape
Finally, let’s apply the veil snowflake cape.
Elsa’s veiled cape goes from the upper part of her back down to her heels and has, basically, a V shape hem line. In order to give it the right volume, I cut the fabric on the bias, proceding like if I made the back of a half circle skirt. Remember Elsa’s veil runs from the back of the breast line.
Furthermore, I wanted the cape to be attached to the dress with small, invisible snap buttons in order to take it on and off very easily.
Final Result
So, that’s it: your all time classic Elsa Ice dress is ready to be worn!
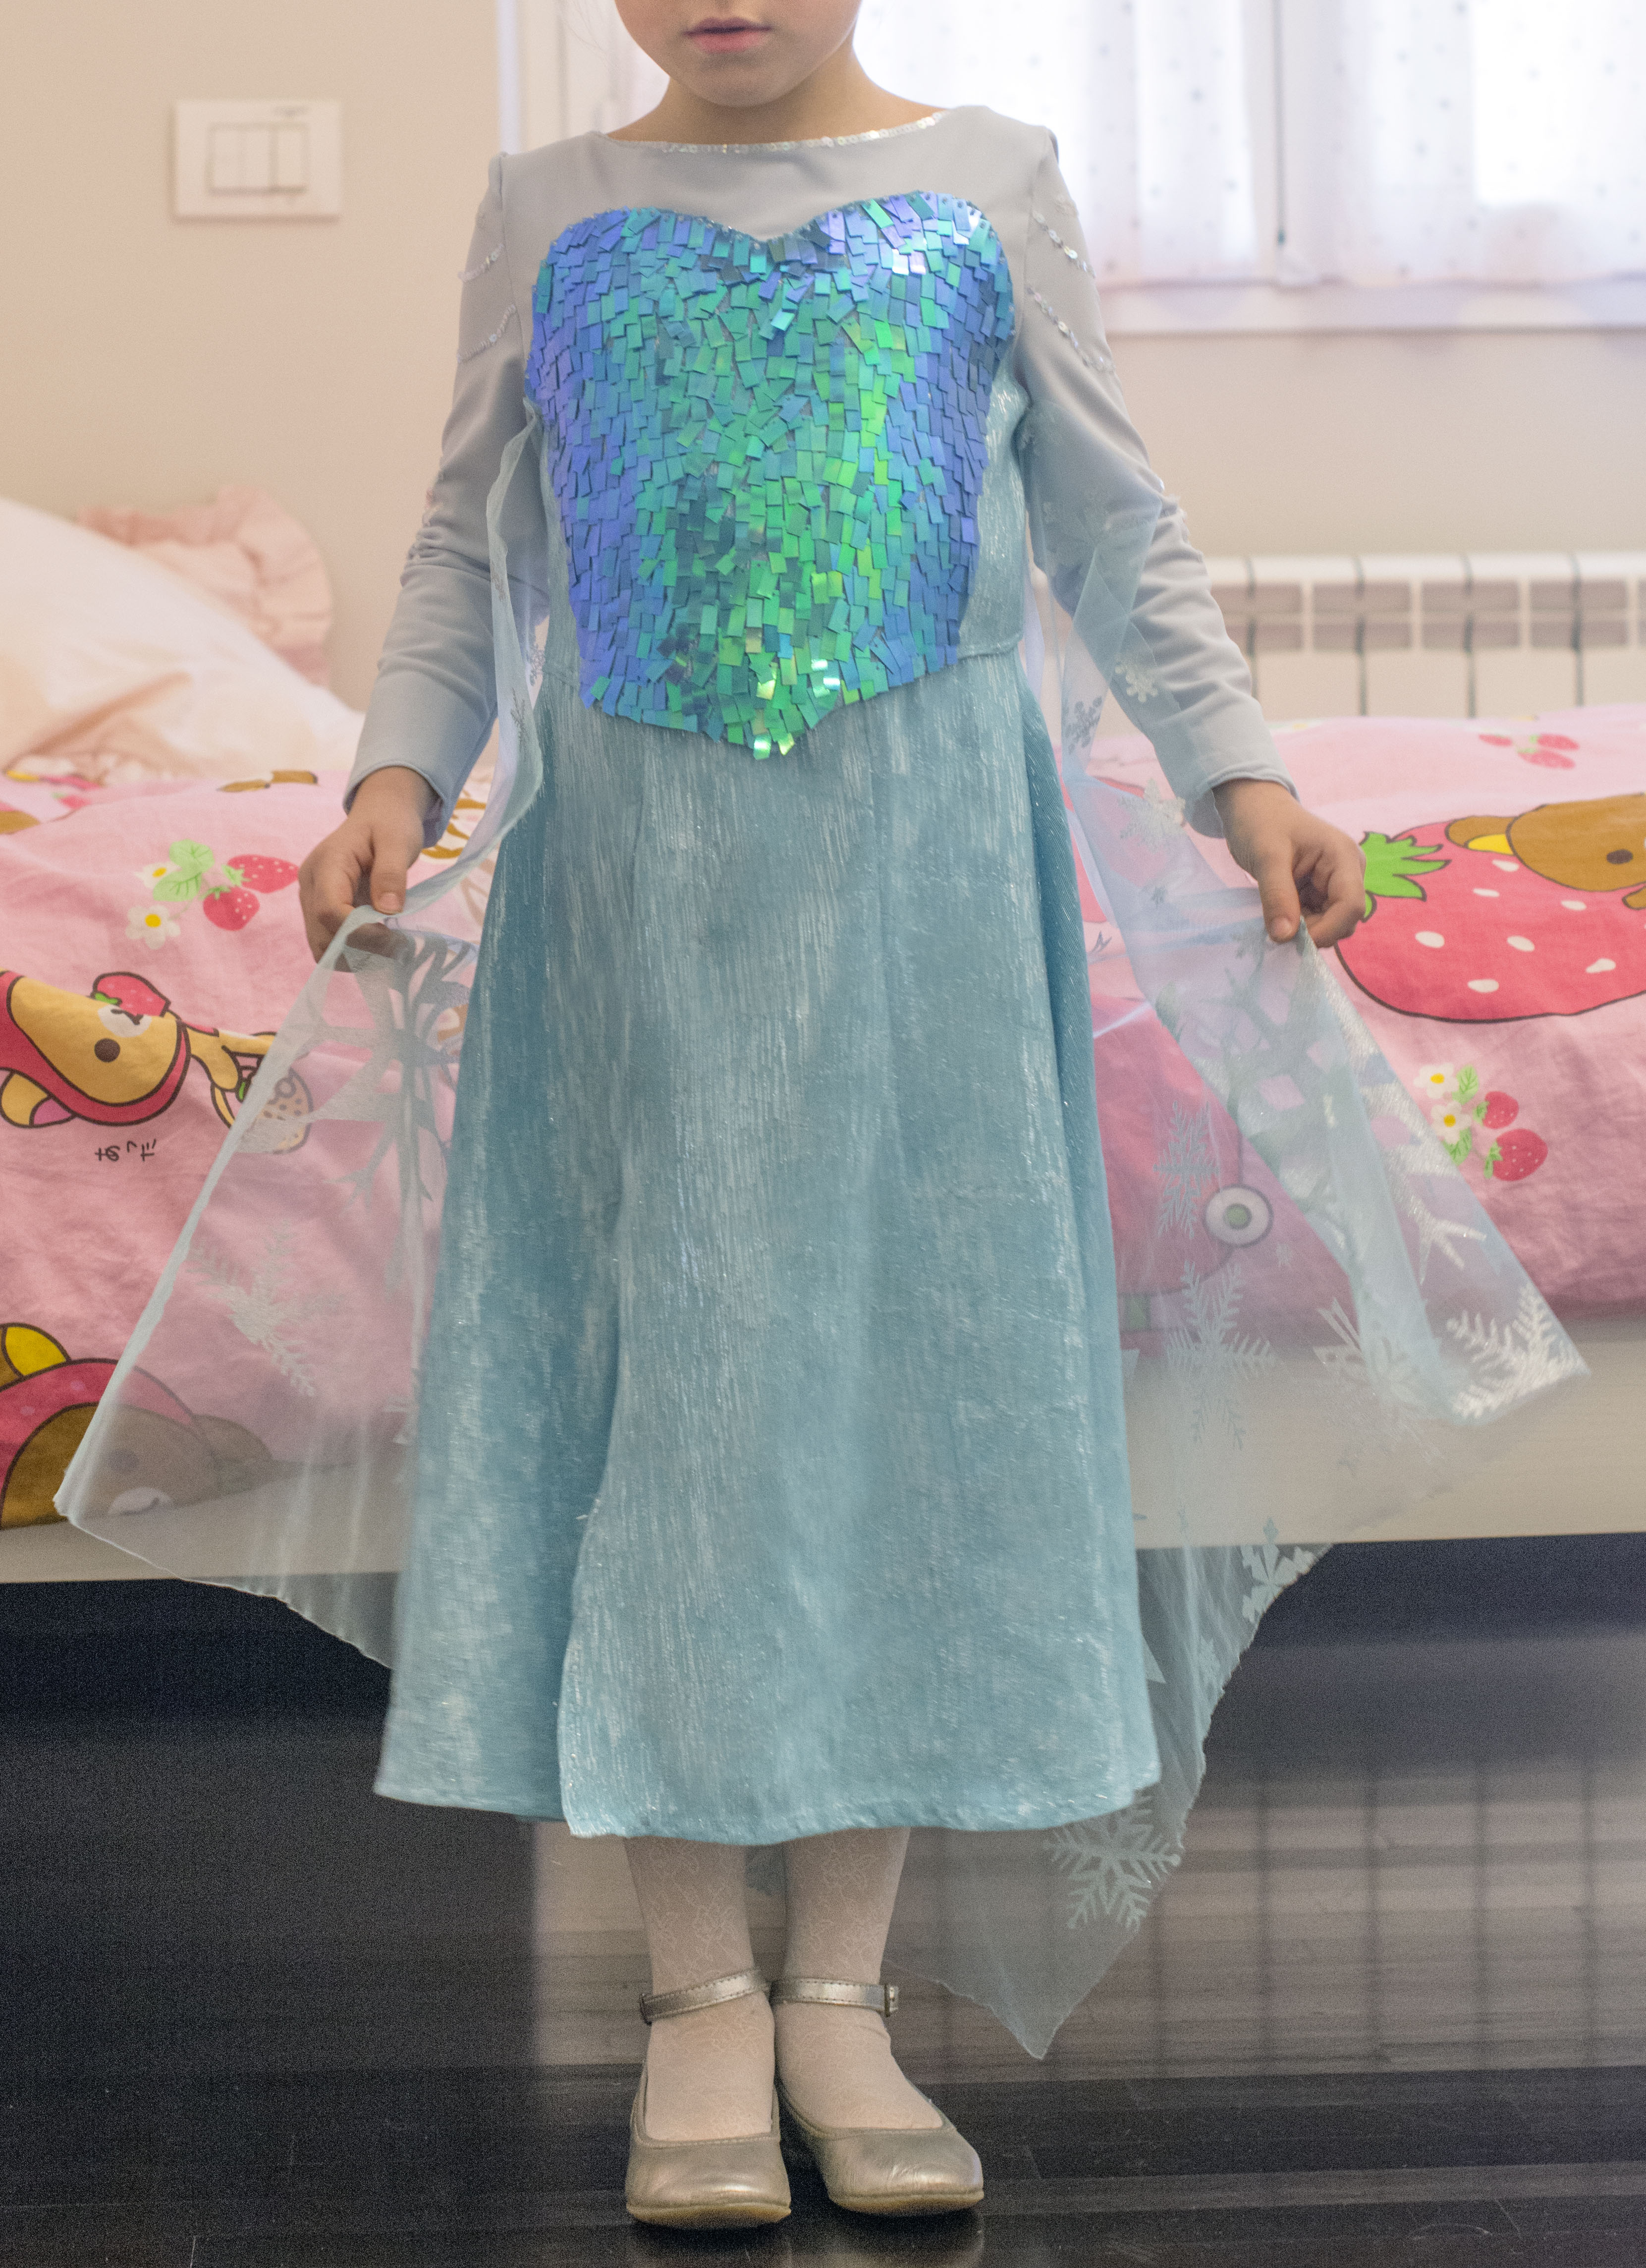
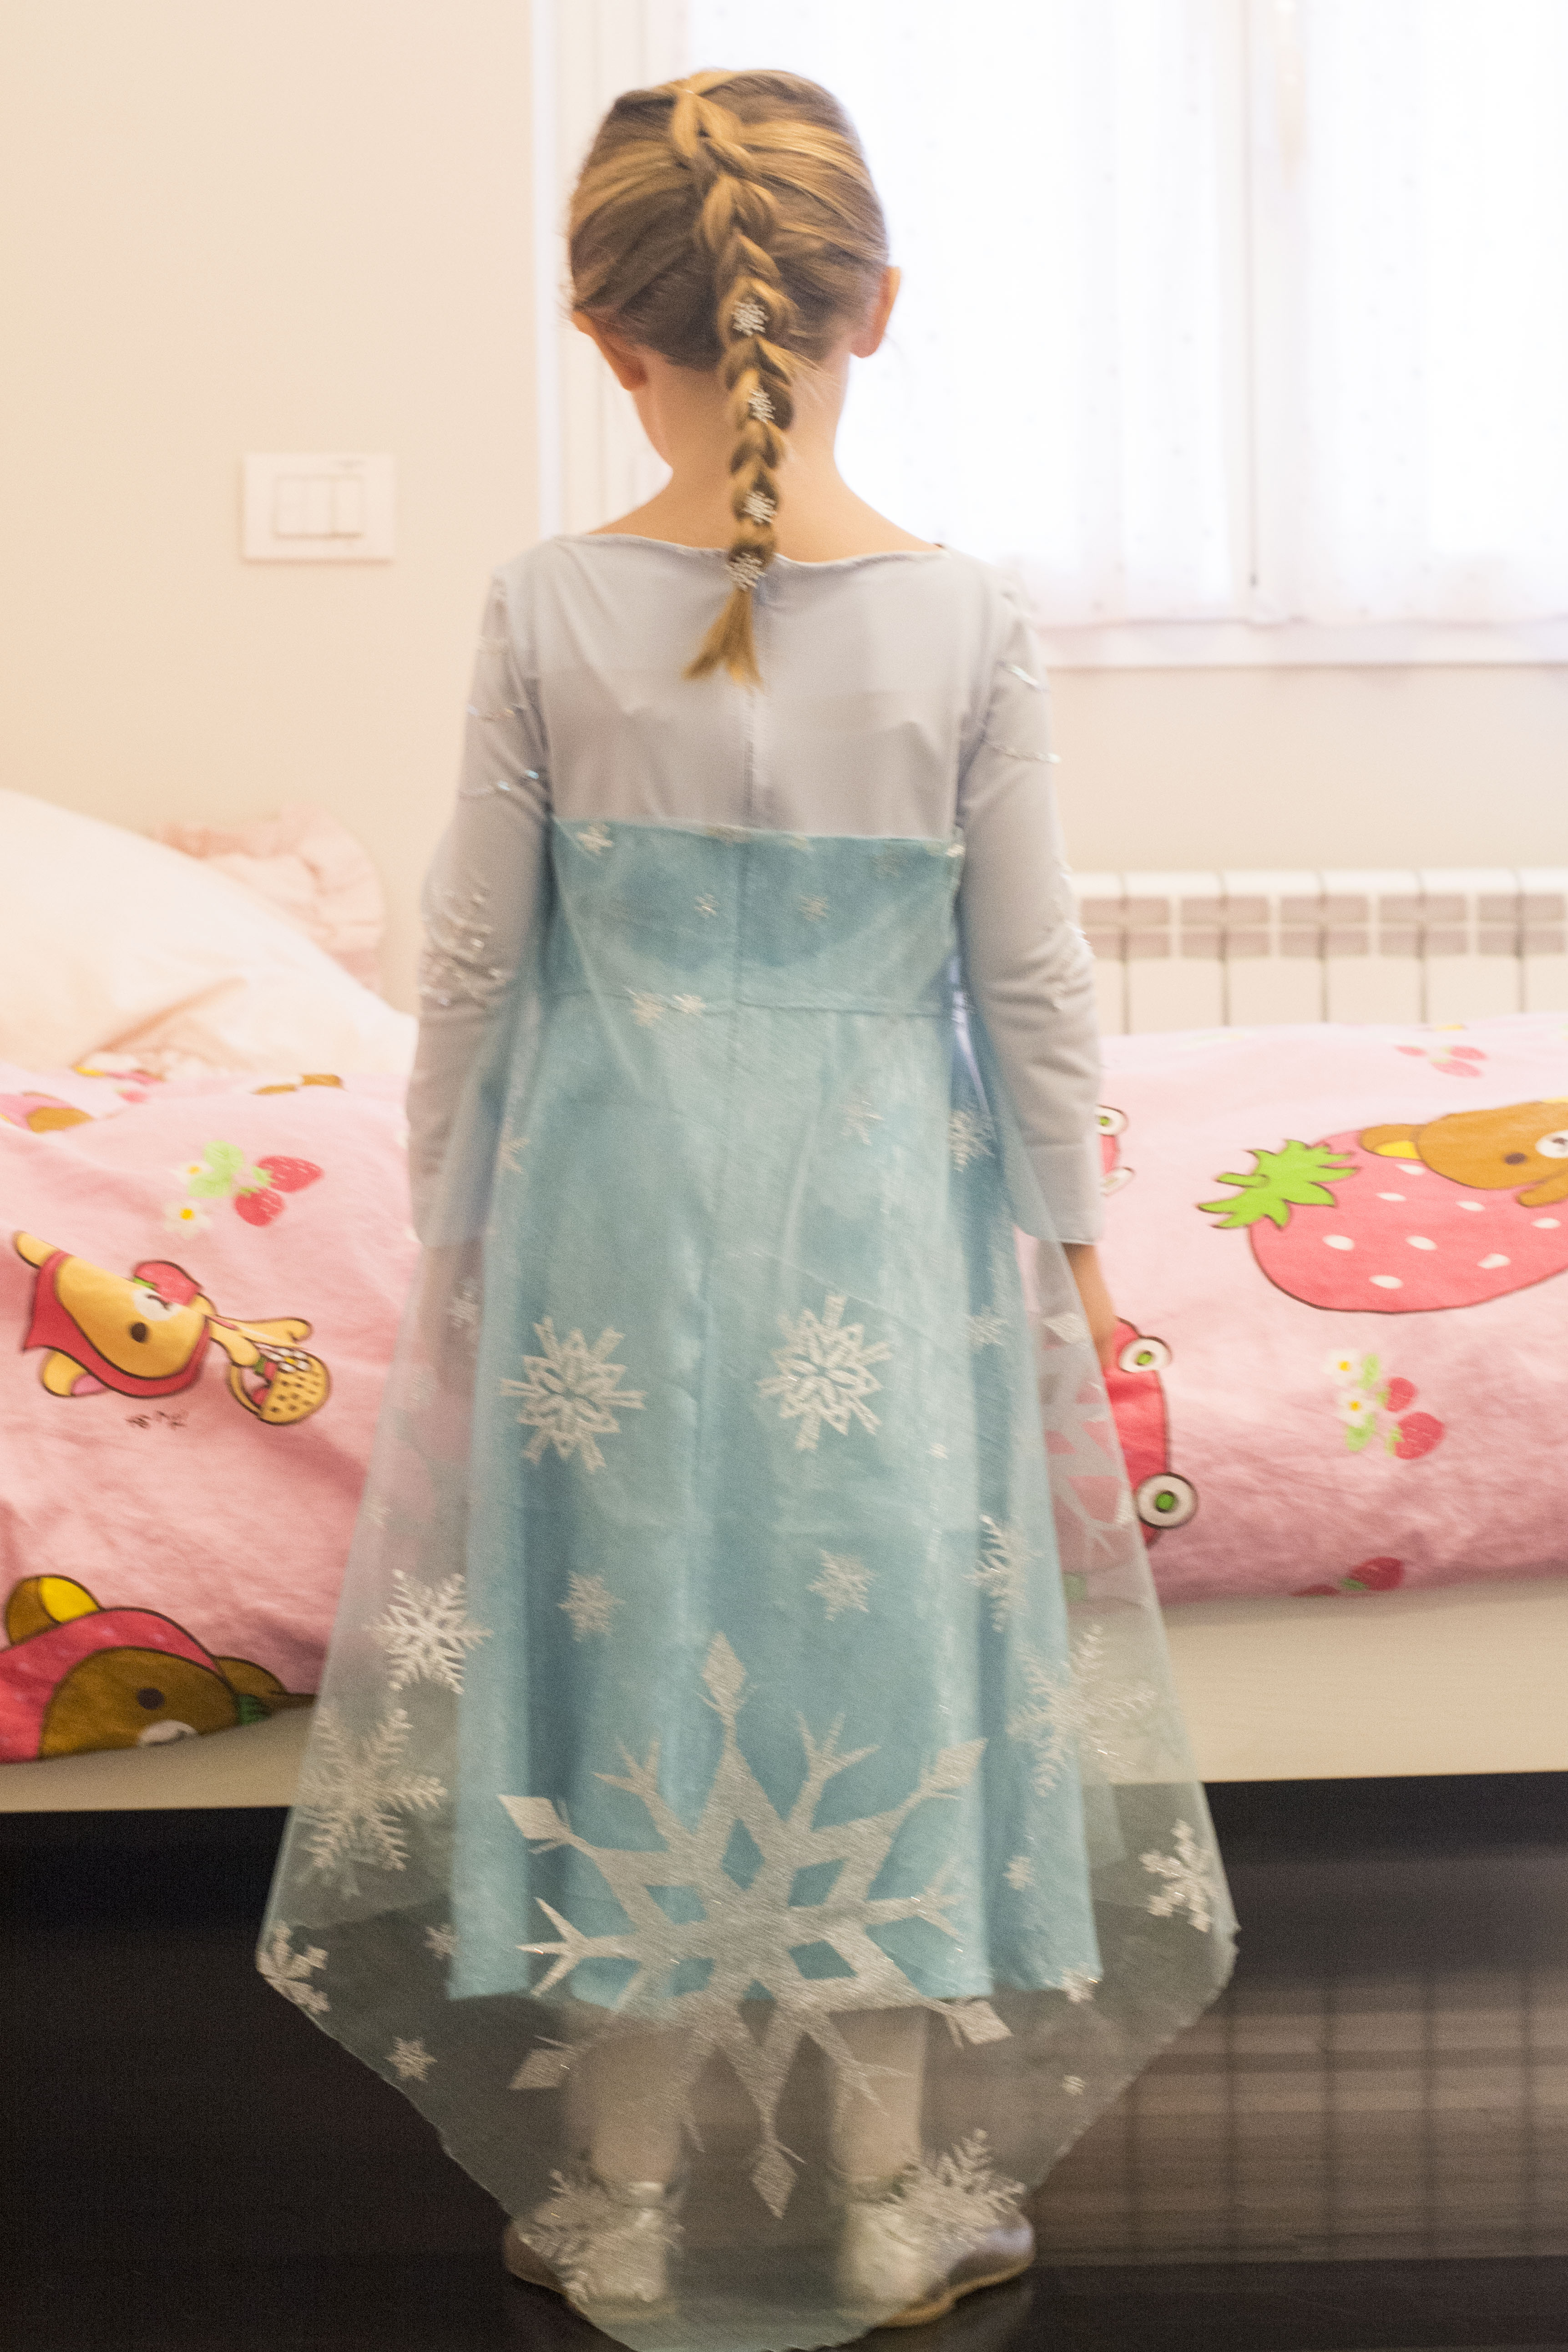
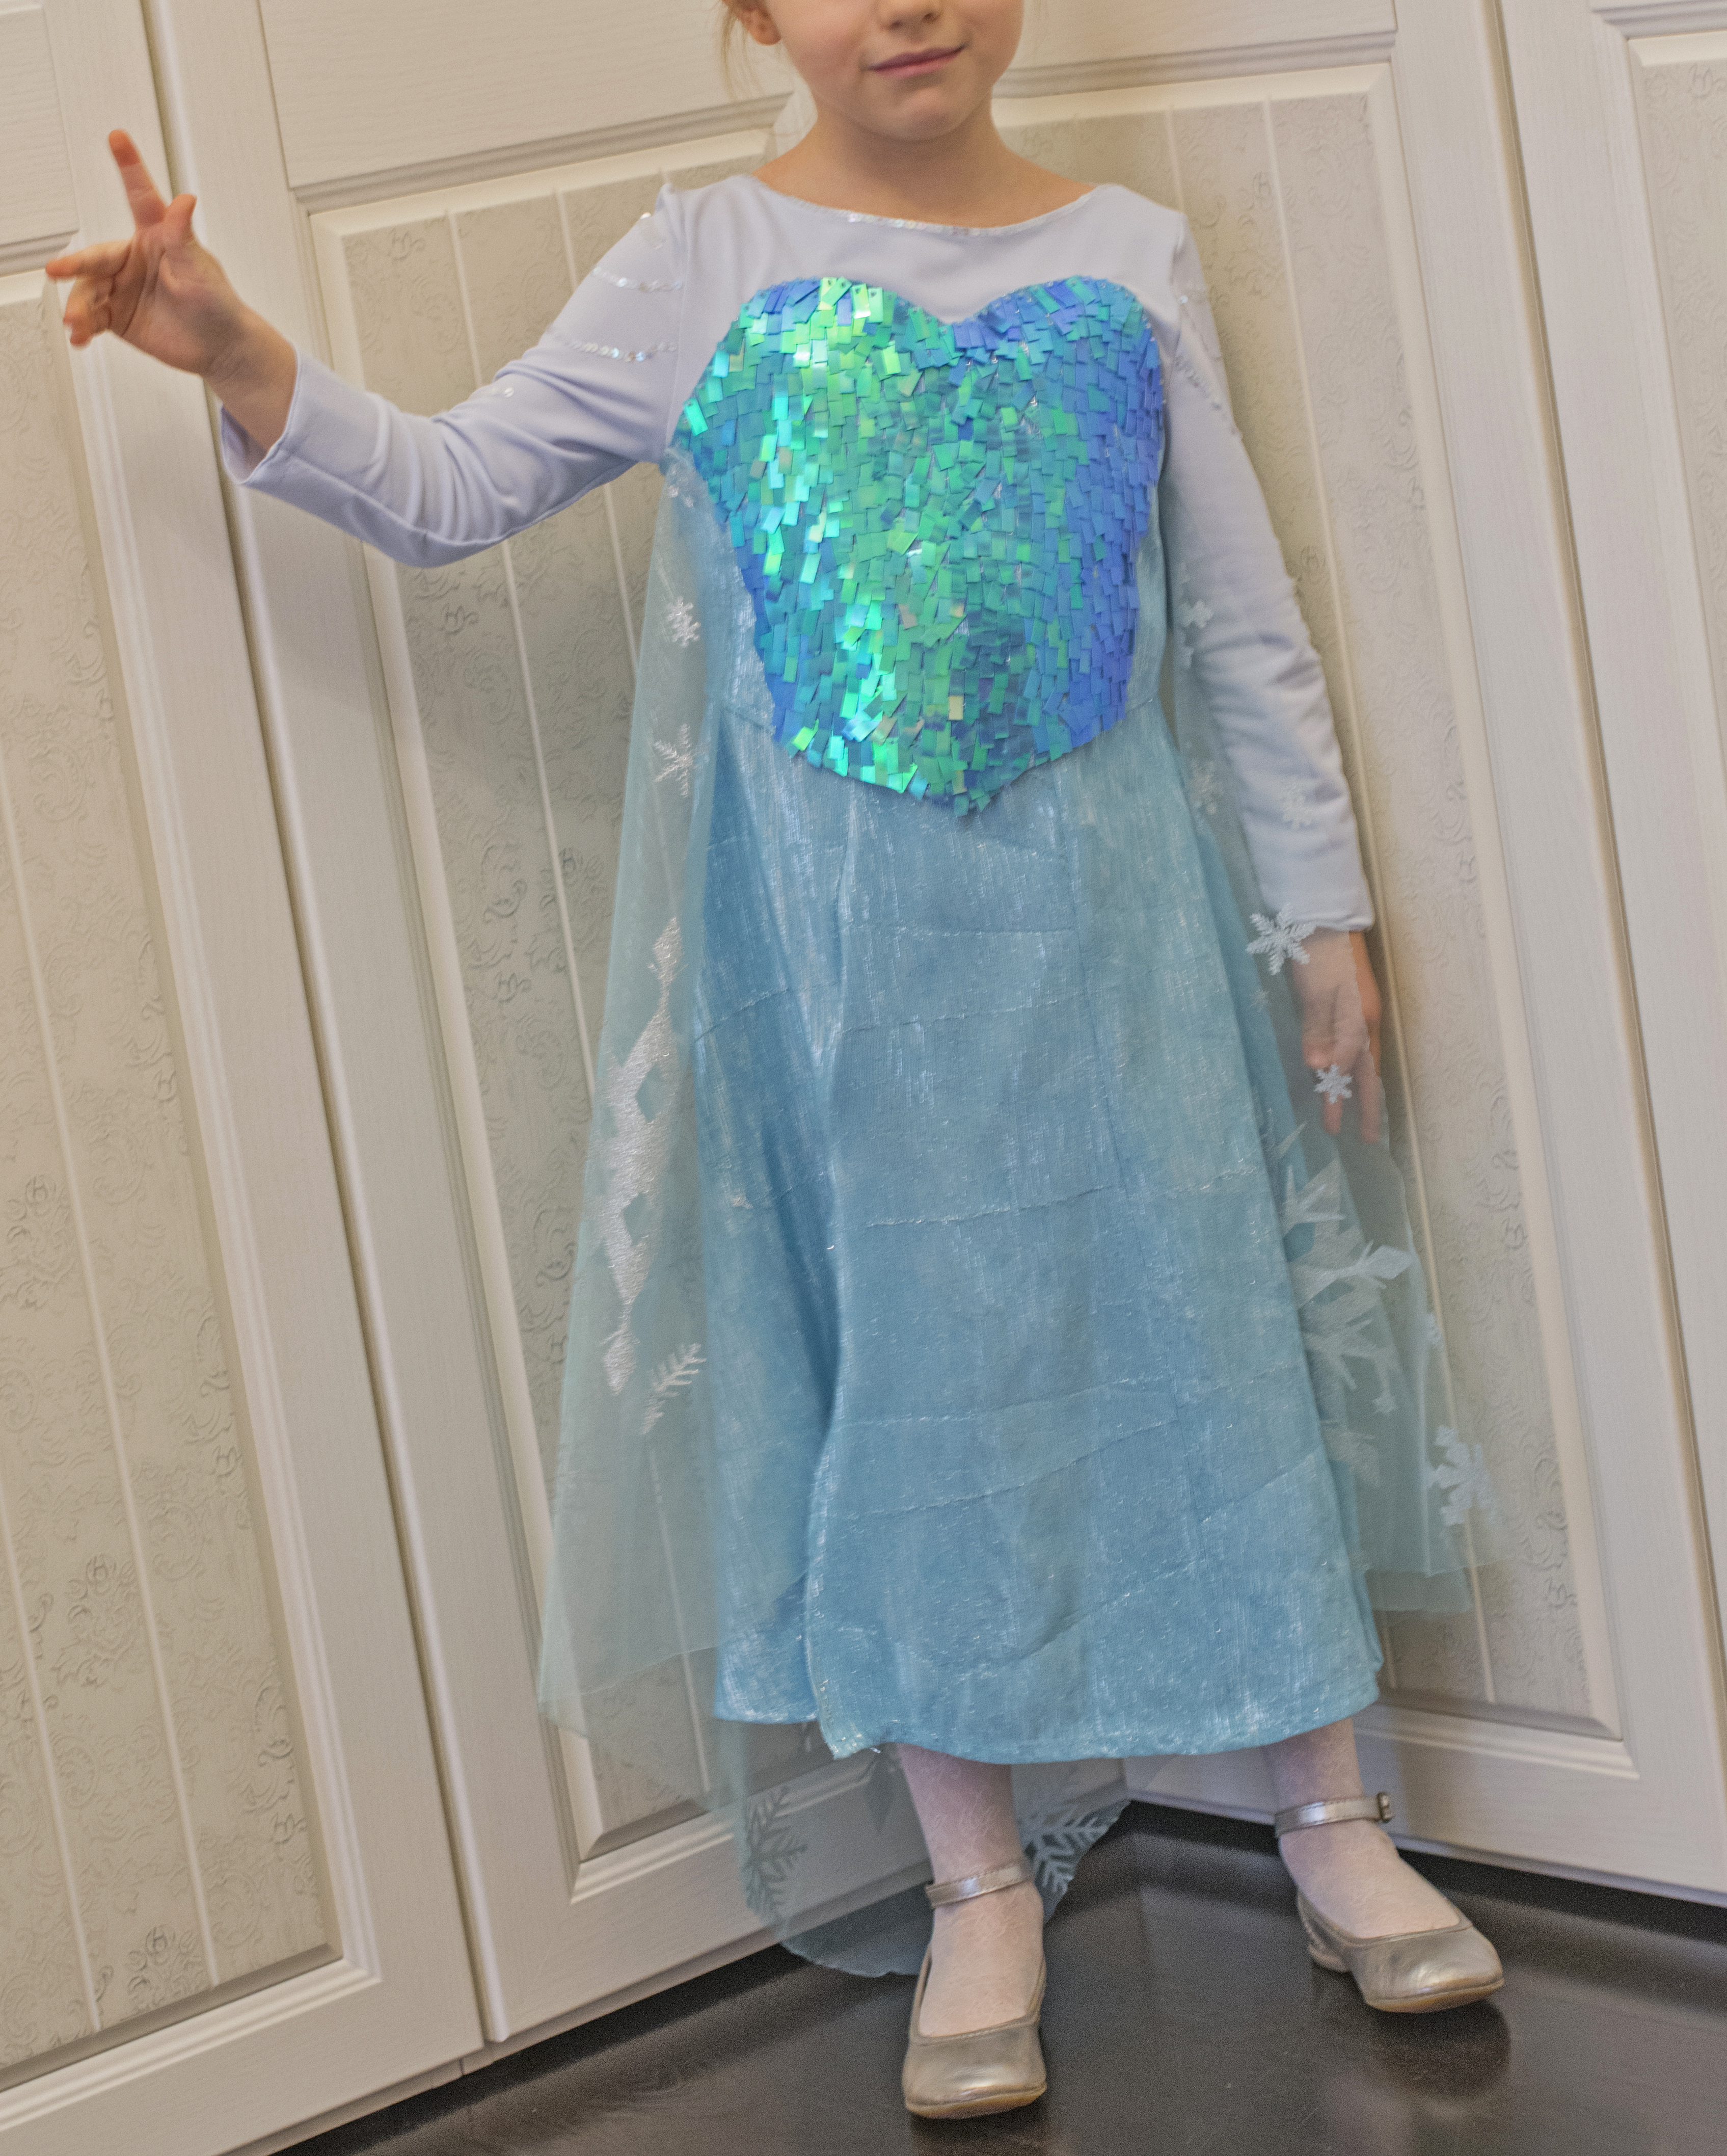
Every little princess is going to feel a bit magic with it and neither the cold nor any unruly Halloween party will ever make her feel uncomfortable!
Hope you enjoyed this tutorial. Thanks for reading!

0 Comments on “Disney Frozen Elsa Costume Tutorial – Cosplay”