

 - Part 1 of 6 - Introduction")
Table of Contents
Welcome to the final part of my six-post long Arcade Bartop DIY tutorial. In case you’ve missed the previous posts, here are the links to the whole guide:
- Part 1 of 6: Introduction & Raw Materials
- Part 2 of 6: Tools, Design & Prototype
- Part 3 of 6: Building the Cabinet
- Part 4 of 6: Painting & T-Molding
- Part 5 of 6: Installing the Hardware
- Part 6 of 6: Configuring the Software (Raspberry PI & Retropie)
In this post we’ll put the cabinet aside and focus on RetroPie, an open-source software that allows us to turn a Raspberry Pi (or even a standard PC) into a retro-gaming machine: we’ll talk about ROMS, BIOS, connecting to Linux, EmulationStation, Scraper & Scraping tools, and much more!
Emulators, ROMs and BIOS
In case you don’t know the basic concepts of emulation, here’s a quick recap of the most important terms we’ll use throughout this guide: if you already know the basics, just skip to the next paragraph.
What is an Emulator?
An emulator is software that makes a computer behave like another computer: in our current scenario, the “emulator” will be our Raspberry Pi with a RetroPie SD Image installed on it: such software will make our Raspberry Pi to behave just like a video game arcade or console. The RetroPie SD image comes pre-installed with many different emulators. Additional emulators may be installed from within RetroPie.
What is a RetroPie SD Image?
It’s a pre-installed and pre-configured build of RetroPie with many different emulators managed through EmulationStation, a graphical emulator Front-End that can be used with joysticks only (i.e. without a keyboard). Additional emulators may be installed from within the RetroPie GUI. In few words, it’s everything that we need to run the games, minus two things: the game ROMs and the system BIOS.
For additional info regarding these great software tools, check out the RetroPie official docs or the EmulationStation project website.
What are ROMs?
ROMs are single-file packages containing digital versions of game cartridges, tapes, disks, laser-discs or any other physical (or digital) format. Loading up a ROM in an emulator is the equivalent of putting a cartridge, a tape or a disk in a game console (such as the Super Nintendo) or a gaming computer (such as the Amiga). ROMs are copyrighted content and as such are not included with RetroPie.
What is a BIOS?
A BIOS is a small piece of software that tells hardware how to work: many emulators require a BIOS to properly emulate their system, thus requiring us to supply a BIOS file. If a BIOS is required, the emulator’s page will say so. The BIOSes, just like the ROMs, are also copyrighted and are therefore are not included with RetroPie.
Installing RetroPie
Installing RetroPie on the Raspberry Pi is very easy: you just have to follow this guide. In case you’re too lazy to read it, here’s a quick summary of what you have to do:
- Download the SD image for your version of Raspberry Pi from this link.
- Extract the downloaded .gz file using a program such as 7-Zip: you should end up with a .img file, which contains the RetroPie SD image.
- Install the RetroPie SD image on your MicroSD card using a MicroSD card reader and the following software, depending on the OS you’re using on your operating PC:
- If you’re using Windows, use Win32DiskImager.
- If you’re using a MAC, use Apple Pi Baker.
- If you’re using Linux, you can use the dd terminal command or Etcher.
If you need additional info, see the official Raspberry Pi “WRITING AN IMAGE TO THE SD CARD” instructions.
As soon as you’ve installed RetroPie, put the SD Card into your Raspberry Pi, be sure that both the Joystick USB cables are properly setup, and then turn the power on.
Configure Controllers
The first boot will be quite slow, as the OS will have to adjust the filesystem and perform some one-time tasks. Eventually, you’ll be welcomed with the following screen:
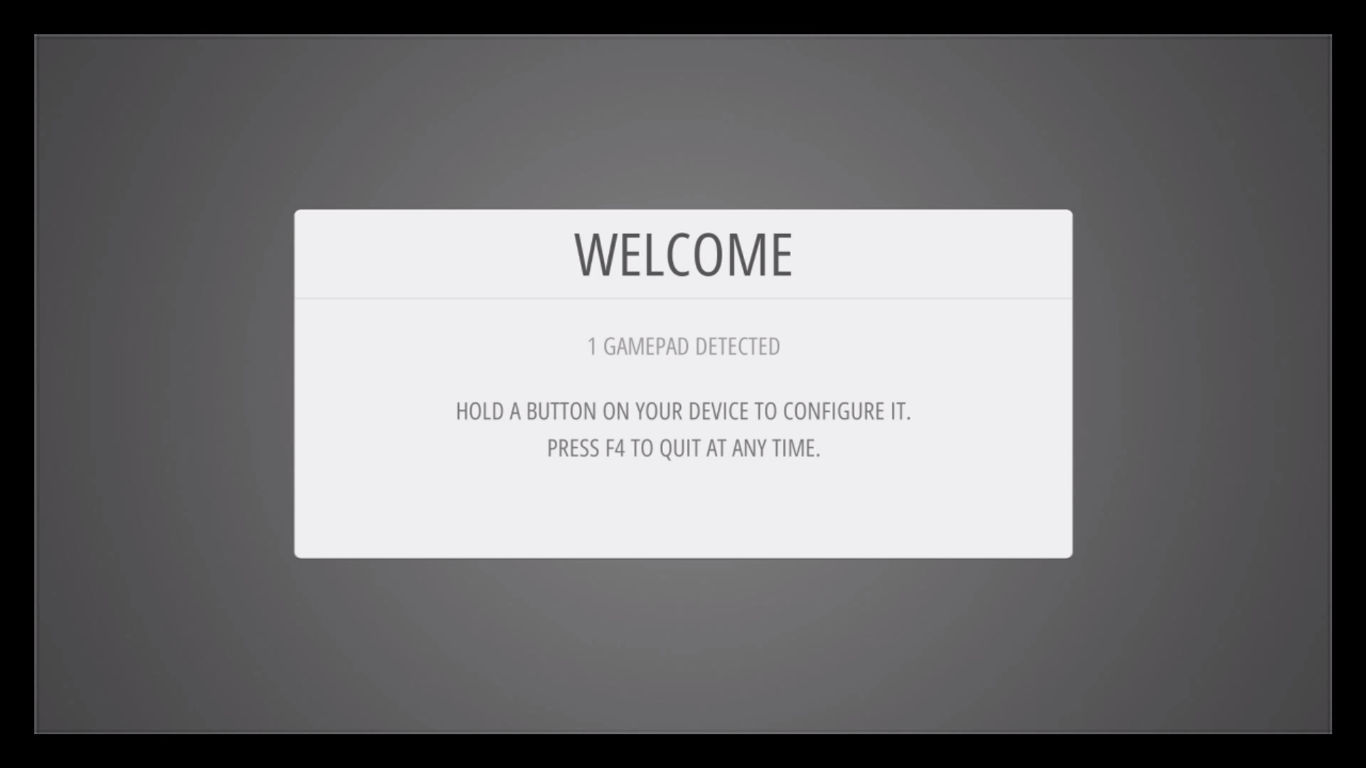
Just follow the on-screen instruction to configure your controls.
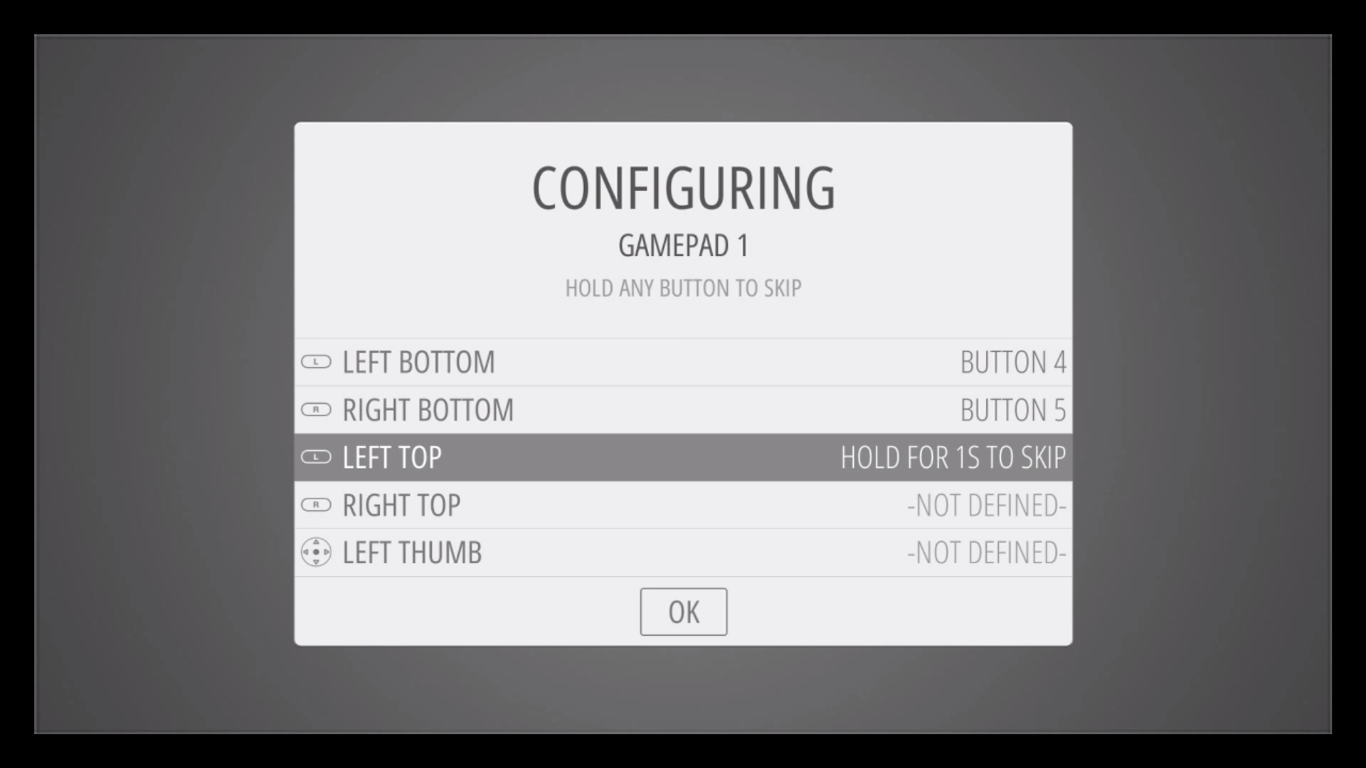
if you don’t have buttons, just hold down any button to skip it. When you get to OK press the button you have configured as “A”.
Transfering the ROMs
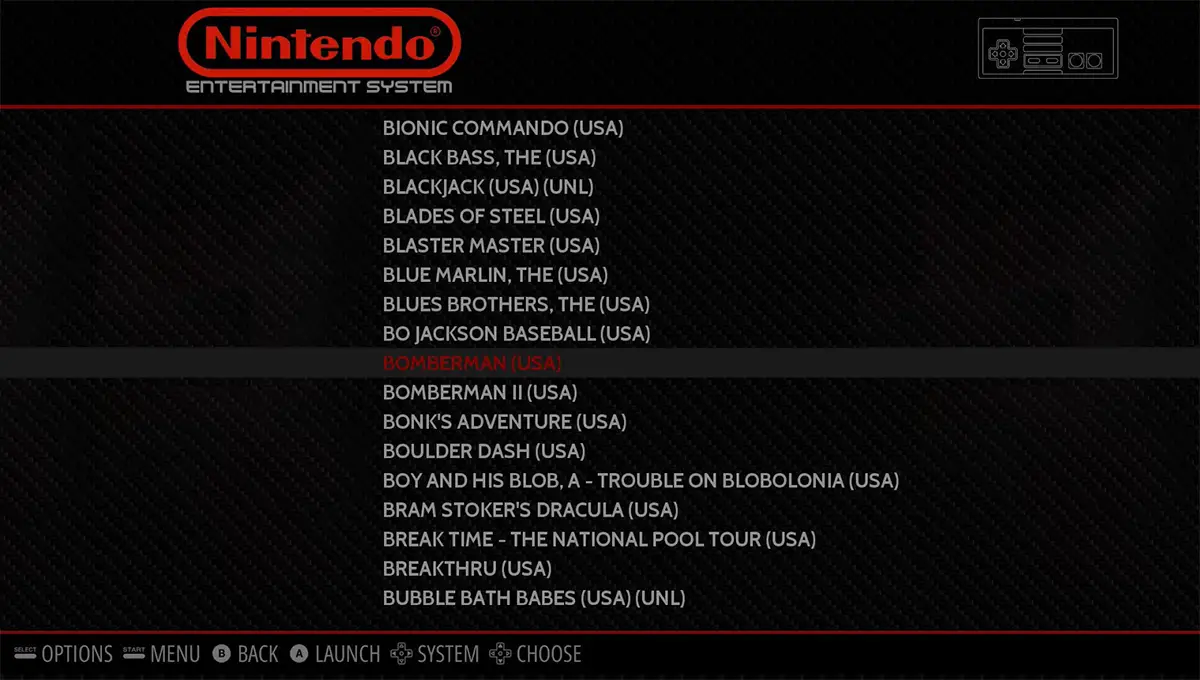
Right after the controllers setup phase you have to get and install the ROMs into your Raspberry Pi, otherwise your emulators wouldn’t be able to run anything: more specifically, EmulationStation – the emulator Front-End software shipped with RetroPie – will automatically scan a predefined sets of folders to check if there are available ROMs: as soon as they’re added to their respective ROM folders, they will become visible (and playable). In other words, you just have to transfer the ROMs to these folders.
If you don’t have ROMs, there are a lot of things you can do: just remember that getting ROM packages from Torrent sites such as ThePirateBay, YTS, 1337x, Rarbg, Torrentz2, EZTV, Limetorrents and so on is illegal and might led you to prison. For the sake of simplicity, let’s just assume that you already have these ROMs available and own all the legitimate rights to use them.
There are four methods of transferring roms:
- USB Stick: the easiest to pull off, since it just requires an external USB stick.
- SD Card: requires a SD Card reader (the same you’ve used to install RetroPie) and the EXT4 filesystem drivers (see below).
- SFTP or SAMBA: requires a Wi-Fi or Ethernet LAN connection.
The first two methods are much easier to pull off, as they don’t even require a LAN connection; the SFTP and SAMBA methods are harder to pull off, but once you do that you’ll have two big advantages:
- A permanent connection between your desktop PC and your Raspberry Pi, which could be very useful – expecially if you’ll want to transfer more ROMs, update them and so on.
- Your Raspberry Pi connected to the internet, which is a great way to keep its OS and software updated using the RetroPie built-in tools.
If you’re not an experienced Linux user I strongly suggest to start with the USB Stick or SD Card method, at least on your first run; if you’re willing to experiment and/or you know what you’re doing go for the SFTP or SAMBA methods, as they’re definitely worth the effort.
USB Stick
The USB Stick method is by far the easiest way to transfer your ROMs from your desktop PC to your Raspberry Pi/RetroPie.
- Format the USB stick to FAT32 or NTFS
- Create a folder called /retropie/ in the USB Stick root
- Plug the USB Stick into the Raspberri Pi and wait few minutes: if the USB Stick has a LED, it should blink for some seconds: as soon as it finishes blinking, you can pull it off.
- Plug the USB Stick into the Desktop PC with the ROM files: you will found a new retropie/roms folder with a series of subfolders, one for each supported Emulator.
- Add the ROM files to their respective subfolders in the retropie/roms folder.
- Plug the USB Stick back into the Raspberry Pi and wait a good amount of time: again, if the USB Stick has a LED, wait for it to finish blinking.
- Restart the Raspberry Pi from the RetroPie GUI by choosing Restart from the Settings menu.
SD Card
The SD Card method is much similar to the USB Stick technique: if you’re using a MAC or a Linux PC, it would be even easier, as the retropie/roms folders is already present on the the SD Card -you’ll just have to put the ROMs inside the subfolders. However, if you’re using a Windows-based PC, you won’t be able to see the SD Card contents. The reason for that is simple: RetroPie is built on top of Stretch, a linux based OS for the Raspberry Pi that uses a EXT4 partition (linux filesystem), which is not visible on Windows systems. You can fix that problem with Ext2Fsd, a freeware Windows tool that will allow read/write access on EXT2, EXT3 and EXT4 Linux Filesystems (here’s the Ext2Fsd download link).
Once installed, you’ll be able to copy the ROMs from your Windows machine to the Raspberry Pi SD Card.
SFTP
The FTP method requires your Raspberry Pi to be connected to your LAN through Ethernet cable or Wi-Fi. If you have an ethernet cable, just plug it into your Raspberry Pi and it should automatically get a valid IP from your LAN DHCP.
If you want to connect it via Wi-Fi, you’ll need to setup it through the RetroPie menu:
- Click to the Configure WiFi option.
- Select Connect to WiFi network and click OK.
- Select your network SSID from the list and click OK.
- Type your Wi-Fi password and click OK.
Once done, you’ll be able to see your IP address on the resulting connect confirmation screen. In case you need additional info to connect your Raspberry Pi with Wi-Fi, check out this page.
The next required step to be able to use SFTP is enabling SSH, which is disabled by default since RetroPie 4.2 for security reasons (as explained in this post). SSH can be manually enabled in two ways:
- From your desktop PC, create a /boot/ssh empty file in your SD Card (following the instructions explained above).
- From the RetroPie GUI, access the terminal shell by quitting EmulationStation (Menu > Quit), then type sudo raspi-config: from that menu, go to Interfacing options > SSH > Enable, then reboot your Raspberry Pi.
After having the Raspberry Pi connected to your LAN and with SSH enabled, you can access it using SFTP software such as WinSCP (Windows) or Cyberduck (Mac) using the following default credentials:
- Username: pi
- Password: raspberry
You can also use SSH to log in as root if you wish to change more files than just the ROMs, but you first need to enable the root password (read here for instructions).
SAMBA
This method, just like the previous one, requires your Raspberry Pi to be connected to your LAN through Ethernet or Wi-Fi: read above for instructions on how to do it. Once done, you can access your Raspberry Pi from any SAMBA/SMB enabled machine in the following way:
- WINDOWS: open System Explorer, then type \\retropie in the upper navigation textbox: in case it doesn’t work, try to replace retropie with your Raspberry Pi’s IP address.
- MAC: open Finder, then select Go > Connect to Server from the menu: type smb://retropie and select Connect.
First Run
After you’ve added your ROMs, restart EmulationStation (Menu > Quit > Restart EmulationStation) or the whole OS (Menu > Quit > Restart System): You’ll be able to see your ROMs at the next boot.
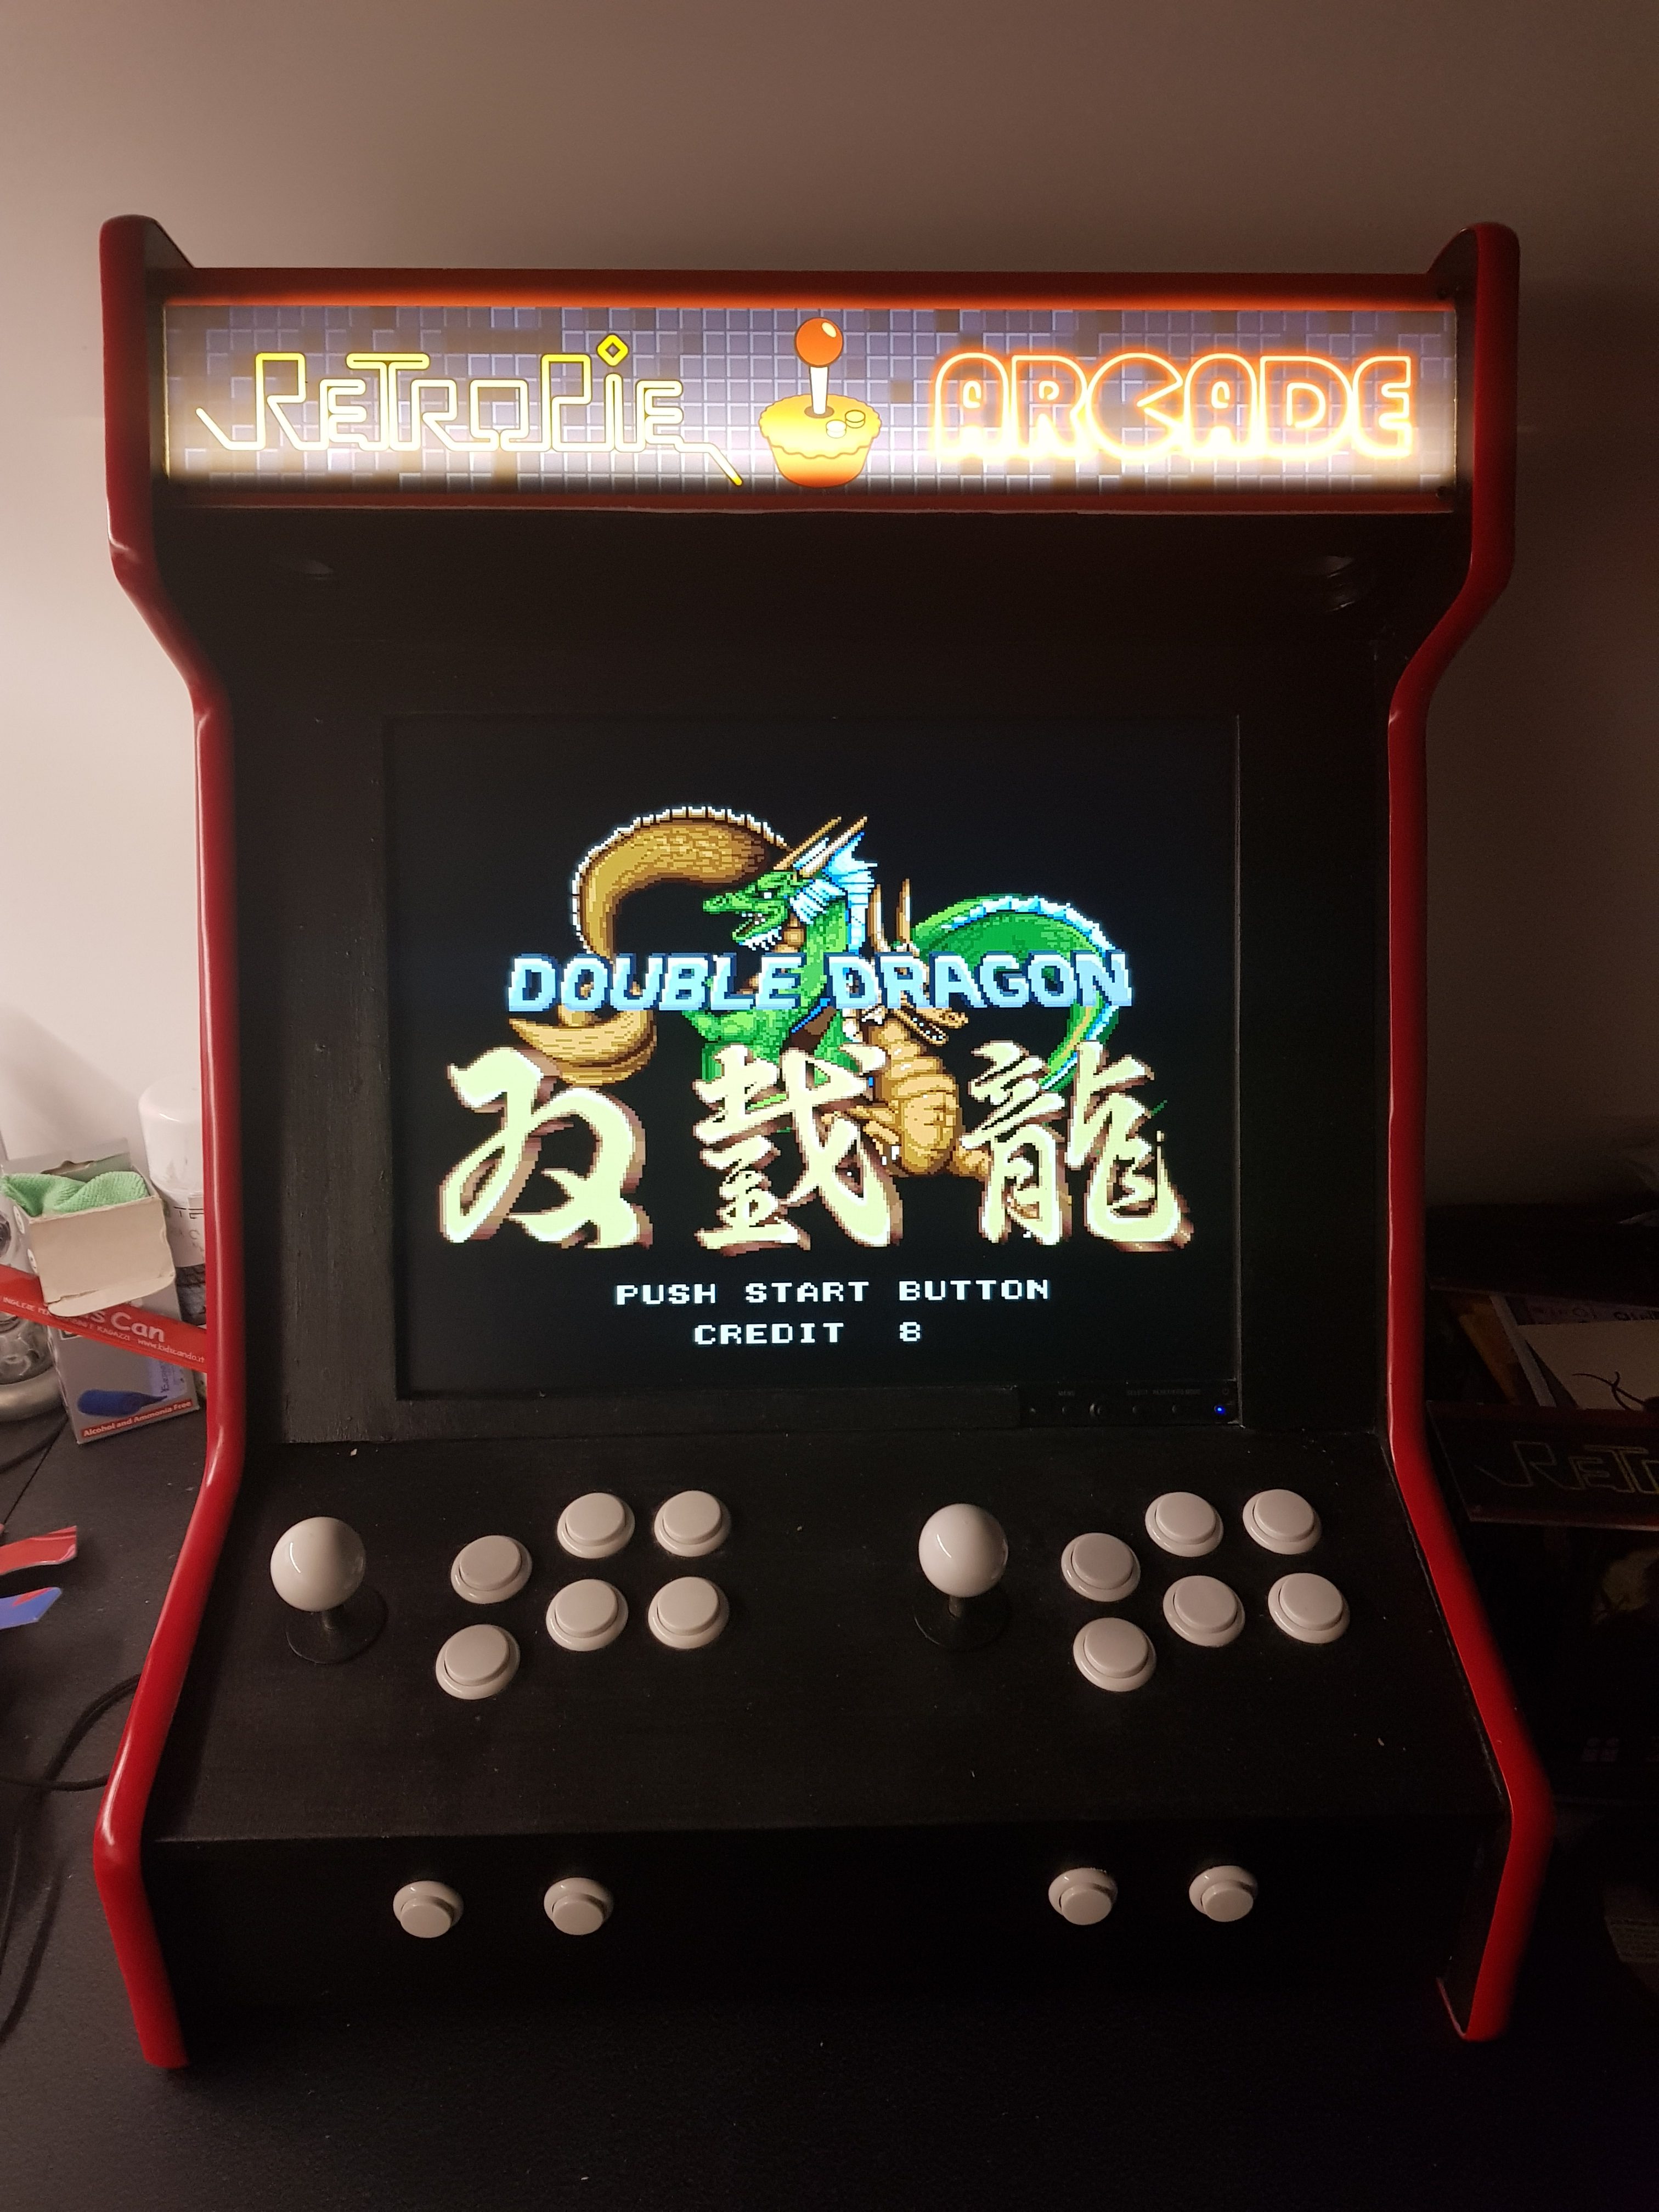
Your Arcade Bartop is ready to play!
Using the Scraper
Scraping is a way to get metadata (such as description, info, ratings) and artworkfor your ROMs from the internet: it will greatly improve your ROM lists within EmulationStation, therefore I strongly suggest you to use it.
To quickly understand the difference between an “unscraped” ROM list and a “scraped” one, look at the following pictures:
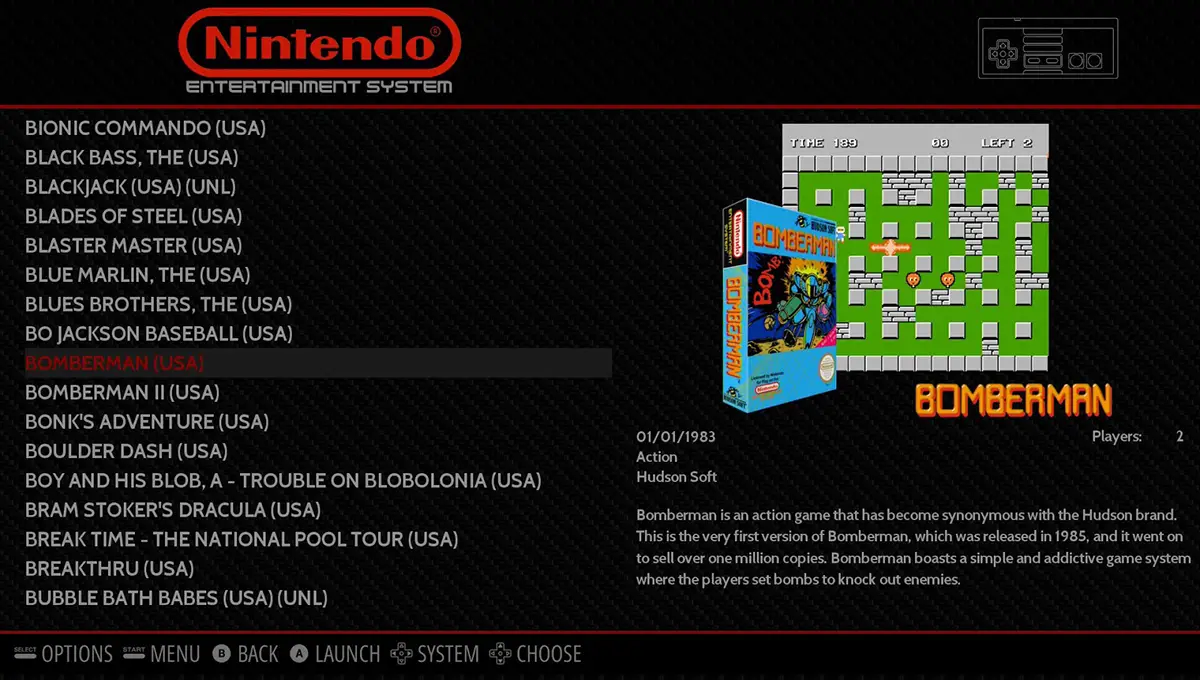
As you can see, the Scraping process does indeed provide better experience, hence it’s a good thing to do in any scenario.
Internal Scraper
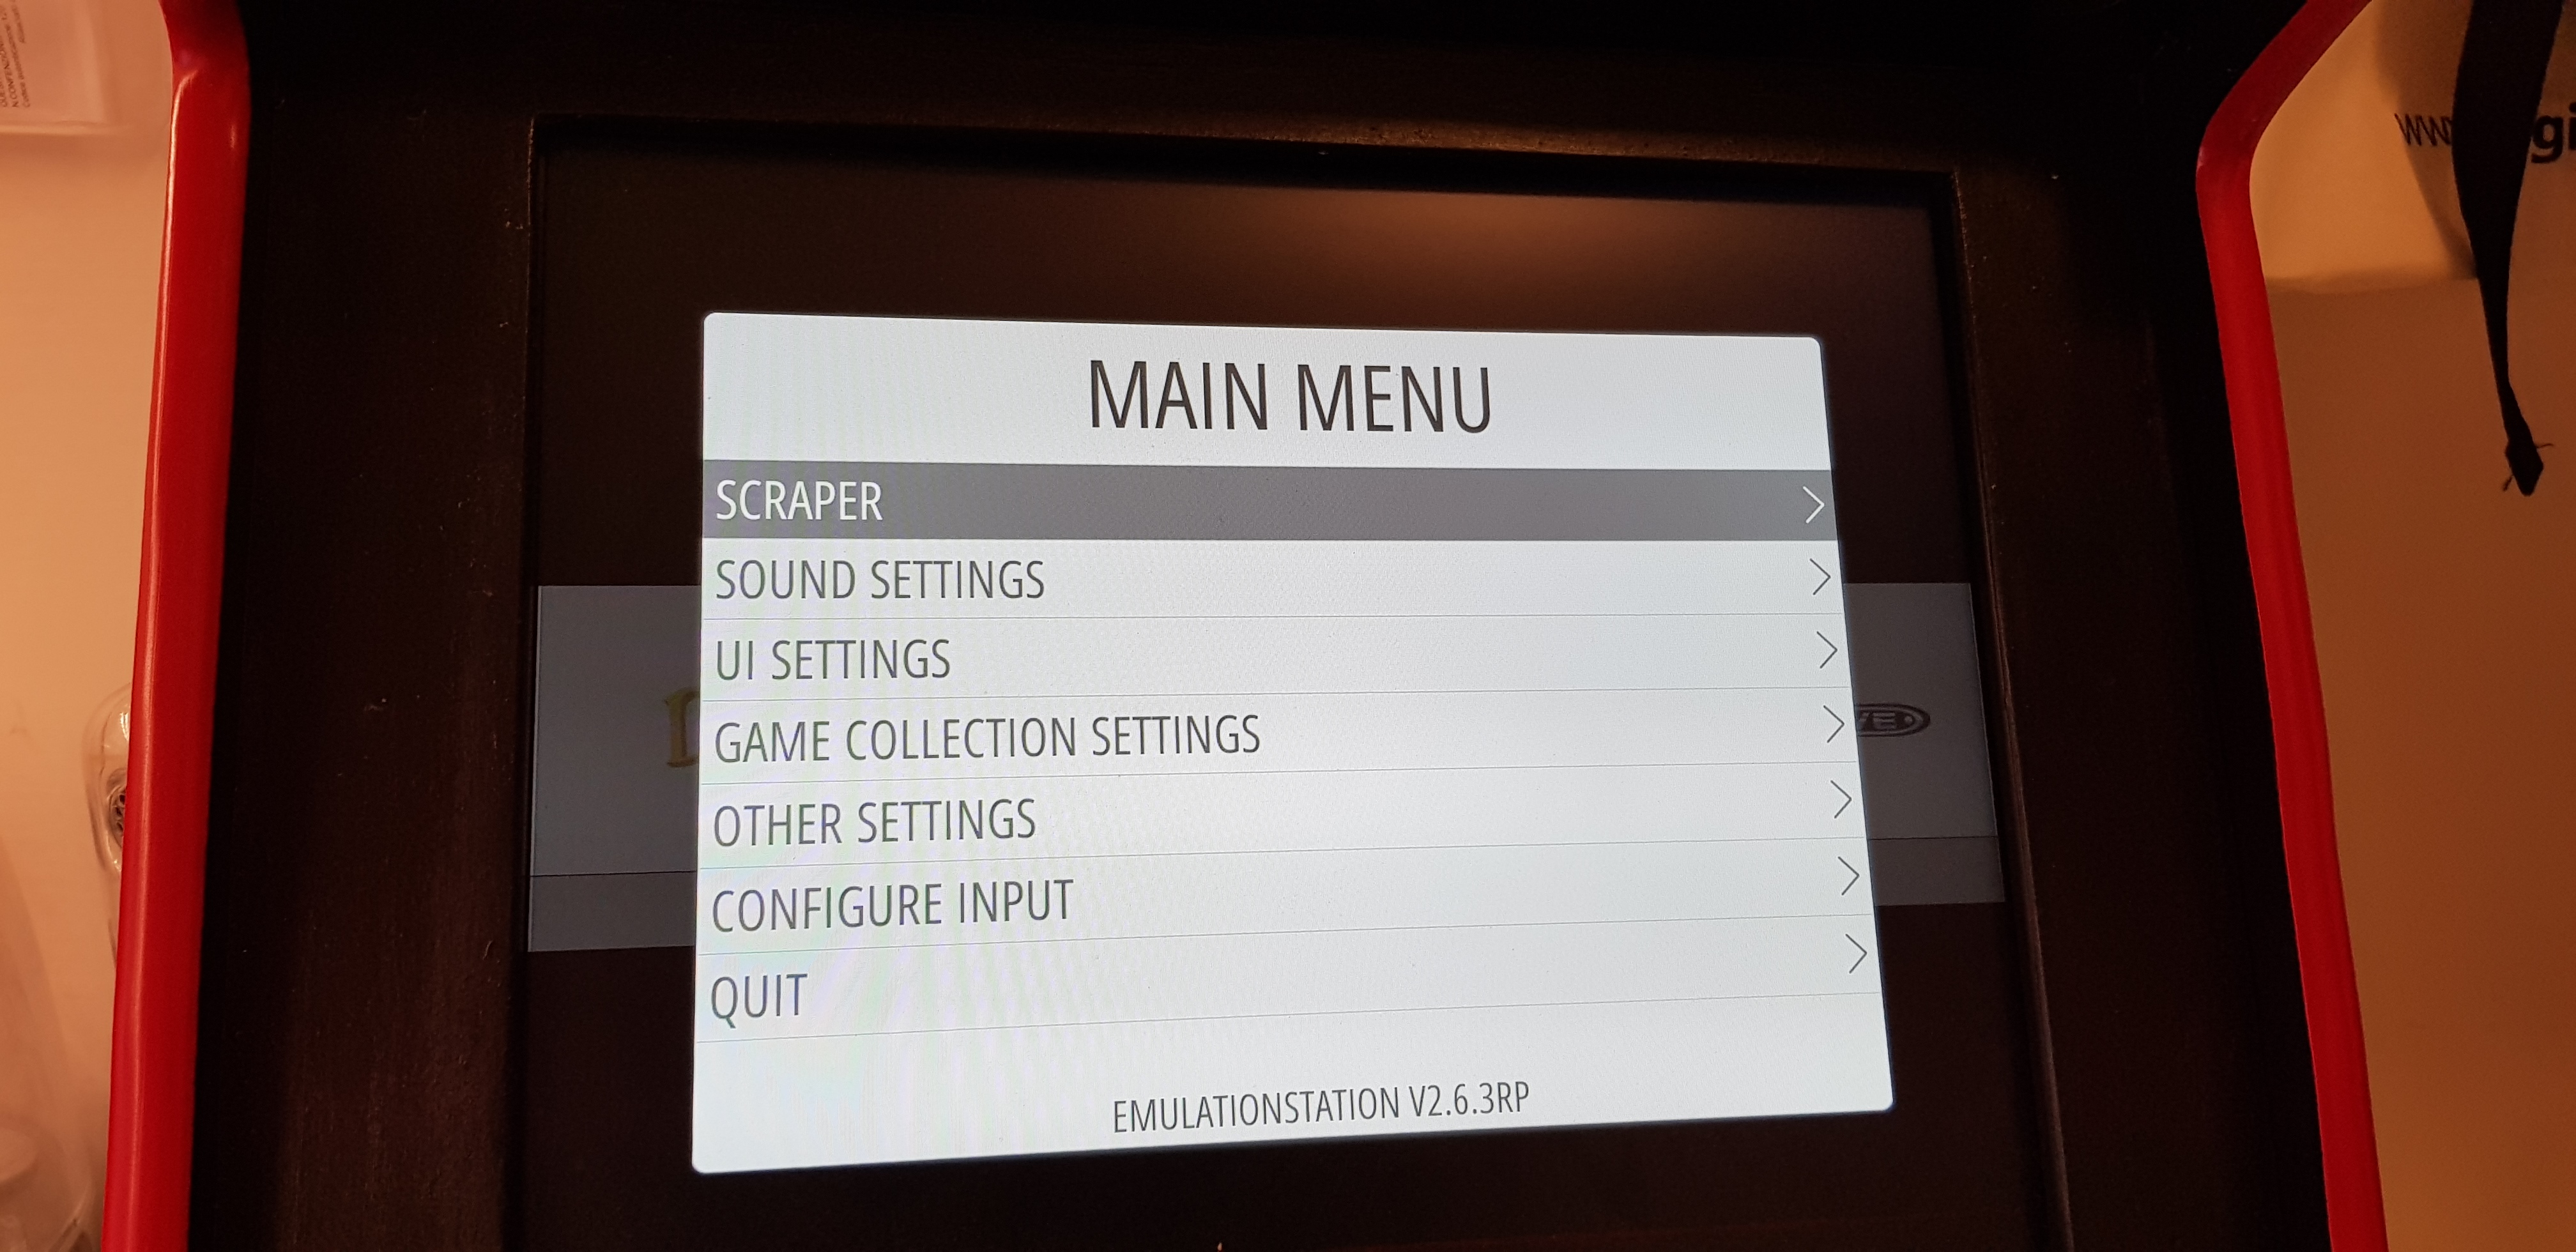
RetroPie/EmulationStation comes with a built-in Scraper which pulls data from the thegamesdb.net and works decently. You can access it through the EmulationStation main menu (Menu > Scraping).
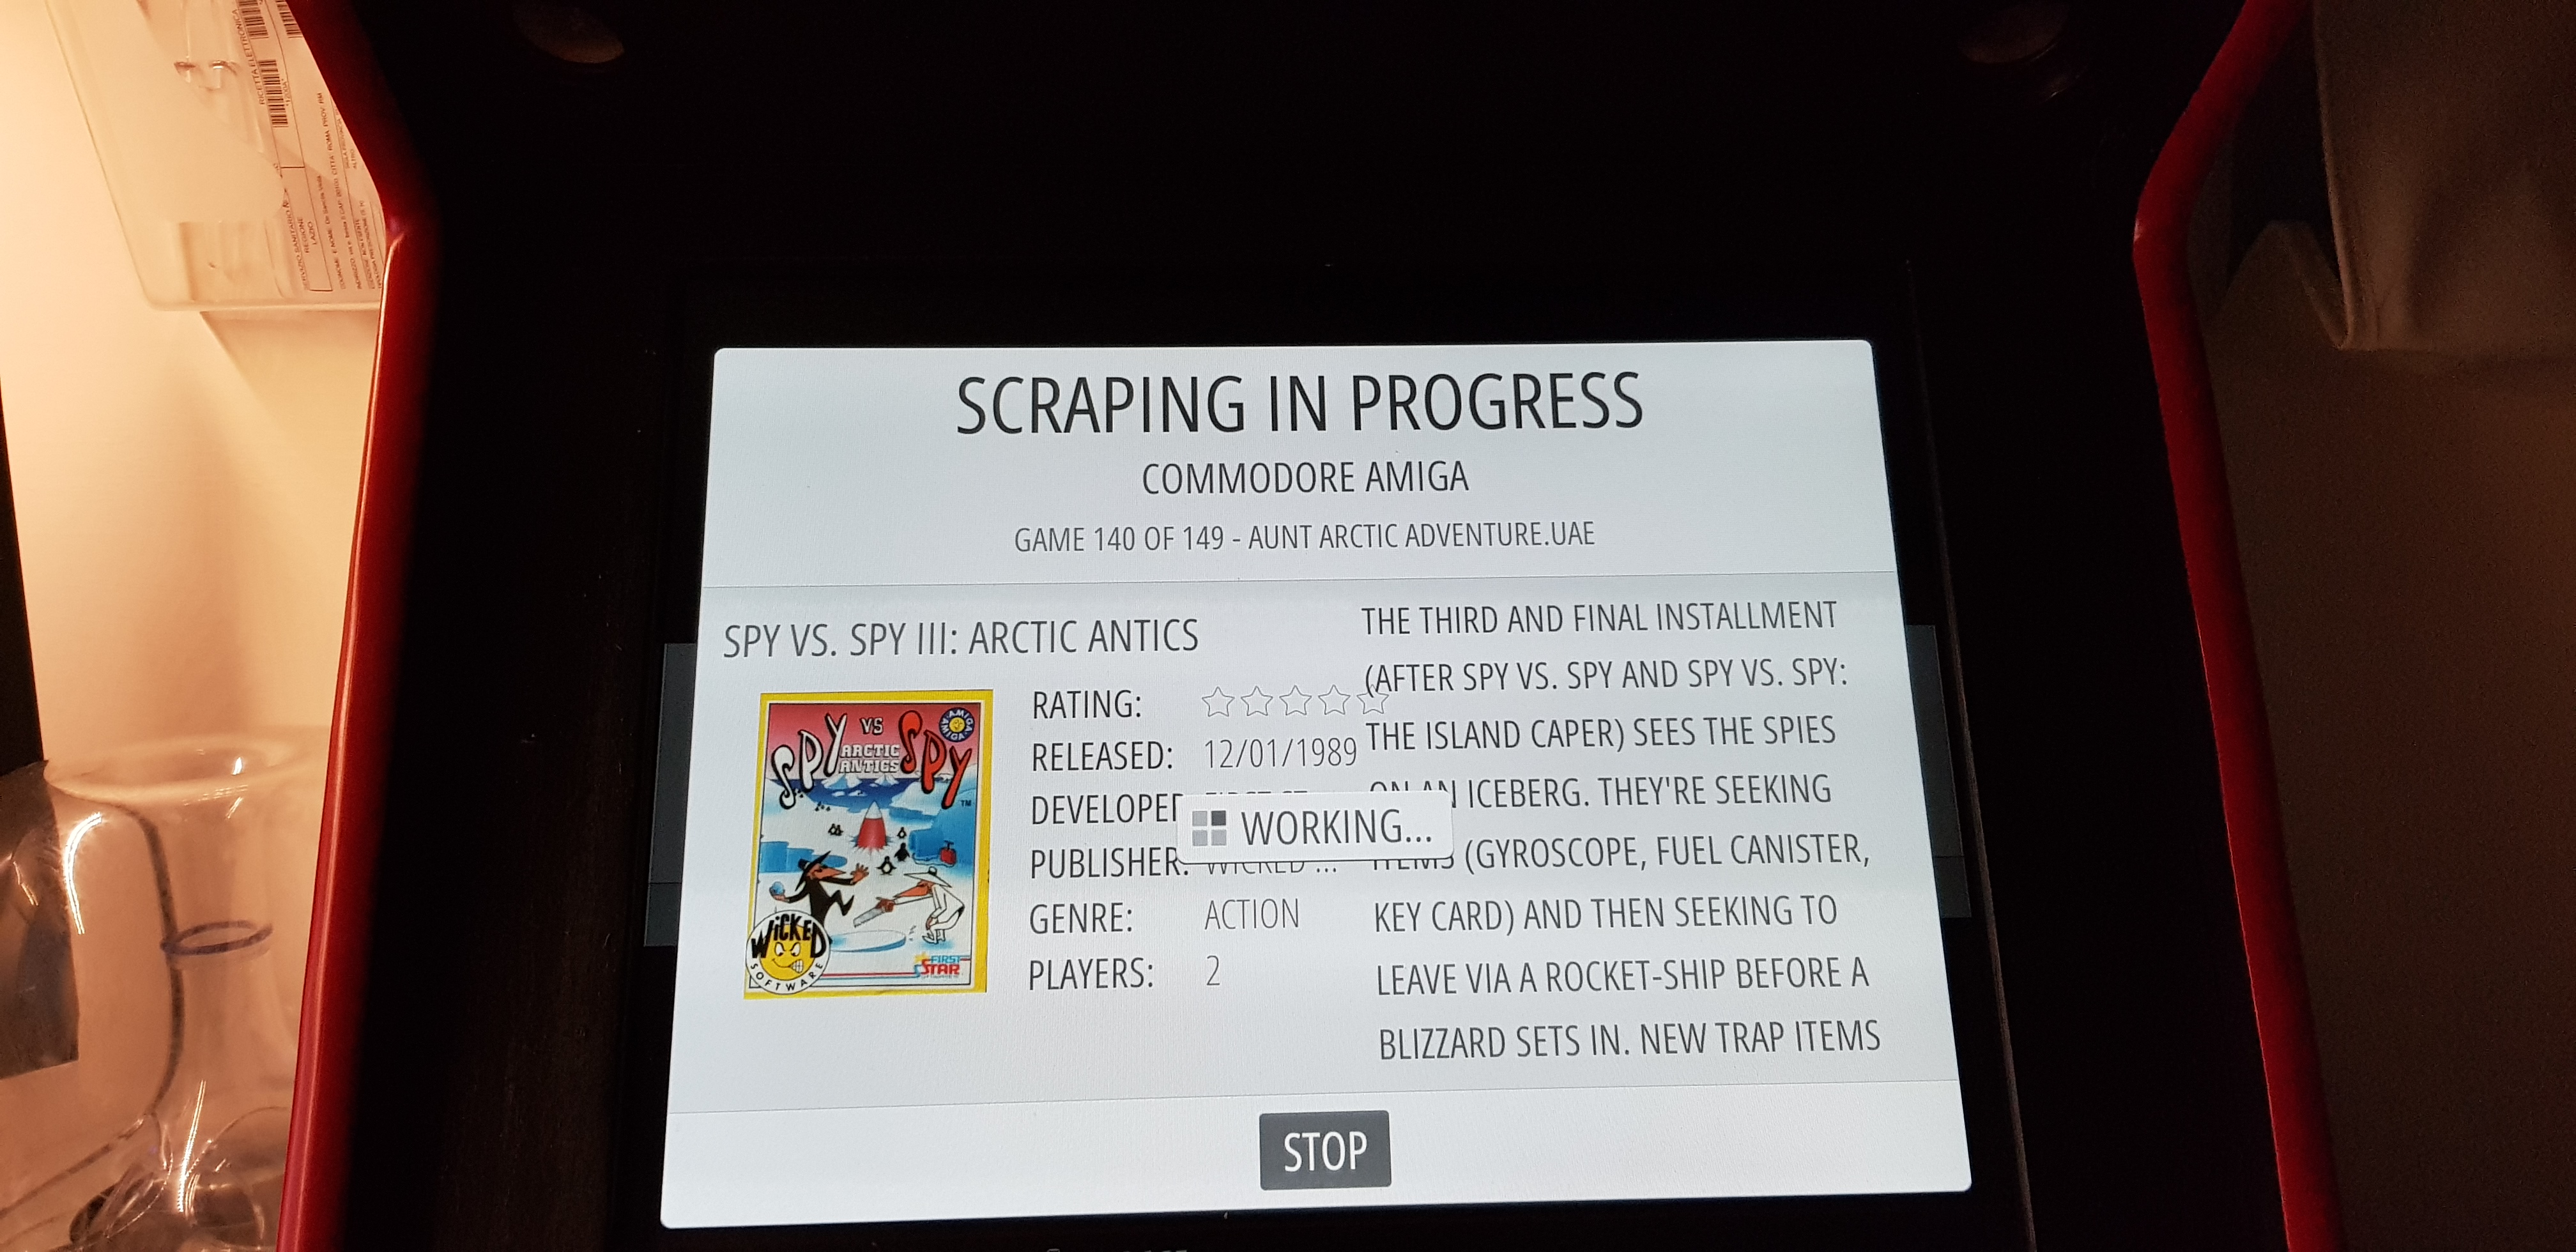
The main advantage of this scraper is that it’s entirely GUI-based… including the scraping process, which you can follow through a nice-looking interface:
If the built-in scraper isn’t working, either you are not connected to the Internet or thegamesdb.net is down (which happens quite frequently): in that case you’ll just have to wait until it comes back up… or use an external Scraping tool.
External Scrapers
The internal scraper is great, yet it has the MAJOR issue of only supporting thegamesdb.net, which isn’t enough to cover all the ROMs metadata and has also recently put some crippling limitations to their API under the form of a max daily quota (for additional info, read the thegamesdb.net API docs). Luckily enough, there are a number of open-source alternatives you can use instead of the internal Scraper: the ones that I could recommend nowadays are Steven Selph’s Scraper, Skyscraper and Universal XML Scraper. The first two must be launched from the Raspberry Pi’s Linux terminal, while the latter is a Windows-based software.
Steven Selph’s Scraper
Steven Selph’s Scraper is an easy to use third party scraper. It’s not hard to setup and can be a fast way to scrape metadata to your RetroPie. You can find its install instructions by clicking here.
Skyscraper
Skyscraper is a highly customizable option with interesting level of depth in the kind of information it scrapes. It was created by Lars Muldjord. This scraper is one the most versatile and regularly maintained scrapers available for the RetroPie. You can find its install instructions by clicking here.
Skyscraper is my favourite scraping tool so far, since it comes with a huge amount of options, parameters and features to fine-tune your scraping experience: it also supports video scraping, which is a great addition for the ROMs that actually have a video (such as most arcade ROMs).
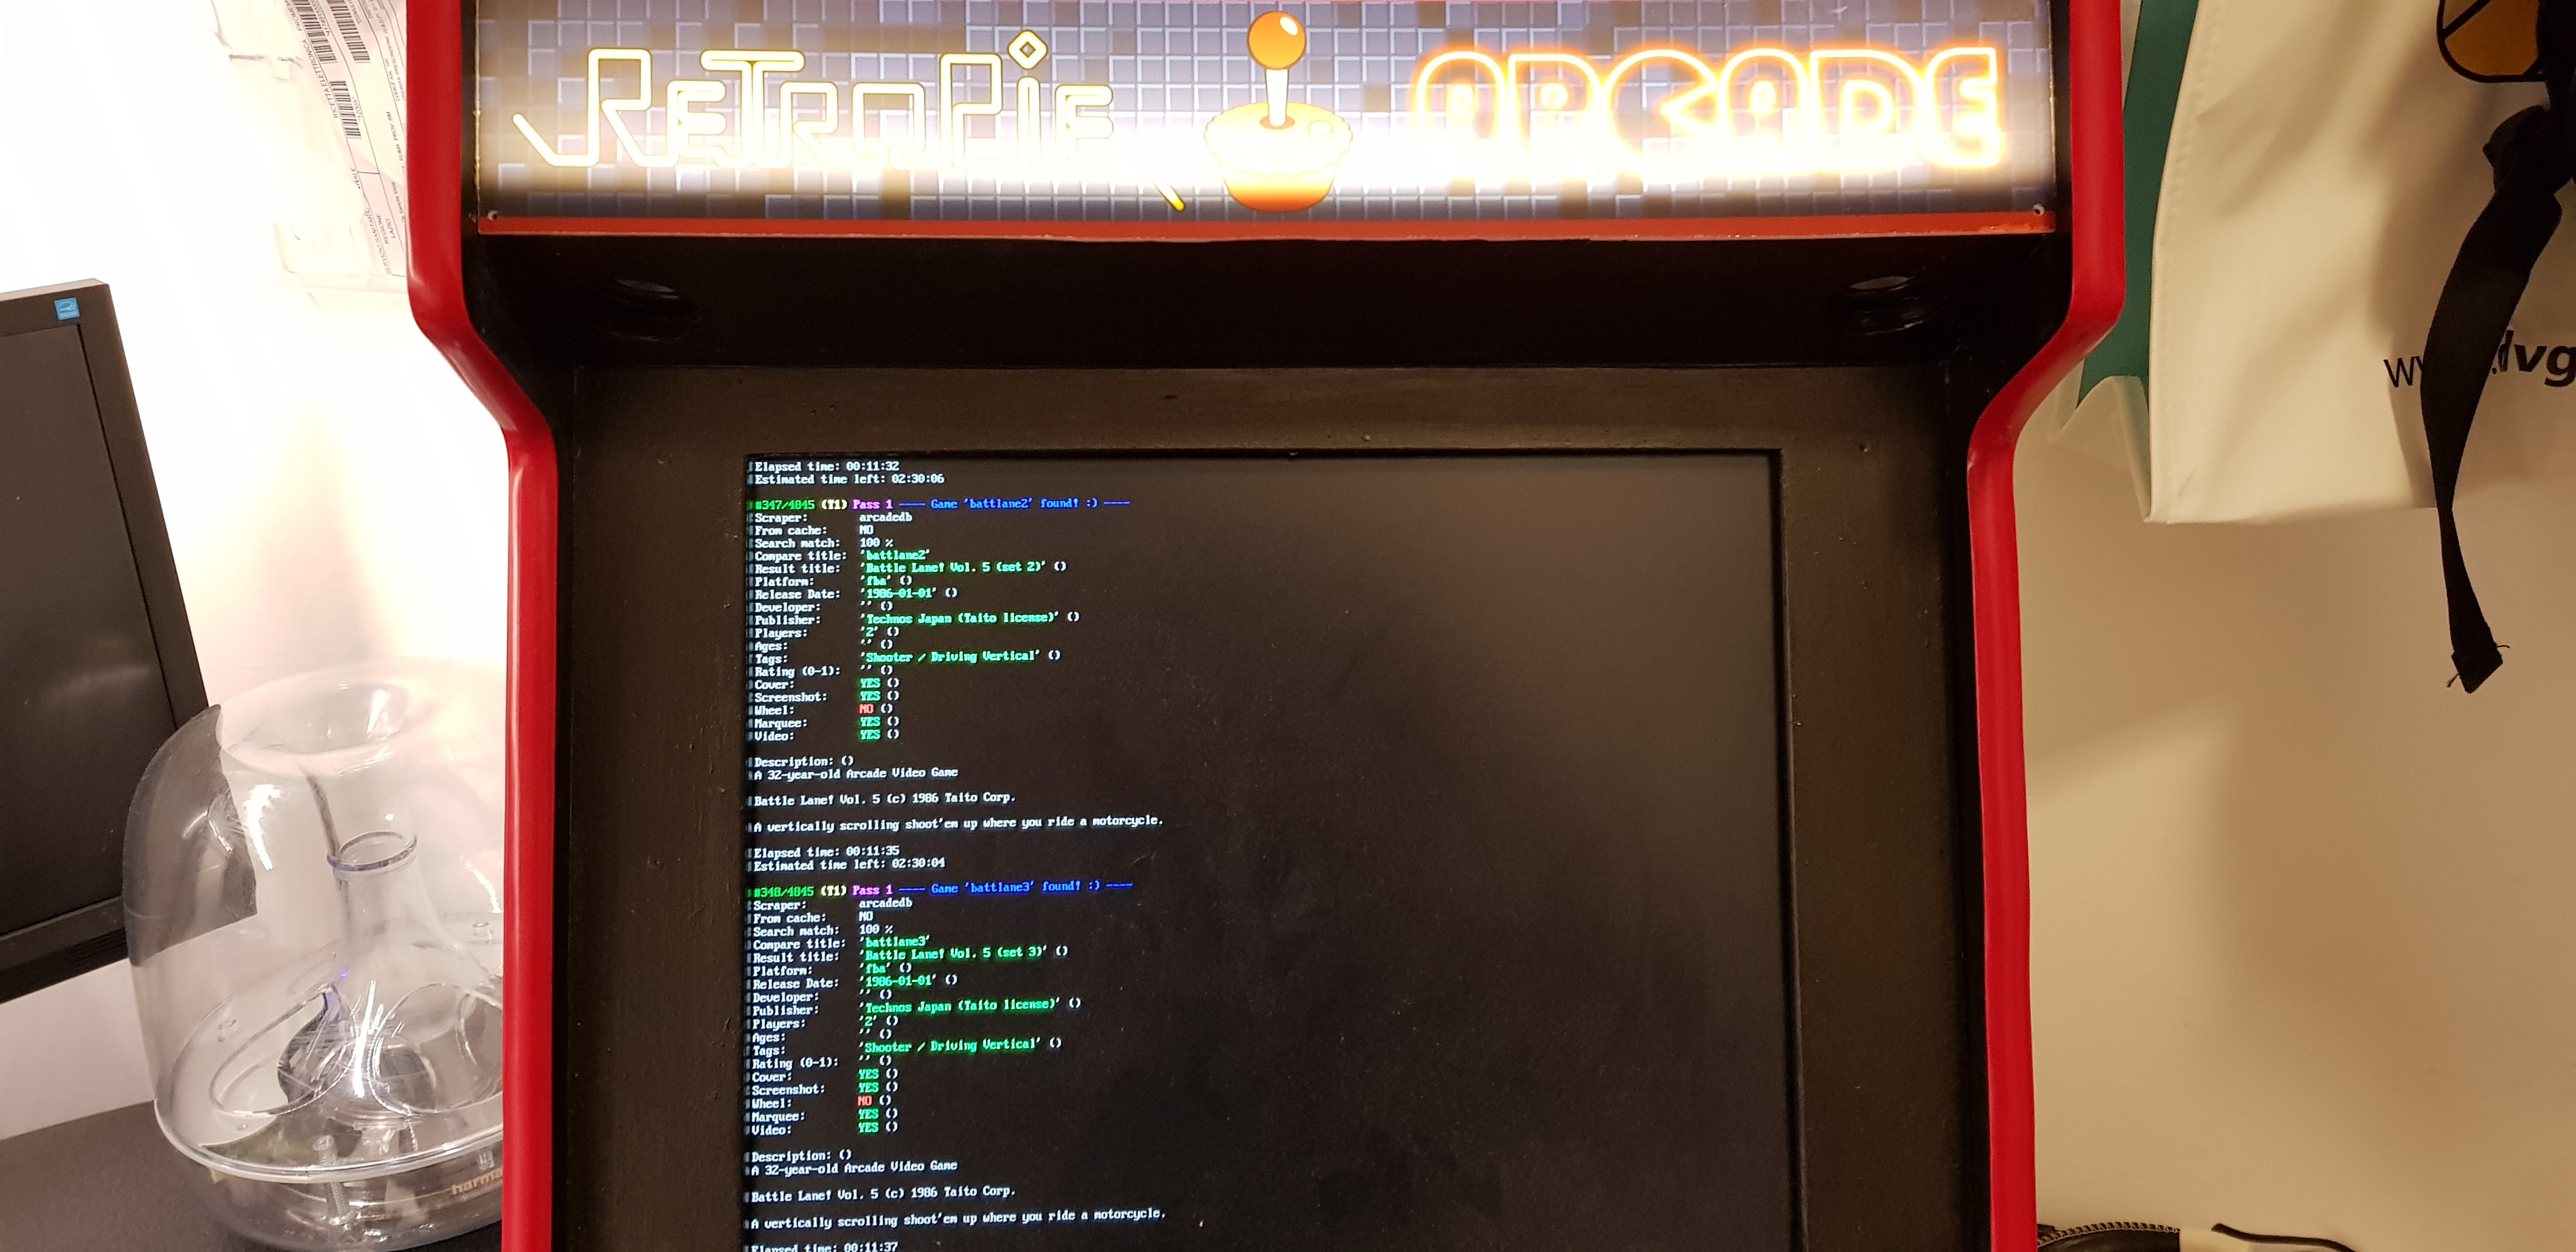
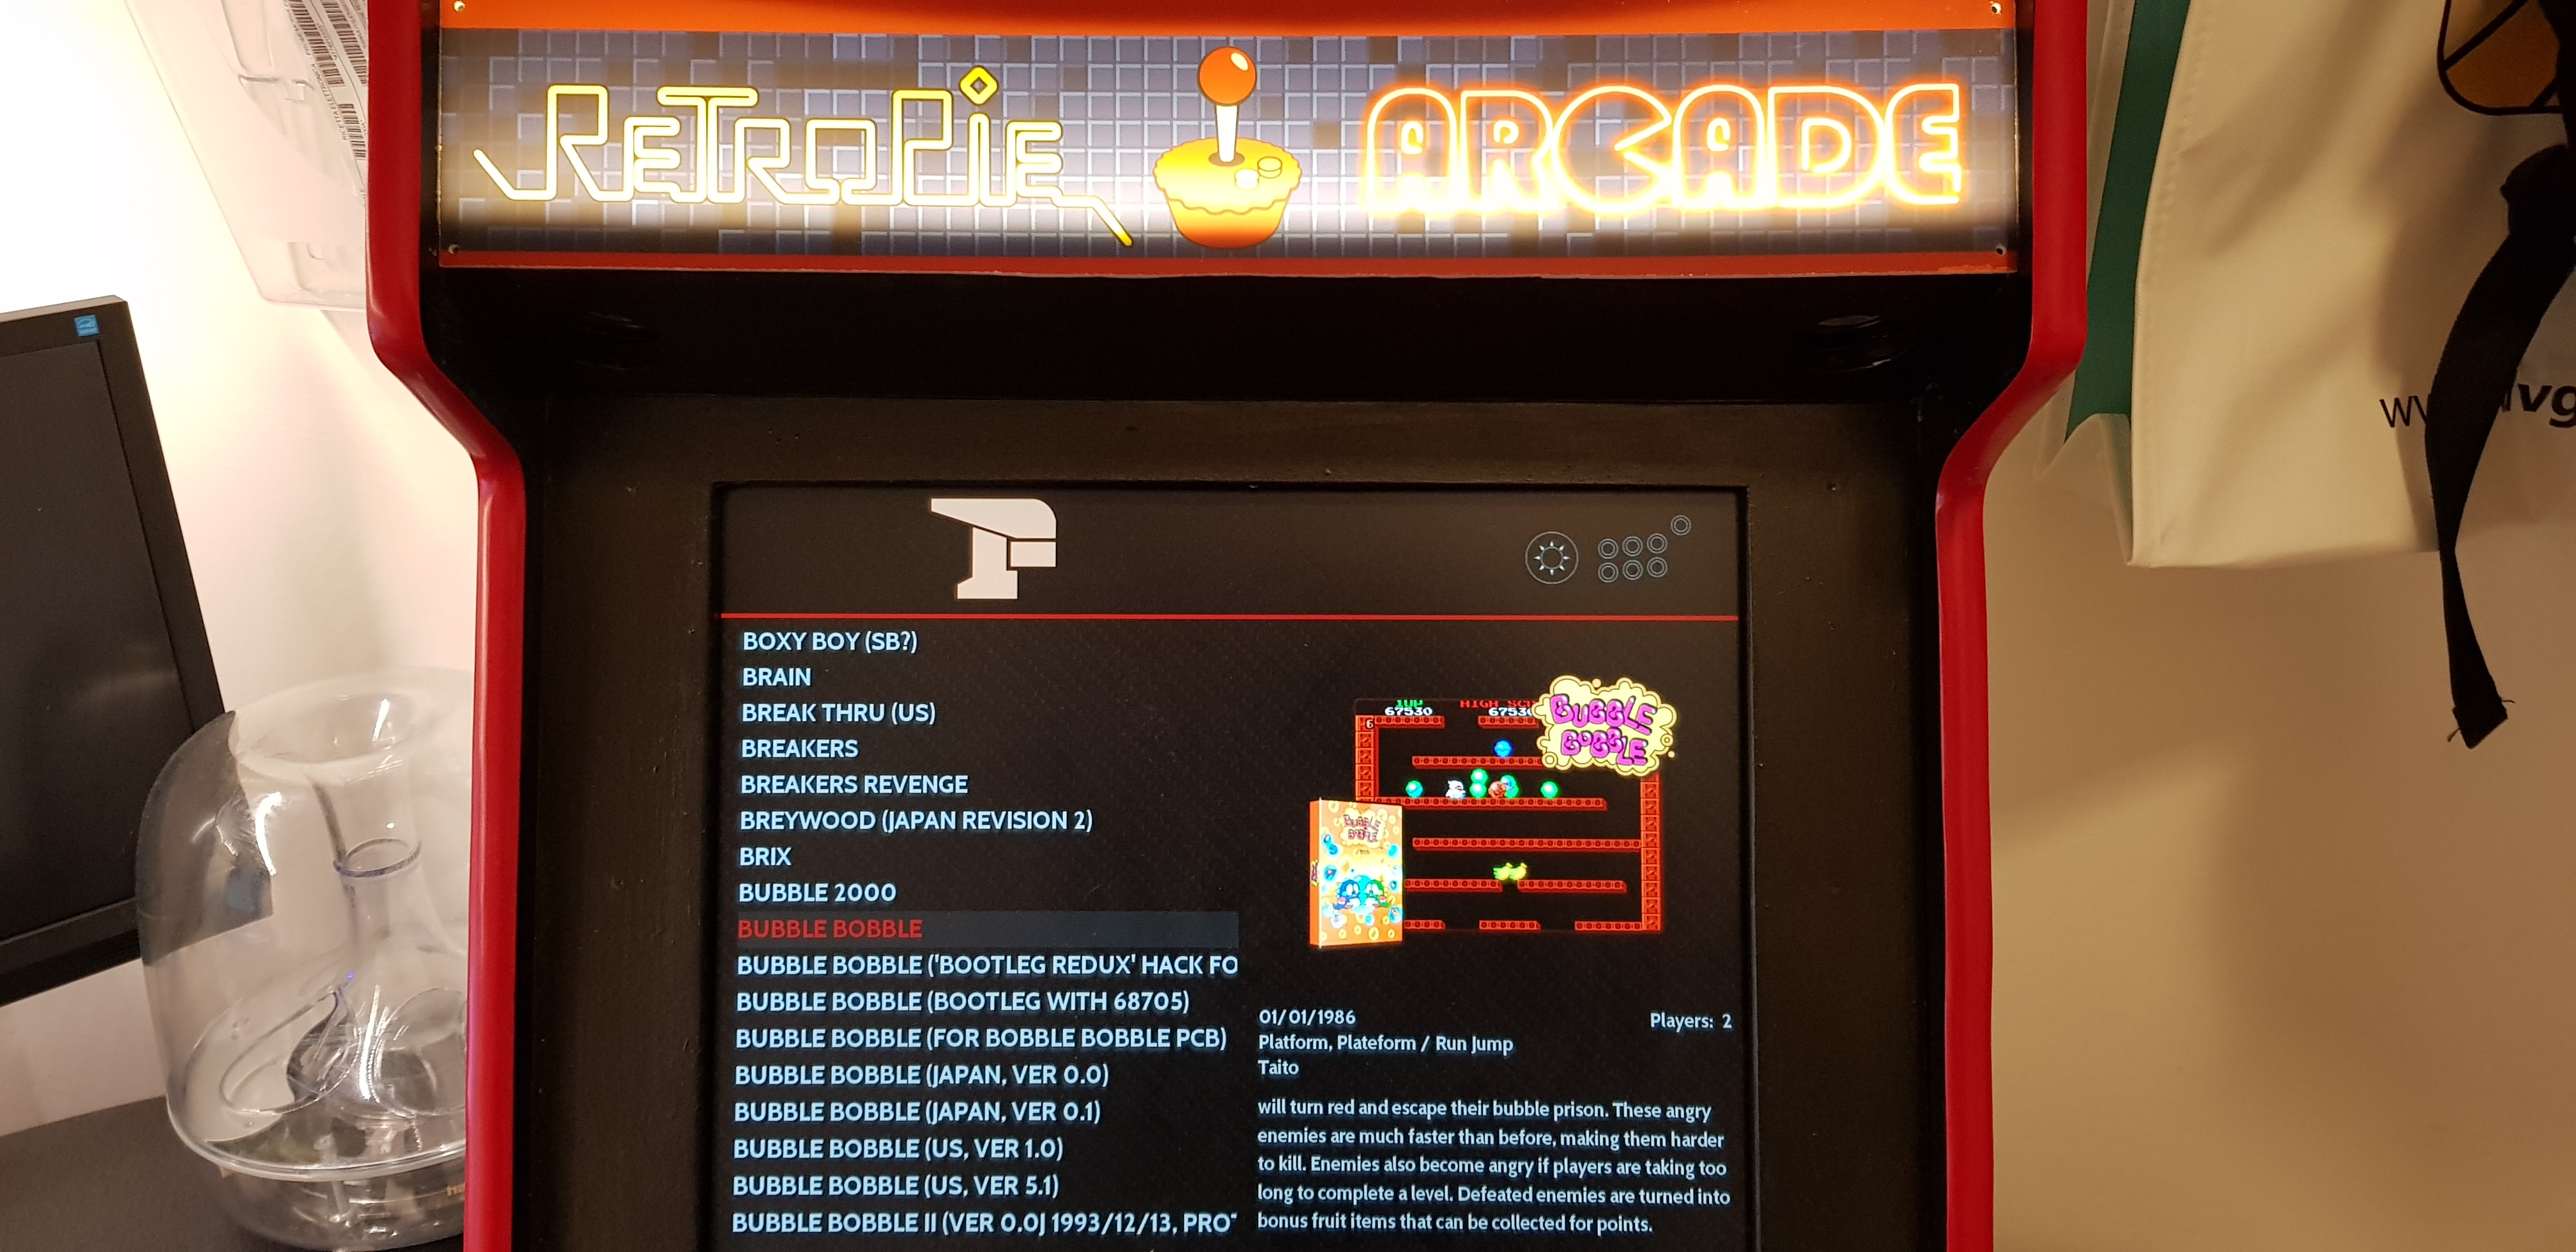
Here’s the Skyscraper “scraping in action” on my Arcade Bartop:
And here’s a screenshot of my arcade ROM list using Skyscraper:
Universal XML Scraper
Universal XML Scraper is a simple, yet powerful tool that uses the screenscraper.fr database. It can scrape in French, English, German, Spanish and Portuguese and works perfectly with EmulationStation. You can find its install instructions by clicking here.
Universal XML Scraper has a lot of neat features, such as:
- AutoConfig mode: an easy-to-use scraping mode that only requires you to pass the directory containing all the directories of your different systems (directly on the PI via the network, on a NAS, a USB key, etc.), letting the software taking care of configuring the paths and substitution for the XML file. You can scrape 1 selected system or all at once.
- MIX mode : a mix between multiple images among those available for each game (game screenshot, console/arcade marquee, game box, and so on) to generate a single scraped image.
The only real downside is that he can only use the screenscraper.fr database – which is the main reason why I’m still using Skyscraper.
Conclusion
With the Raspberry Pi, RetroPie and EmulationStation configuration we reached the end of this wonderful journey: our Arcade Bartop is now 100% ready to rock, with a ton of games: Arcade Games, Amiga NES, SNES, Genesis, and much more!
Thanks a lot for reading this, I really hope you liked this tutorial! If you do, remember to Like this website on Facebook and to share these posts with your friends.
As always, if you have any question or want to leave your feedback, you’re more than welcome to do that using the comment section below!
In case you’ve missed the previous posts, here are the links to the whole guide:
- Part 1 of 6: Introduction & Raw Materials
- Part 2 of 6: Tools, Design & Prototype
- Part 3 of 6: Building the Cabinet
- Part 4 of 6: Painting & T-Molding
- Part 5 of 6: Installing the Hardware
- Part 6 of 6: Configuring the Software (Raspberry PI & Retropie)
Check out all the pictures of the Arcade Bartop (all those used in this tutorial + more) on my Arcade Bartop album on Flickr.com.