 - Part 1 of 6 - Introduction")
Table of Contents
Welcome to part three of my six-post long Arcade Bartop DIY tutorial. In case you’ve missed the previous posts, here are the links to the whole guide:
- Part 1 of 6: Introduction & Raw Materials
- Part 2 of 6: Tools, Design & Prototype
- Part 3 of 6: Building the Cabinet
- Part 4 of 6: Painting & T-Molding
- Part 5 of 6: Installing the Hardware
- Part 6 of 6: Configuring the Software (Raspberry PI & Retropie)
This part is mostly about the mission-critical DIY tools mentioned in part 2: the Jigsaw, the Drill and the Dremel, the Clamps and the Electric Screwdriver.
Cutting the Wood
As explained in part 1, we need to get ourselves some multi-layered wood – roughly 2 square meters – and cut it (or have it cut) by following the instruction explained in part 2. It’s worth noting that, for this project, I used wood of various thickness, as I wanted the outmost hull to be more robust and solid than the inner parts. You’re free to follow that same path or change the thickness, although I strongly suggest to stick to the plan unless you’re able to re-calculate the cut sizes accordingly.
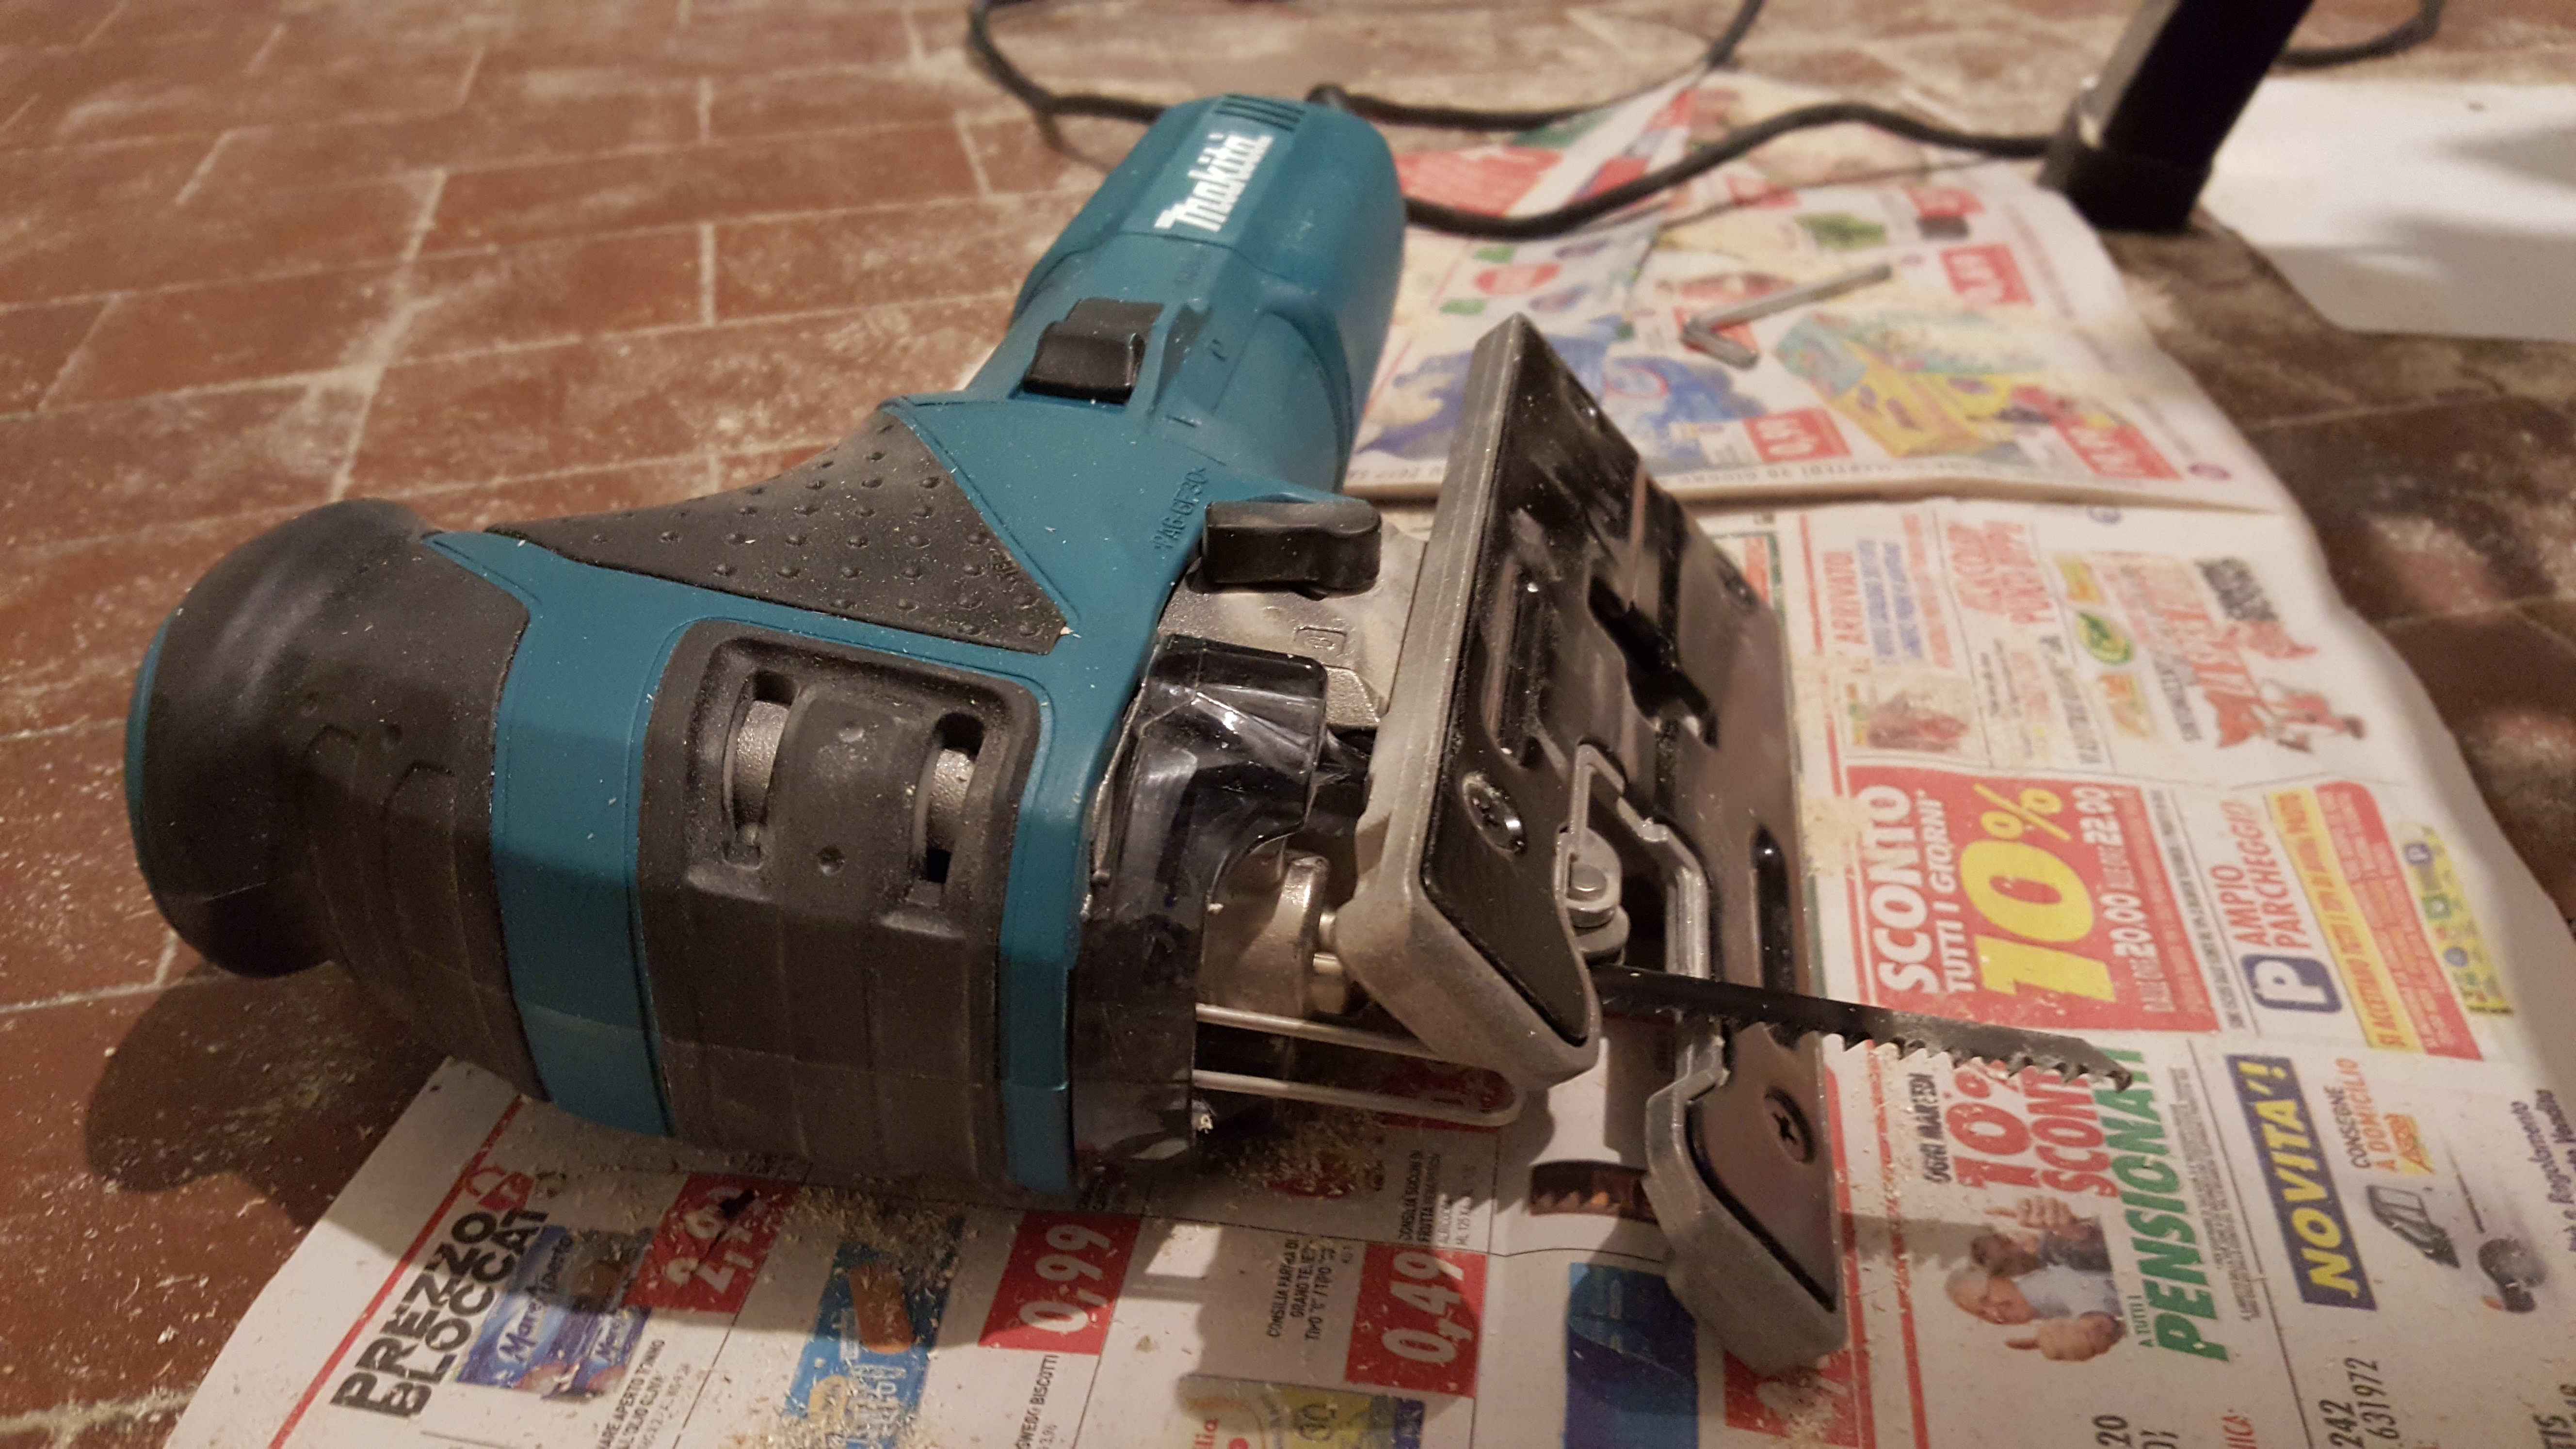
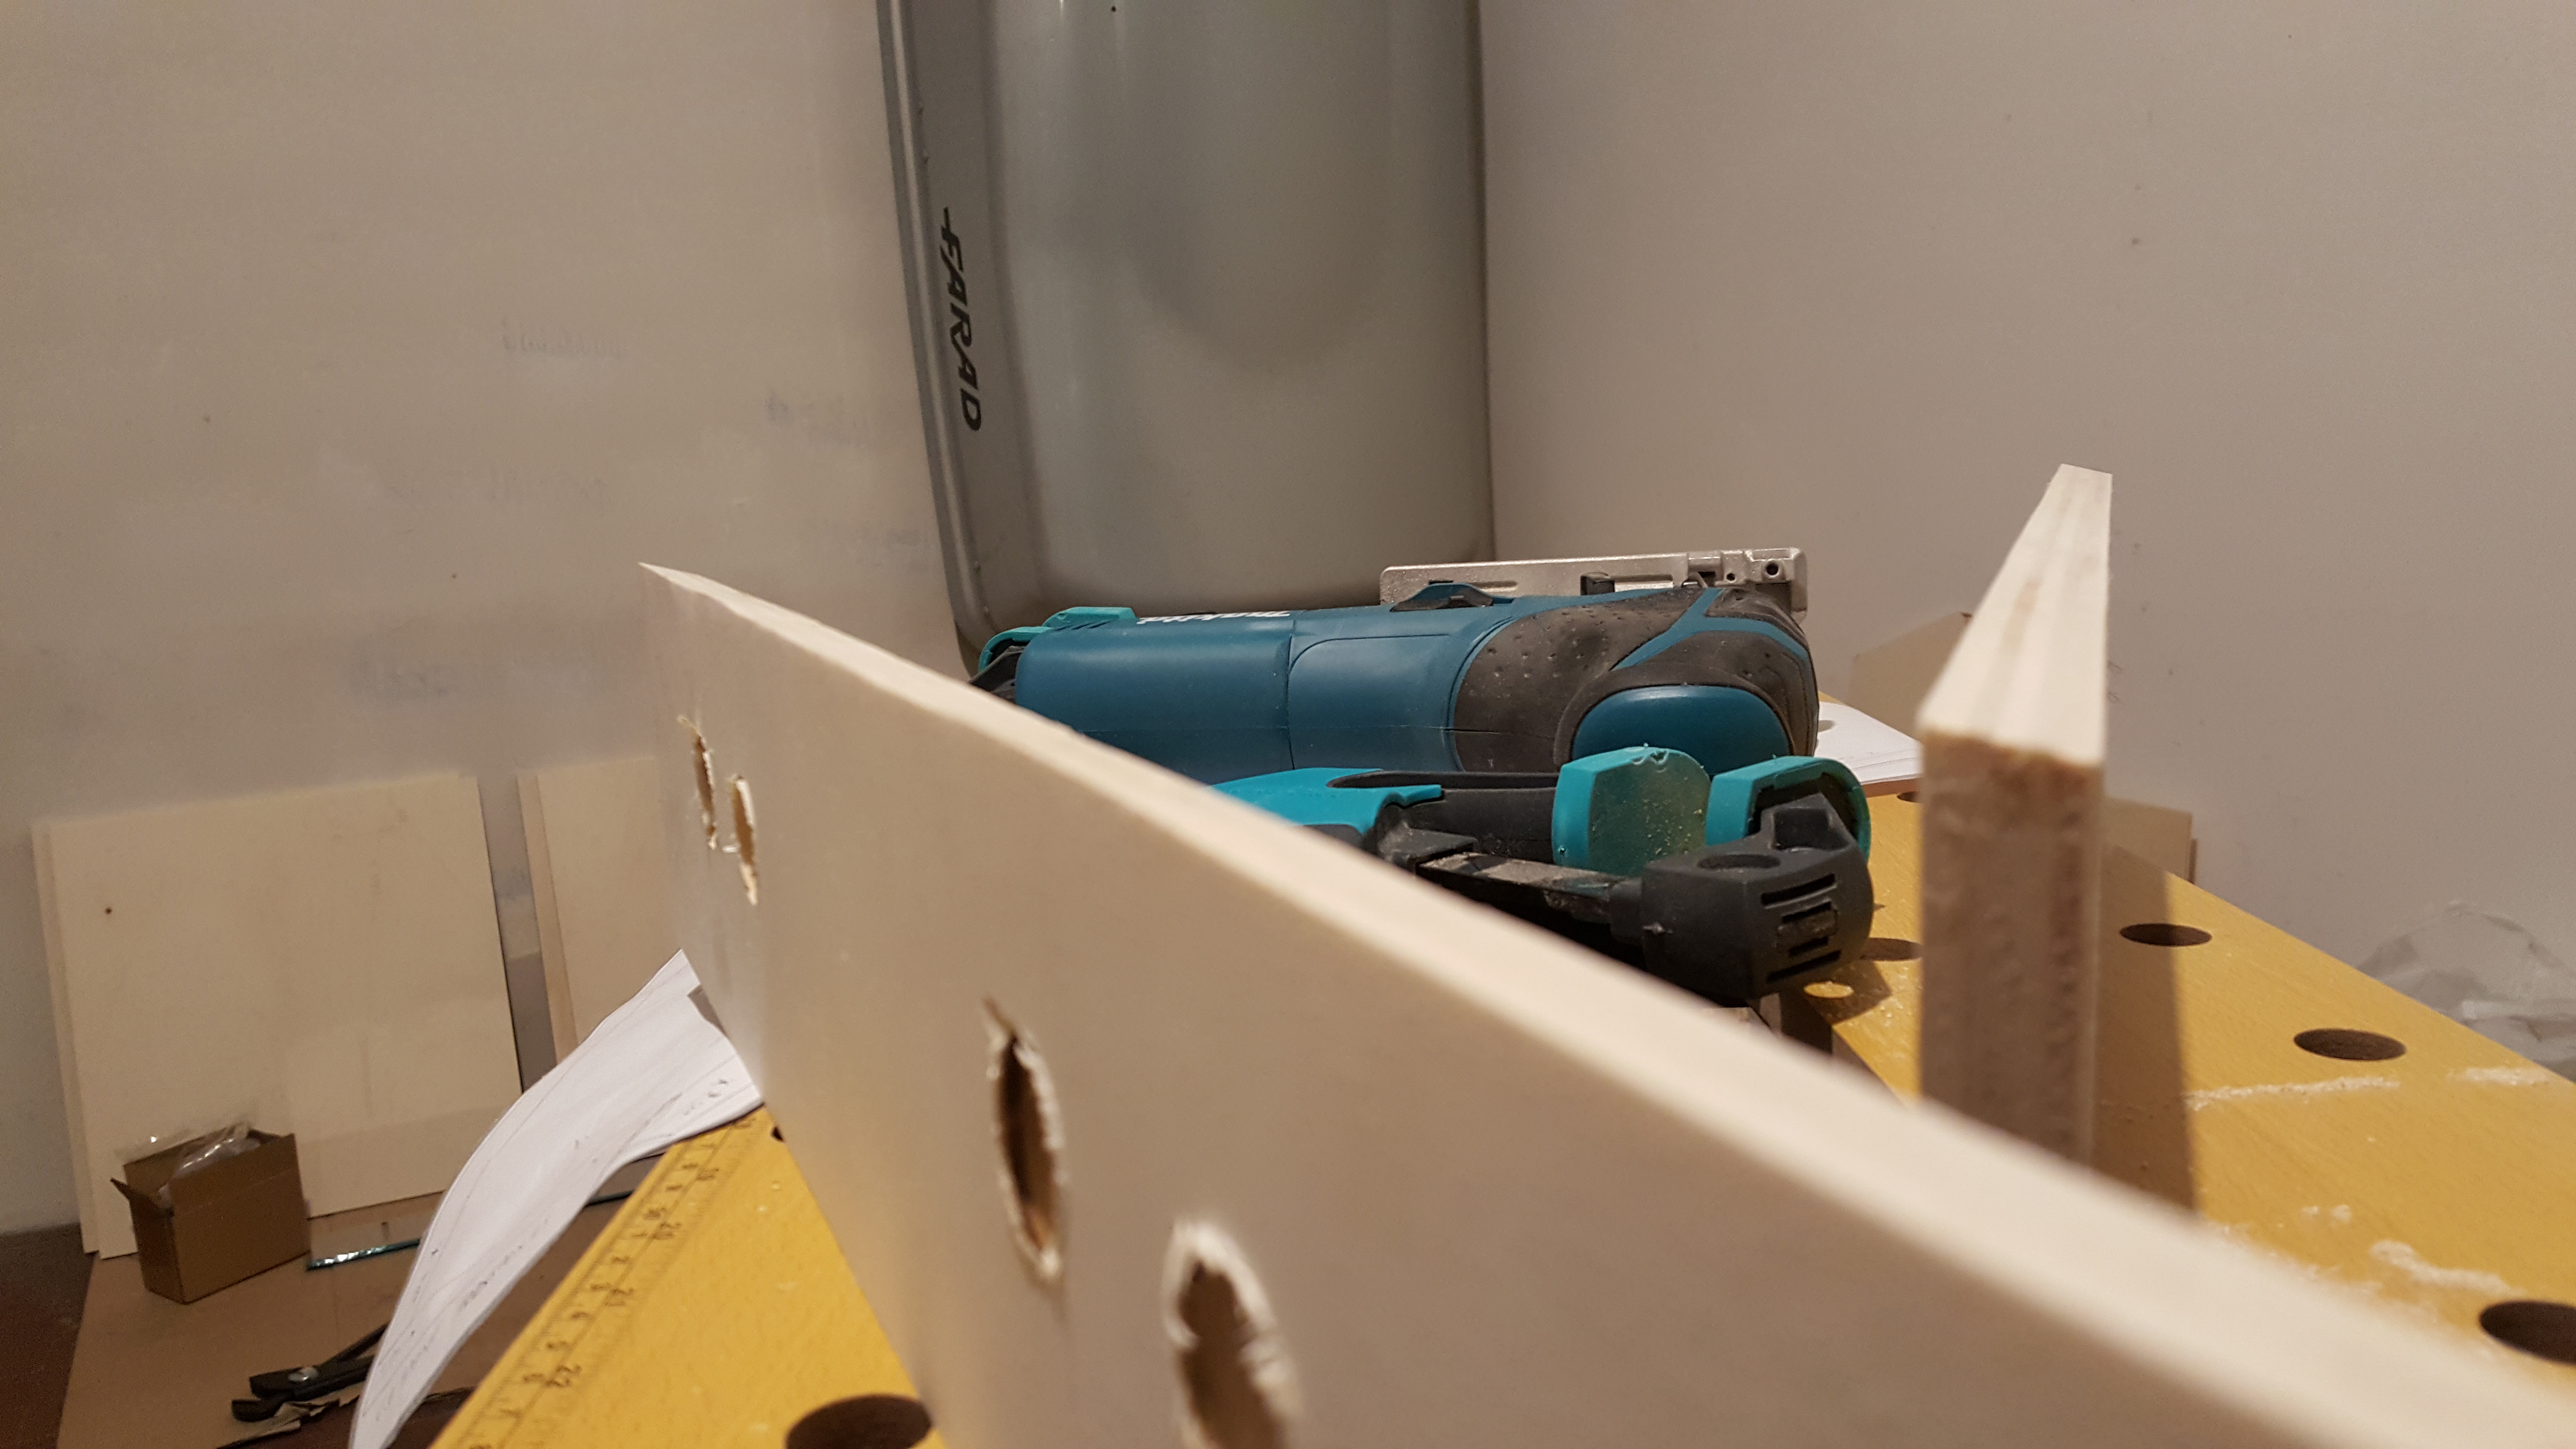
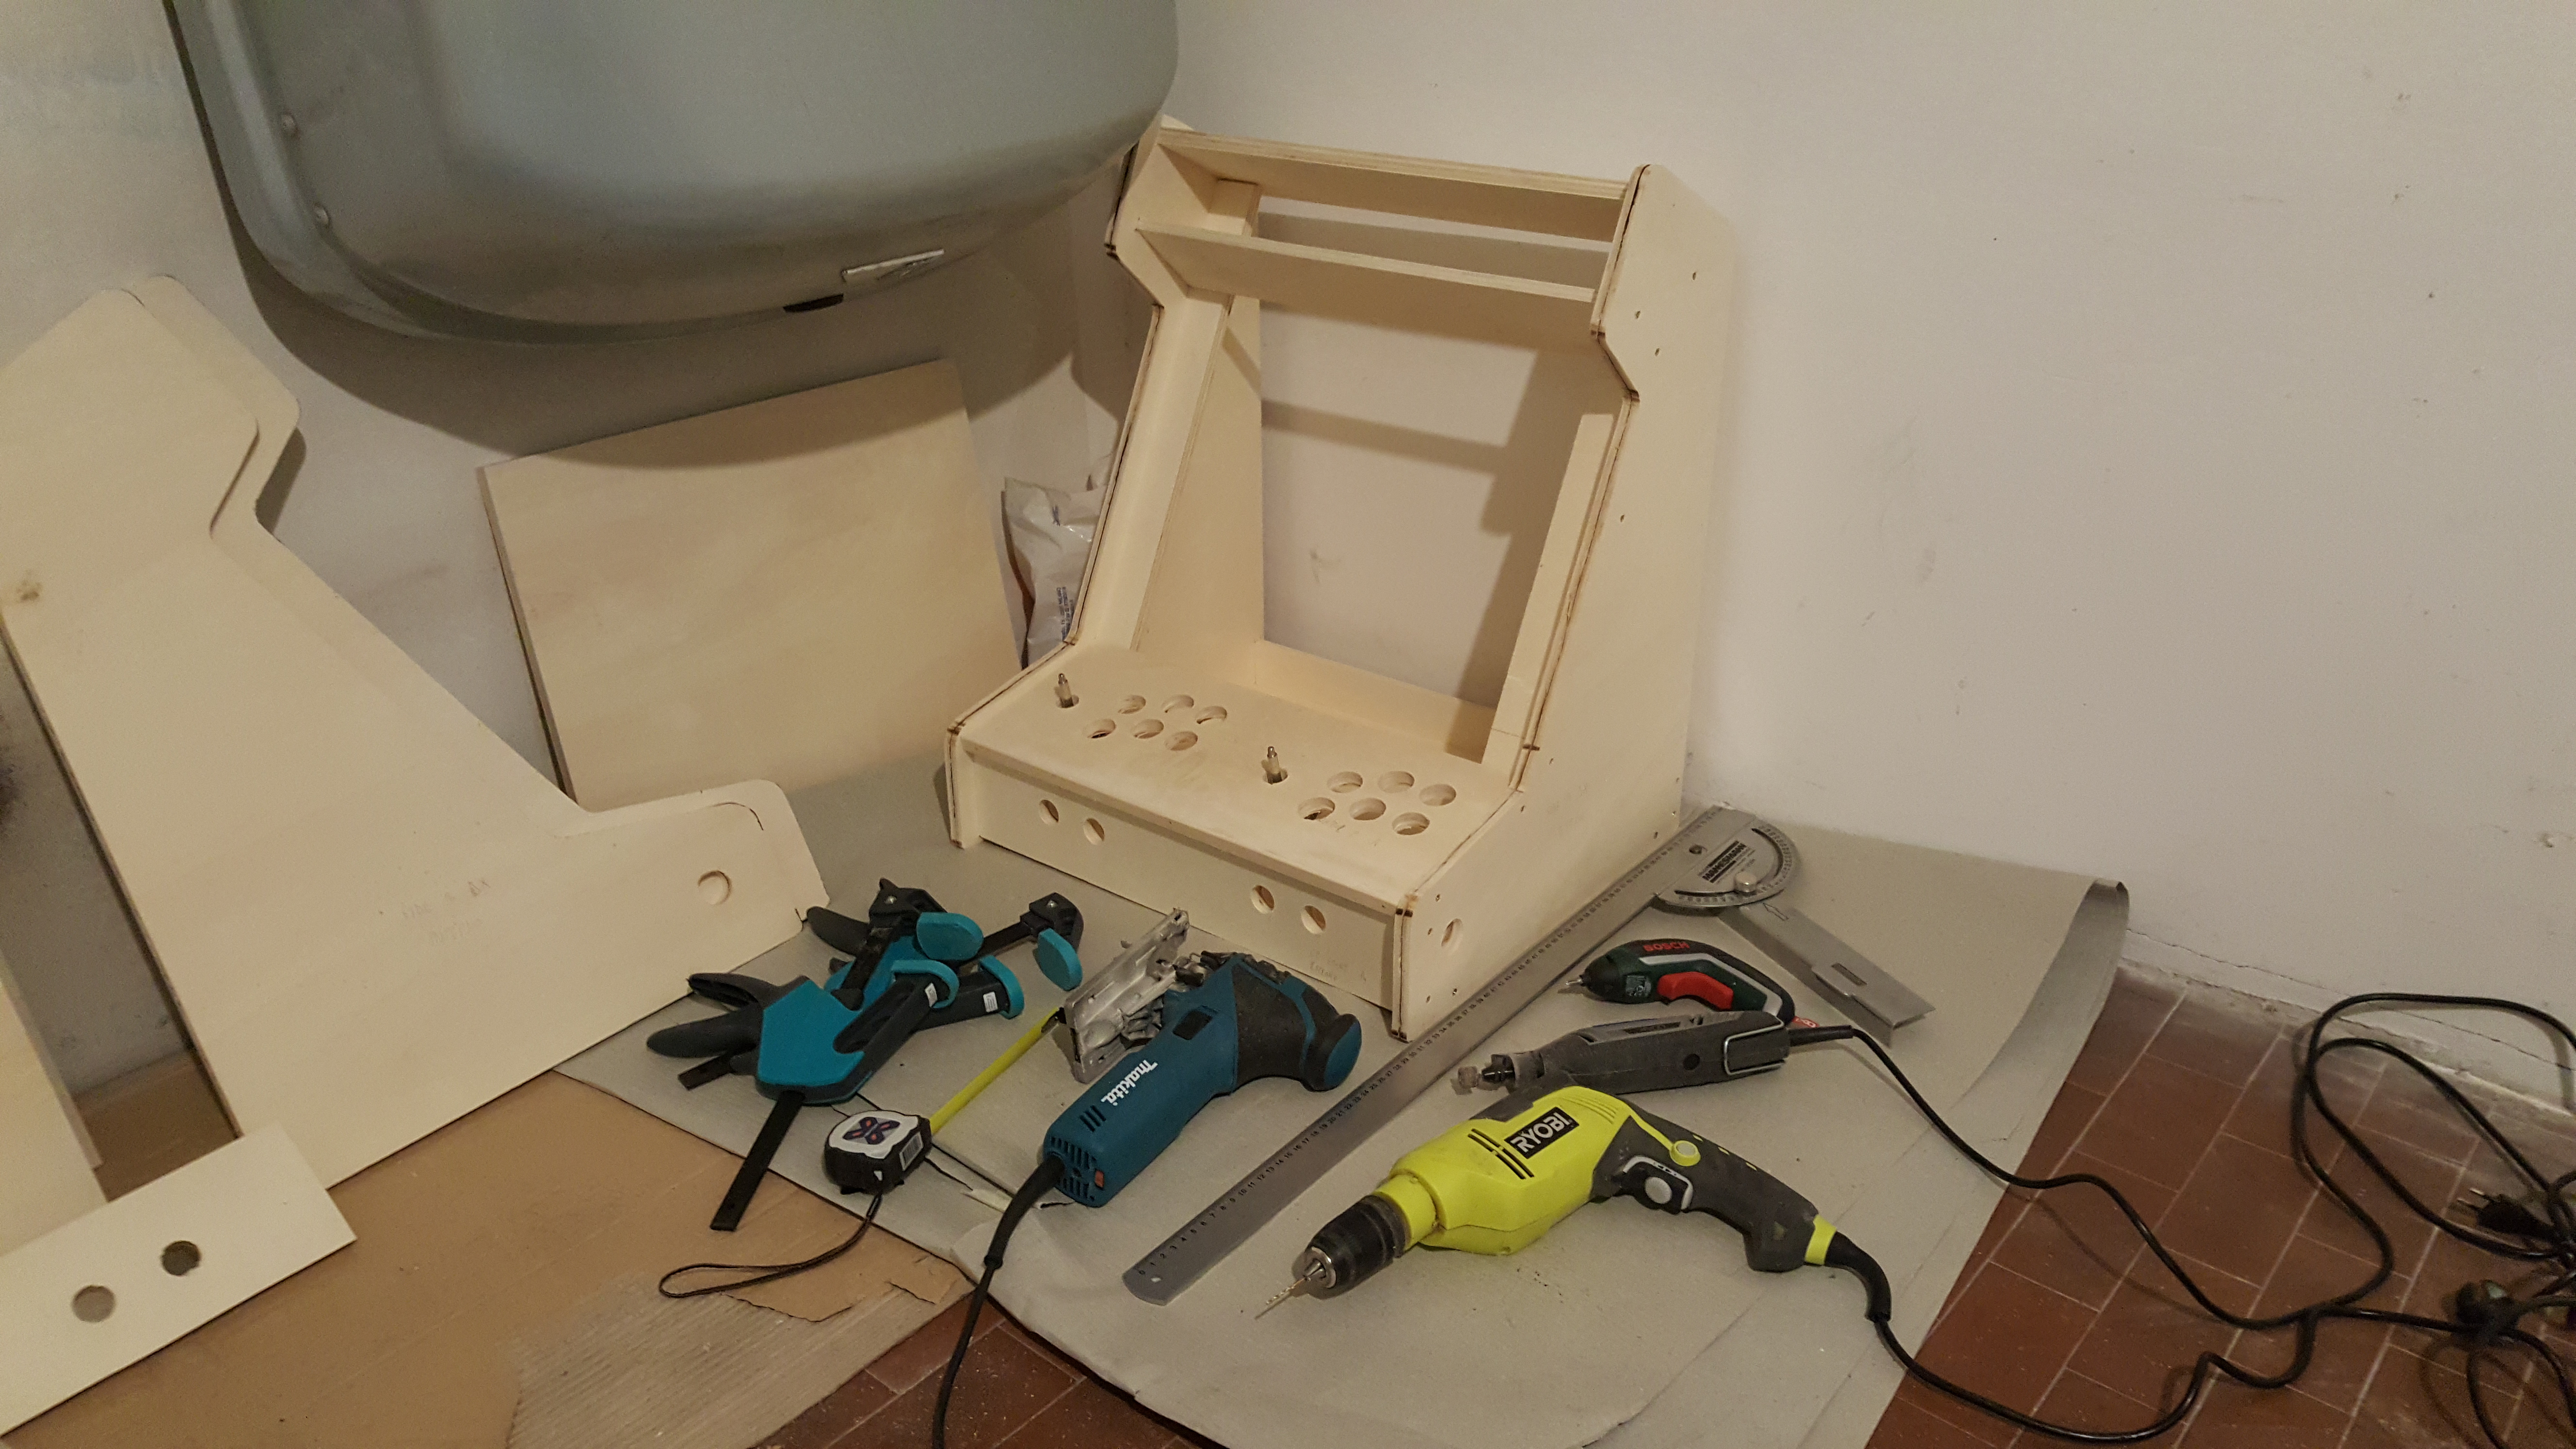
Anyway, here’s what I did with my Makita 4351FCT jigsaw and the two pair of clamps:
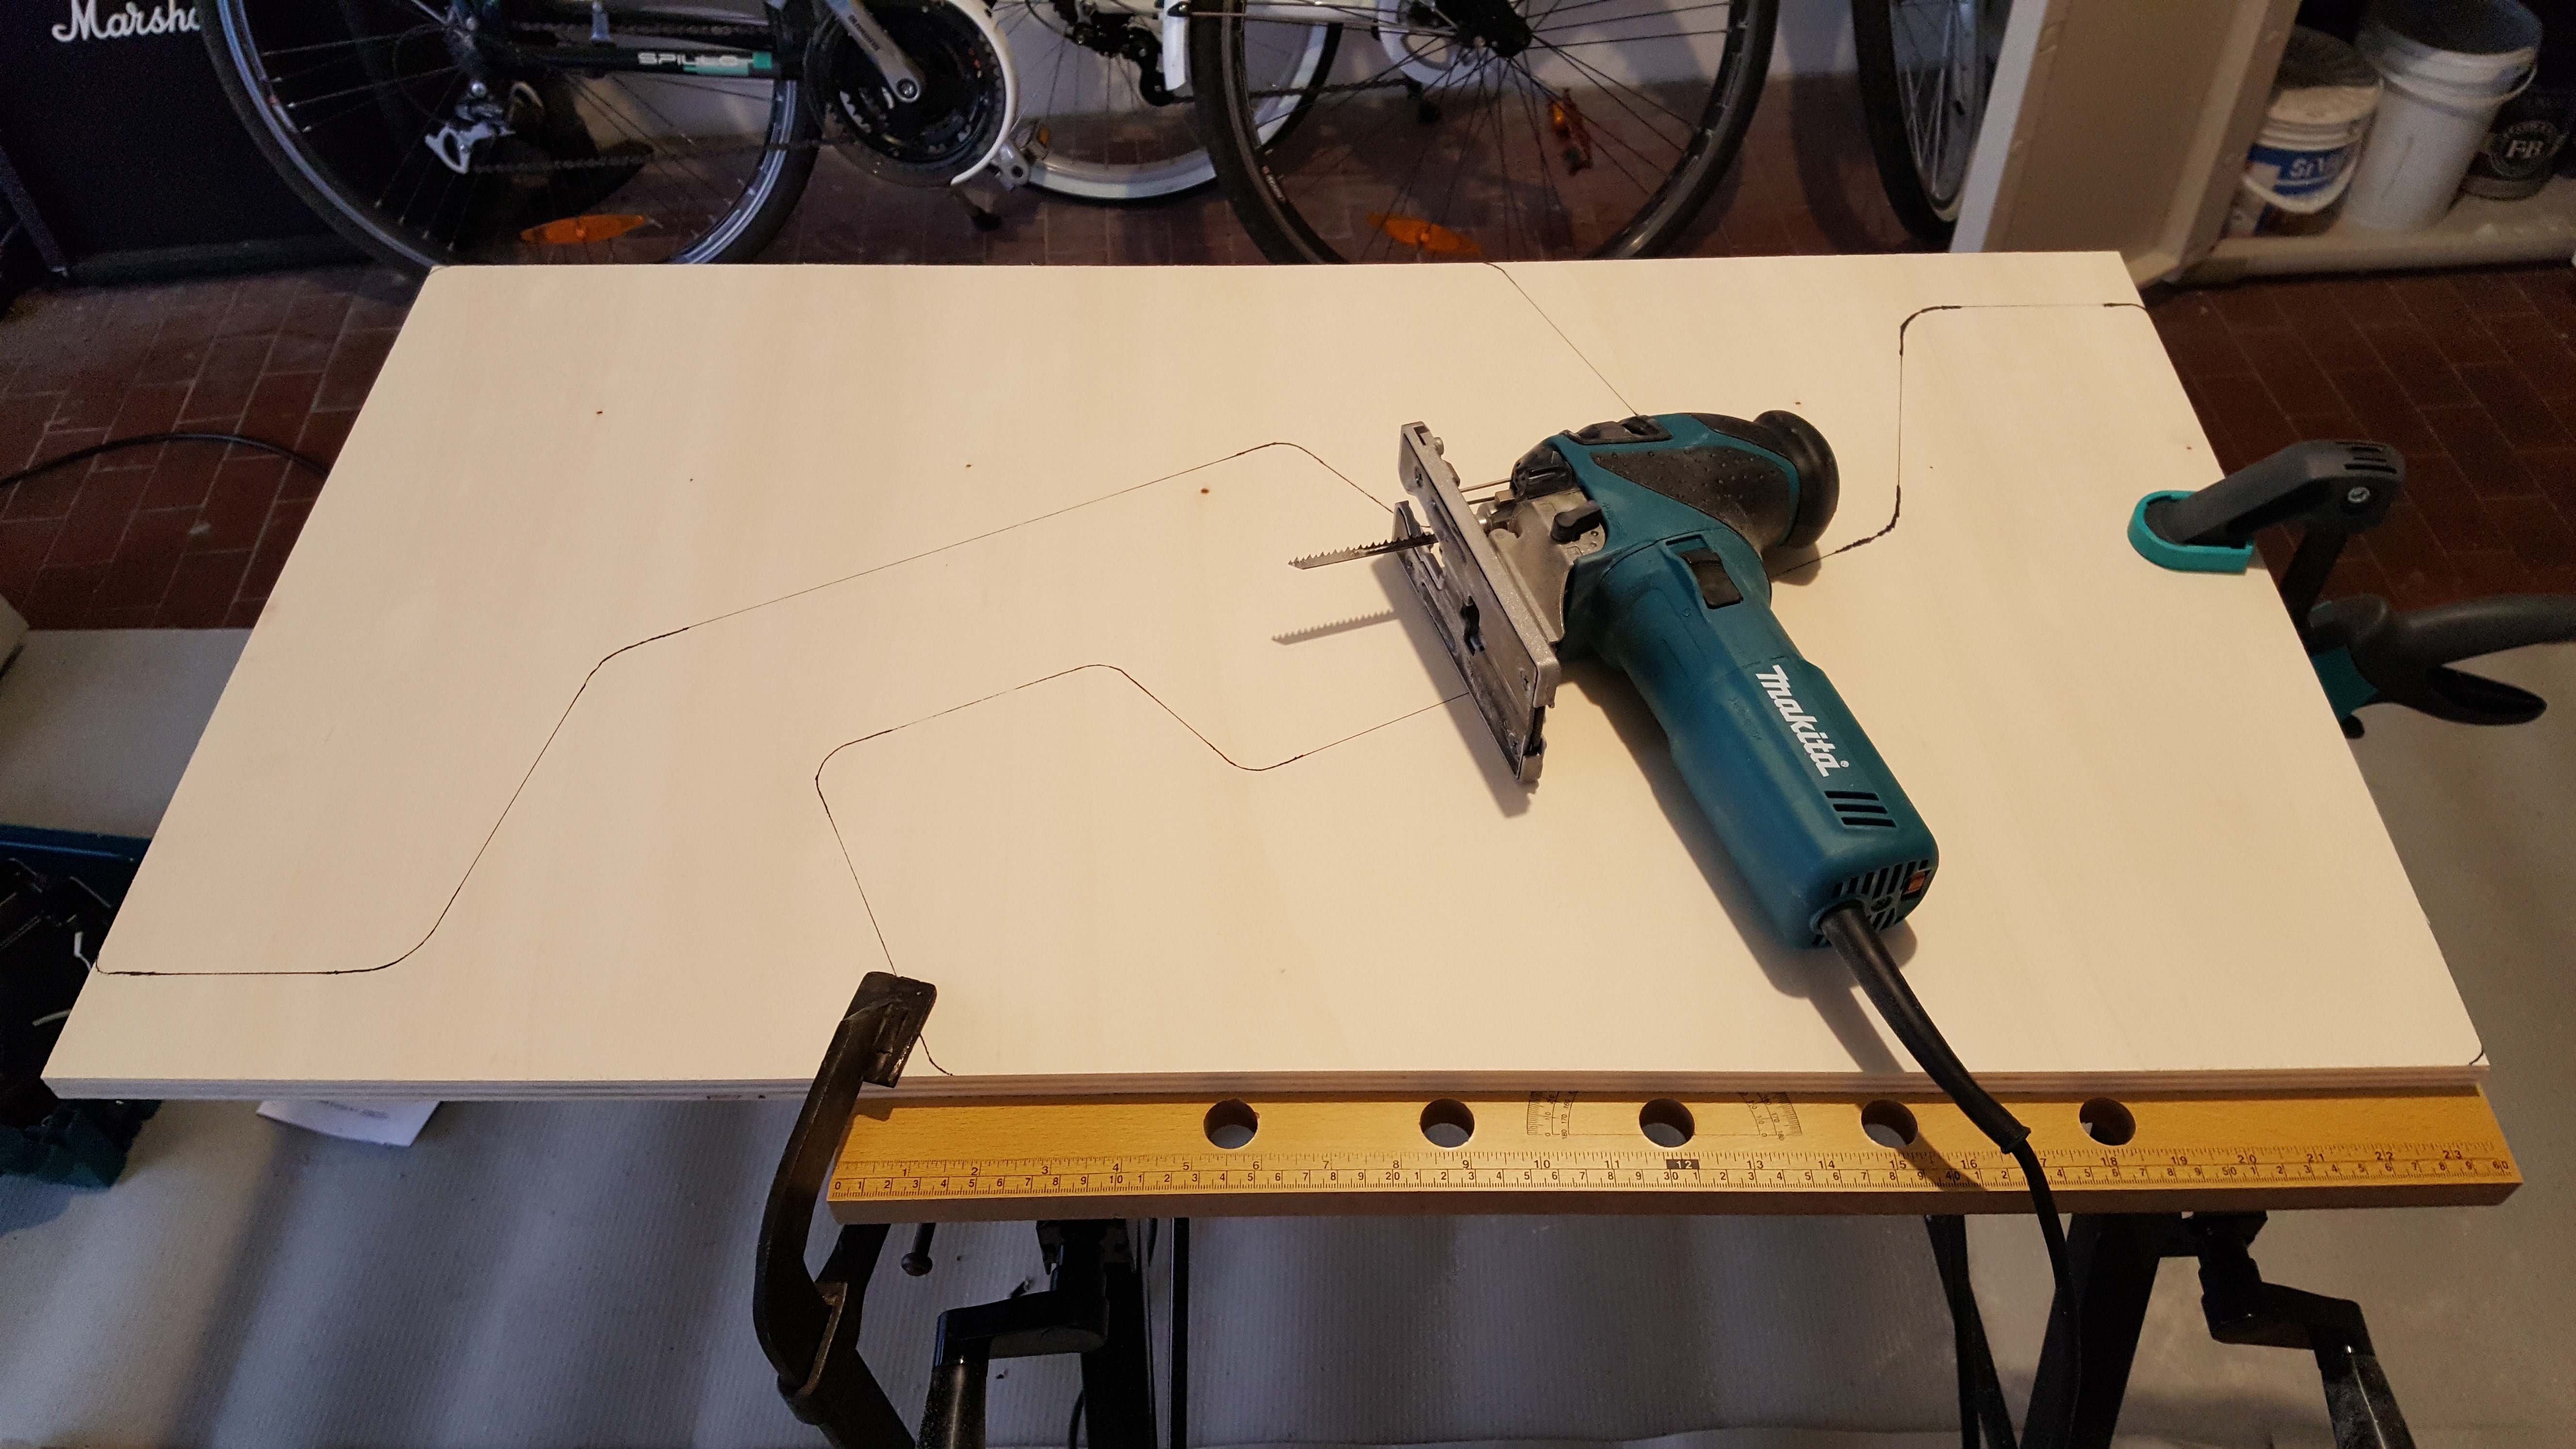
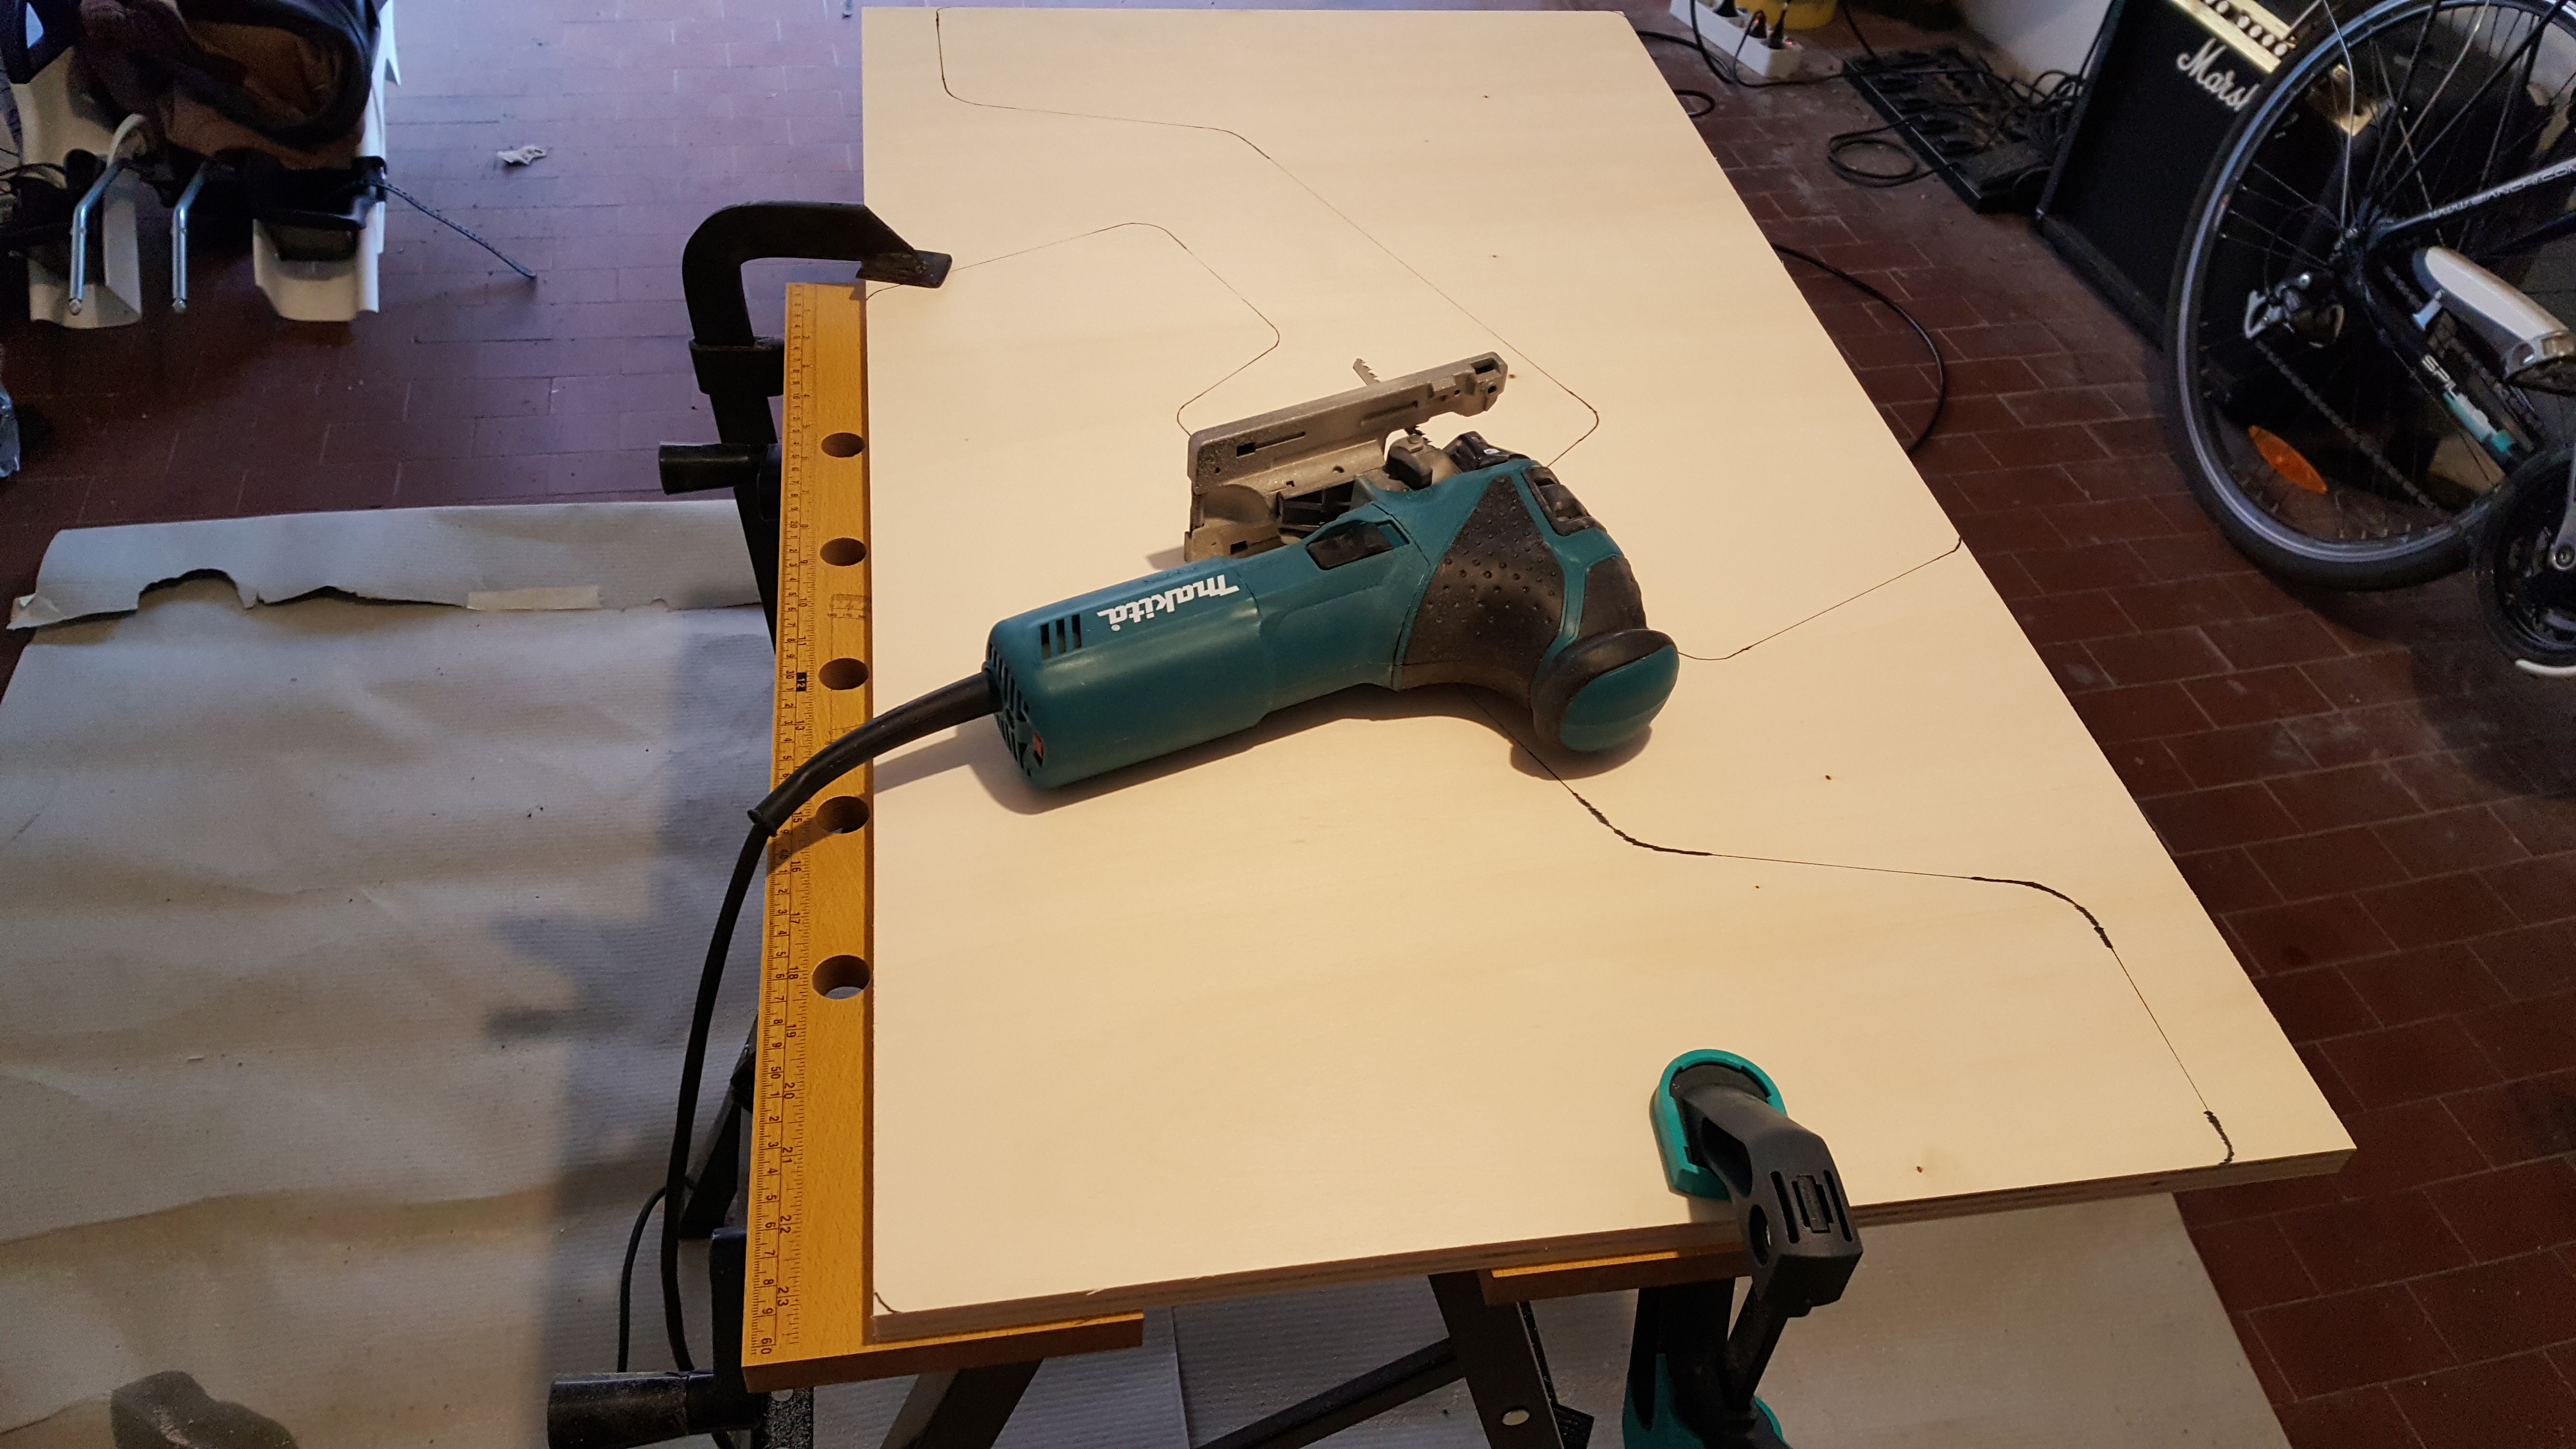
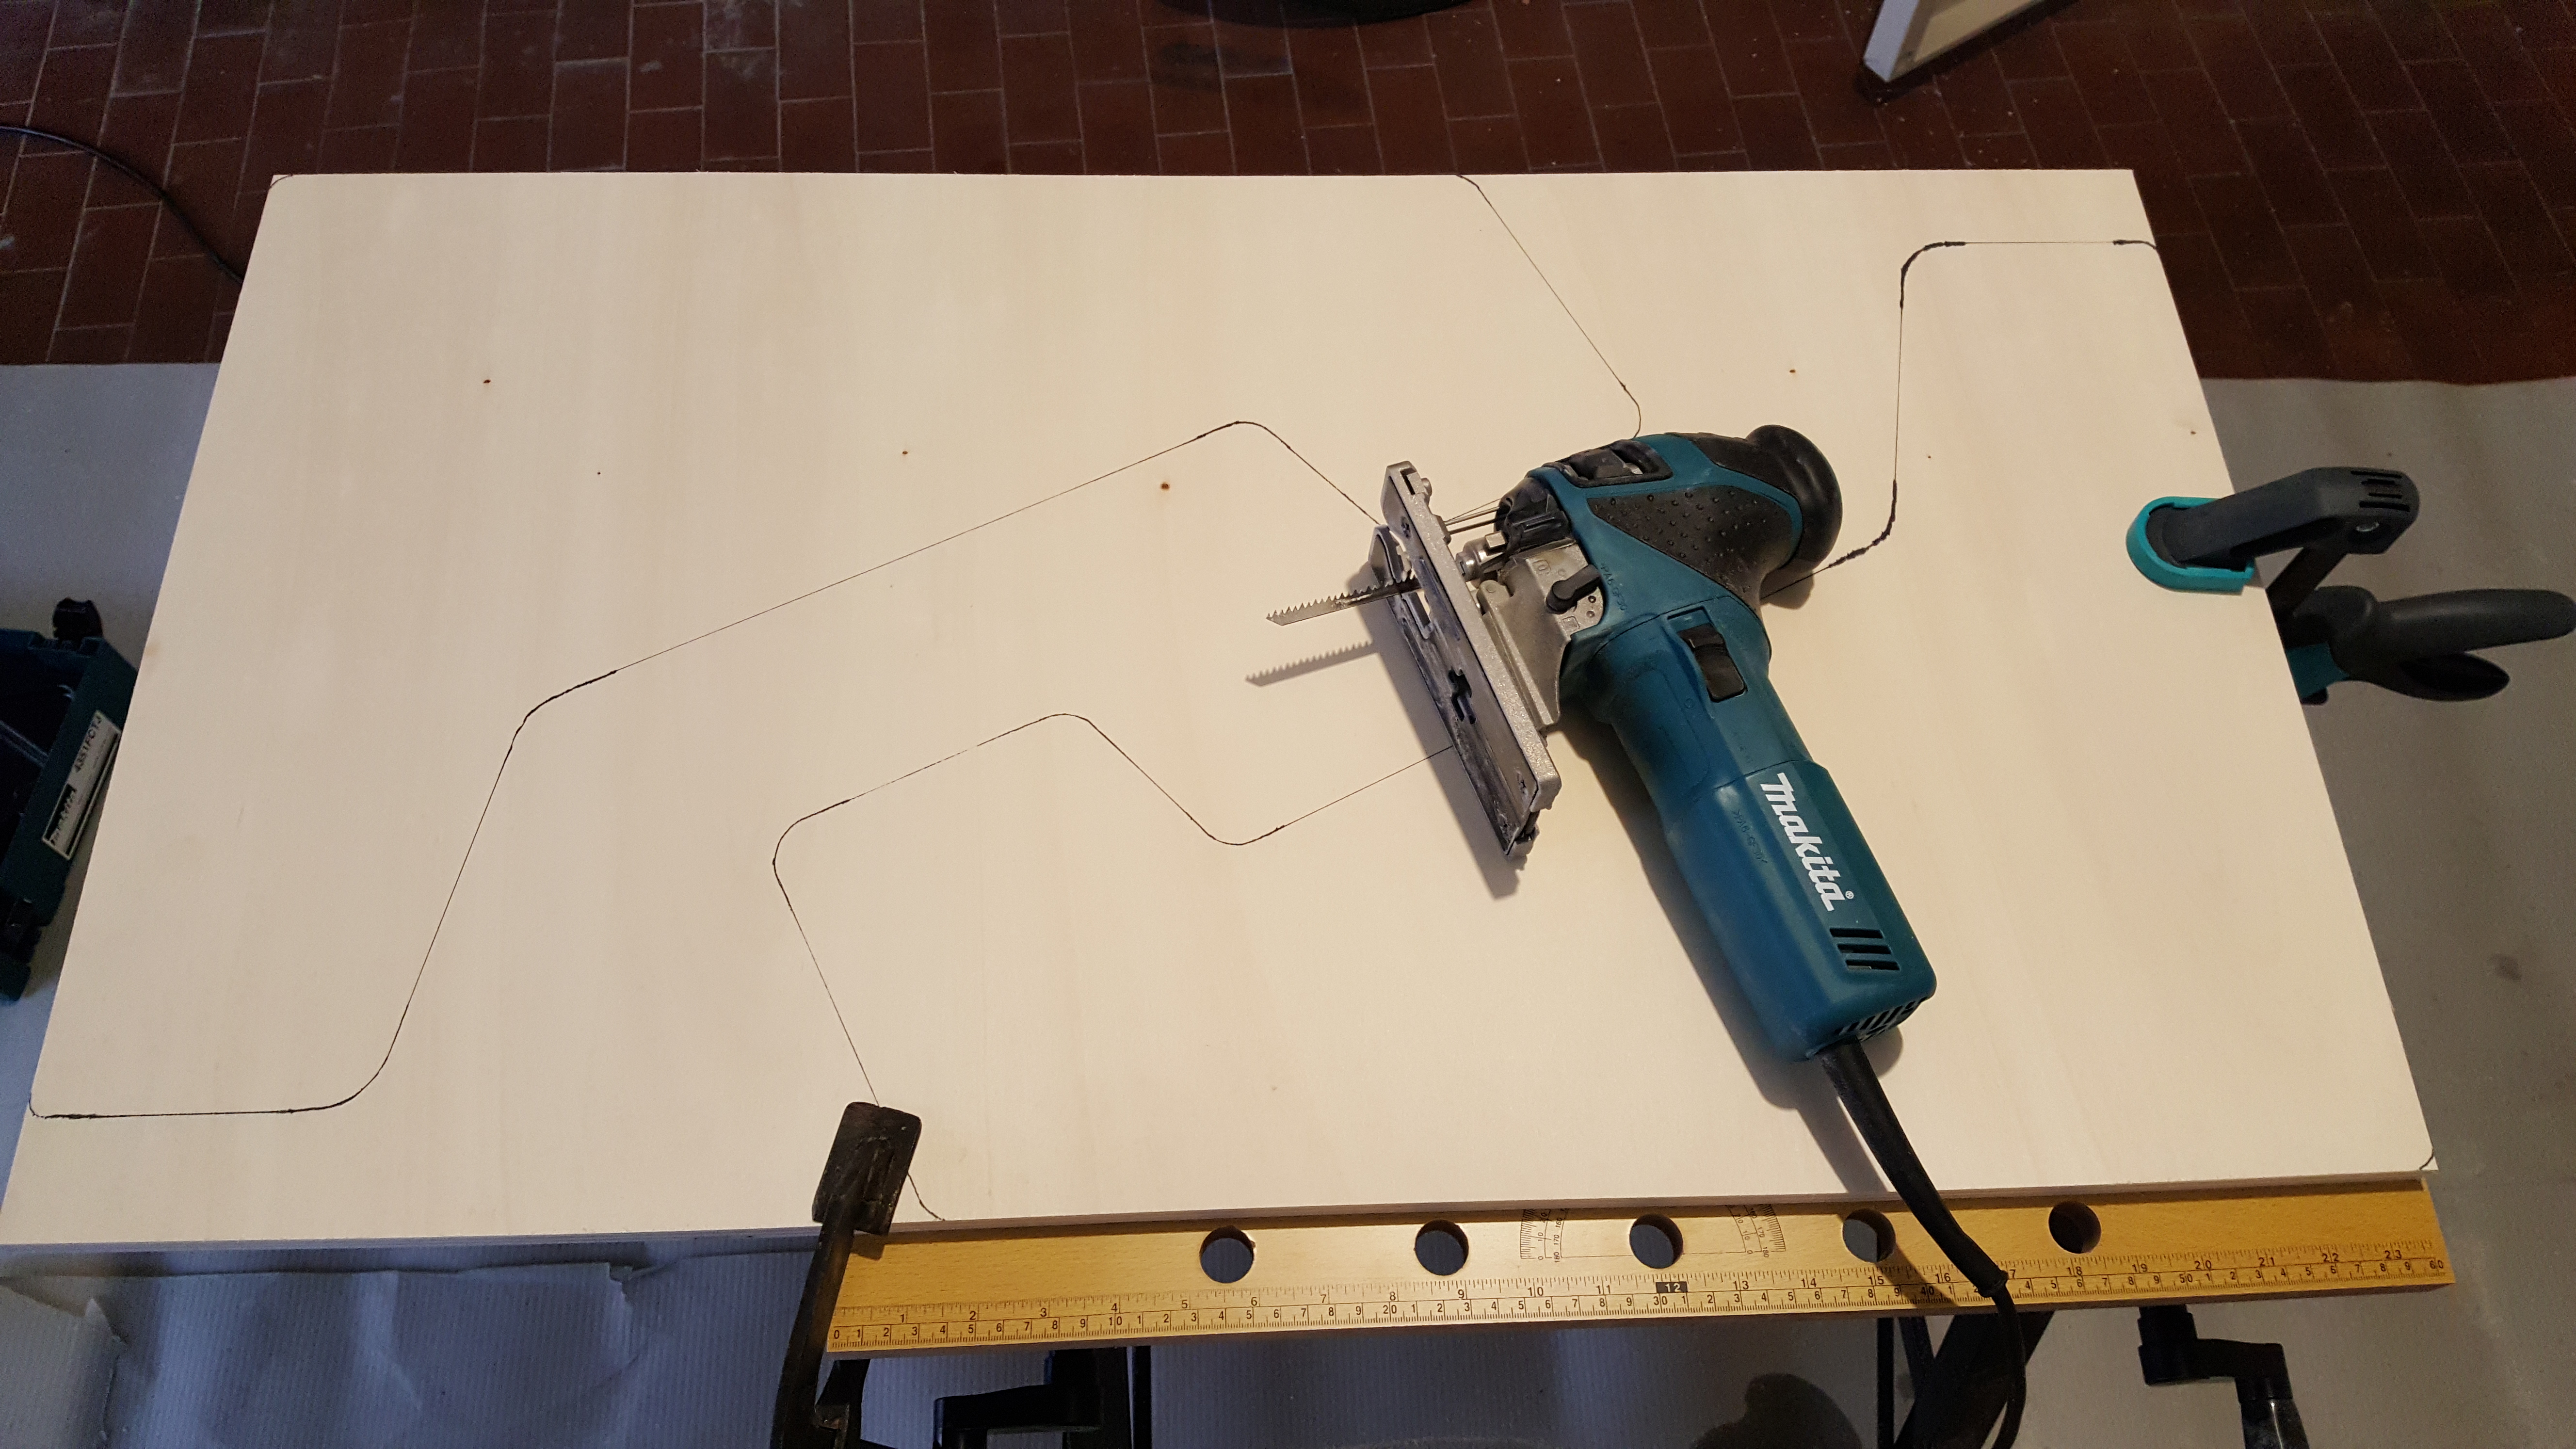
As you can see in the pictures, I performed the cuts using a cheap working table I had: you can either get it from Amazon for ~ 20$ or use a standard table, as long as you pay attention to not cut or damage it by mistake.
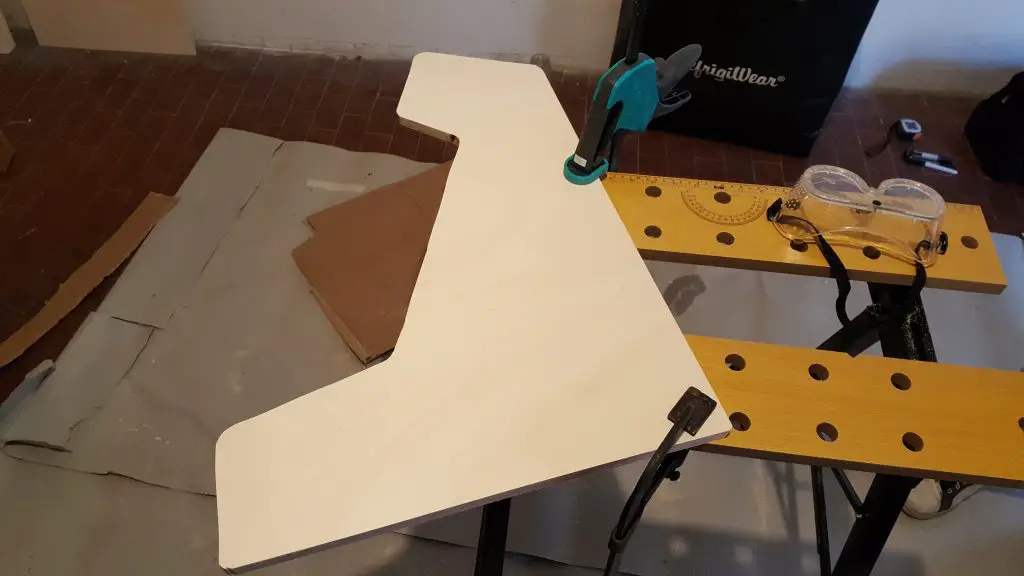
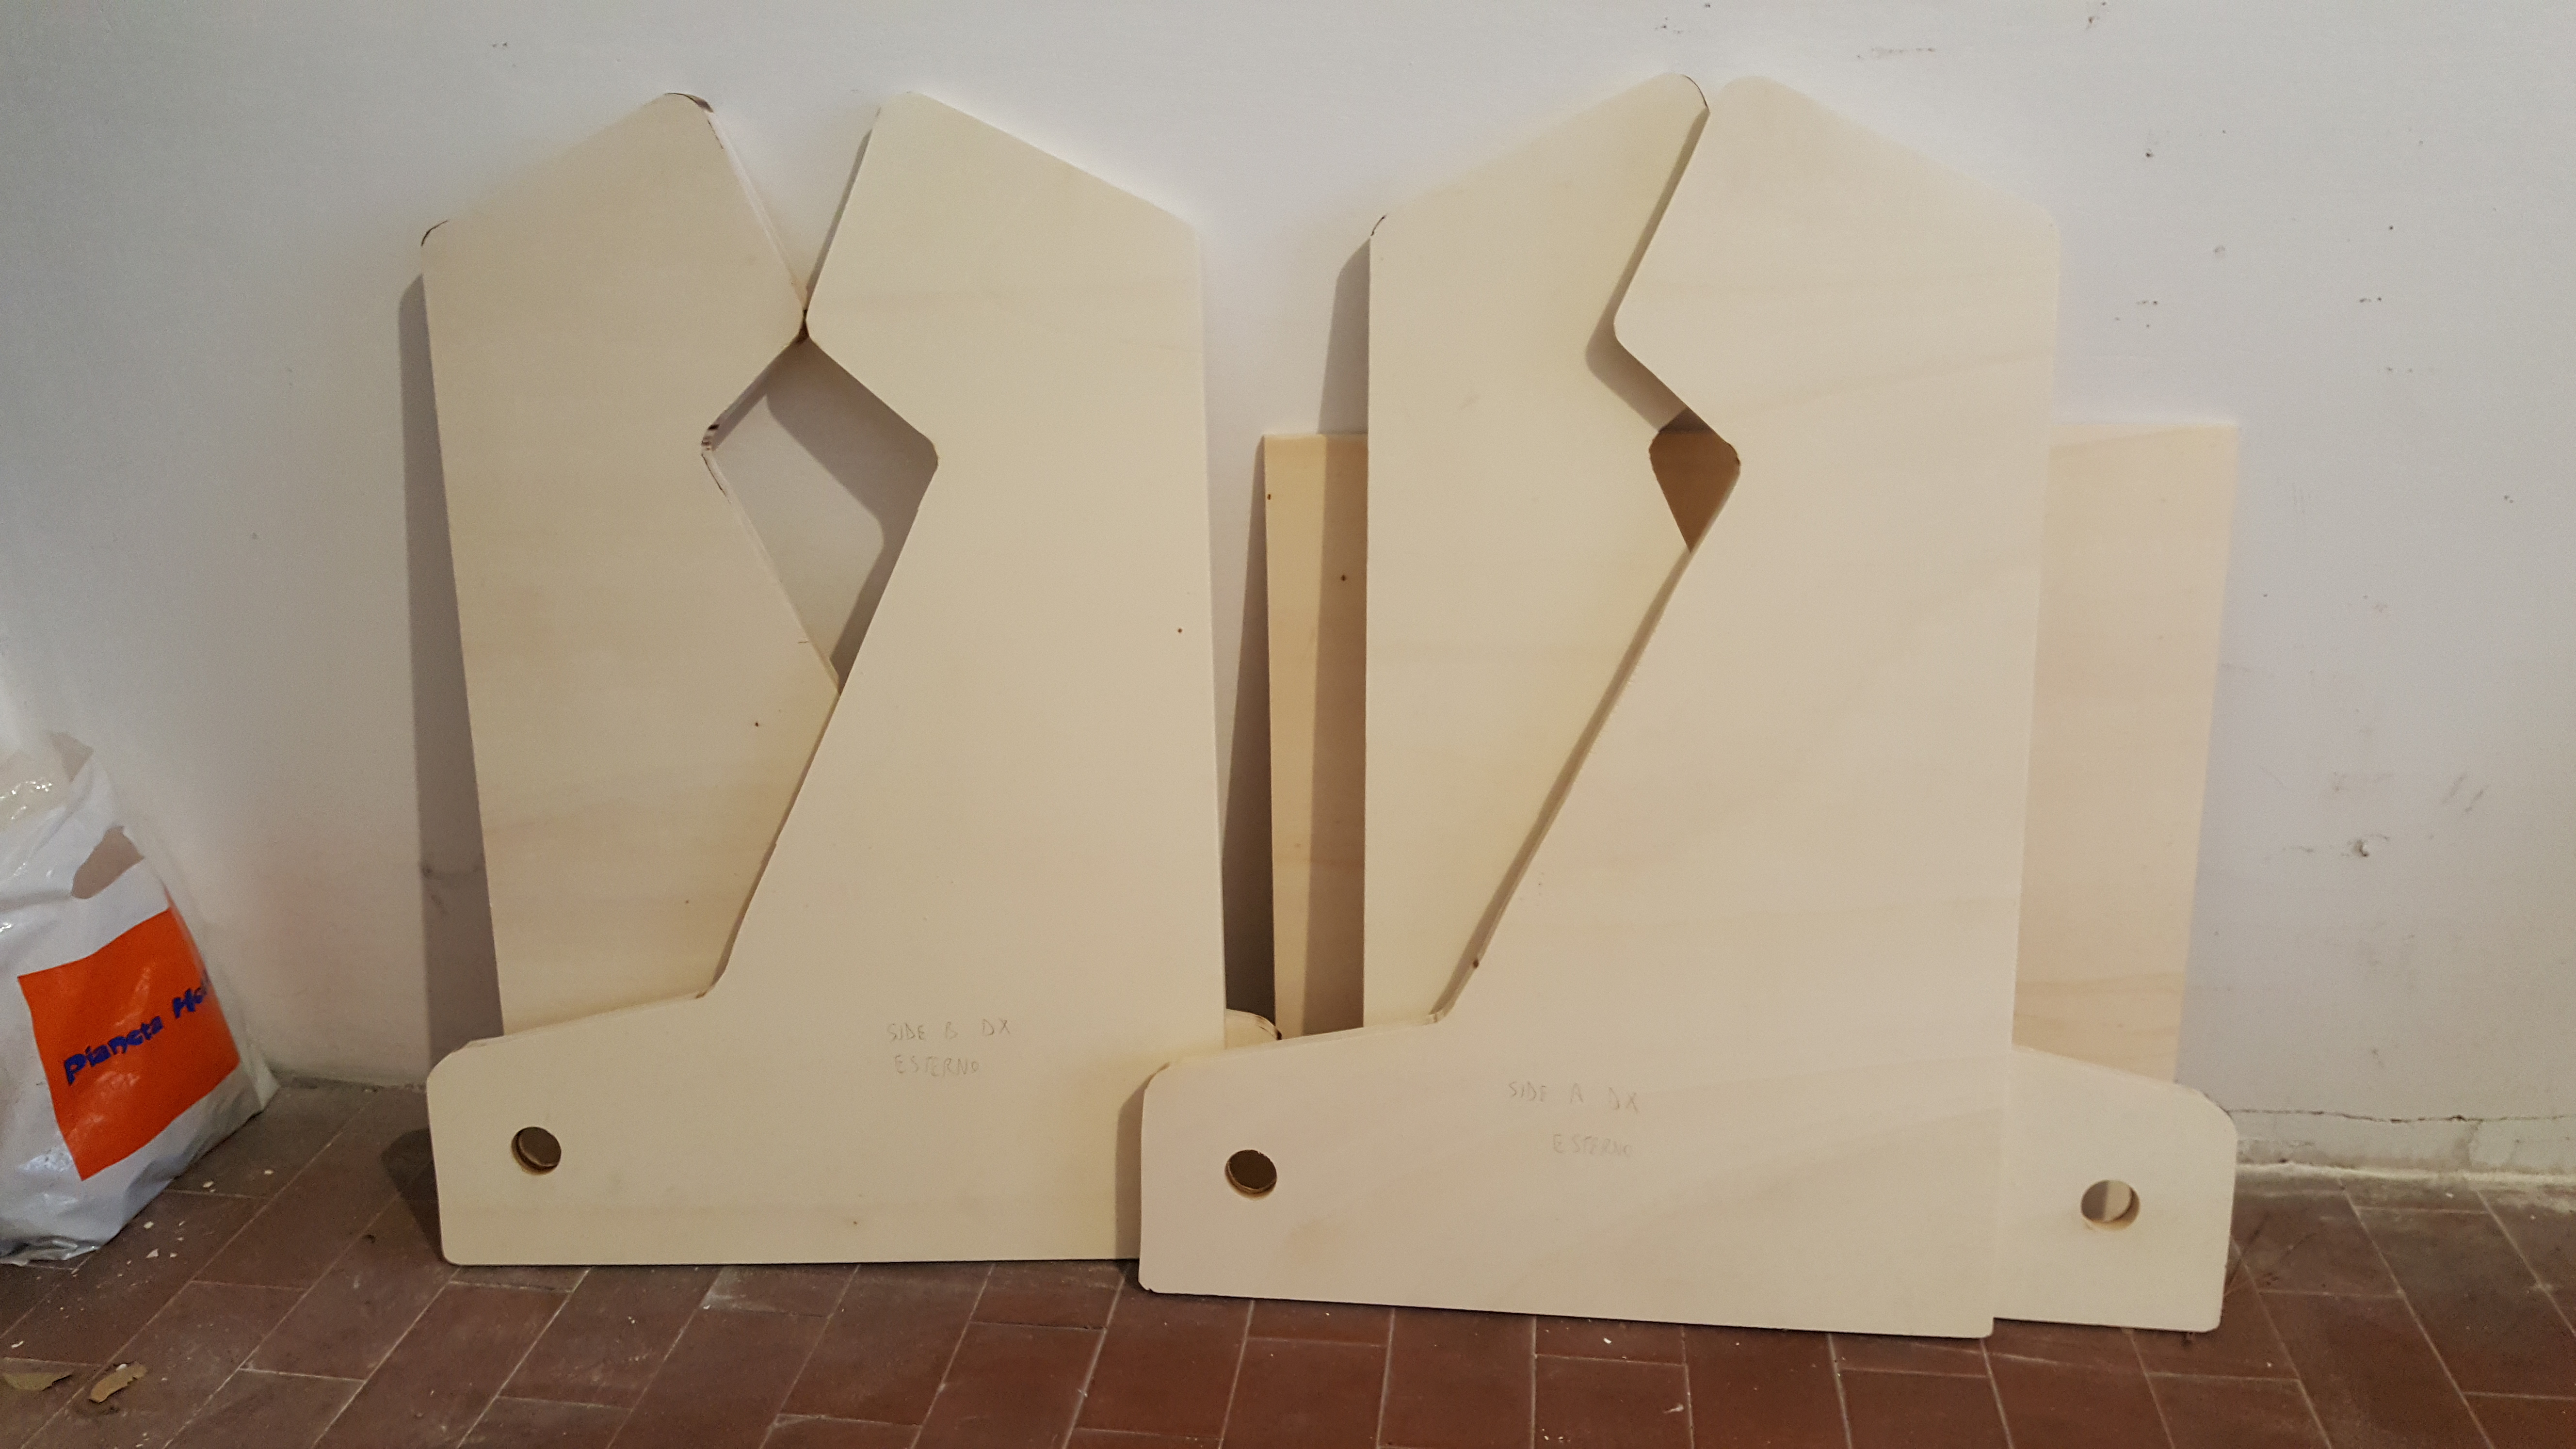
This is what the woods should look like at the end of the cuts:
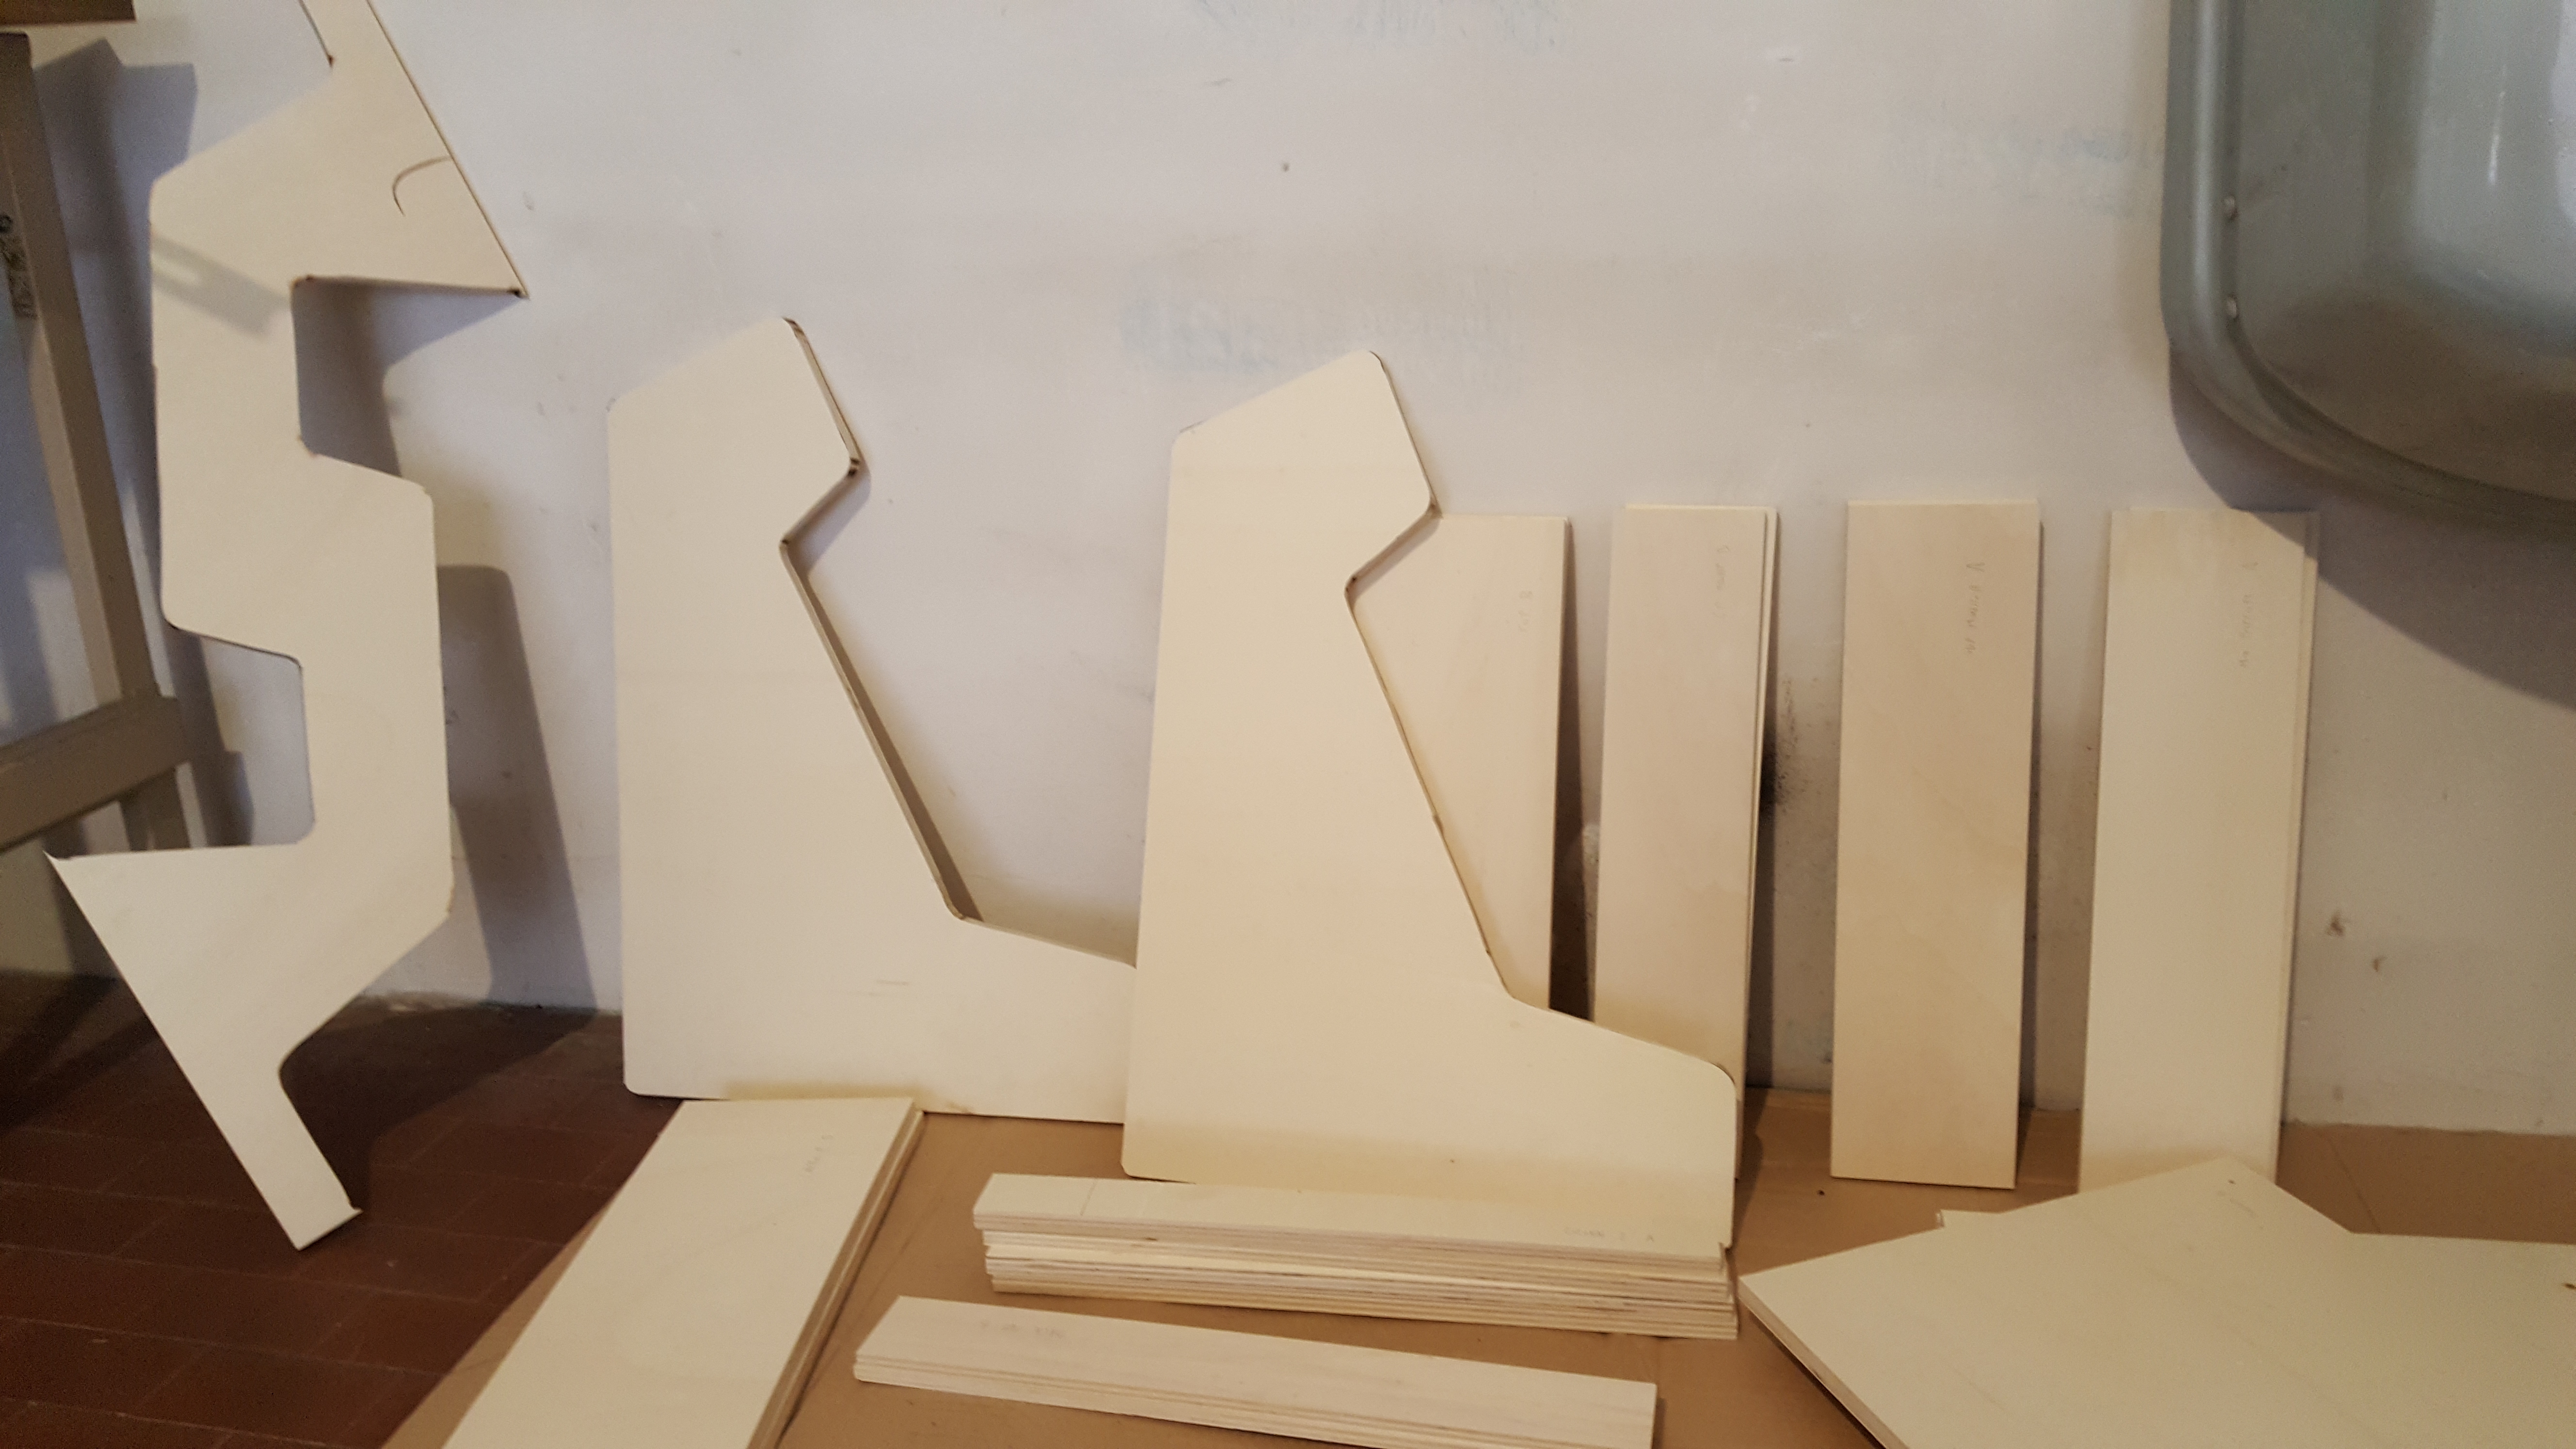
The only wood piece we won’t cut here would be the 450x500x3mm Monitor Cover frame, as it’s better to make it when the monitor is fully mounted (we’ll get to it soon enough).
Drilling the Holes
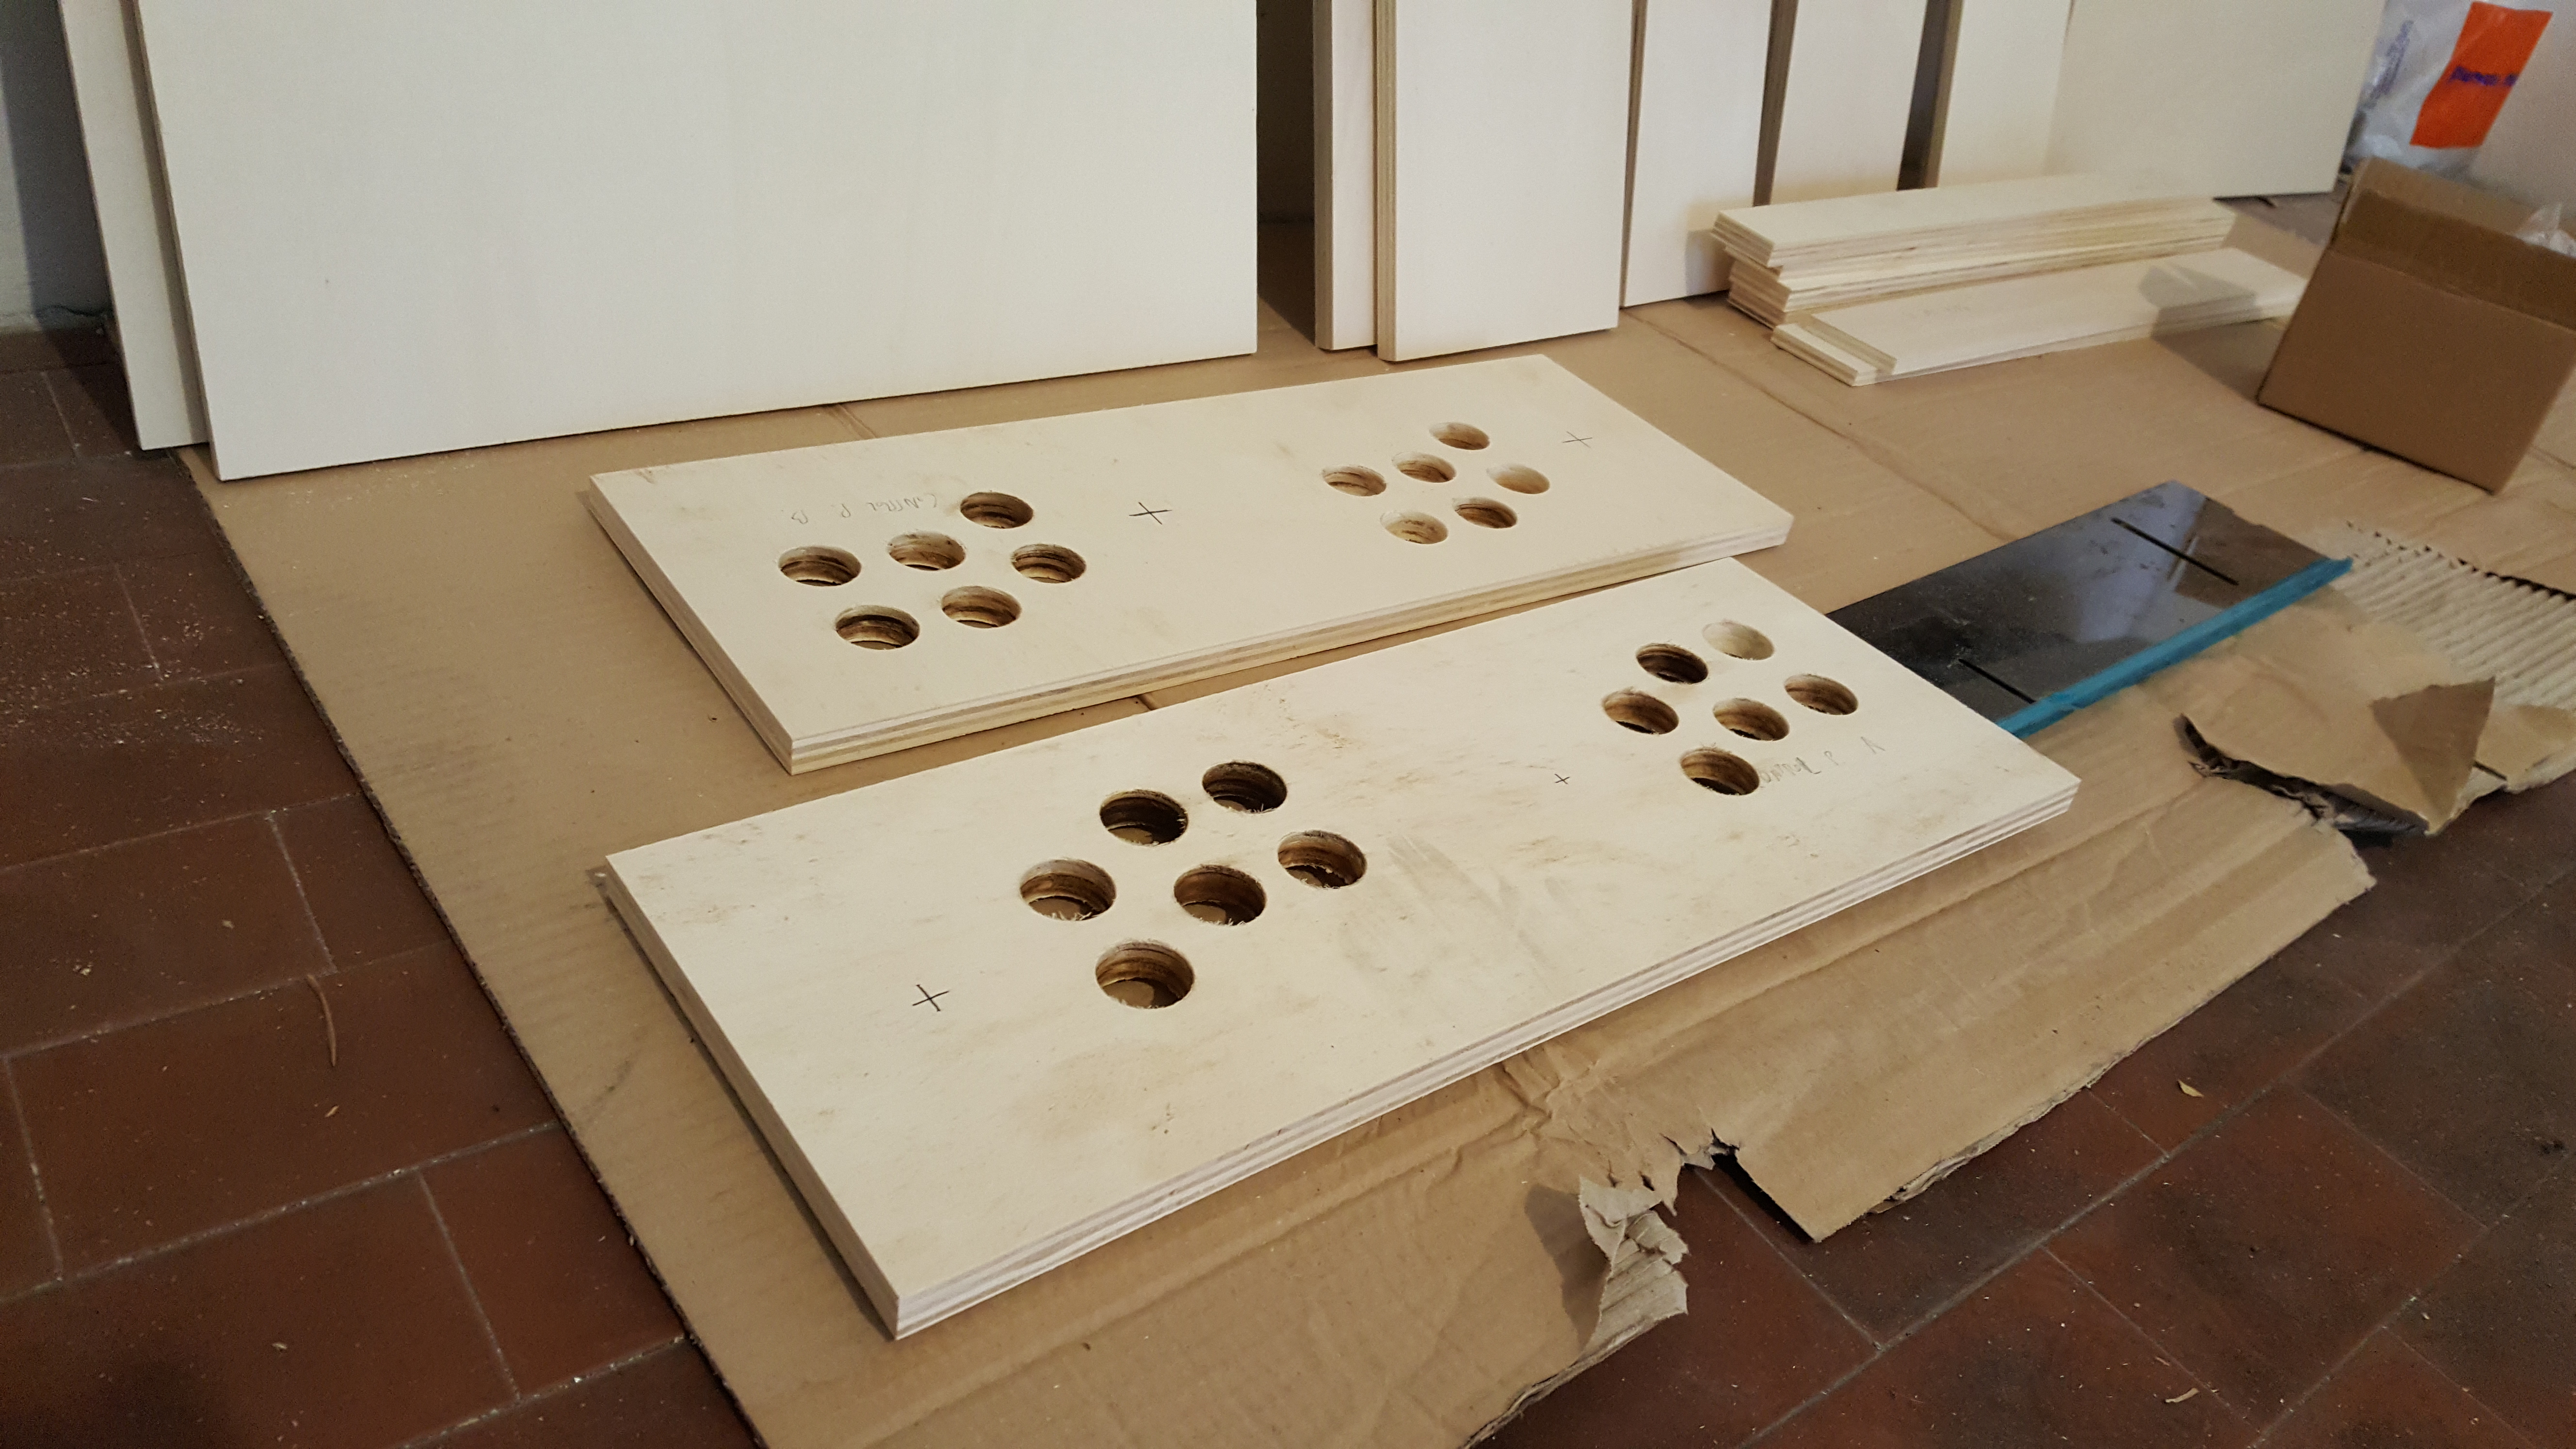
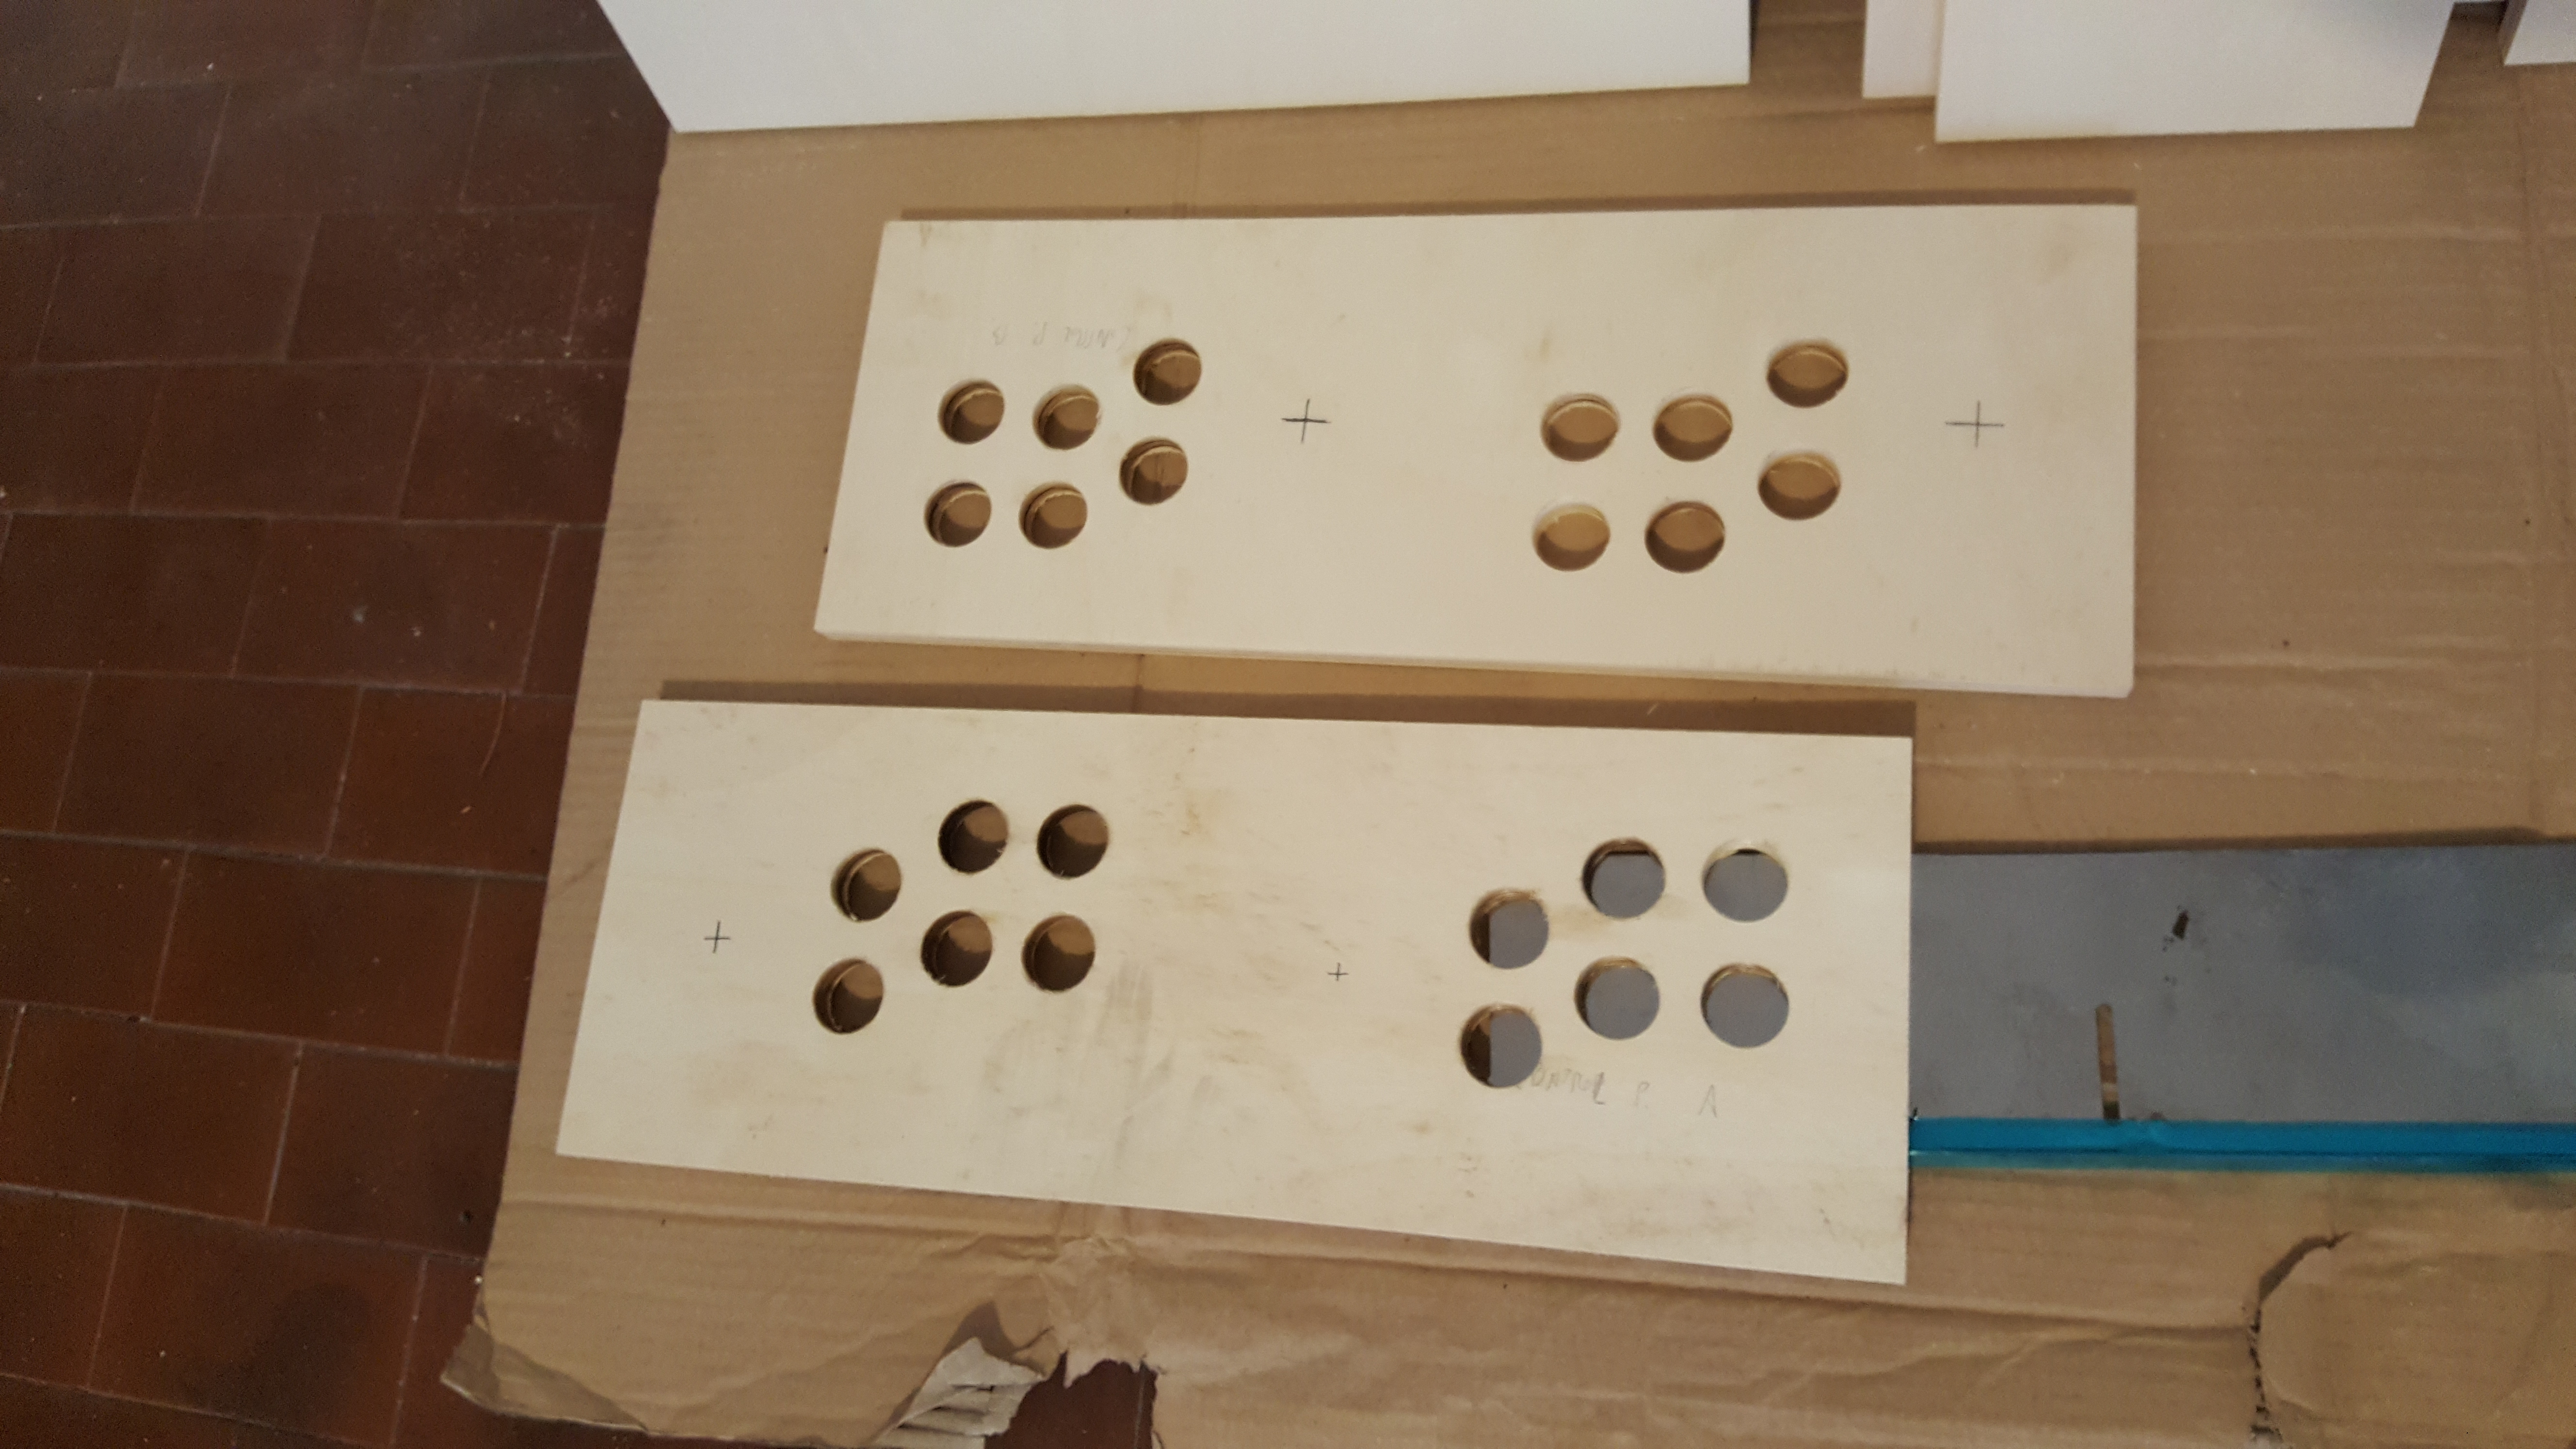
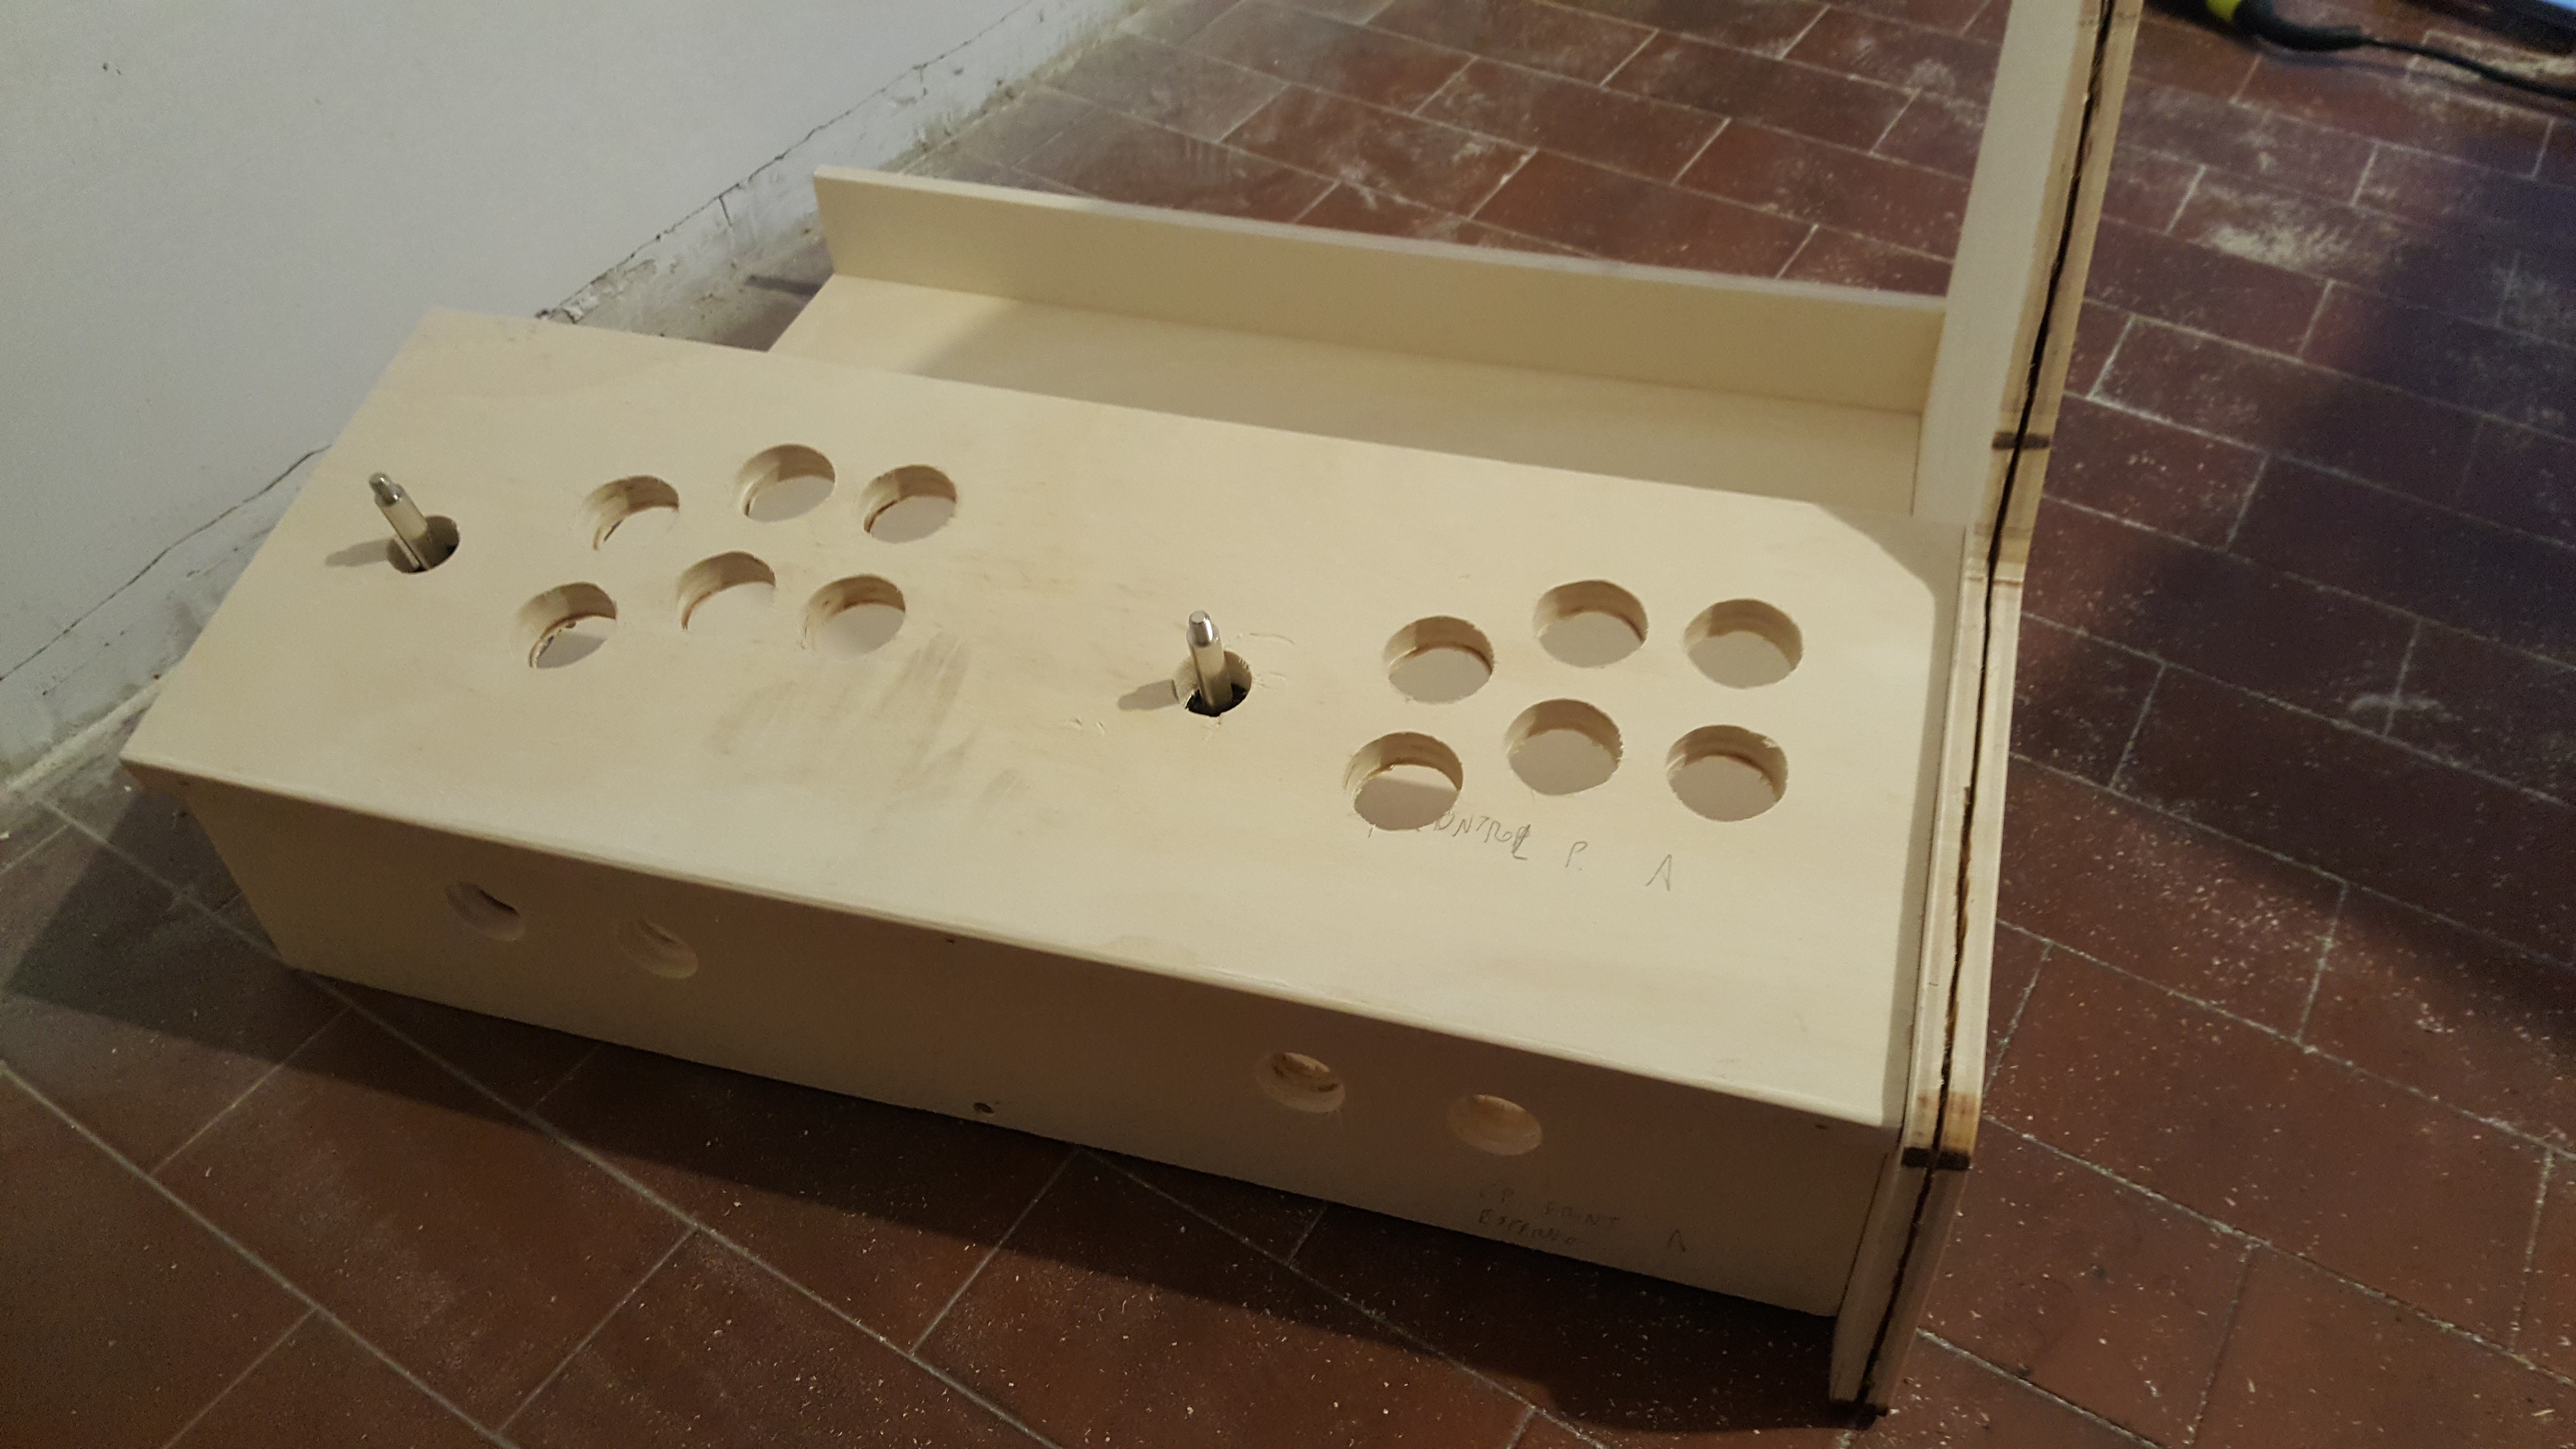
Right after the cuts, I had to drill down a considerable amount of “holes” in some of the wood pieces:
- Twelve 29mm holes and two 19mm holes in the Control Panel (14 total holes) for the joysticks and play buttons.
- Two 29mm holes to the Side Panels for the 2 additional “pinball” play buttons.
- Four 25mm holes in the Control Panel Front for the smaller select & start buttons.
- Two 44mm holes in the Marquee Bottom for the speakers.
- Two 51mm holes in the Back-side Door for the vents slots & handles.
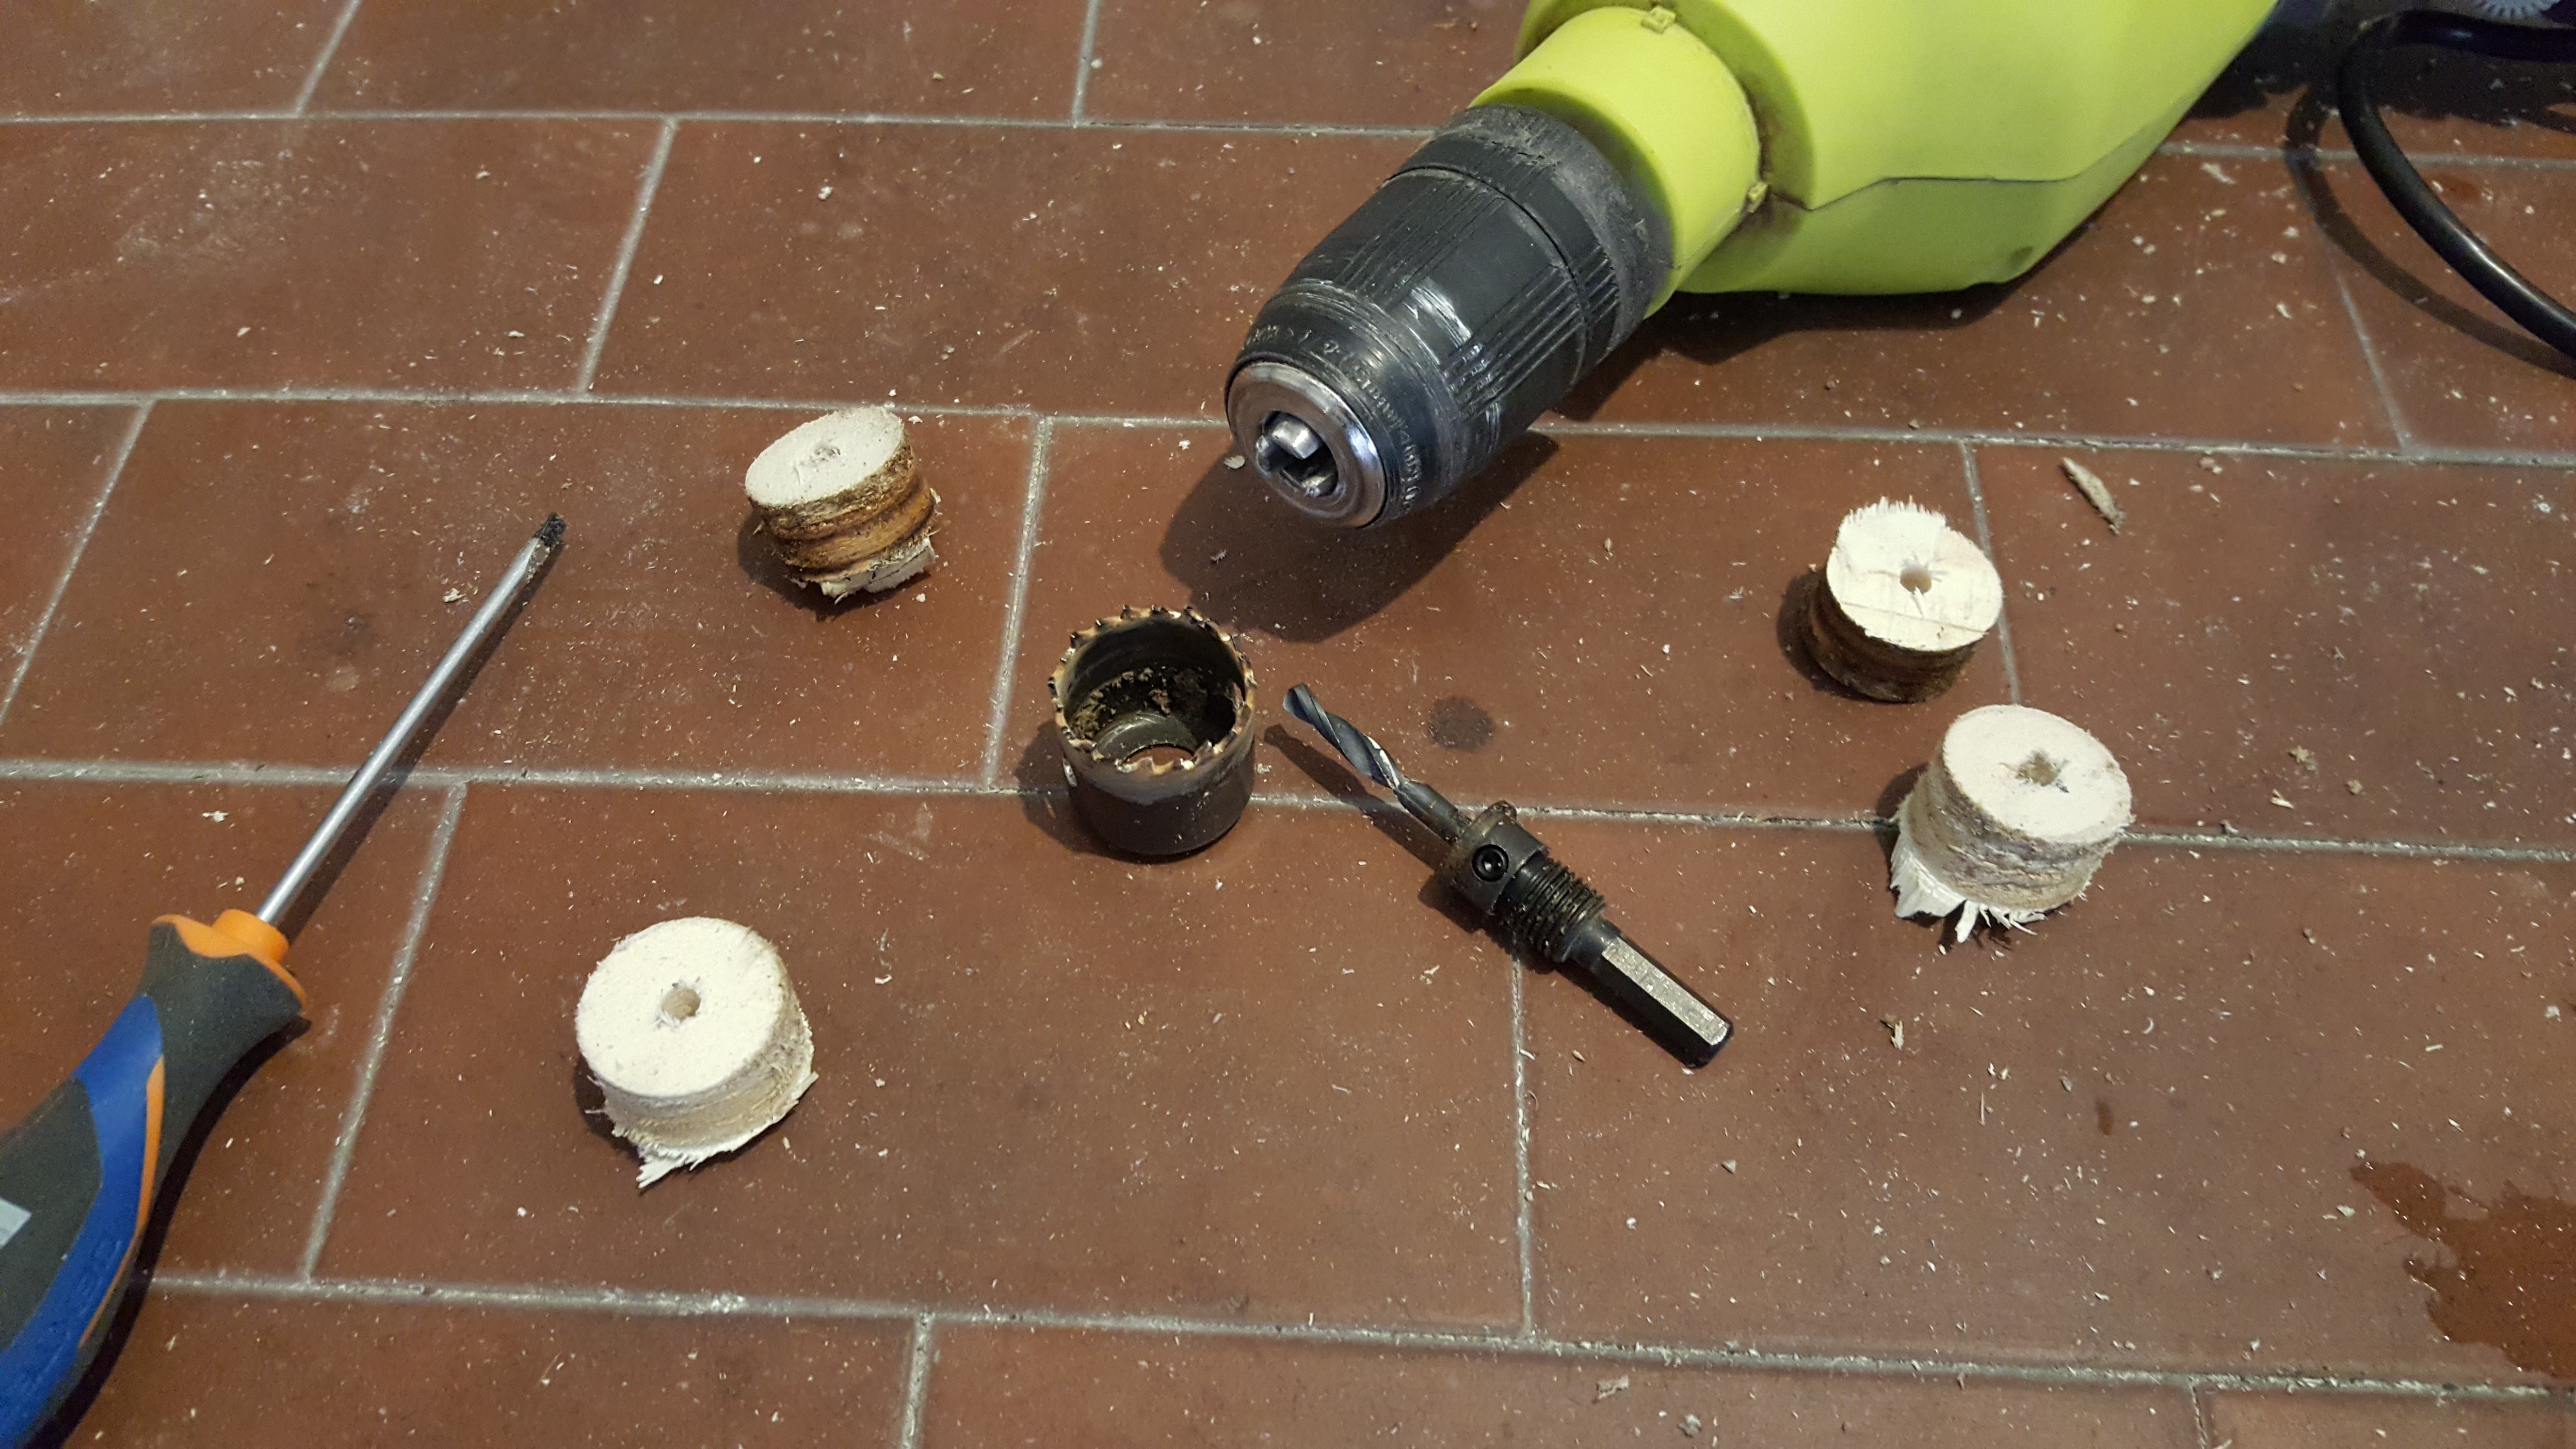
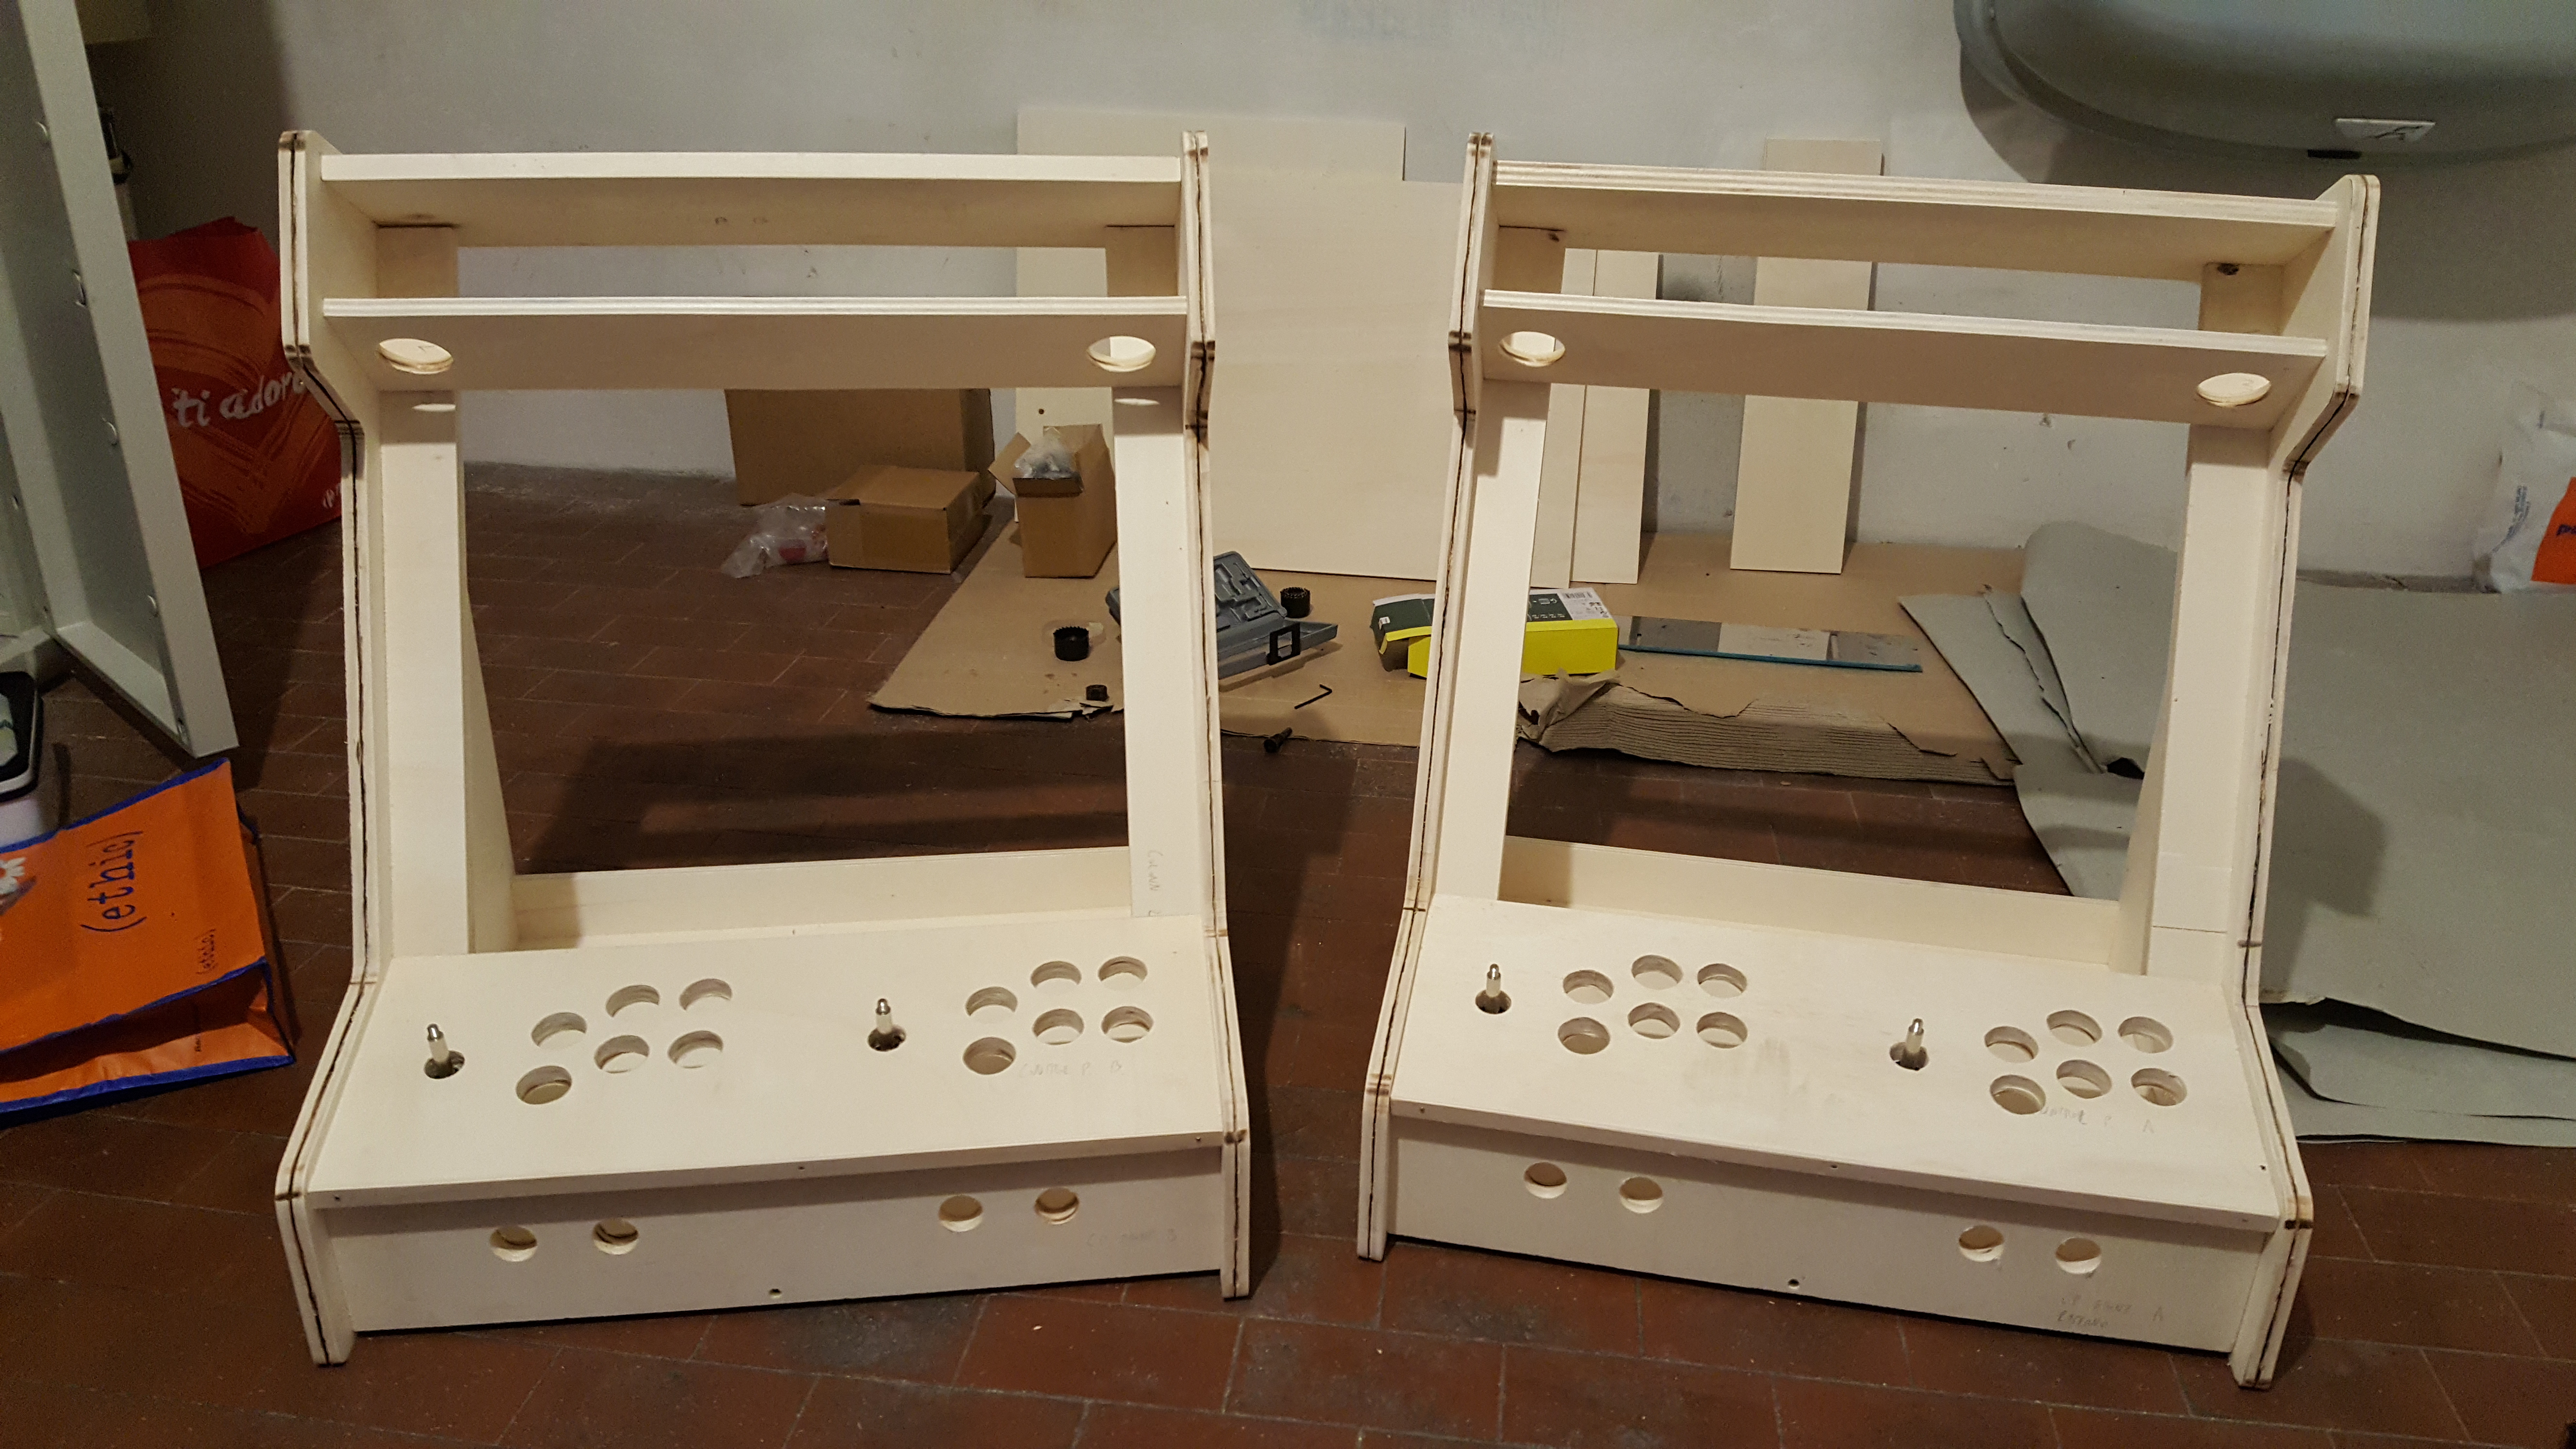
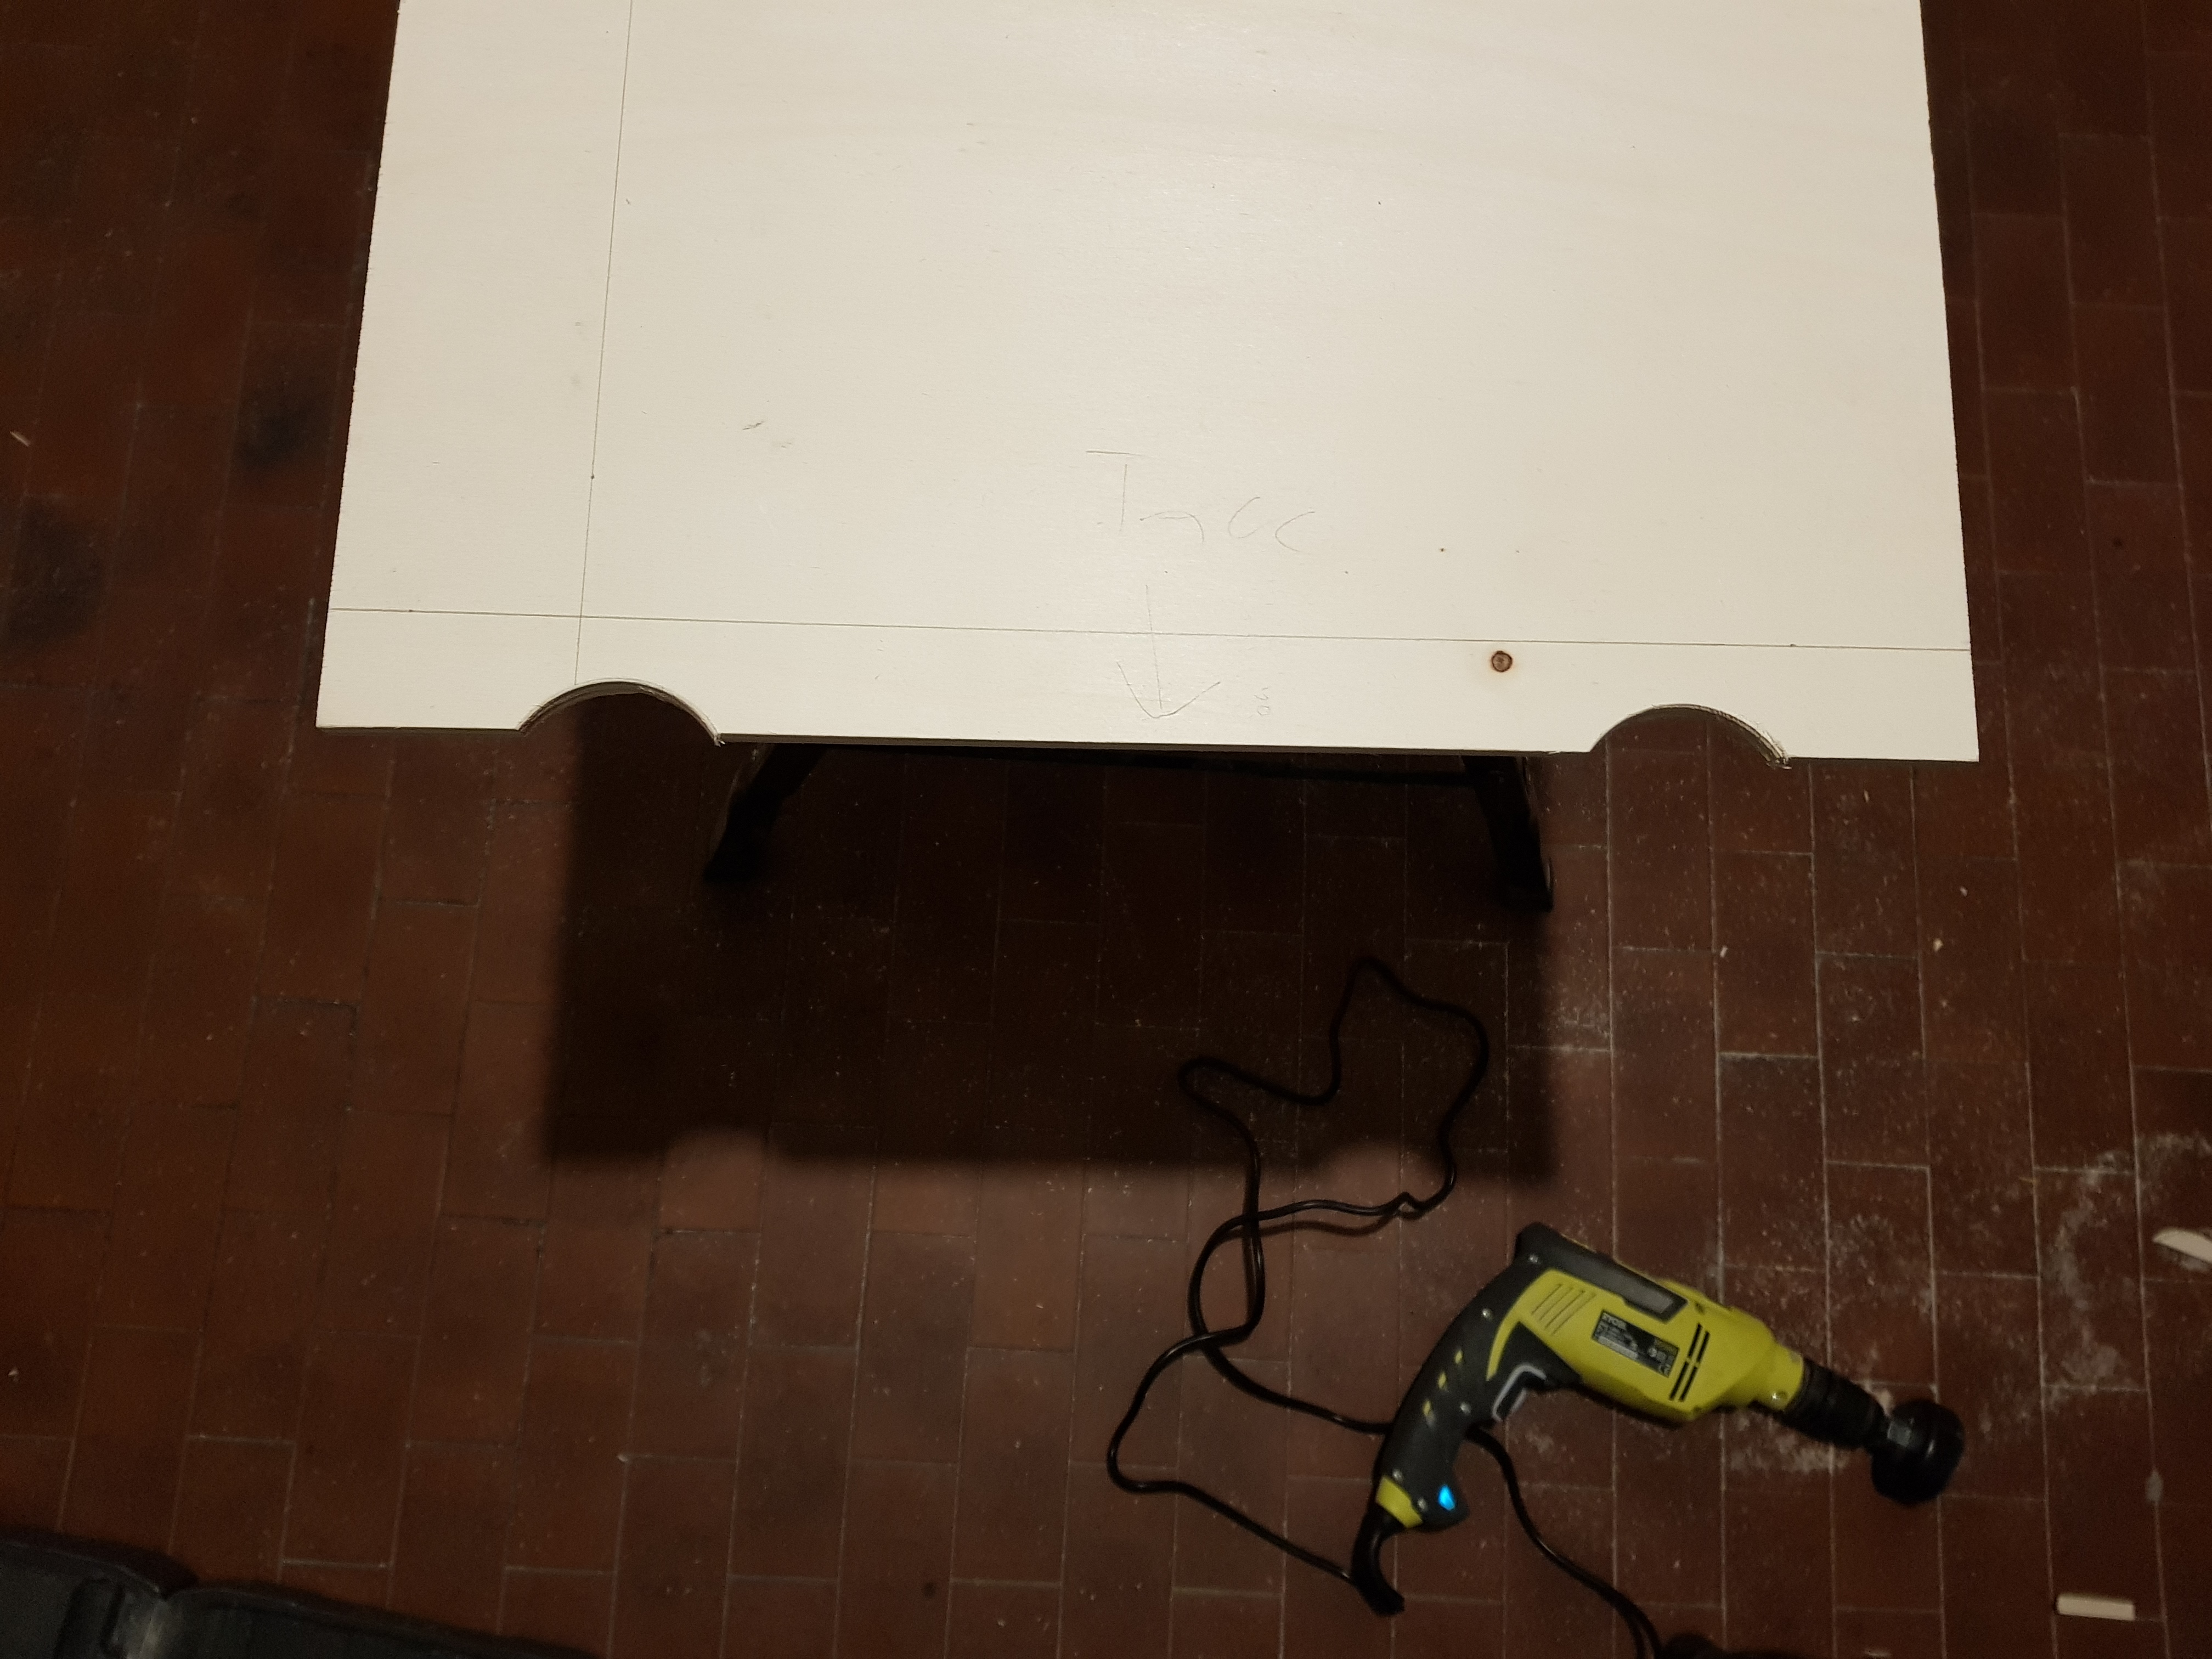
You’ll see most of these holes in the pictures below. I made them all with the Drill and the Hole Saw Kit: I used the Control Panel blueprint that I made during part 2 to draw the center spot with a pencil to be sure to drill in the exact middle point of each hole:

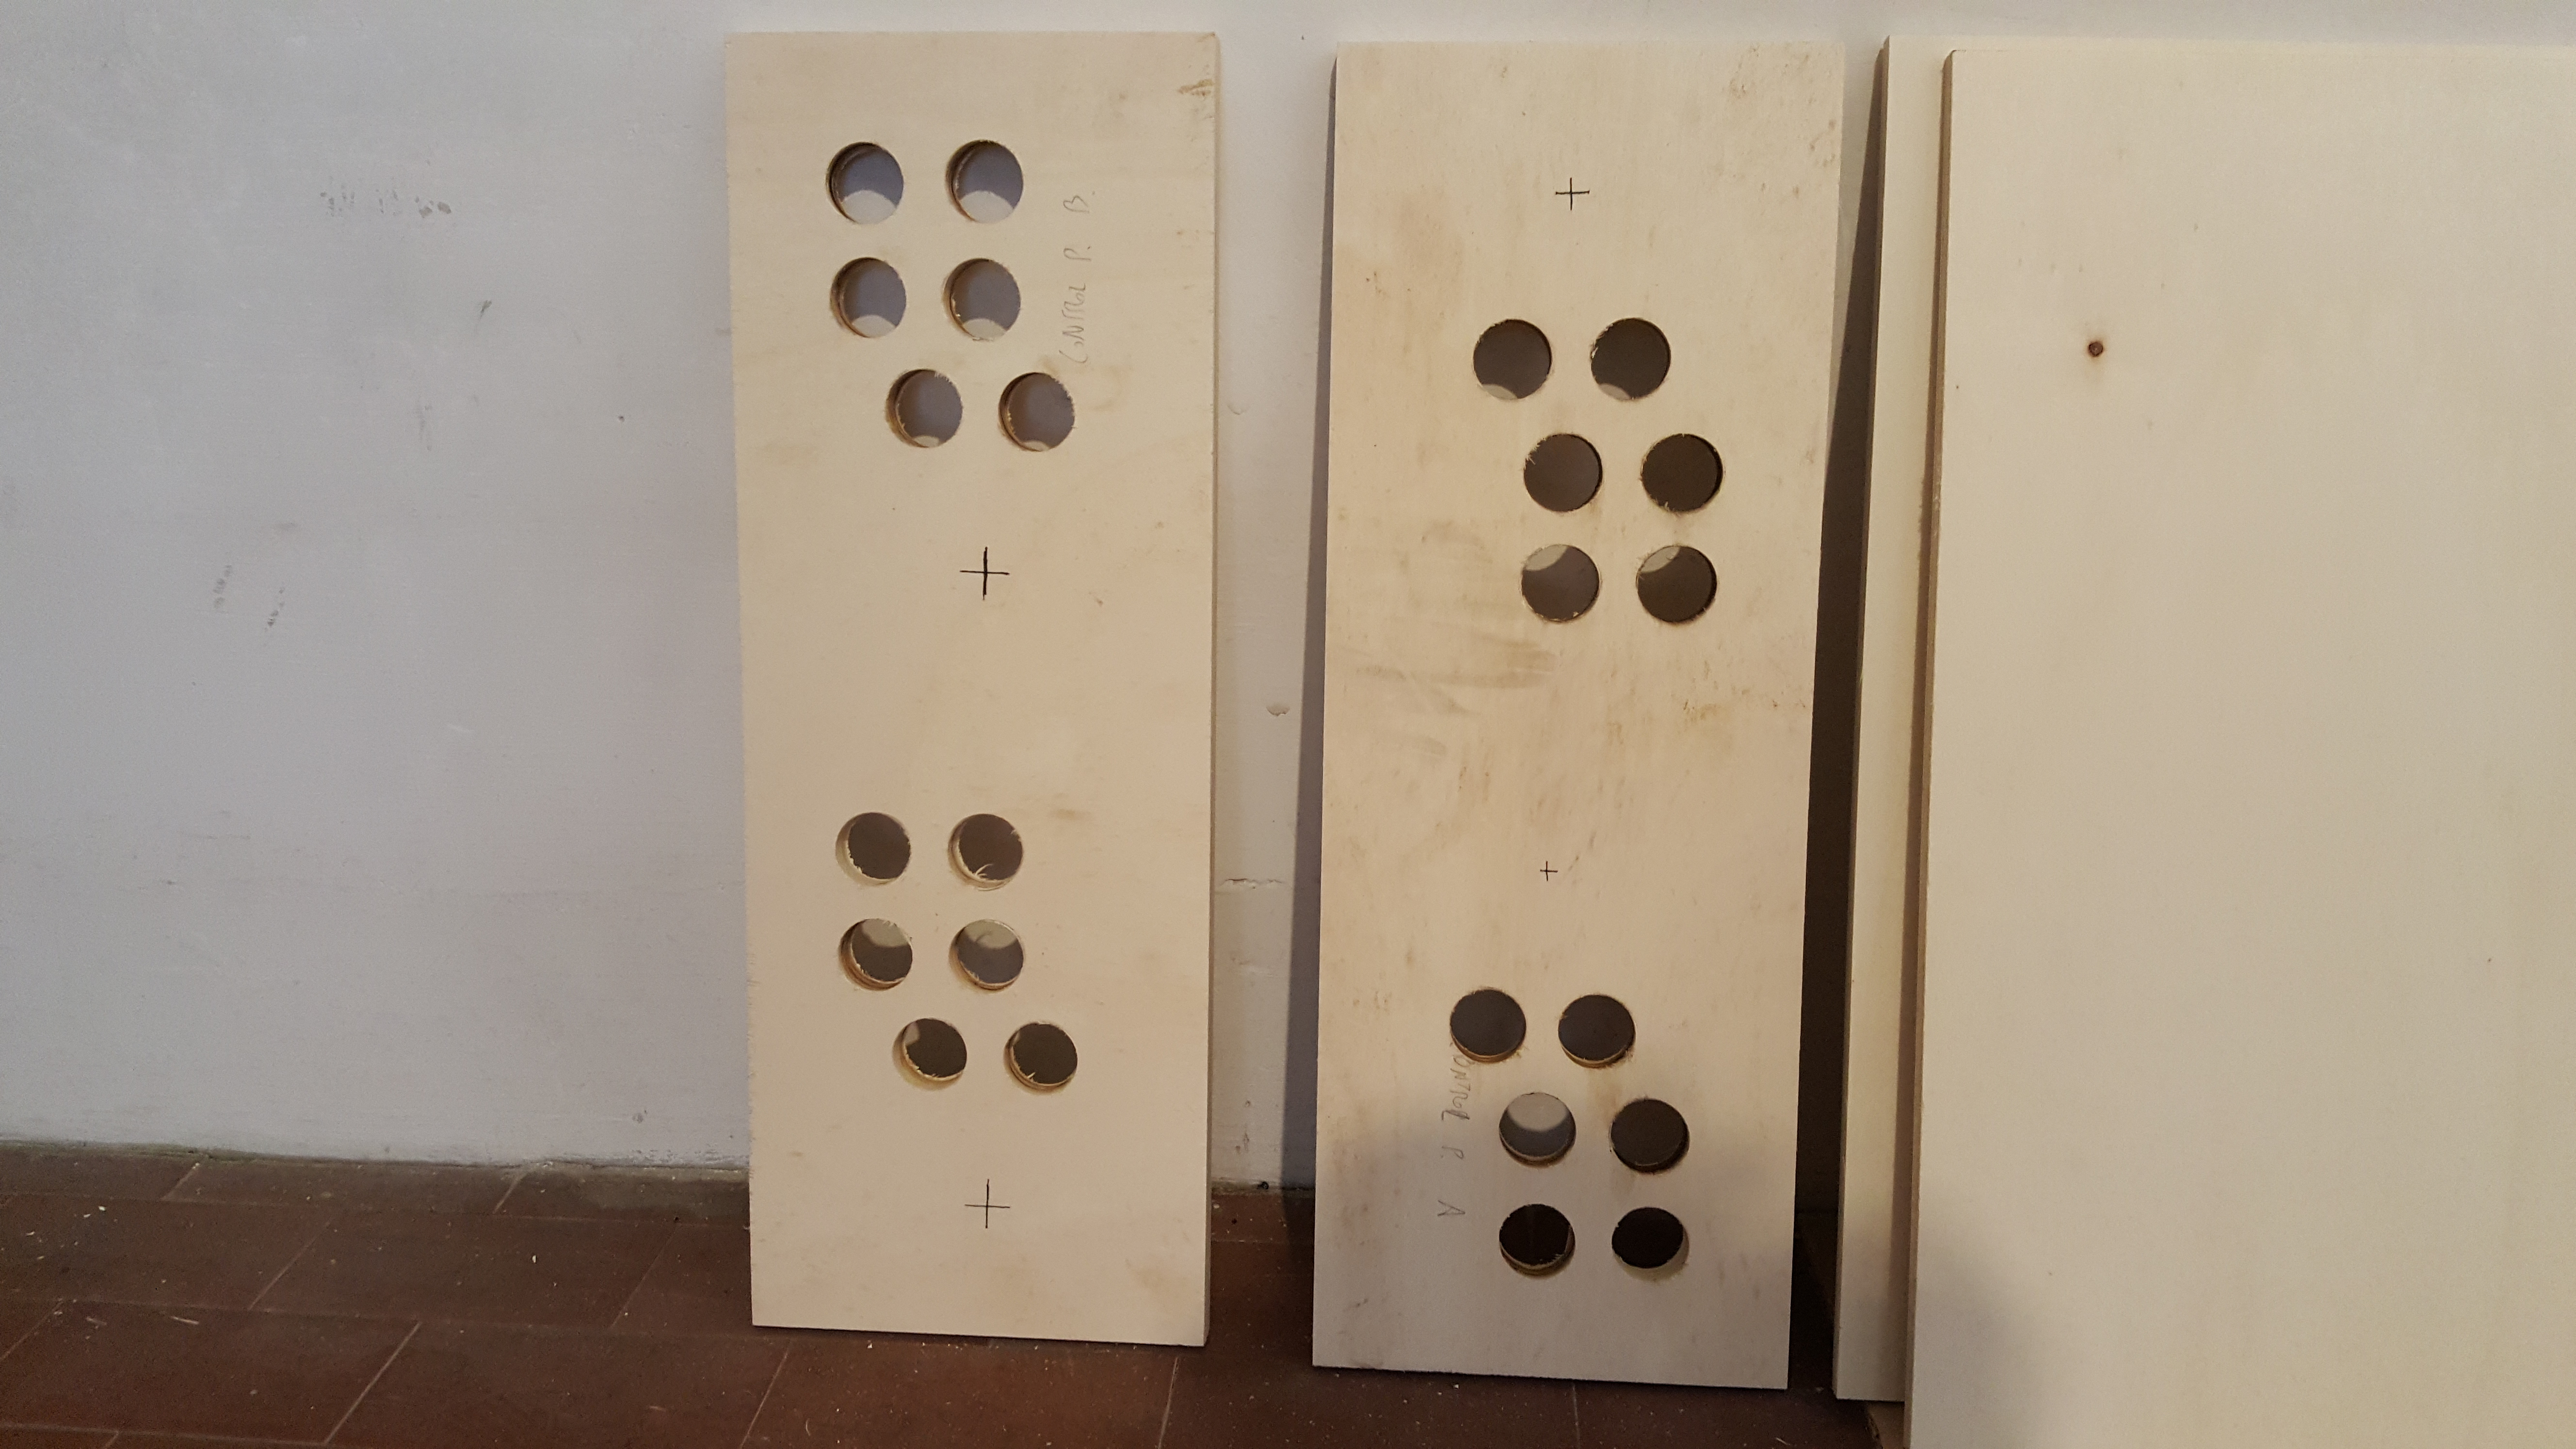
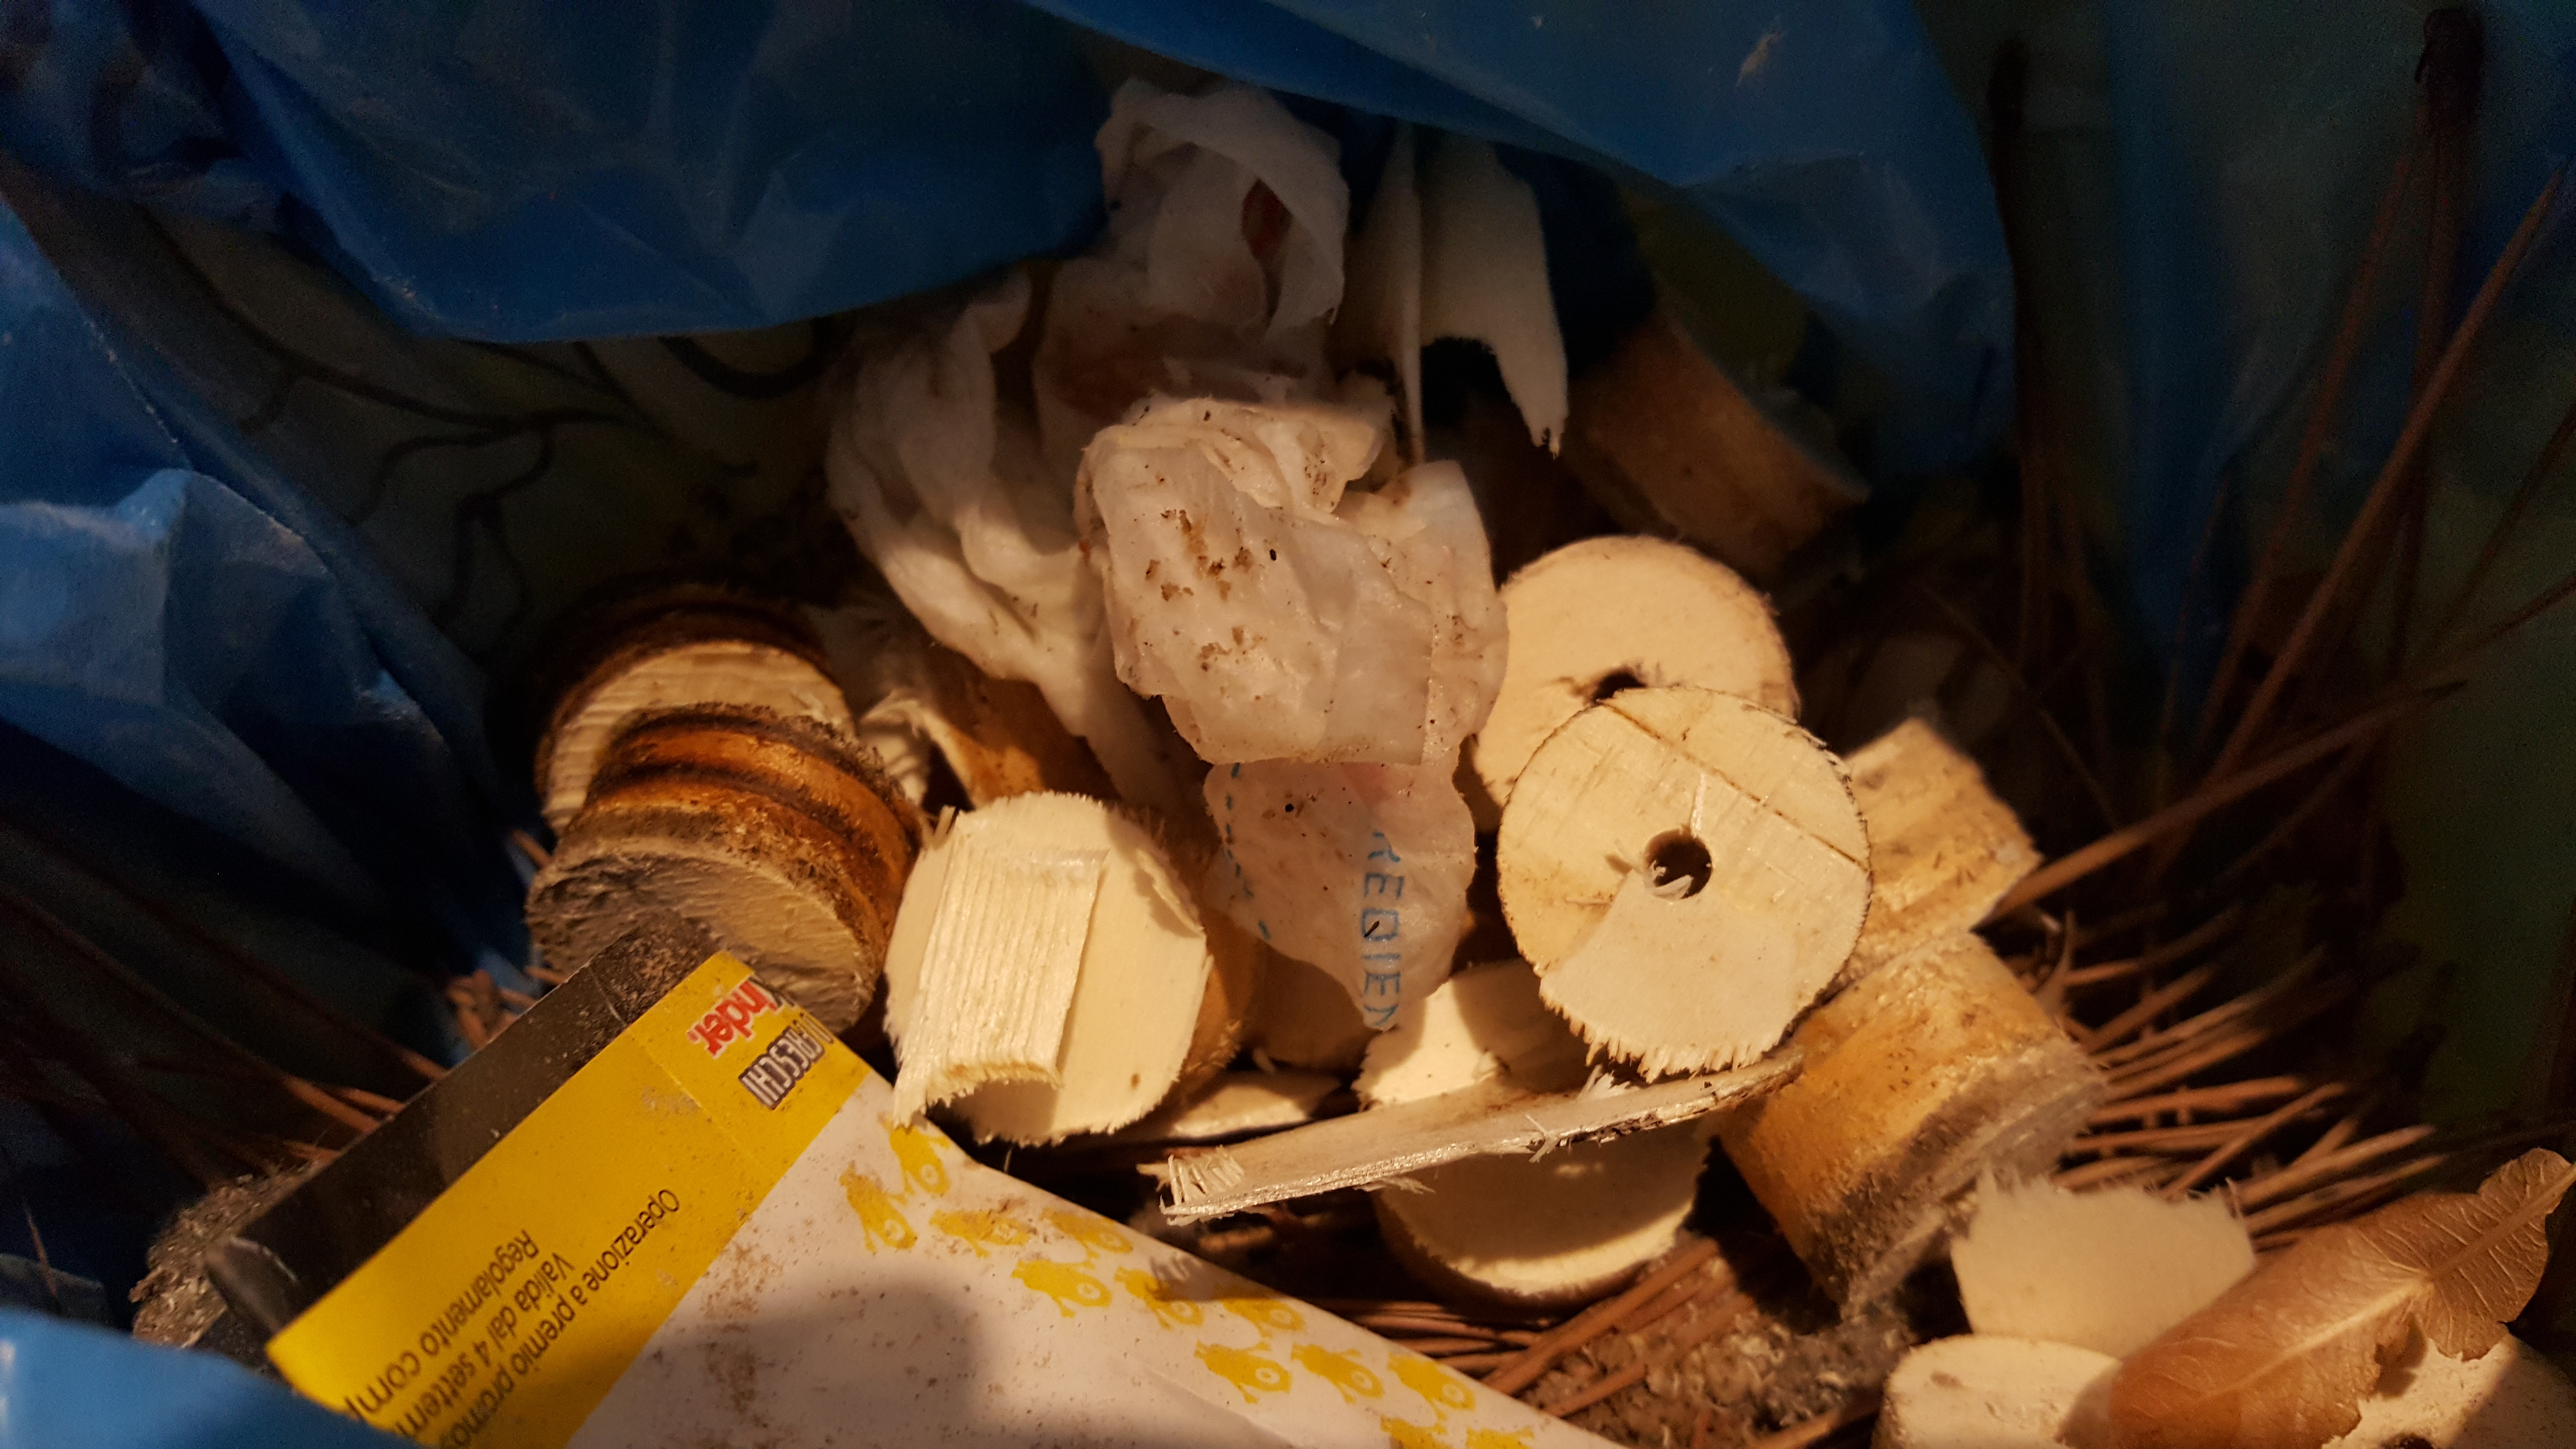
After this part, you’ll most likely end up with a huge amount of sawdust – and also a lot of small rounded wood blocks:
Dealing with Angles
Before going further, I had to deal with the angled cuts: the prototype helped me immensely here, as I was able to measure the actual cabinet angle using a common protractor and then calculate the angle for the jigsaw cuts. To better understand this, look at the following picture:
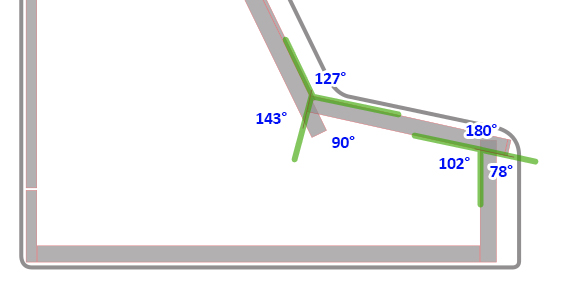
The concept is pretty simple. Whenever two woods panel touch they form three angles: the former is always evident, the second one can be measured from the prototype using the protractor, and the latter can be calculated by subtracting the sum of the other two from 360. From the above picture, we can see how we need to pull off a 143 degrees cut to the Front DX and Front SX panels, and also a 78 degrees cut to the Control Panel Front, leaving the rest how it is.
Performing the angled cuts with the jigsaw isn’t going to be easy and will most likely require some practice: needless to say, your jigsaw need to support that feature.
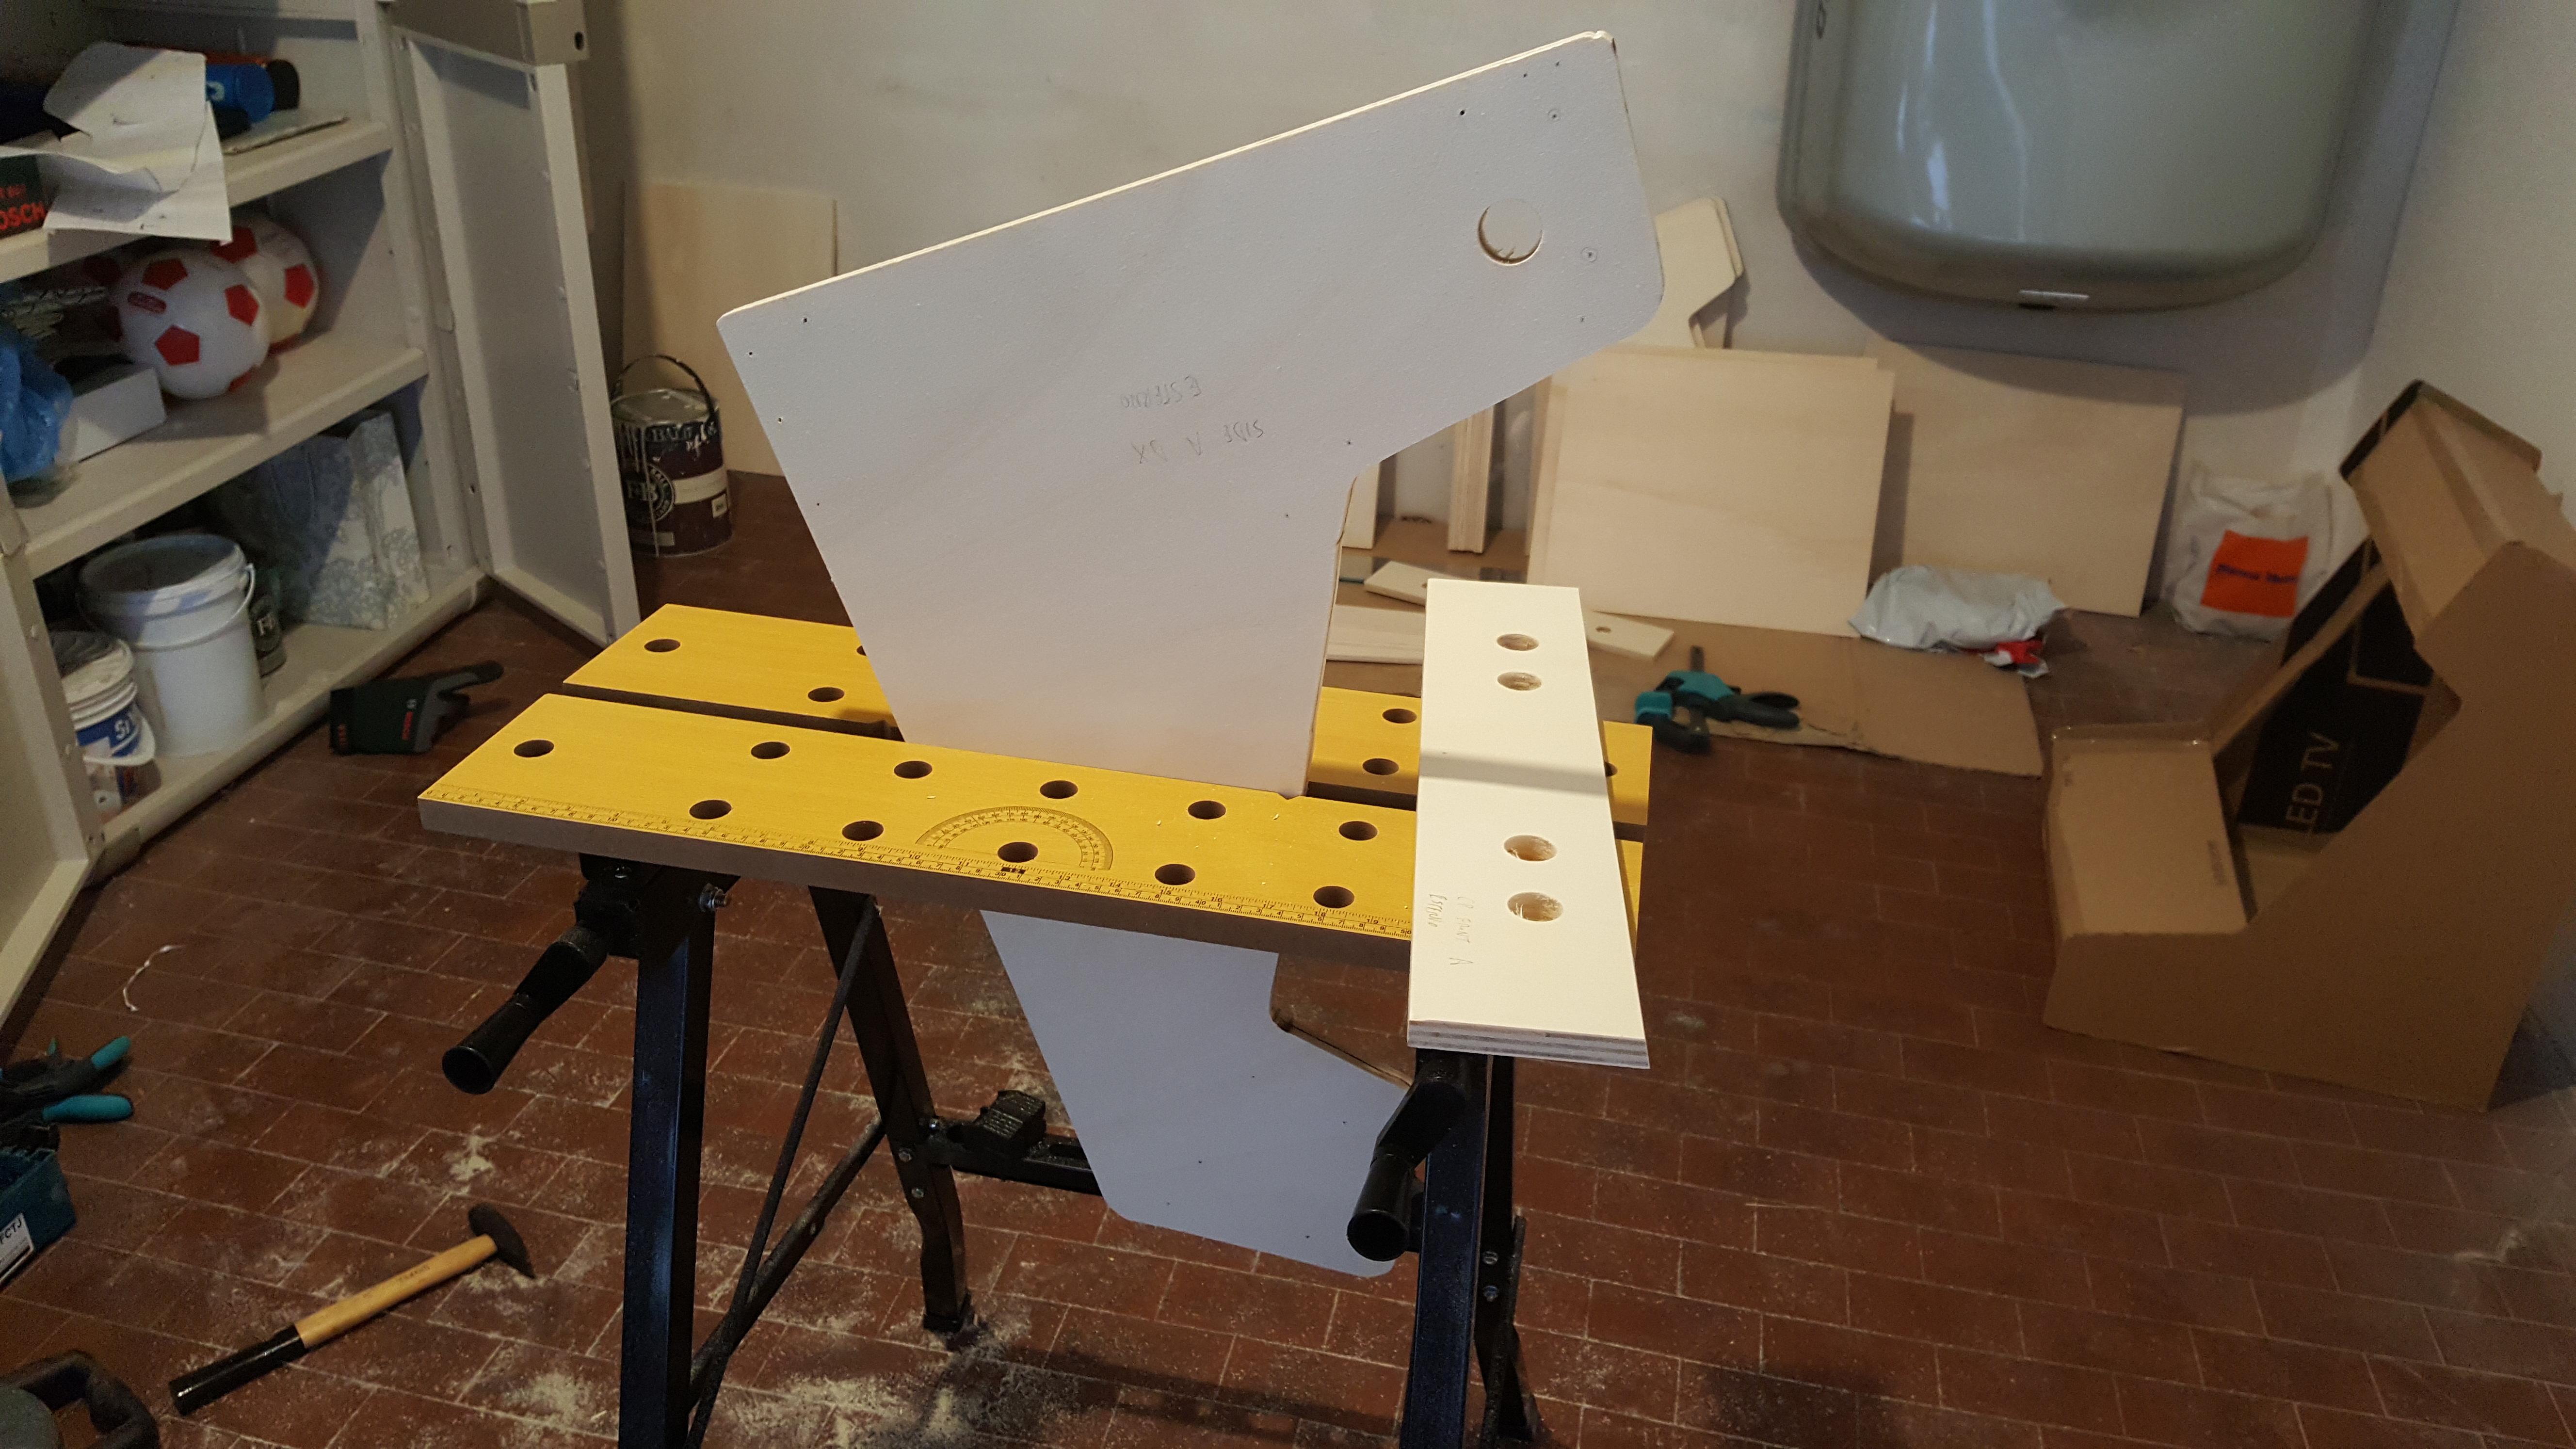
Eventually, you’ll end up with something like this:

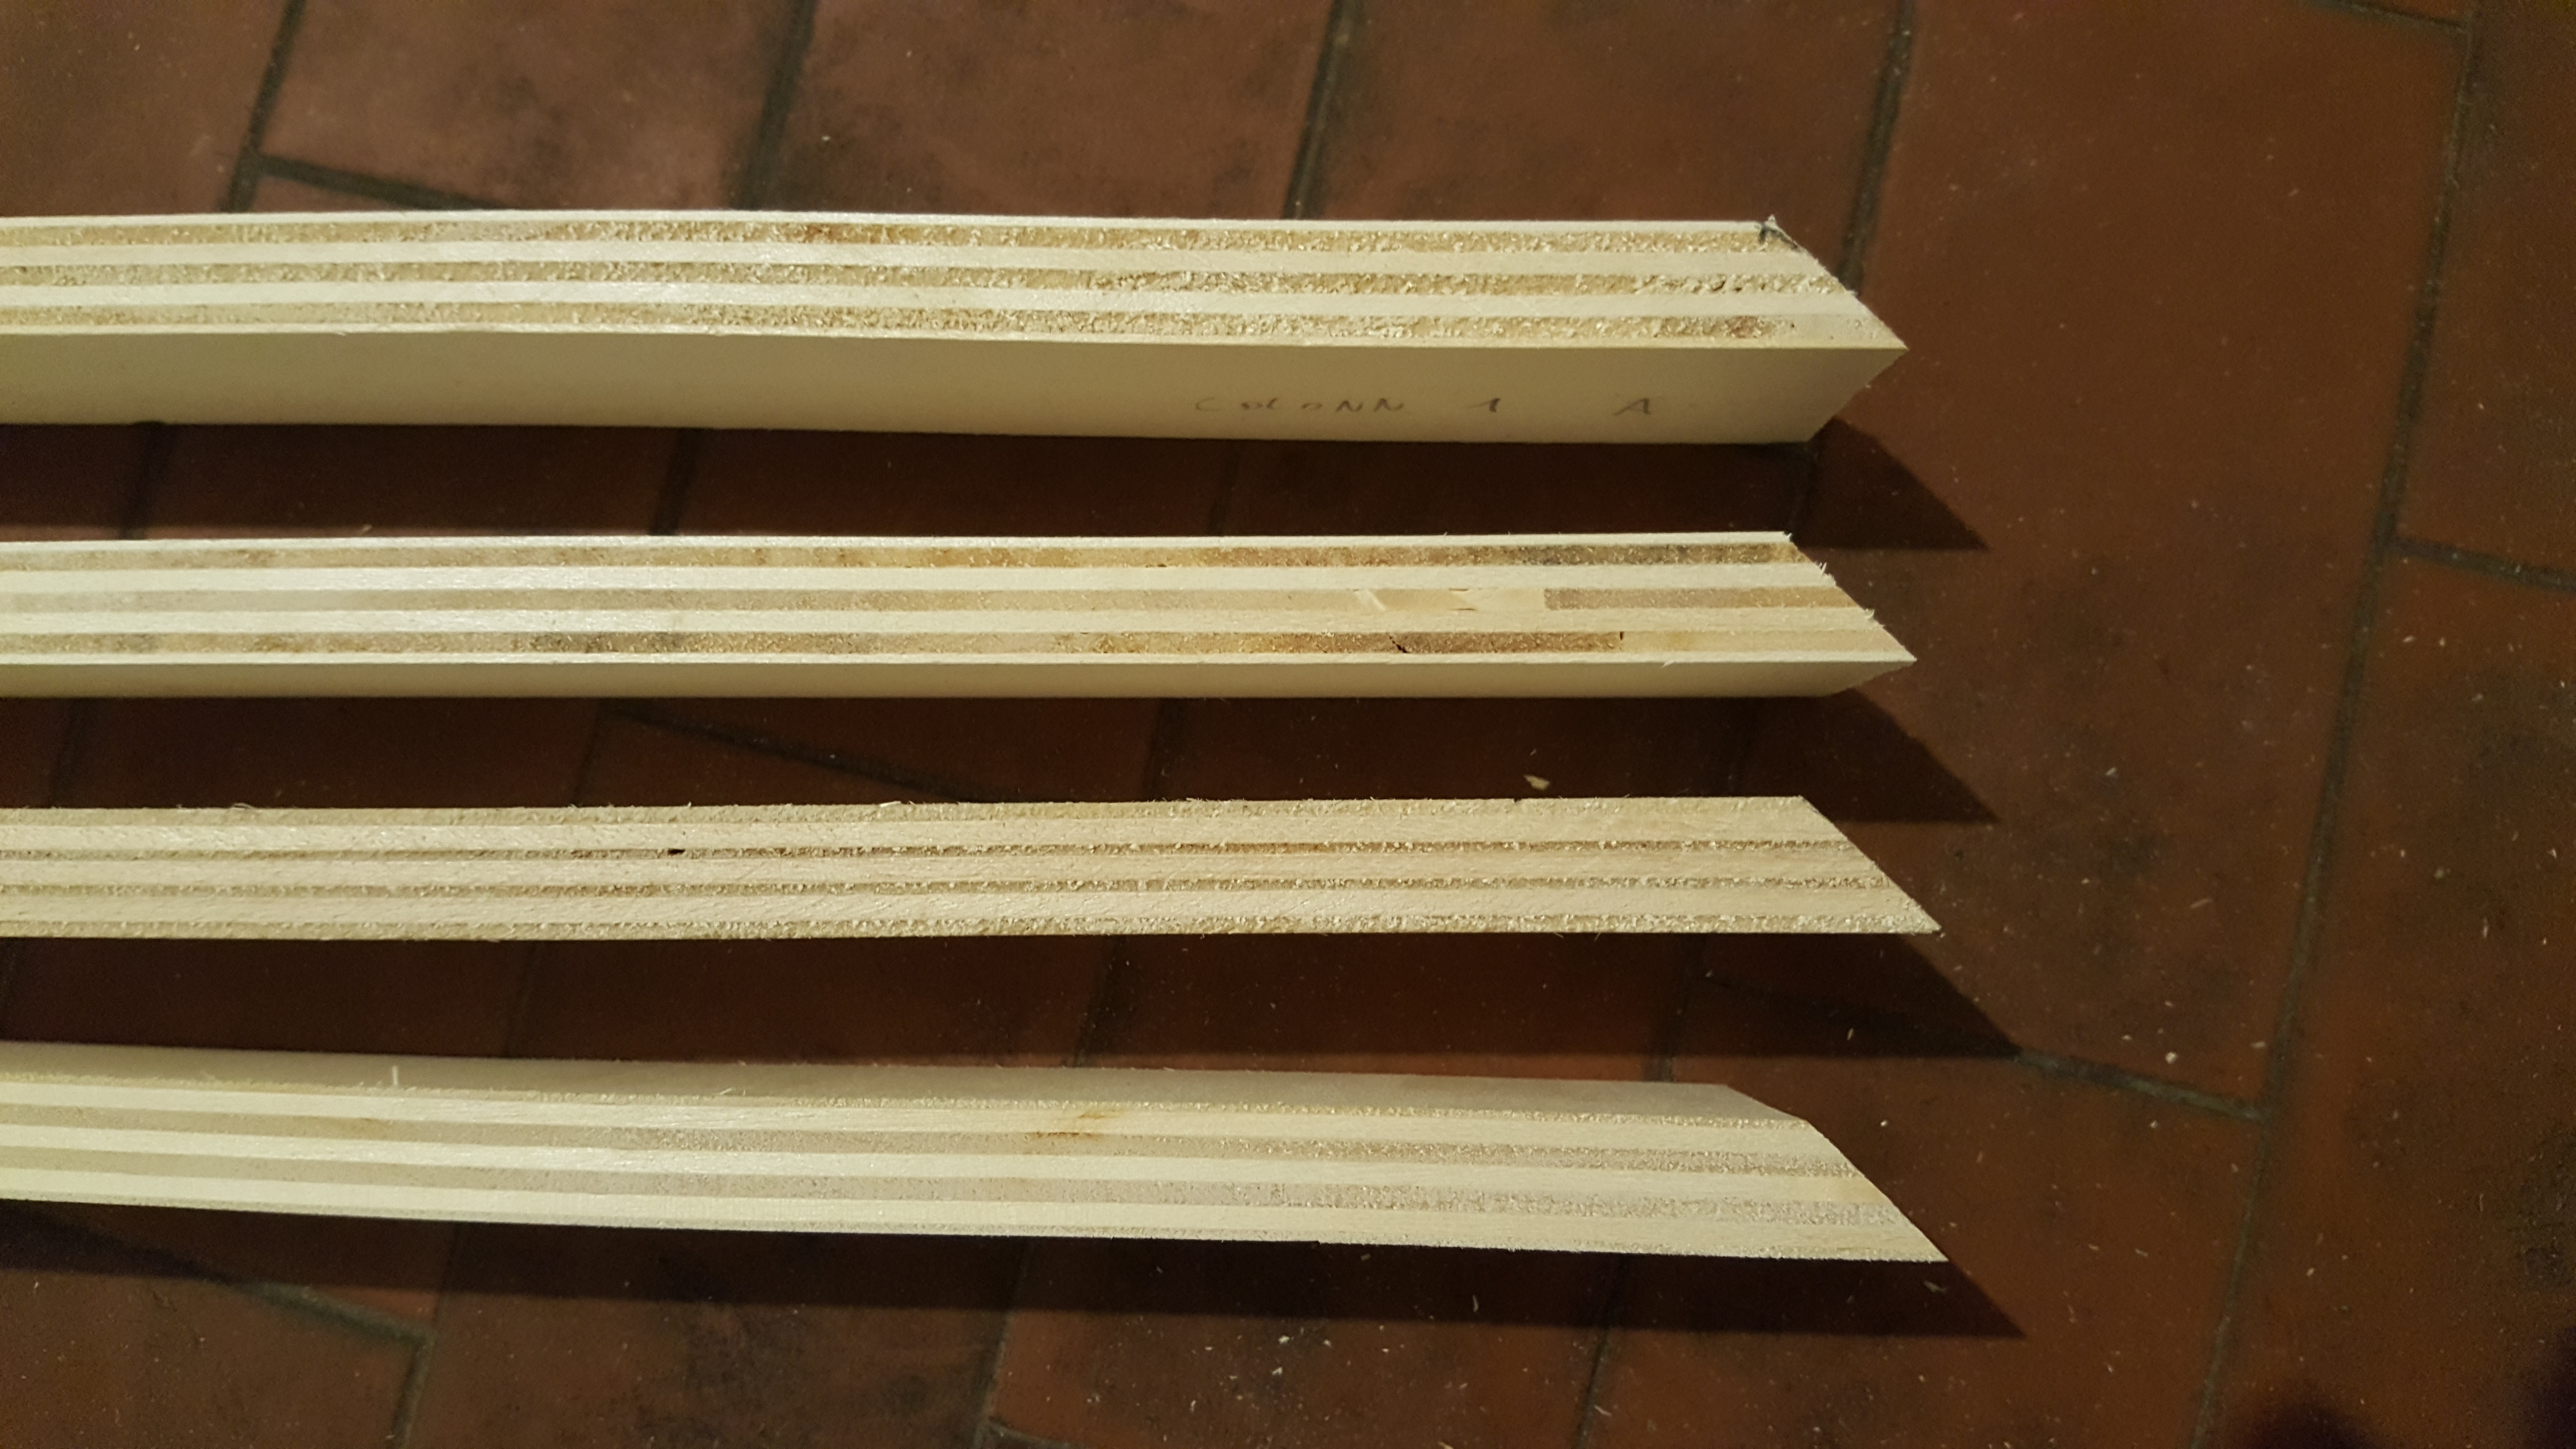
Refining the cuts
Before assembling the cabinet, I spent some time to polish the cuts, rounding and sanding the internal edges and the upper and lower edges of the holes, which were filled with wood fragments: I also have to slightly adjust the eighteen (agh!) 25mm and 29mm holes I made for the joystick buttons, as they were 26mm and 30mm wide.
These are excellent tasks to handle with the Dremel, but you can also do it with sanding paper and patience. What you can’t do without the Dremel is the Side Panels internal slot for the T-Molding, unless you have a slot cutter, which would undoubtely be the perfect tool to do that.
Unfortunately I don’t have it, hence I stuck with the Dremel:
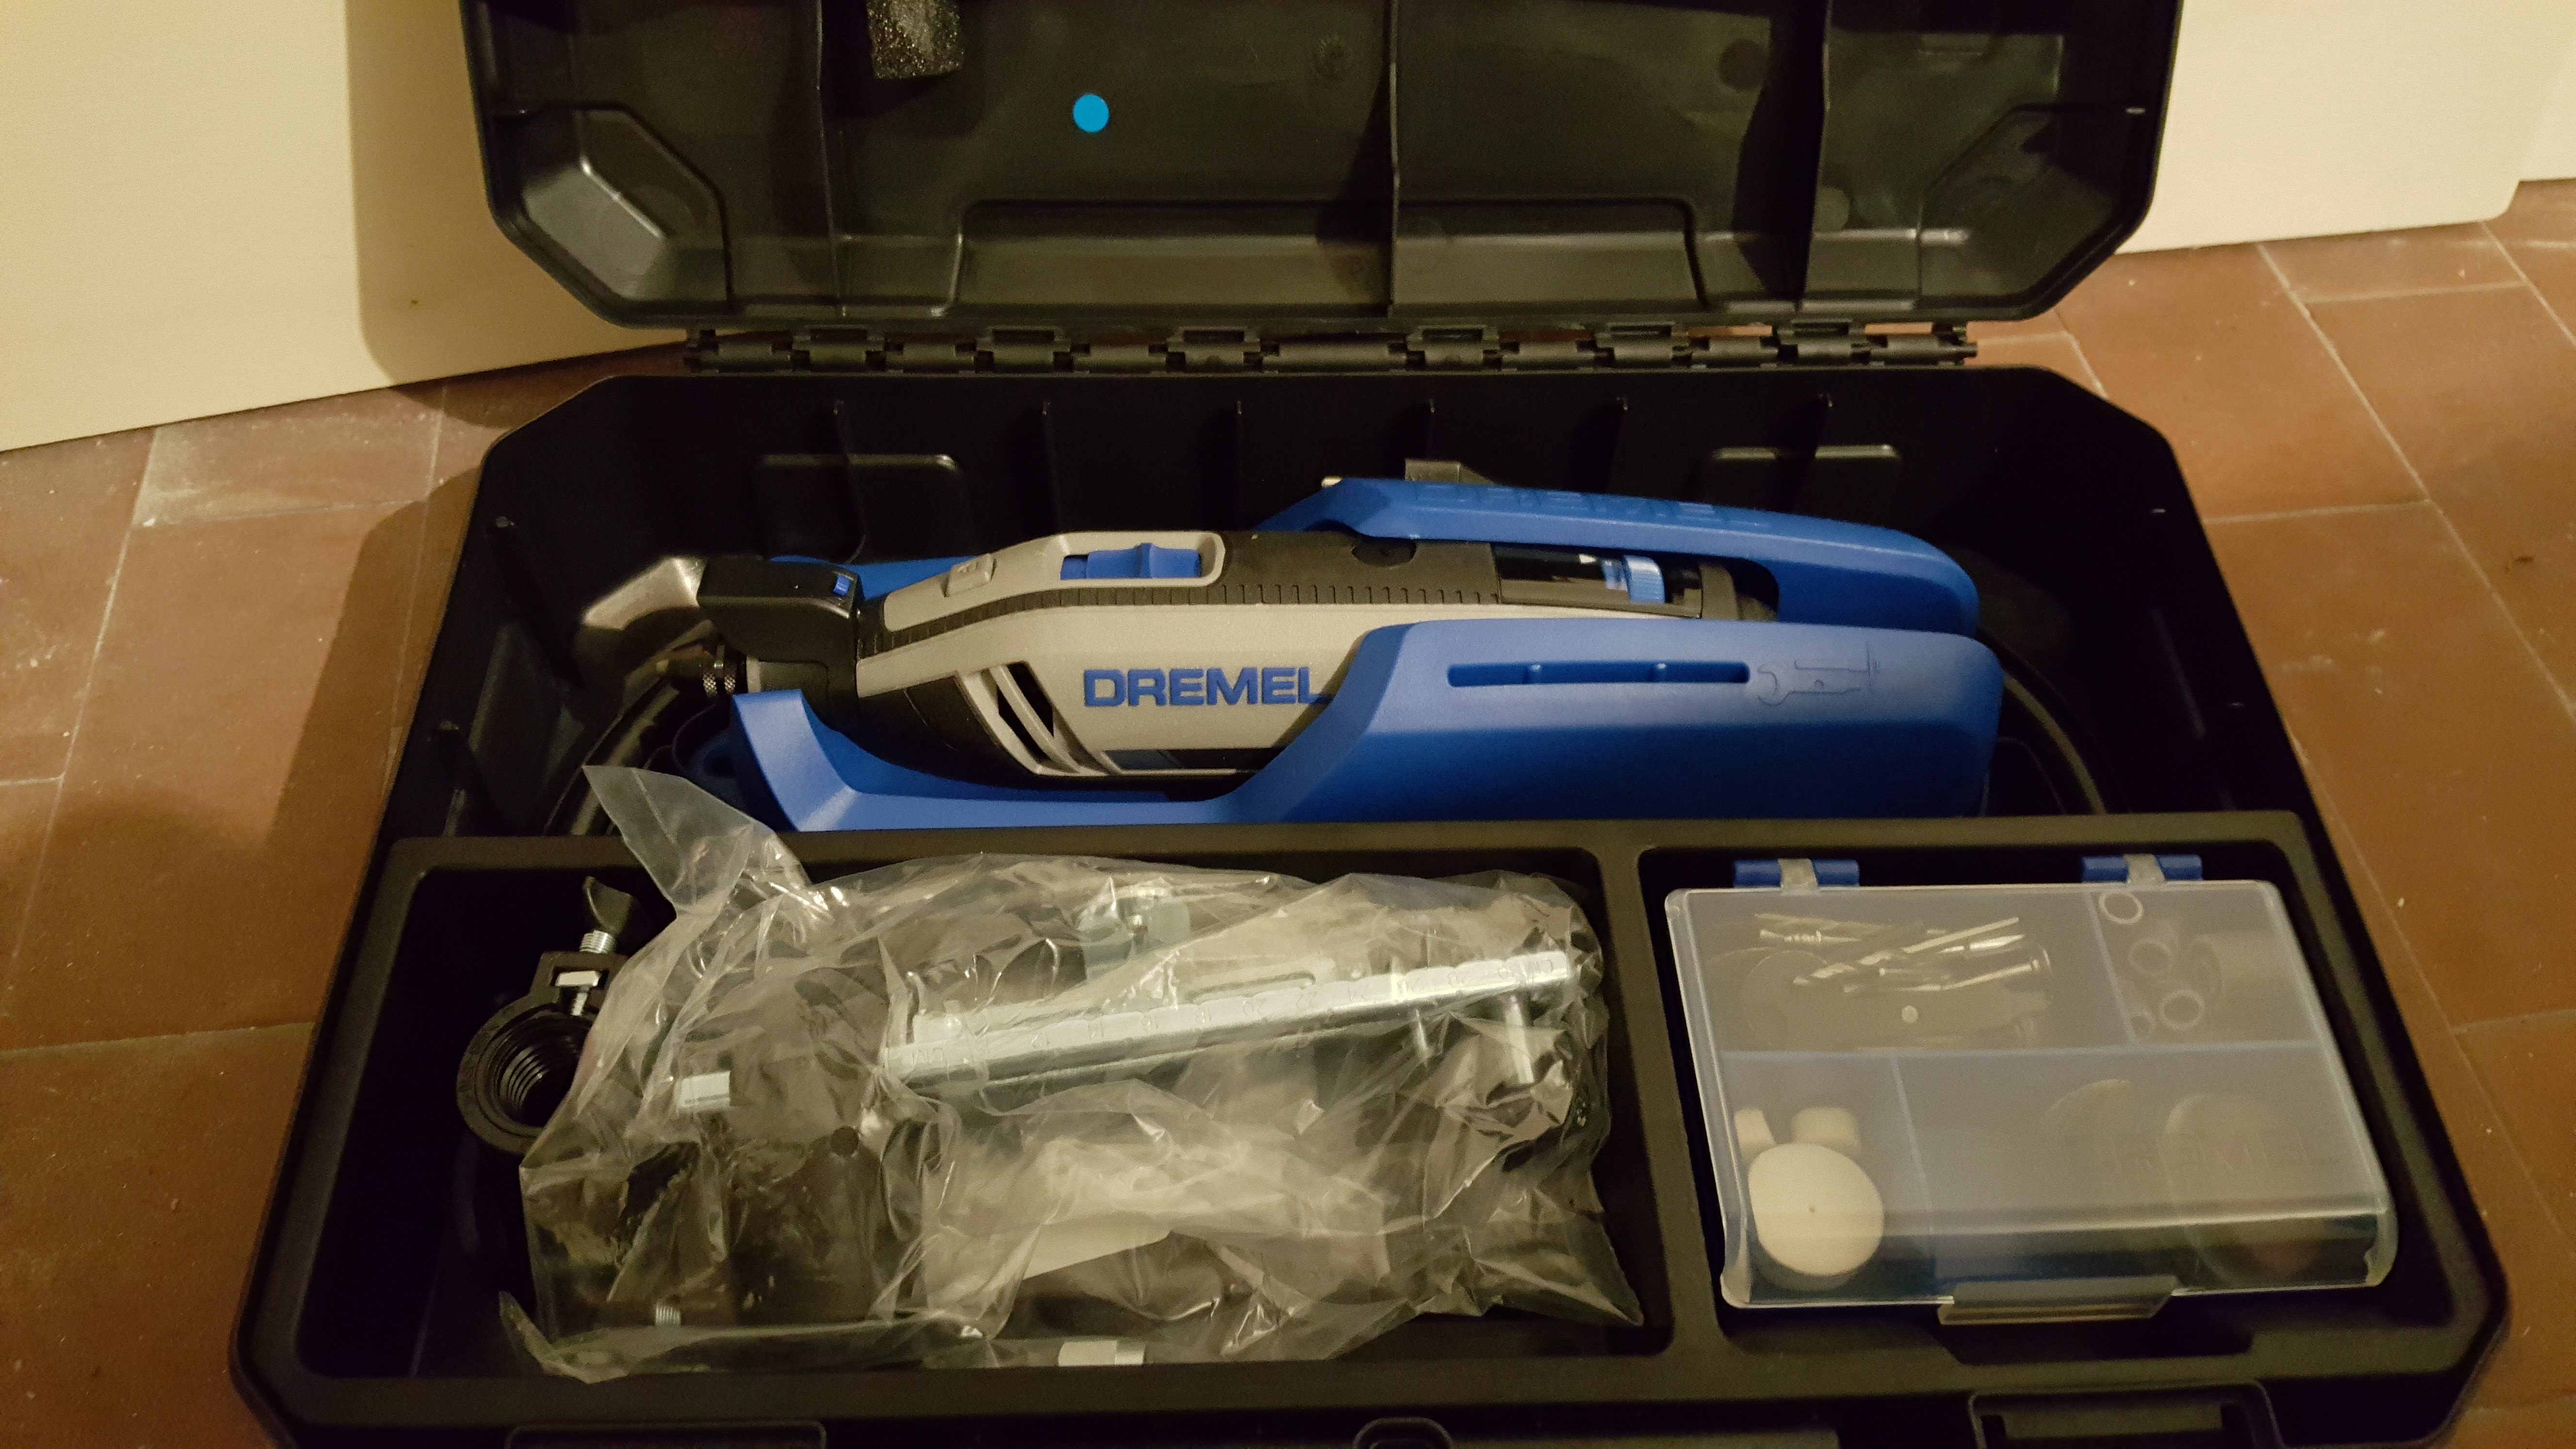
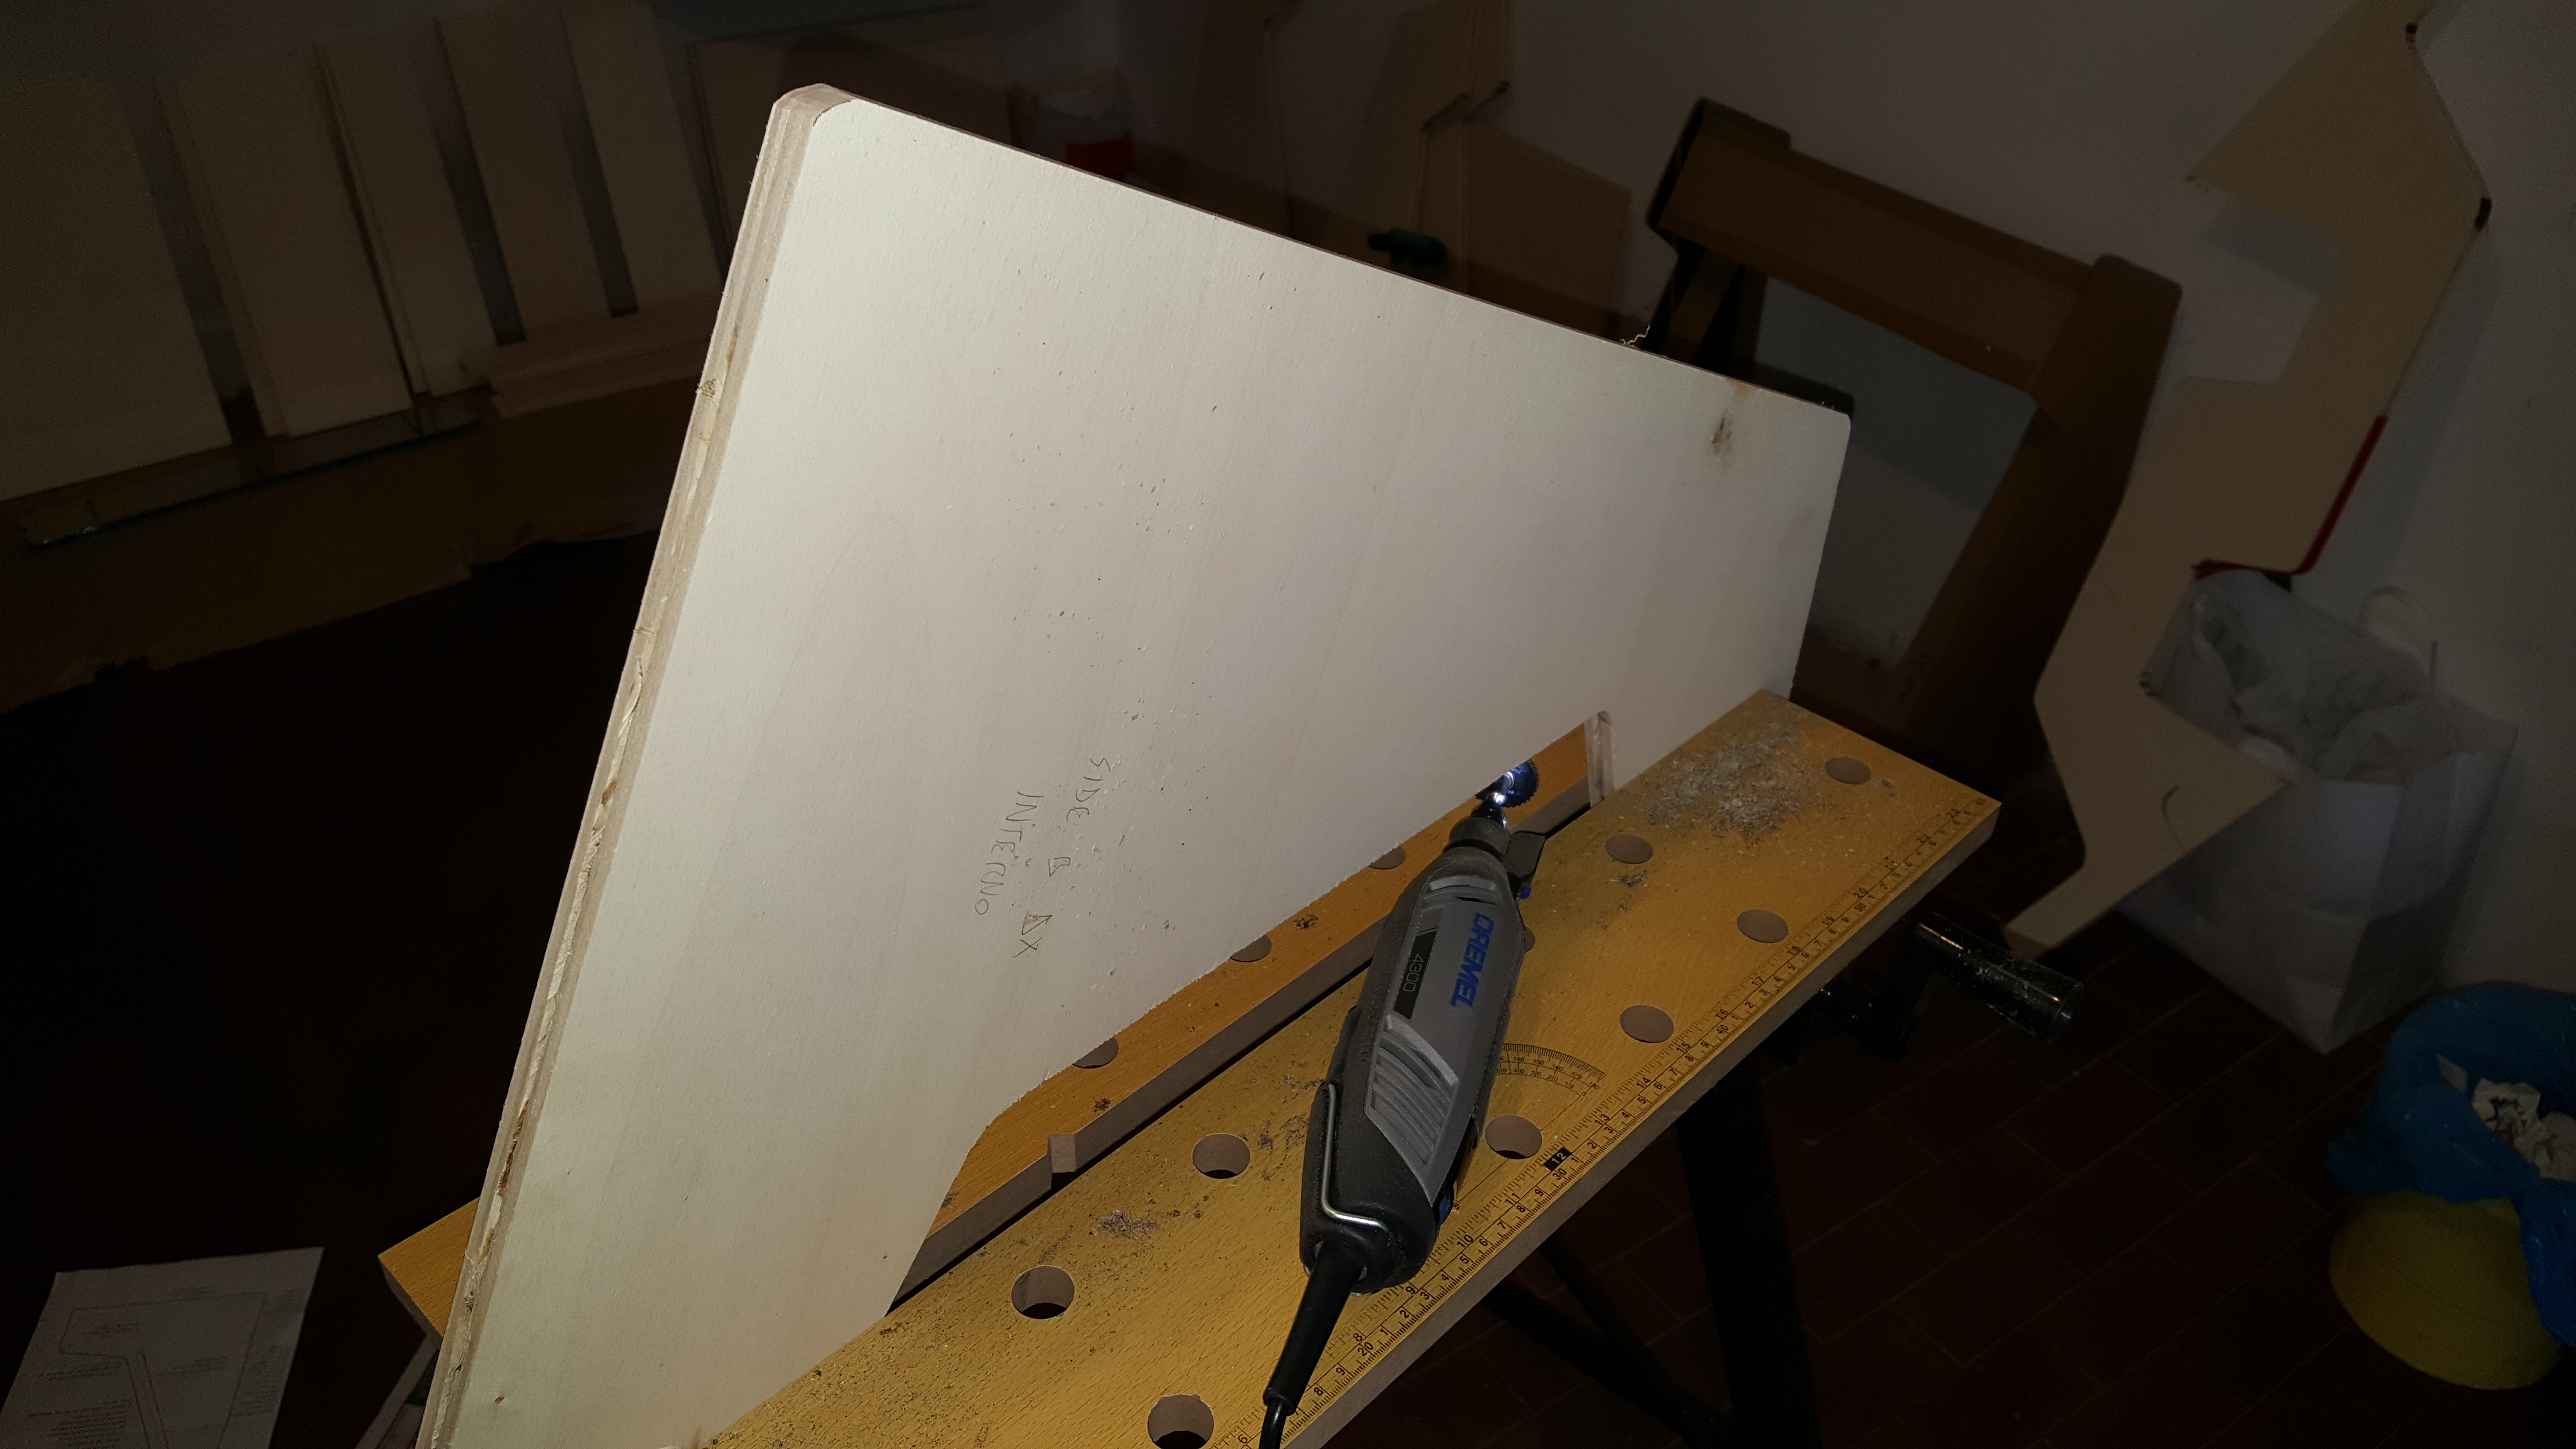
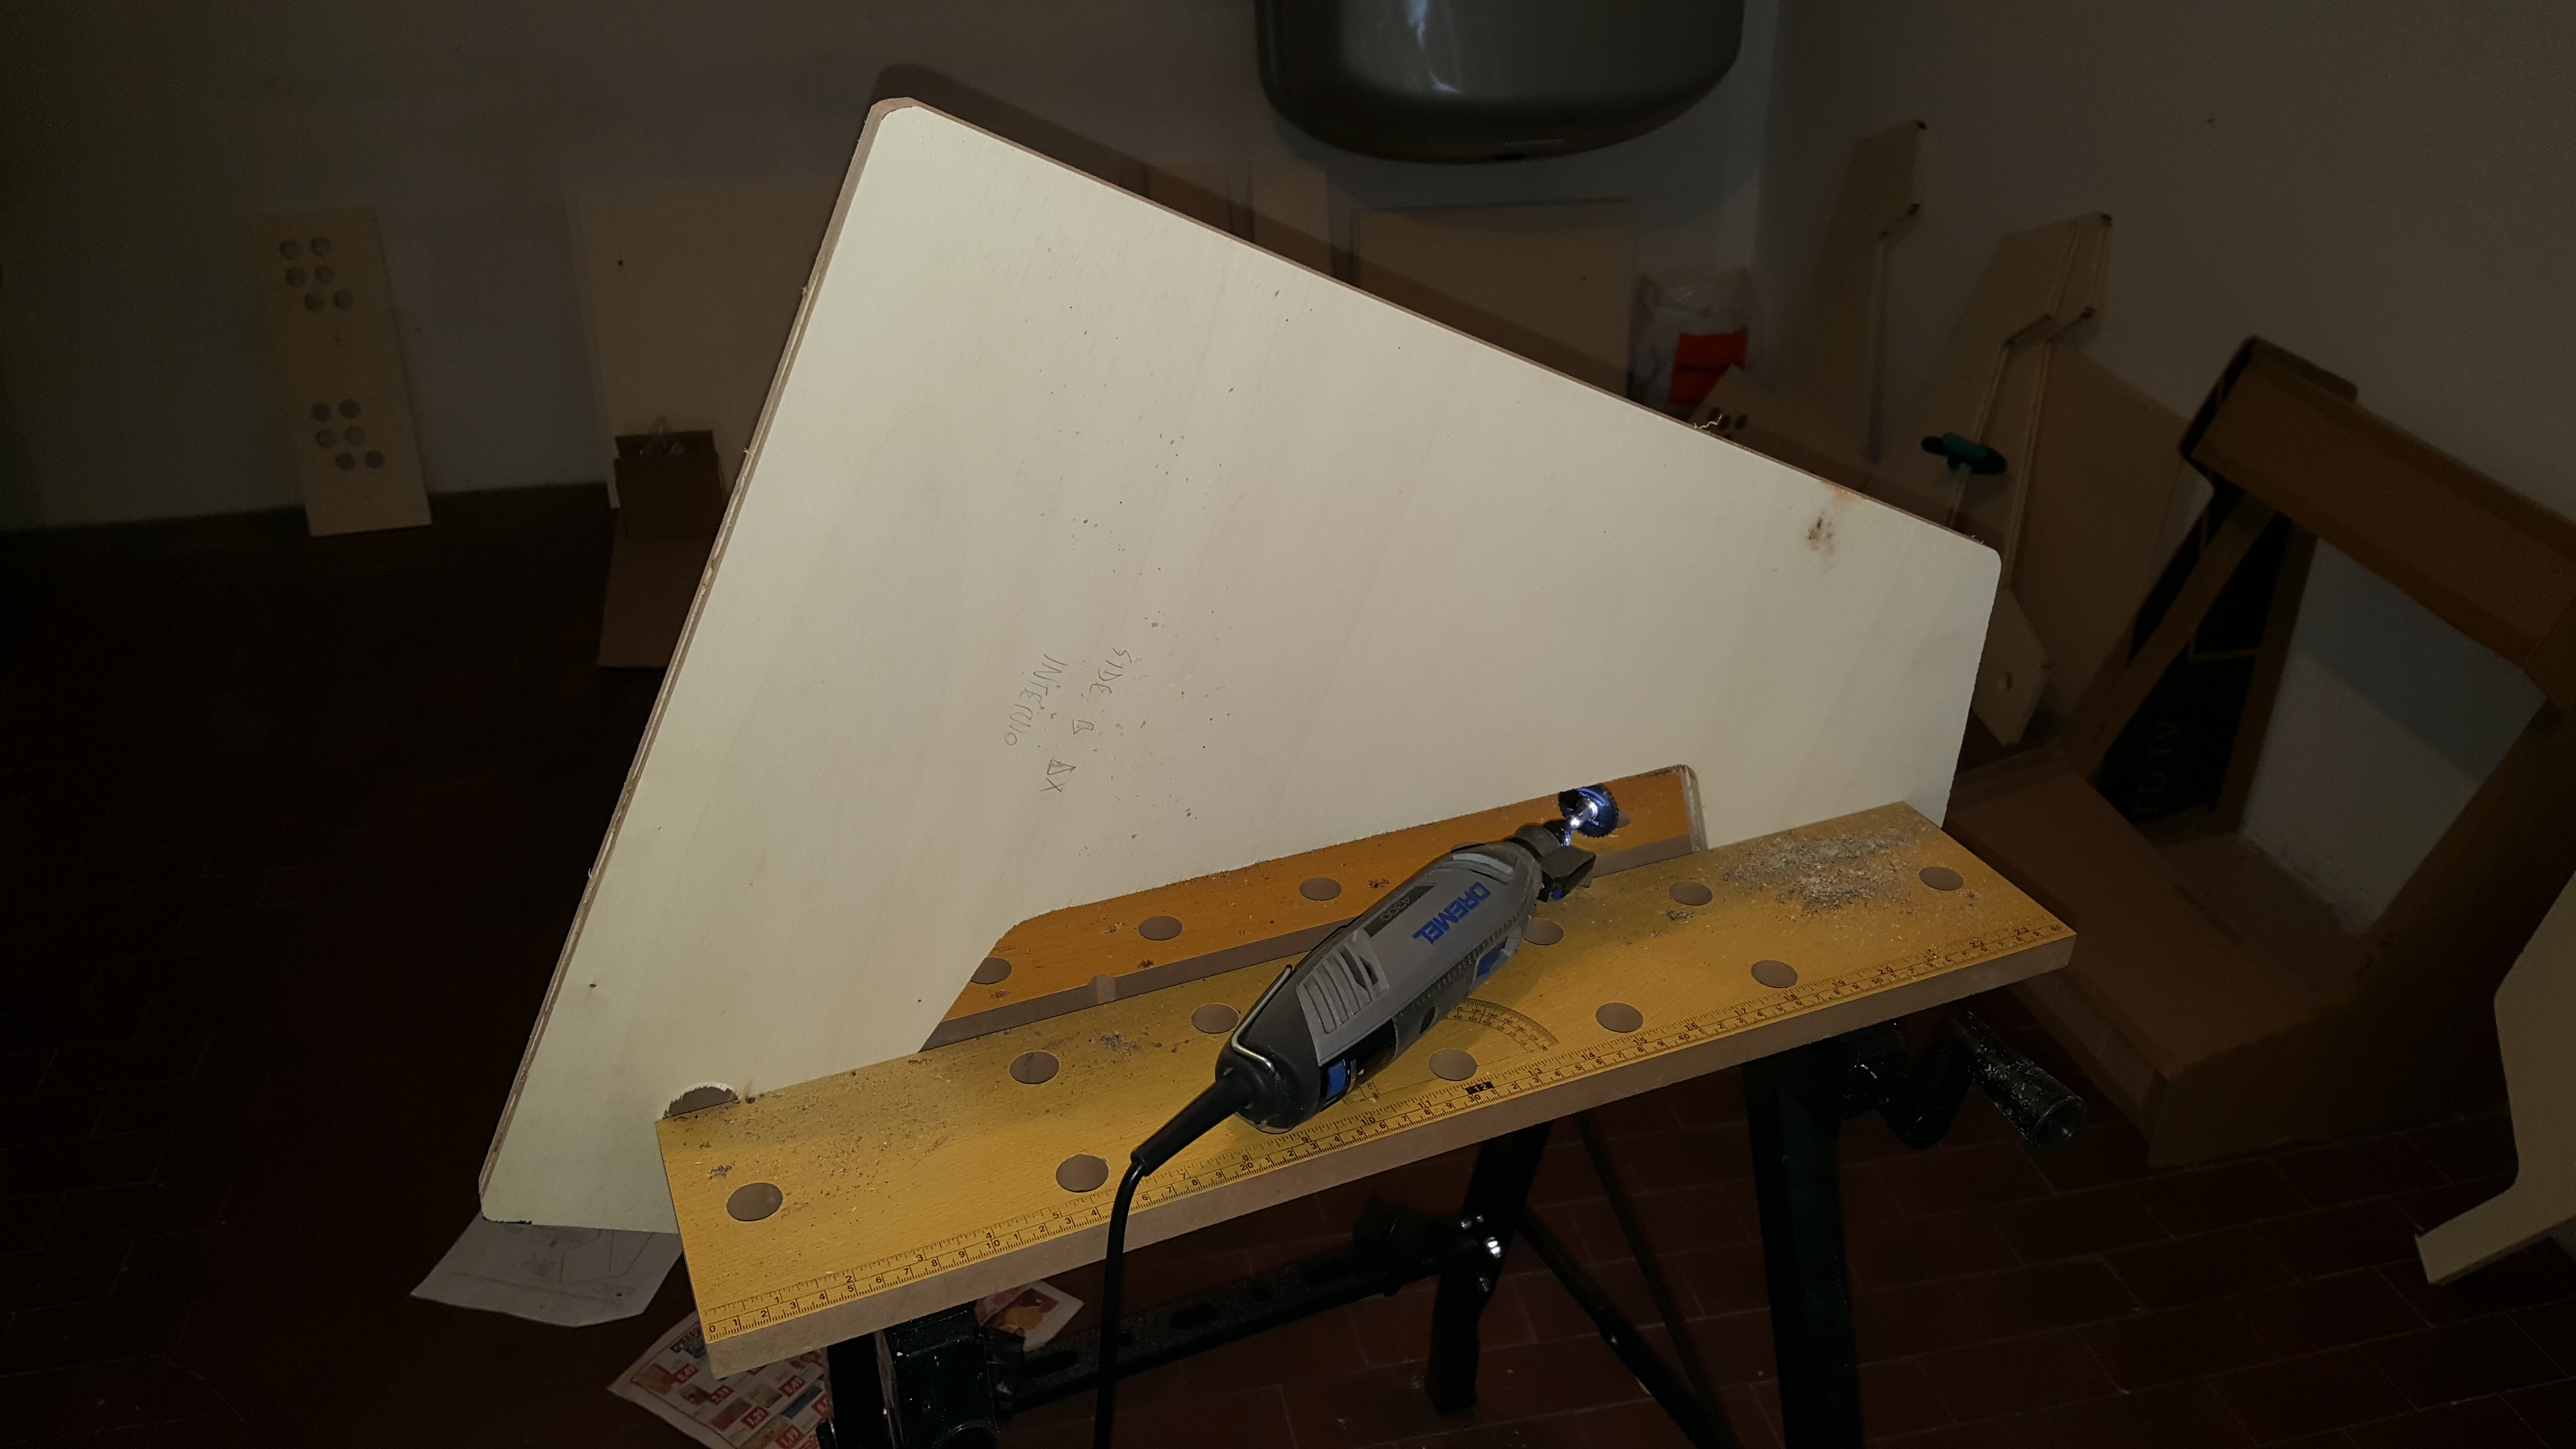
I made a 2.5mm slot cut using a little circular saw which I had in my Dremel toolbox: that wasn’t an easy task, I would suggest to practice it a while with some spare wood pieces before attempting that with the side panels. Don’t forget wearing your glasses!
Assembling the Cabinet
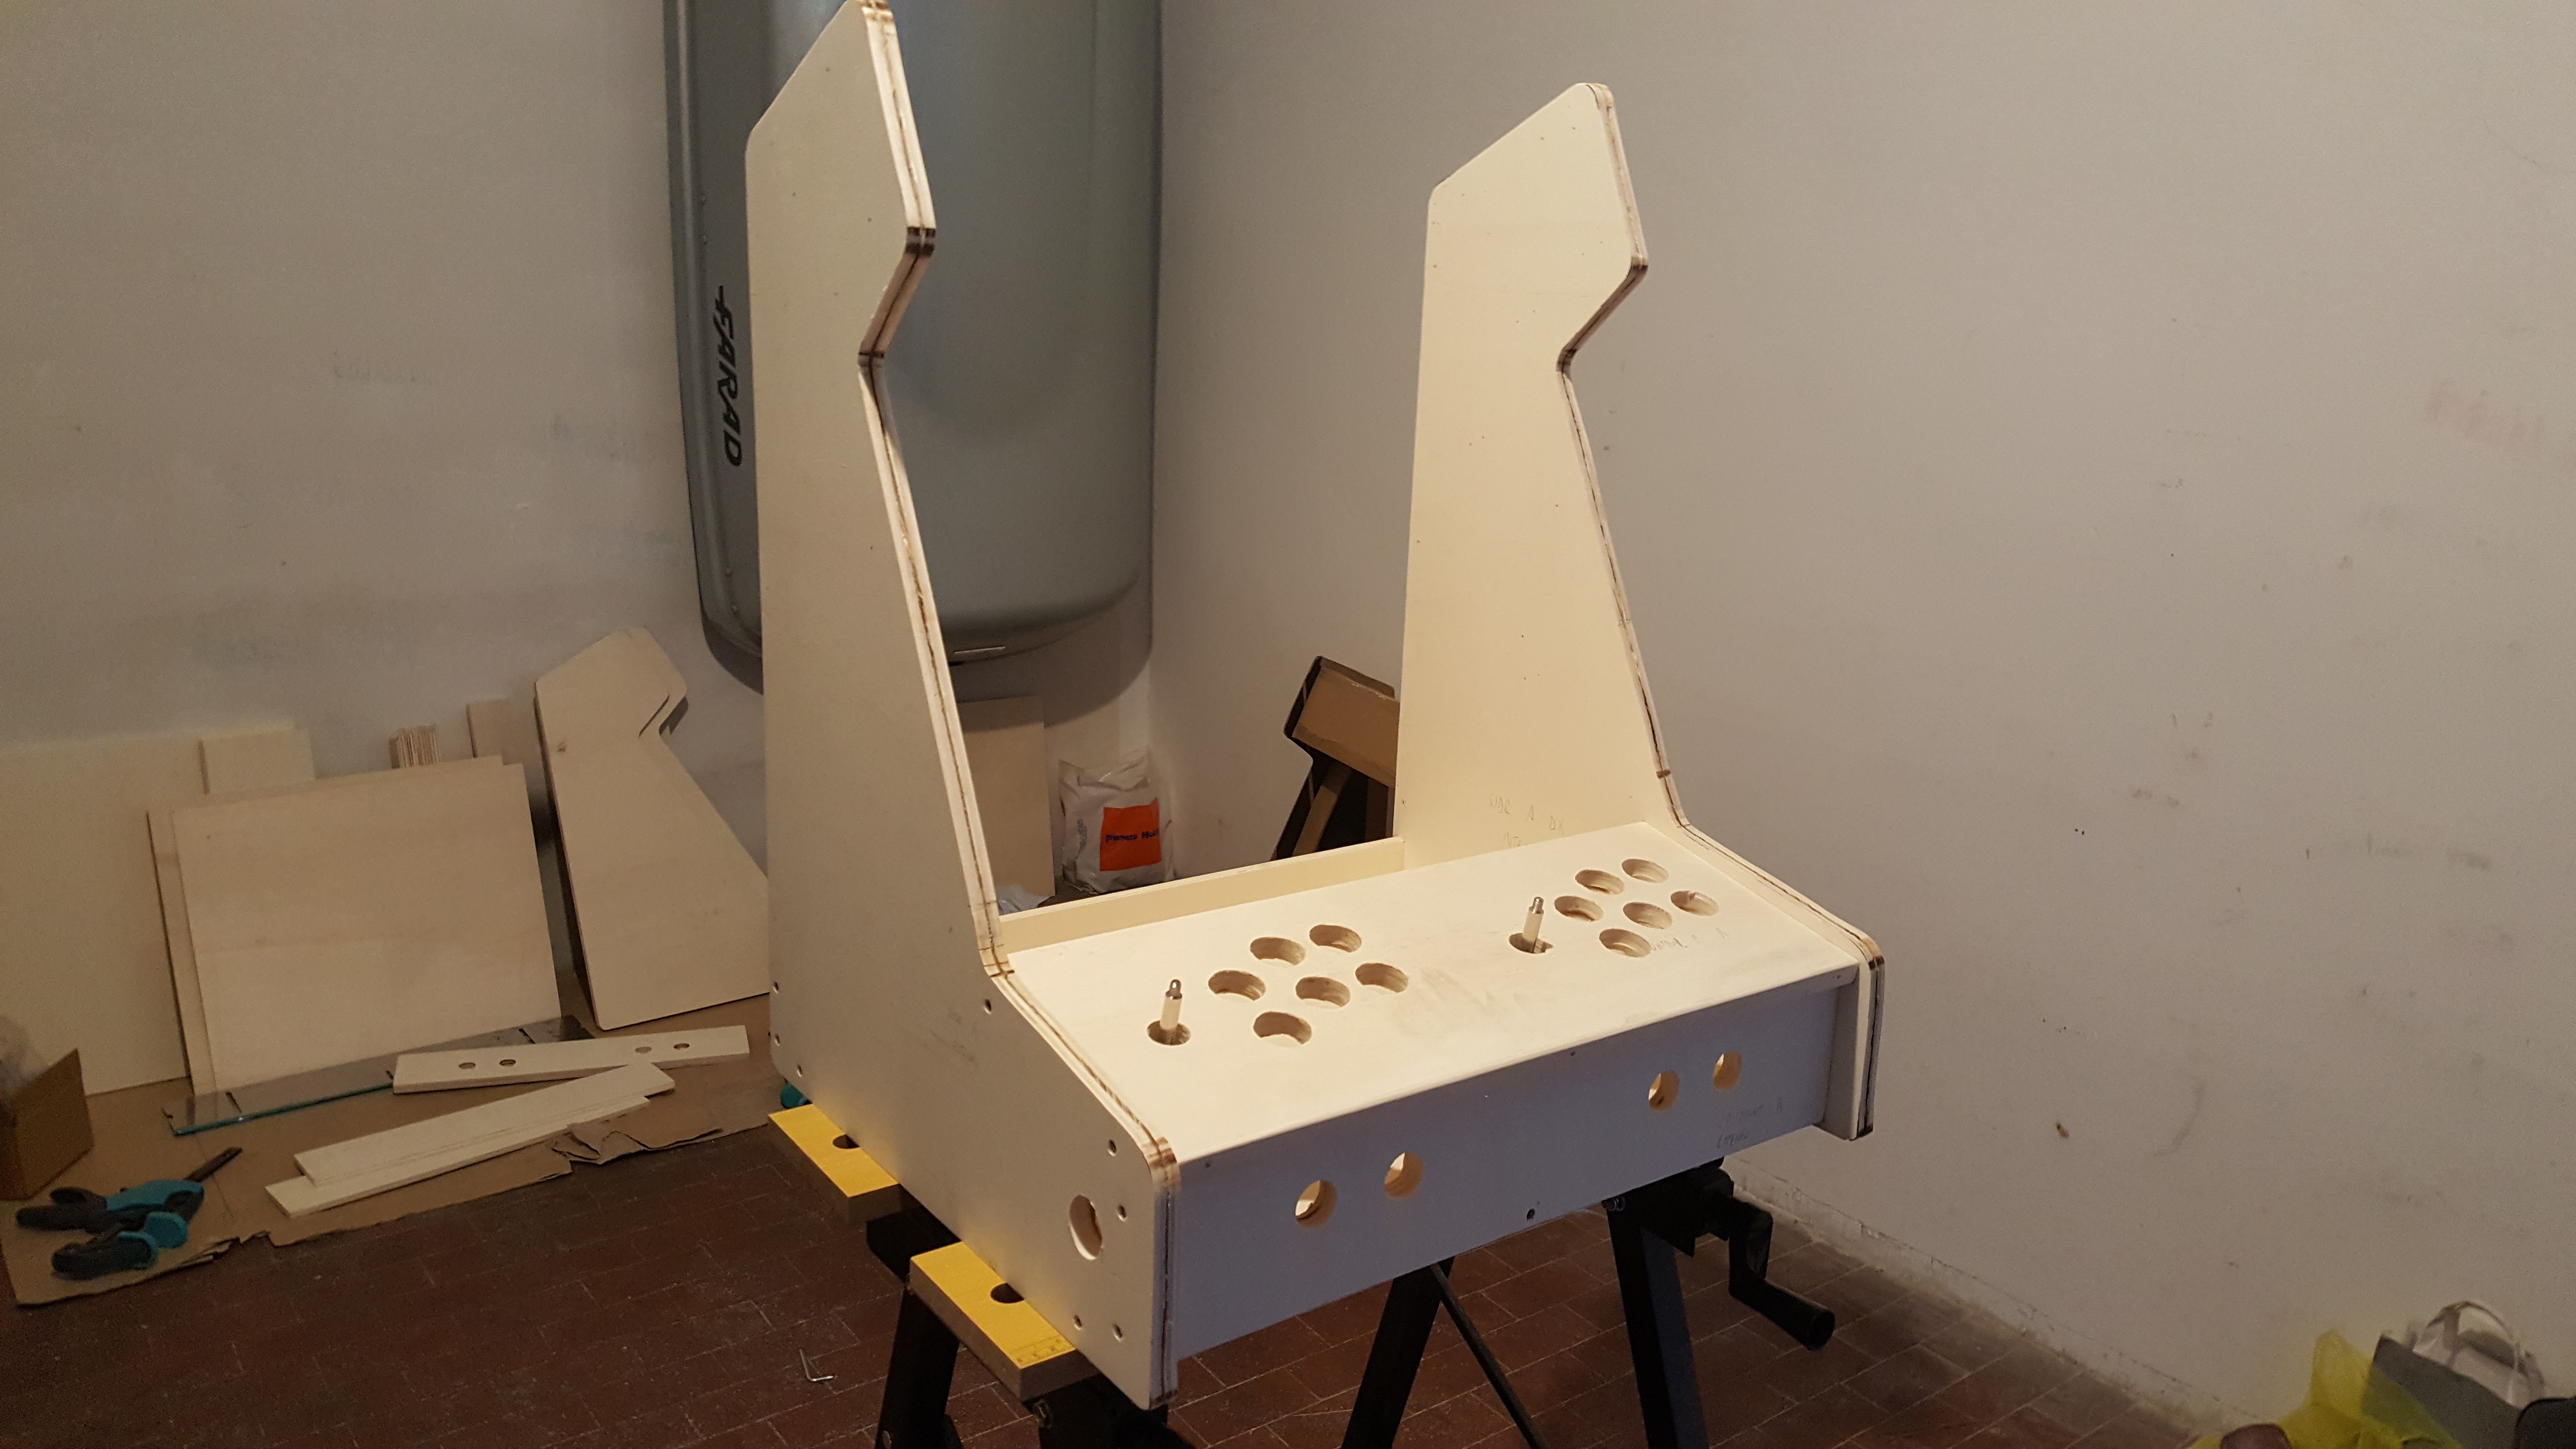
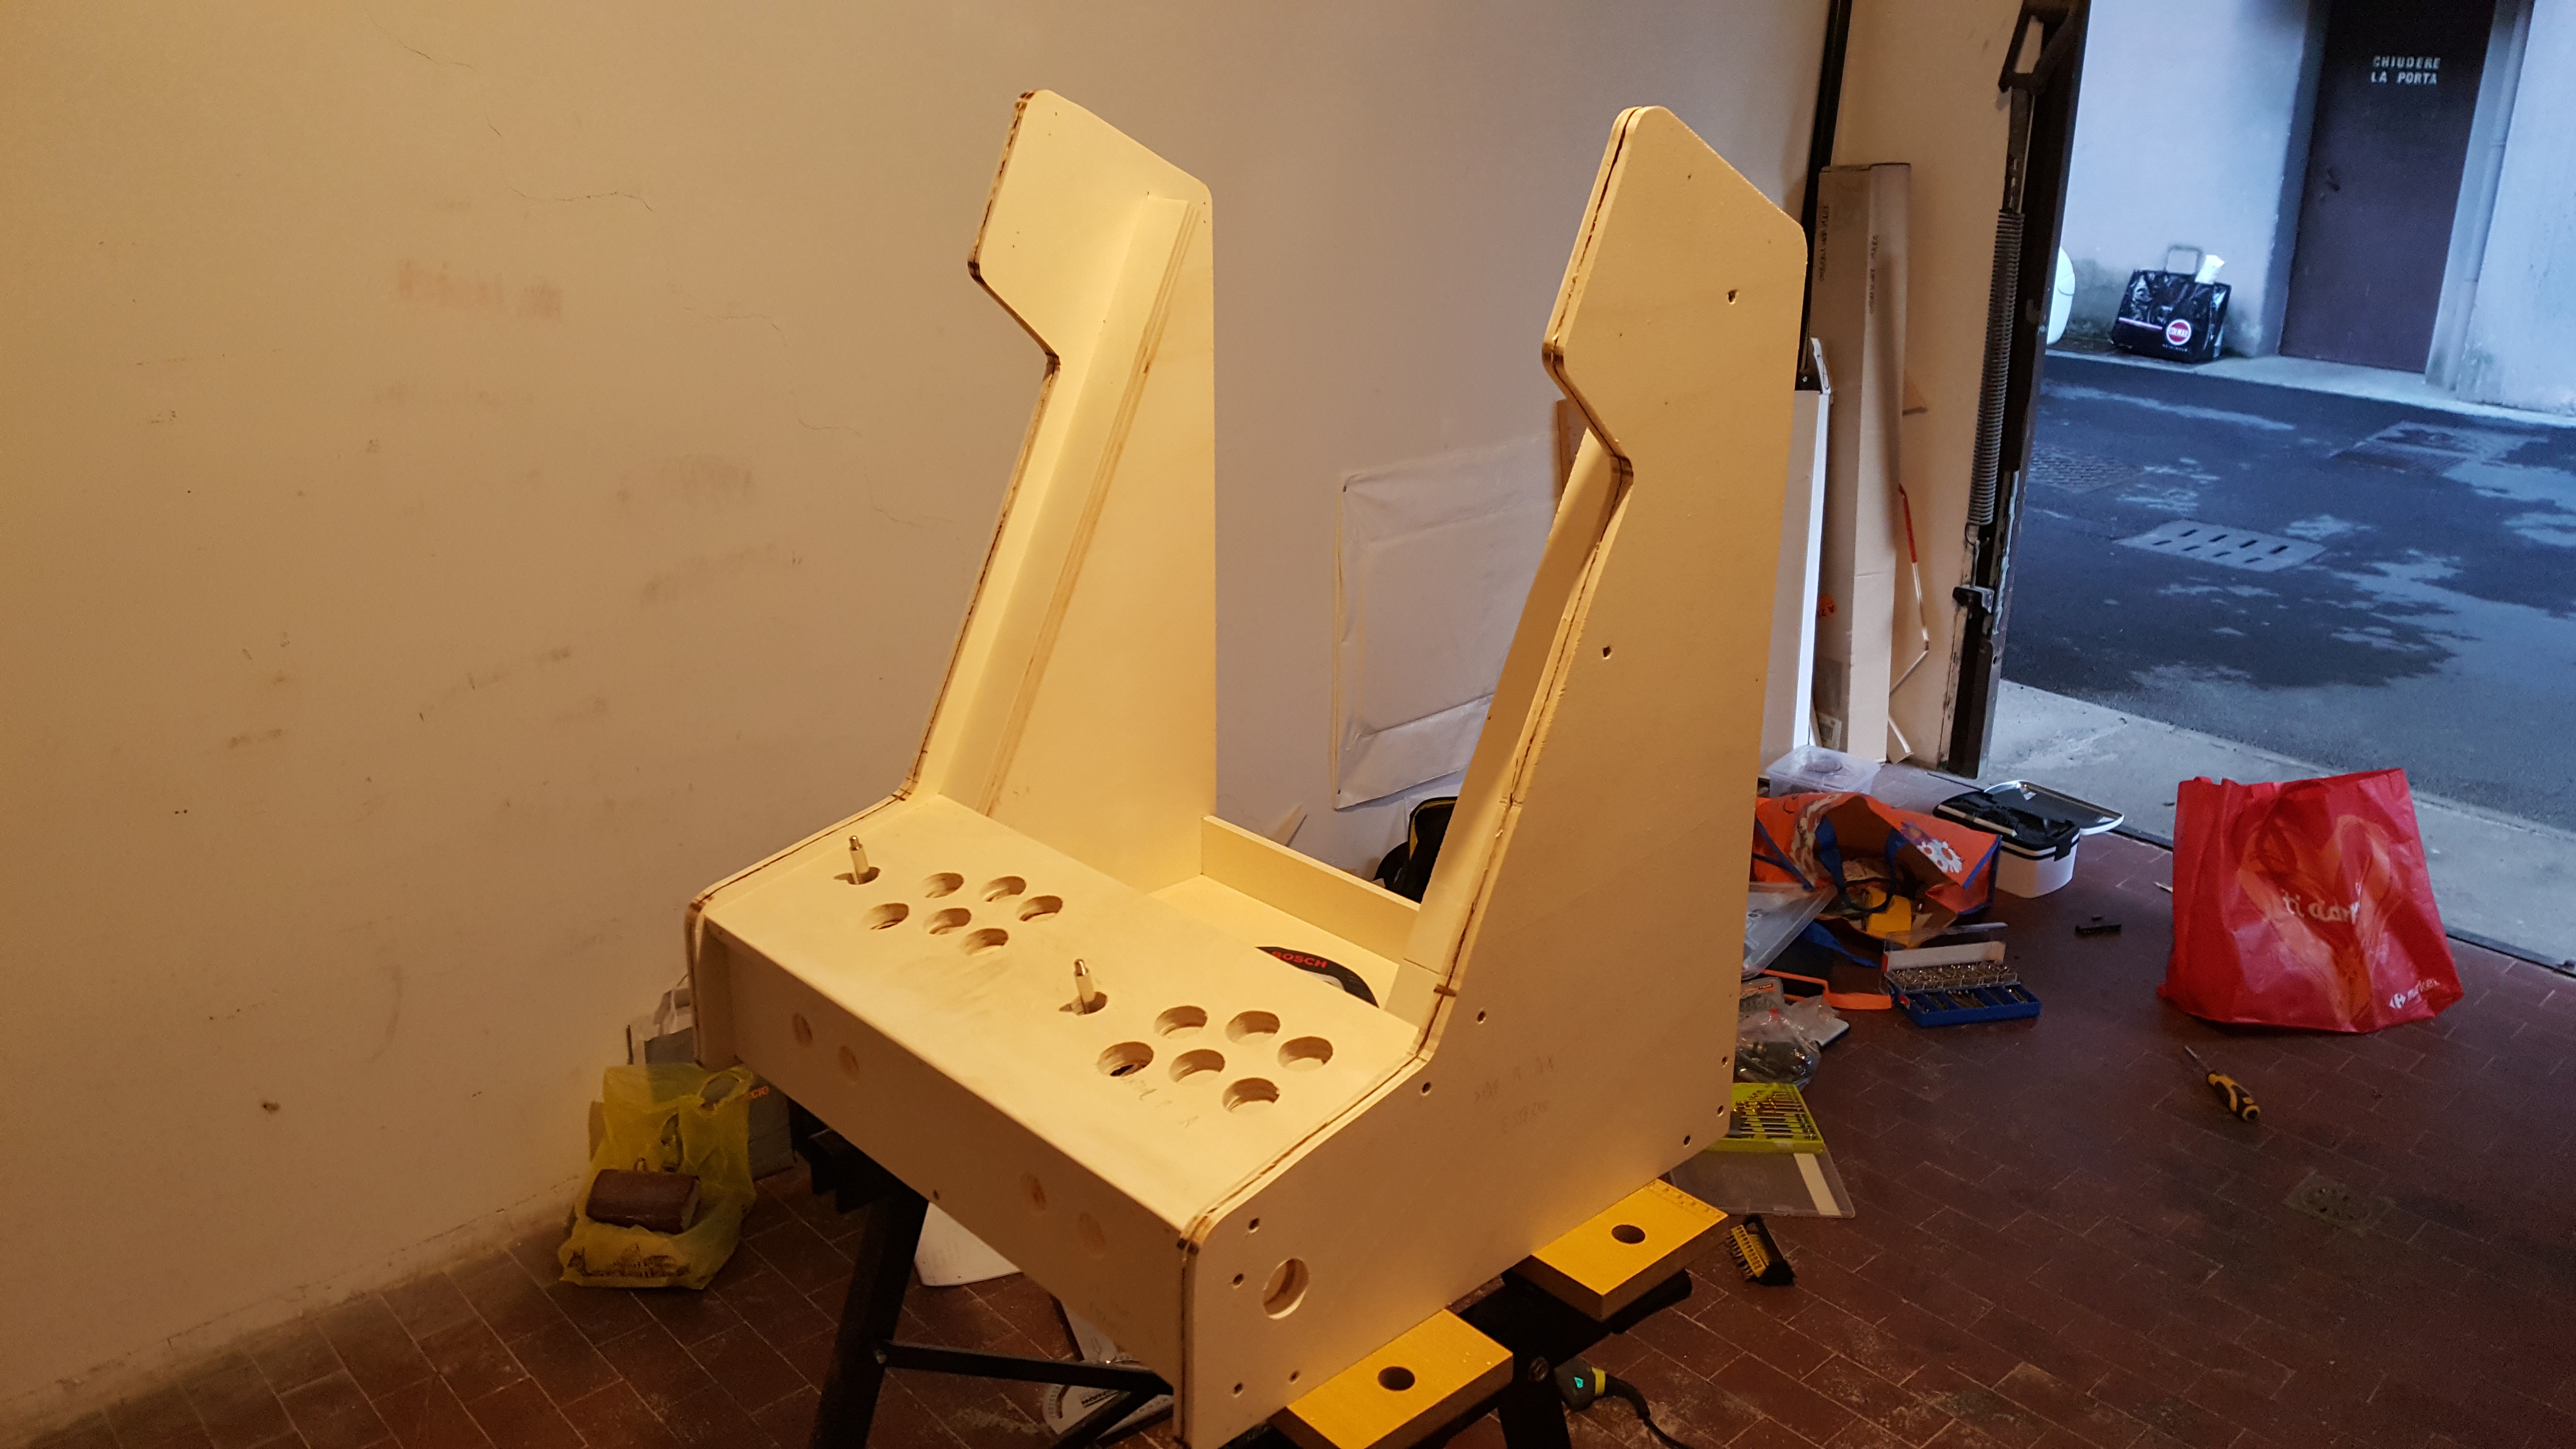
Right after the Dremel phase I could finally bring all the pieces together and start building the real thing. Here’s how I did that:
- I aligned the various wood pieces and loosely fixed them using the wood glue or the clamps (one at a time).
- I made the hole guides for the screws with the drill.
- I firmly planted the screws in the wood.
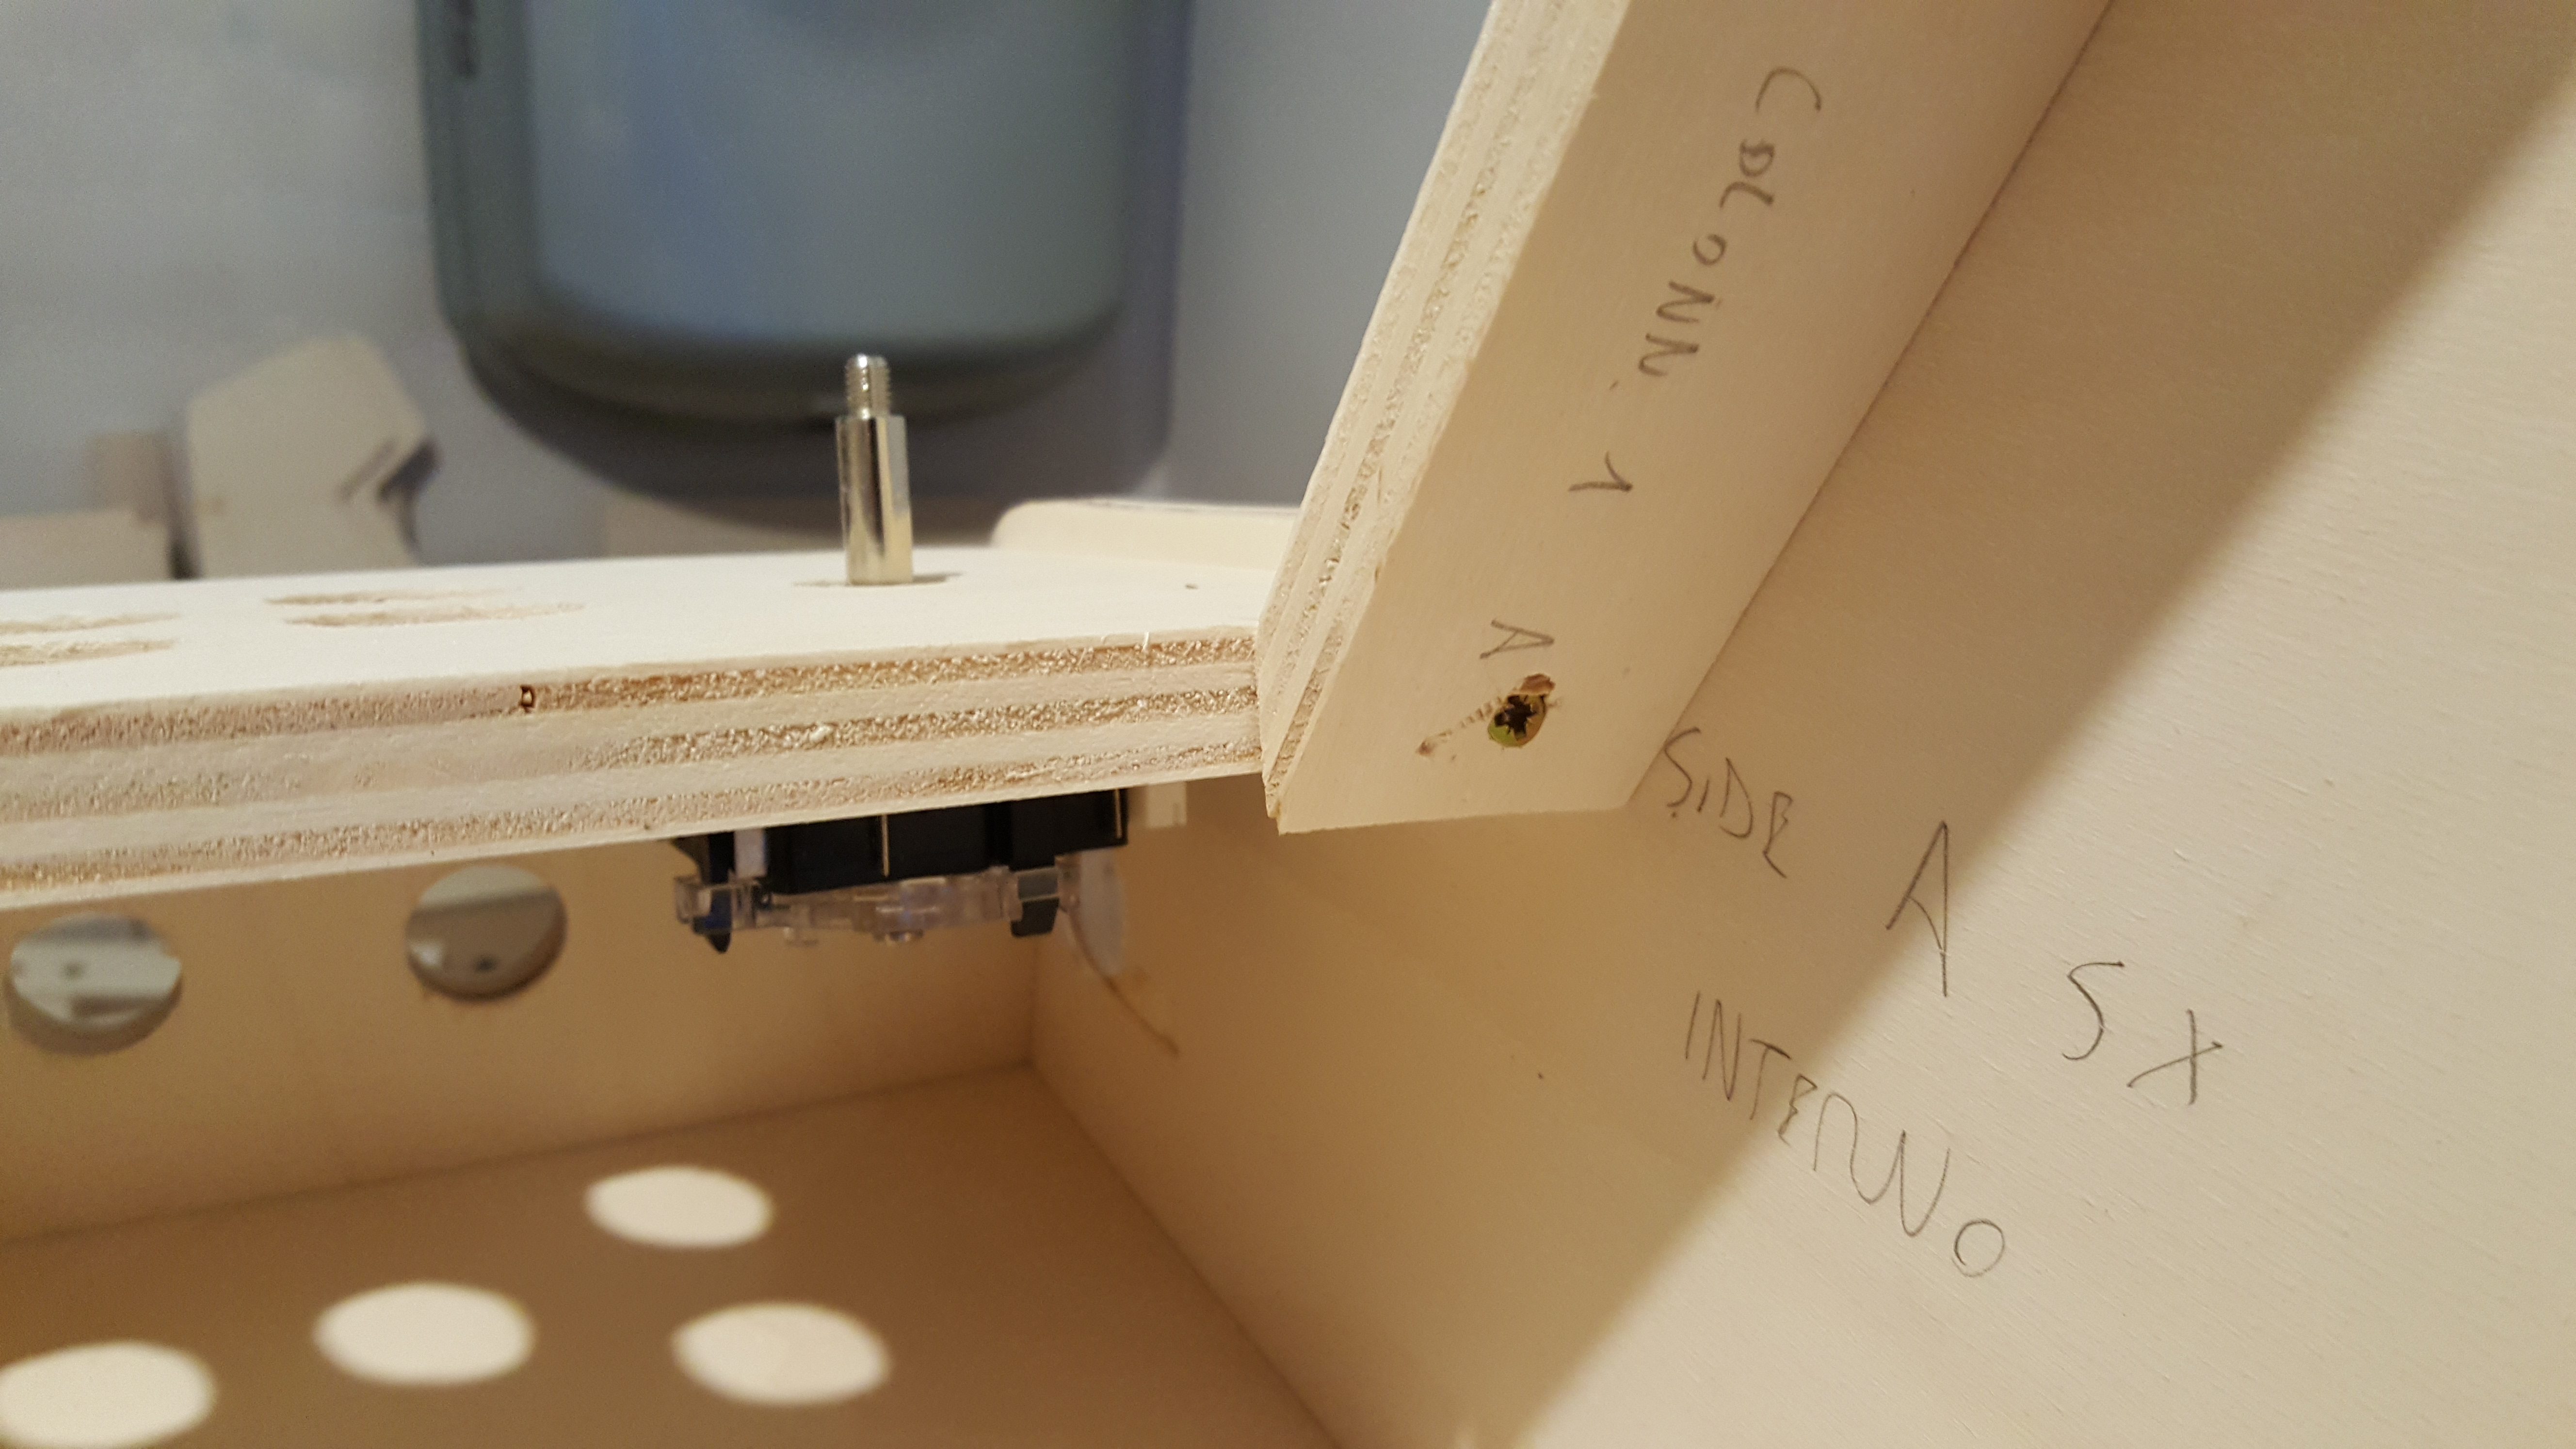
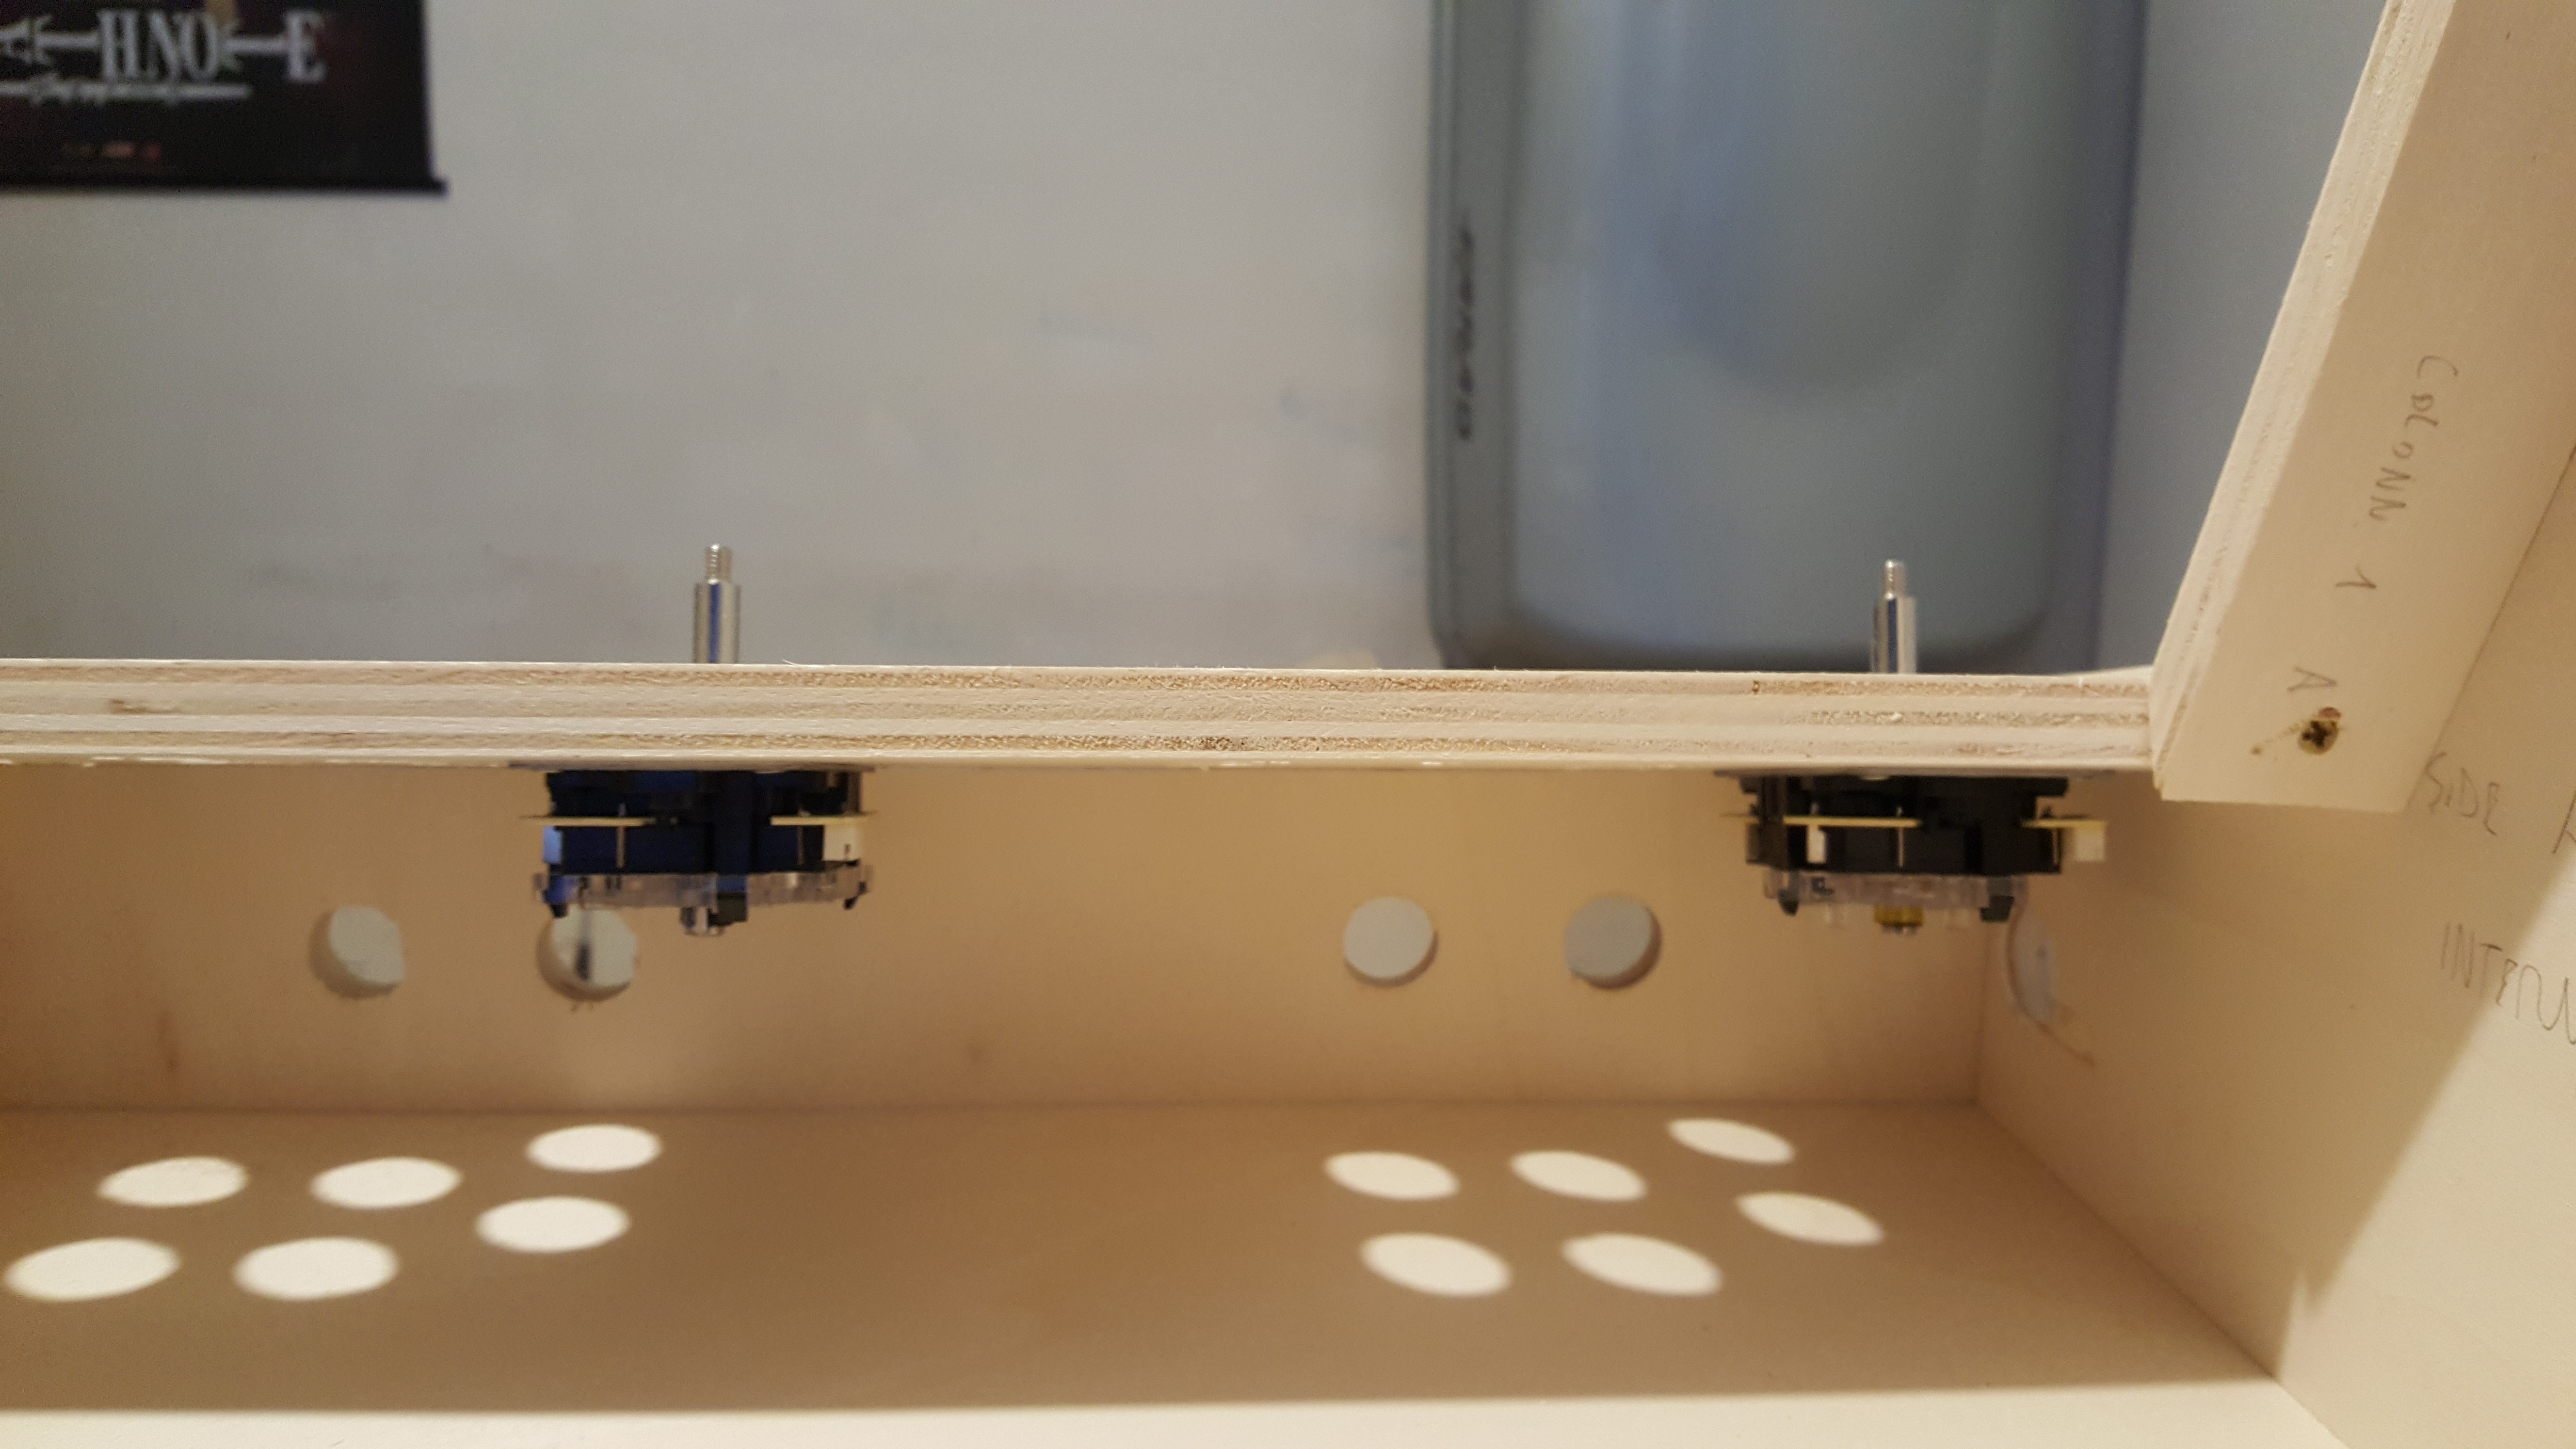
I used one of the two side panels as a “main guide”, drawing all the lines with a pencil using the same paper blueprint I used to cut the prototype: that greatly helped me to properly position the “inner” wood pieces.
I started with the Control Panel, so that I could also properly install the sticks – as it would’ve been difficult to do that later on.
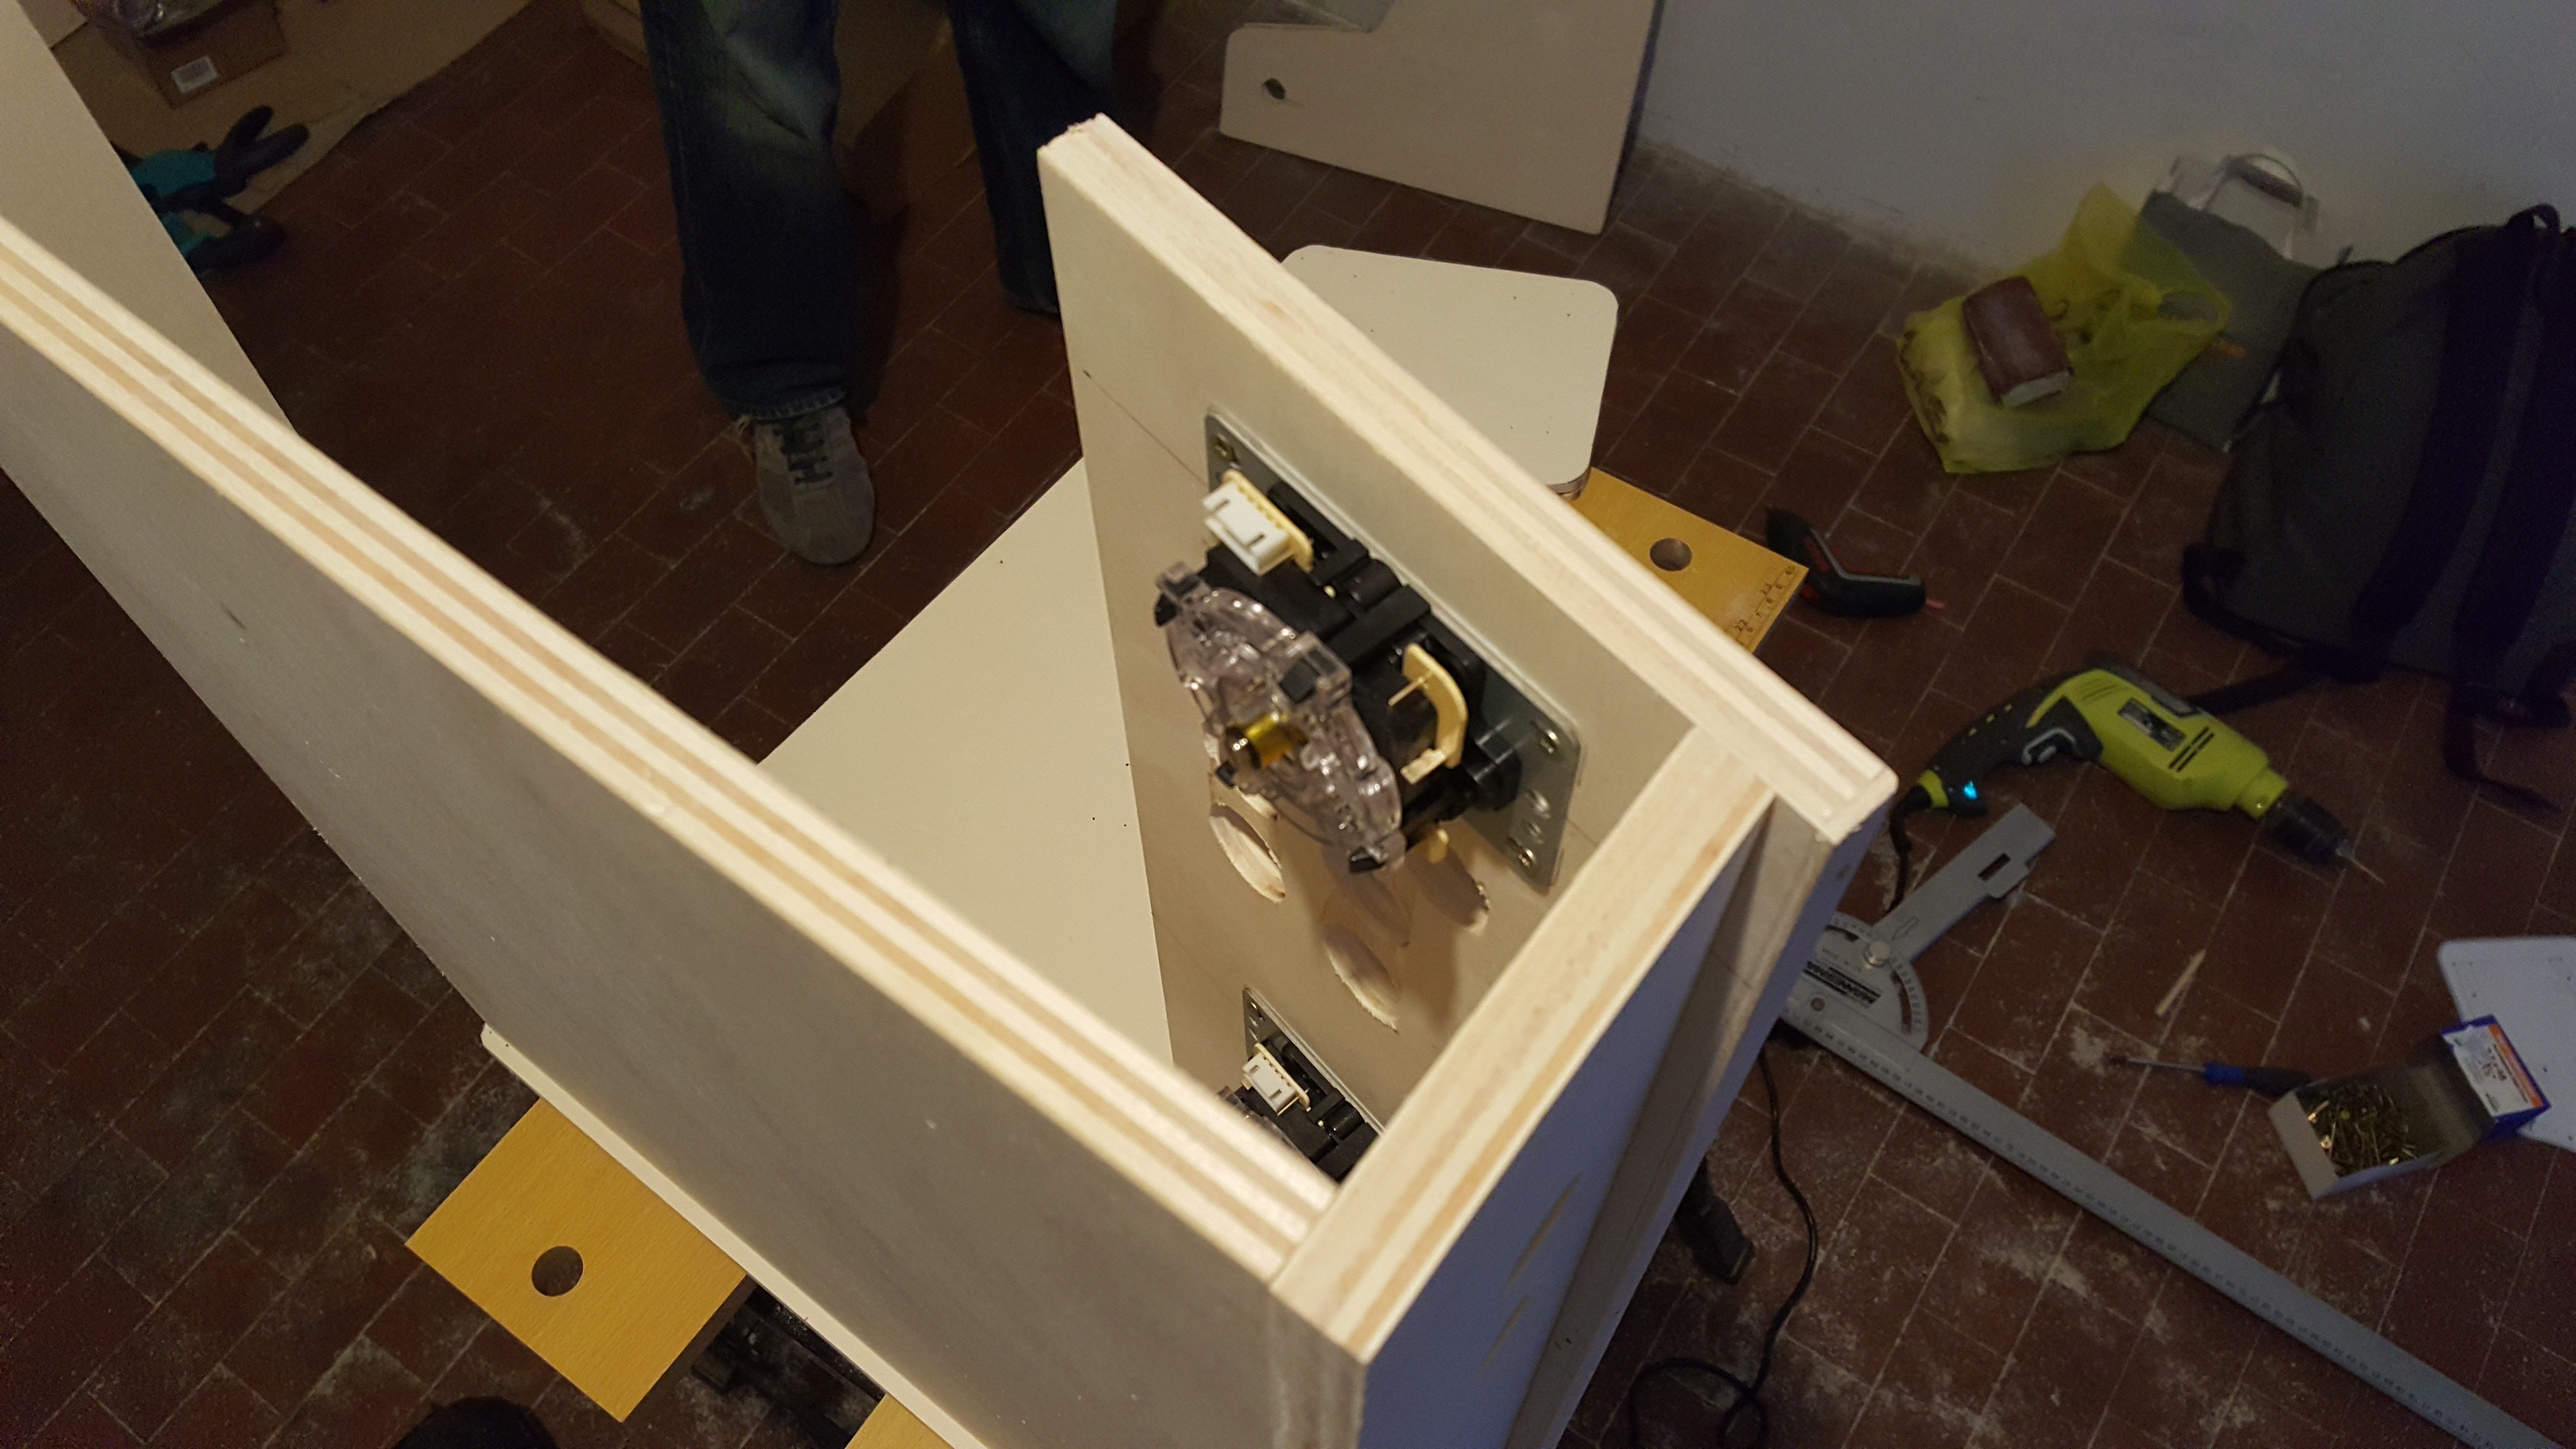
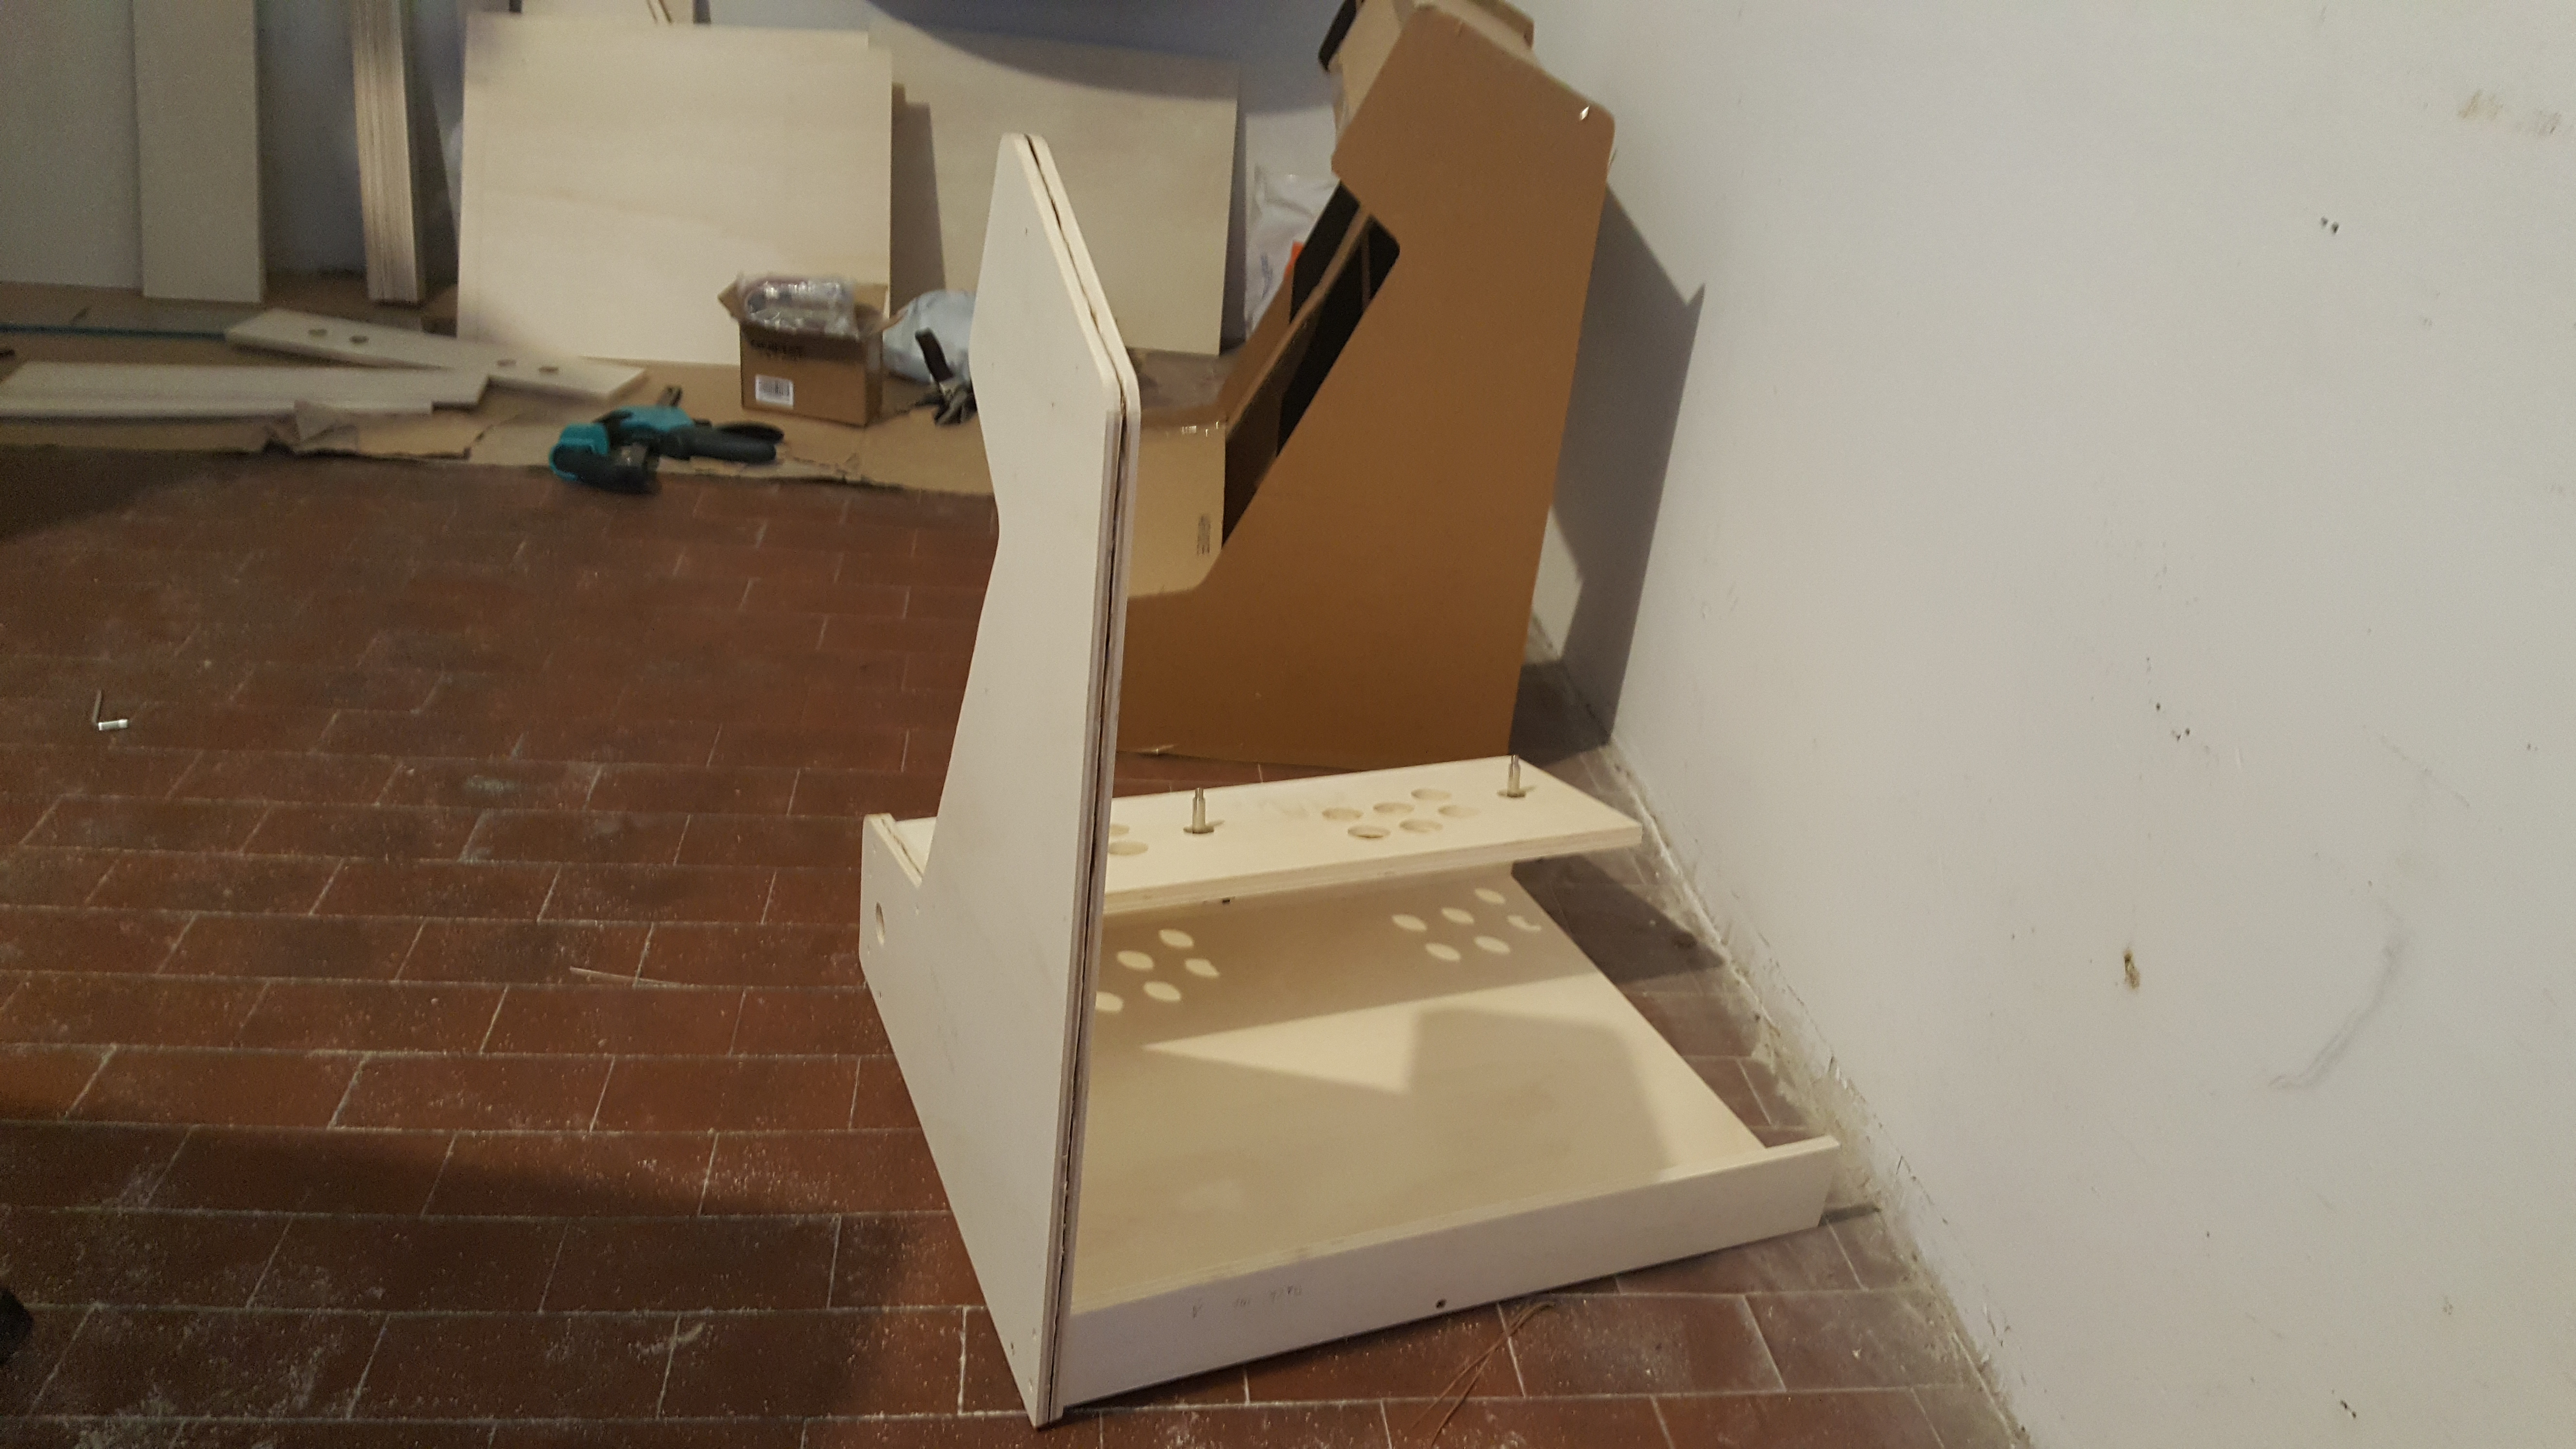
The rest was a piece of cake:
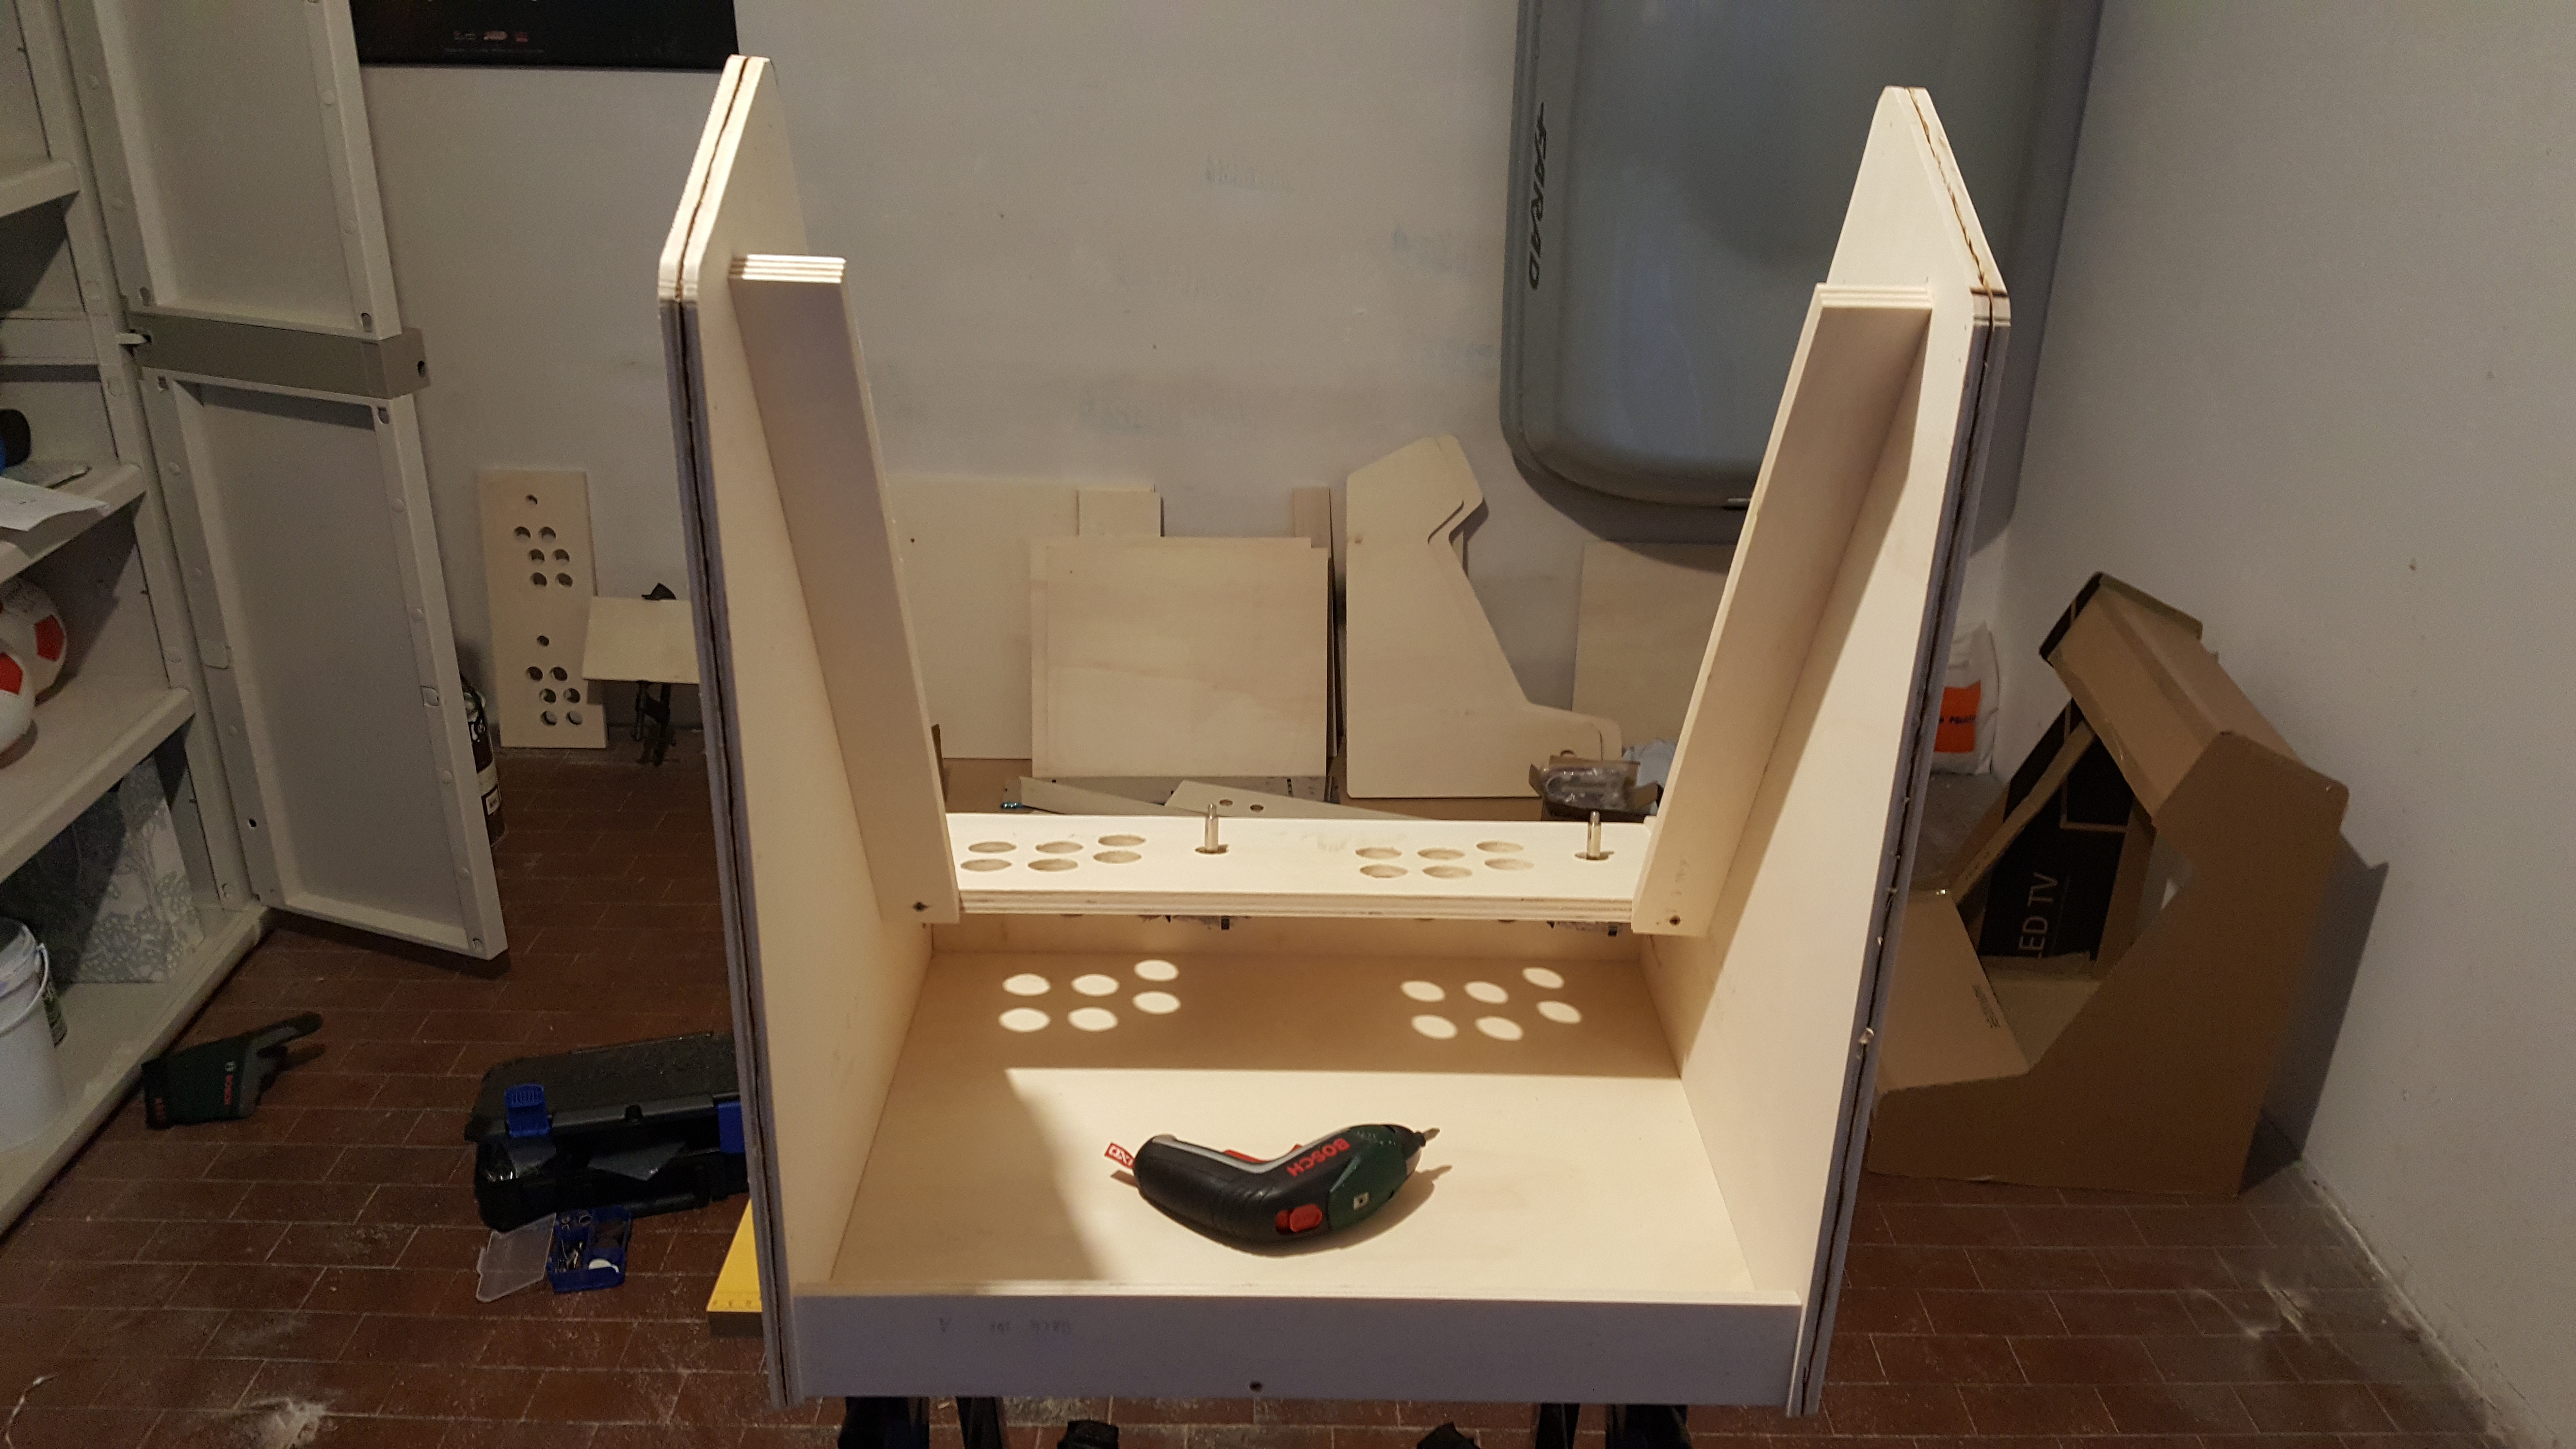

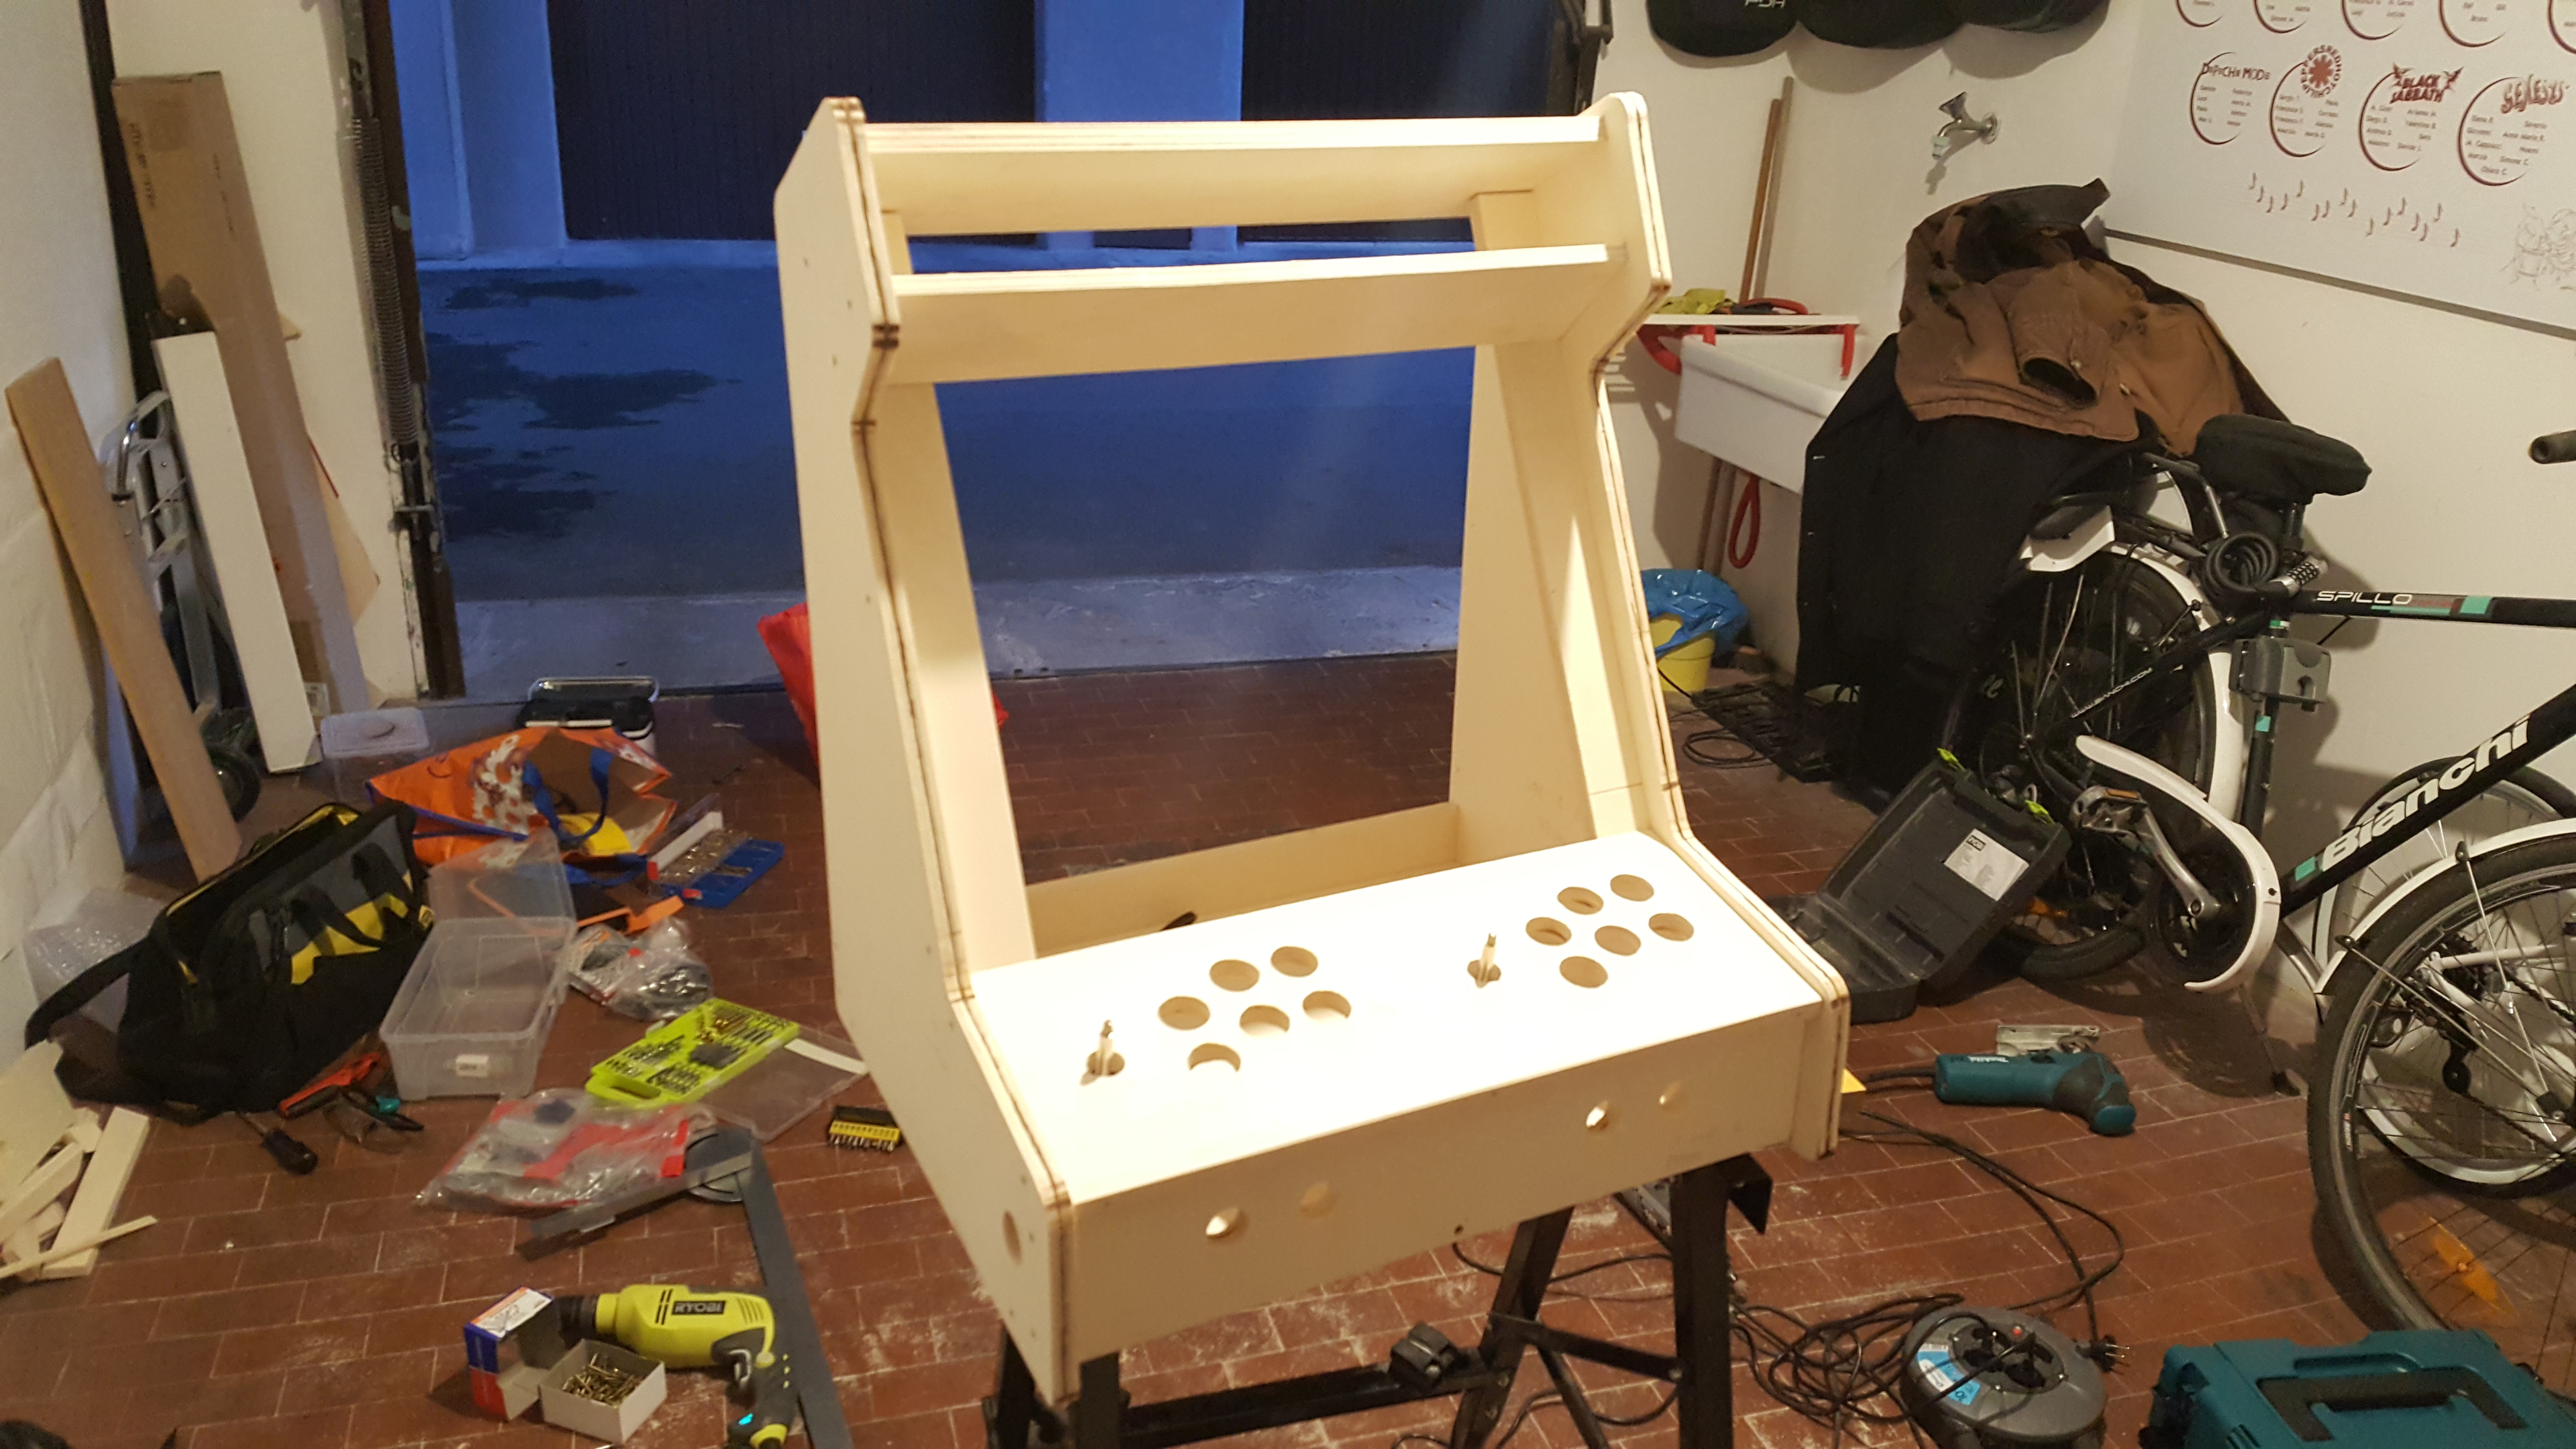
Assembling the wood piece for the monitor required a bit more work, as I also had to drill the four VESA holes and quickly test them with the monitor to ensure that they were OK.
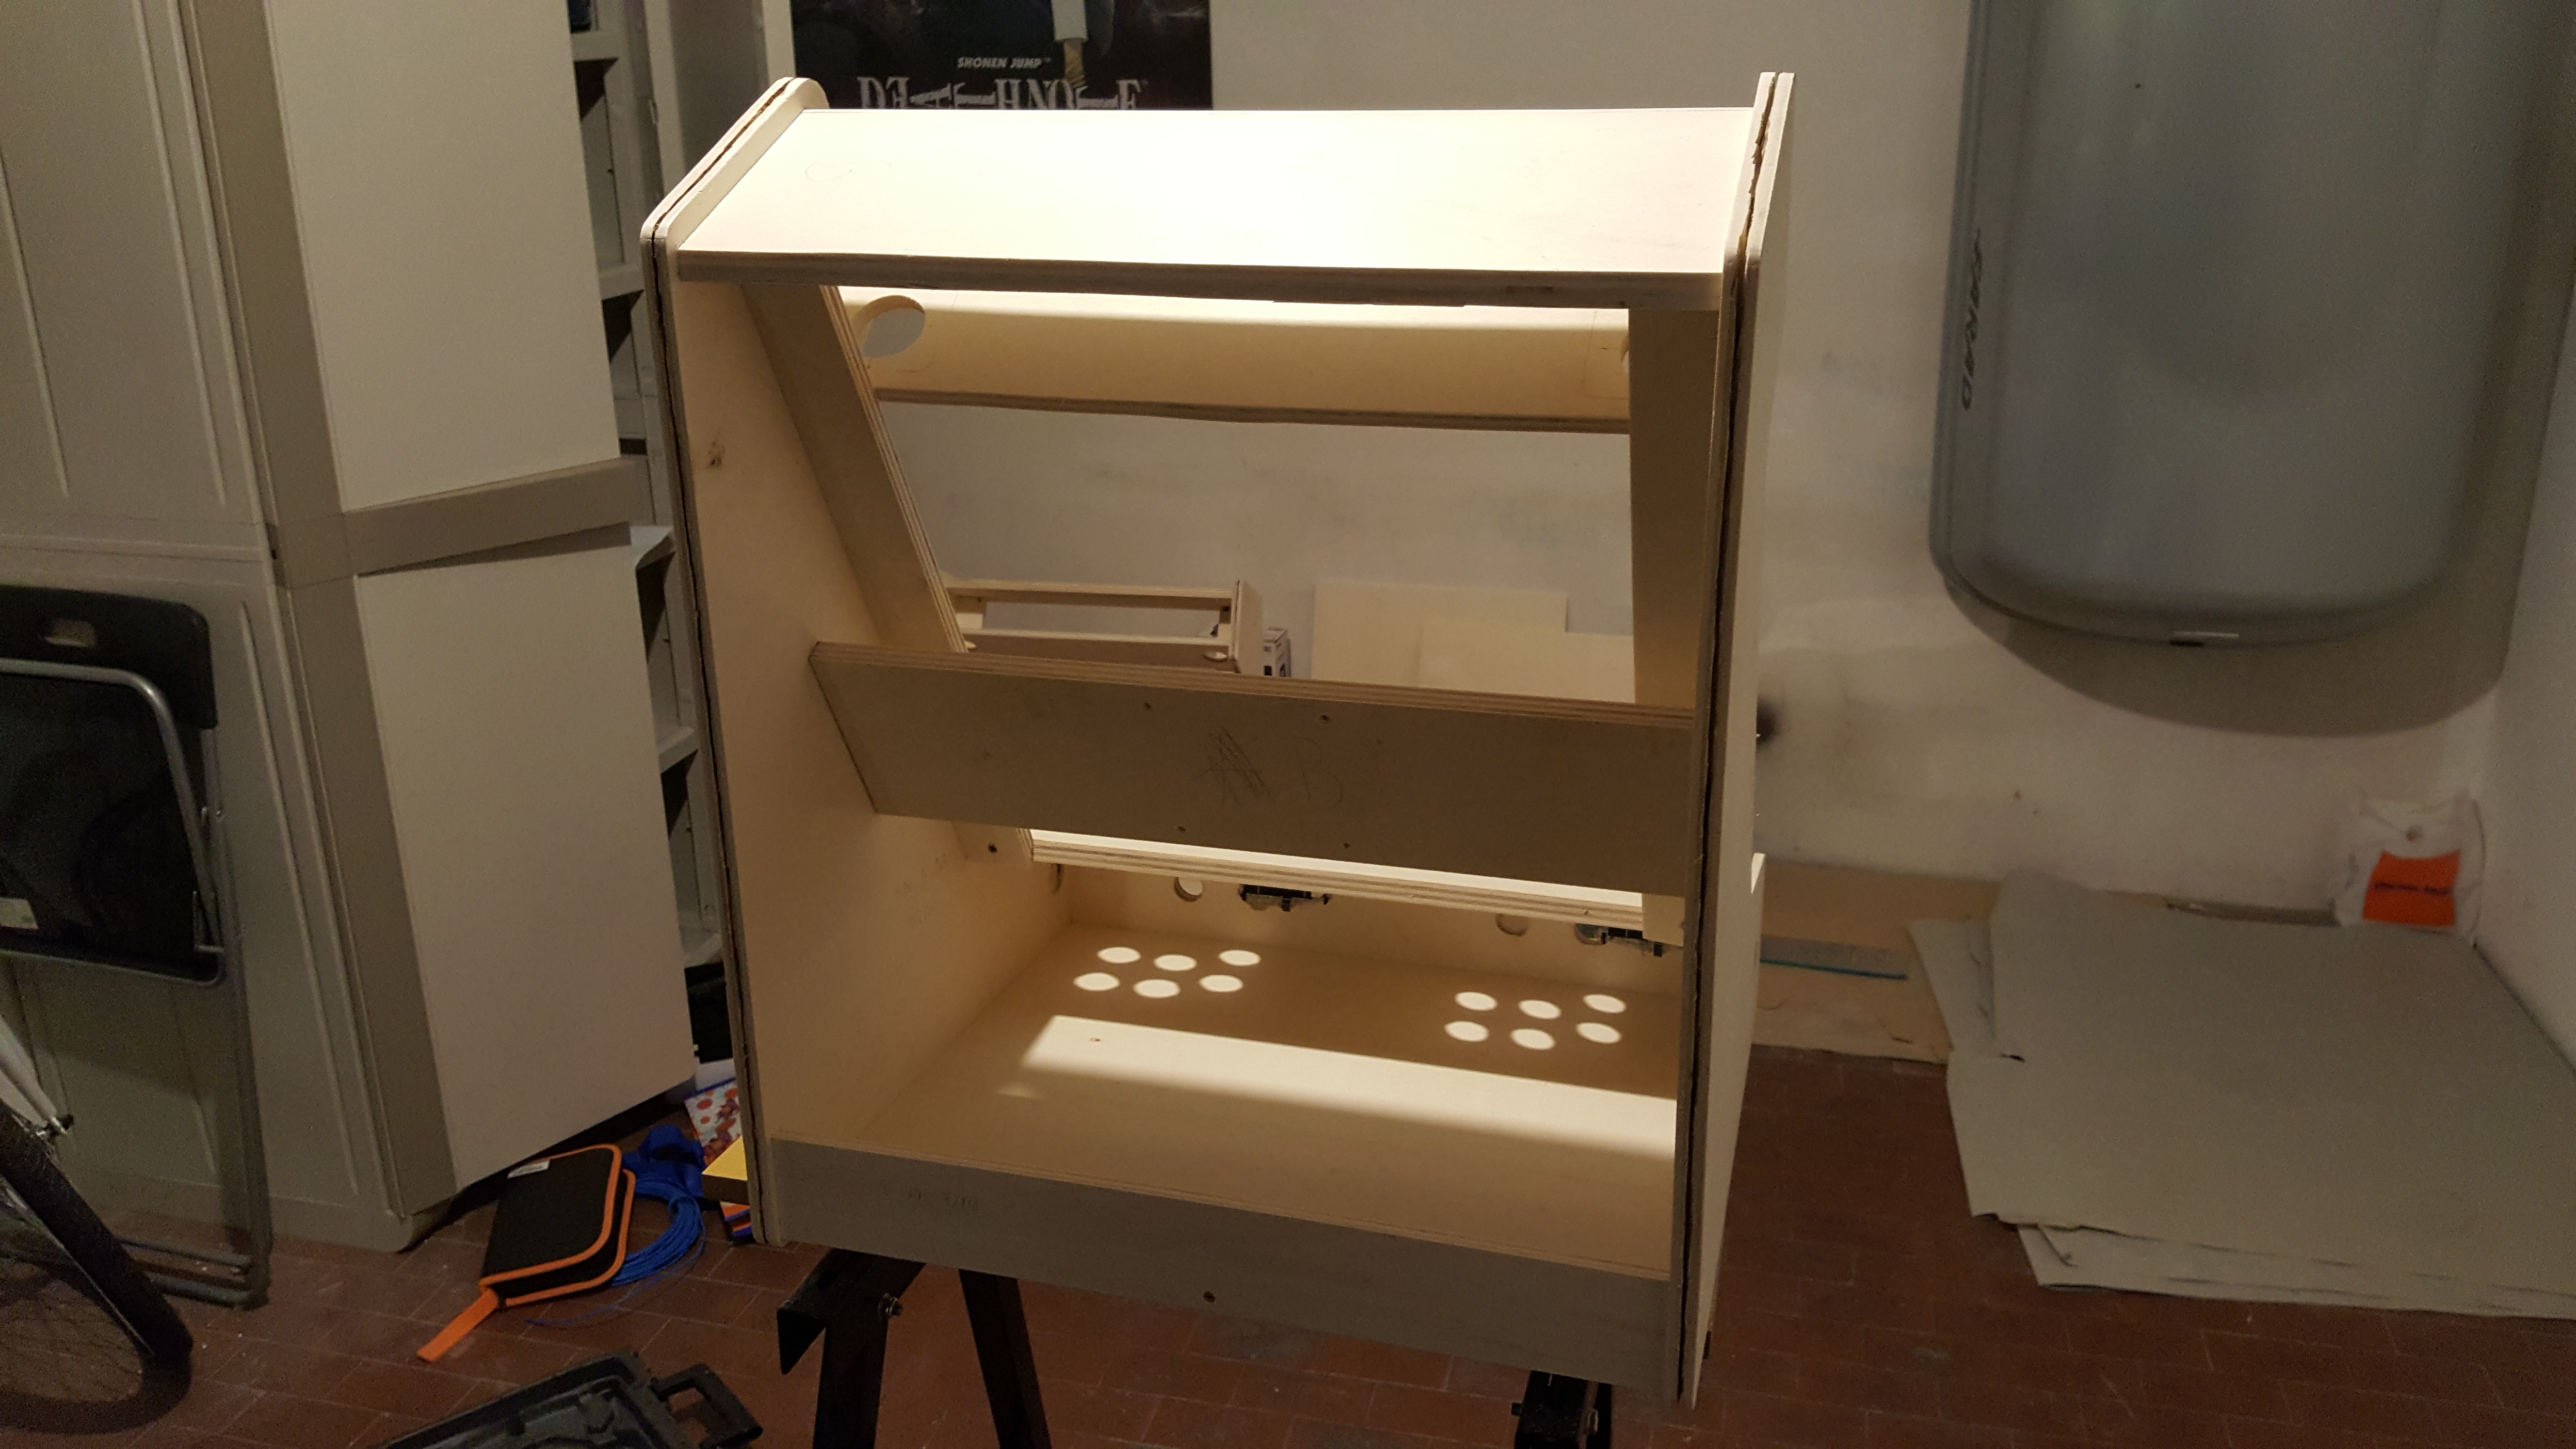
… And that’s it!
Mounting the Back-Side Door
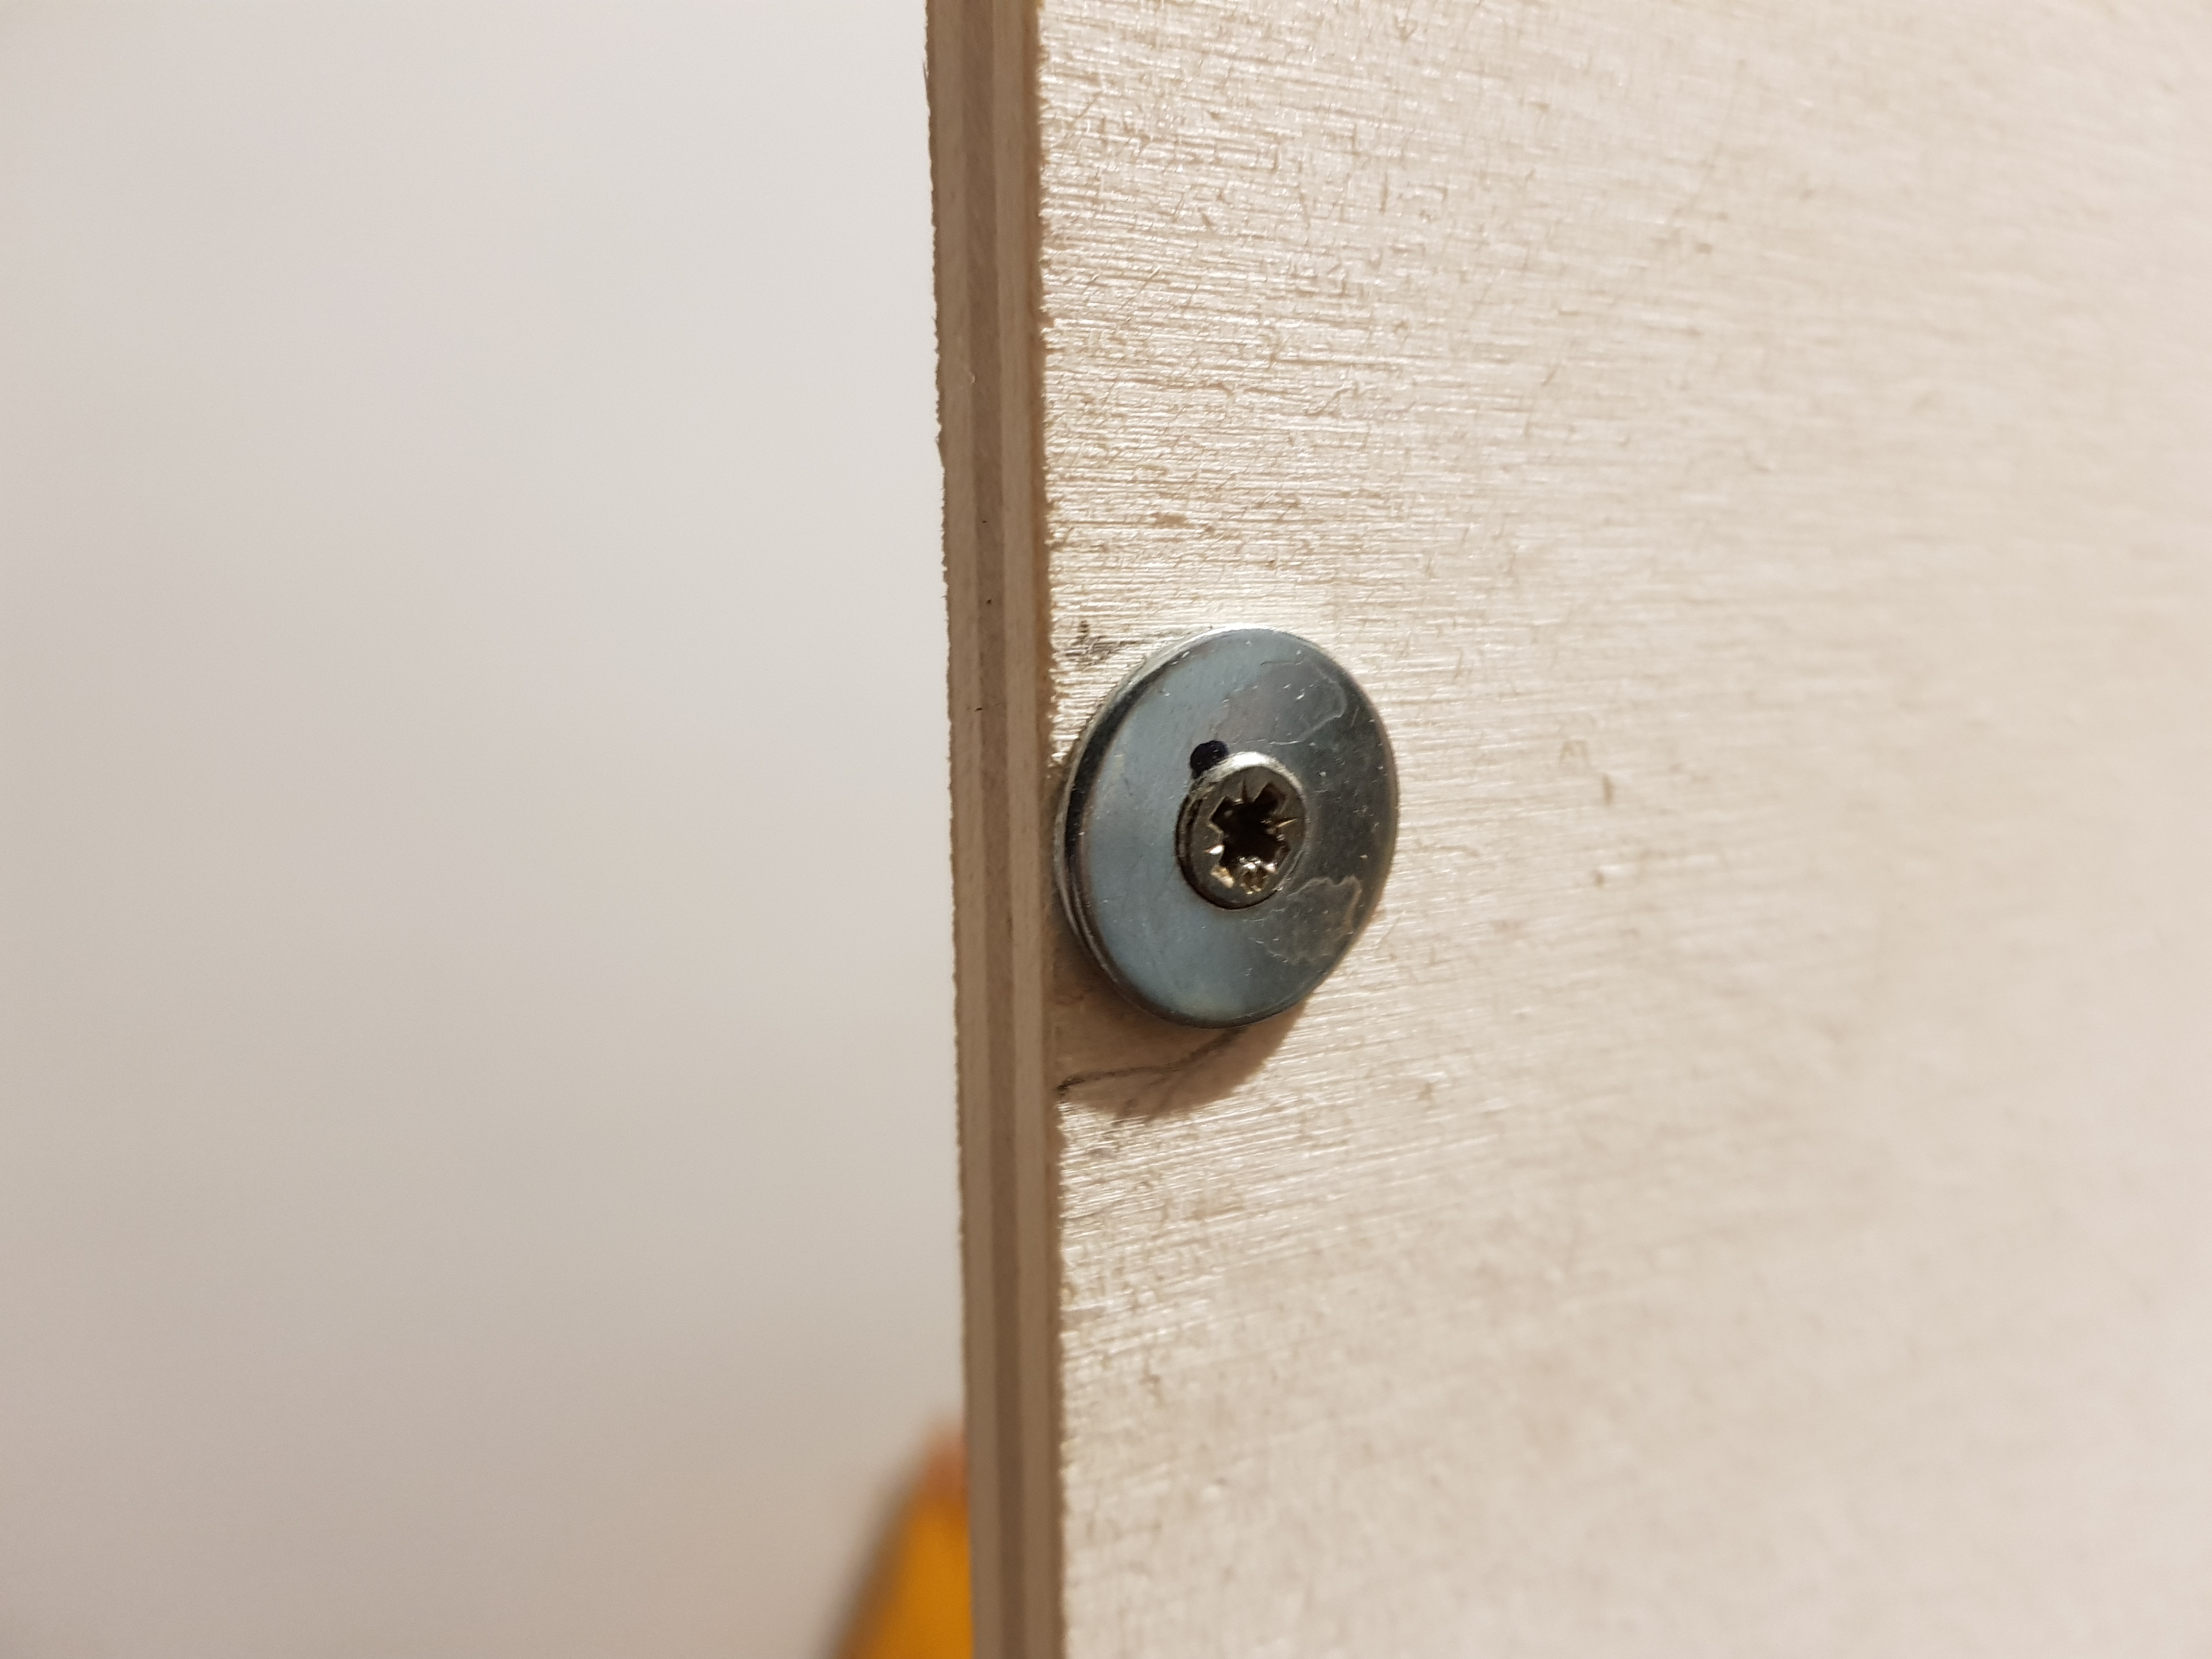
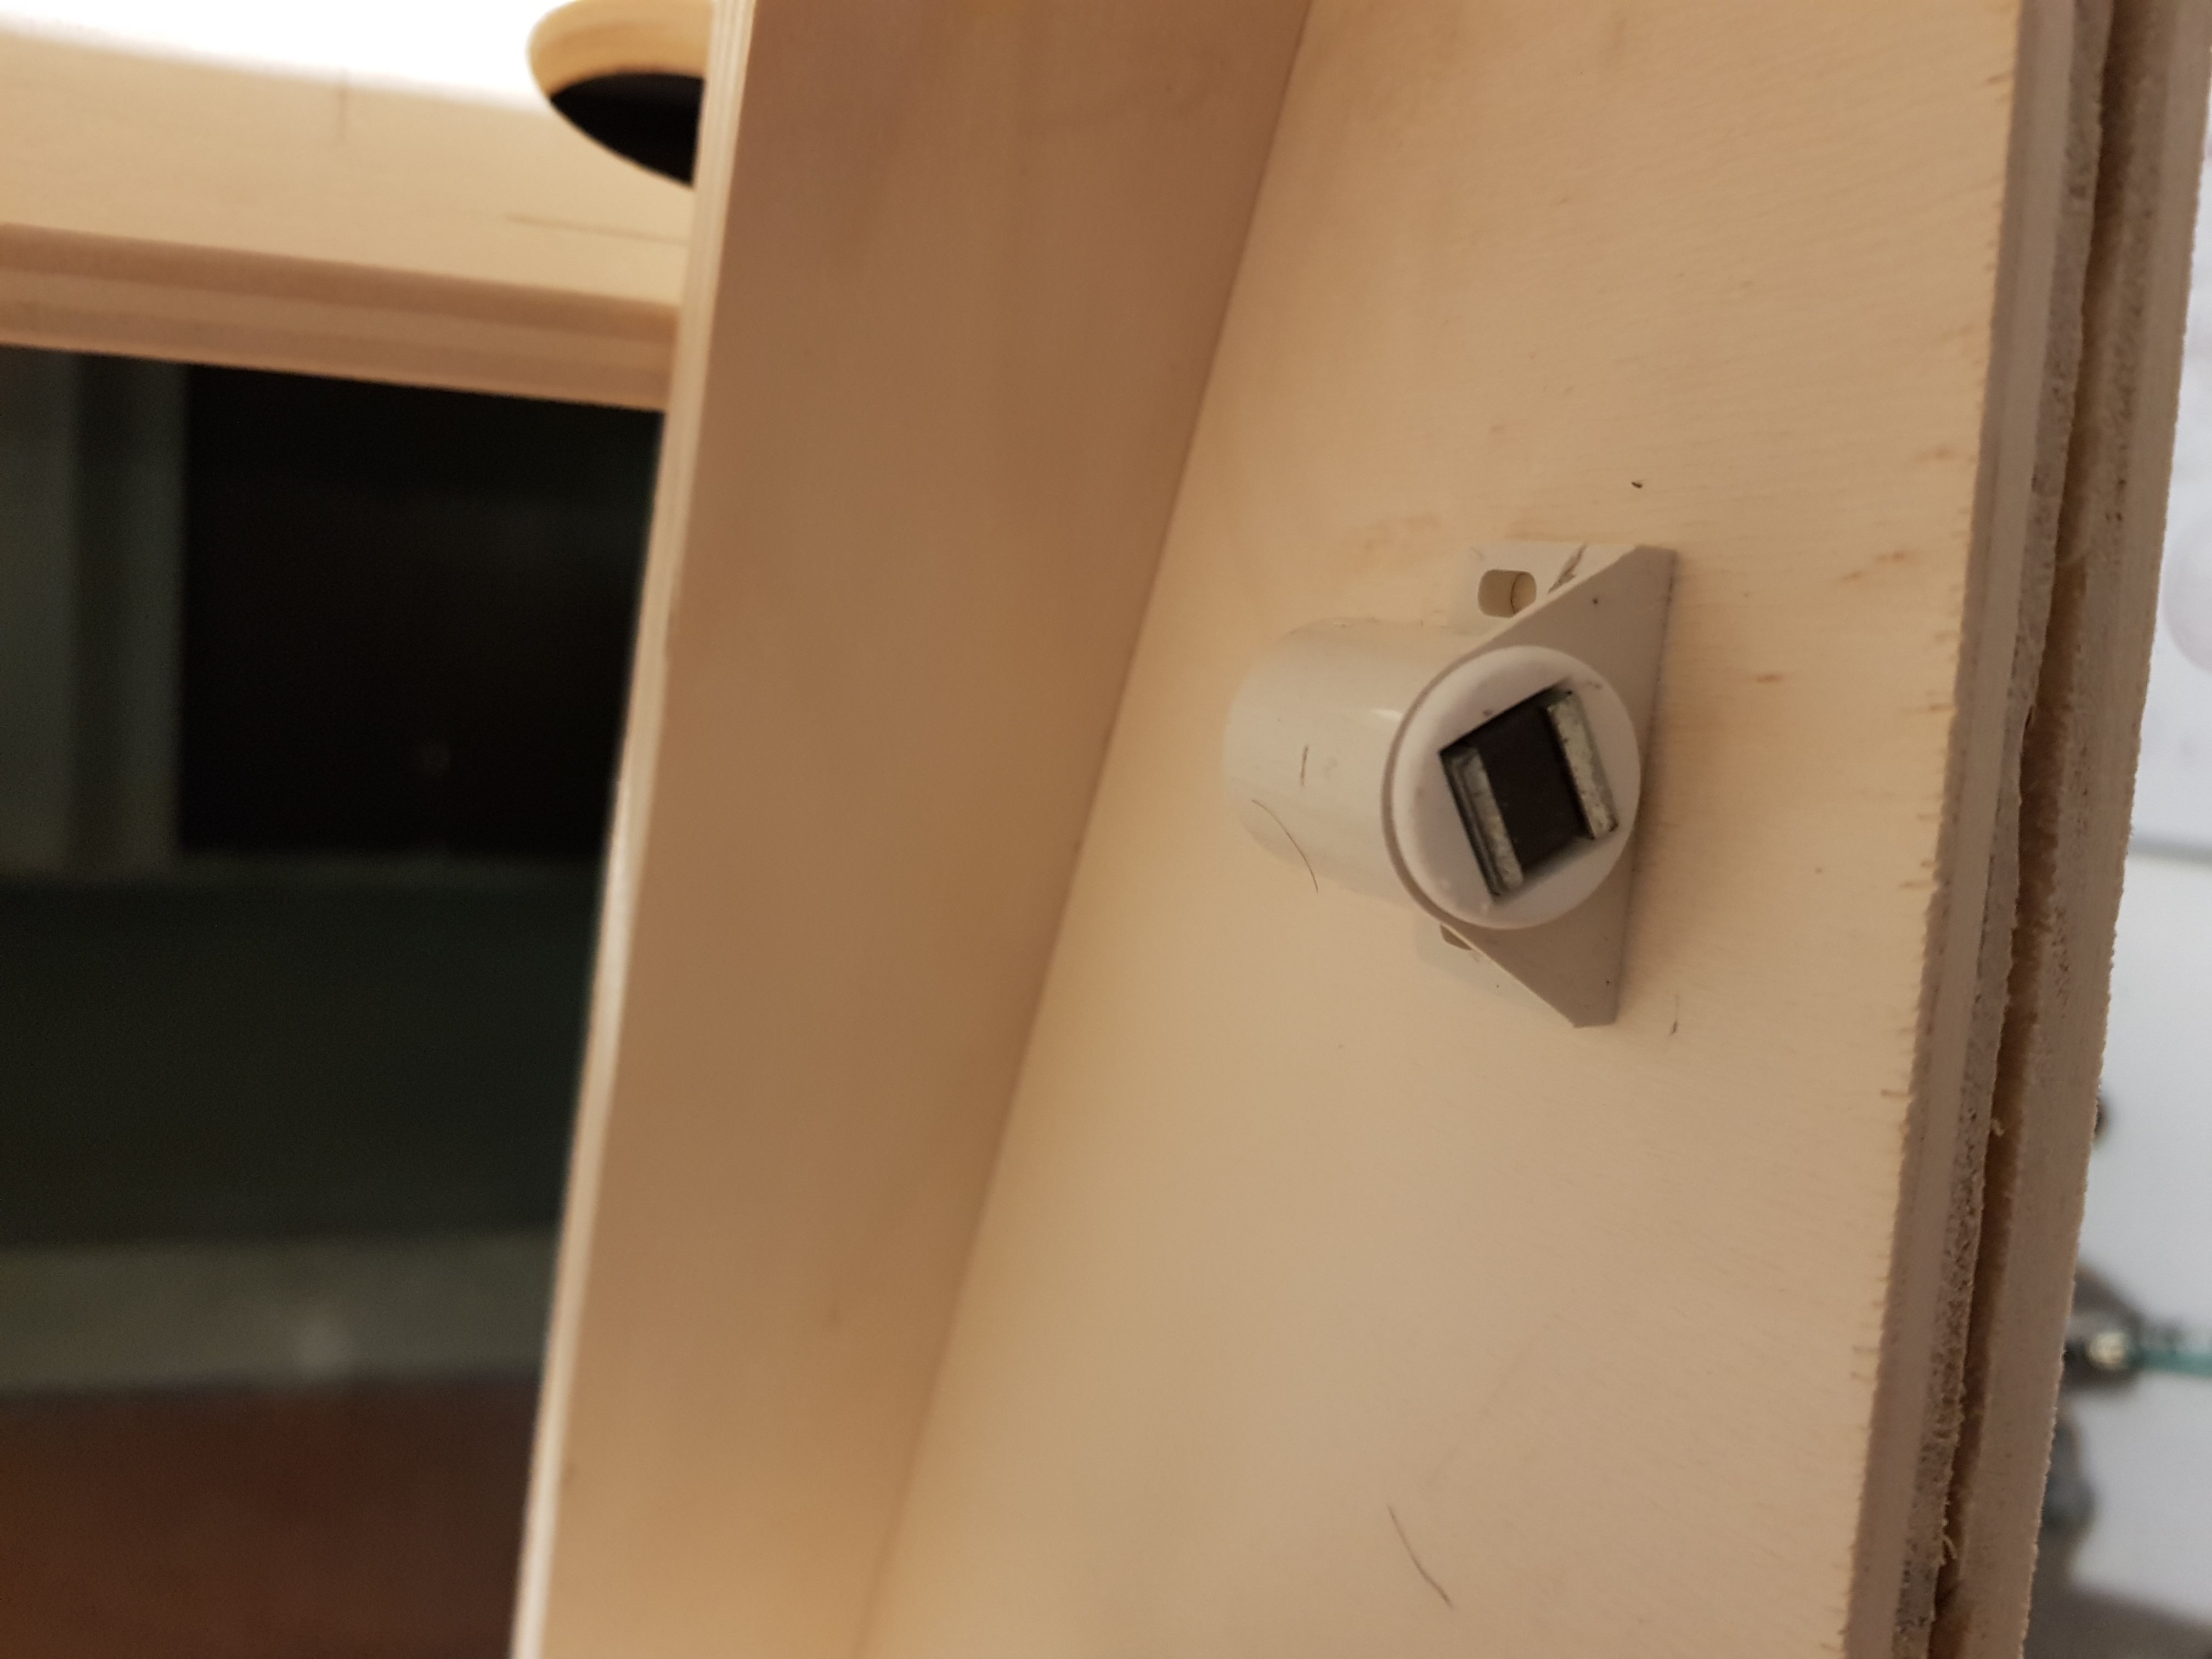
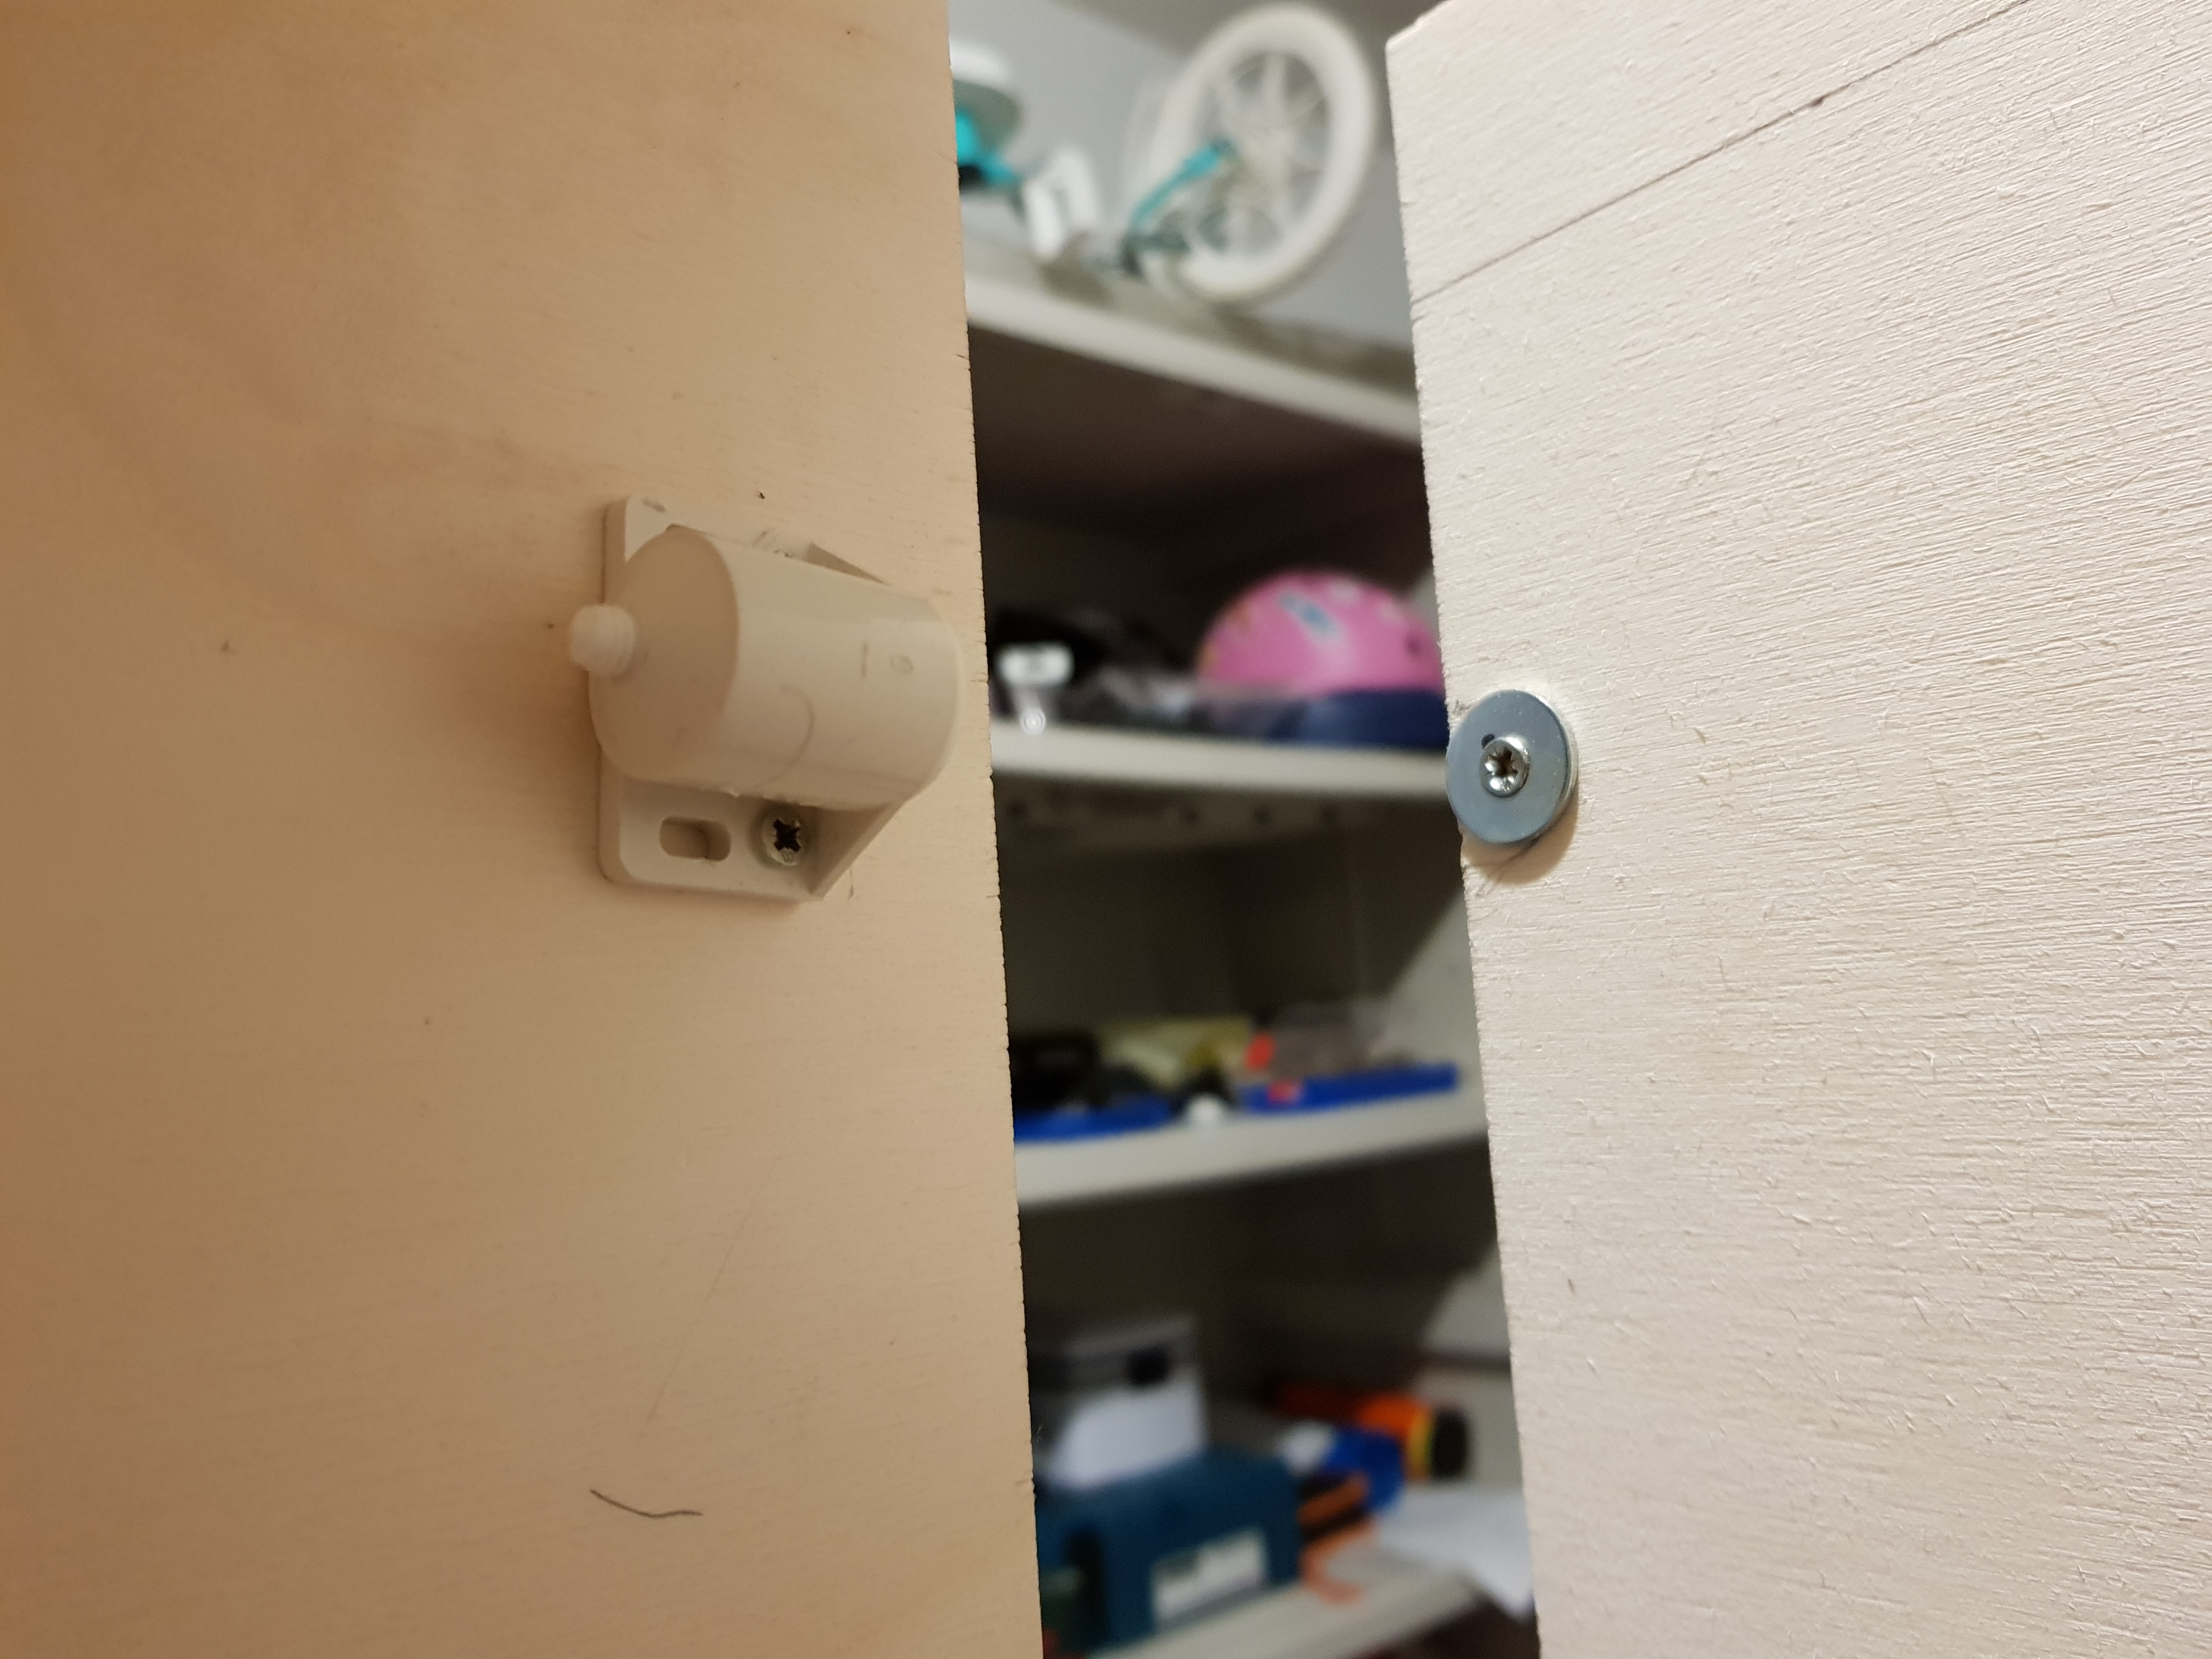
Last but not least, I assembled the Back-Side Door, using the hinges for the opening & closing mechanism and the magnet lockers to keep the door shut when closed.

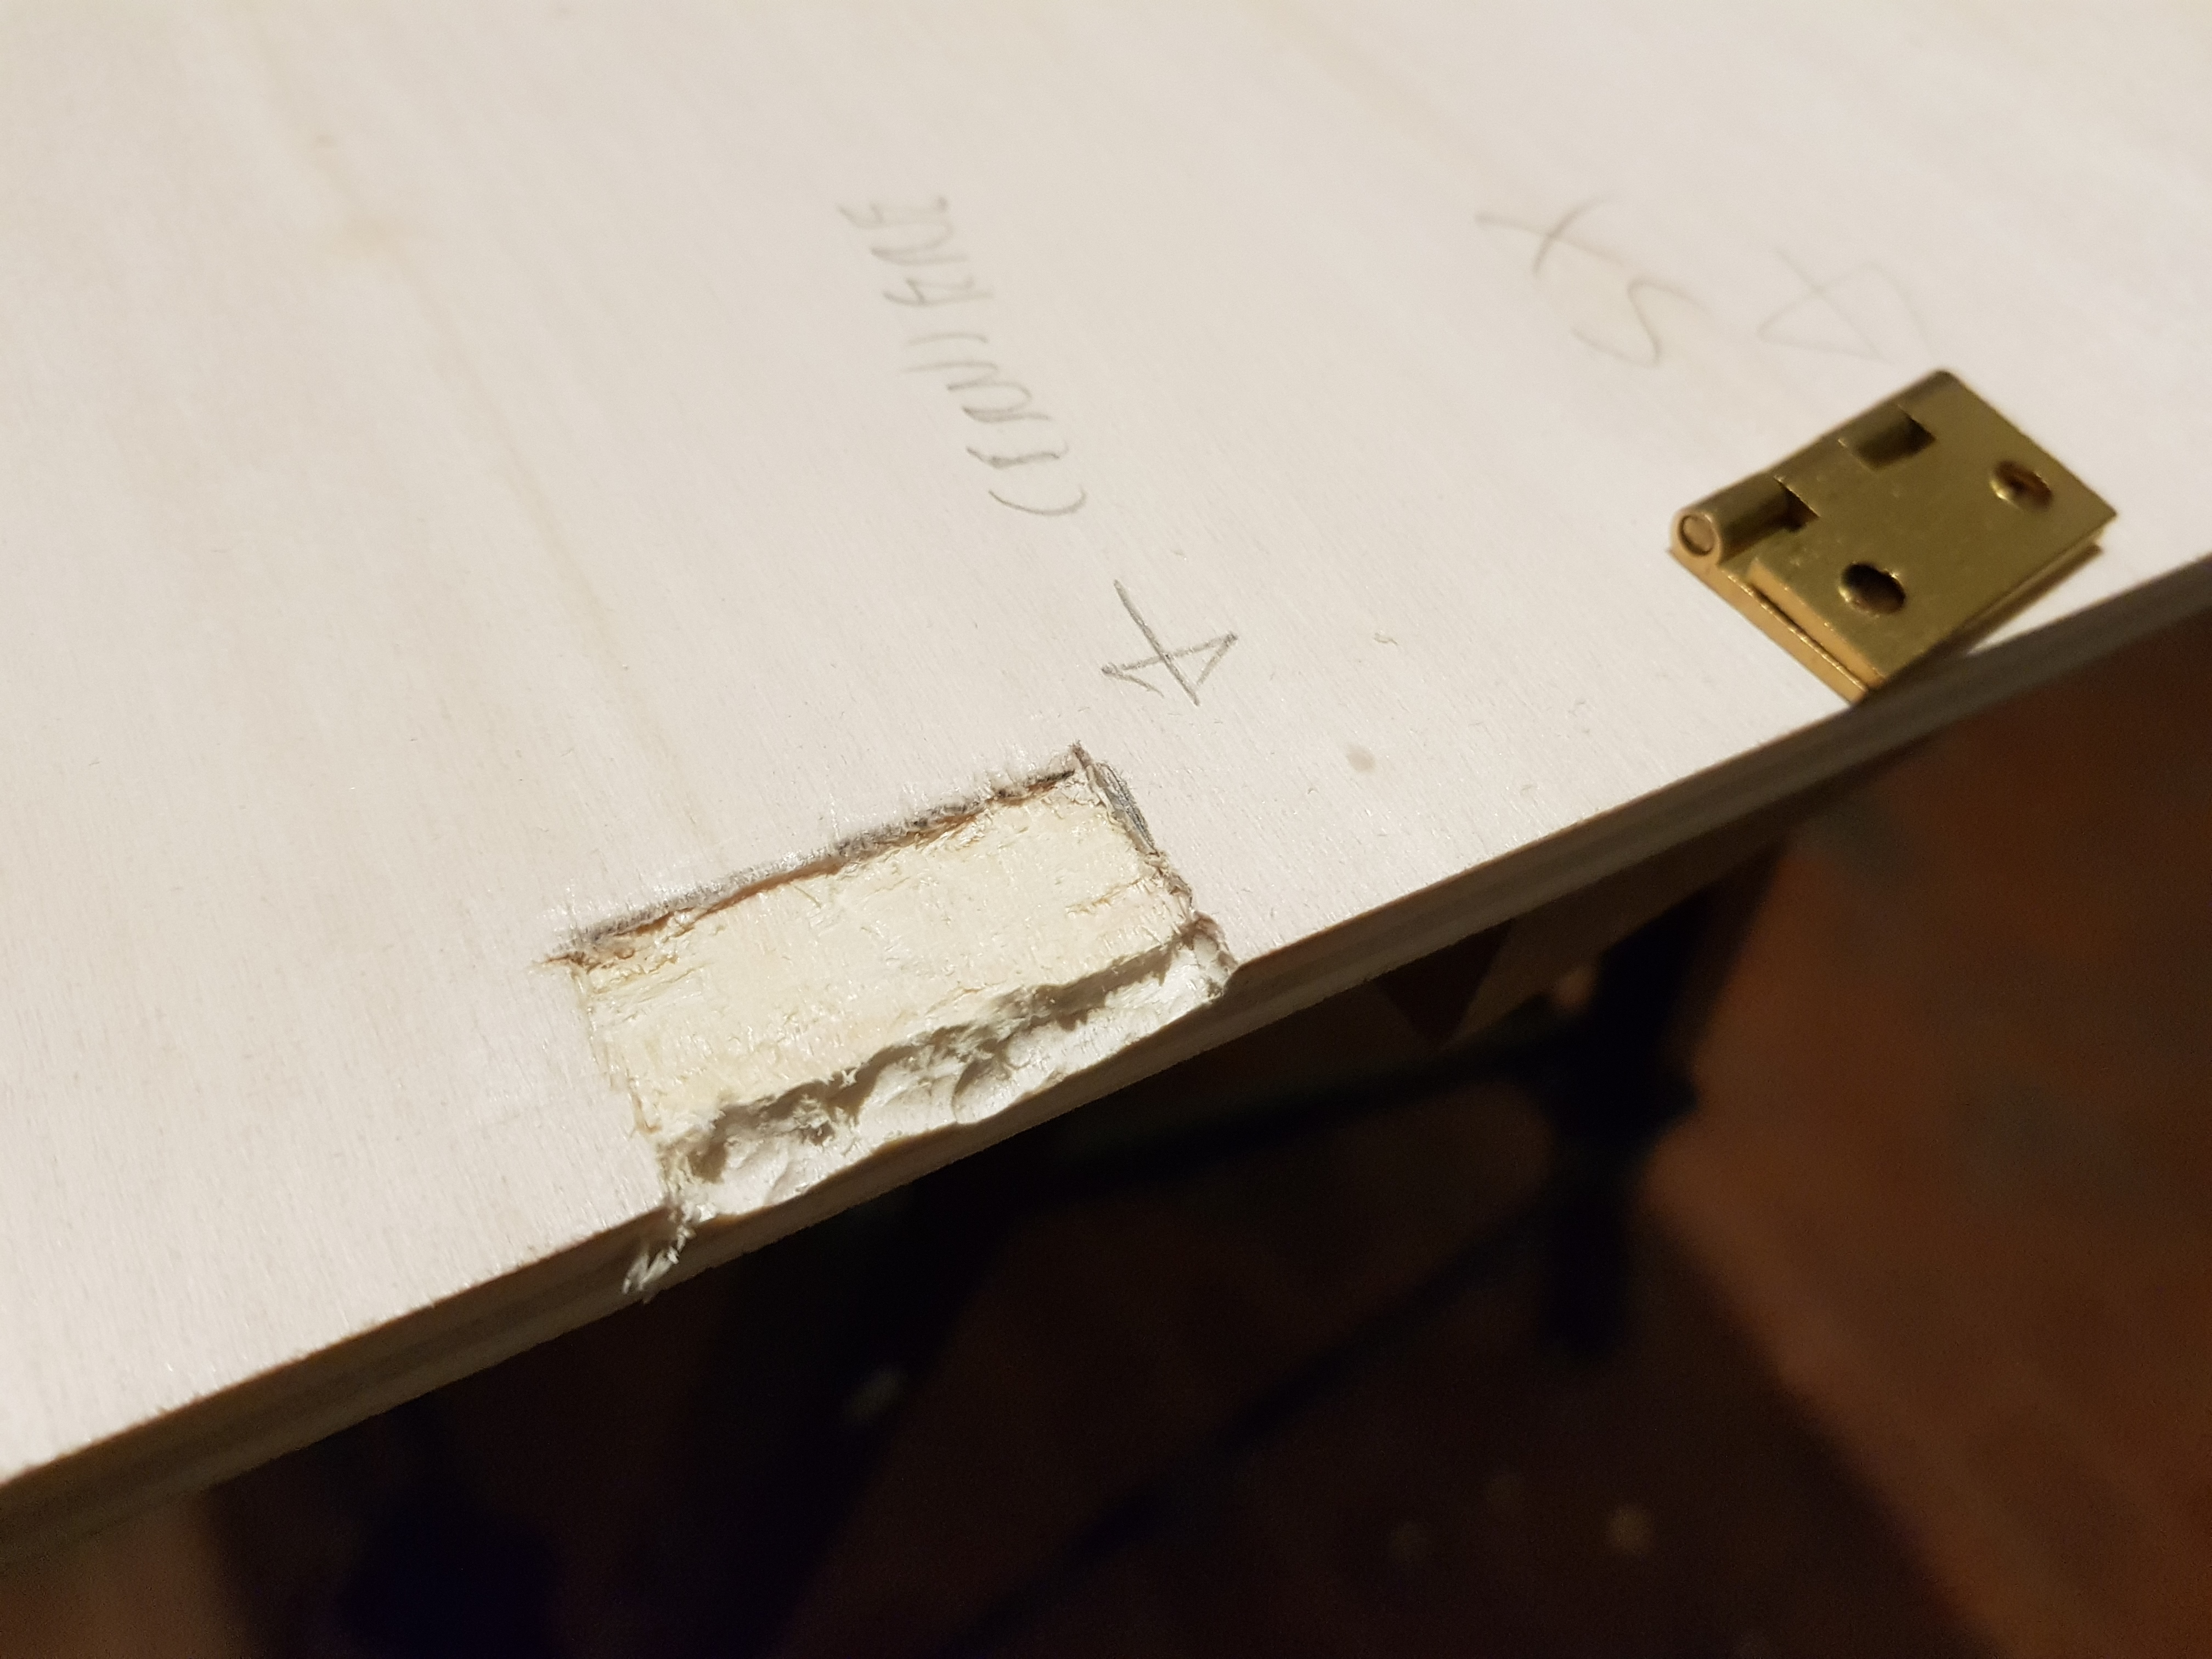

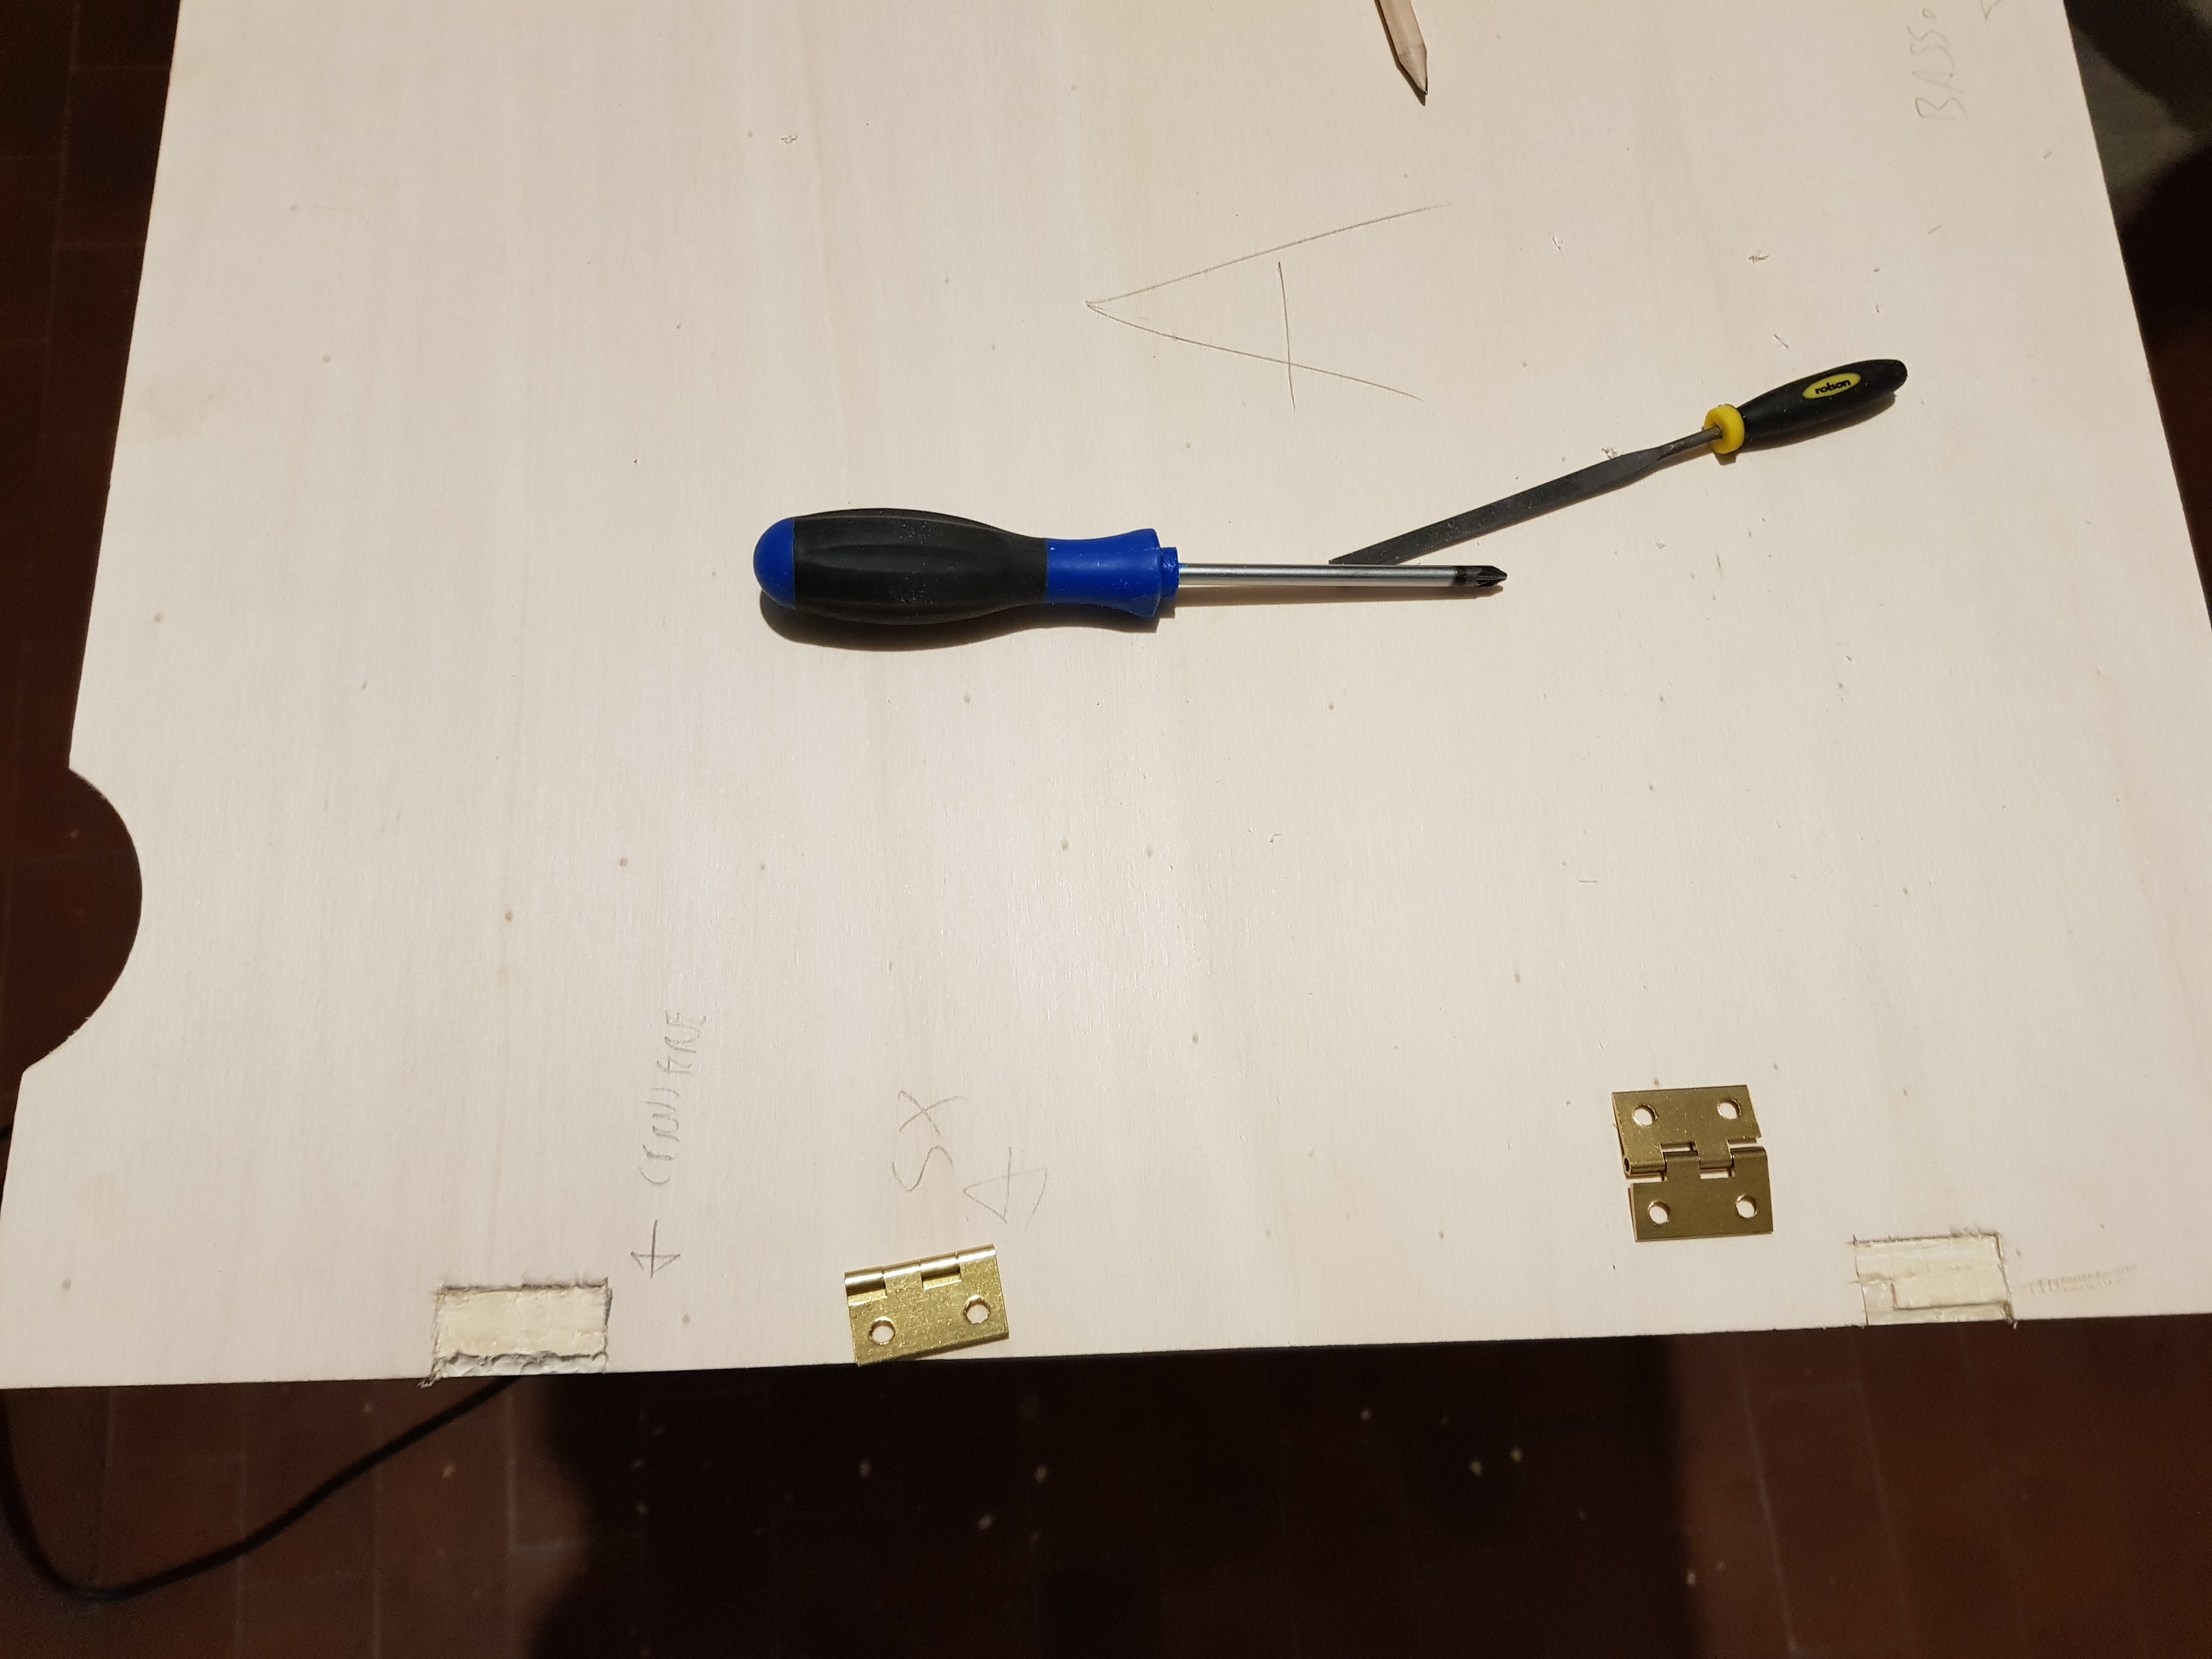
The first two pictures above shows the two ventilation slots I made near to the upper side using the Drill and the Hole Saw Kit, which could also work as handles to open/close the door.
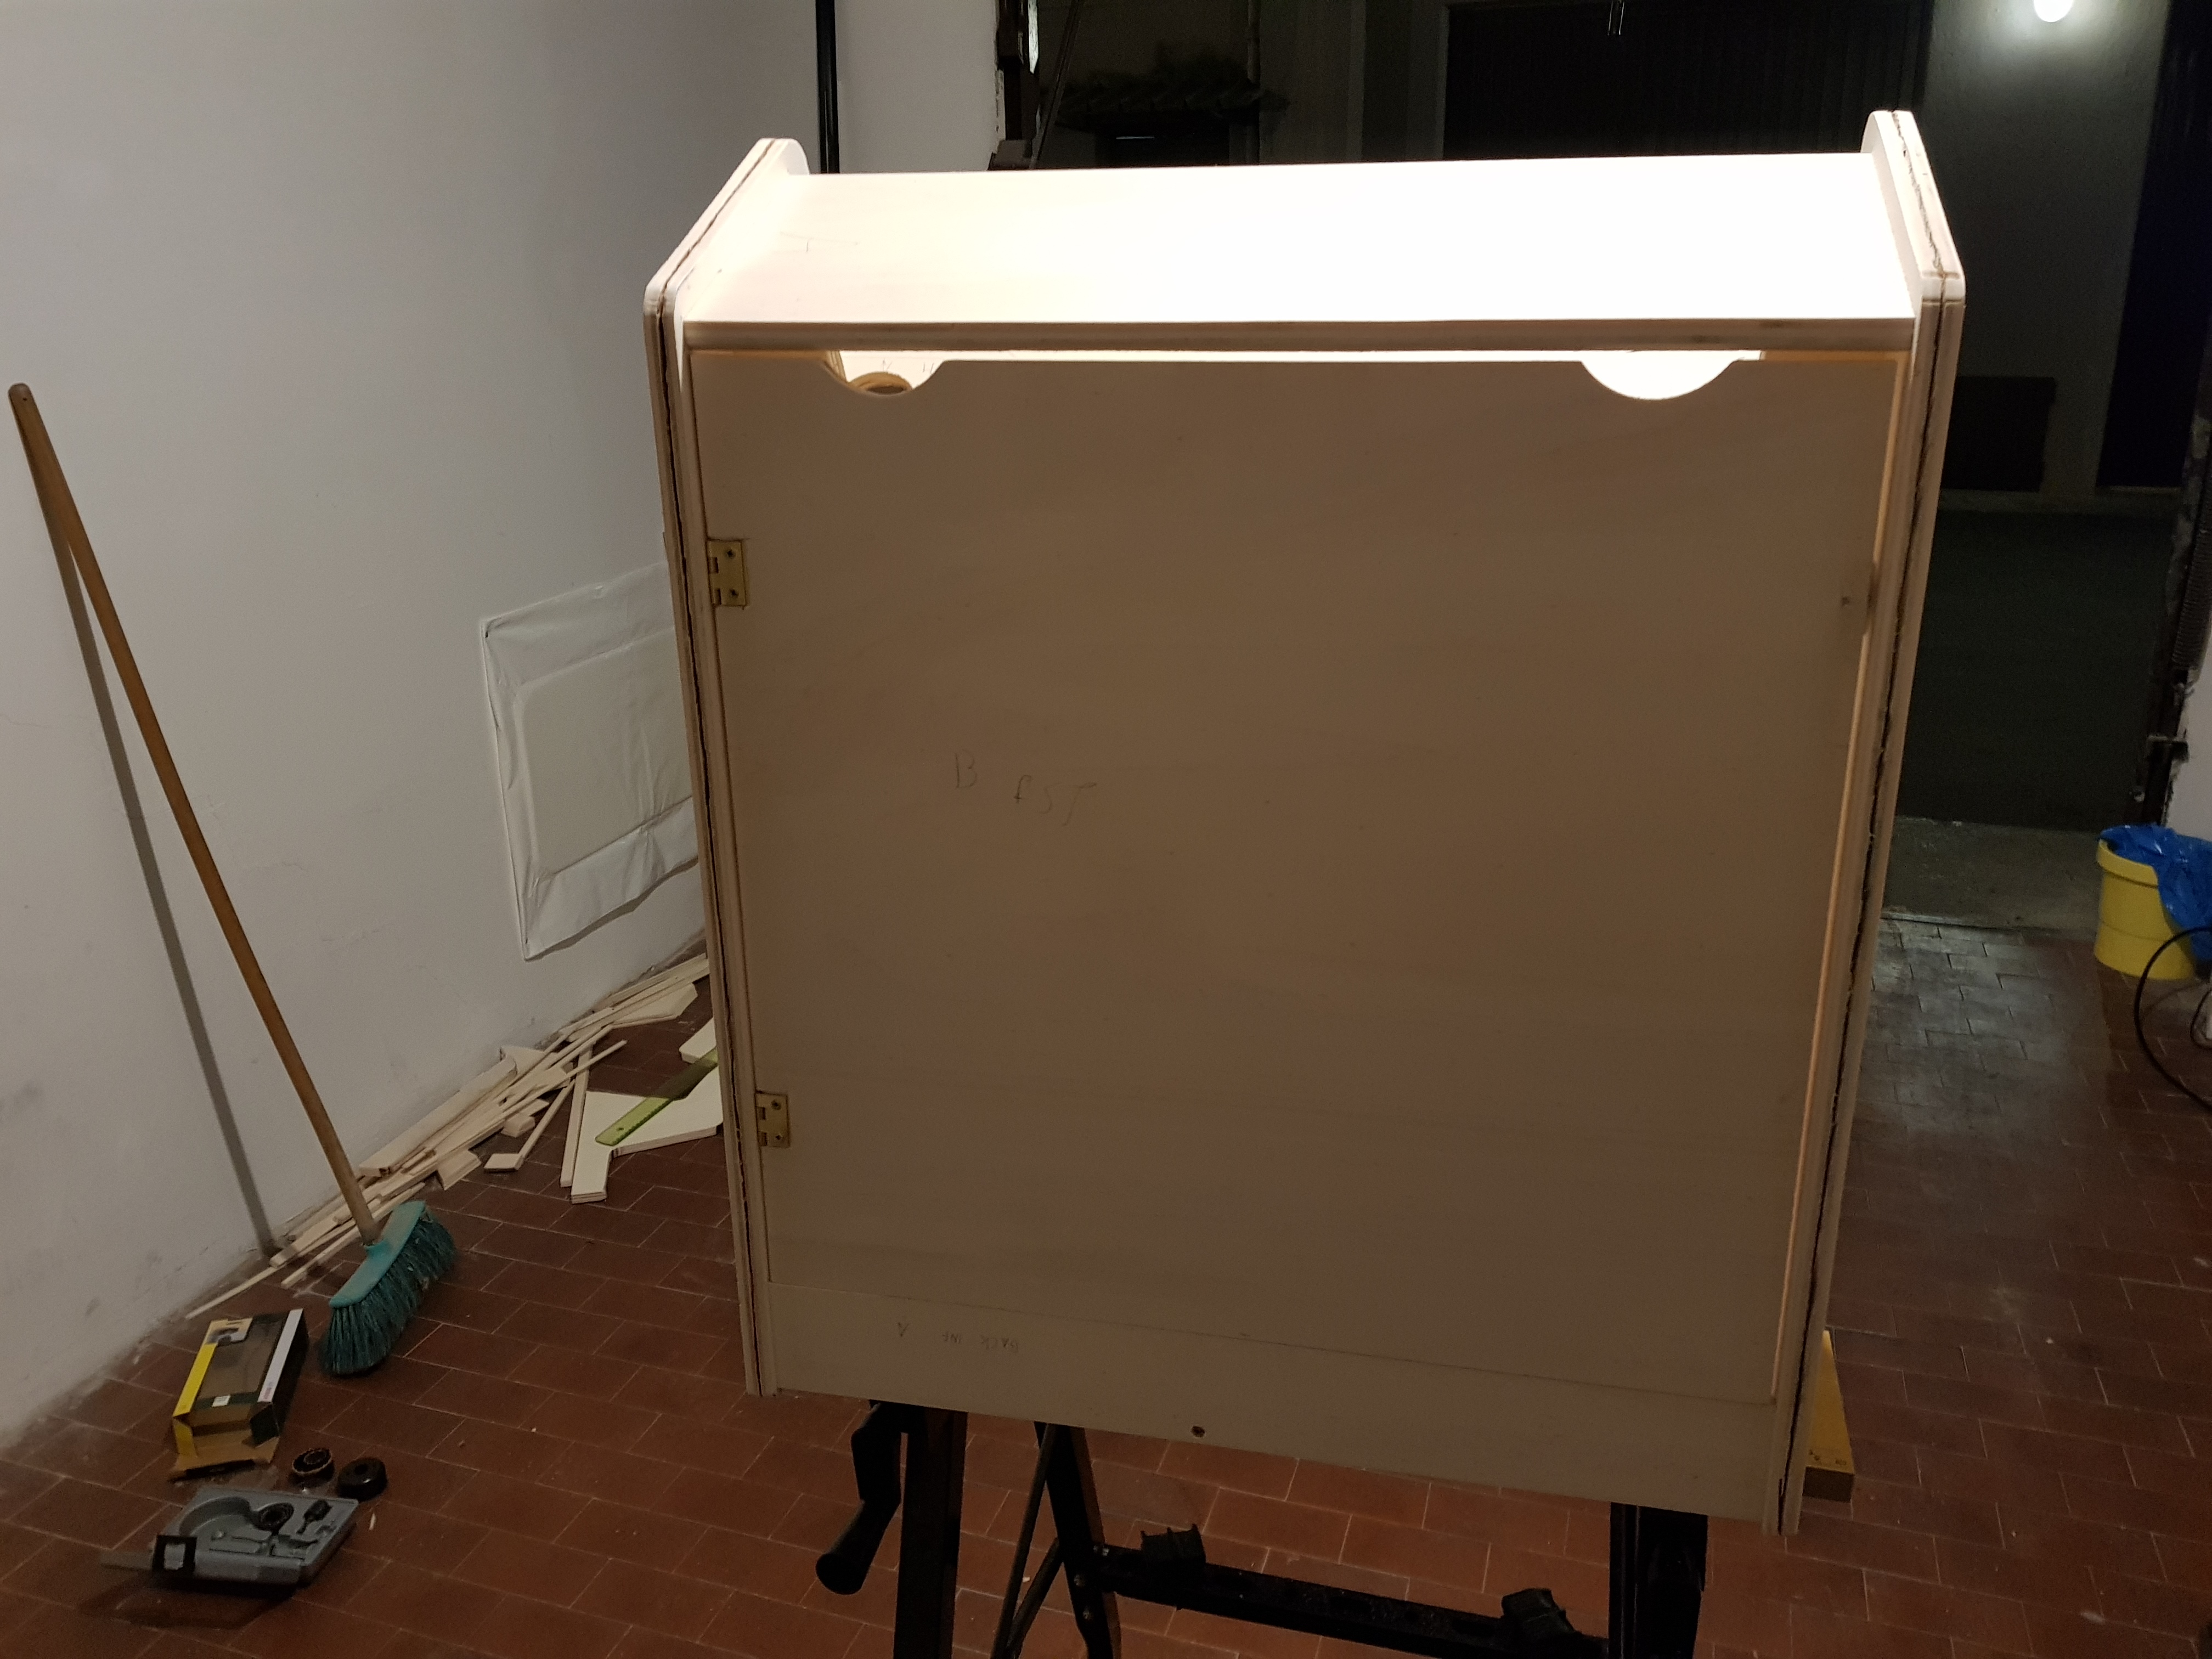
Here are a couple pictures of the fully mounted cabinet, including the monitor: don’t forget to remove it as soon as you’ve tested the VESA holes to preserve it from the painting phase!

Now, with the monitor mounted, it could be a good time to cut the 450x500x3mm Monitor Cover and adjust it to properly frame the monitor.
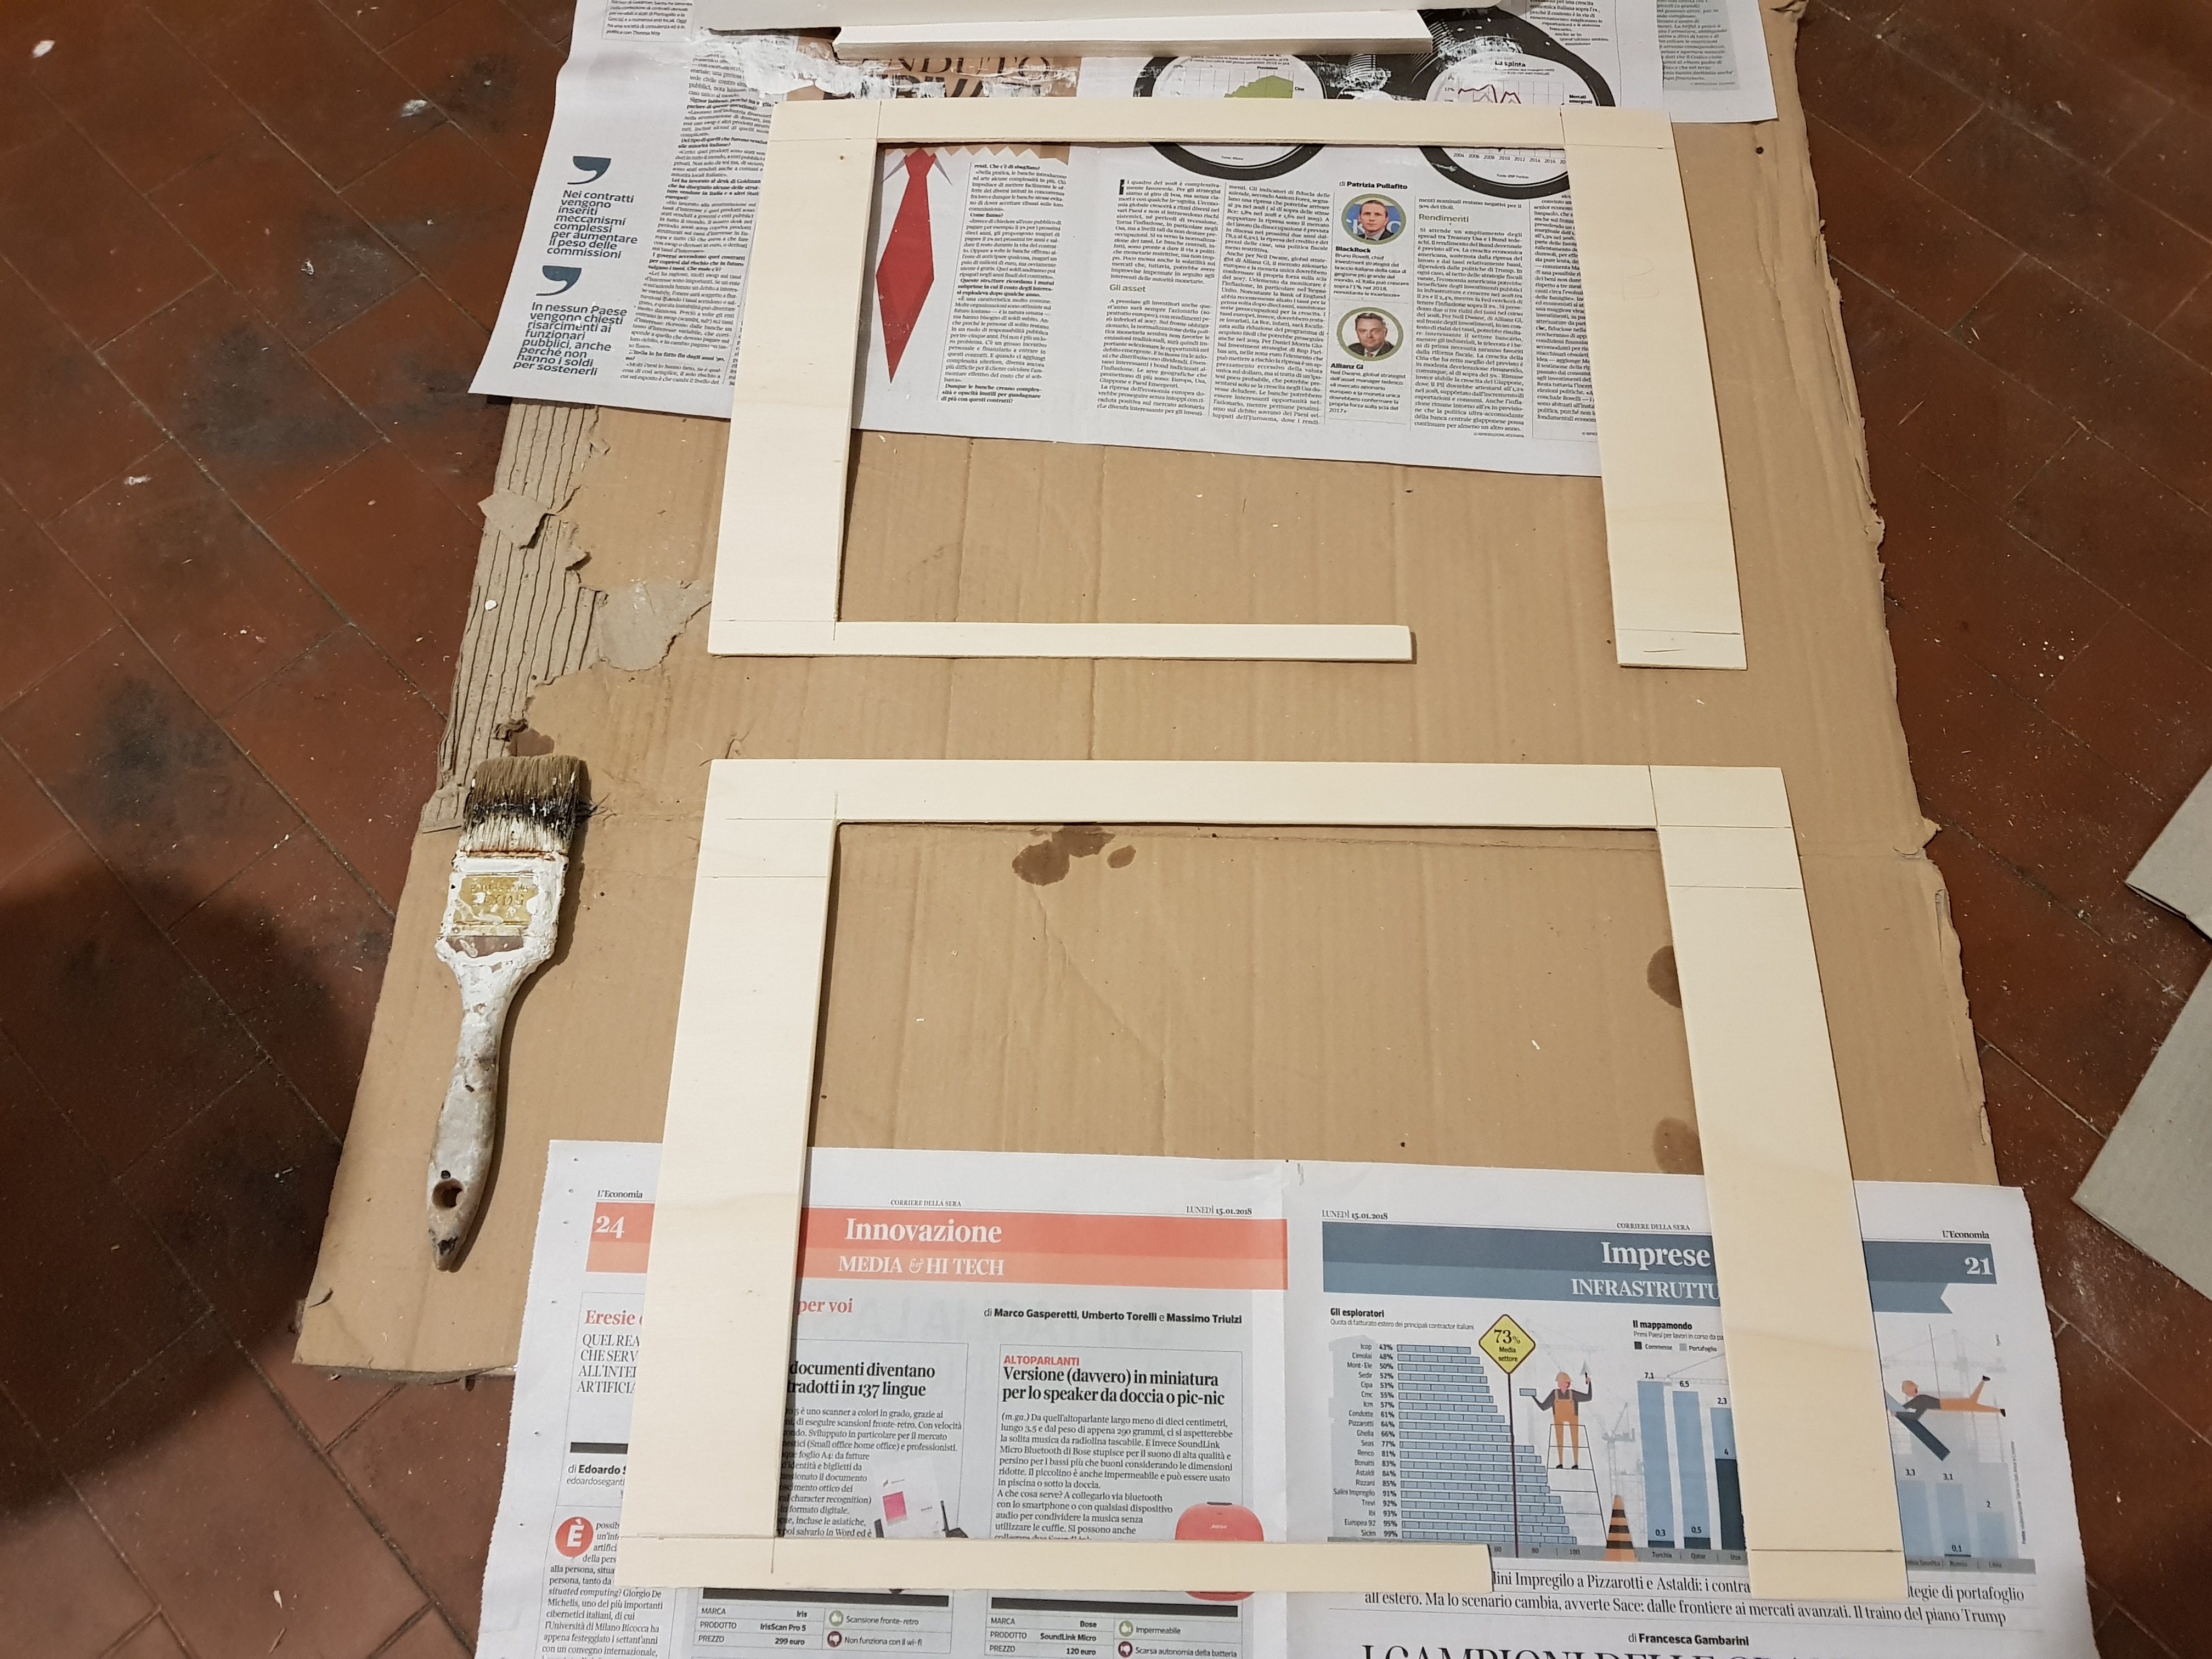
As you can see, I left a small opening on the bottom right so that the monitor controls buttons and LED would remain visible. It goes without saying that such adjustments will change when using a different monitor model and/or size.
Conclusion
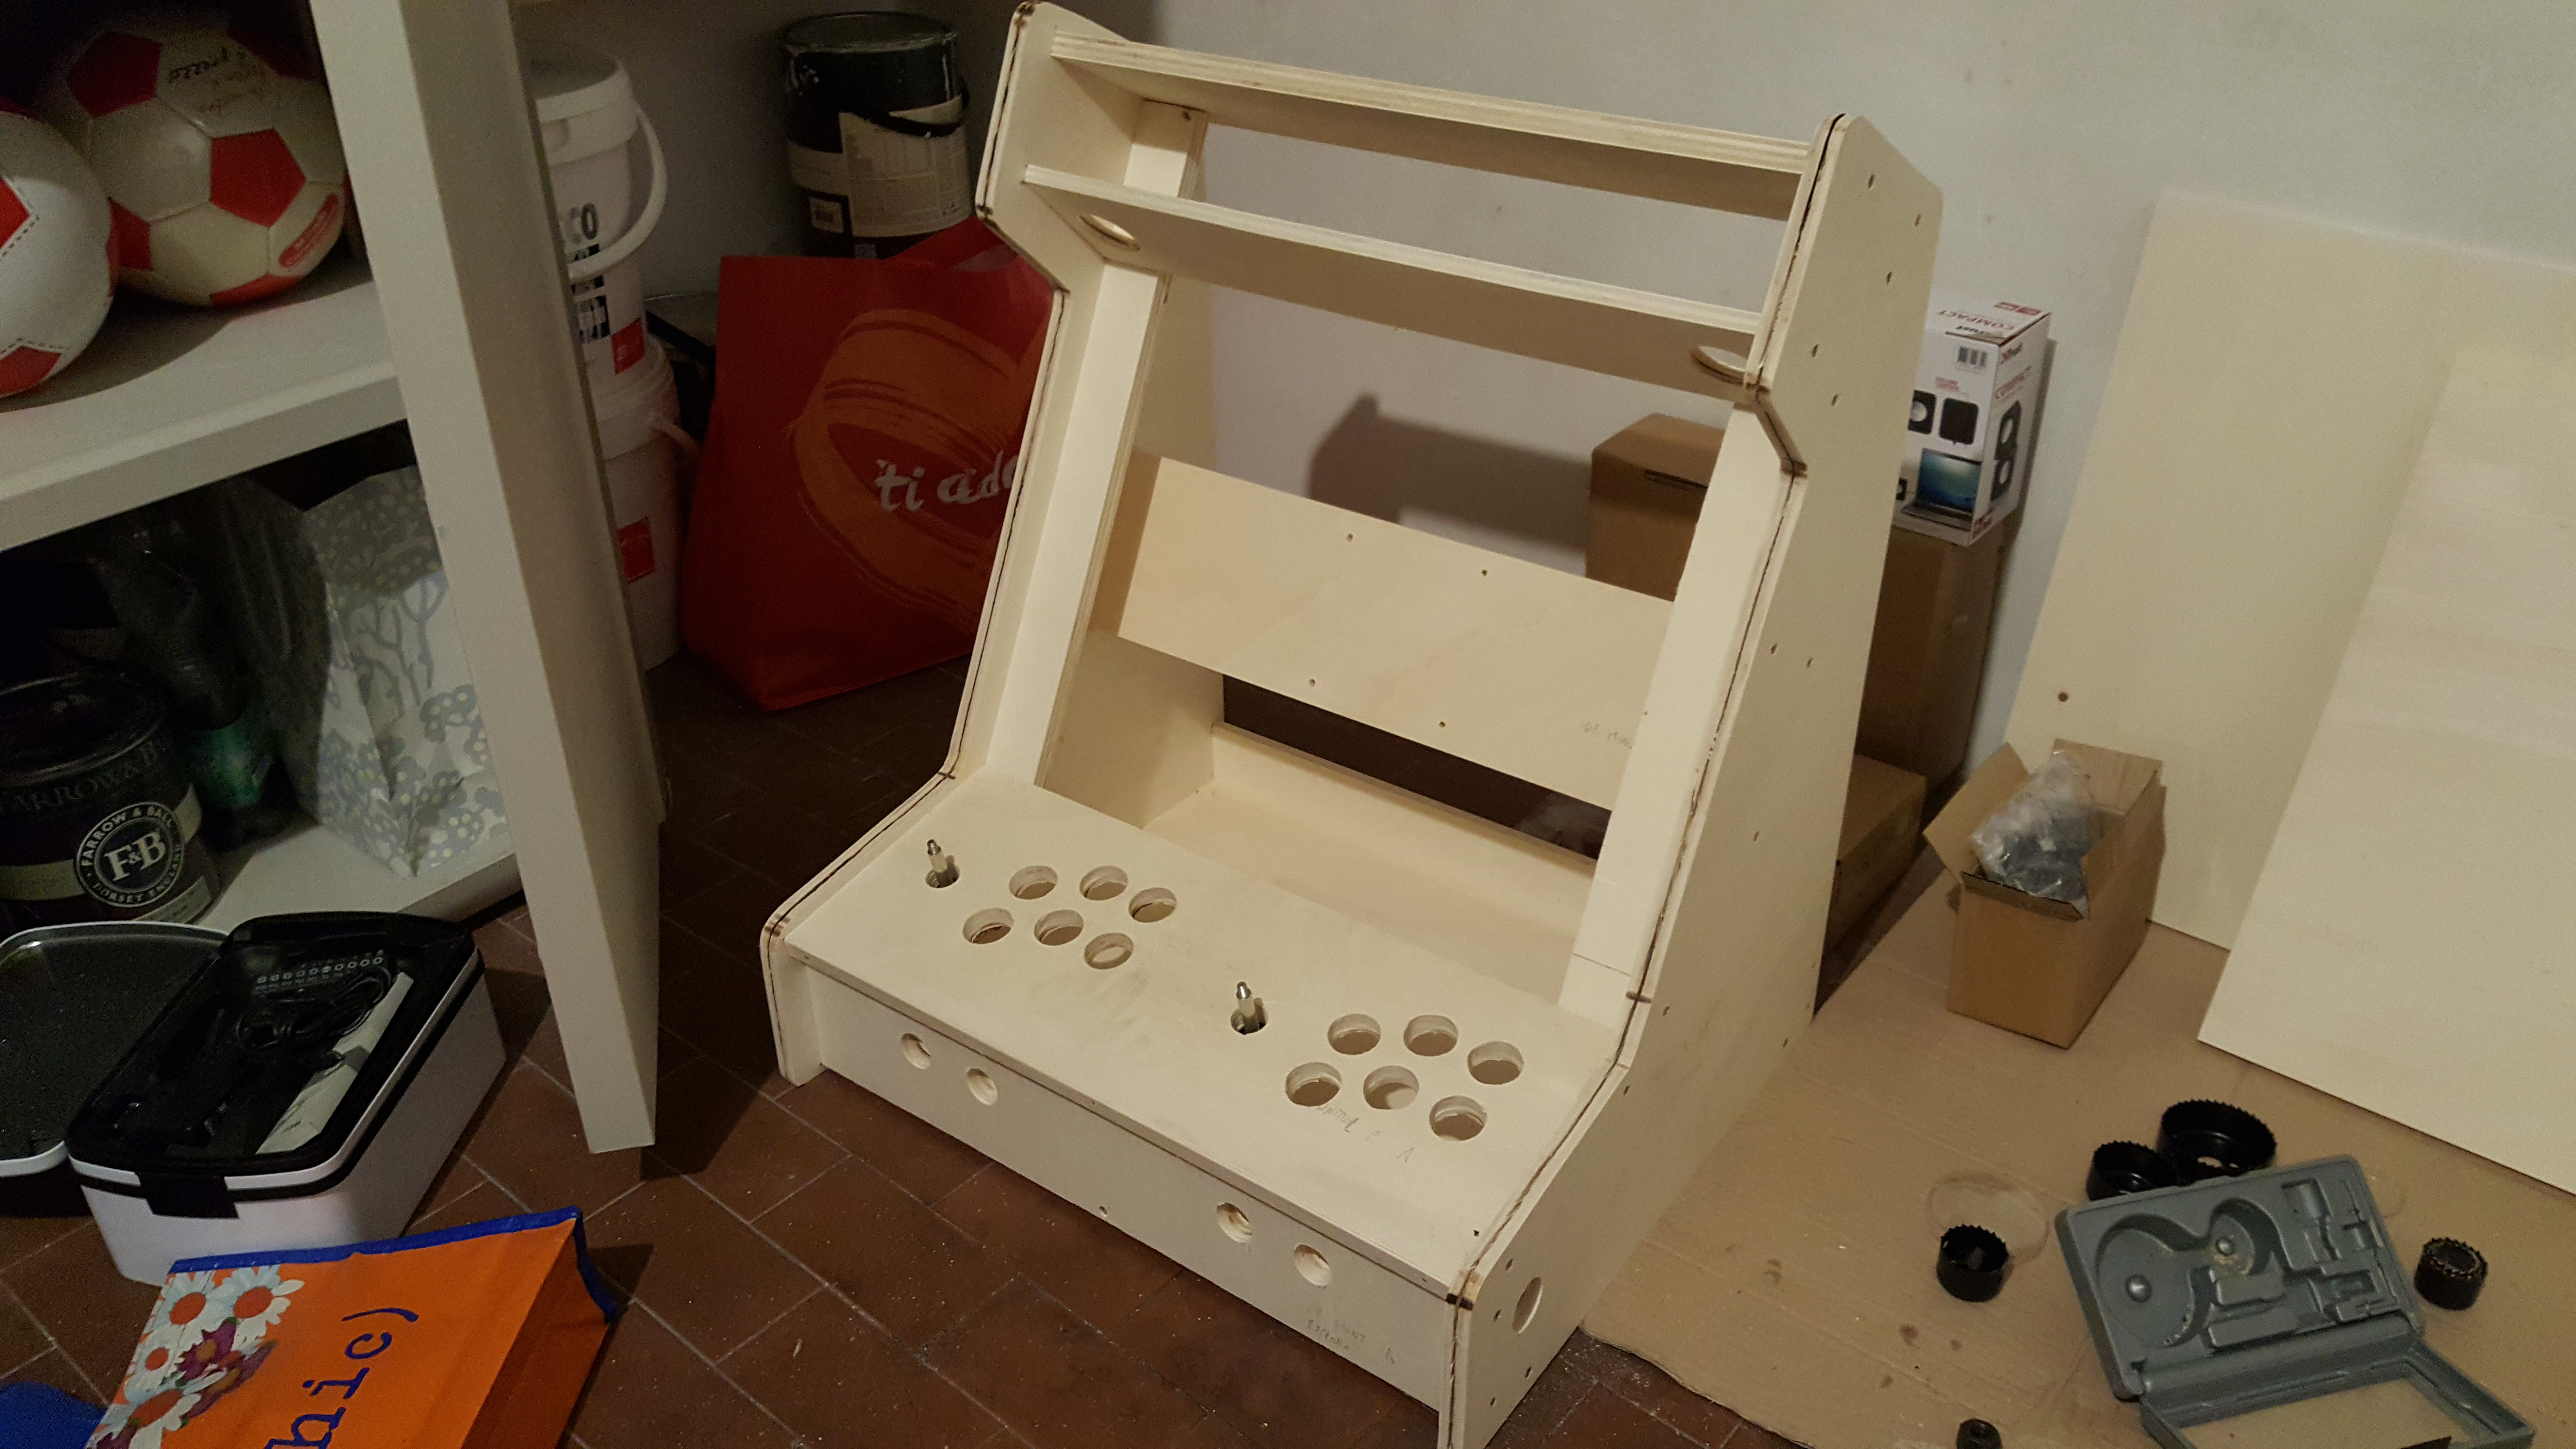
This is the end of Part 3: our wooden cabinet has been built, and it looks much better than the cardboard prototype!
In the next part of the tutorial we’ll paint it and install the T-Molding.
As always, if you have any question or want to leave your feedback, you’re more than welcome to do that using the comment section below!
In case you’ve missed the previous posts, here are the links to the whole guide:
- Part 1 of 6: Introduction & Raw Materials
- Part 2 of 6: Tools, Design & Prototype
- Part 3 of 6: Building the Cabinet
- Part 4 of 6: Painting & T-Molding
- Part 5 of 6: Installing the Hardware
- Part 6 of 6: Configuring the Software (Raspberry PI & Retropie)
Check out all the pictures of the Arcade Bartop (all those used in this tutorial + more) on my Arcade Bartop album on Flickr.com.
